I got a 3d printer for christmas and so I started experimenting with making custom bionicle weapons so this is what I found:
you can make a png image of your weapon/piece using a gray scale like this
then you drag the image in ultimaker cura and set how high to make it and how big,you need to make it half of the height and in the window select “darker is higer” the black part of the image will become the highest.I usually set the height to 3.6 mm and don’t forget to check if the size is correct
.
print the file
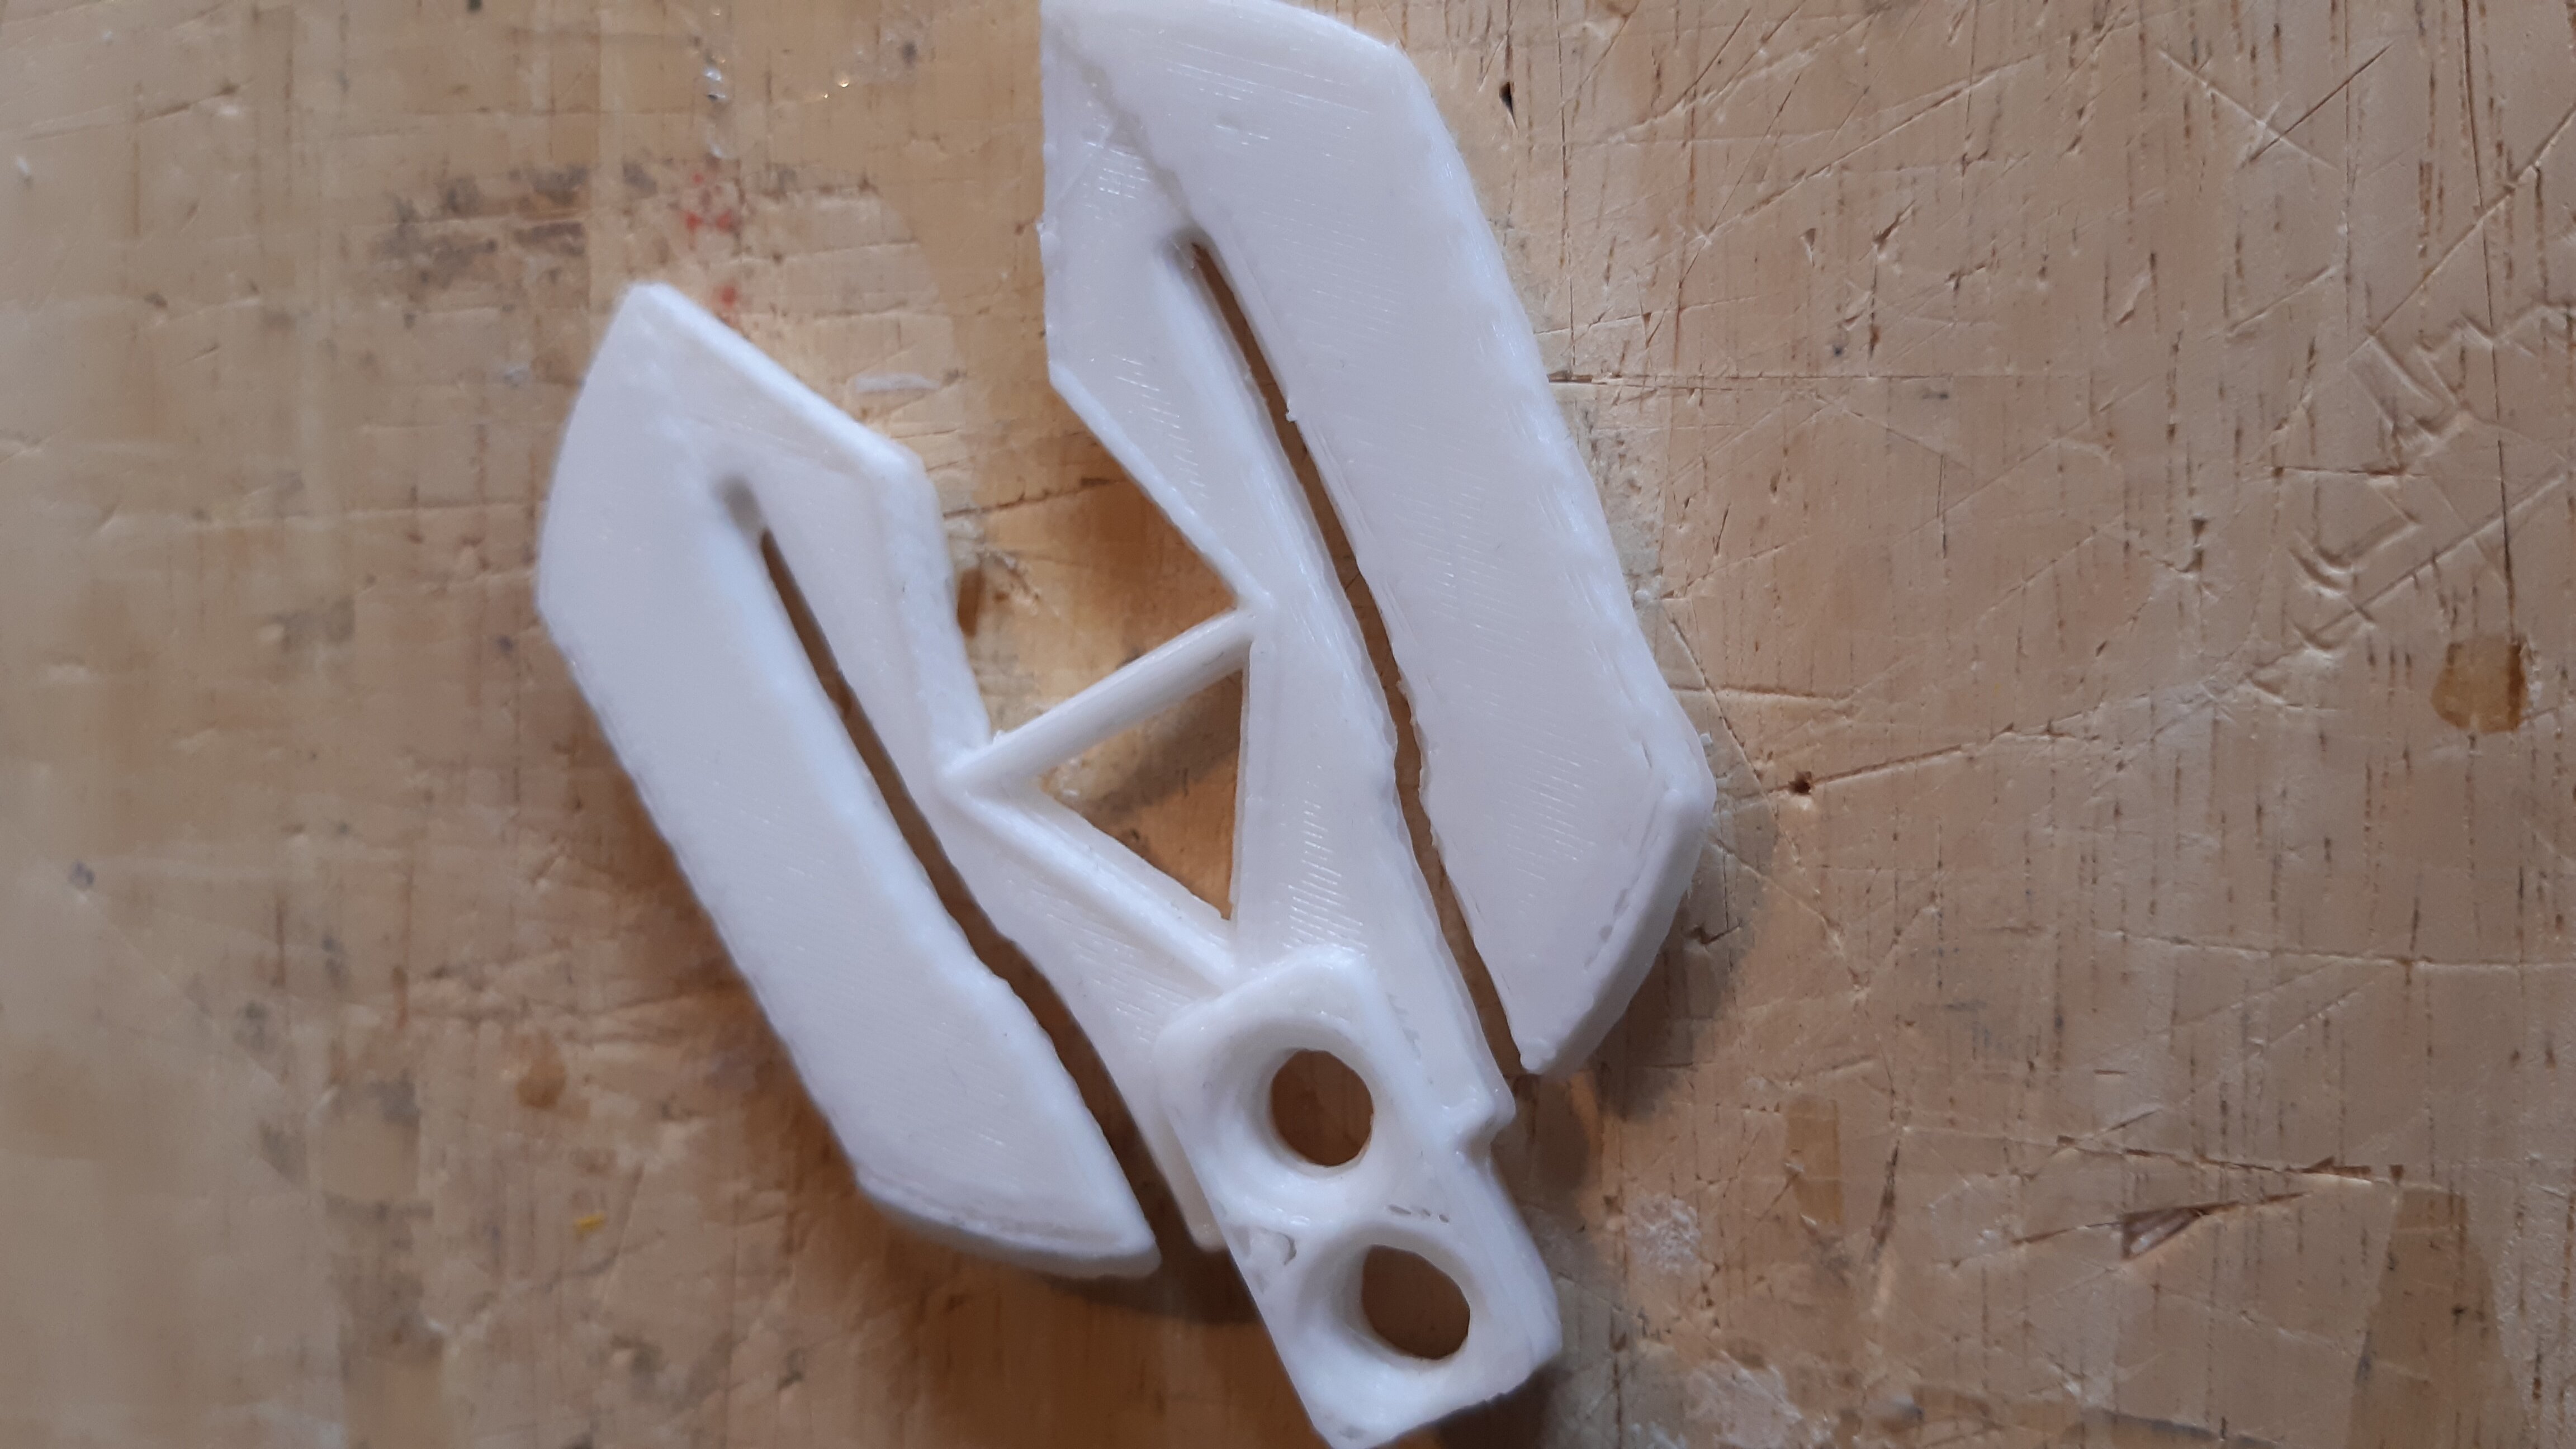
glue it together using something like this to alline the holes
paint it or use it as is.
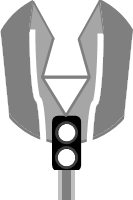
and this is the result
tell me what you think of this method and if you used it
following discoveries will be posted right here
edit for everybody that doesn’t have any designing background like me and doesn’t want to download any drawing app or program:
if you have windows you can actually use microsoft word and insert shapes and stuff like that to form an image and than group those shapes and copy the image onto ms paint making sure that you remove the white area in excess
like this
.
instead of this(excess shown in black)

then open the file in your slicer or drag it in from a folder
Edit:better explanation of the word and paint method
So you need to open Microsoft word ( i’m using 2010 edition ) then what you need to do is insert various shapes
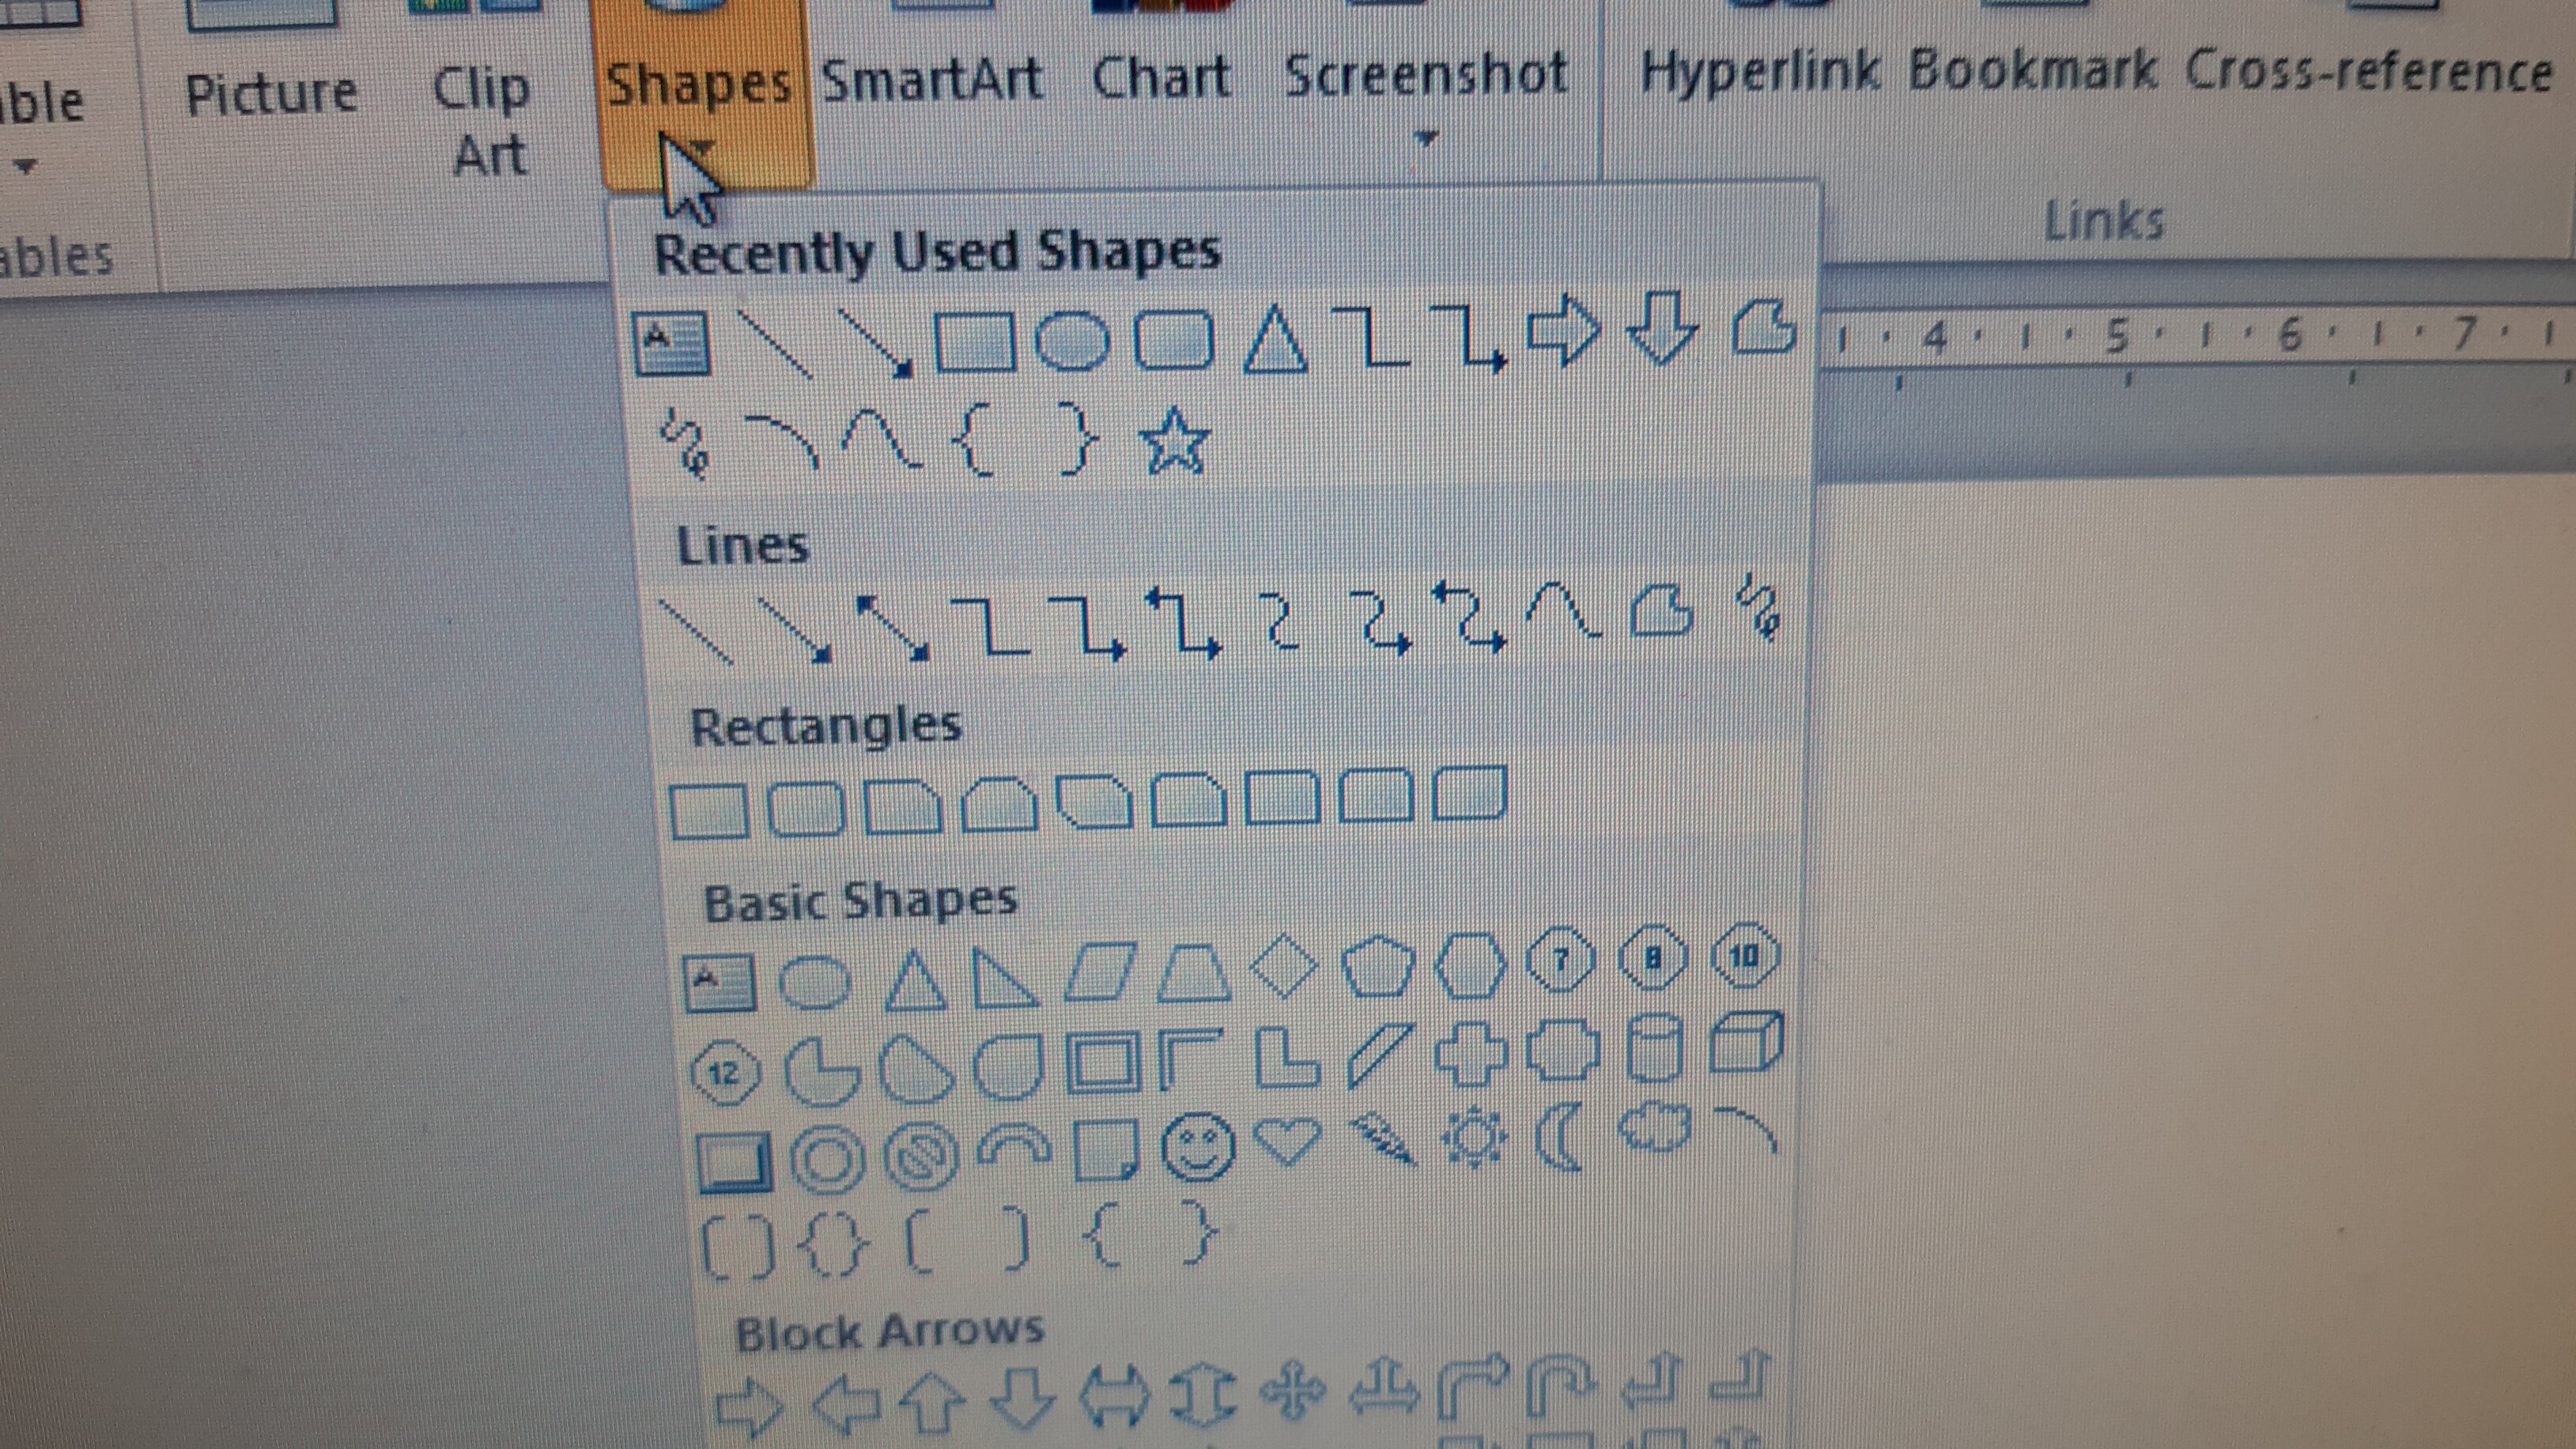
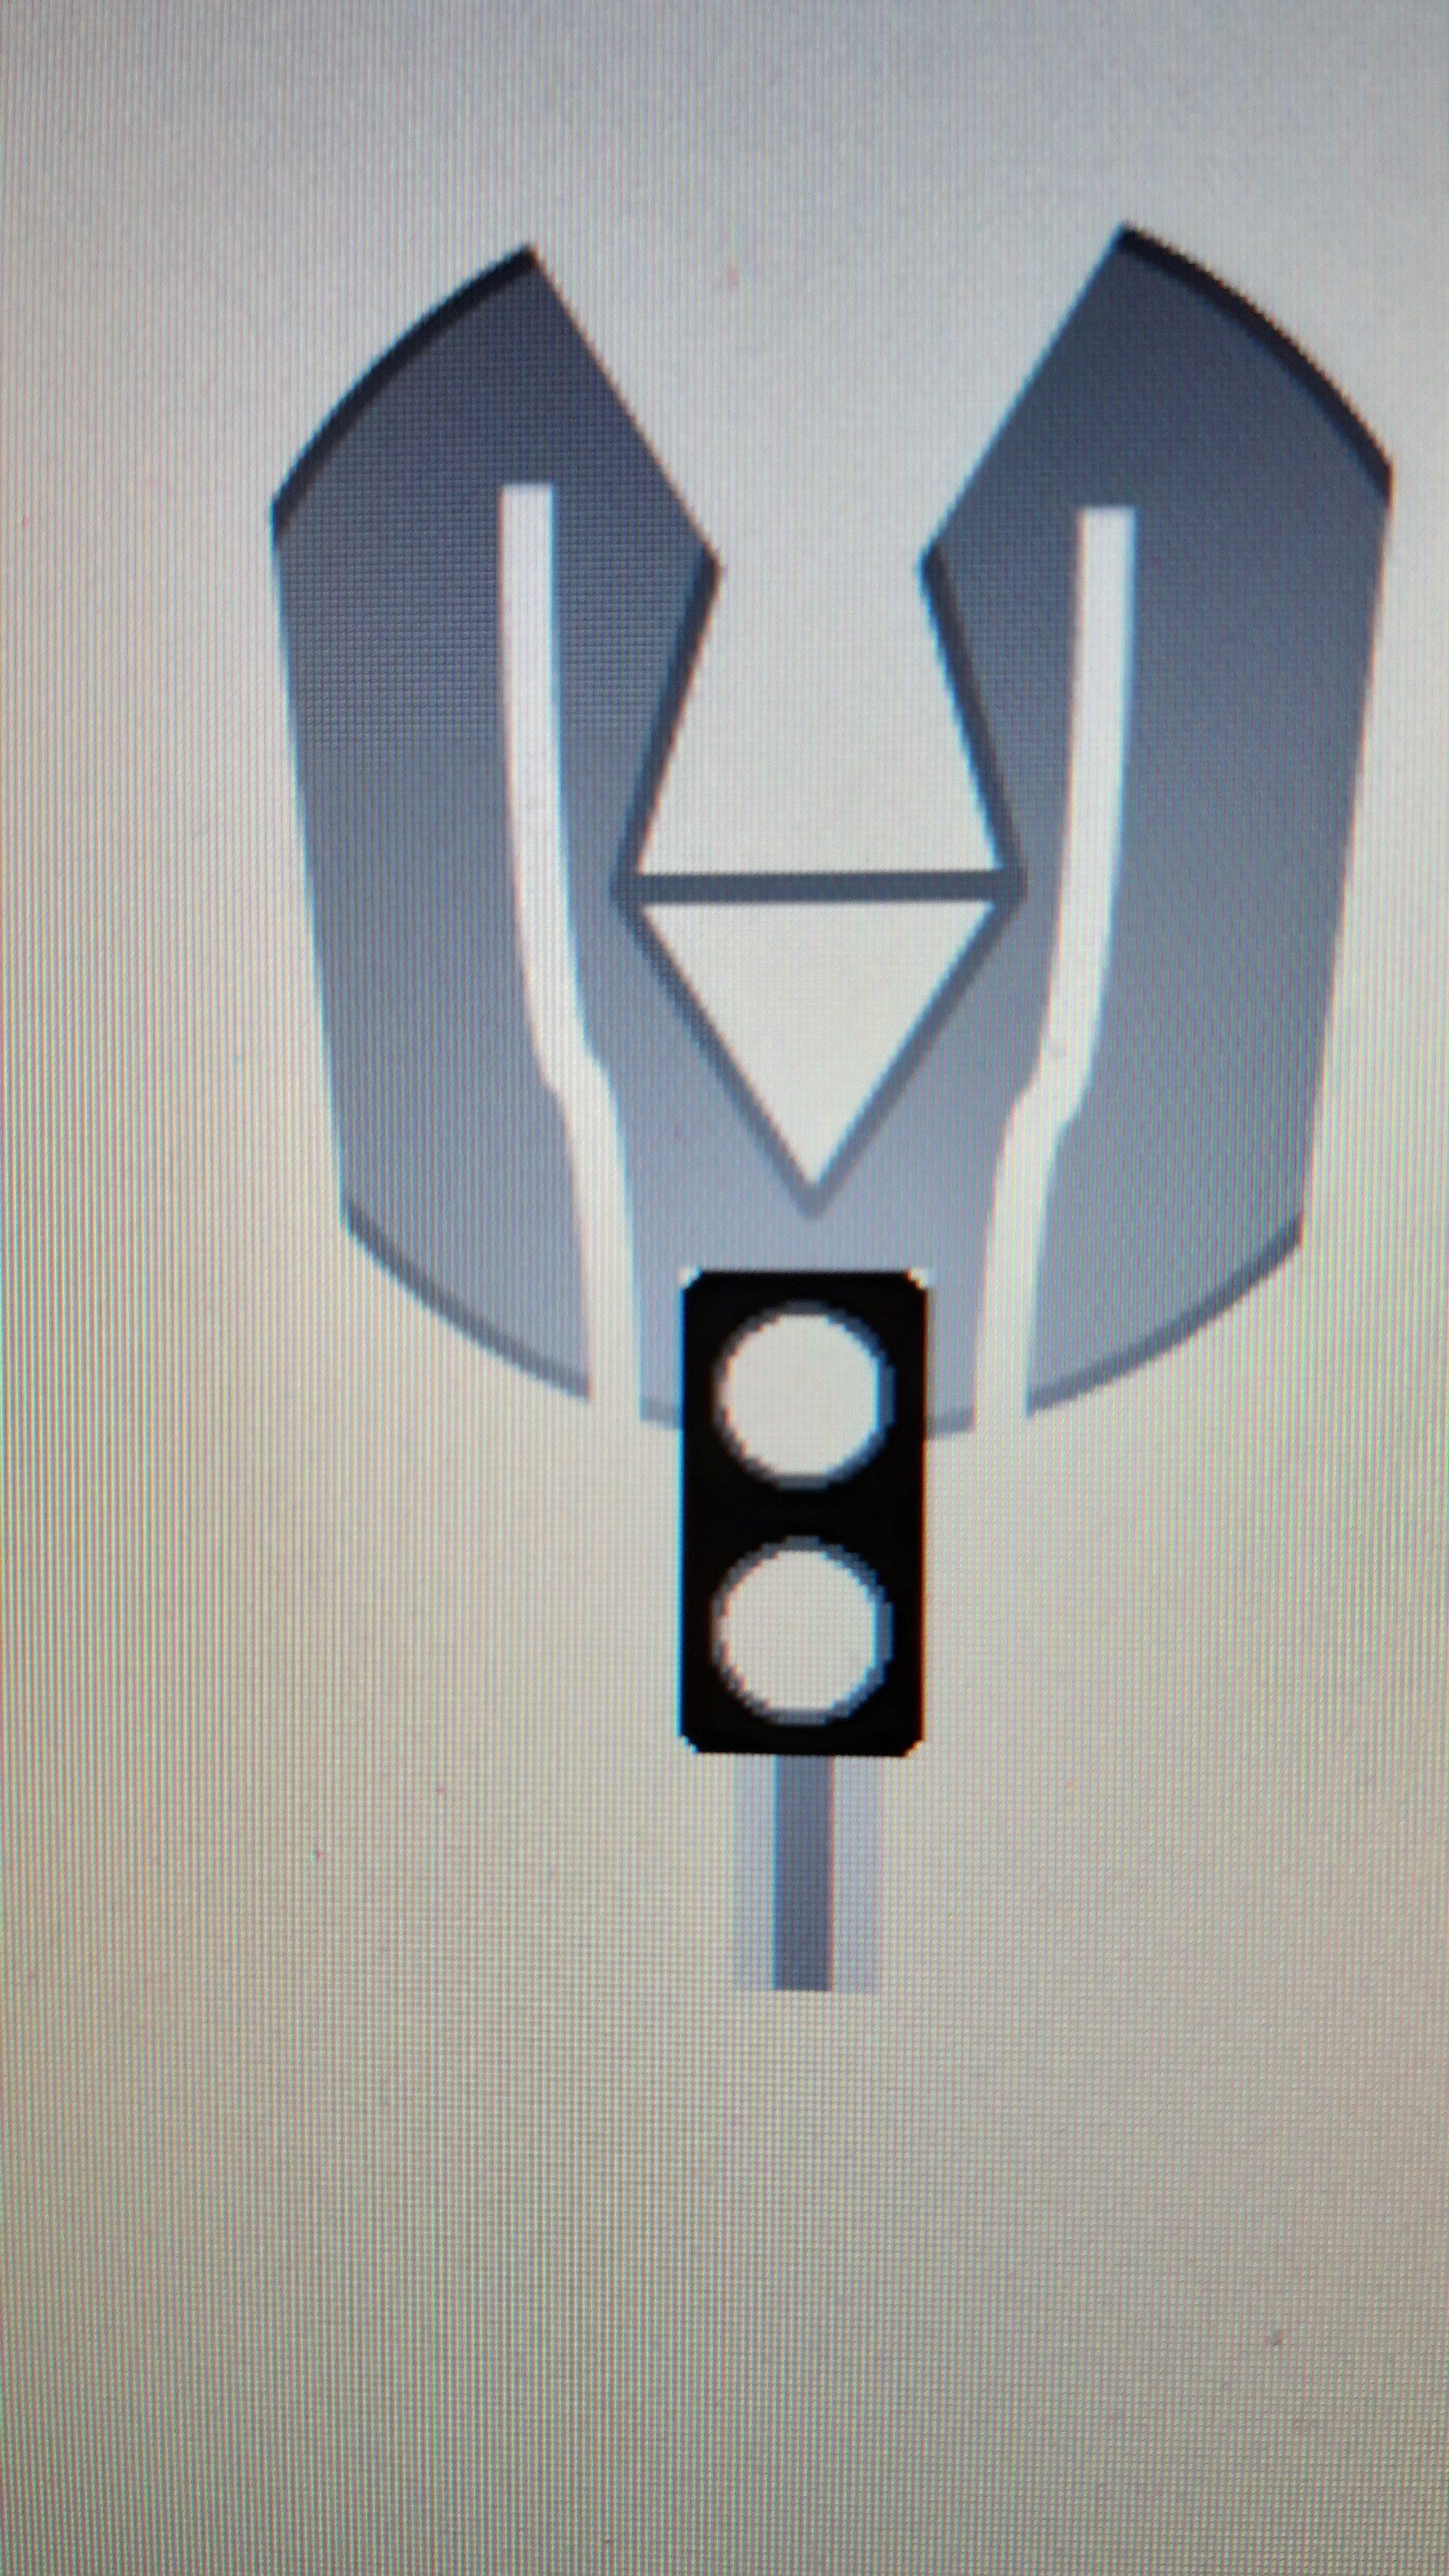
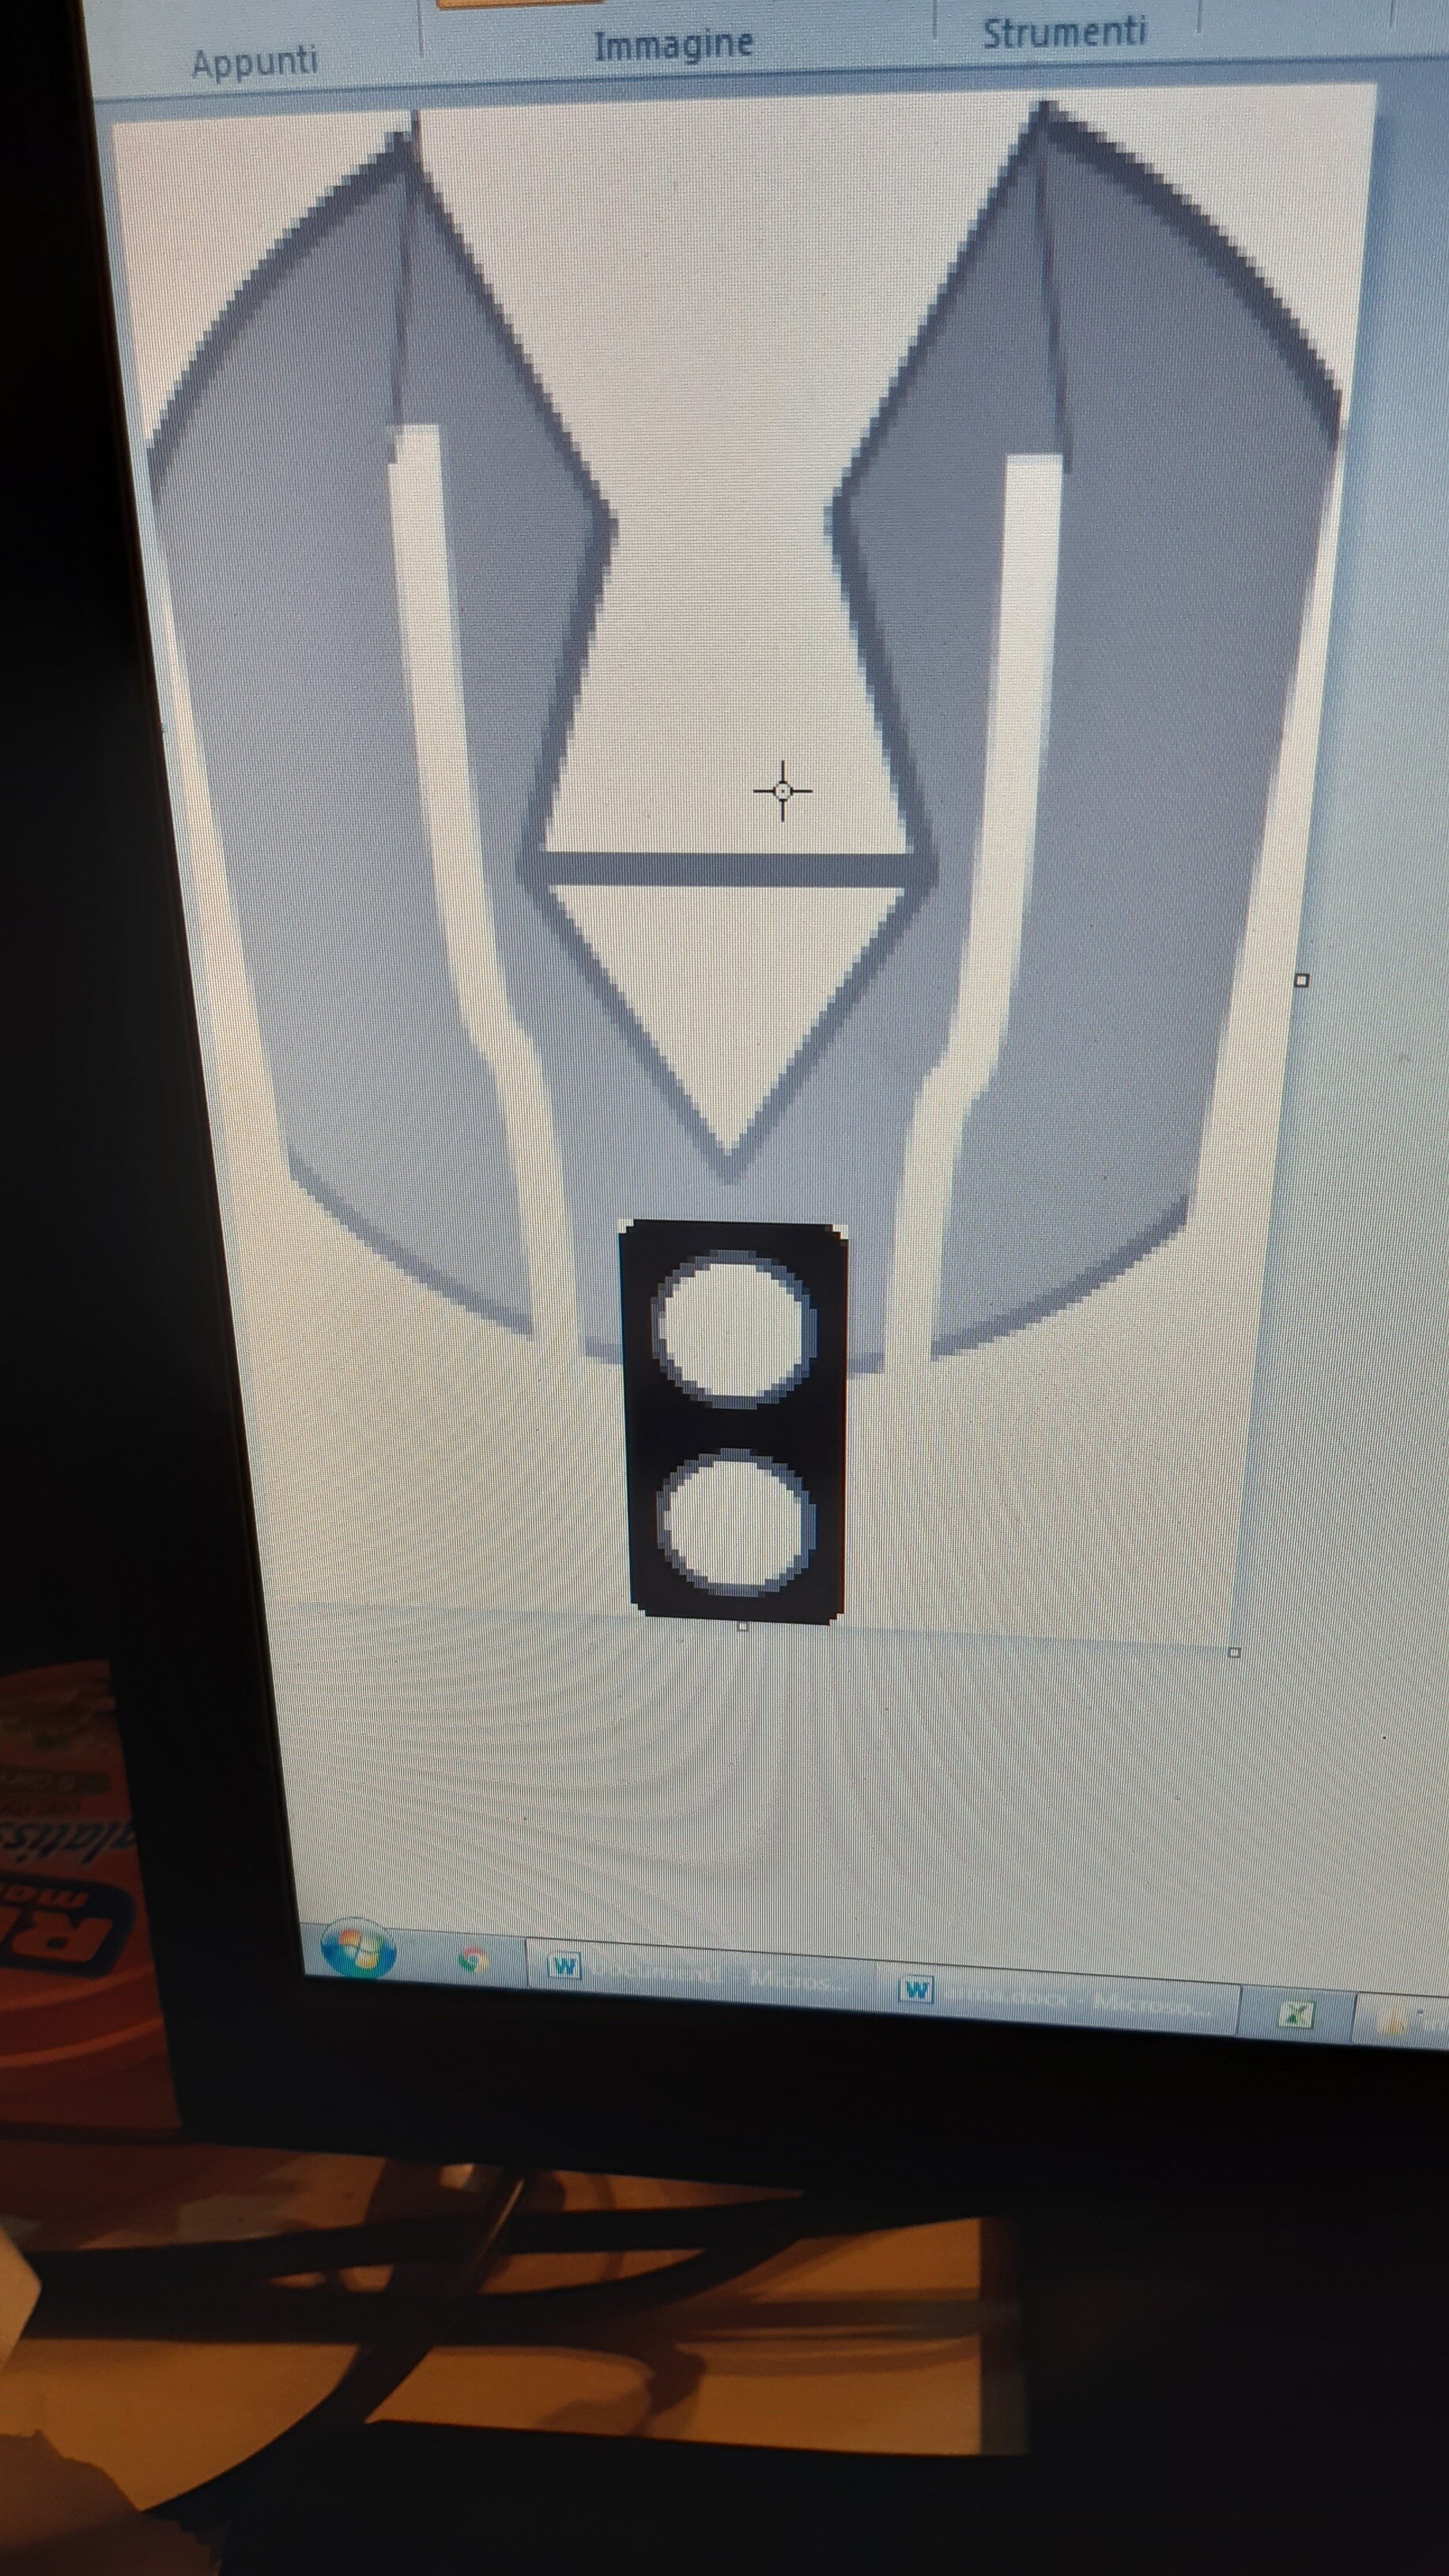
I usually i start with the pin holes they’re a white circle with a gray border measuring 6x6mm.
Make sure the circle is on top of everything than start adding more shapes until you form a poece that you like
Then group all of the shapes together
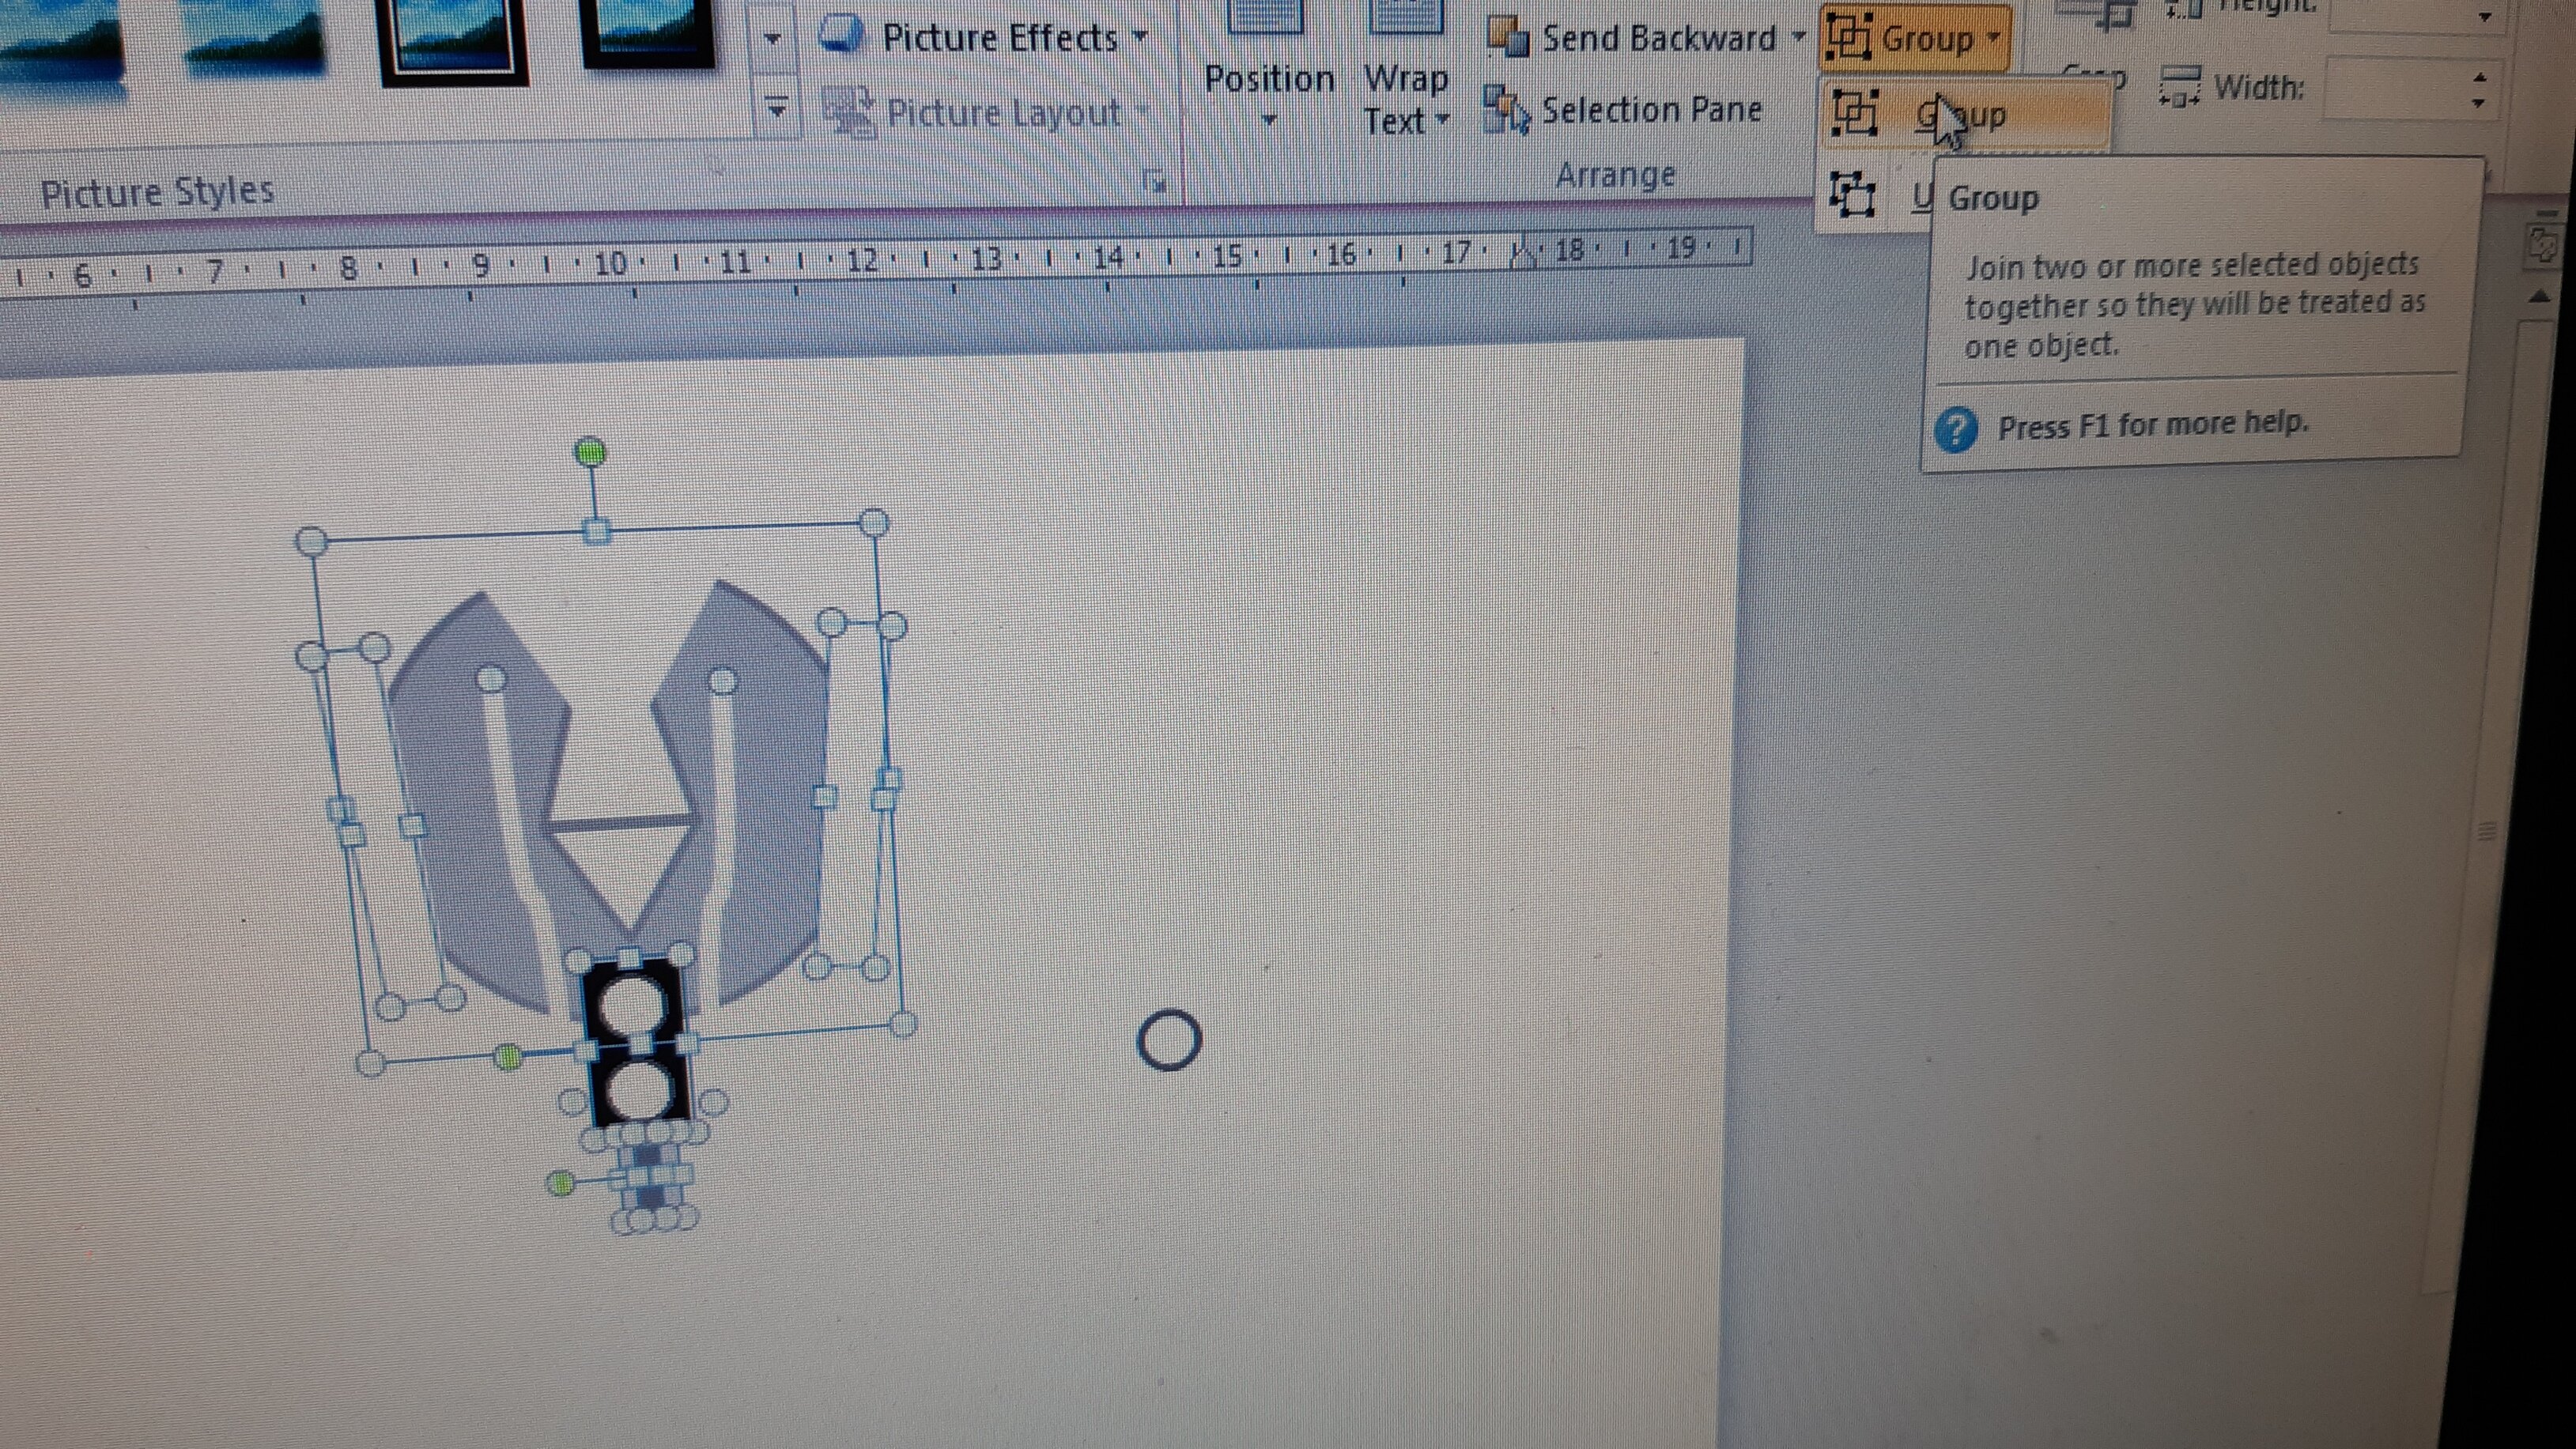
(You may want to group it while you are making every once in a while )
Than copy the image and paste it on paint
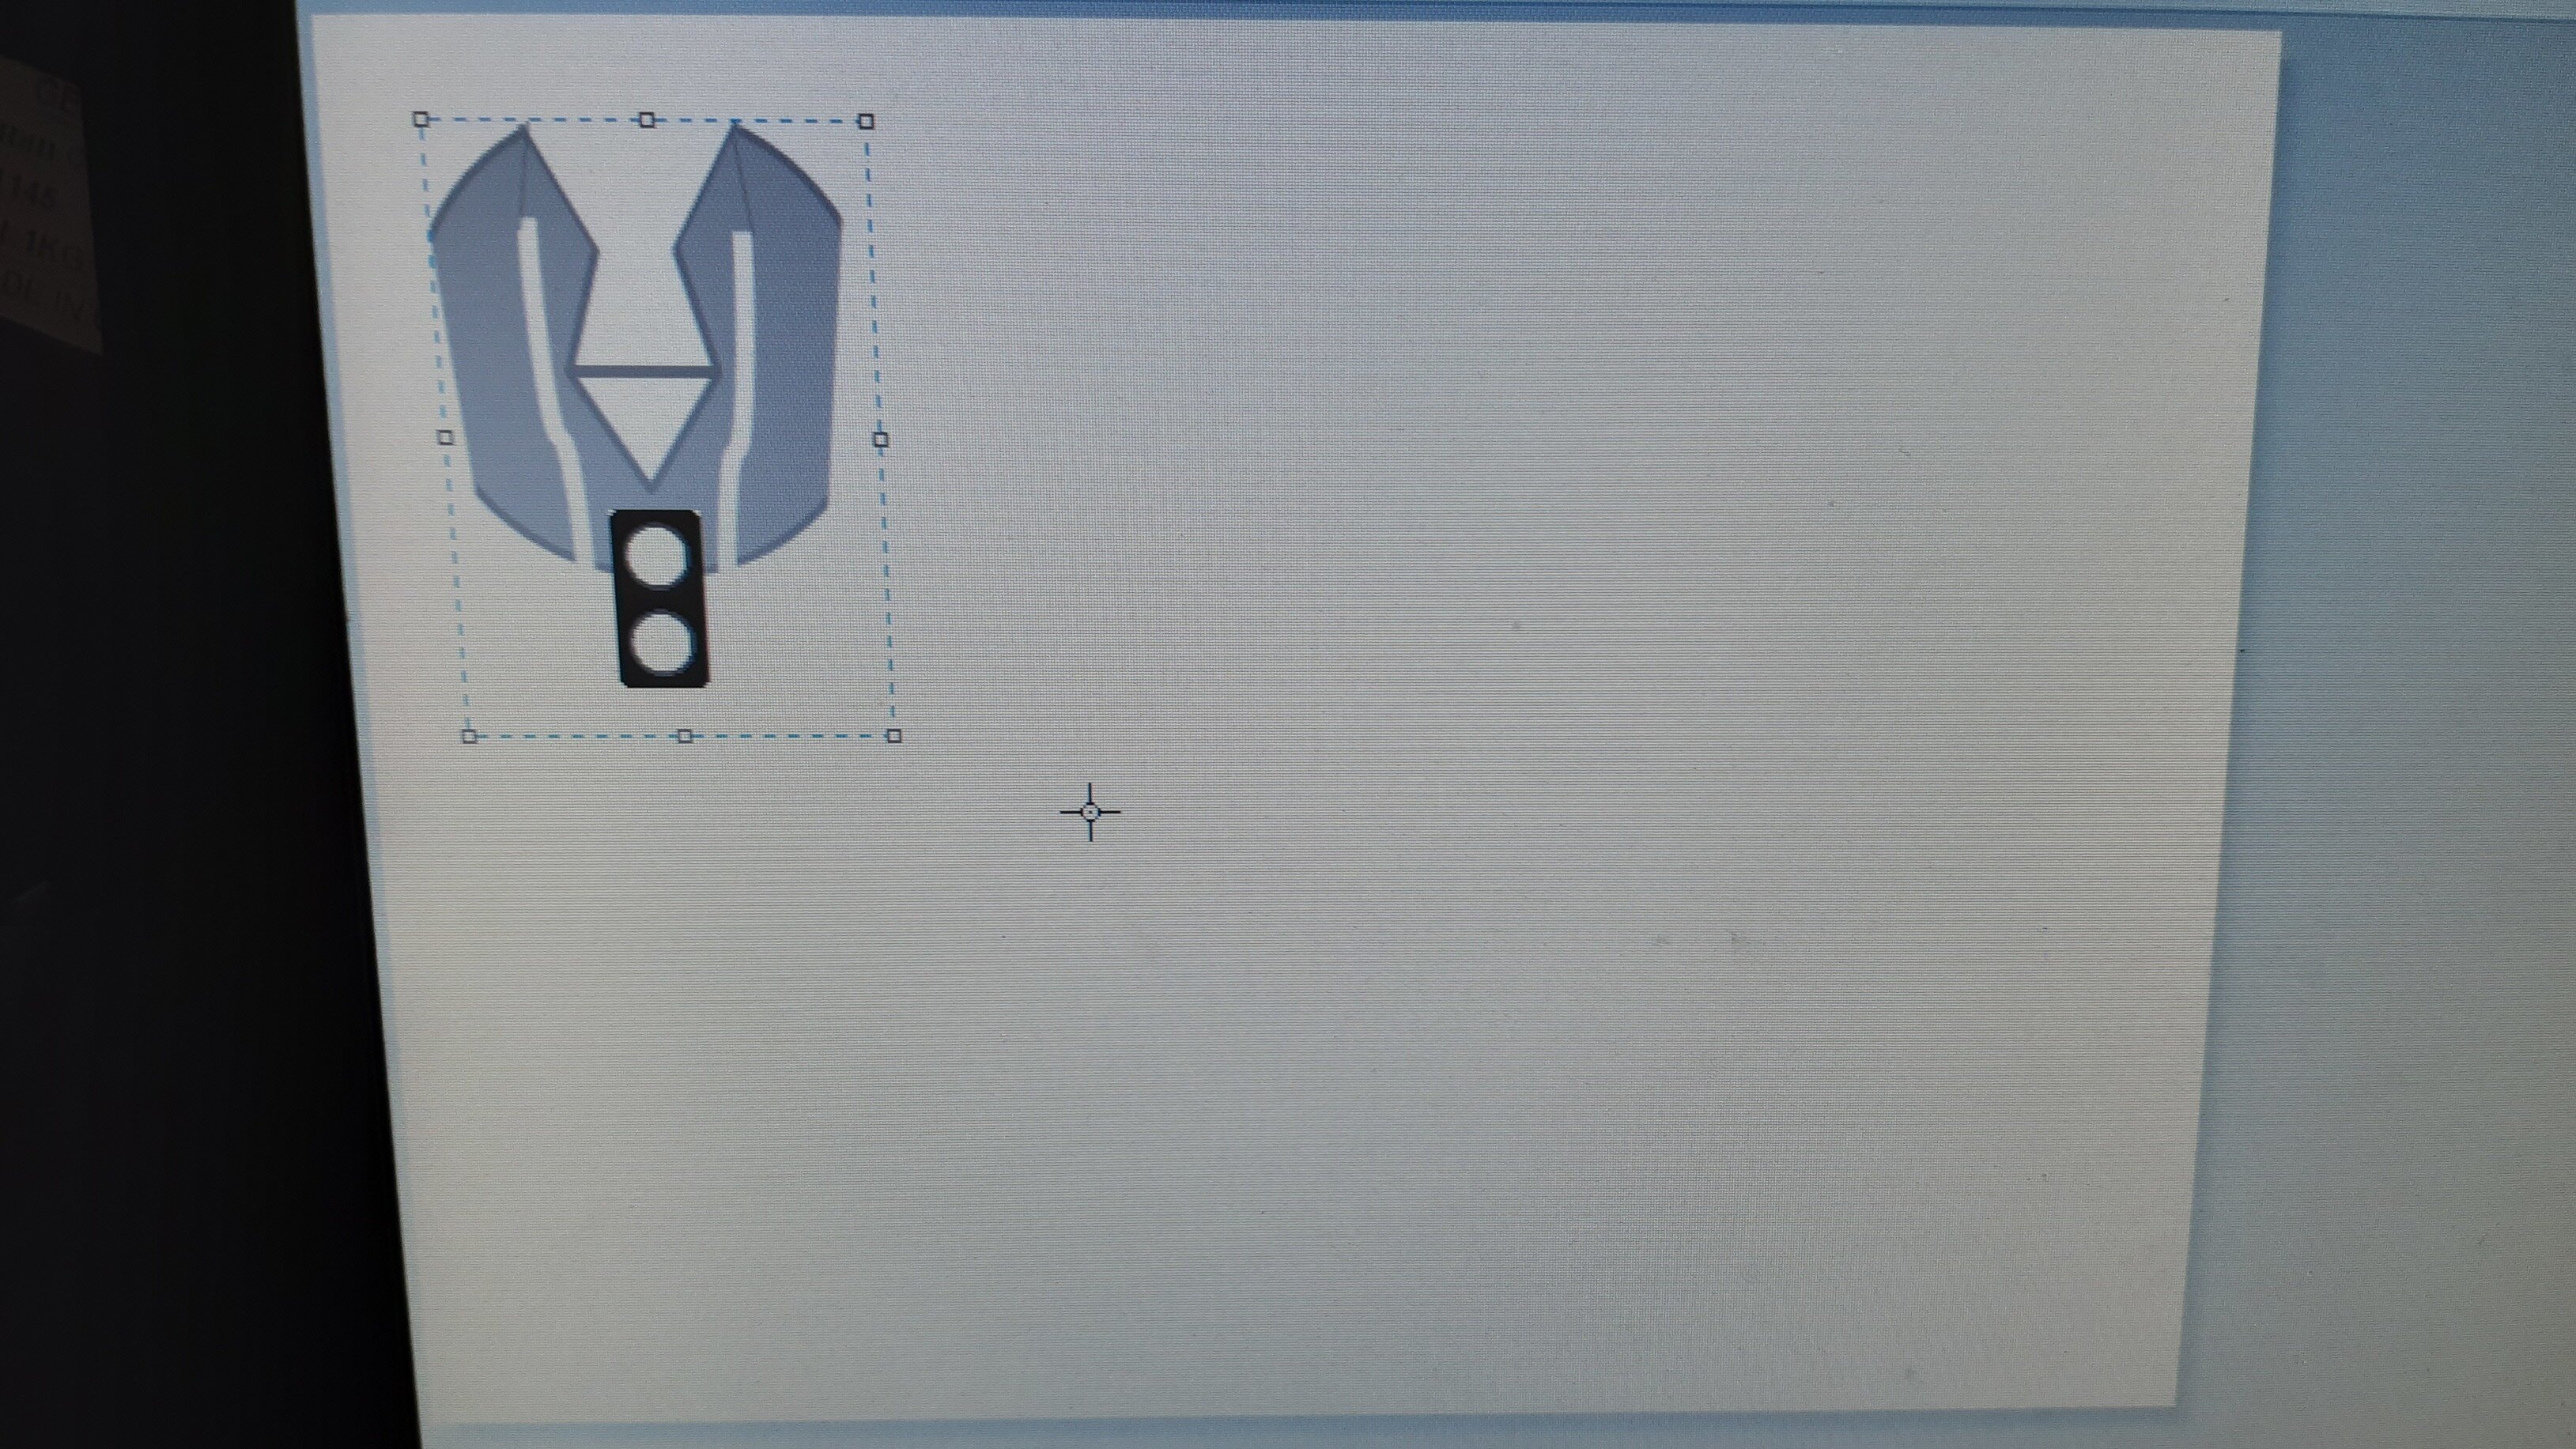
Then you just make the unused space as small as possible
Save the png and drag it or copy it into word
select it so you can see its size in the format tab than drag the png to ultimaker cura (that is what i use and i do not know if other slicers have this option ) and in the convert image tab put the size of your image
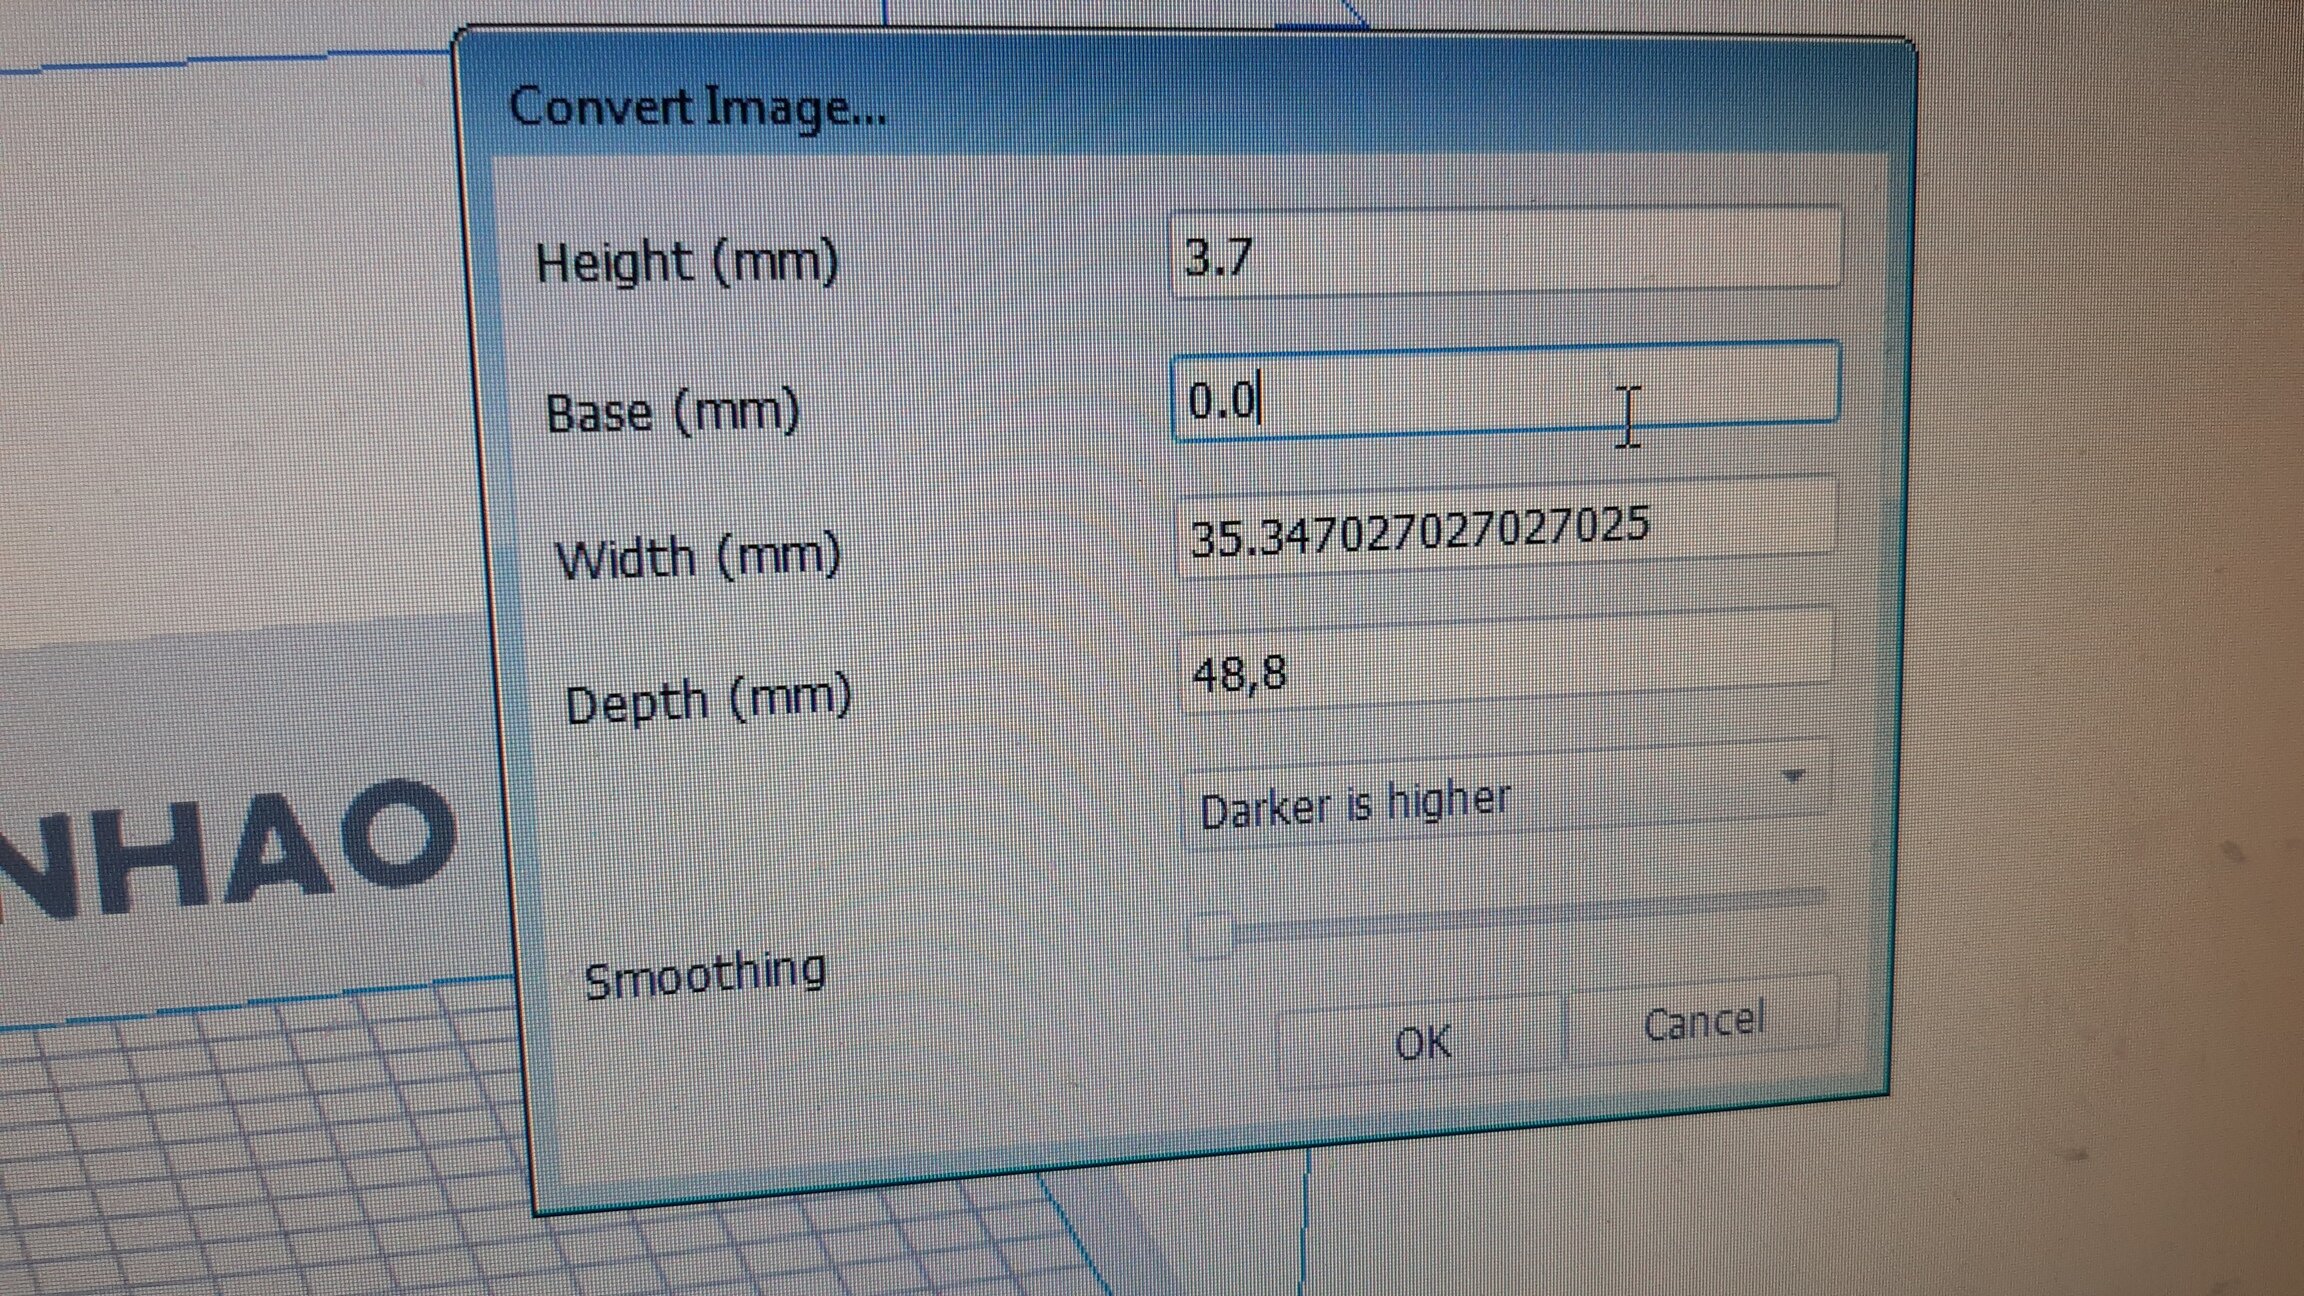
Make sure that the height is half of what you want in your final object because you are going to print two of those halfs and glue them together
And make sure you have as little smoothing as possible.
Than slice yoir object and print it.
Pro tip :make a rectangle with all your grays and black ,put it in your slicer and set the height to the same height you are going to use for your objects so you know at what height every one of your grays has.

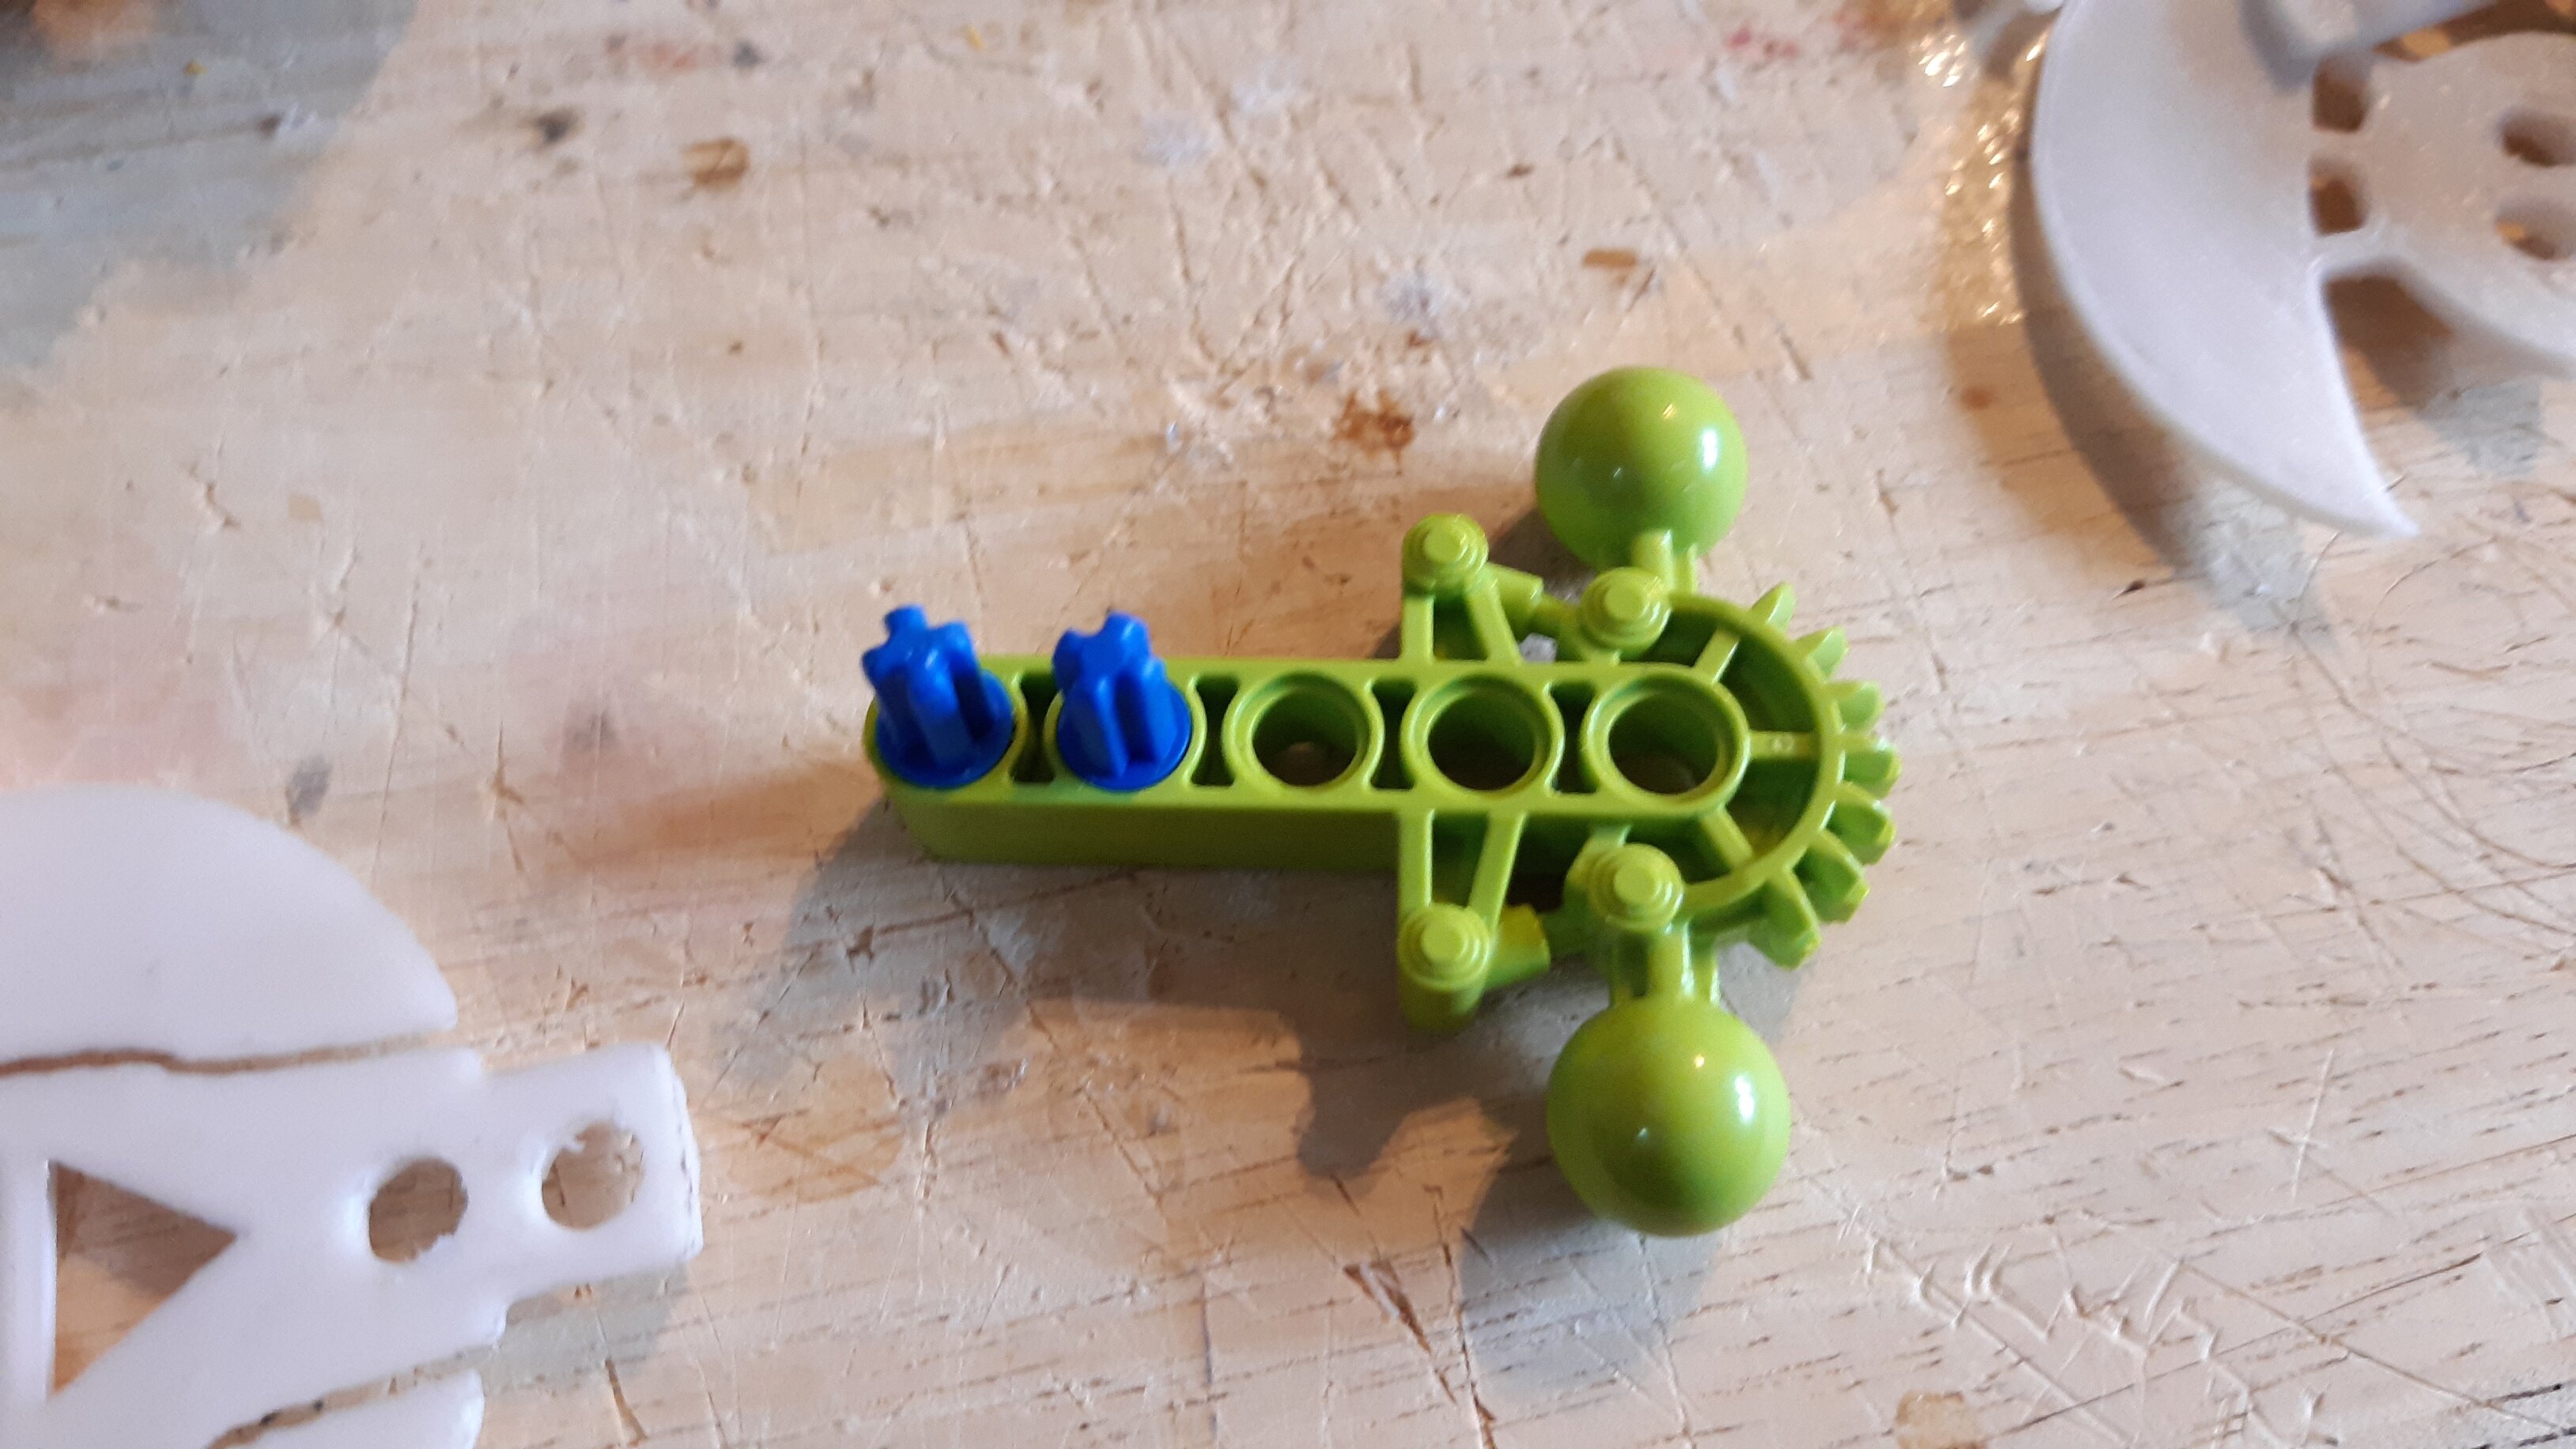
and here is a technic 2x1 to get the spacing right