The latest TTV Podcast brought up some interesting points about how the Matoran/Villagers should look in G3. I have some ideas of how the Matoran could be built.
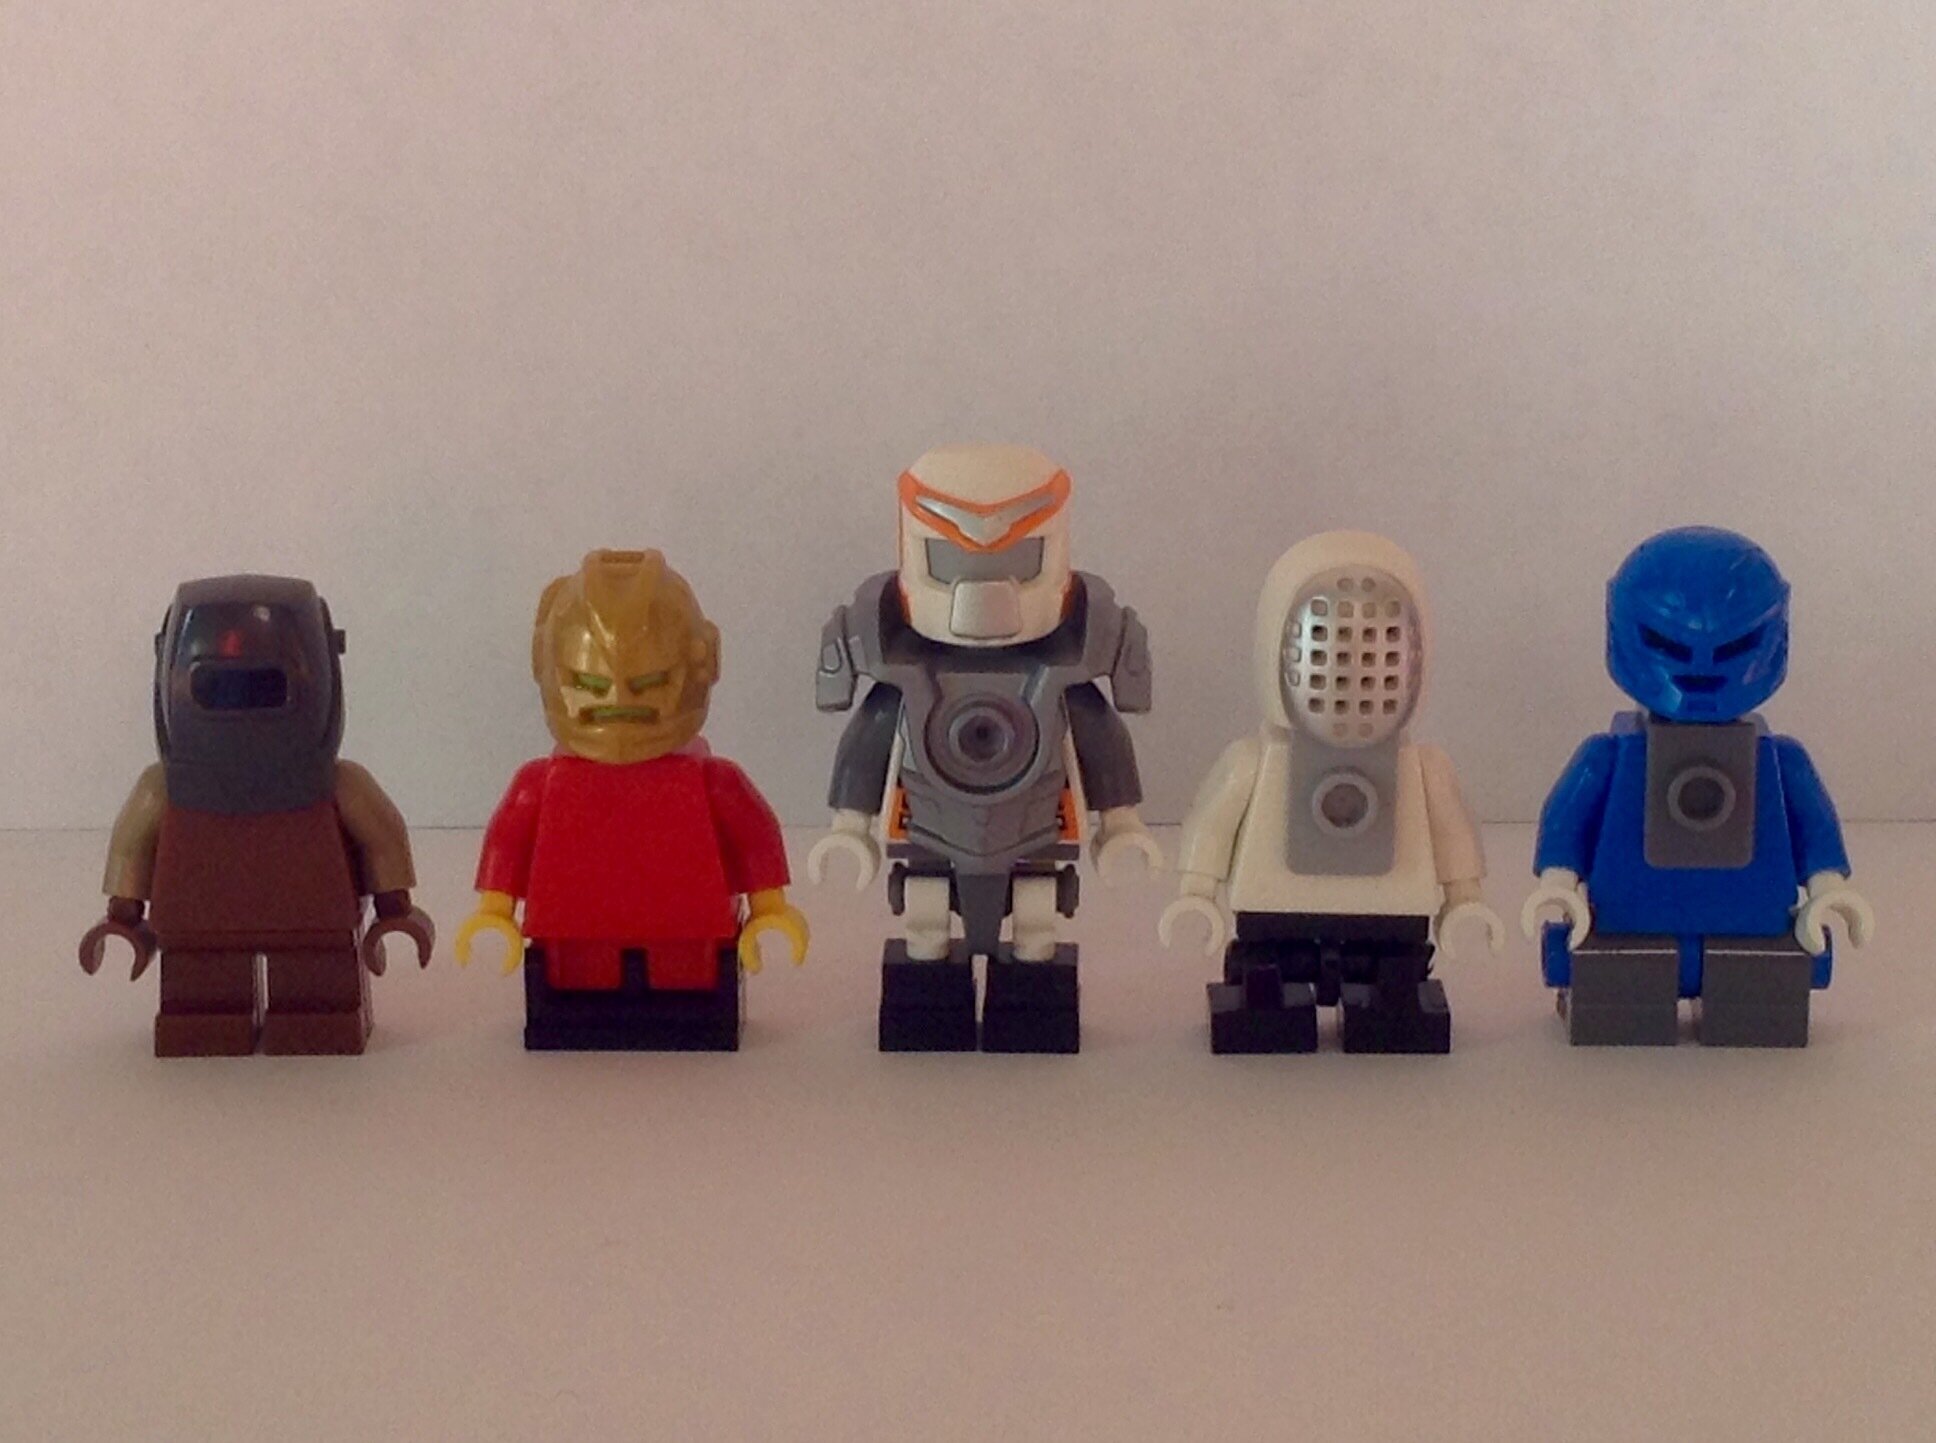
I’ll go over the pros and cons of each of the options listed below. First up…
Mini Legs, A.K.A. “Hobbit” Legs:
The first option discussed on the podcast was using the standard Lego short legs piece. While this wasn’t a popular idea, it’s worth taking into consideration.
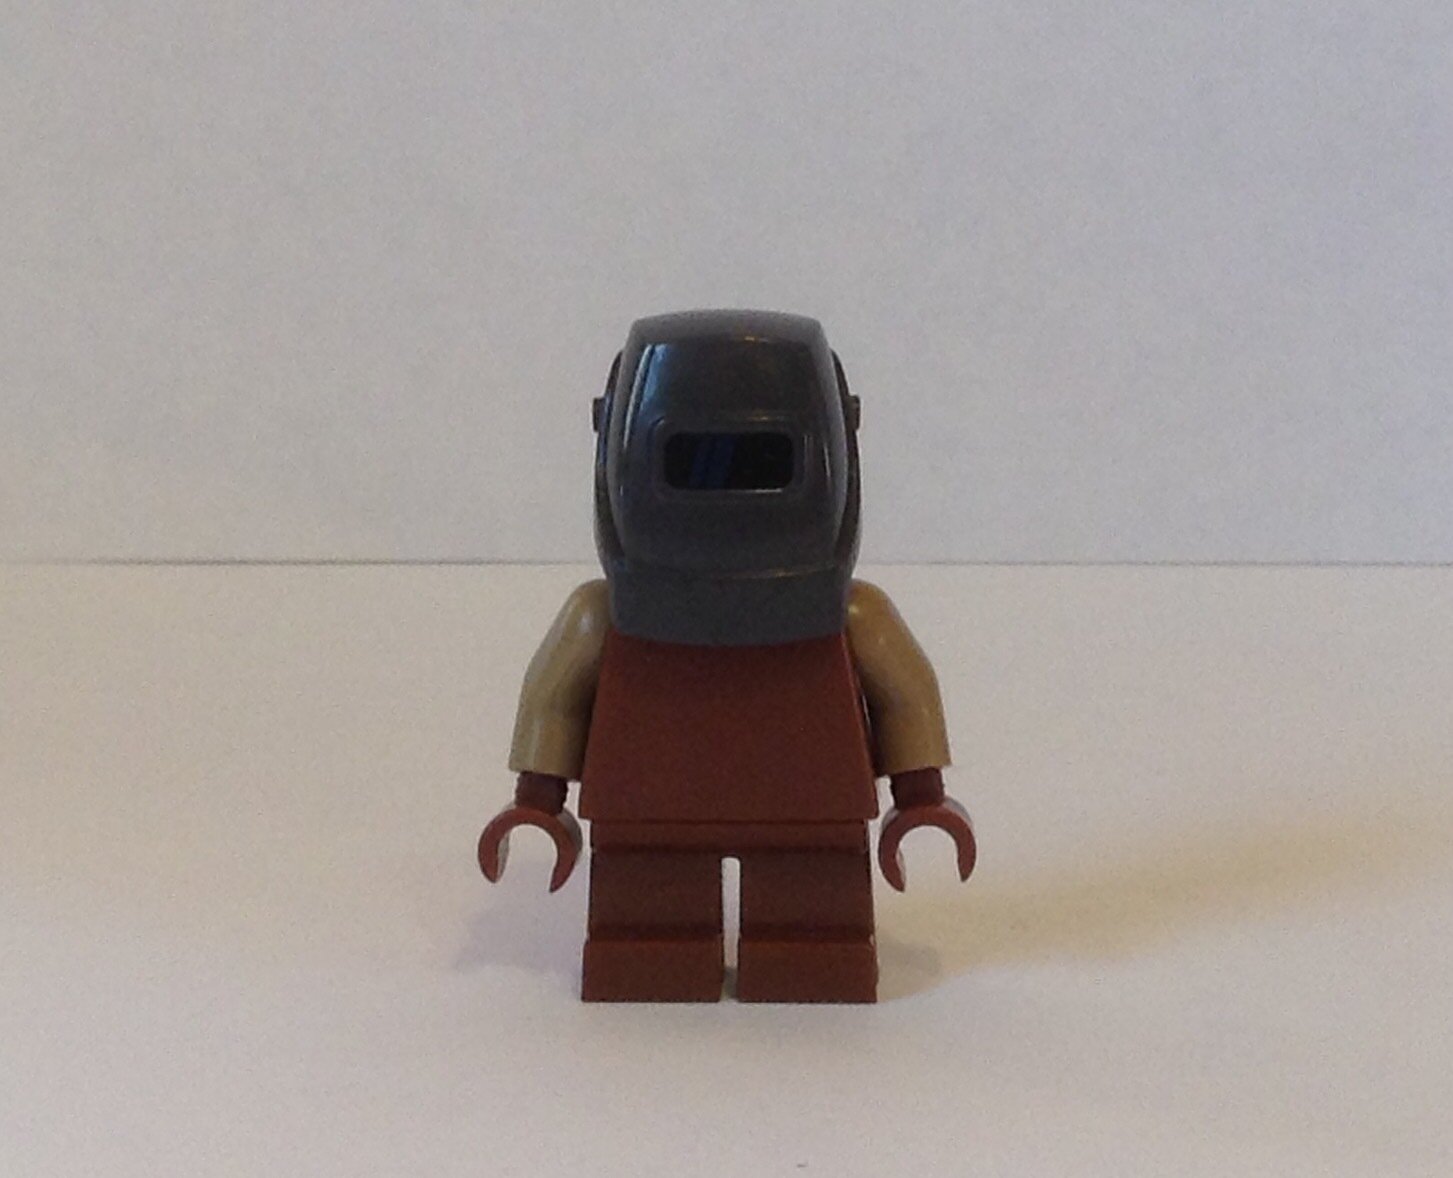
PROS: This is a single prexisting piece that Lego manufactures. It comes in a variety of colors and is fairly common.
CONS: Mini legs cannot be posed and would hinder play value in potential G3 sets.
Another similar option is using a hinge brick in place of mini legs. This allows figures to sit down, and increases possible color combinations.
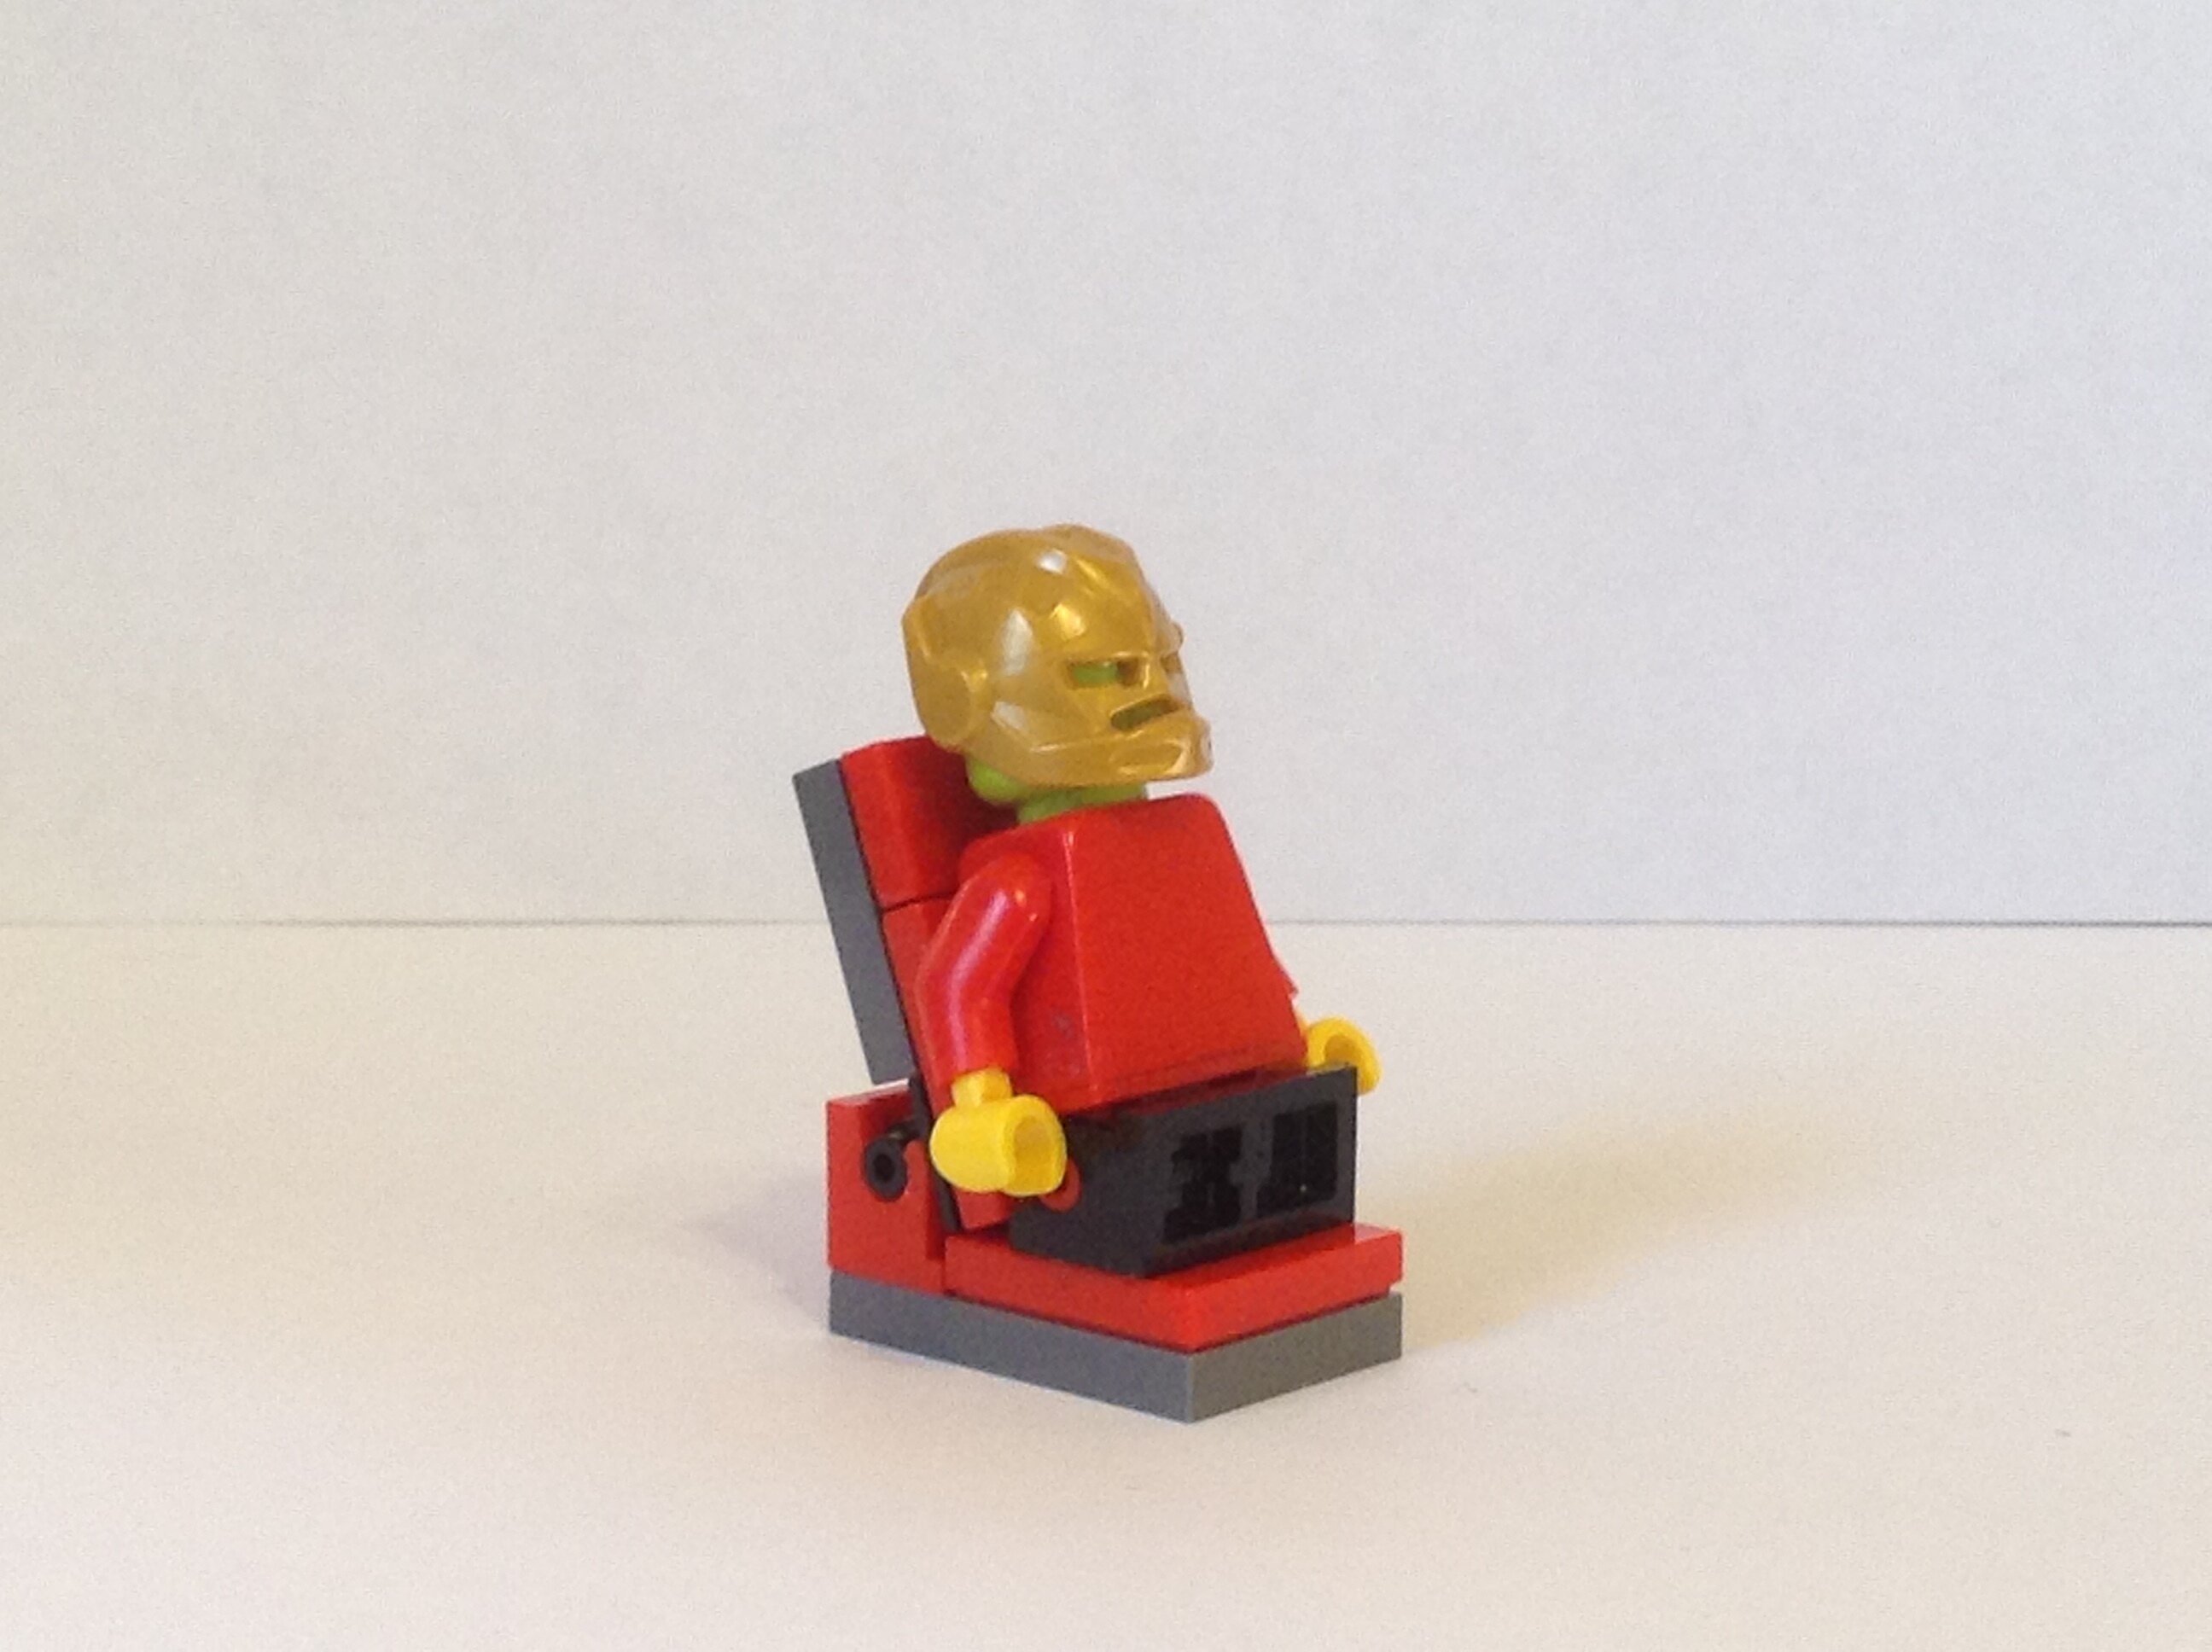
PROS: Hinges are common pieces produced by Lego. They are made up of two parts which both come in a wide range of colors. New combinations can help improve color schemes
CONS: This still drastically limits the amount of posing that a Minifigure can do.
The next method is…
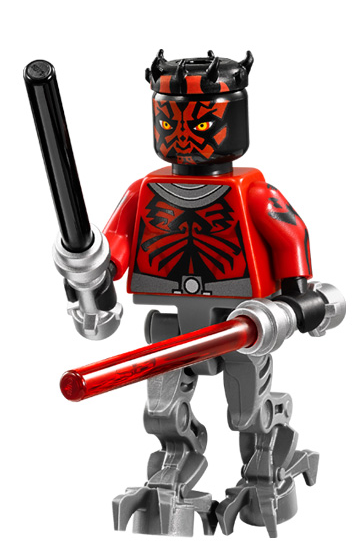
Skeleton Legs:
On the podcast, the cast members discussed the idea of using a Darth Maul hip piece on the Matoran, paired with skeleton legs. Here’s the hip piece for those who don’t know what I’m talking about:
The problem is, using this piece and skeleton legs makes a Matoran the same height as a normal Minifigure.
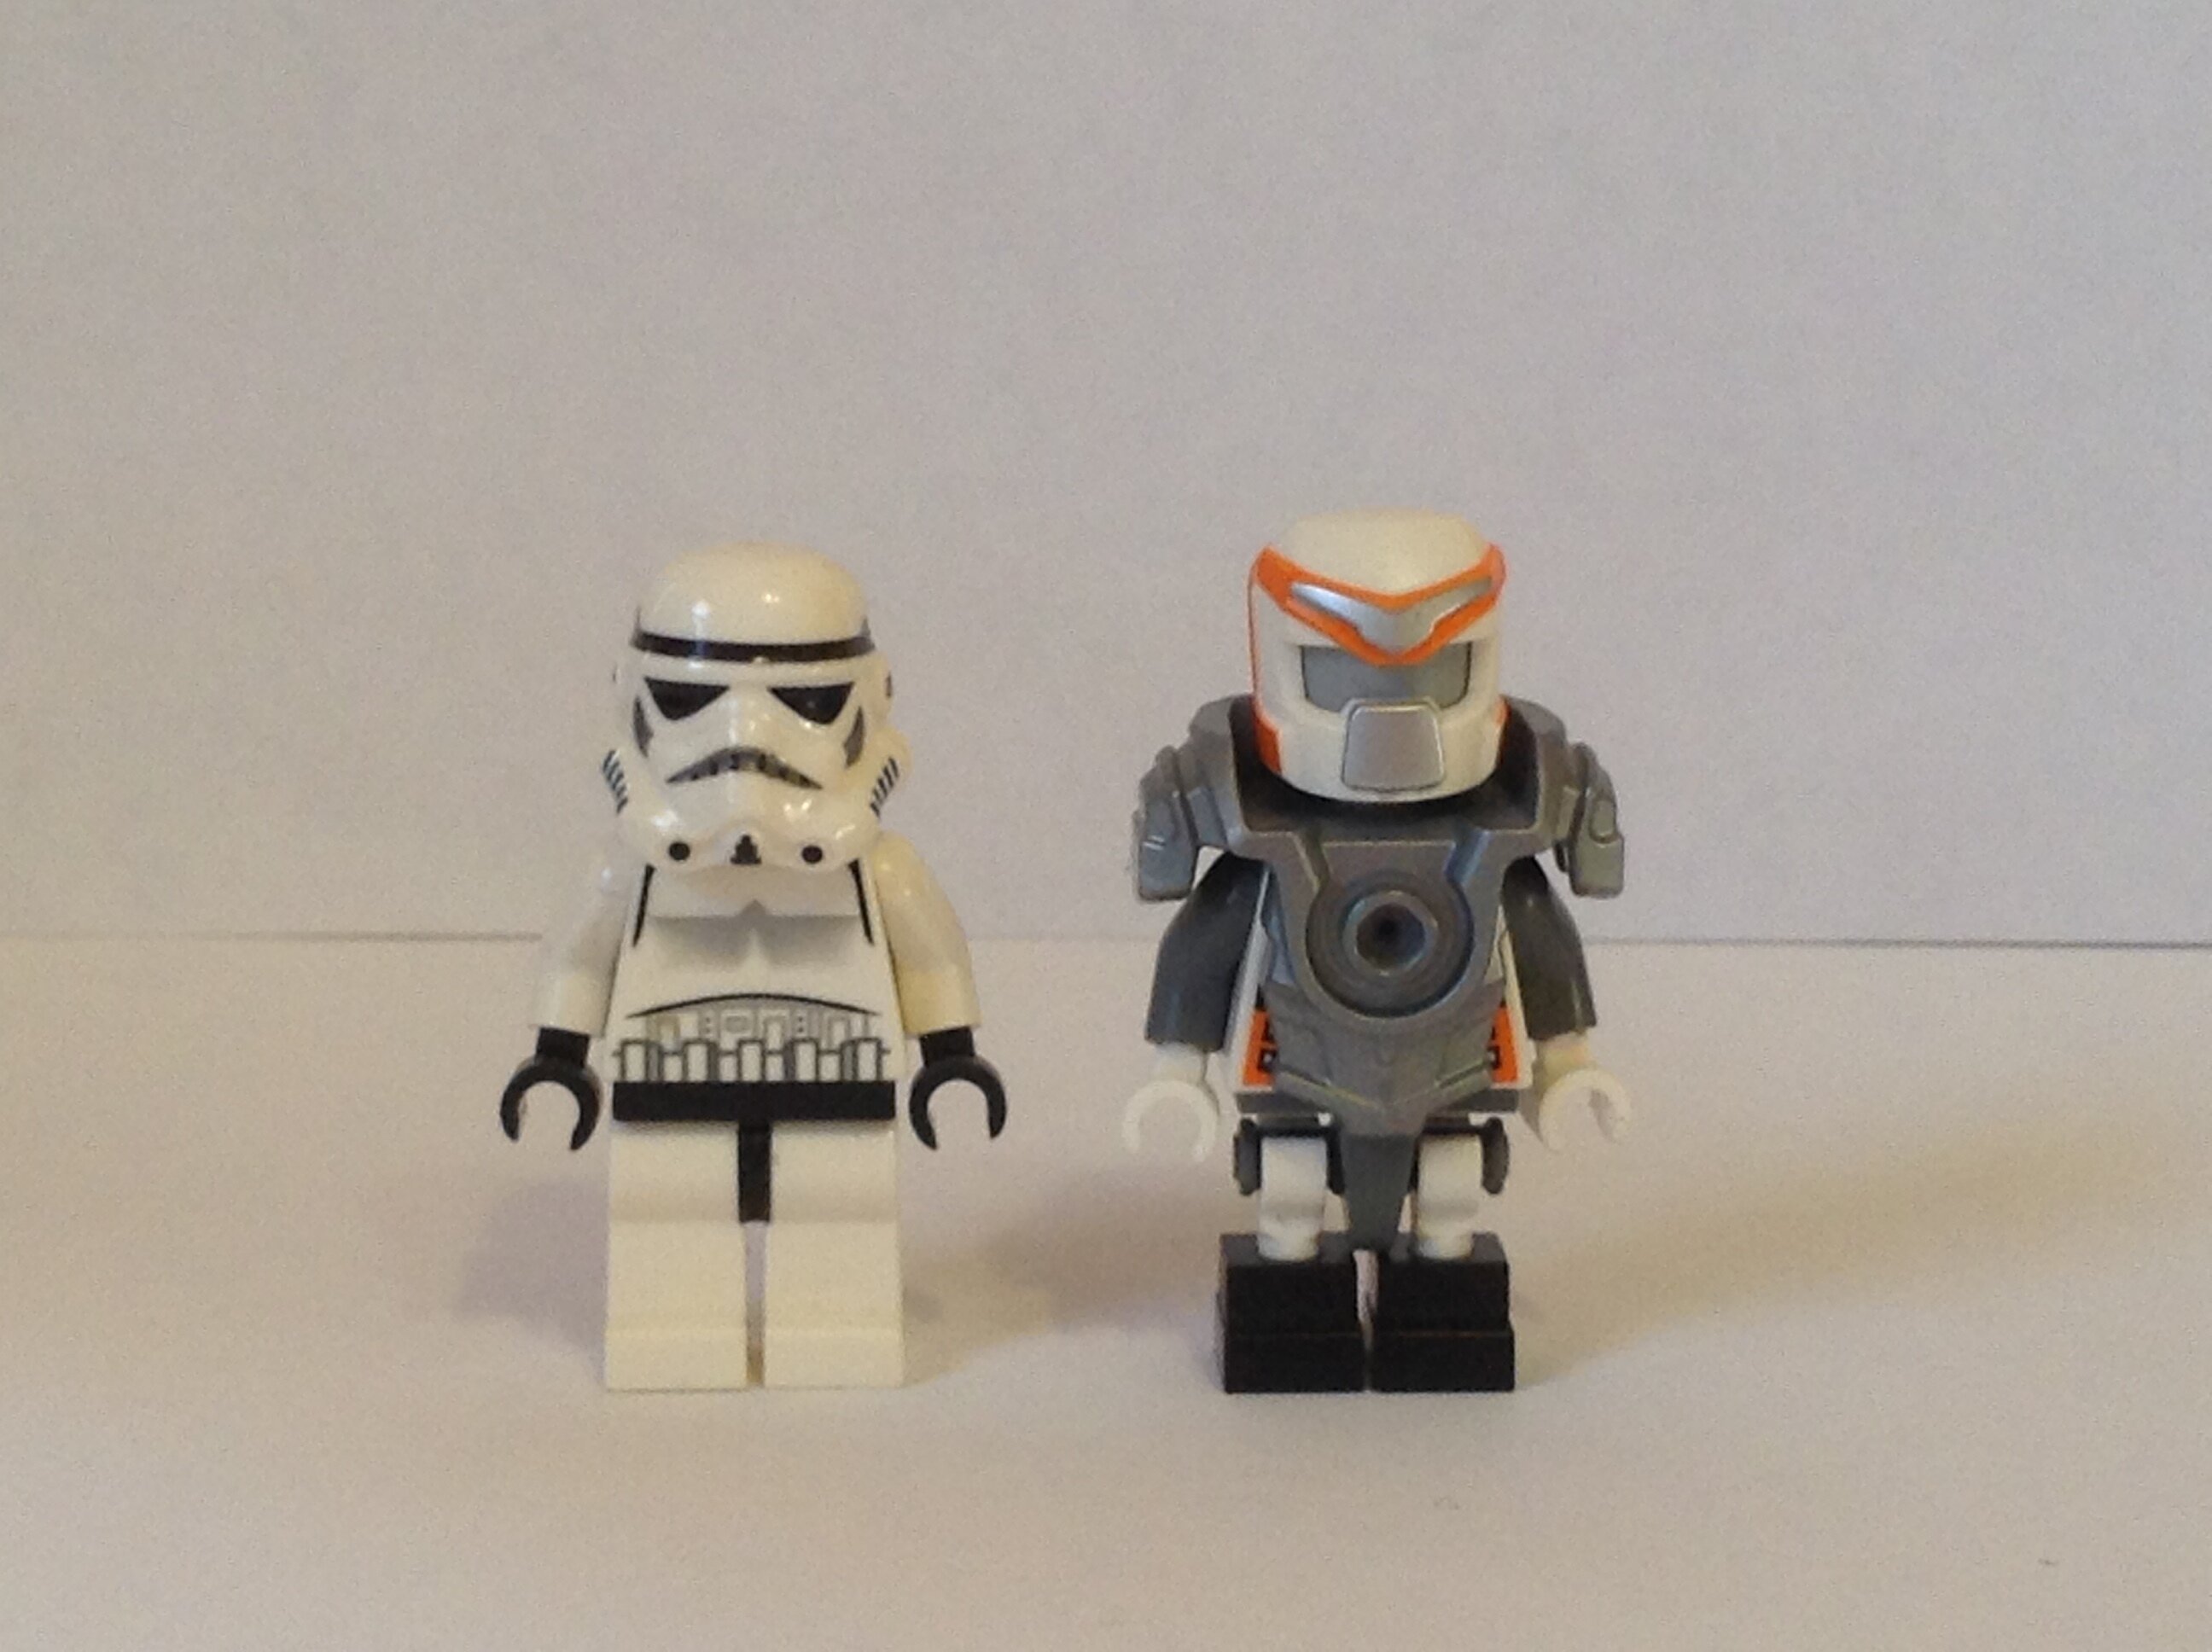
The Toa would need to be taller than a normal Minifigure.
Unfortunately, this invalidates the Minifigure designs that TTV has already deemed to be official.
PROS: These legs have the same articulation as a normal Minifigure’s legs.
CONS: They increase the necessary height of both the Matoran, and the Toa. They also look kind of awkward on a normal minifig.
I’ve created a custom design that solves the height issue. It requires some minor modification though.
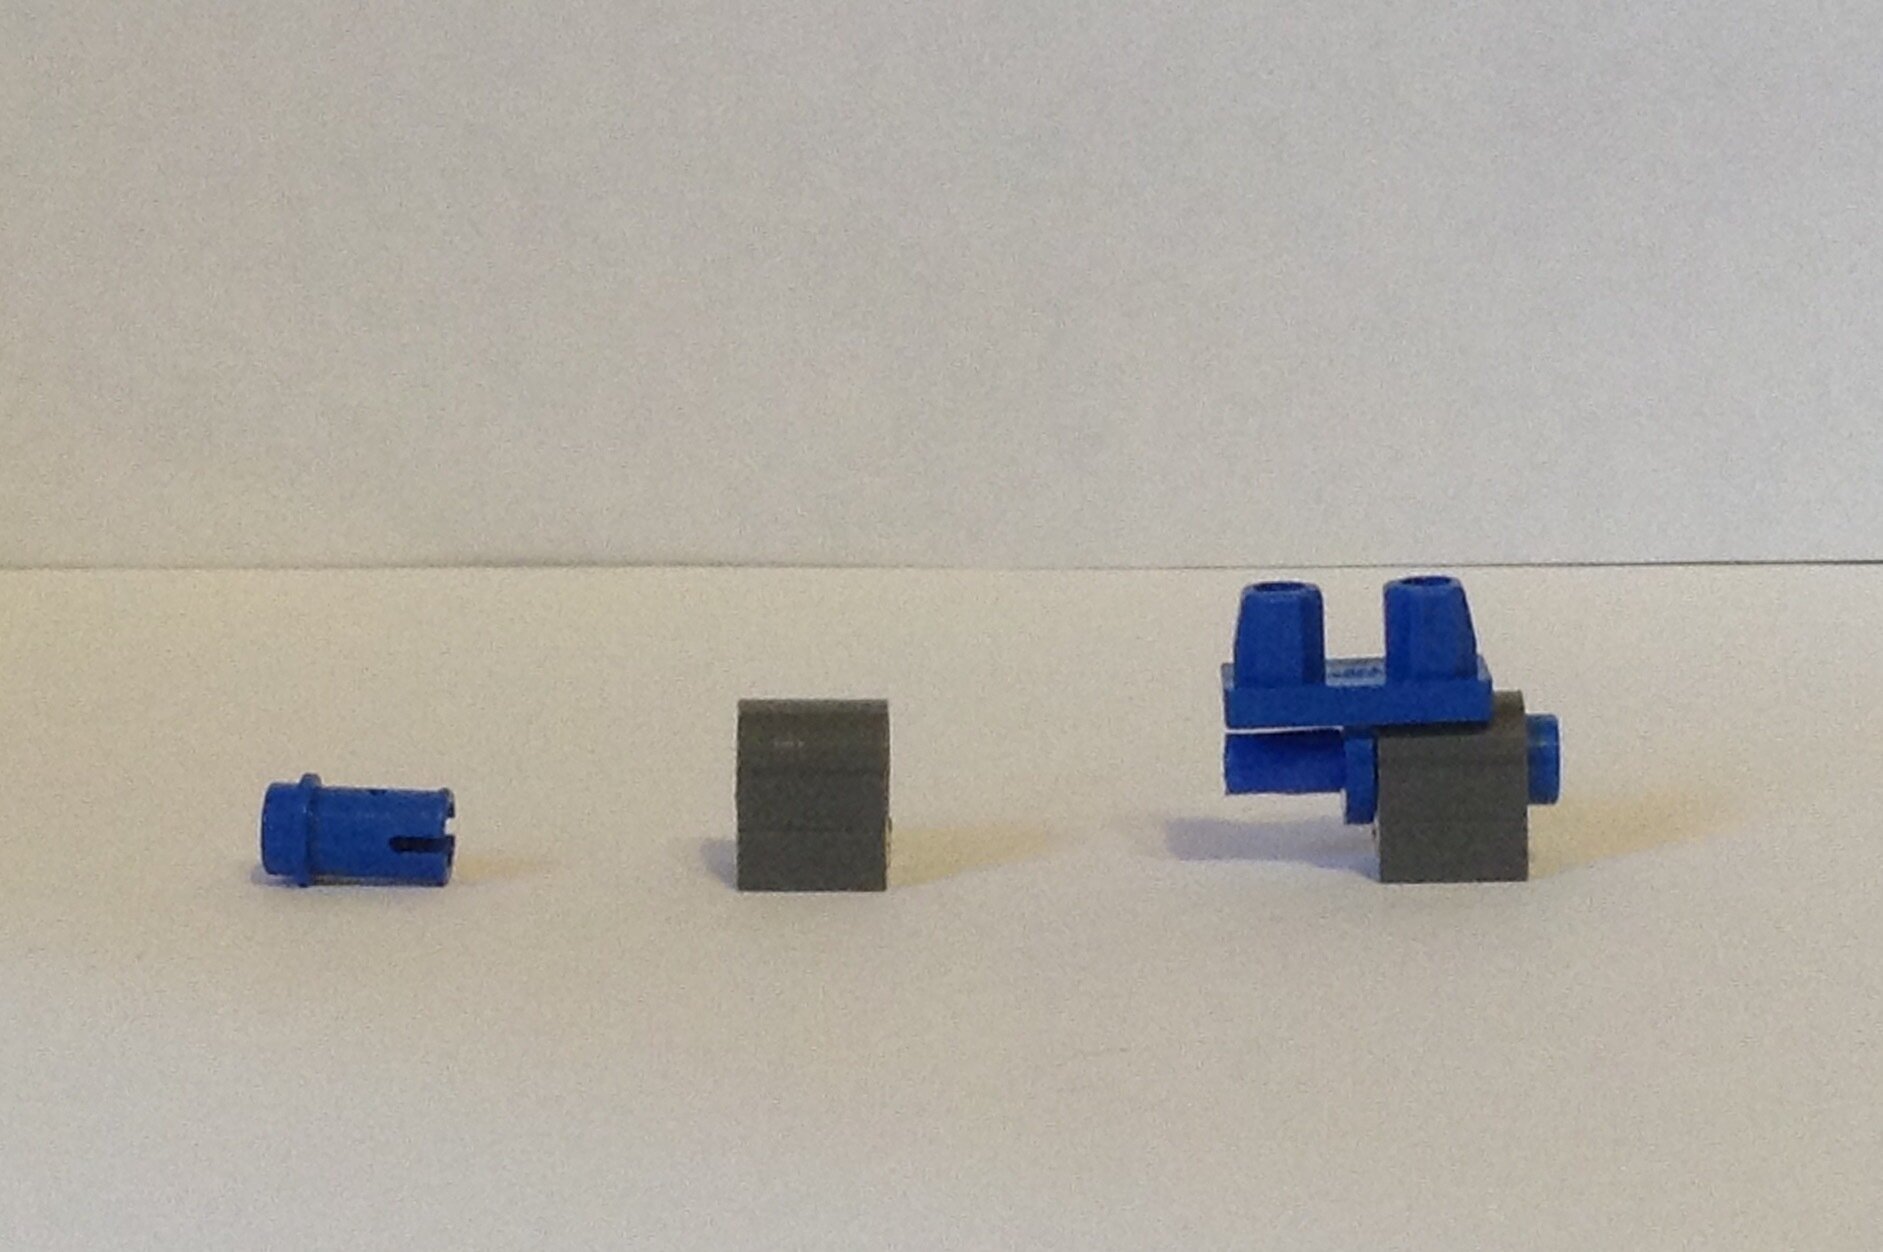
Start with a regular hip piece and a Lego tube. Cut off two small pieces of the tube to fit on the ends of the hip. If you’re the type to shout blasphemy at the thought of Lego being cut, don’t worry! Lego tubes are meant to be cut. Some set instructions even require you to cut them yourself to complete the set.
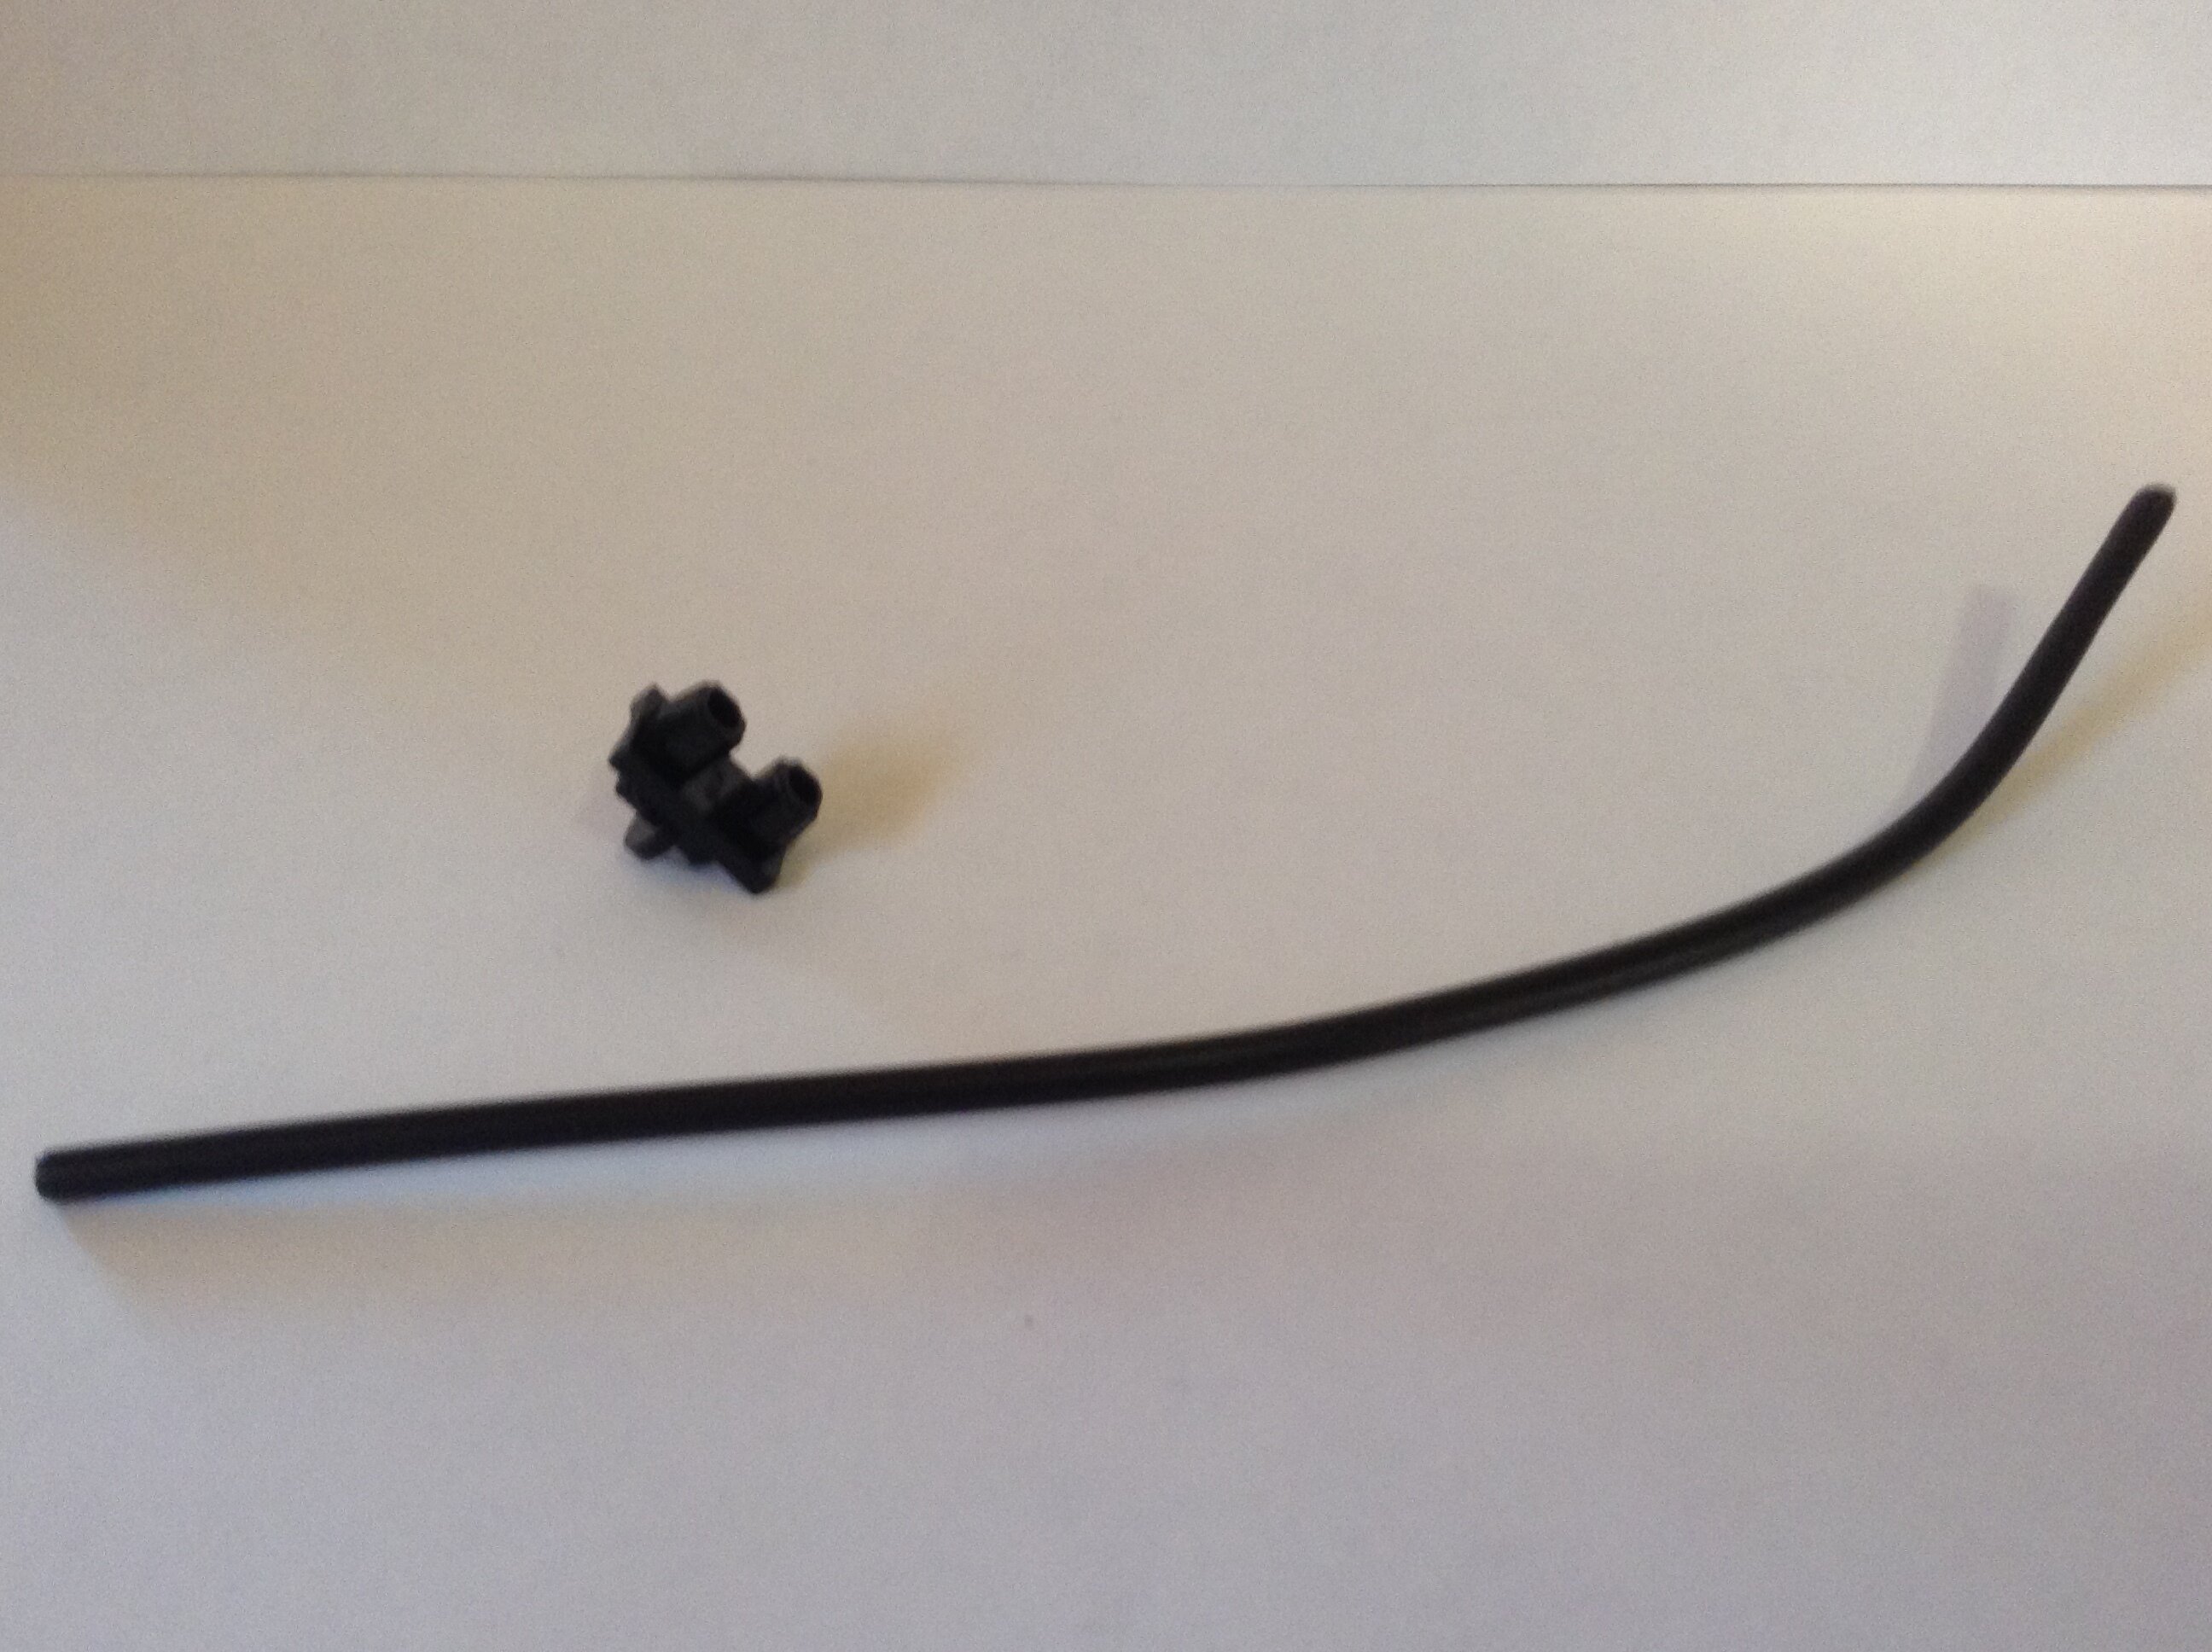
The finished product should look something like this example:
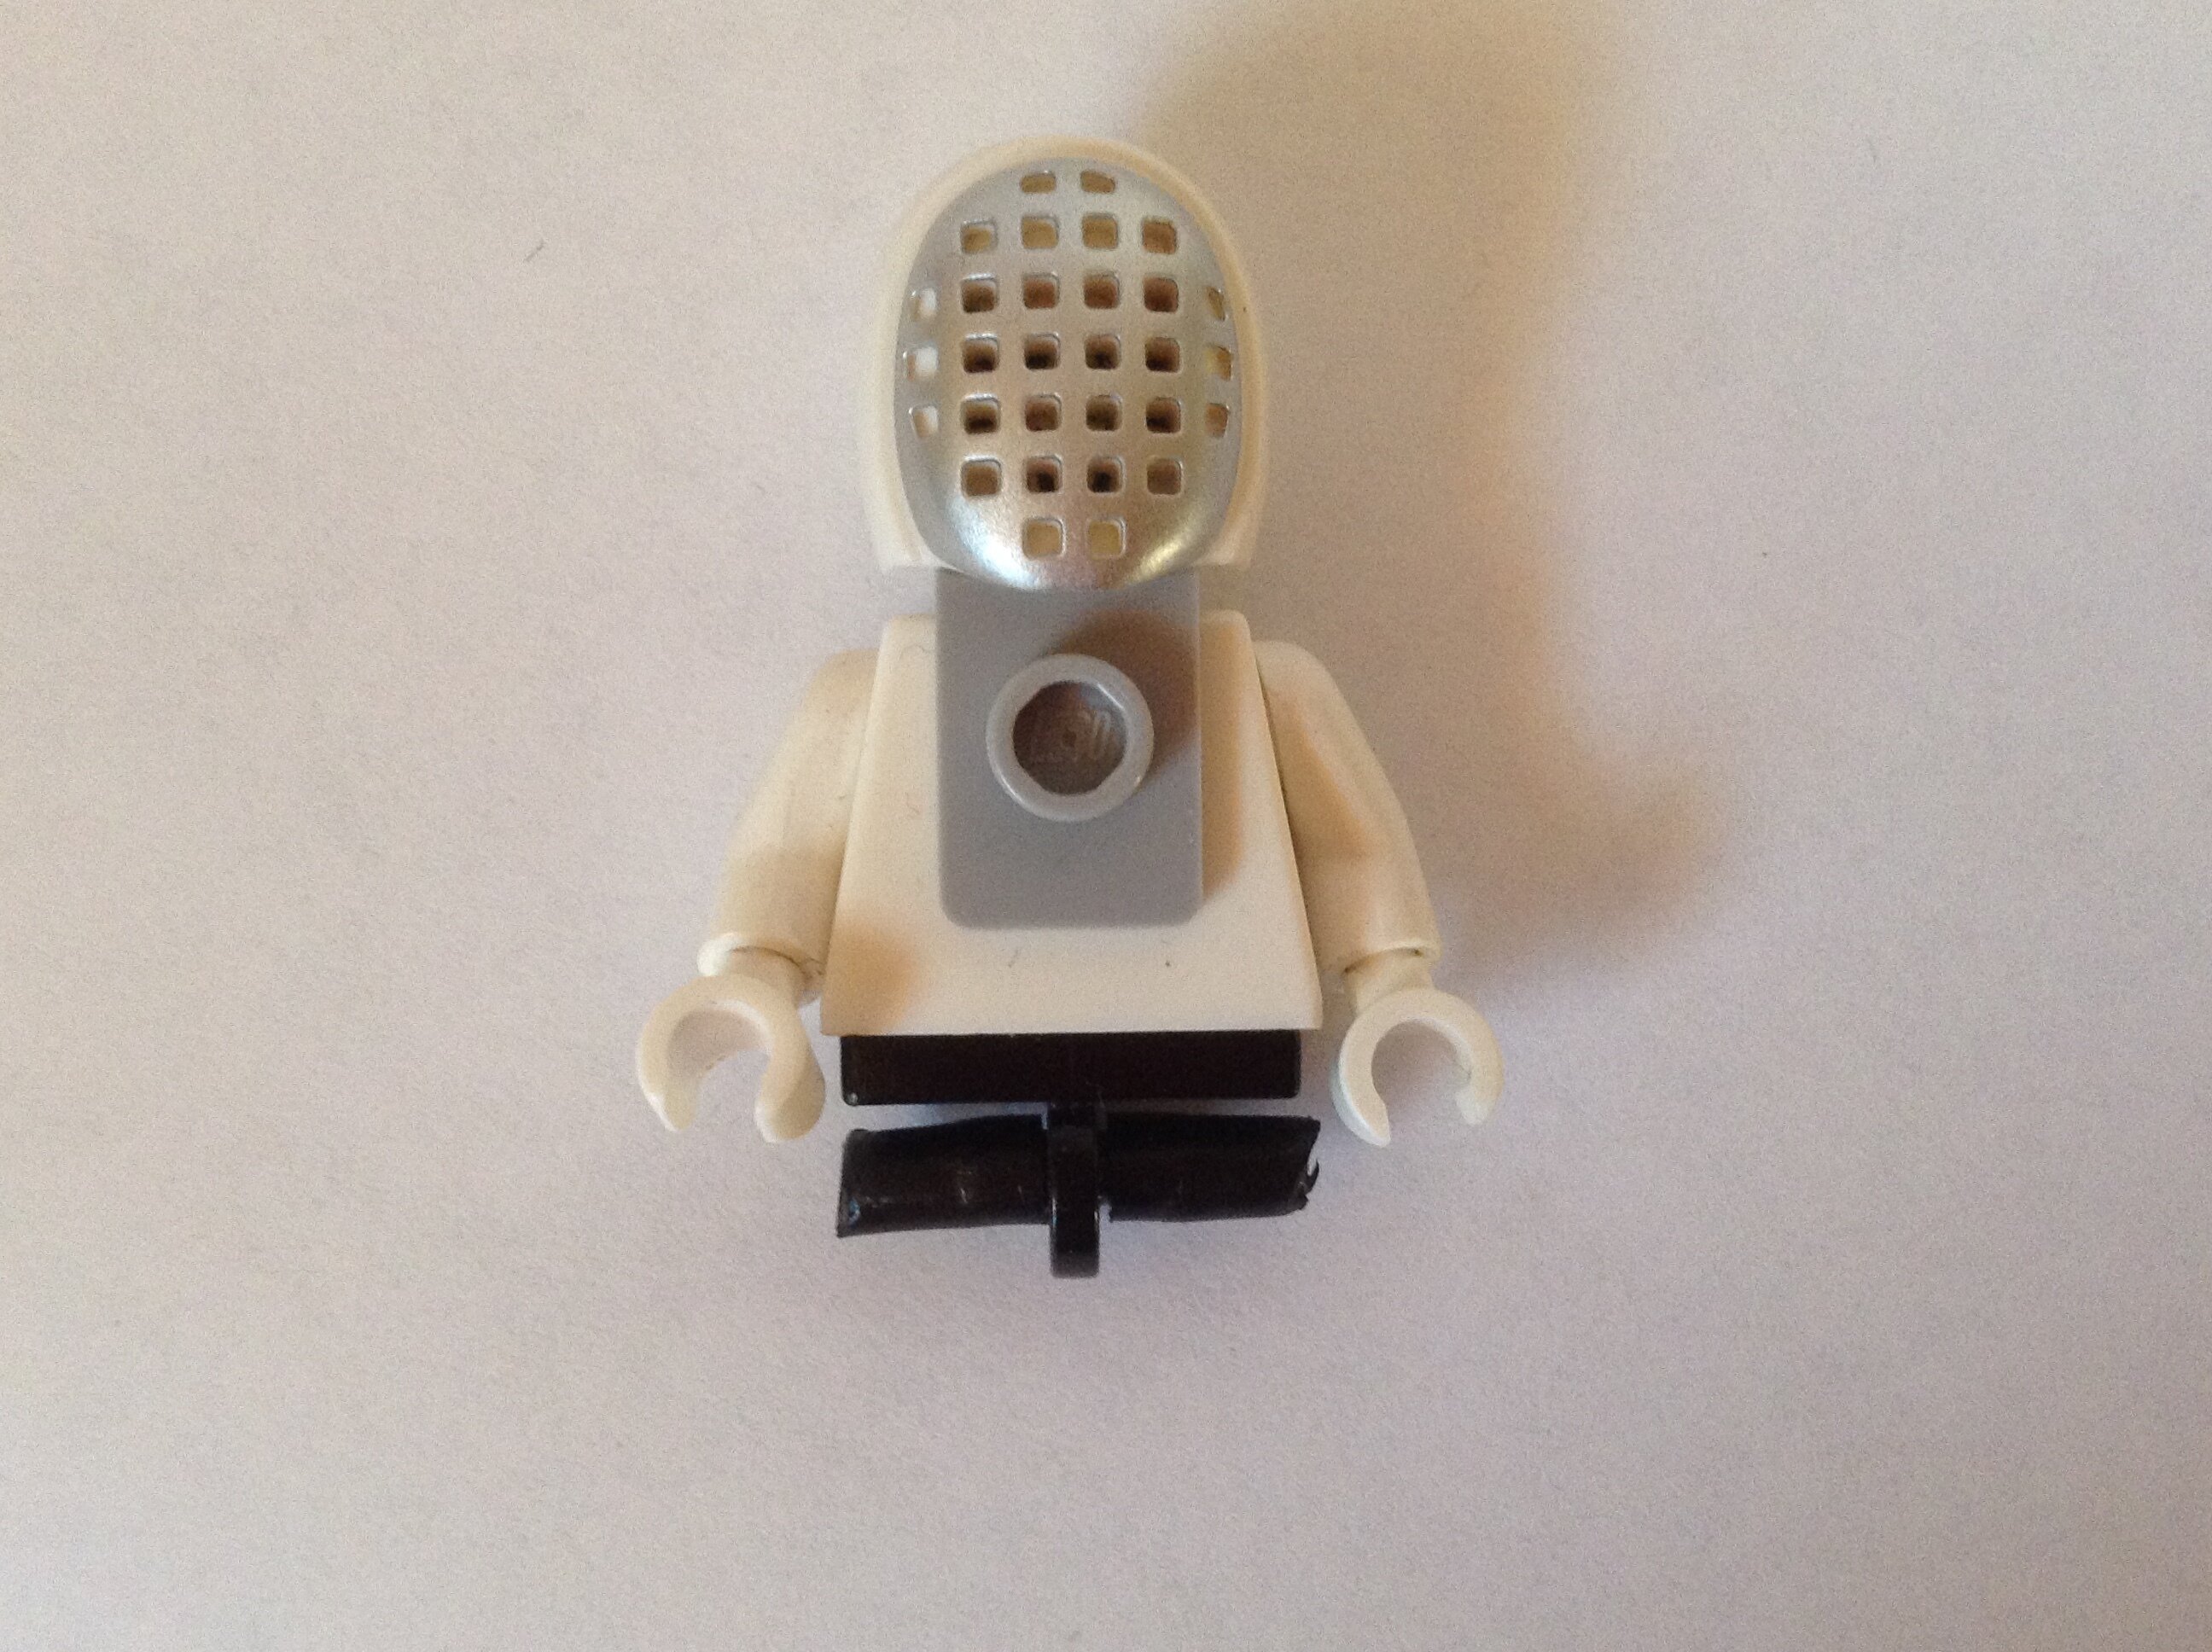
Now add two 1x1 clip pieces. These clips will act as legs for the Matoran. The clip pieces are shorter than the skeleton legs. Unfortunately, they don’t fit on the Darth Maul hip, which is why I had to make this custom one.
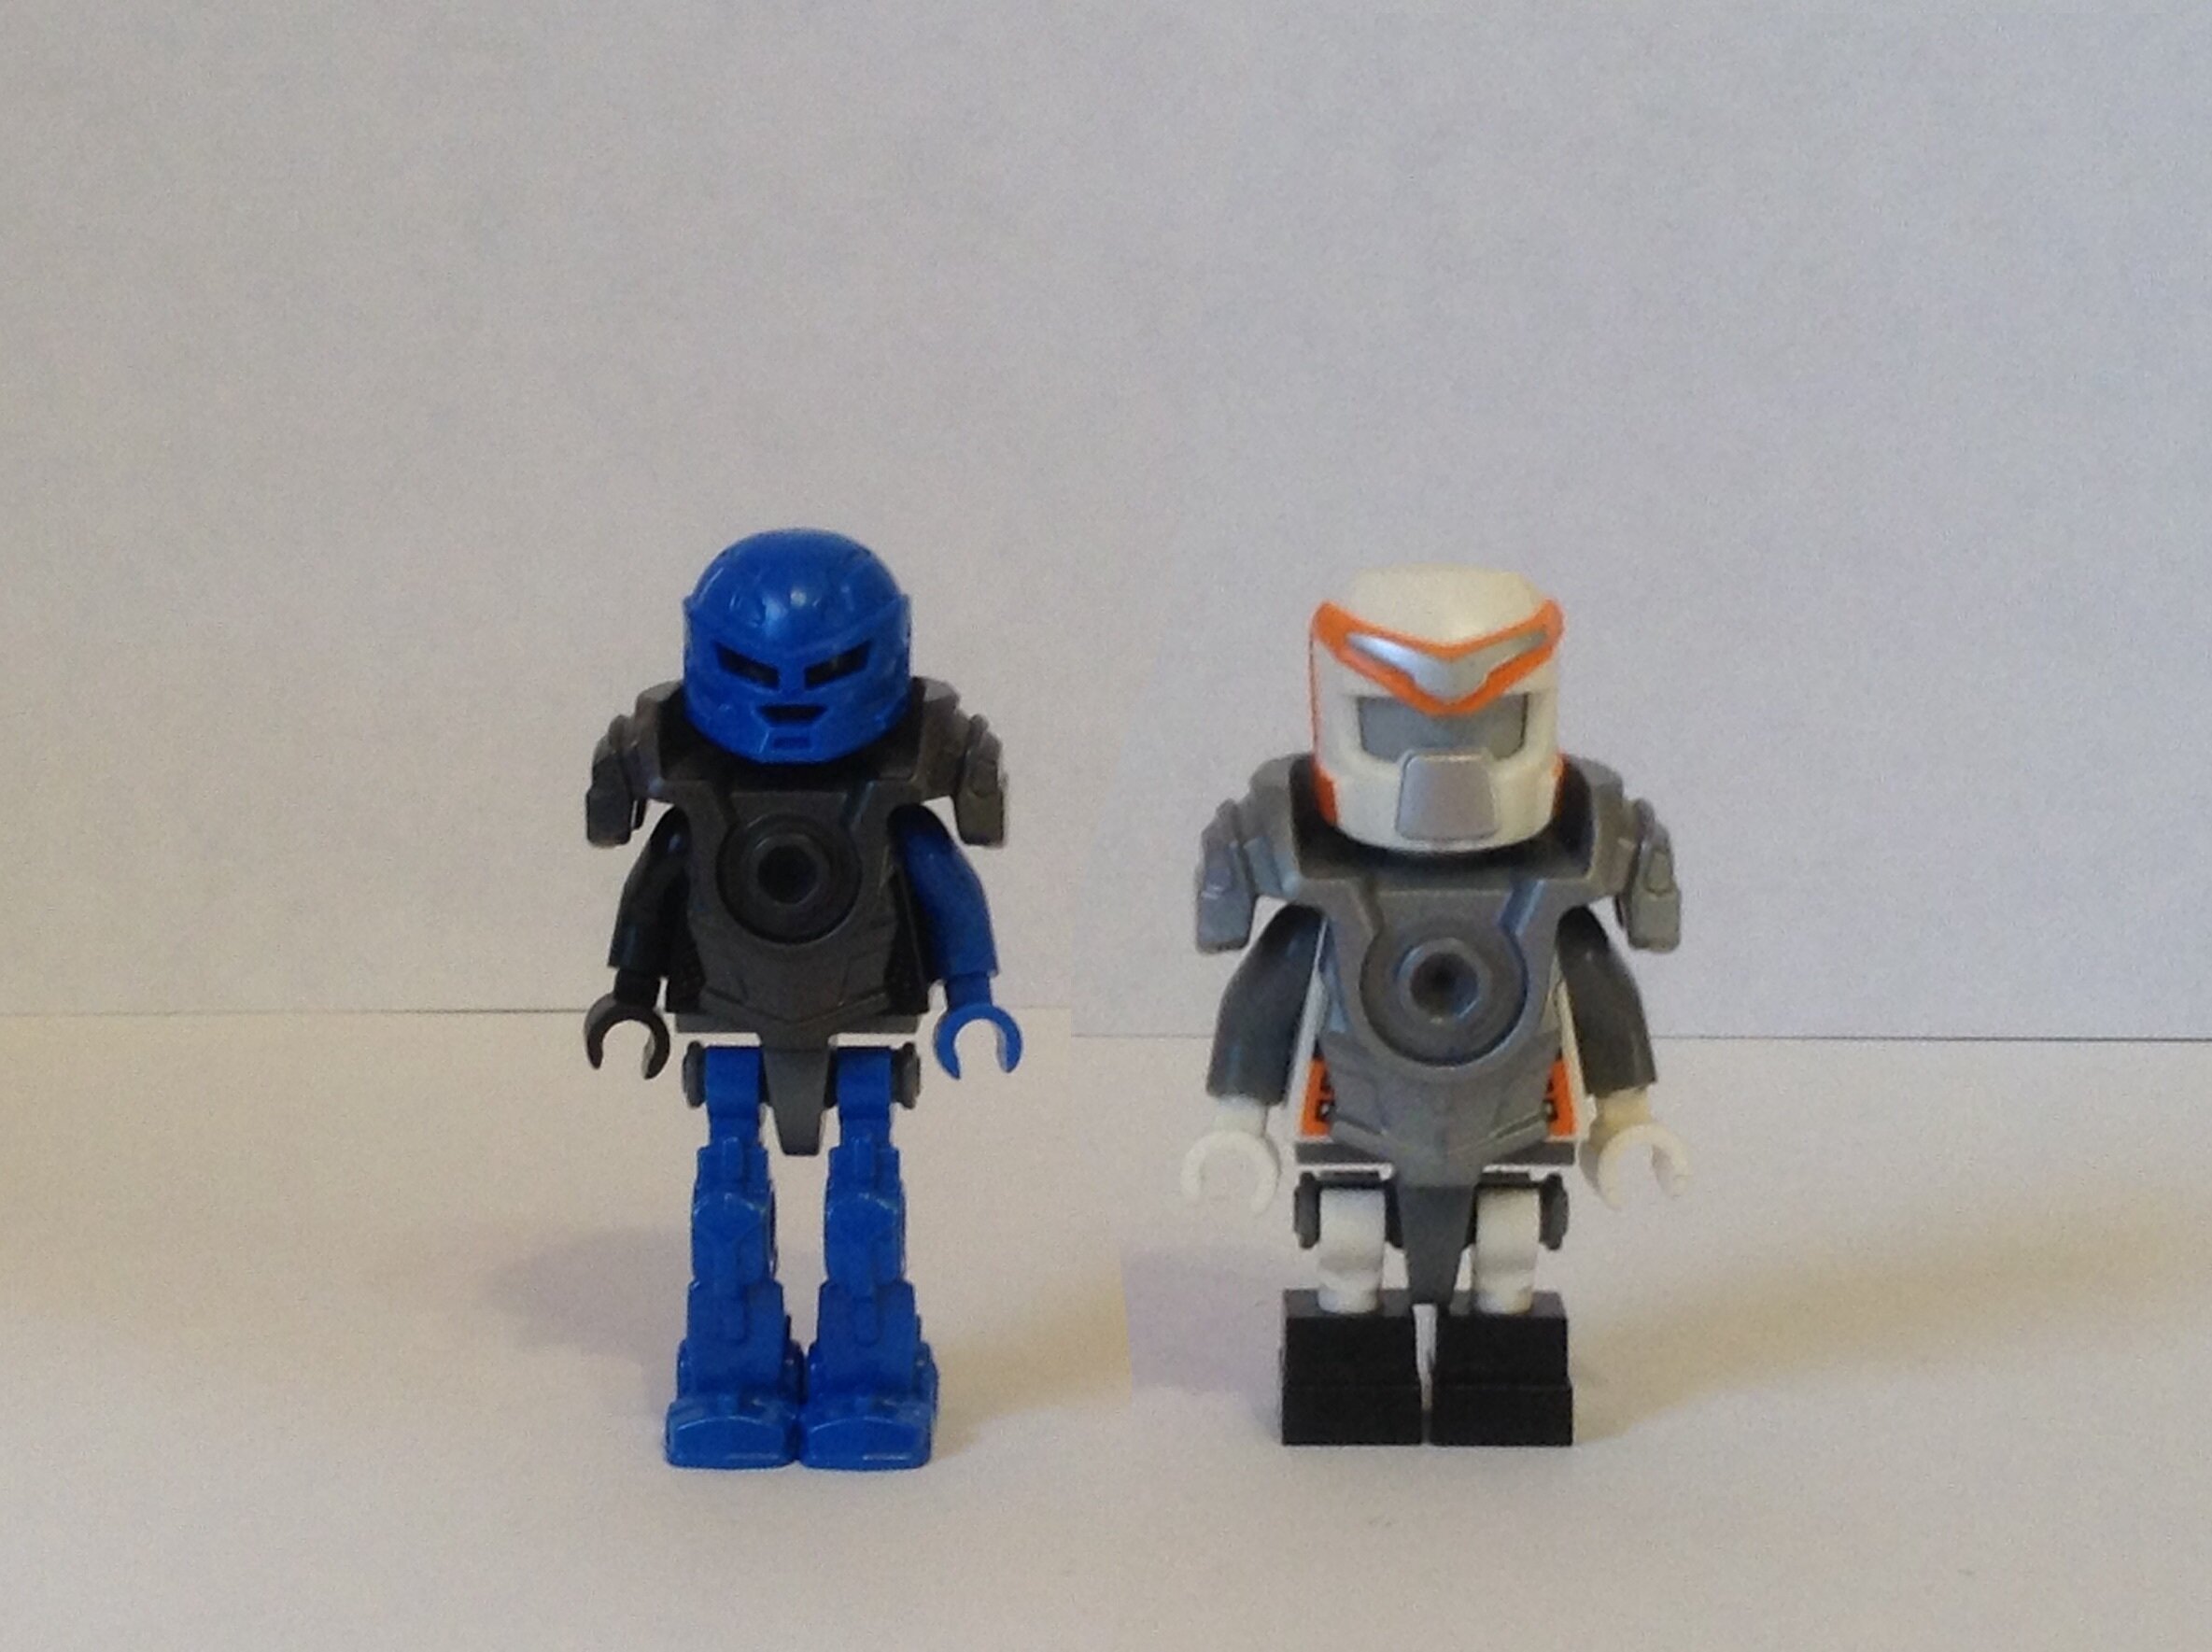
Matoran with this leg design are shorter than both a regular minifig and a Matoran with skeleton legs.
PROS: These legs offer the same articulation as the previous design, while maintaining the height of a regular short Minifigure.
CONS: Making this design requires minor cutting of Lego parts, and has the same issue as the previous design in that it looks unnatural on a Minifig.
The third and final design has the same articulation as these designs, while looking closer to a regular leg.
Faux Mini Legs:
These legs look closer to actual minifig legs but they’re easier to make than other mini leg options that people have made.
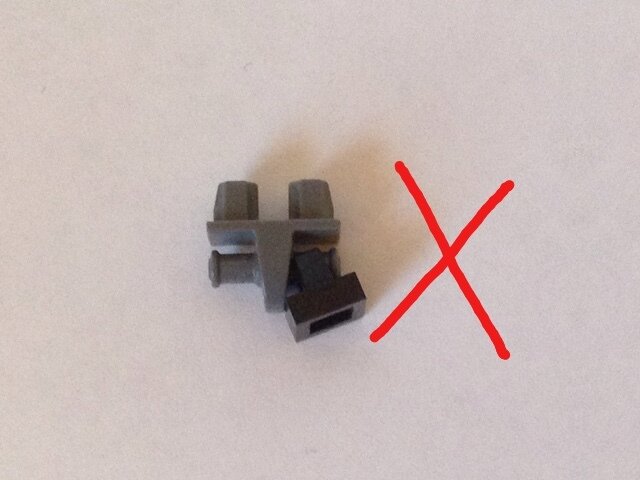
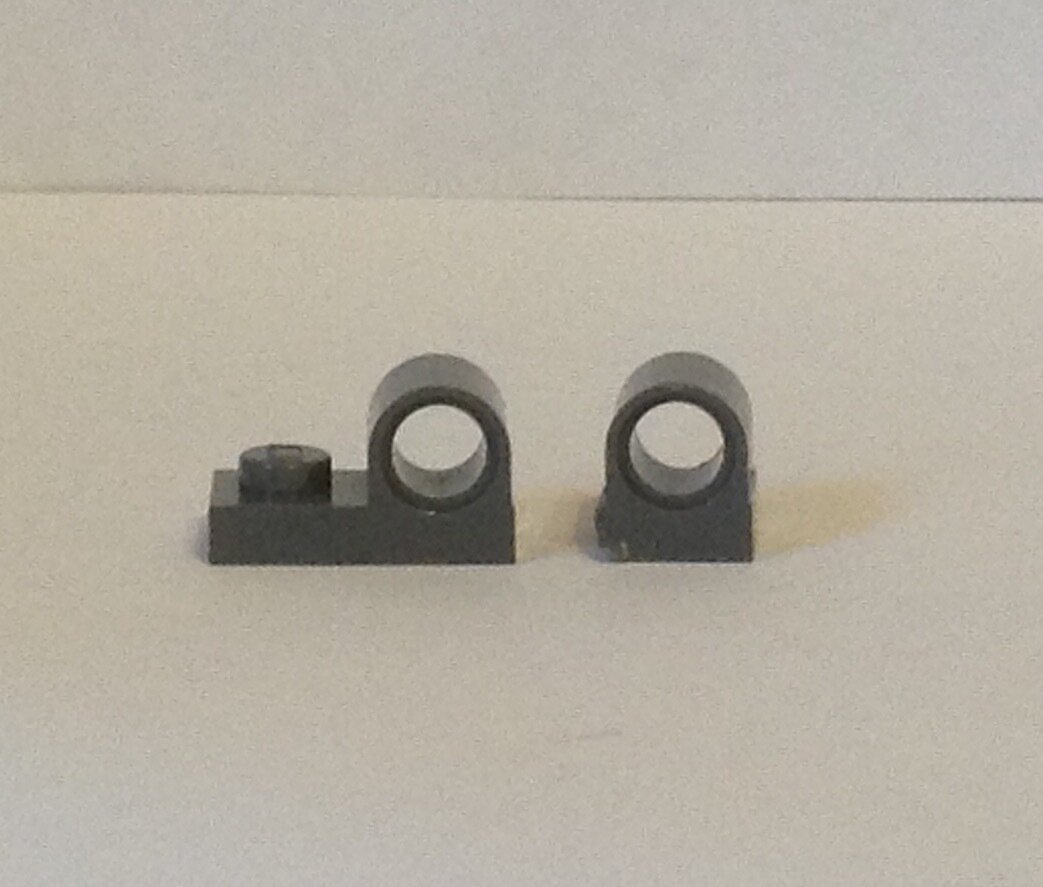
To make these legs, start with the same base as the previous design. A hip and tubing. Then get two of this piece:
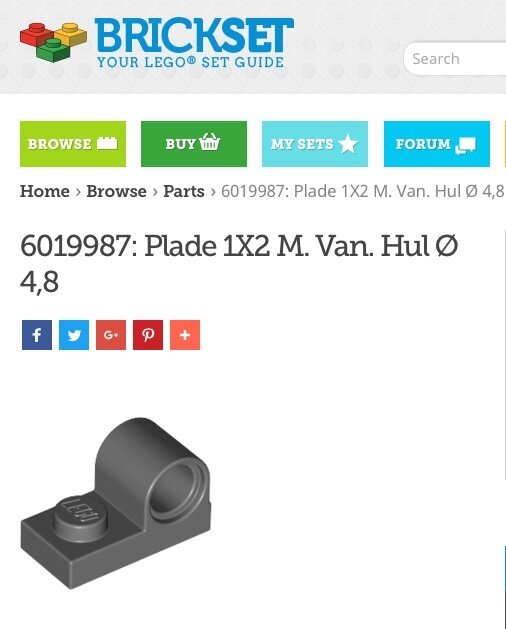
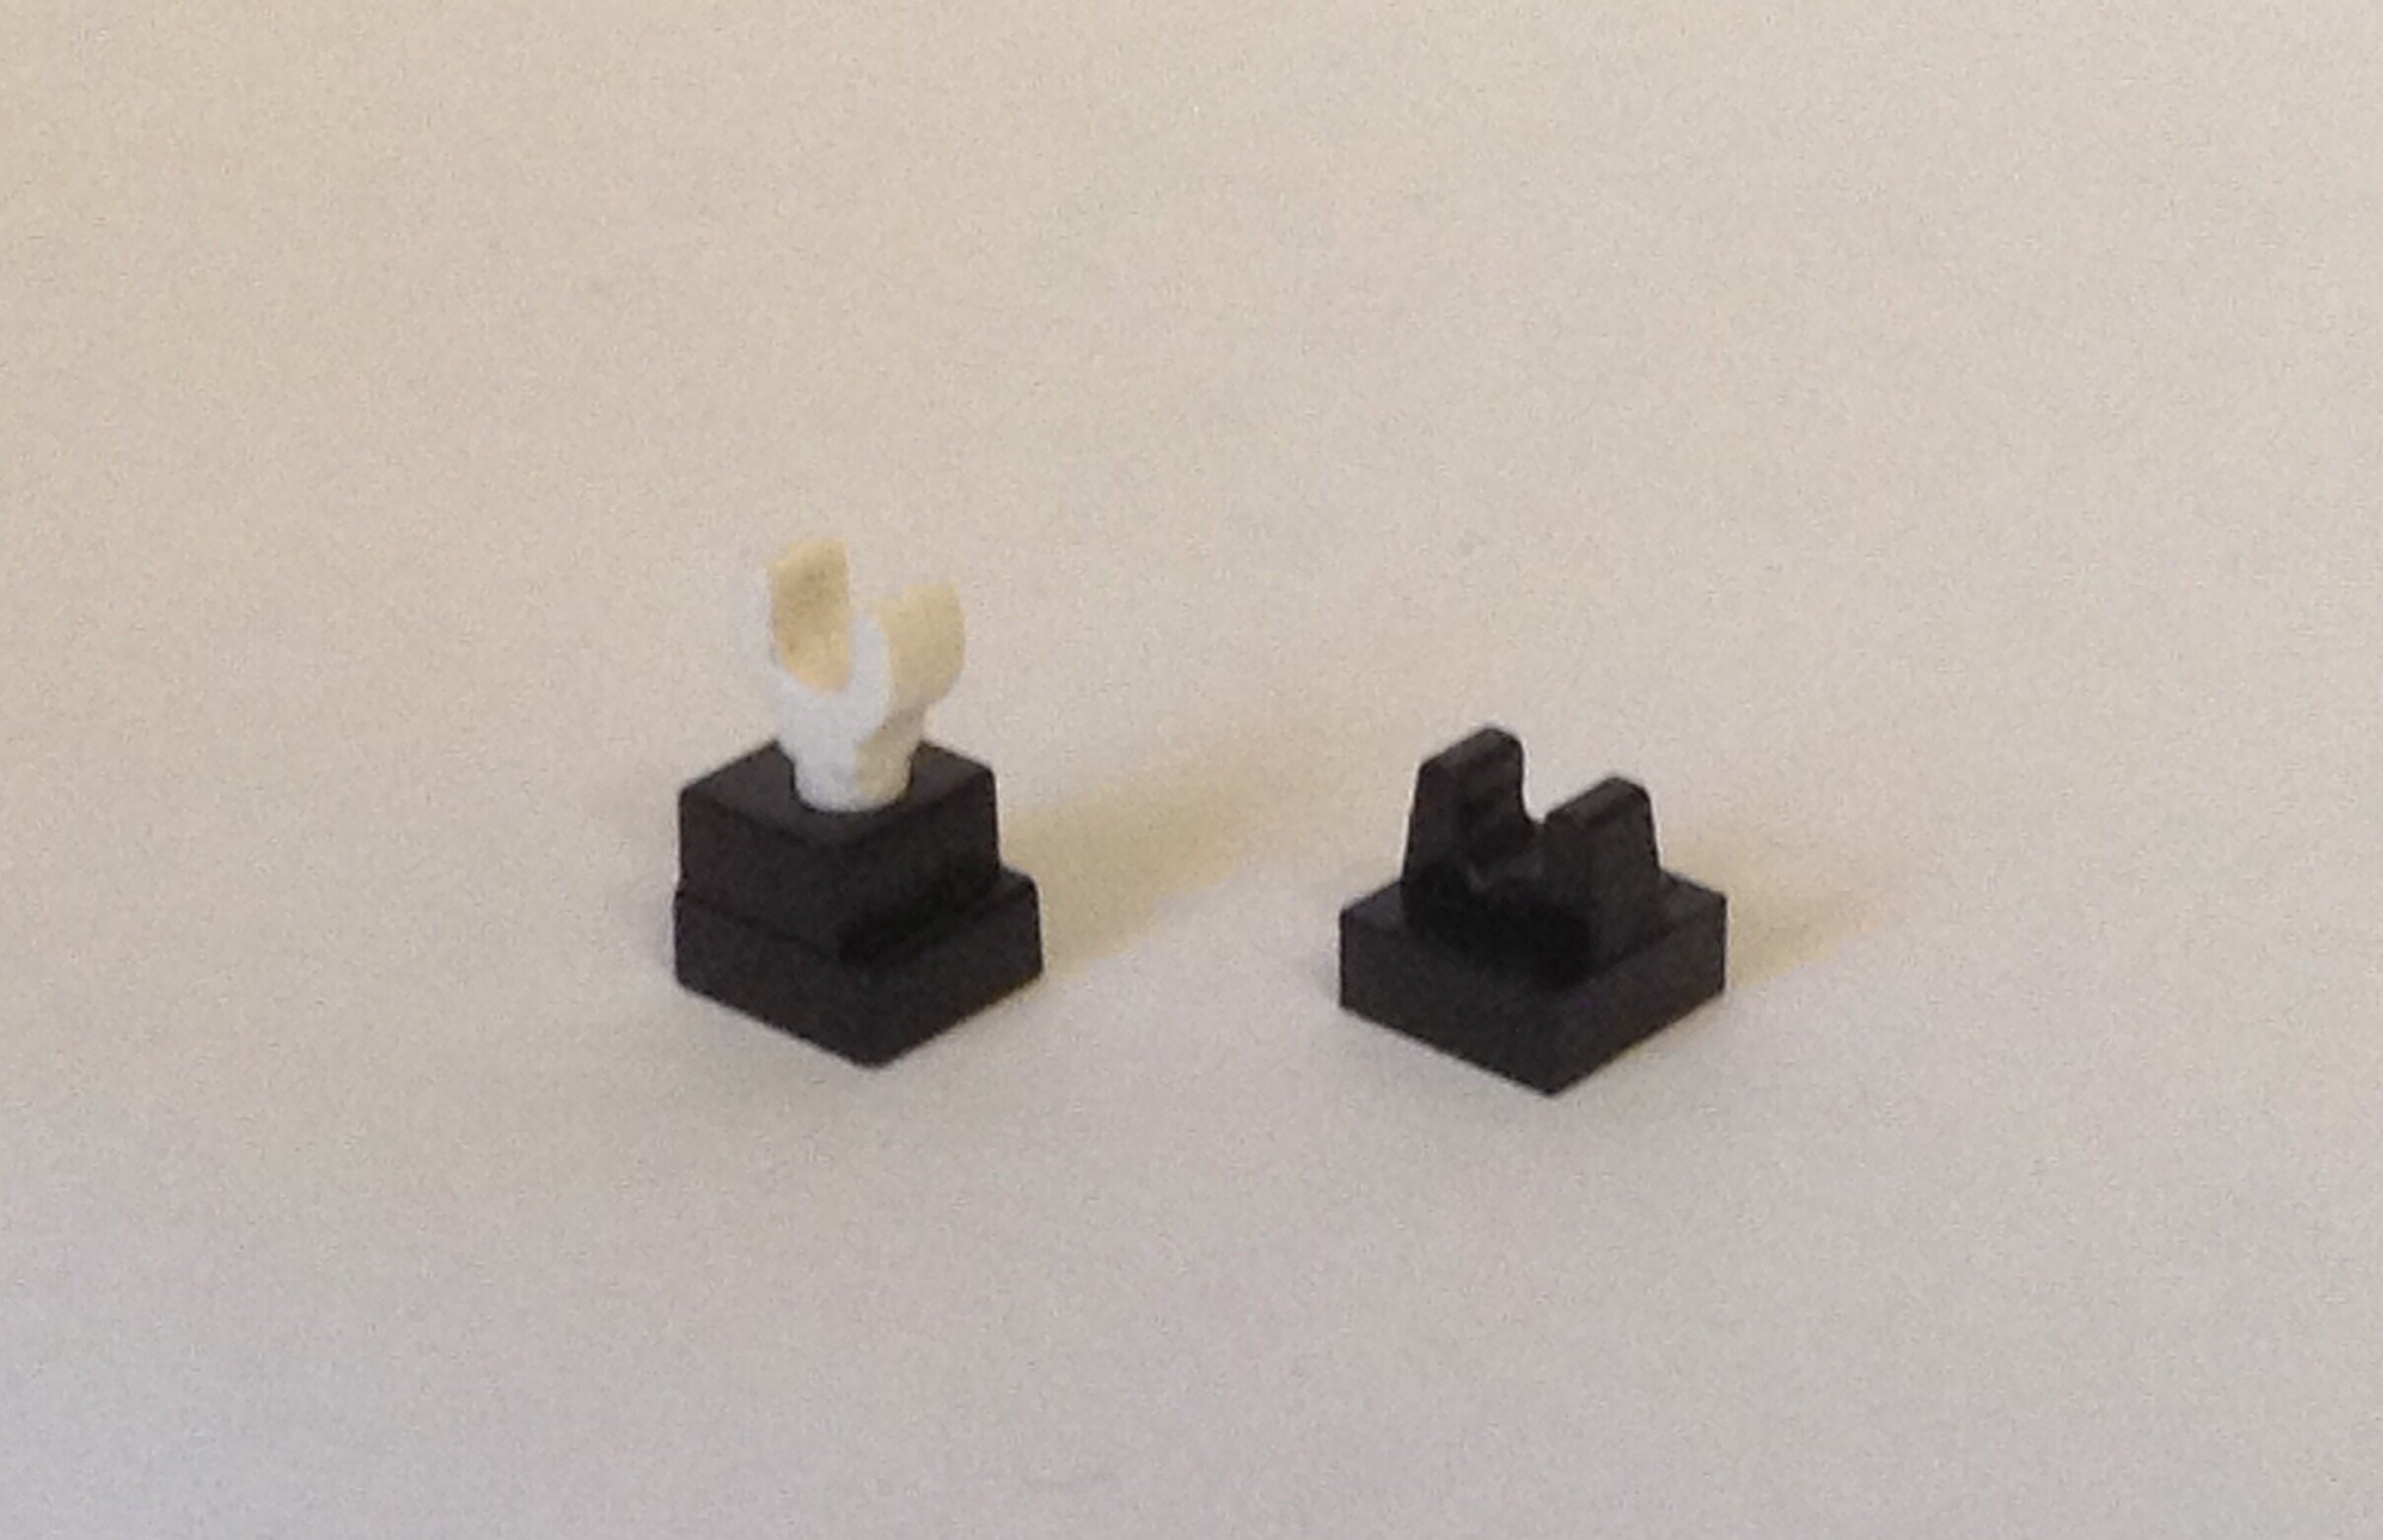
Cut, bend, or twist off the left side of this piece so it looks like the part on the right:
Then put a half pin through the hole, and attach it to the hip/tube combo from earlier.
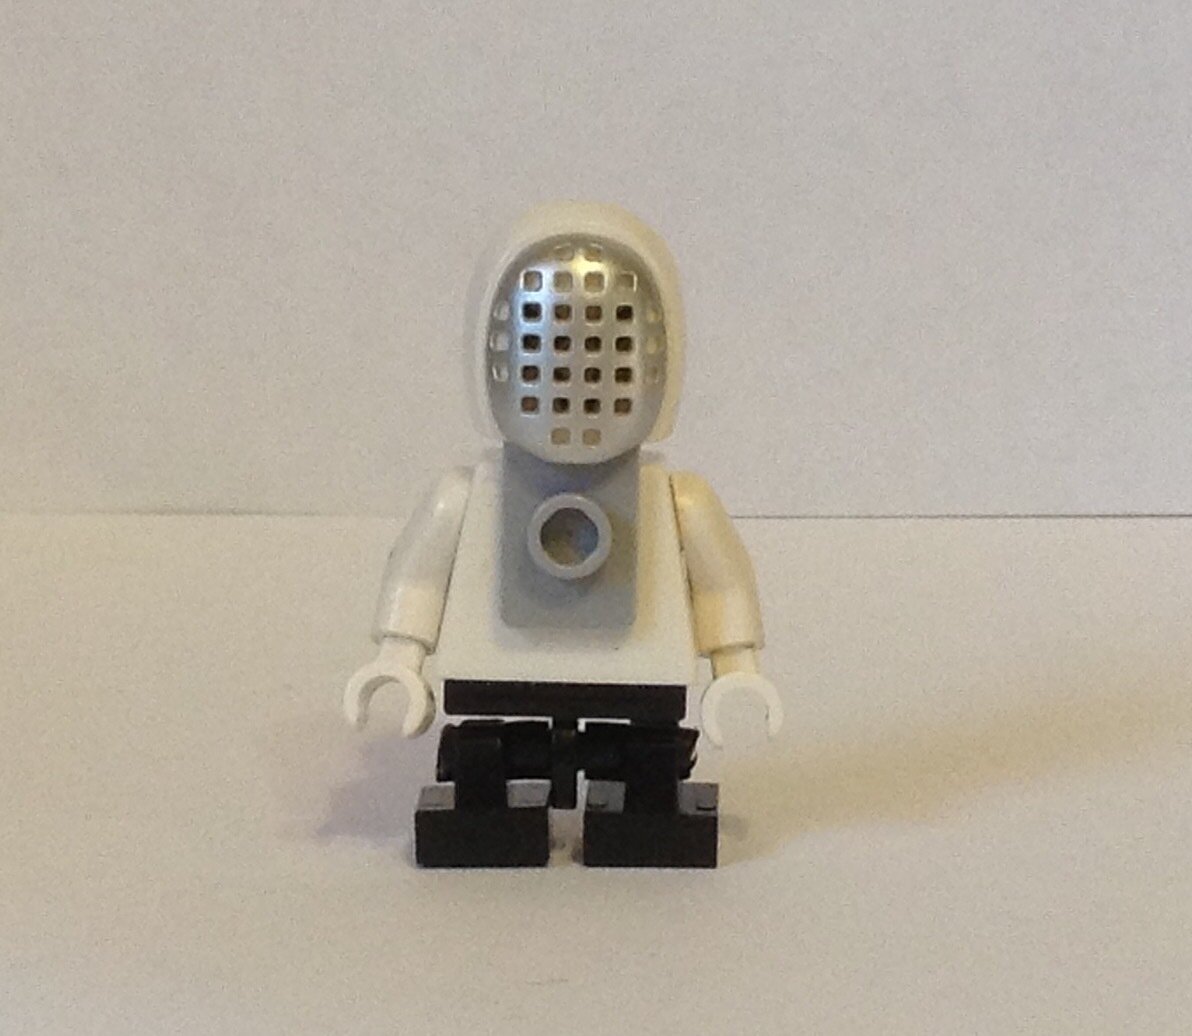
Here is the end result:
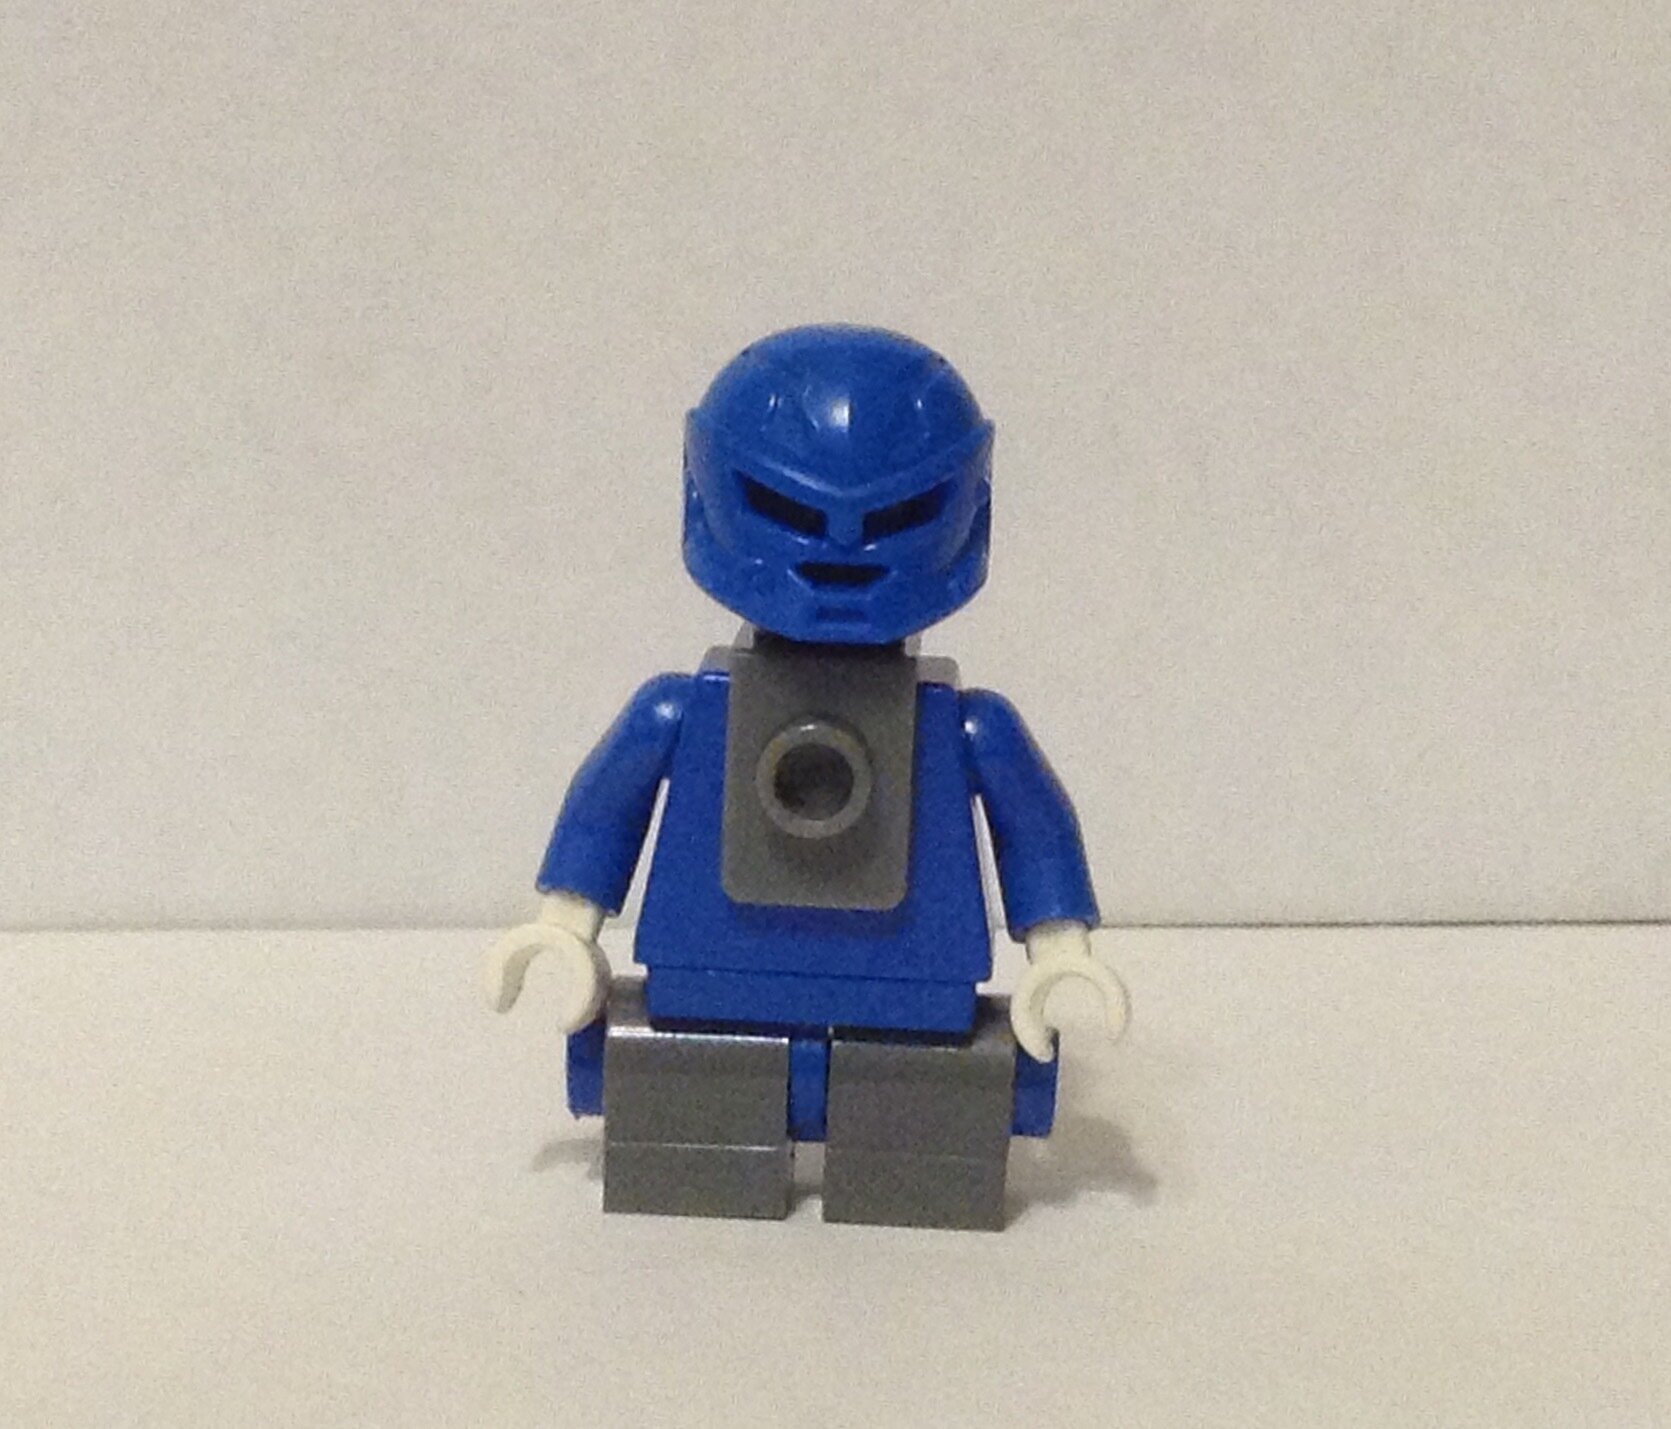
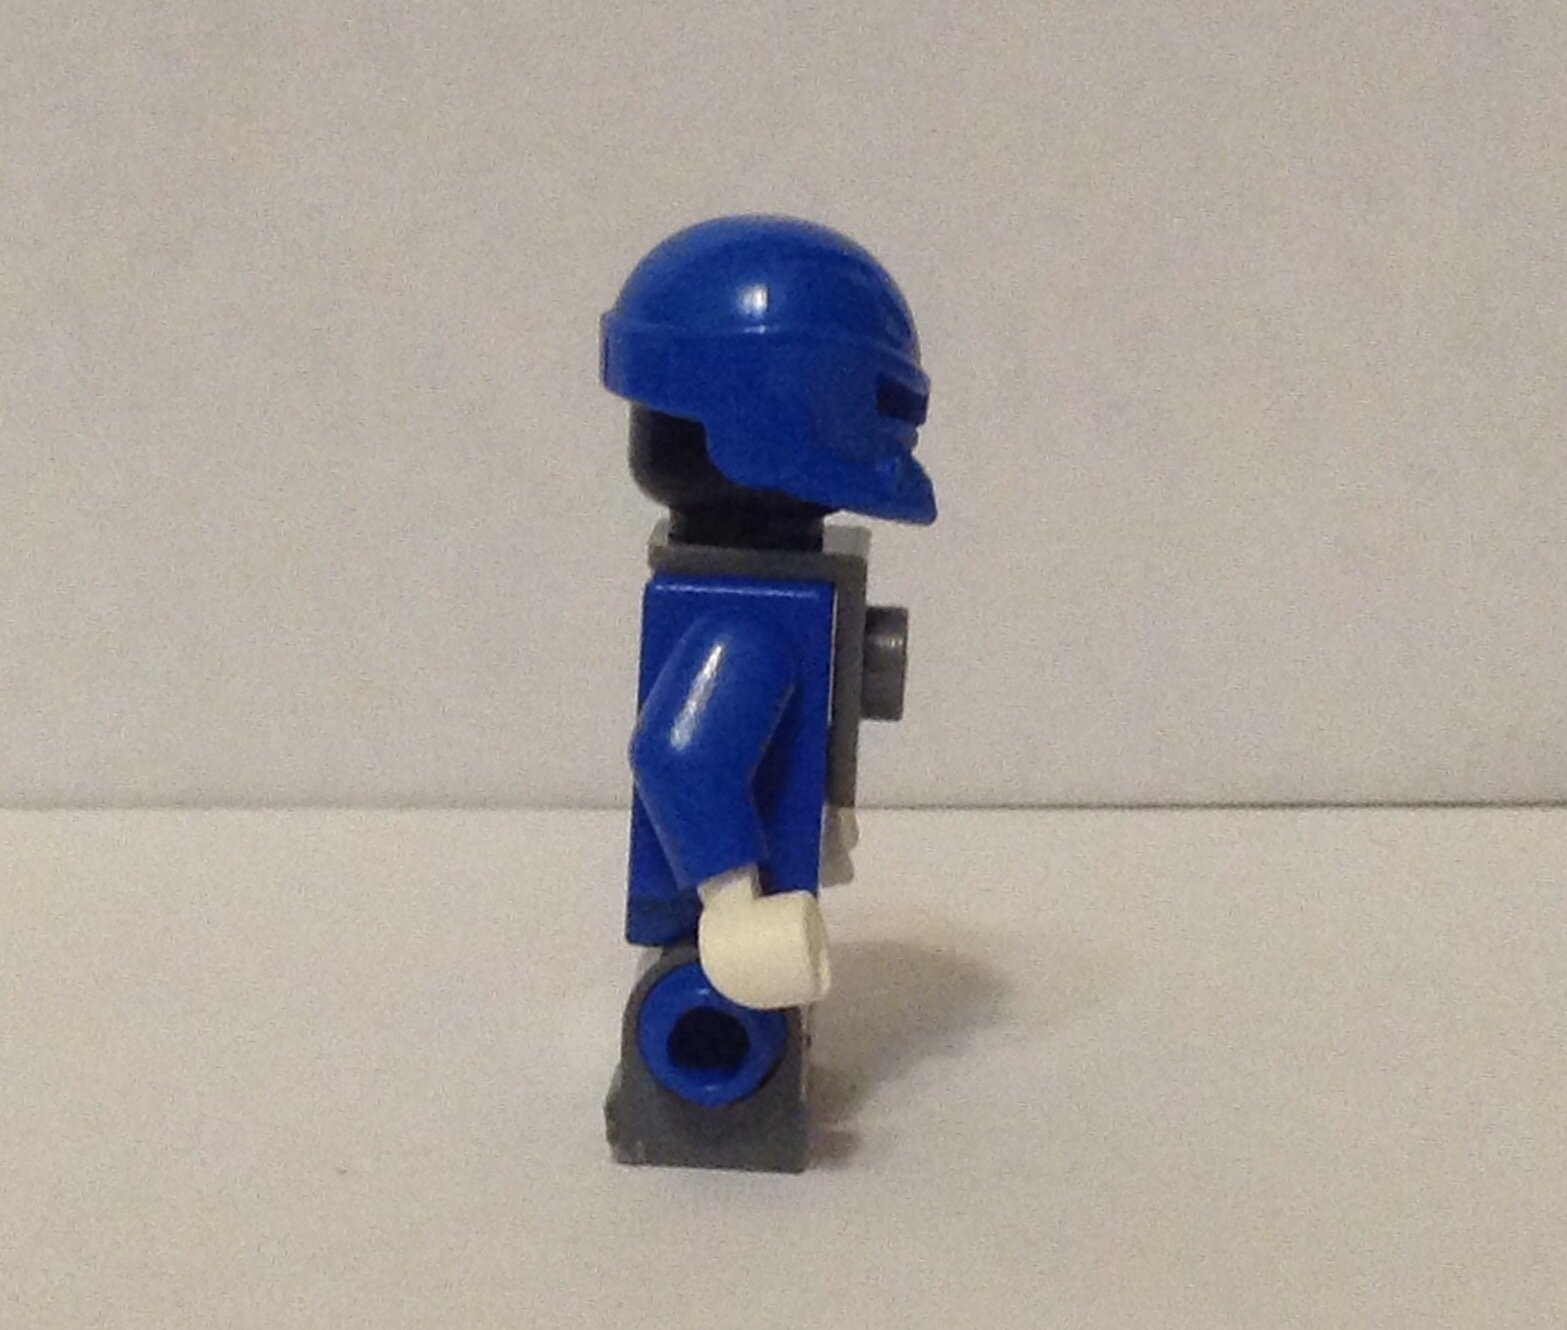

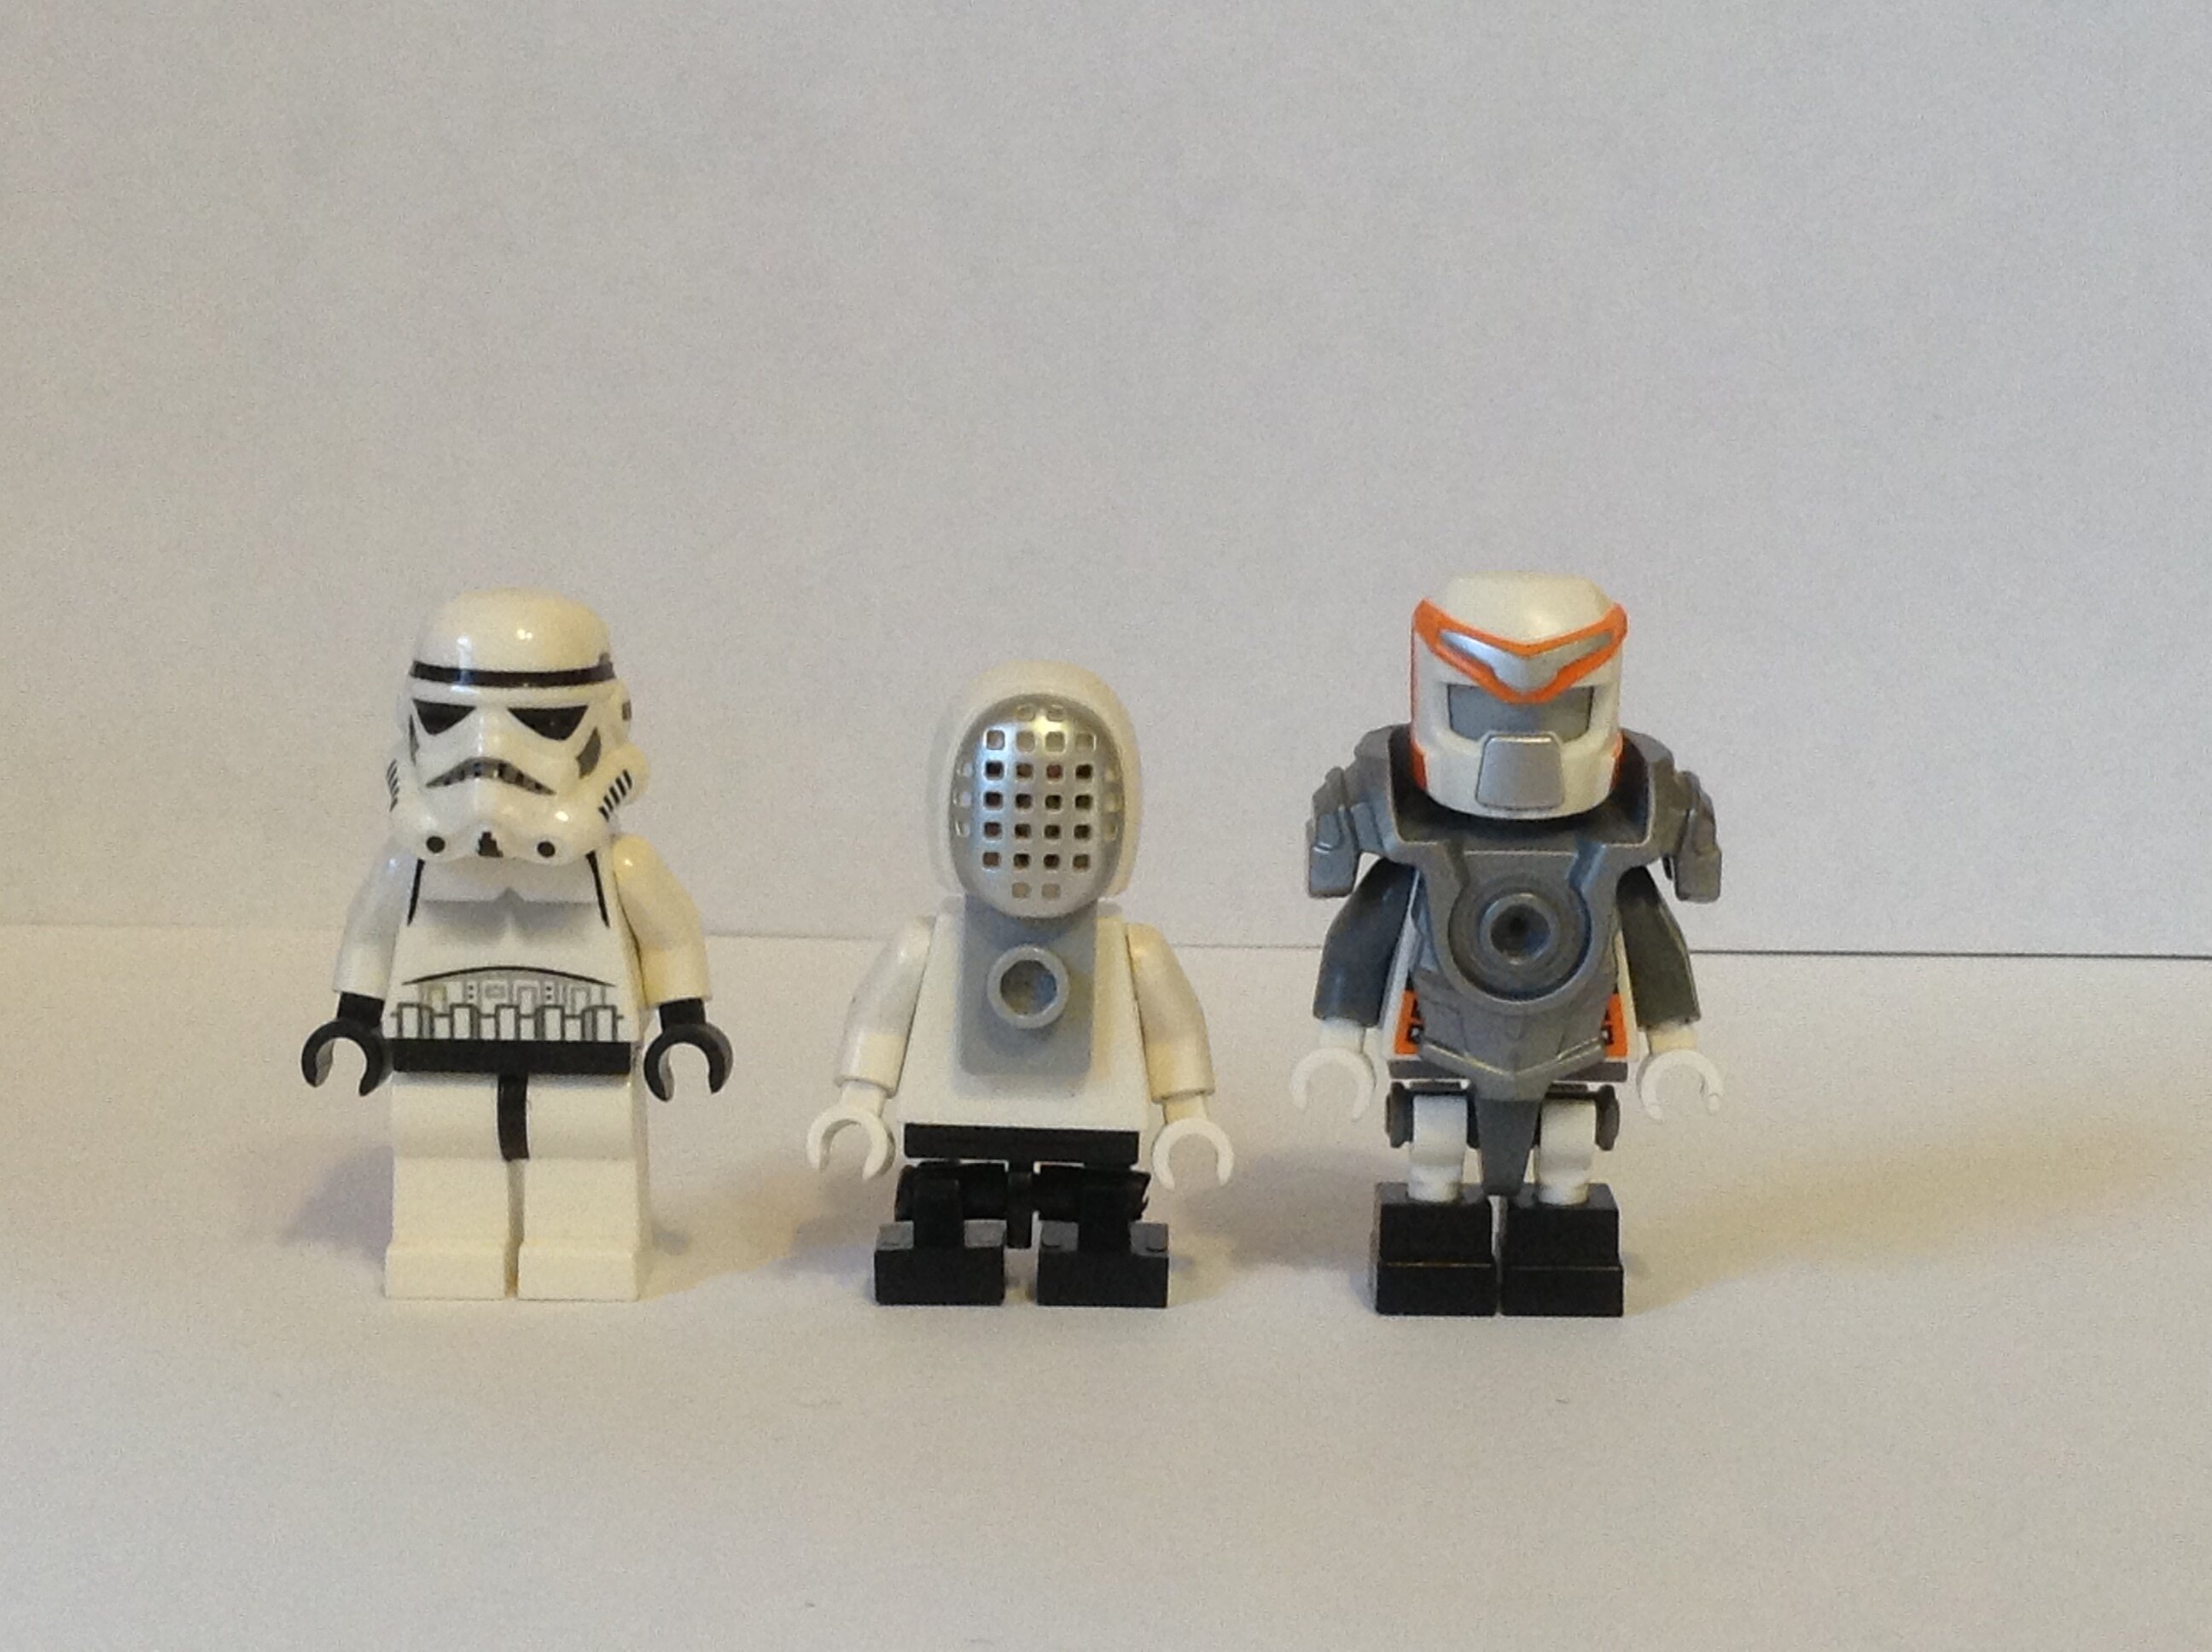
PROS: This design has the same articulation as a regular Minifigure, and it is the same height as a normal short Minifigure. But unlike the previous two designs, these legs look good on a minifig. They look like regular legs instead of looking out of place. Additionally, they are easier to create than alternative solutions.
CONS: Some people may not be comfortable with the idea of cutting Lego. People with this mindset probably won’t like this method. Additionally, this method is more work than the other options that I went over.

In my opinion the last design is the best choice, but some may disagree. I want to know what the community has to say about these and what other solutions people have.