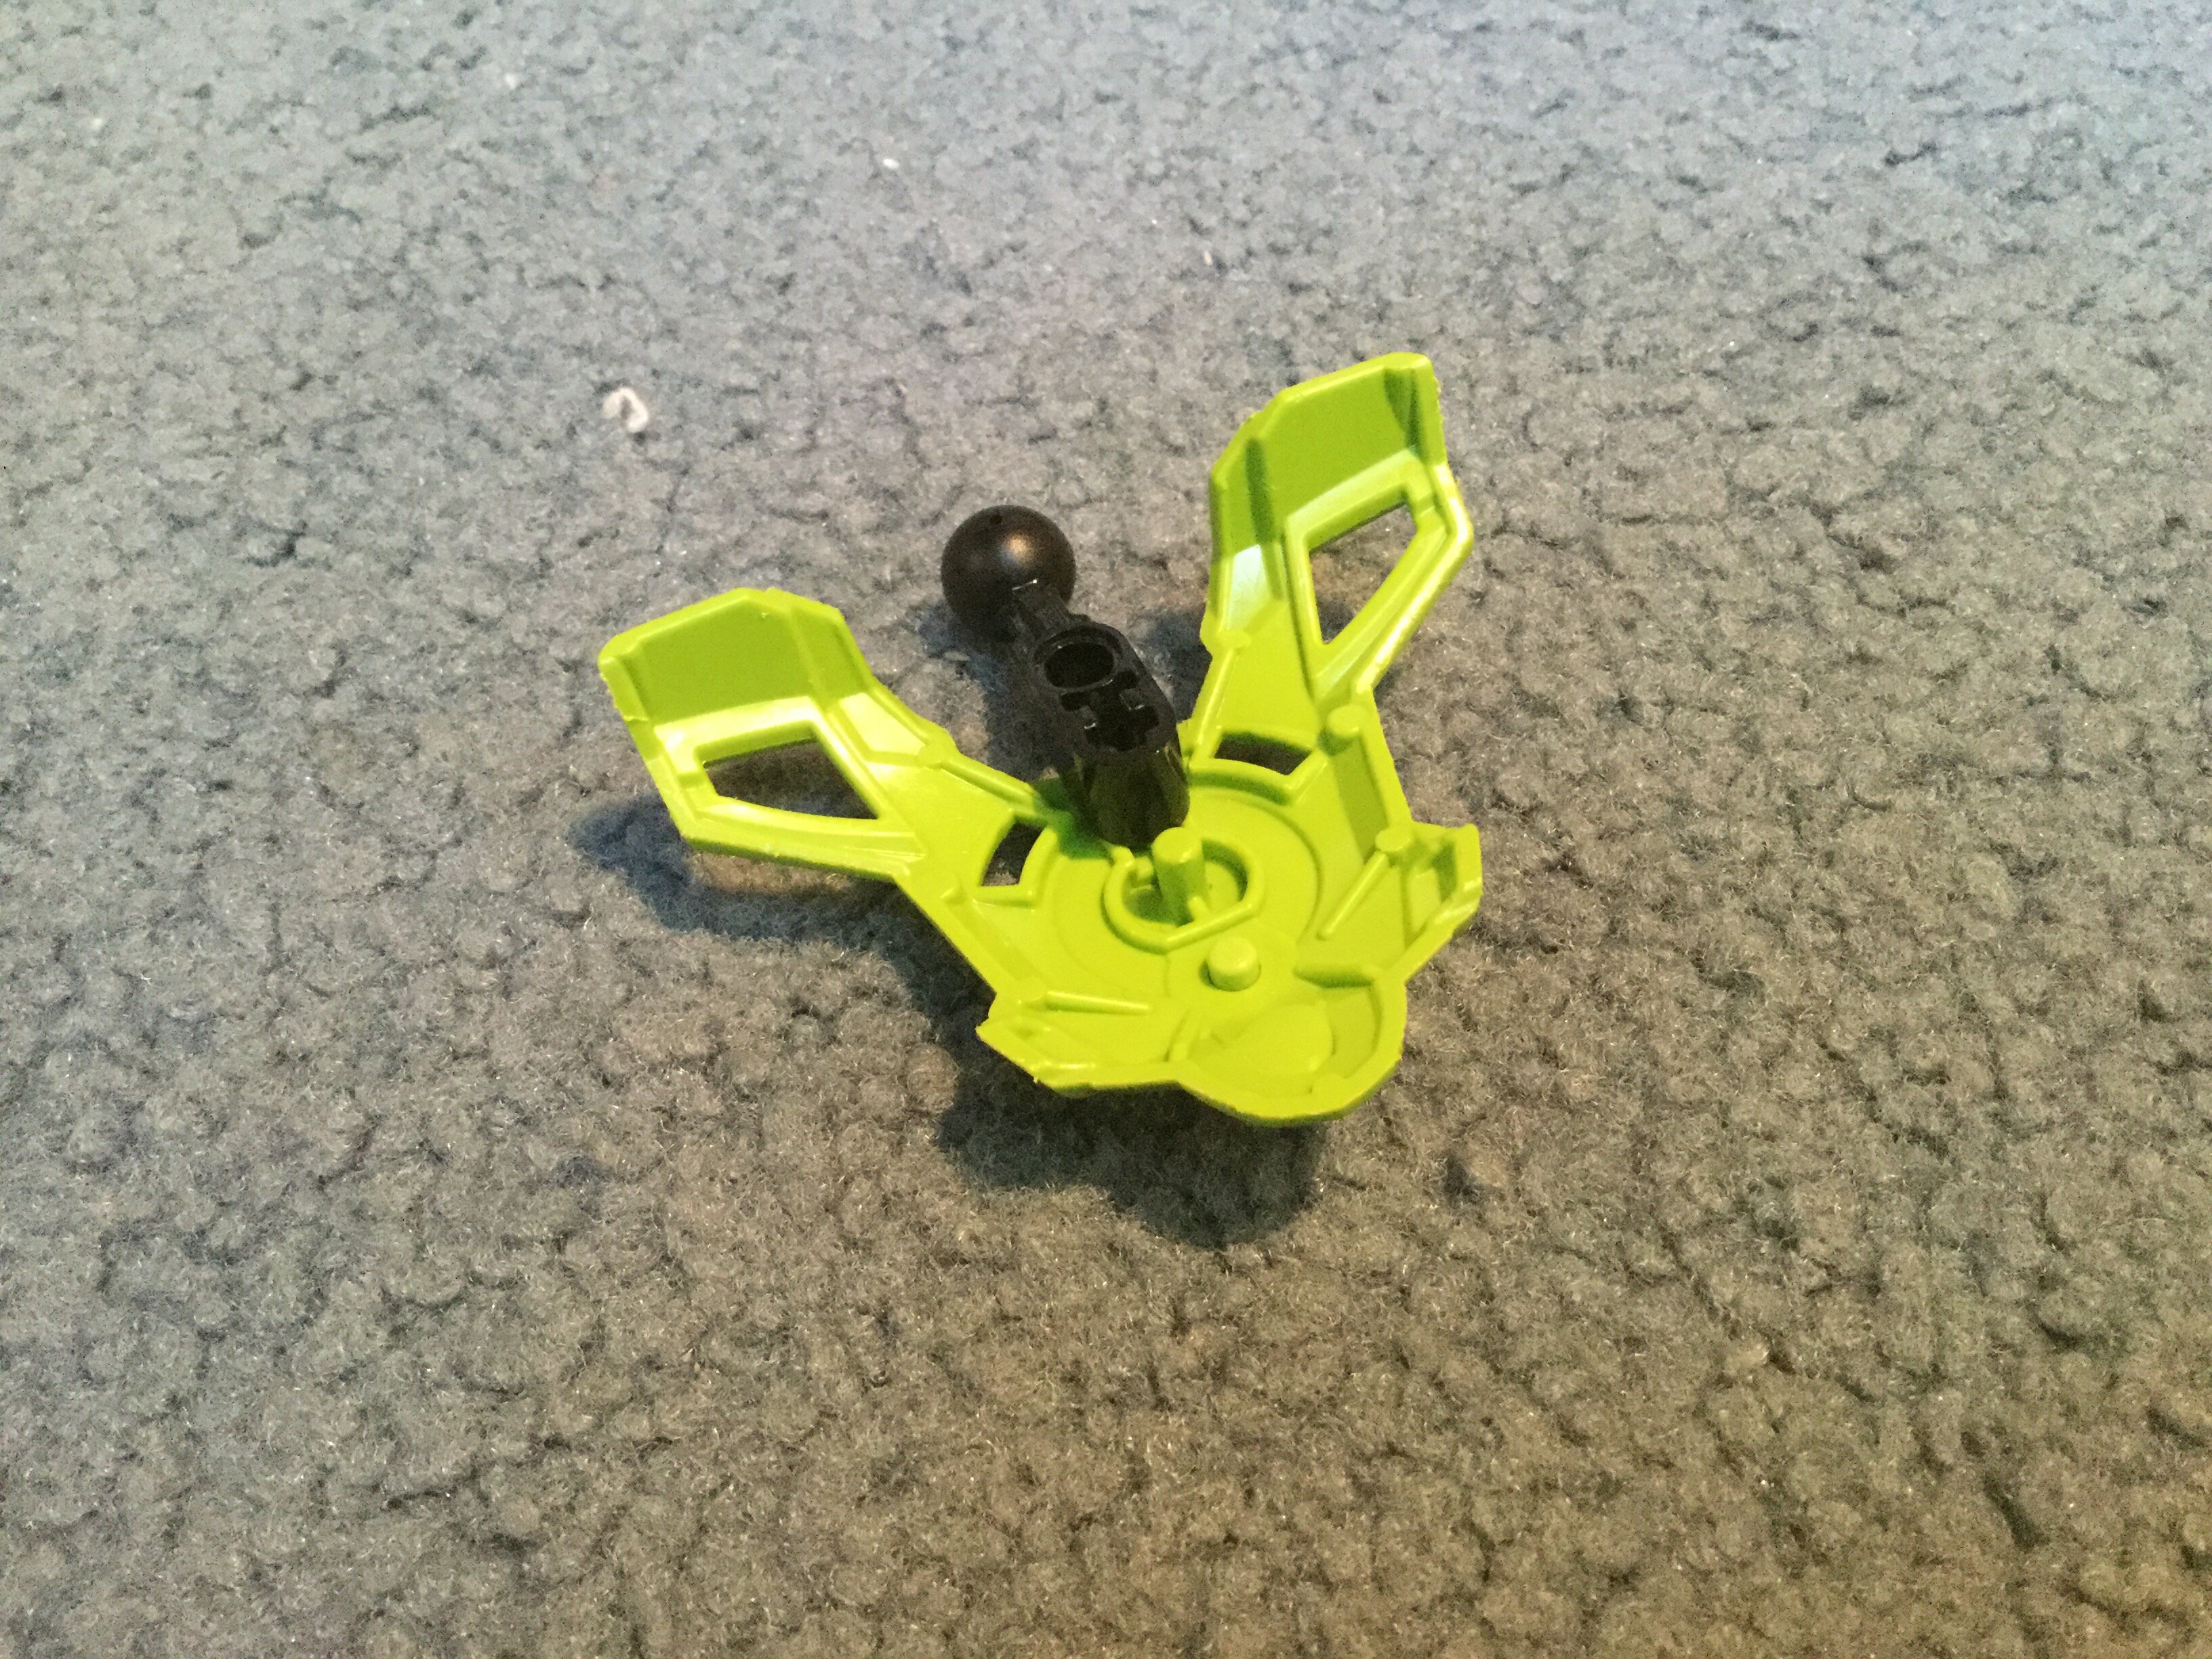
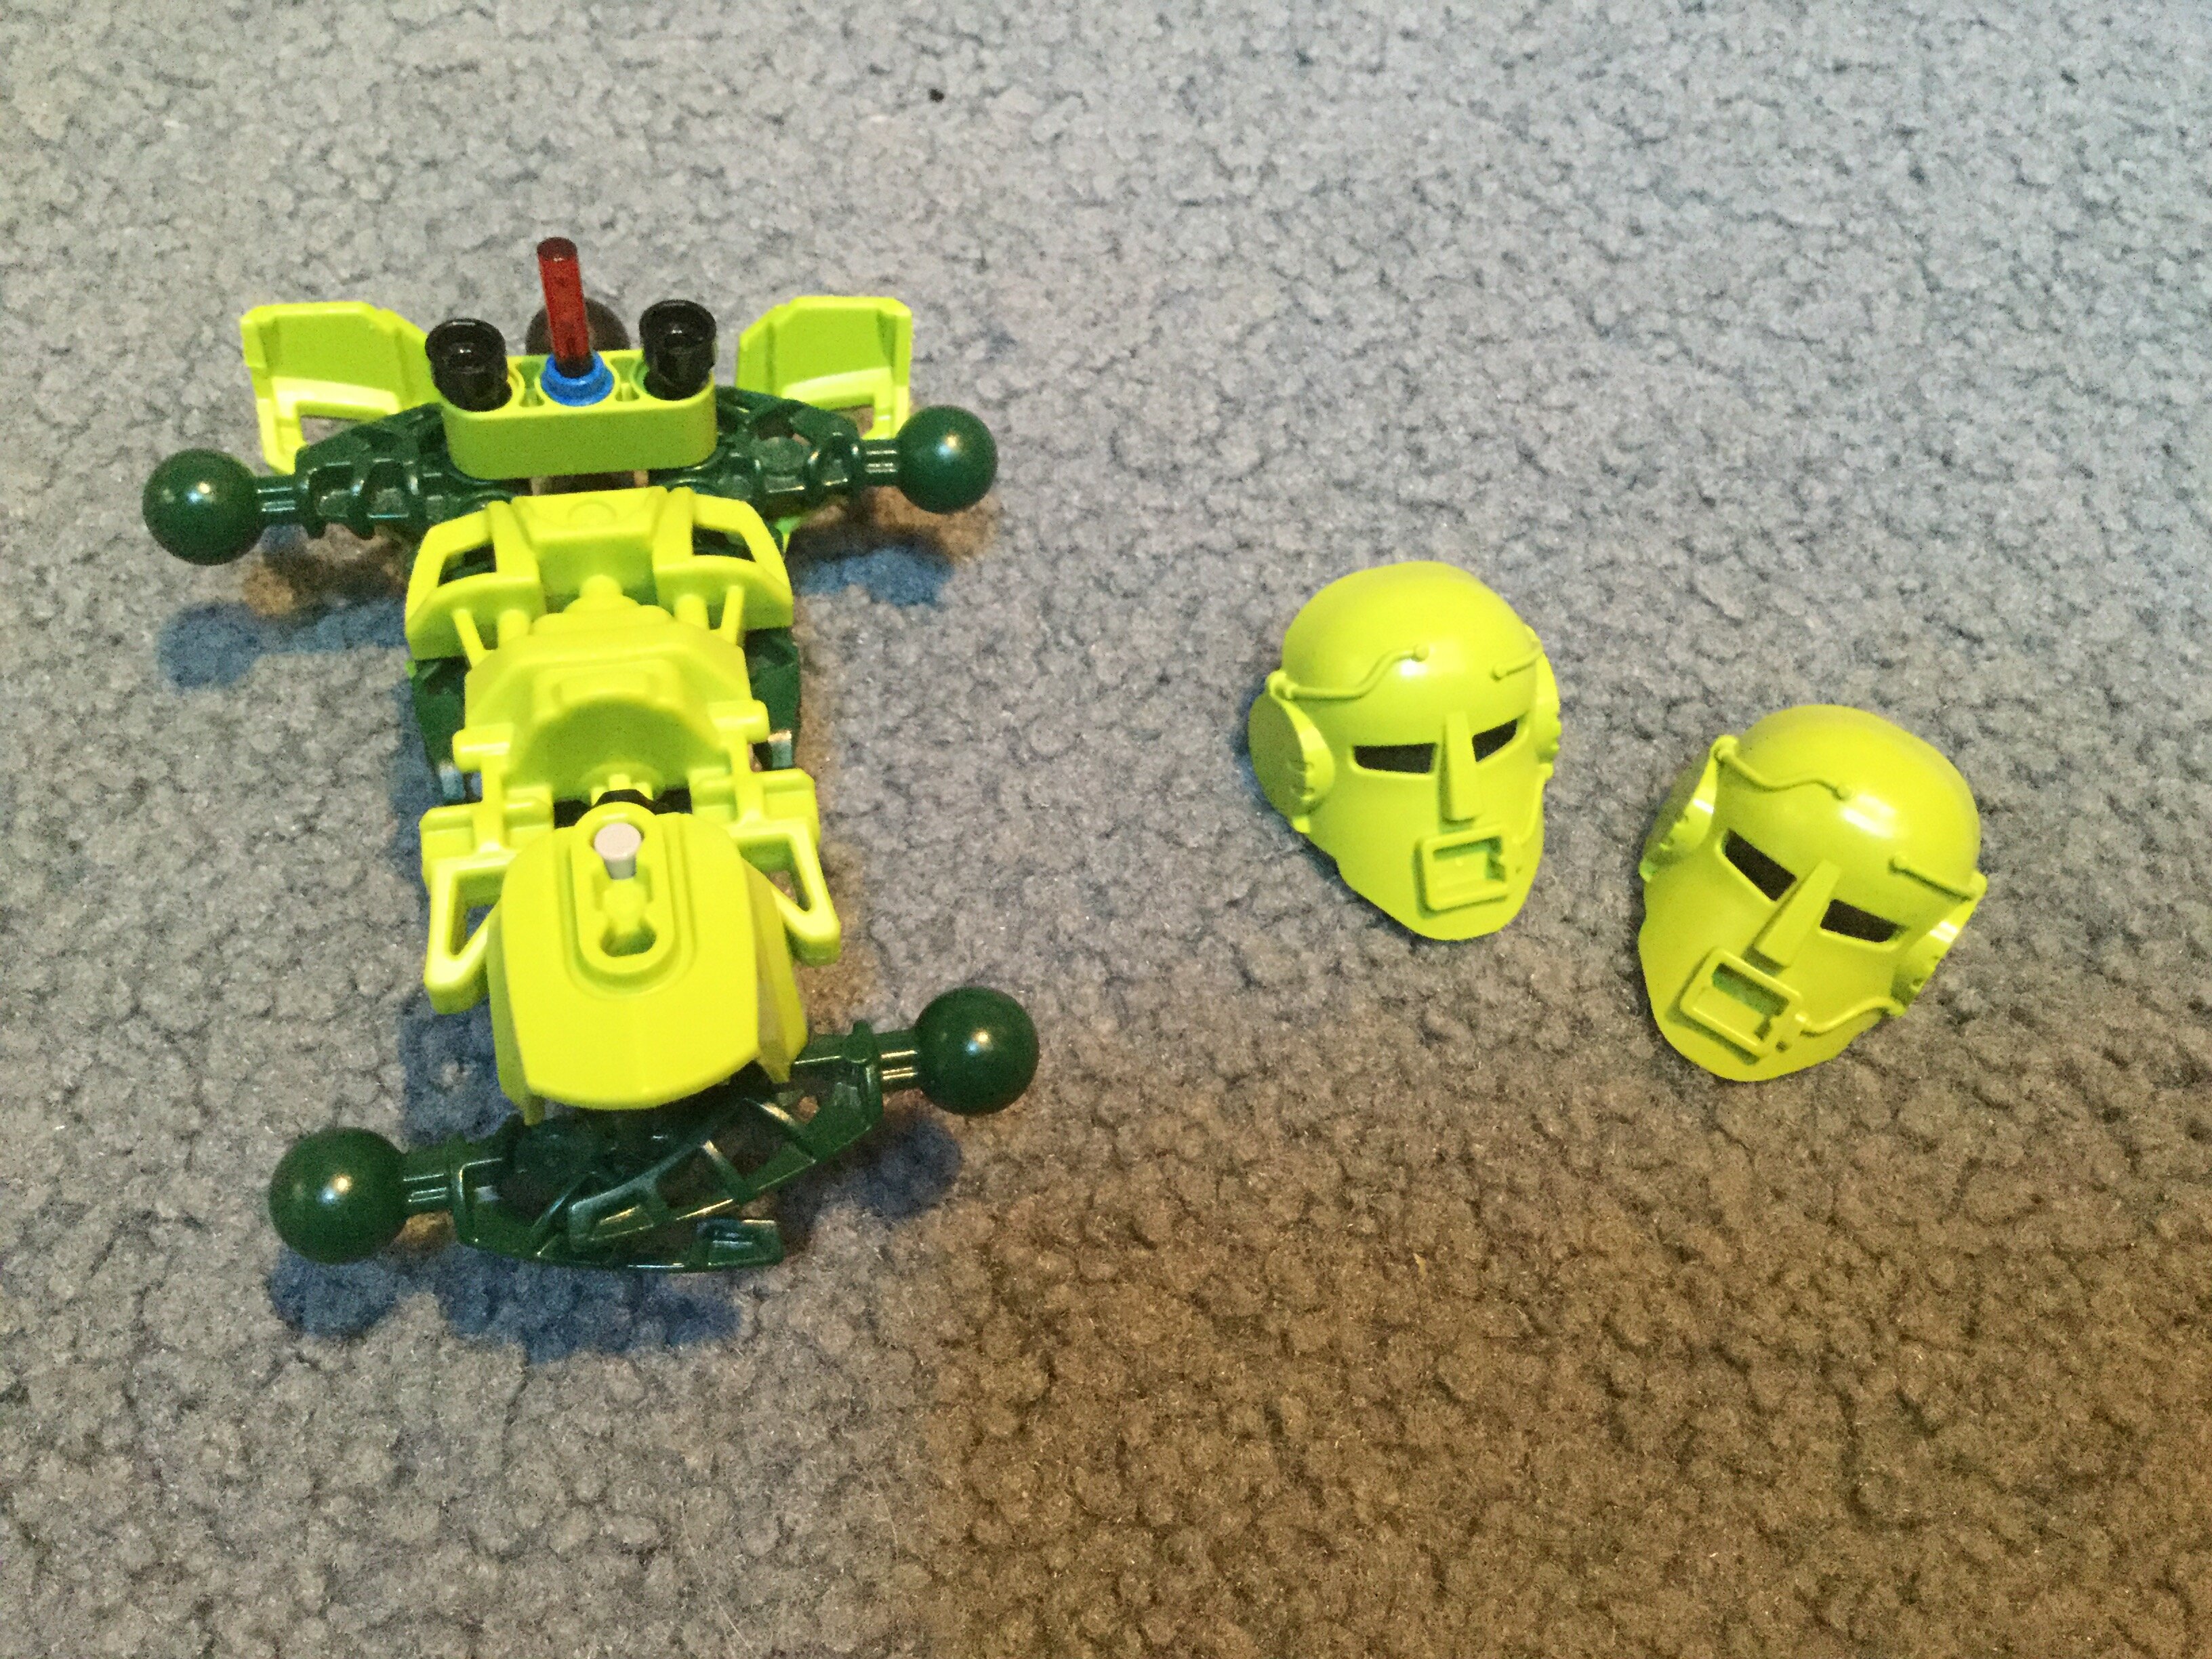
Your design is probably a lot sturdier, the flat tile sometimes falls off and takes the 2x1 brick with it when trying to remove and put a mask on it, that’s a pain
I forgot to mention, that some masks won’t fit due to the blocky shaping
Your design is probably a lot sturdier, the flat tile sometimes falls off and takes the 2x1 brick with it when trying to remove and put a mask on it, that’s a pain
I forgot to mention, that some masks won’t fit due to the blocky shaping
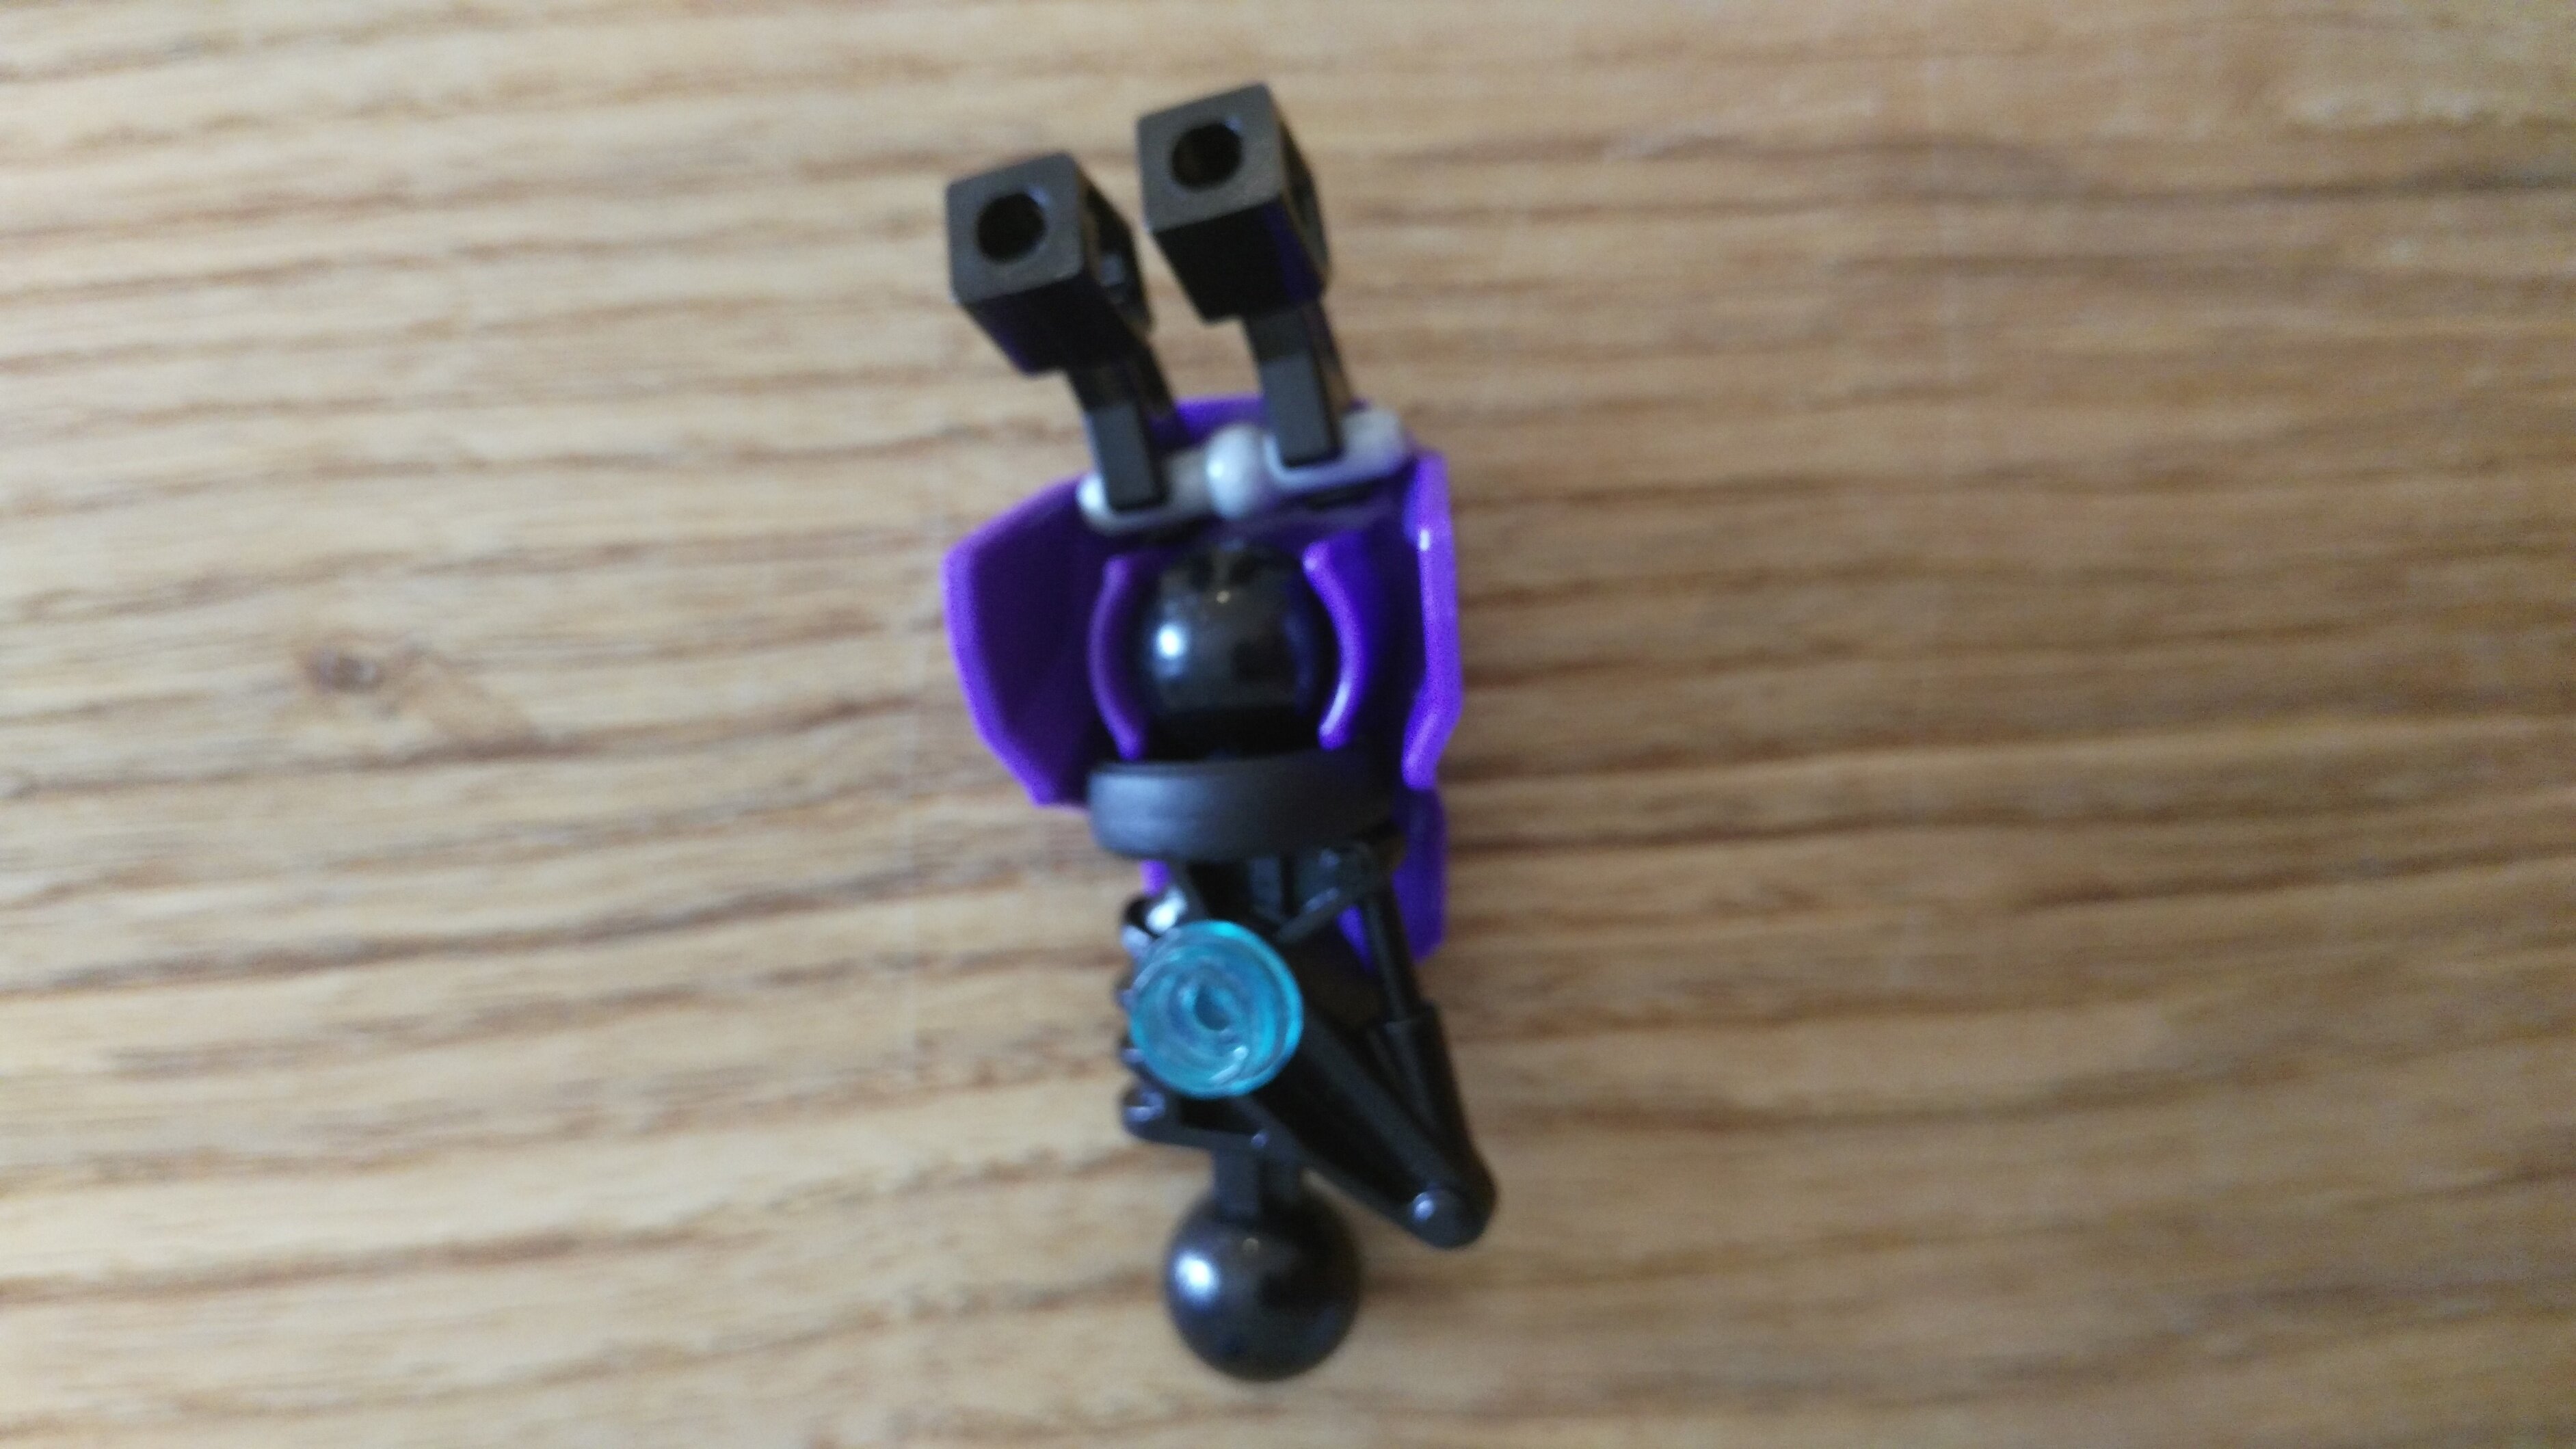
Is it visible now?
Yeah, I can see it now
Awesomesauce. Mission accomplished.
But yeah, hopefully, it’s enough to convey my original point, despite the poor image quality. It’s not so much what you use, per se, but how you end up using it.
Hope your happy because I must now attempt to build this.
what number is it?
She’s the one in the middle, if that’s what you’re asking.
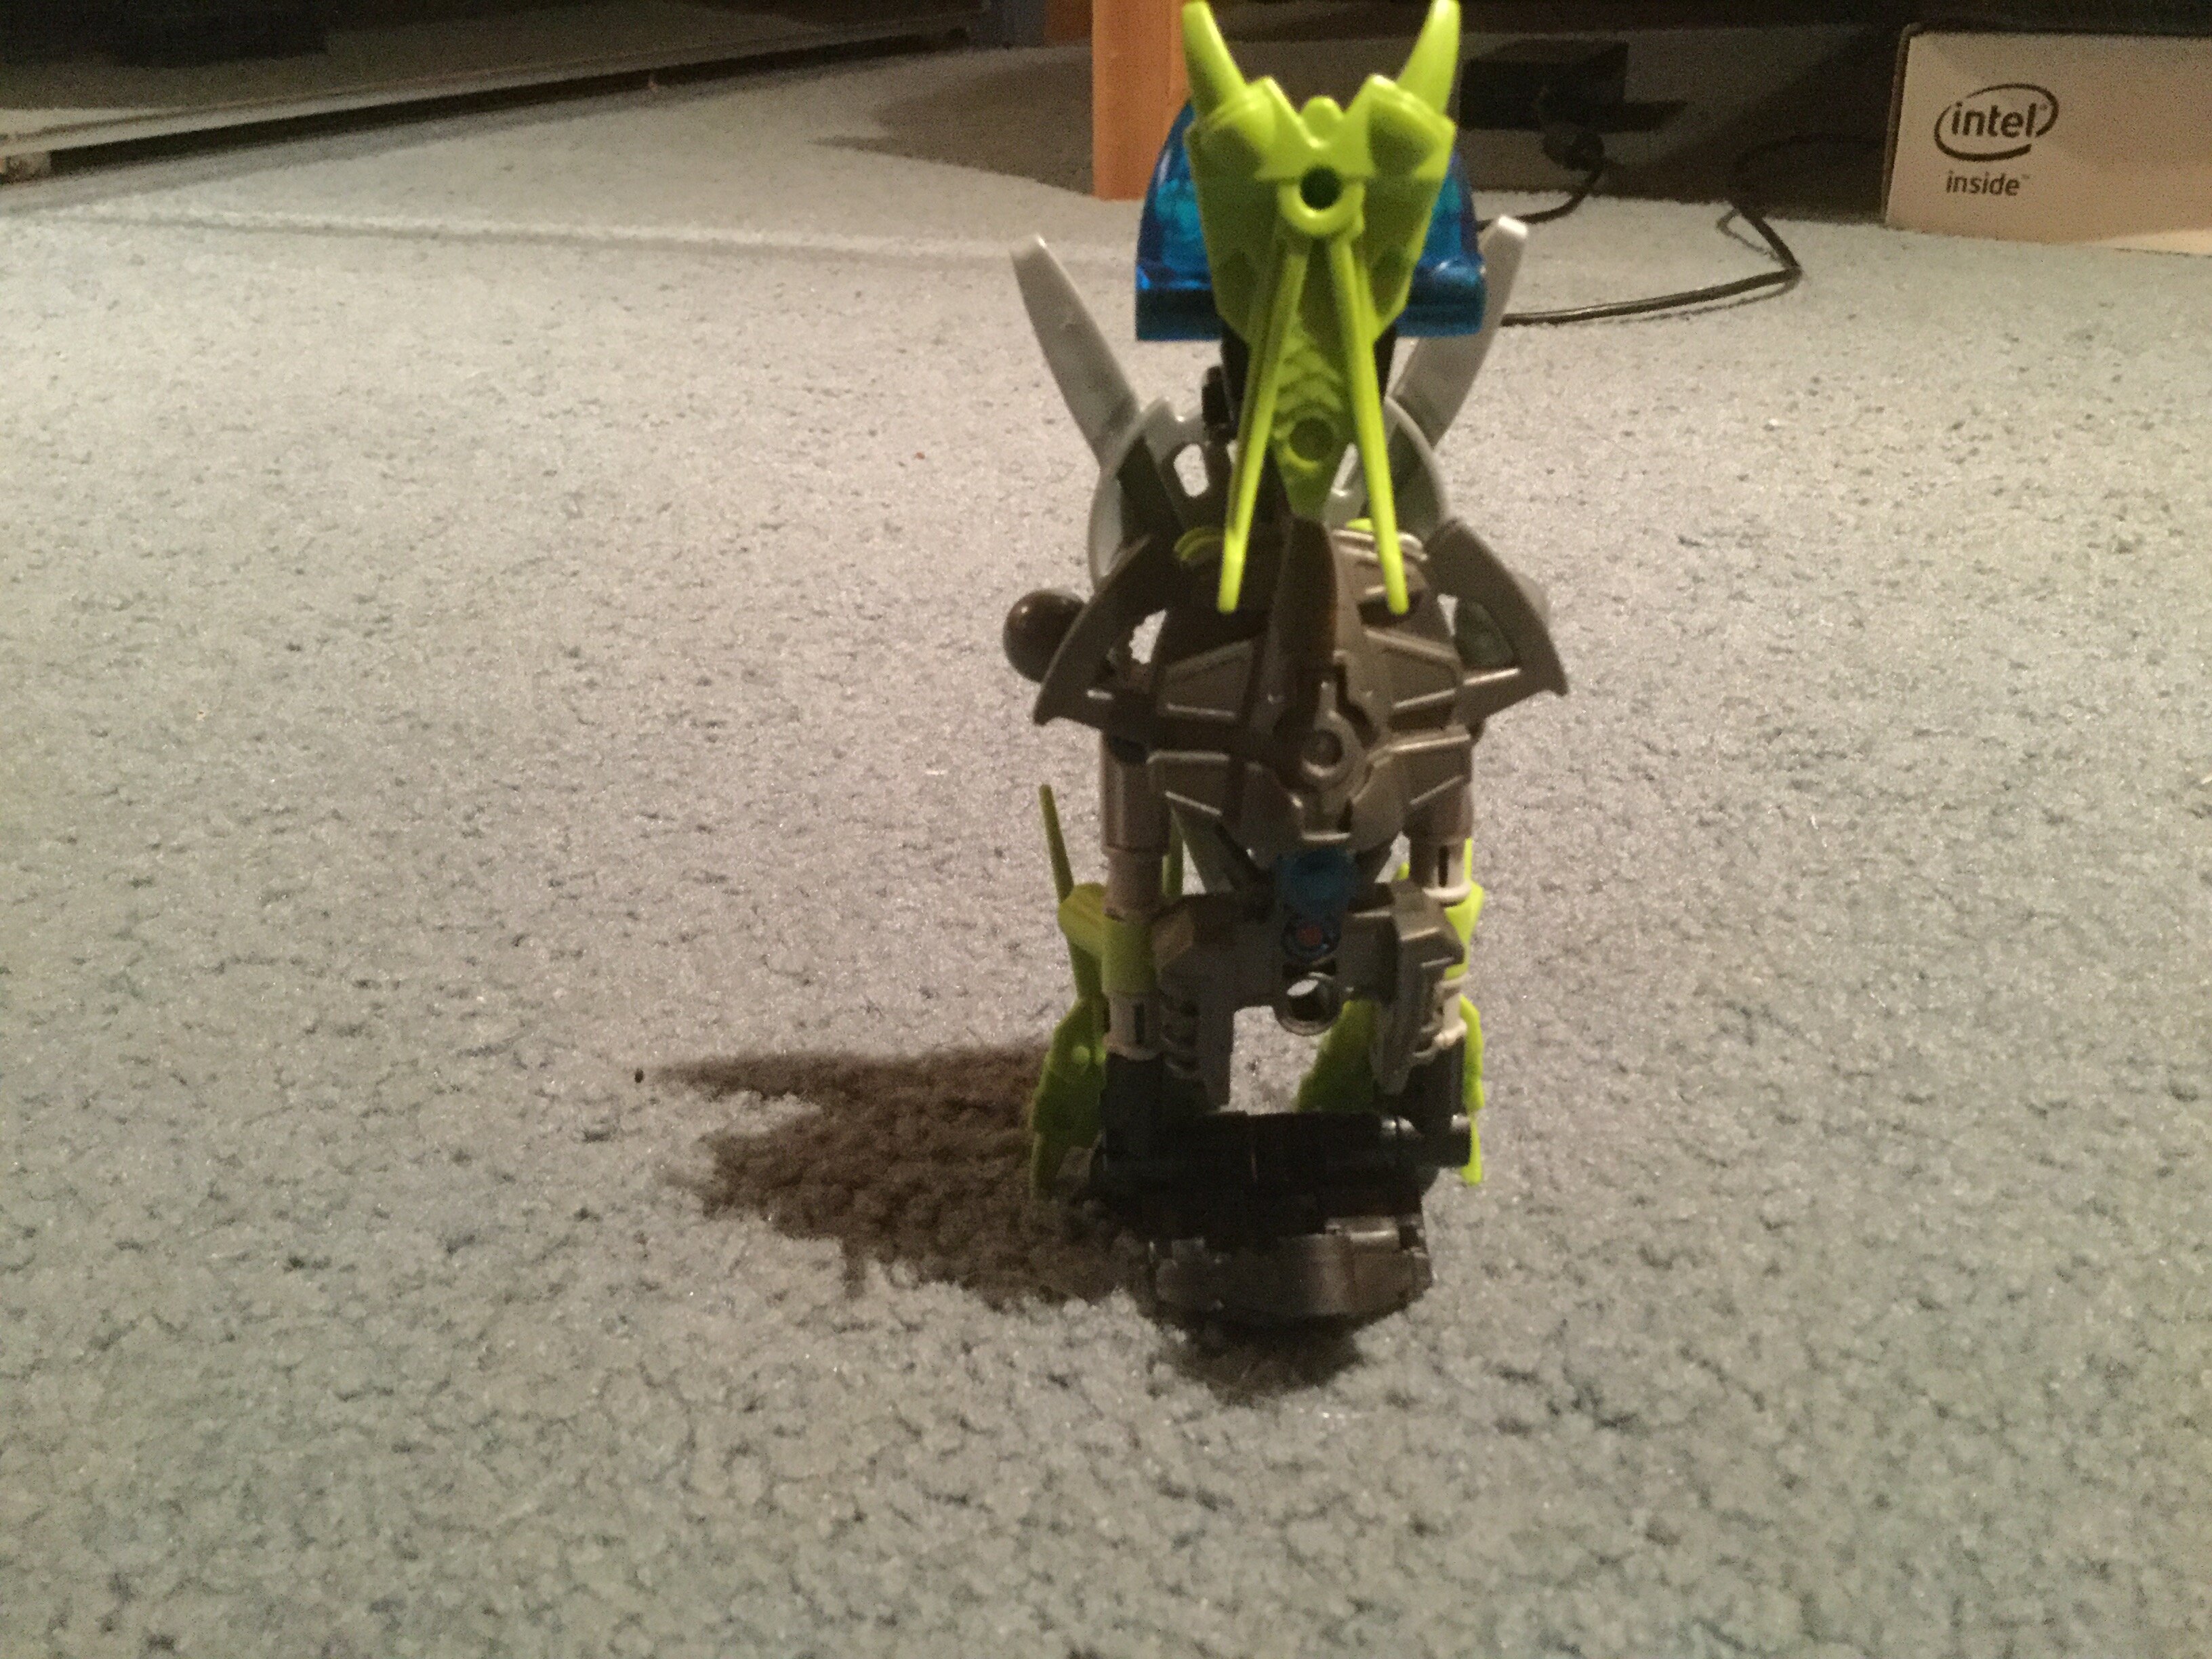
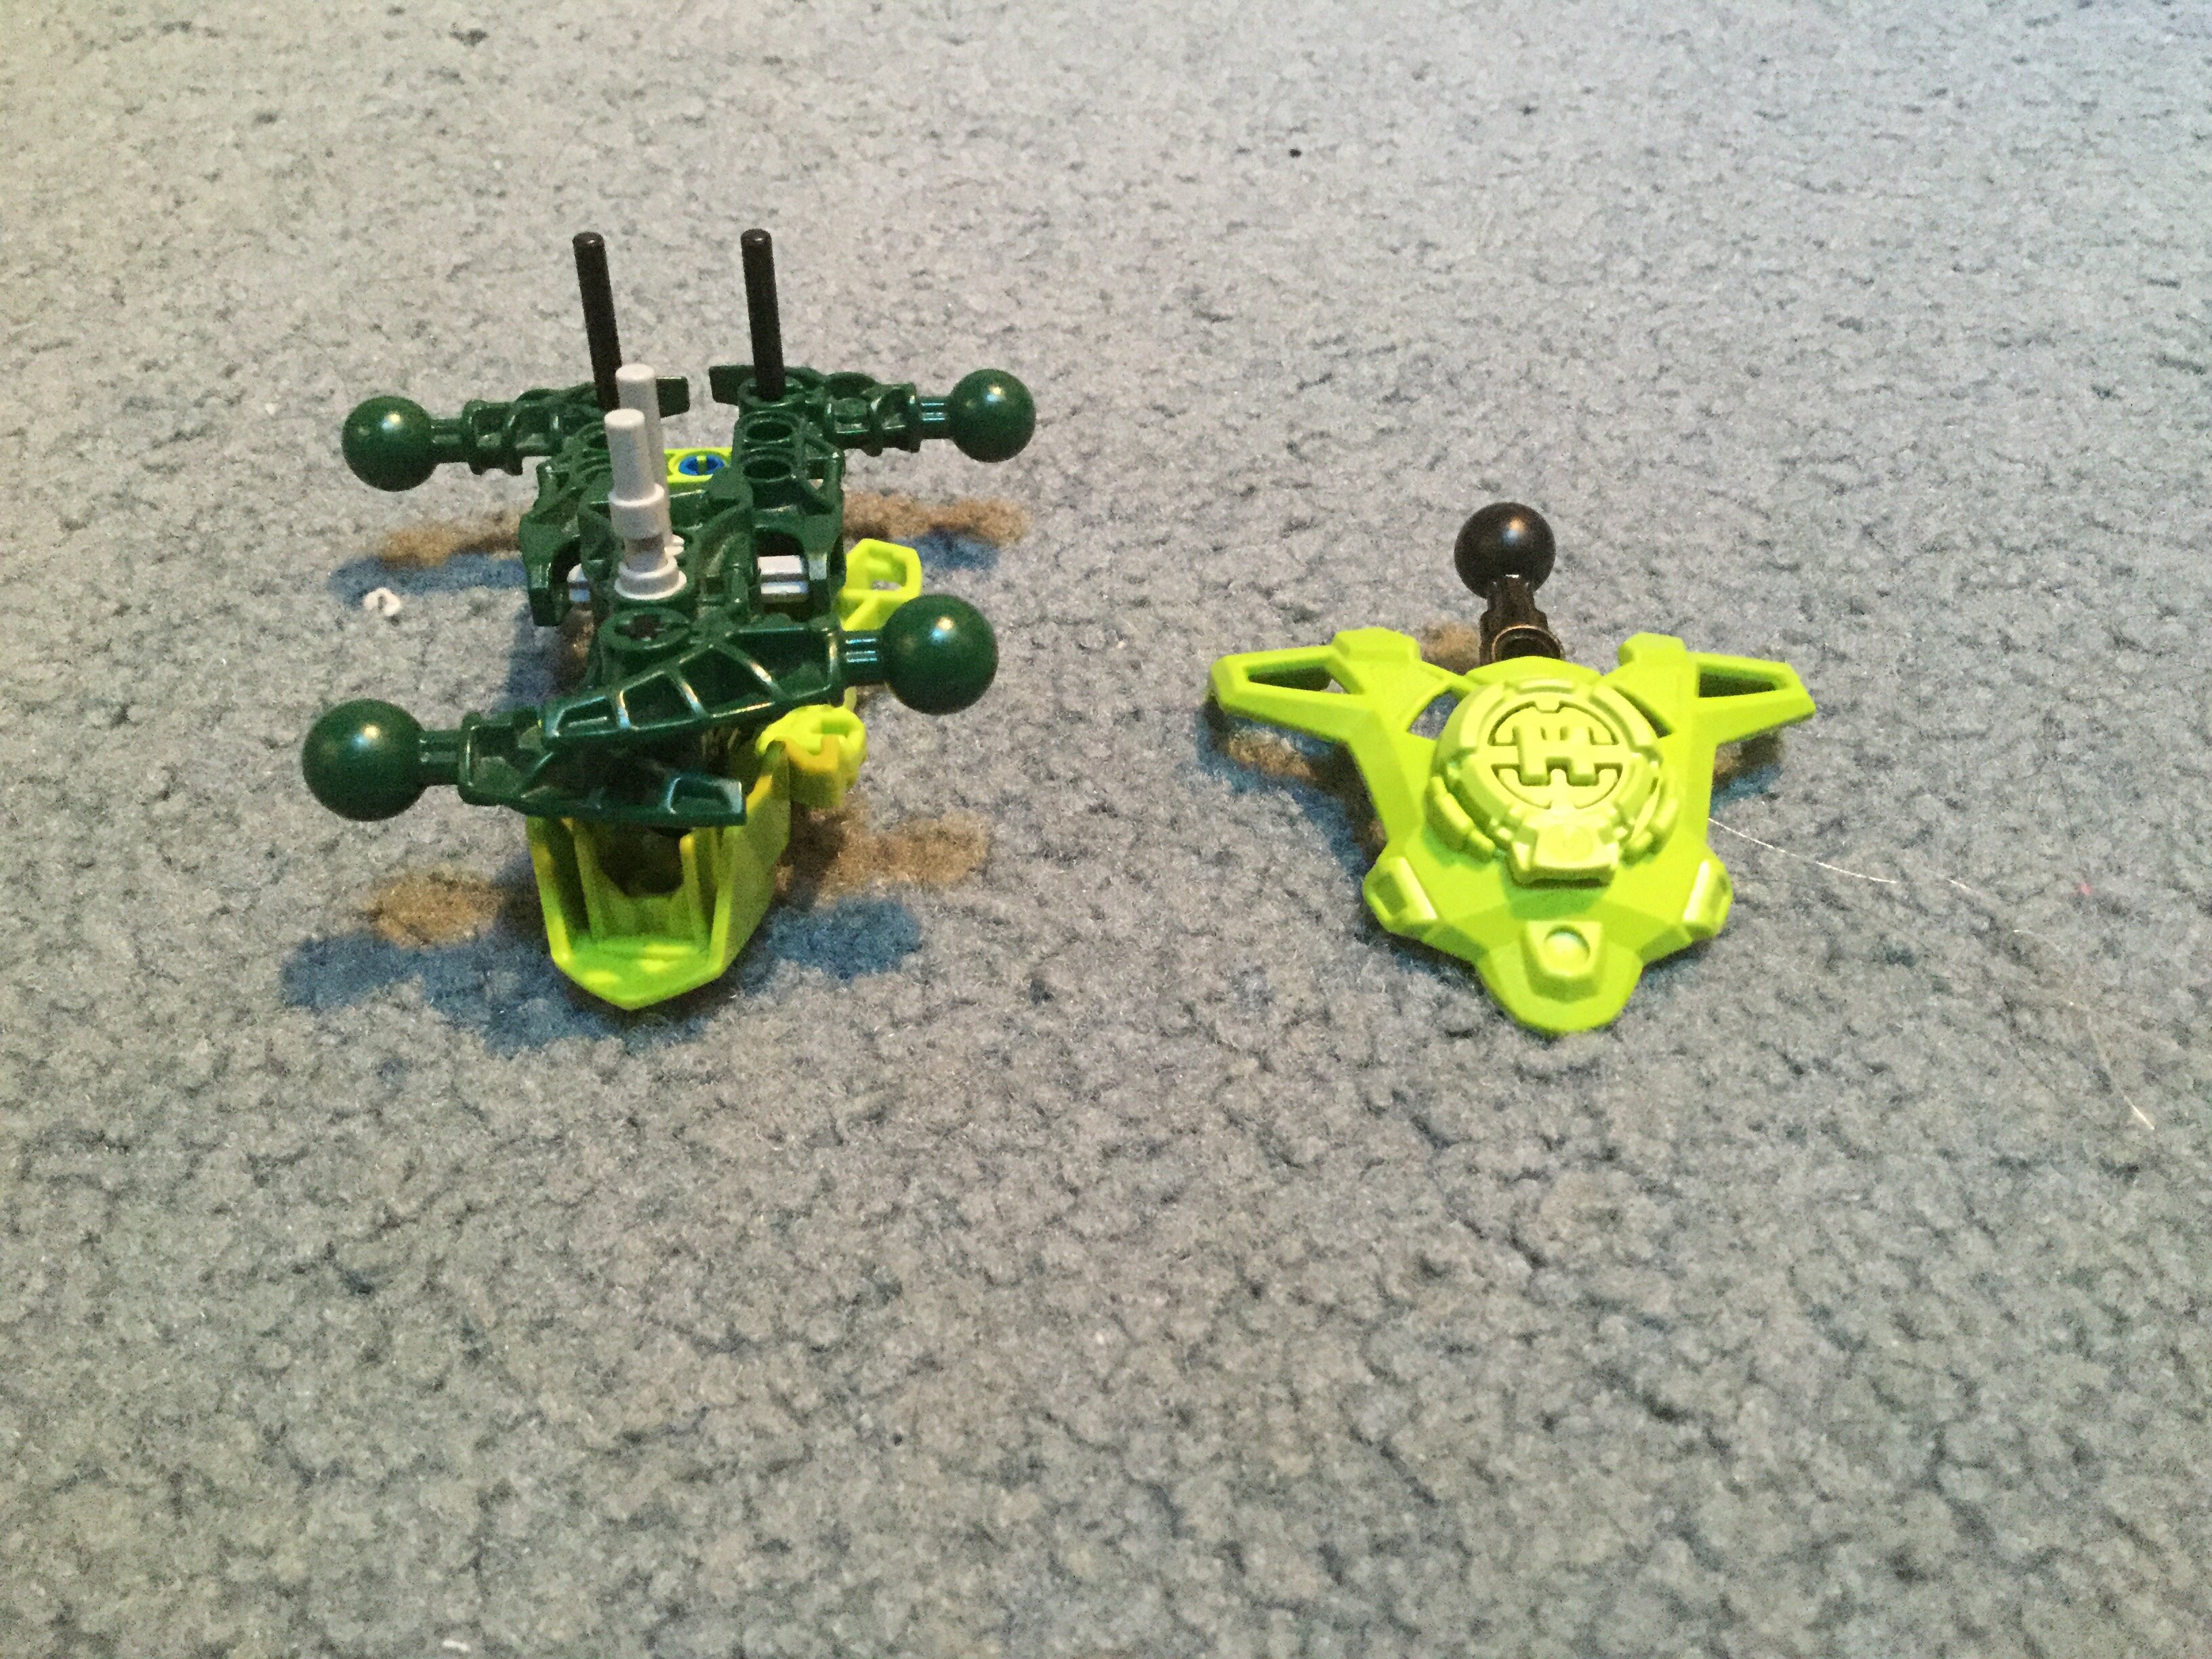
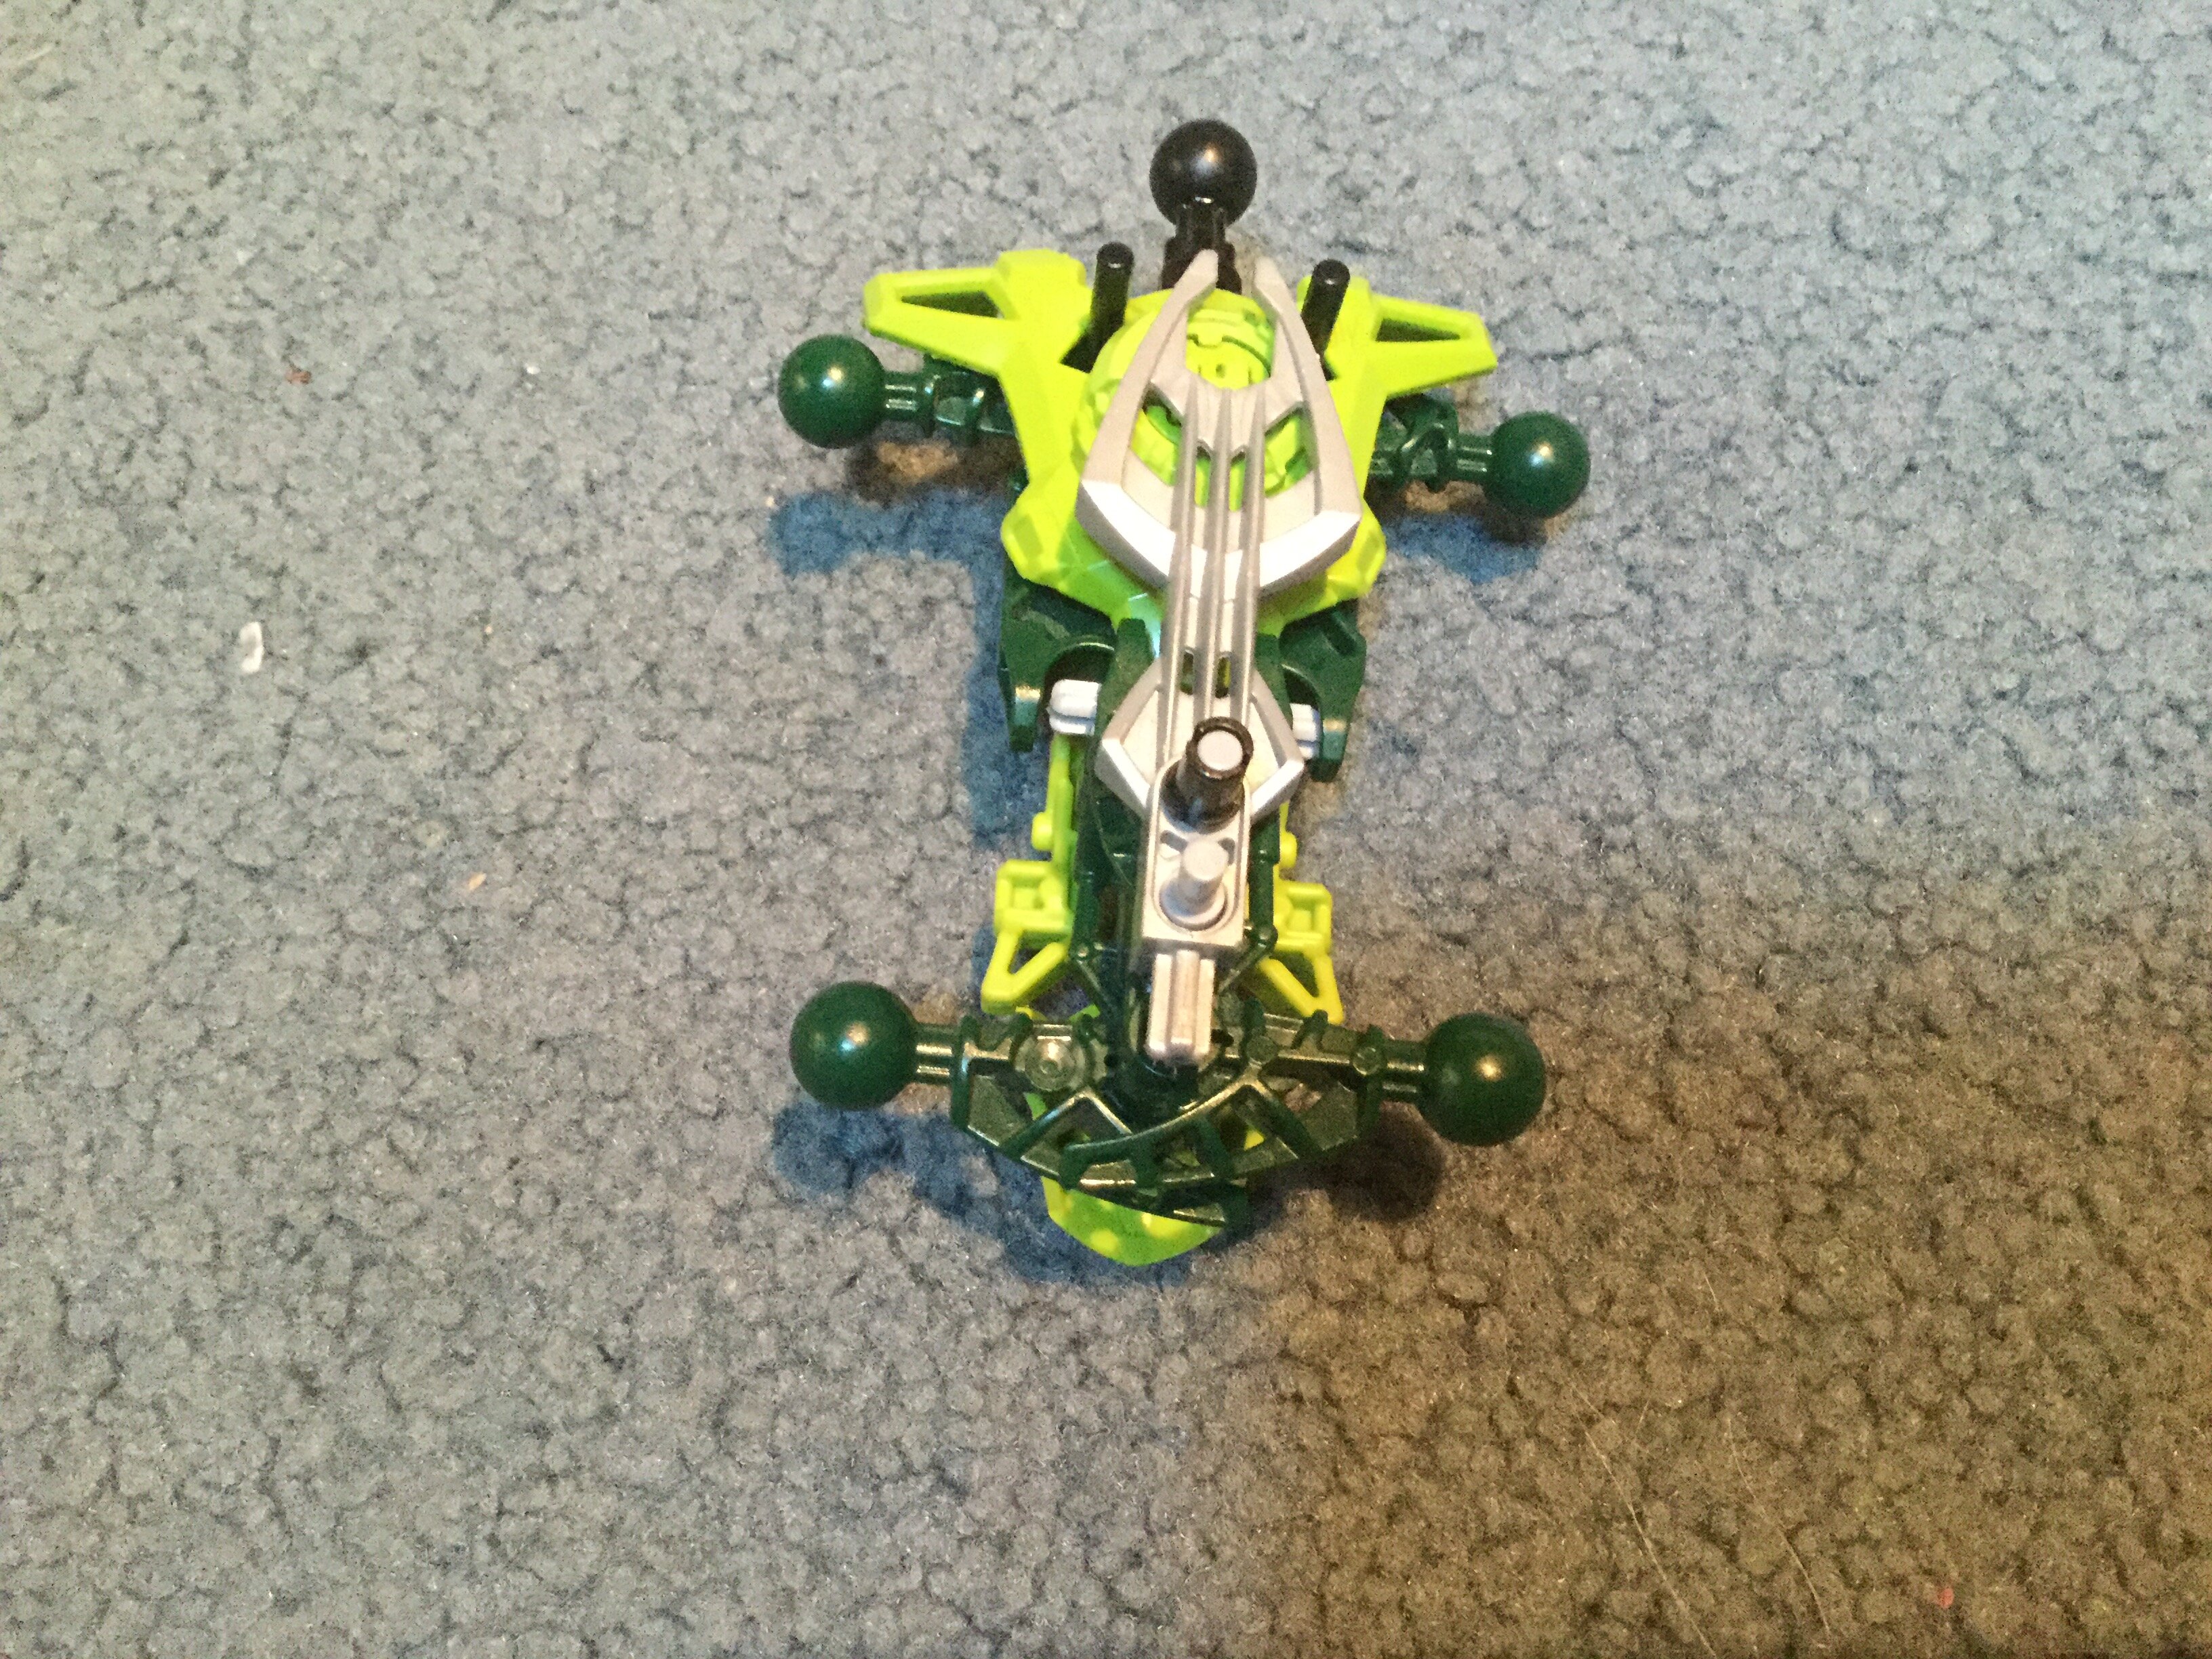
Okay, I have two torsos.
Which one should I make a how-to on?
I say the first. That one is pretty interesting.
The first one it is!
Ok, I think that’s it from me as far as torsos go. Toodles!
~Levva
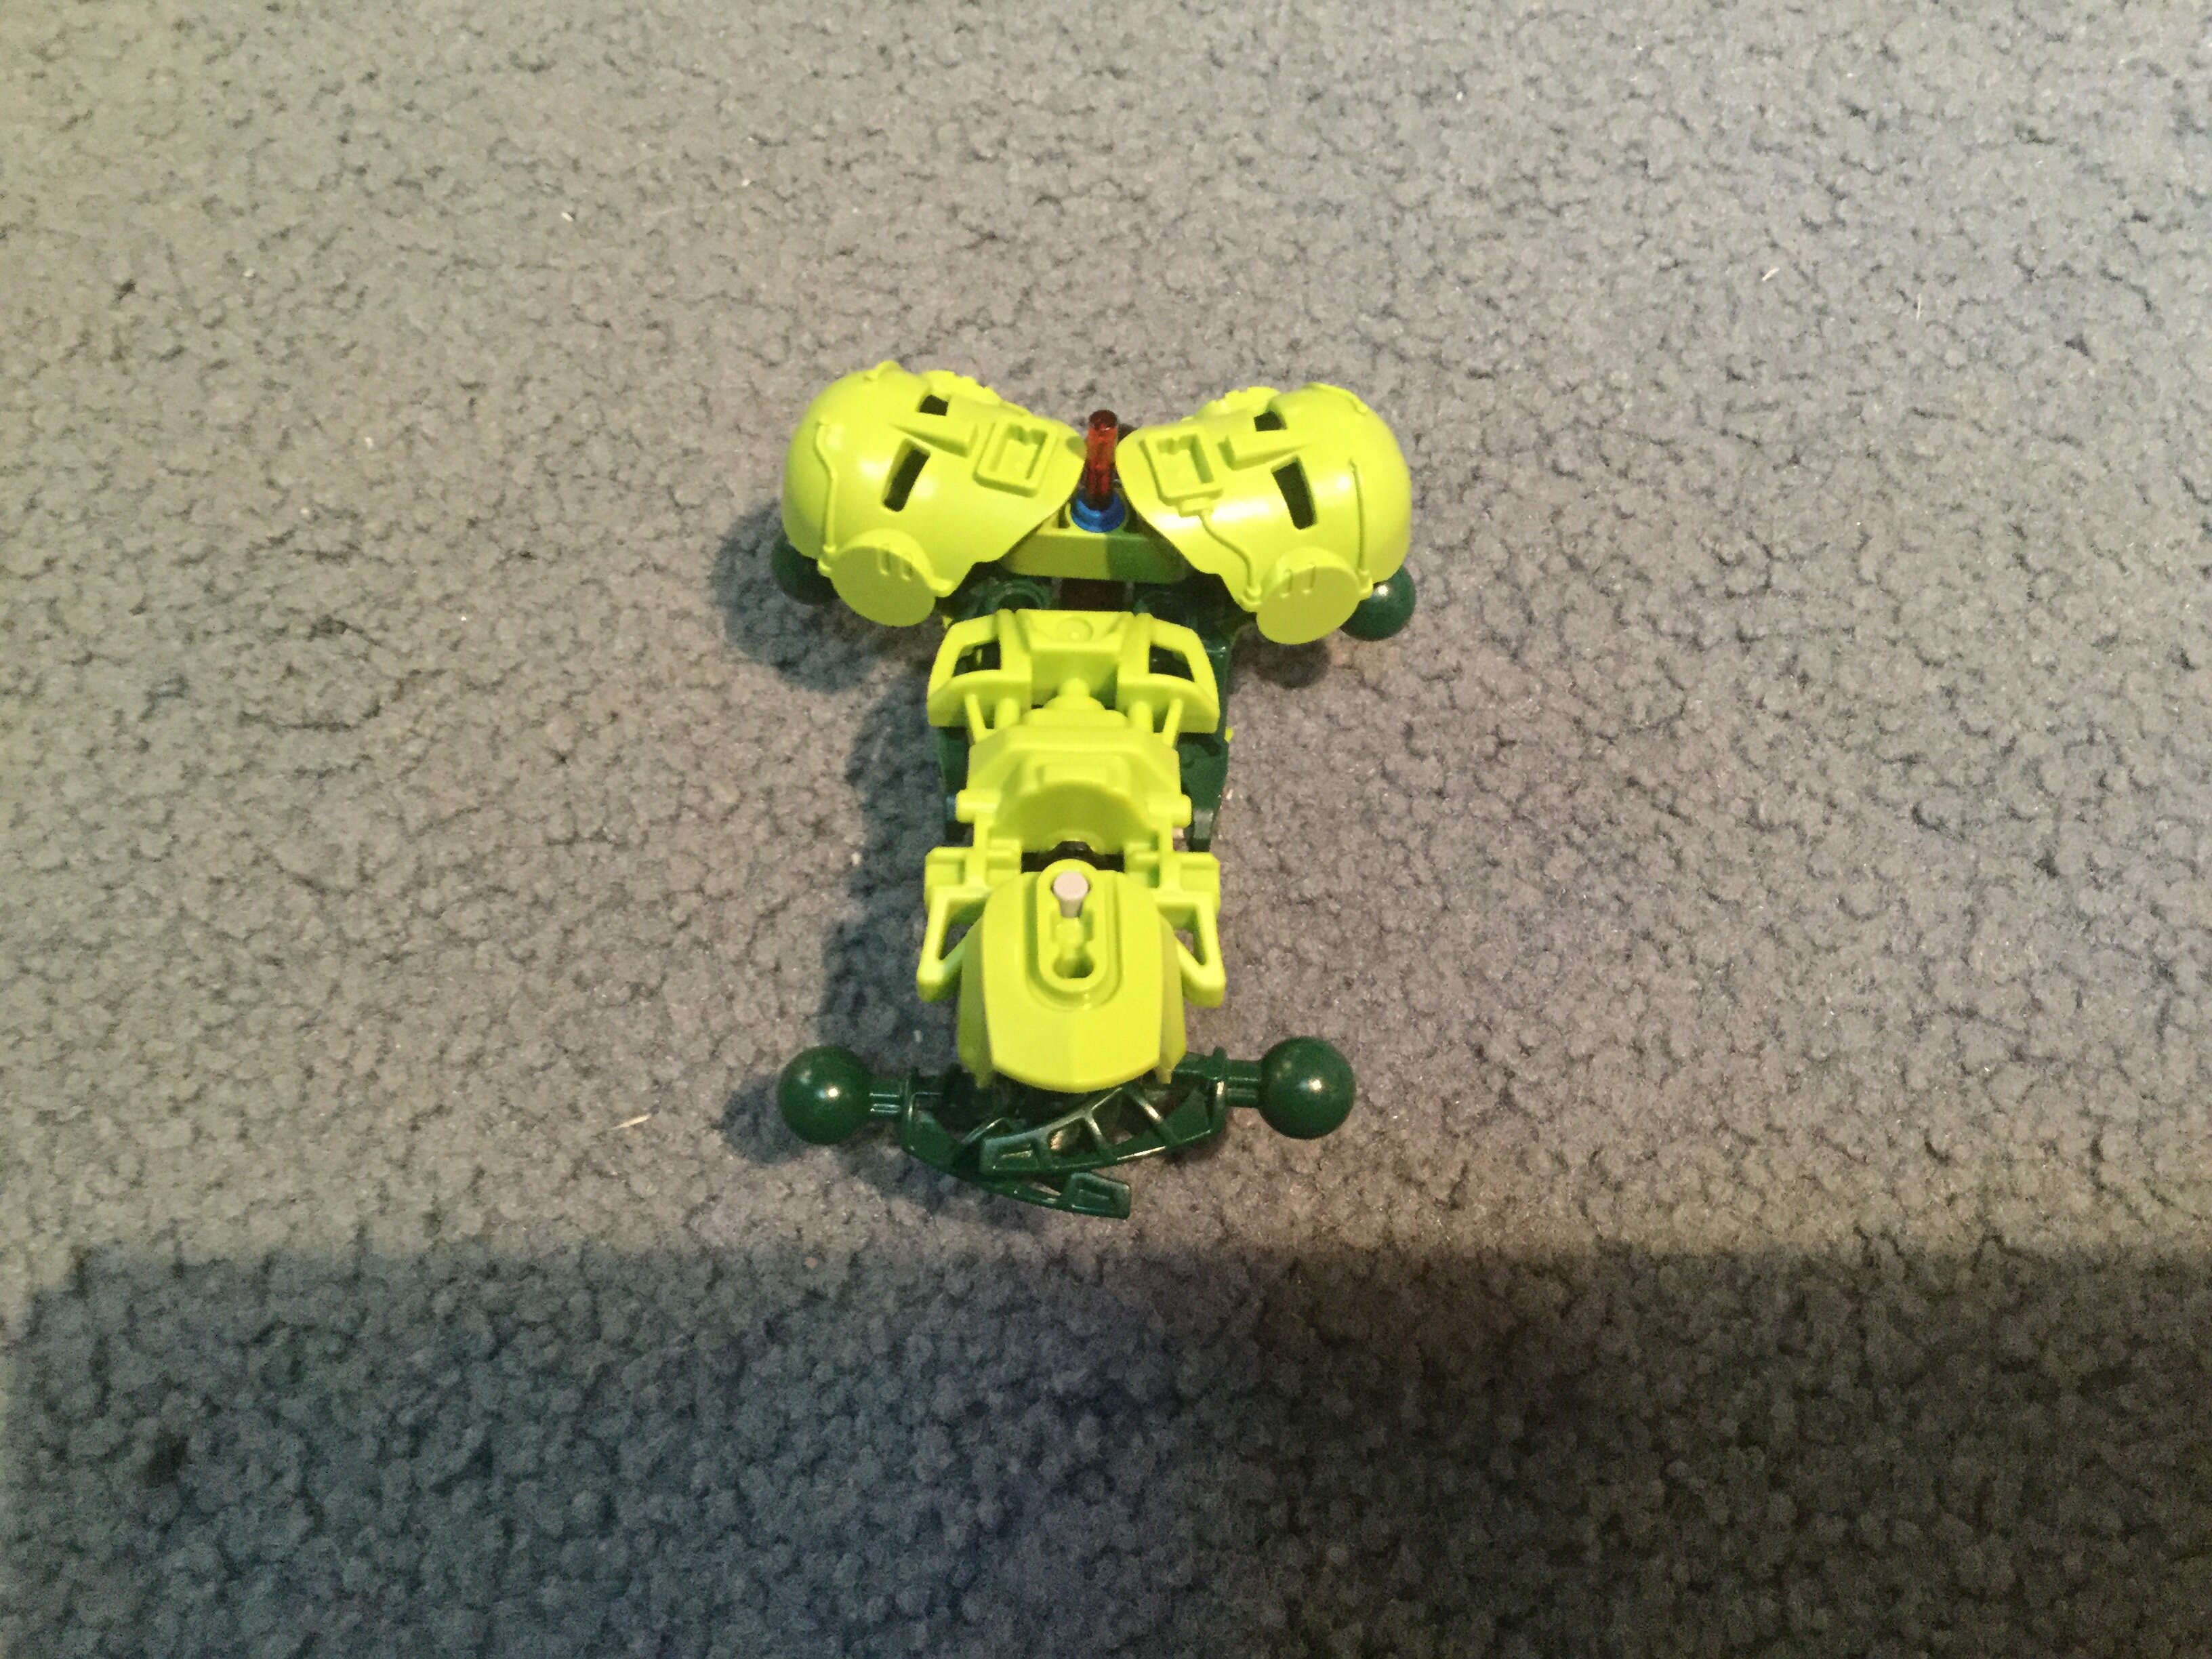
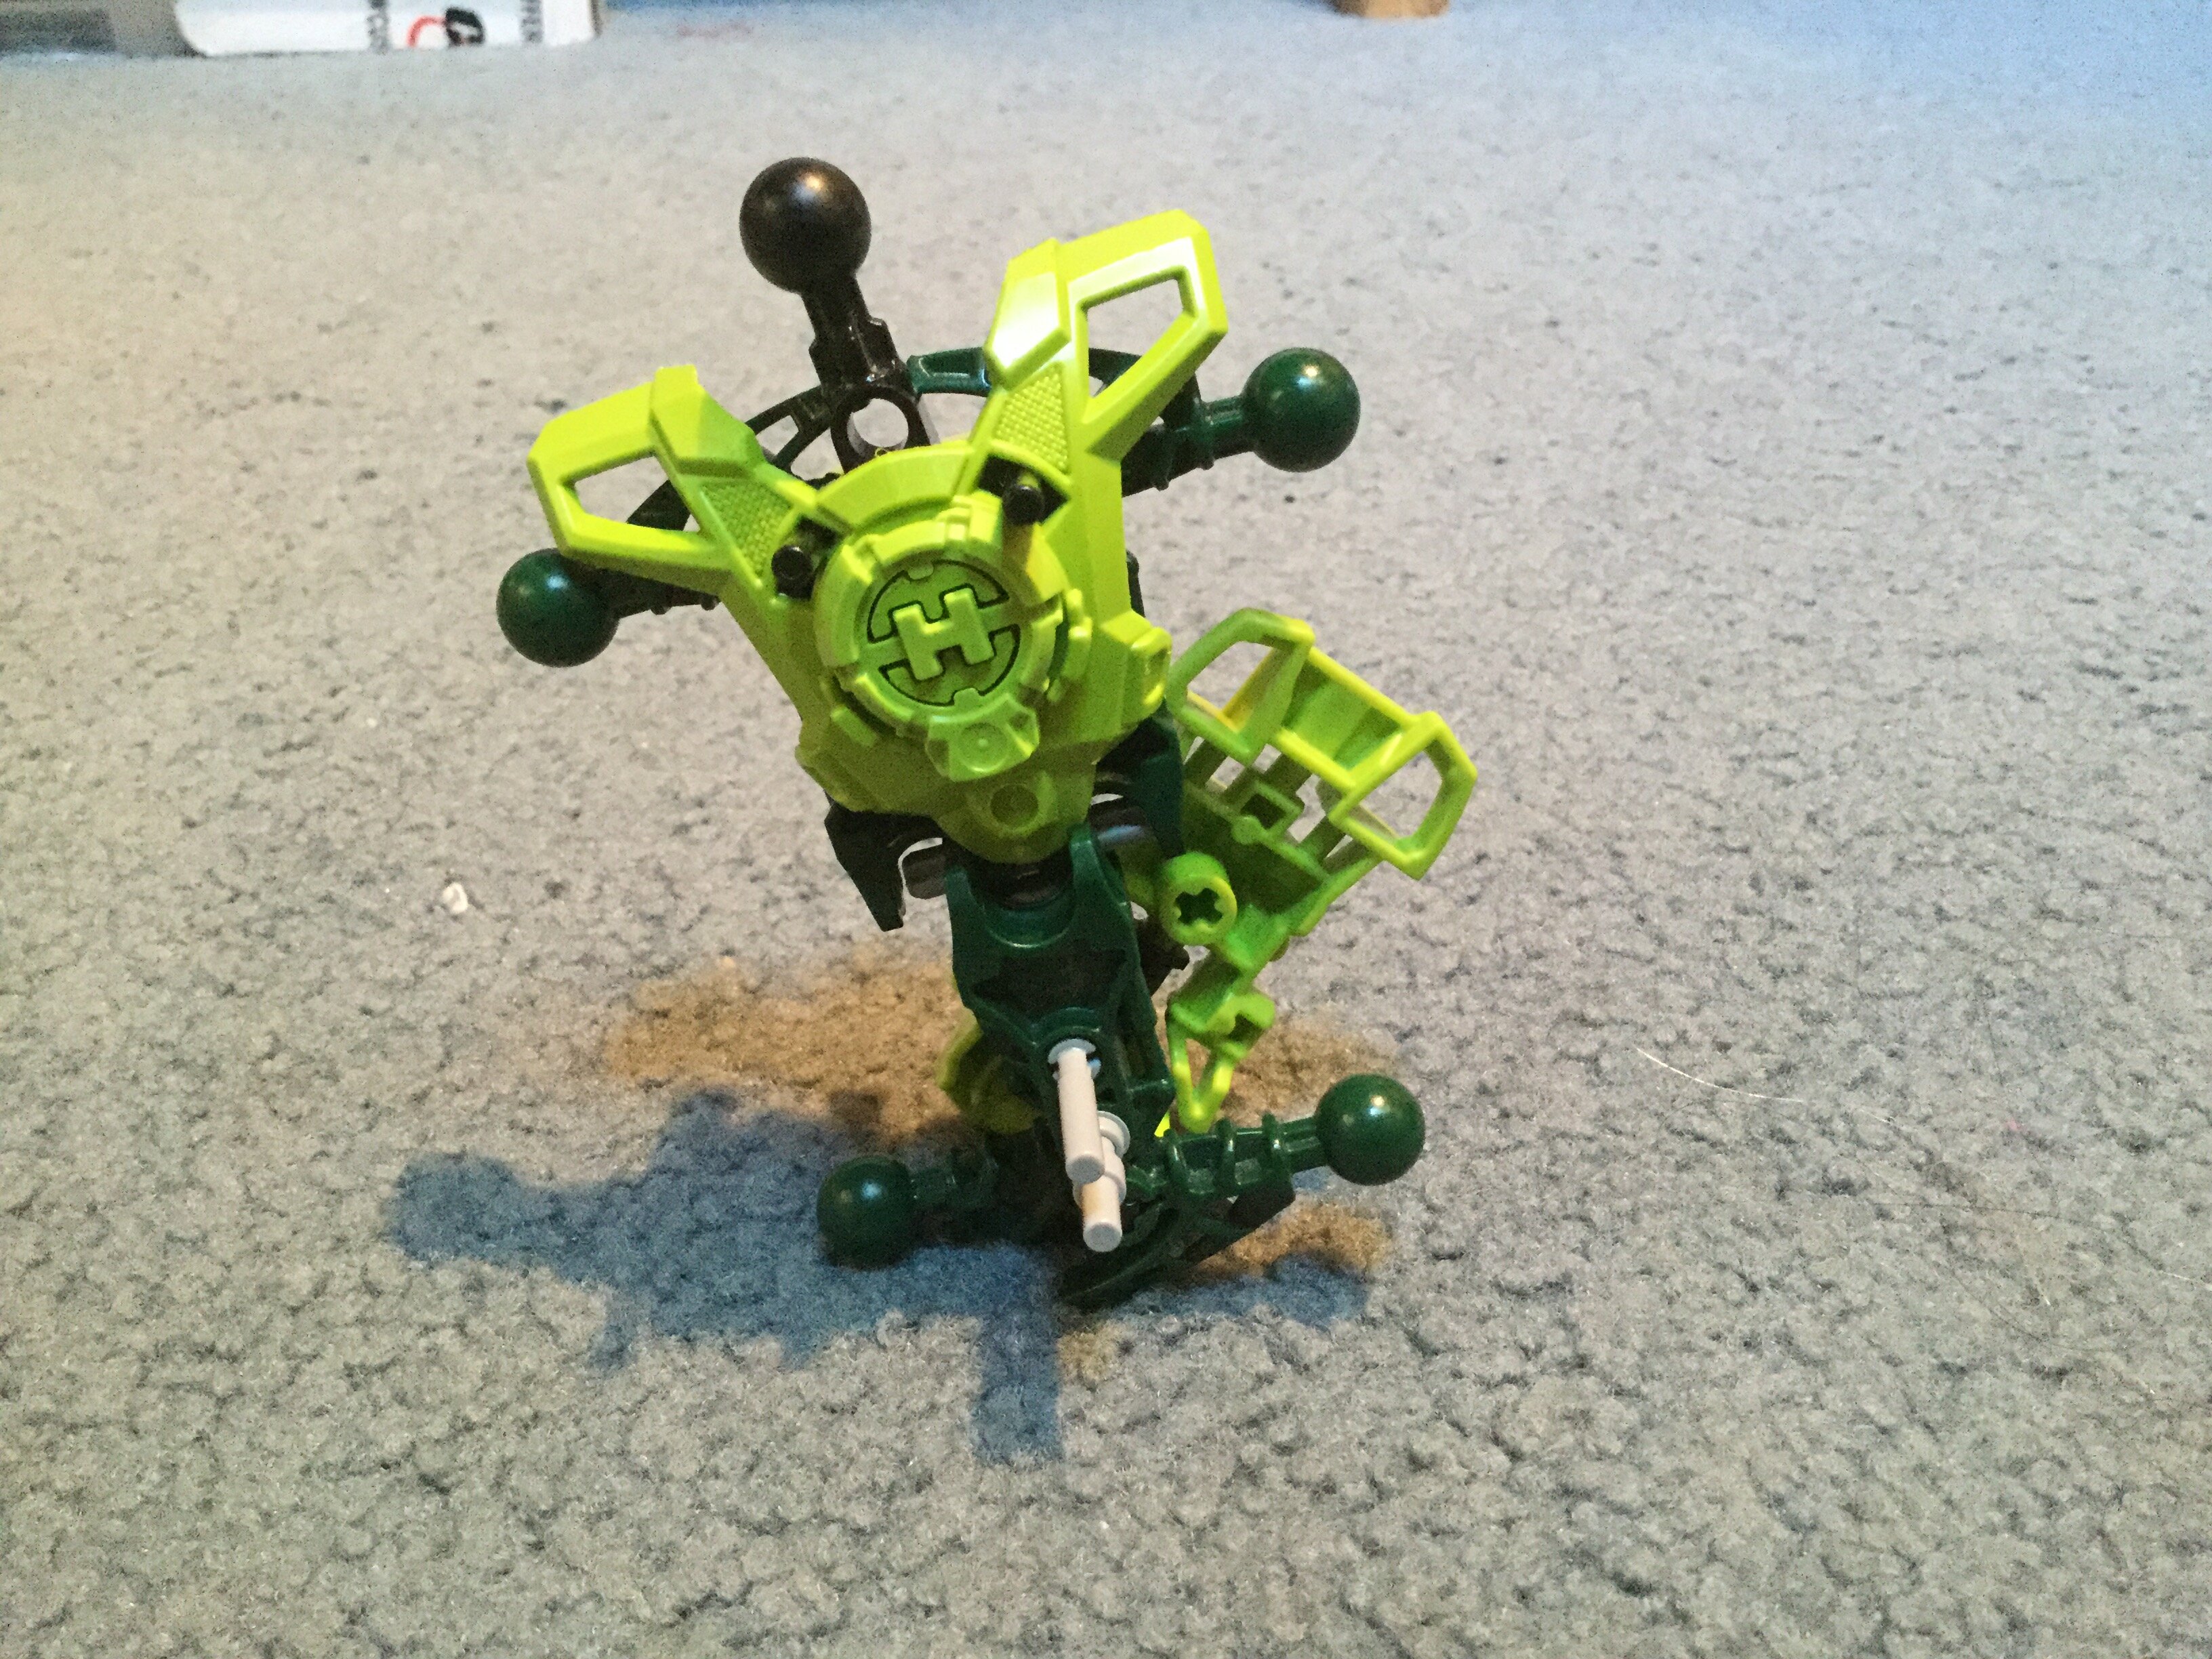
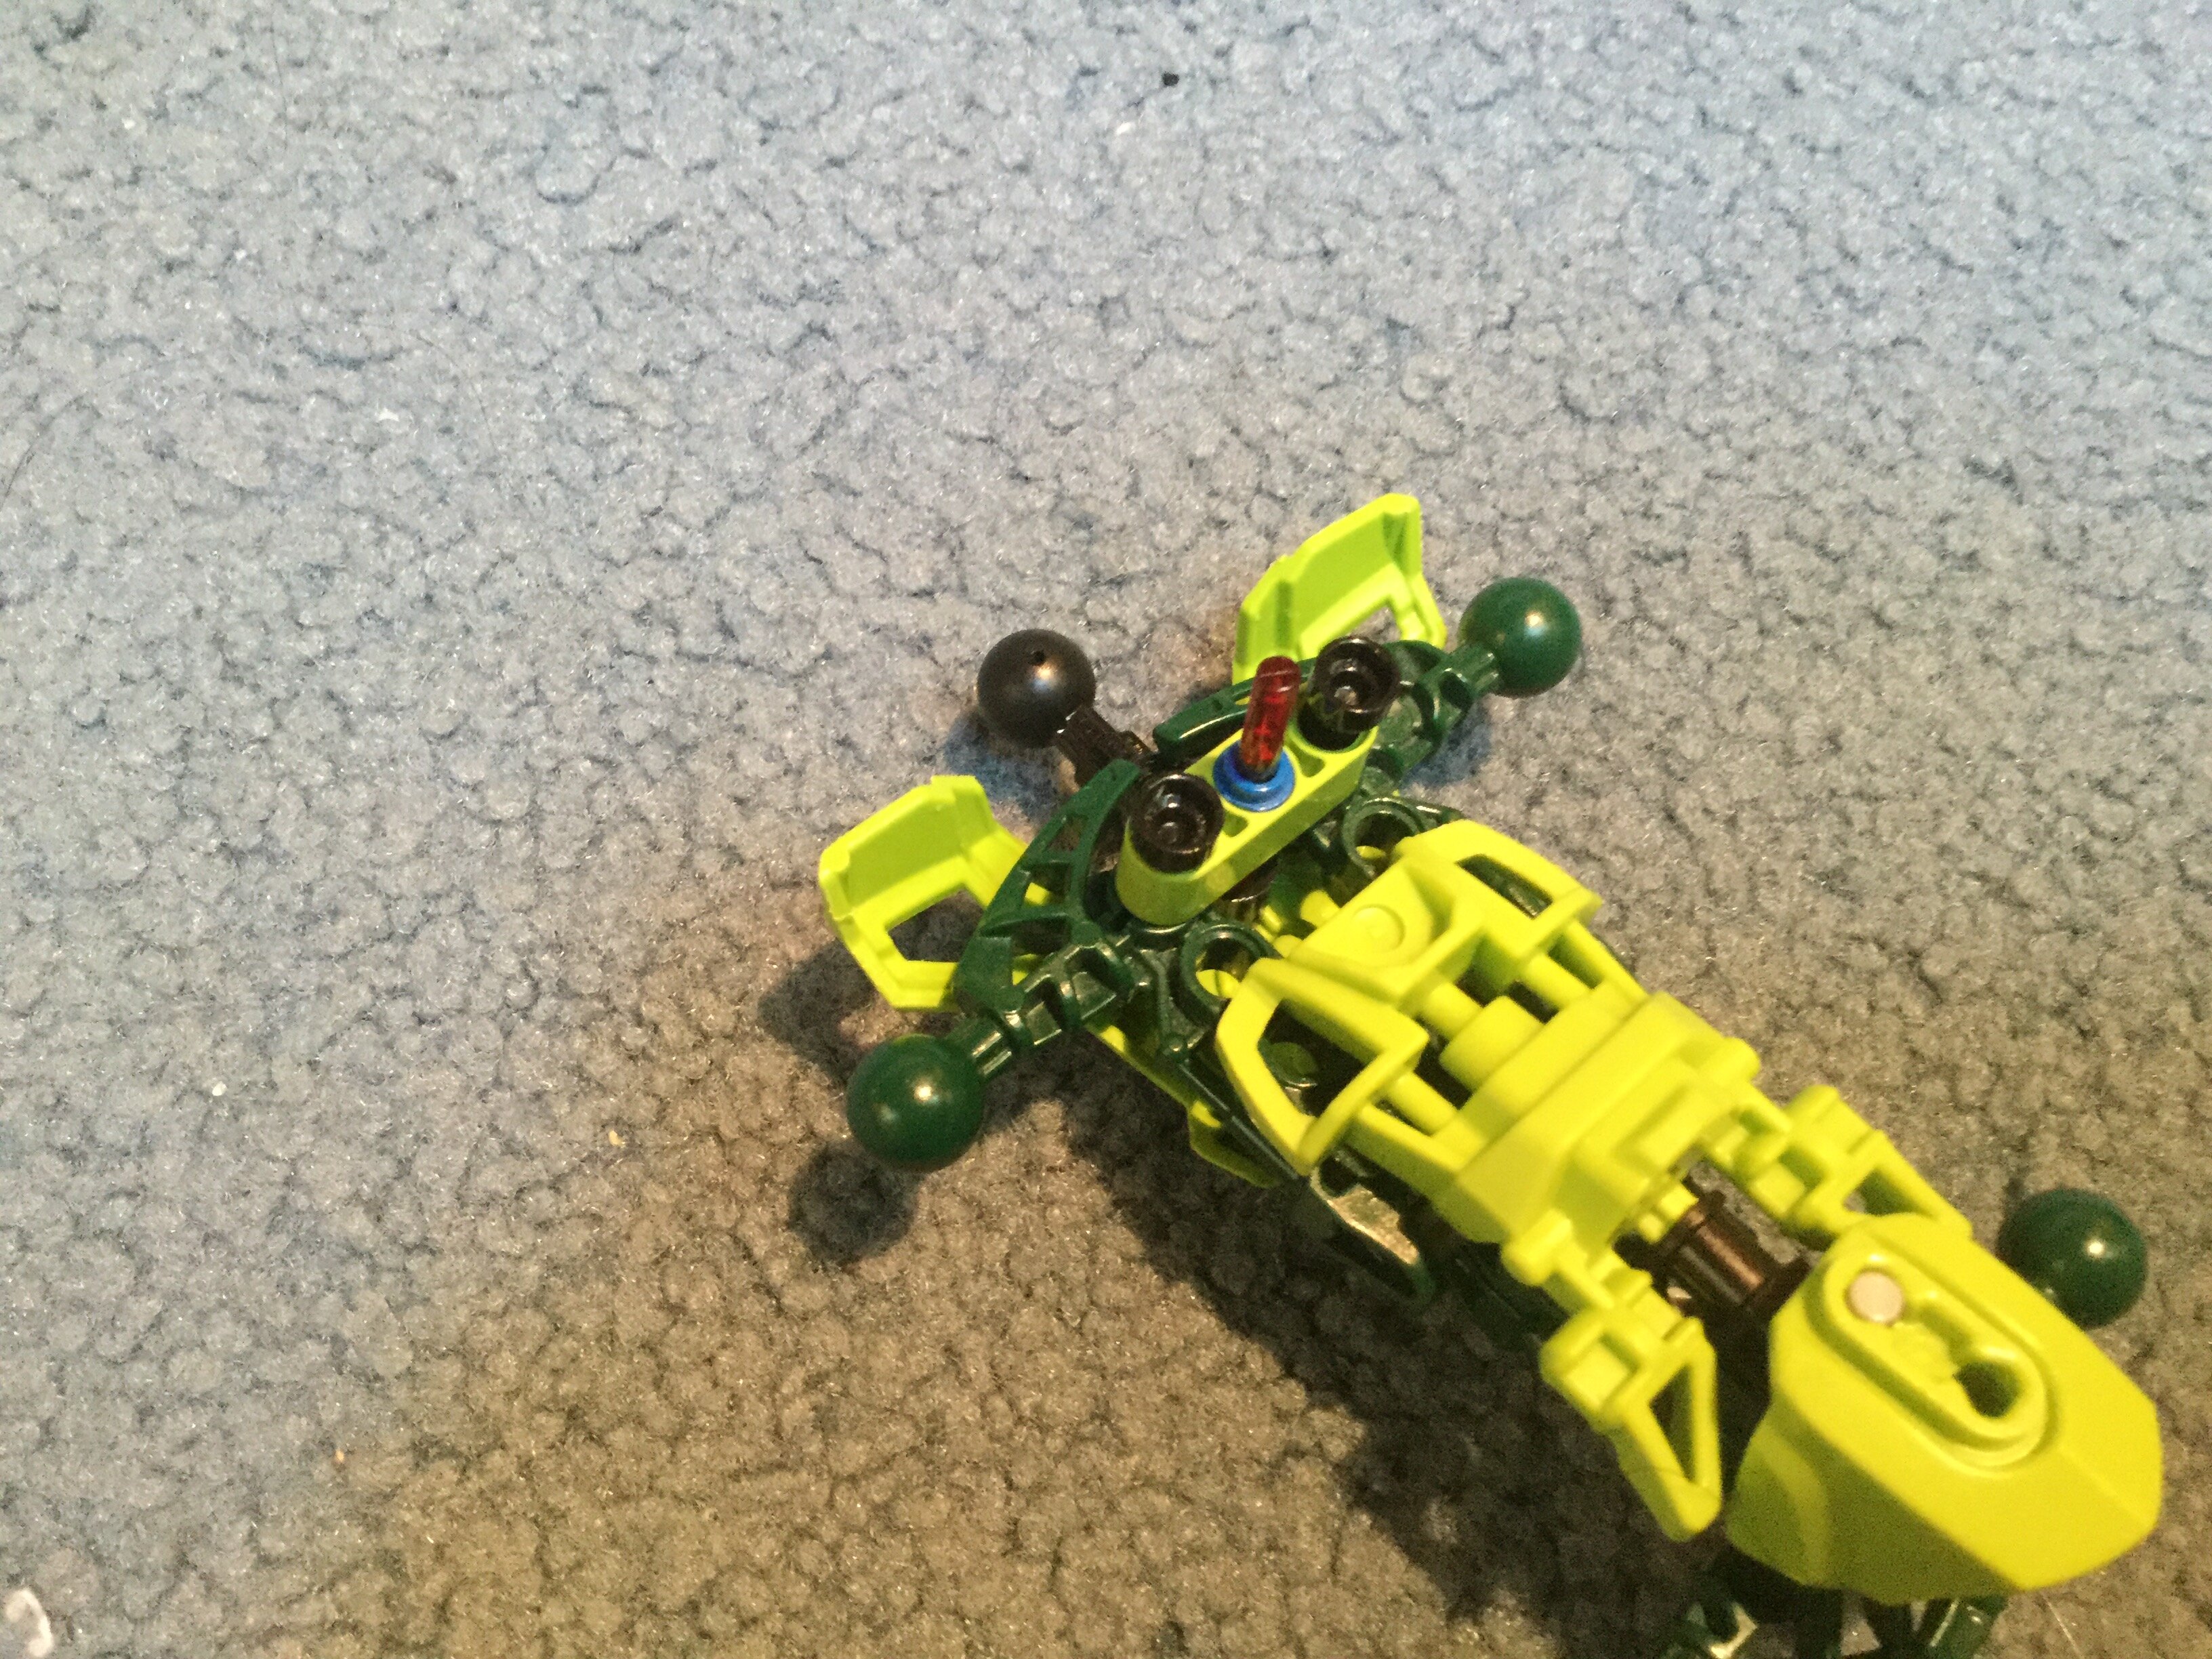
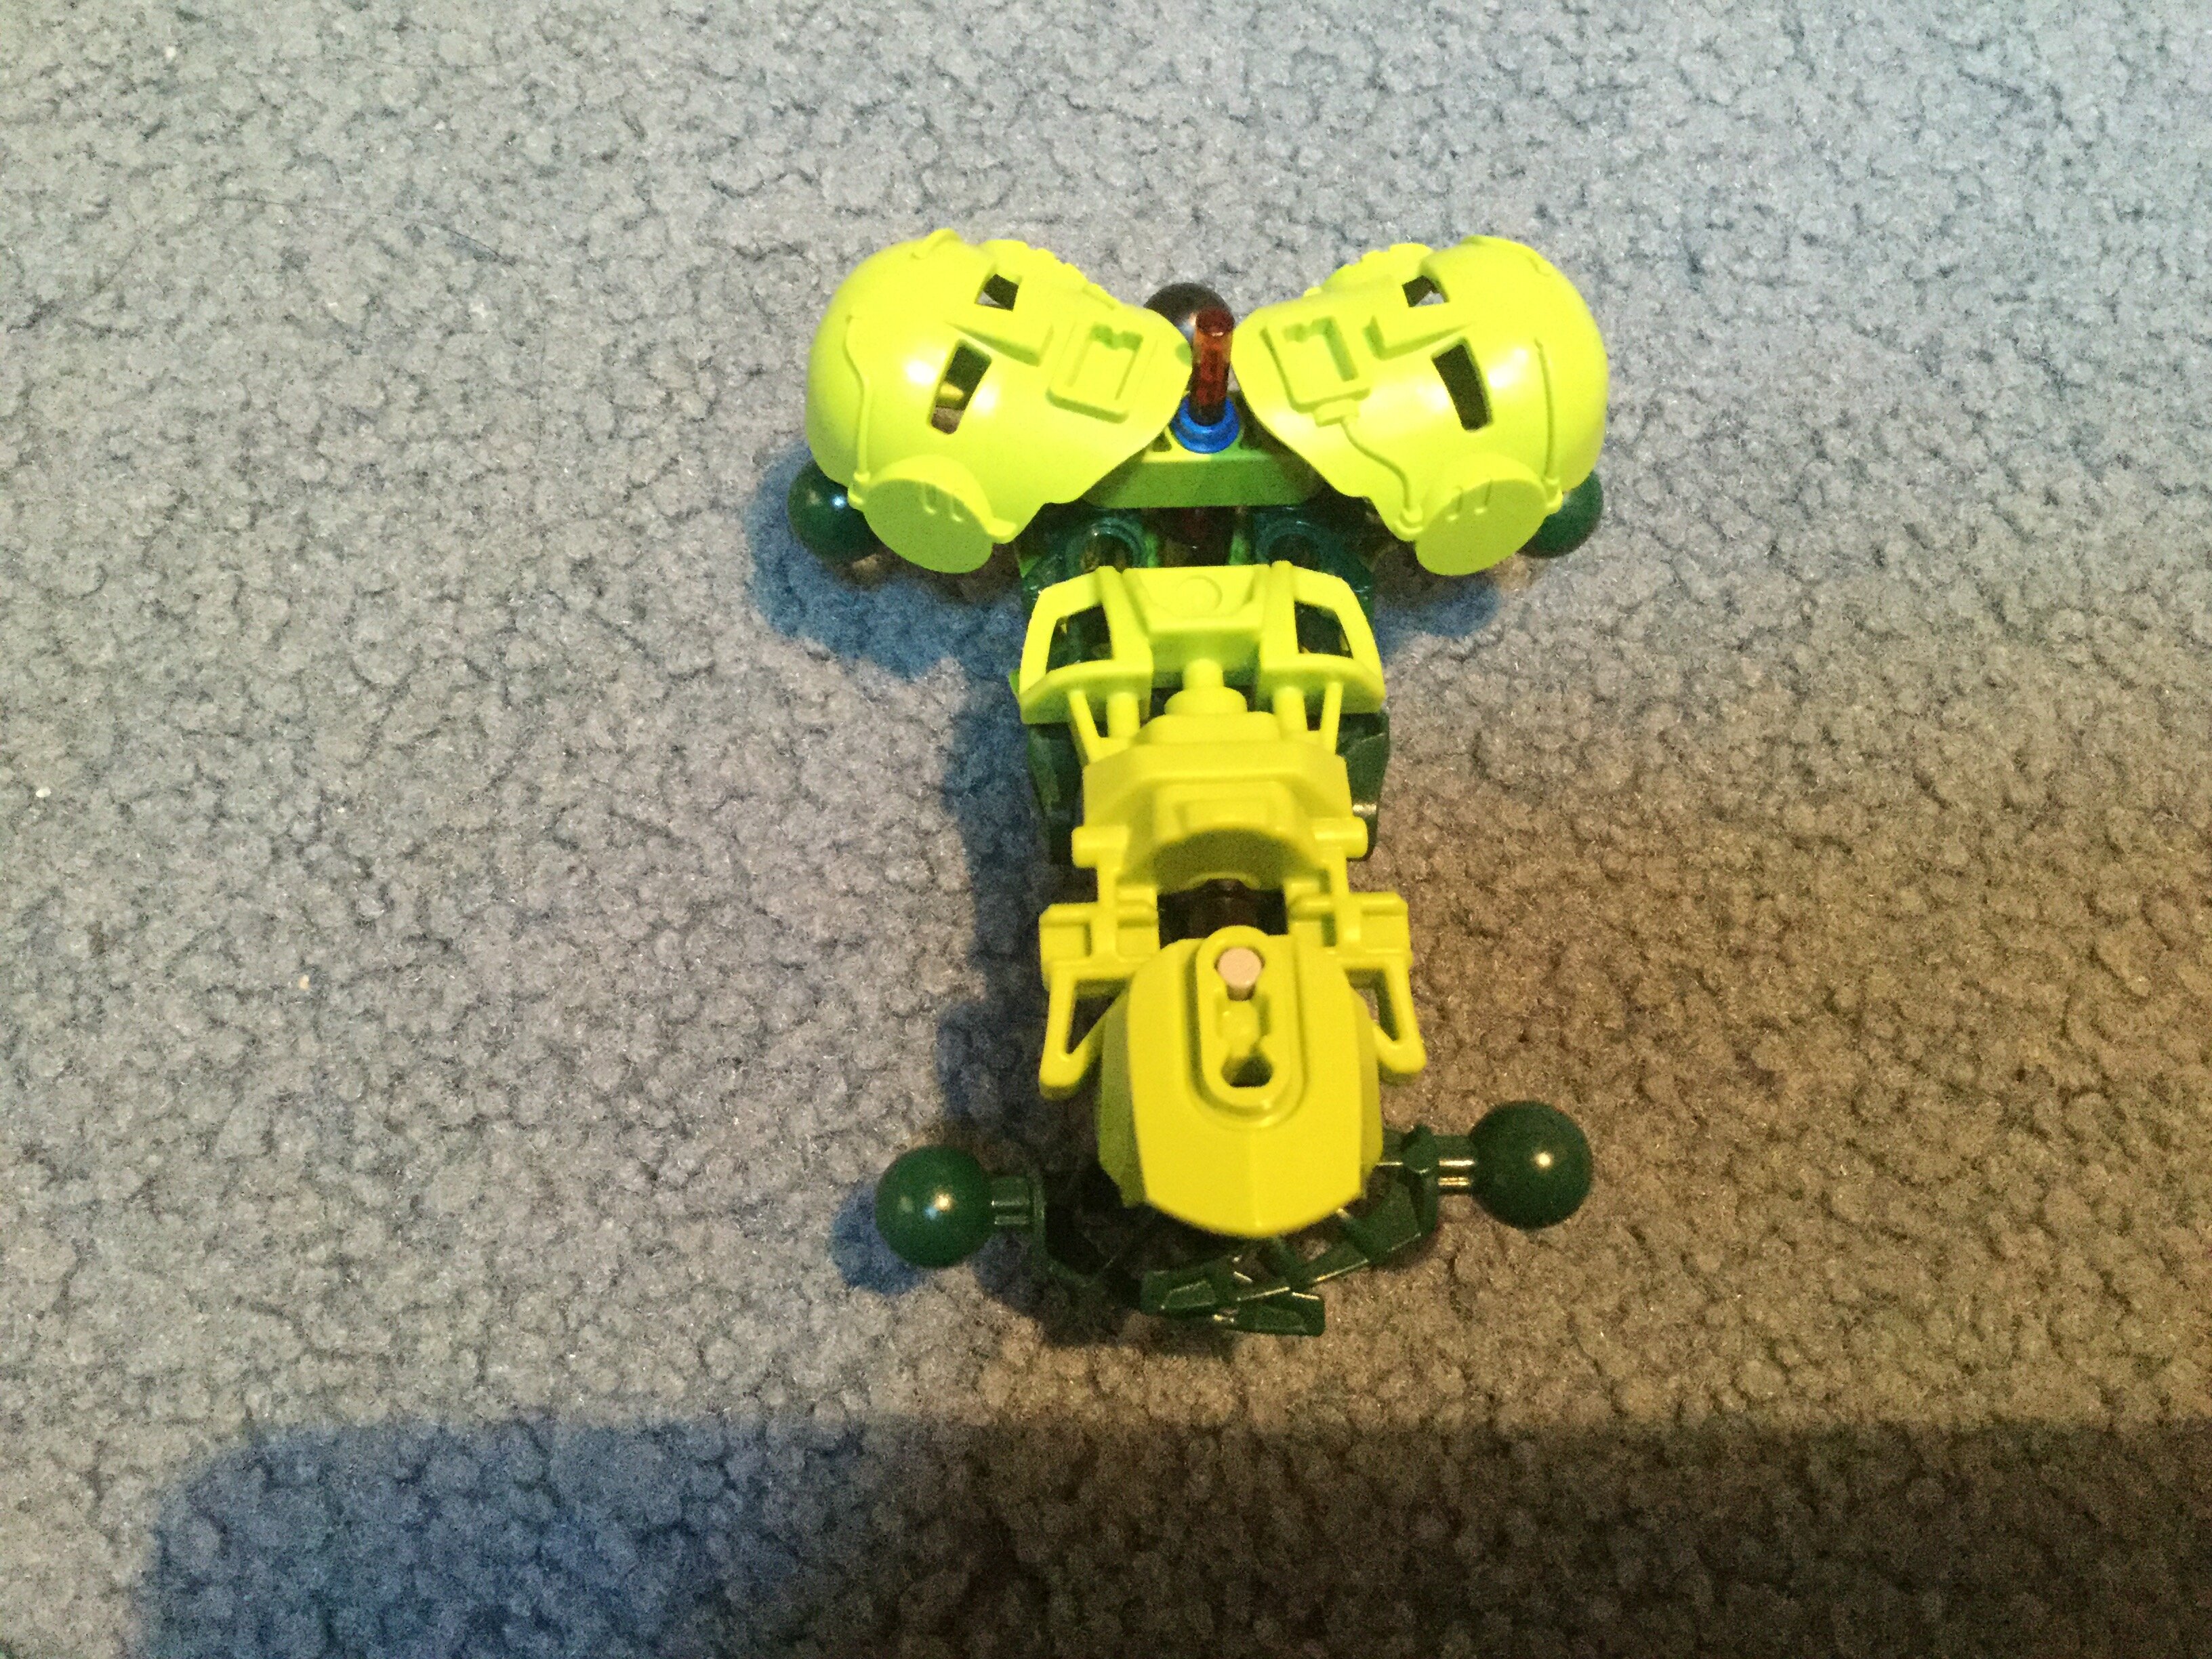
but one leg is further back than the other, that would look awkard
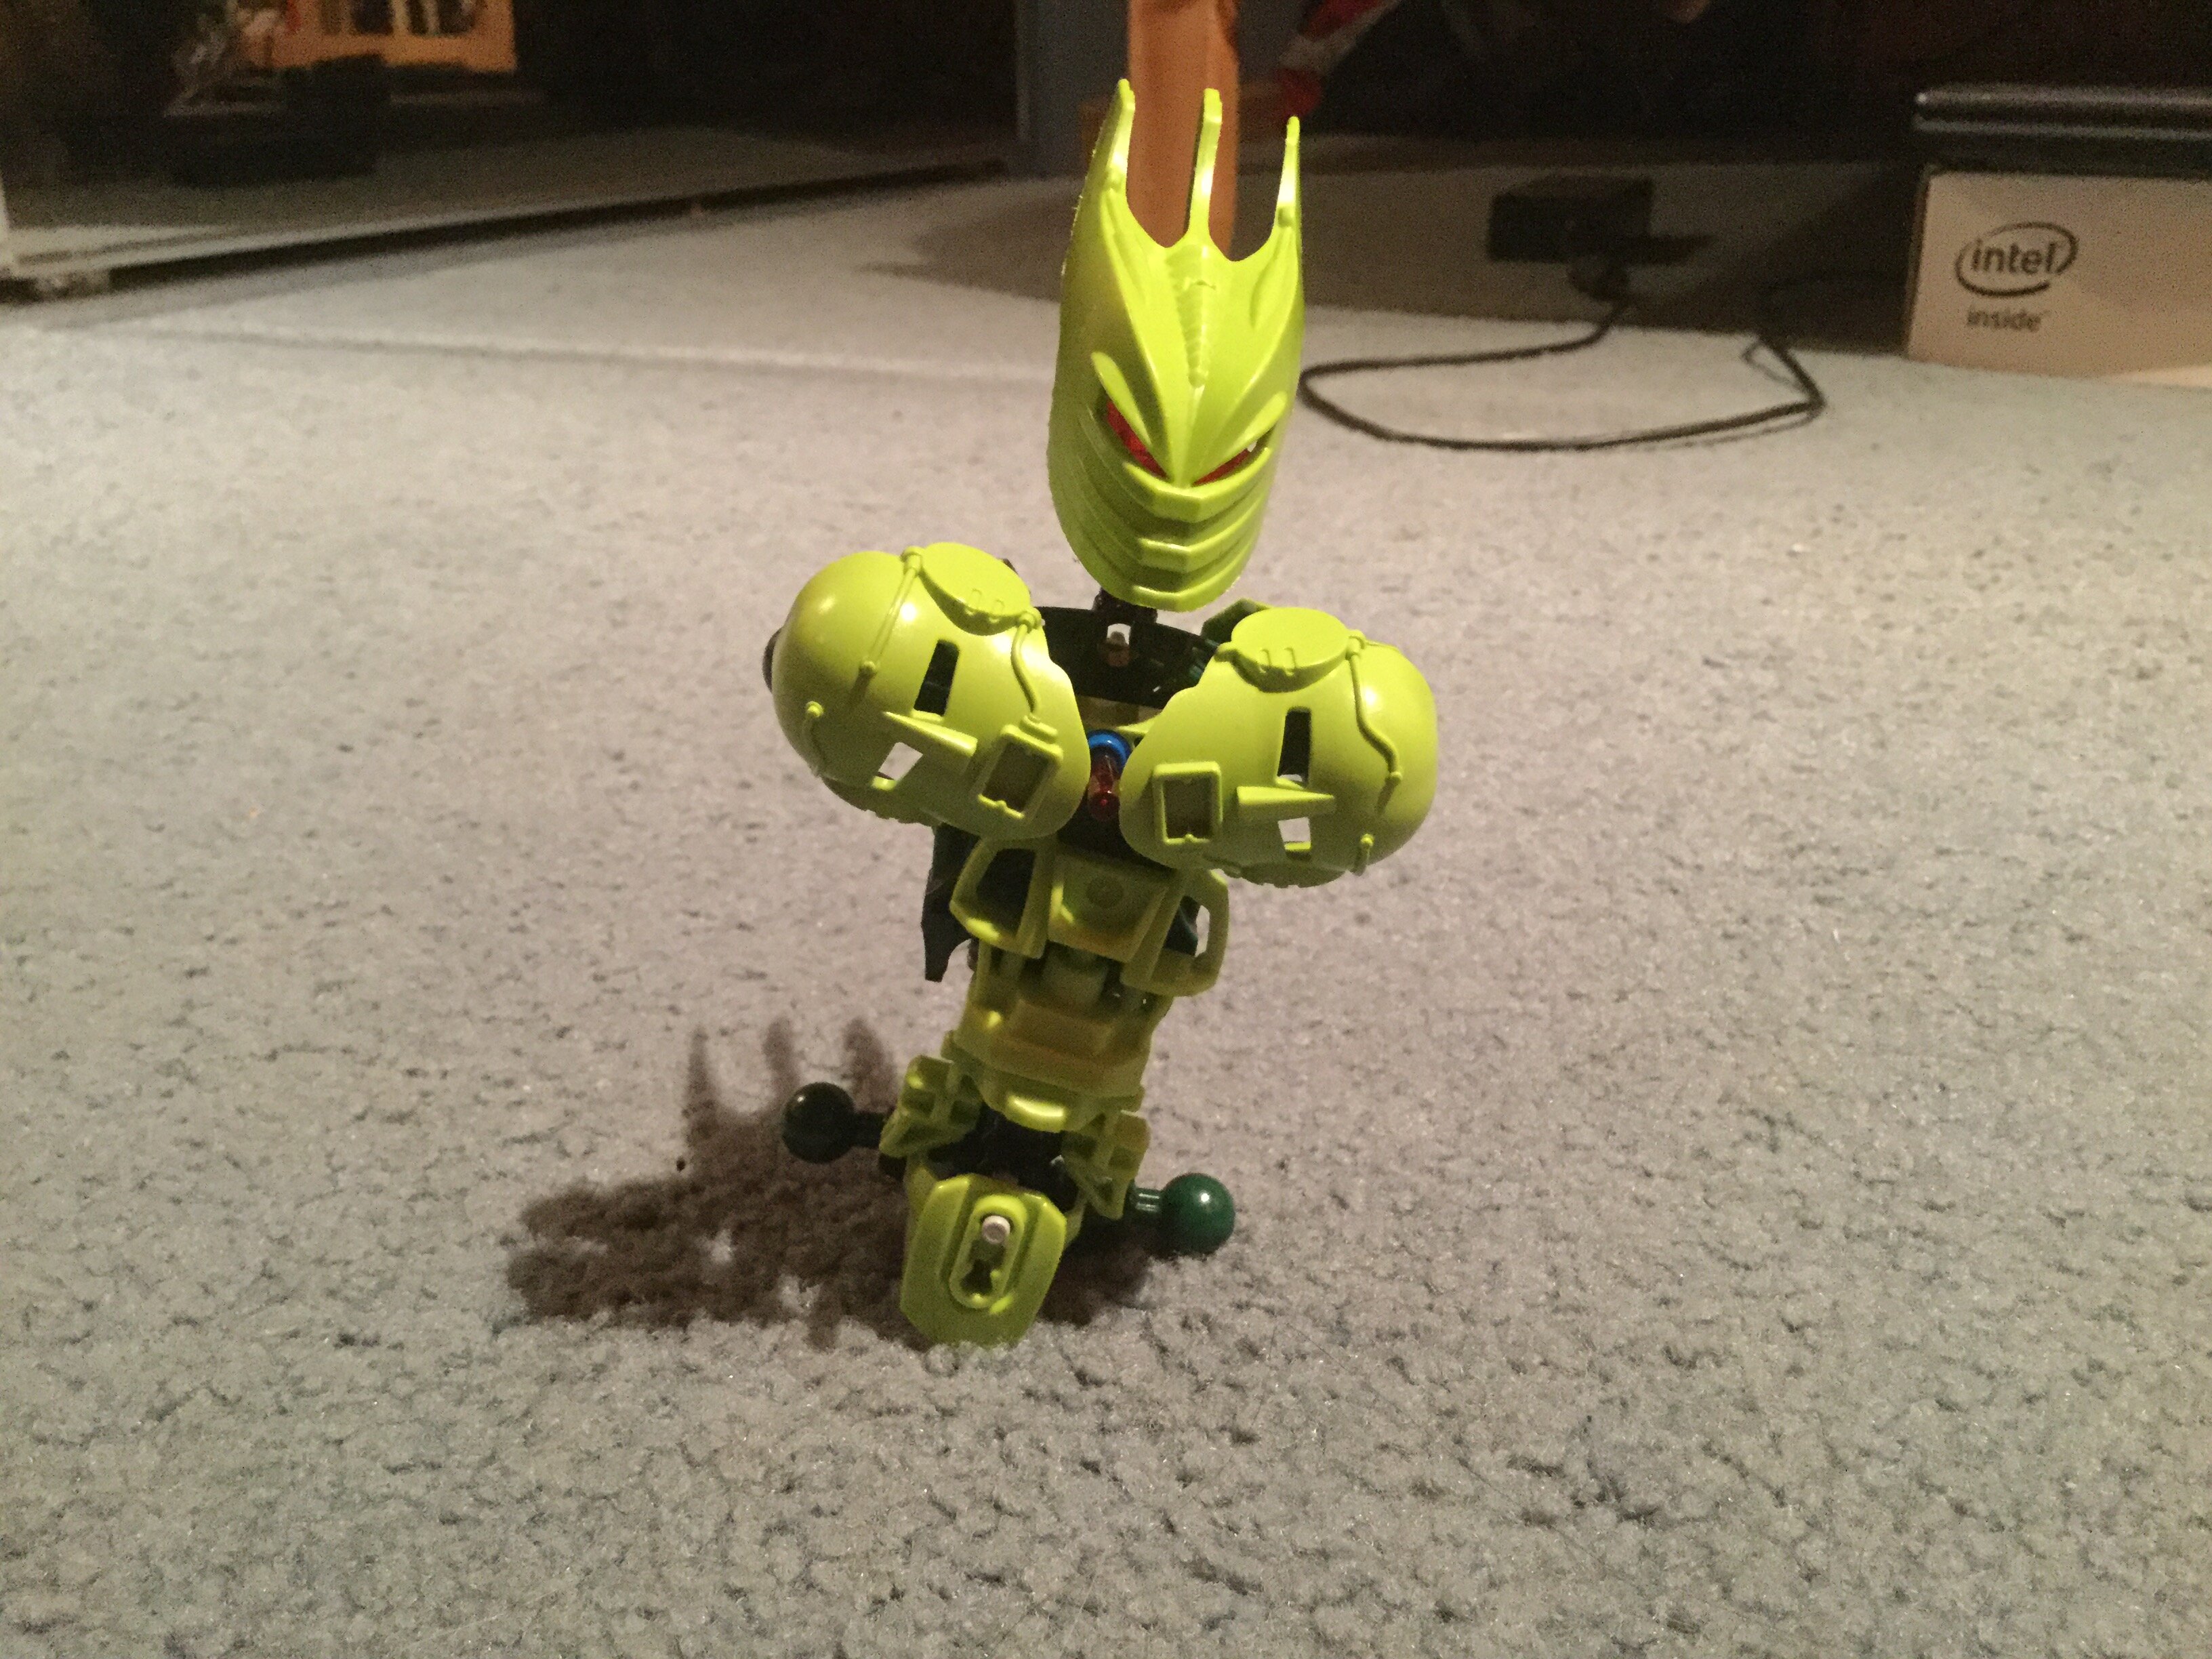
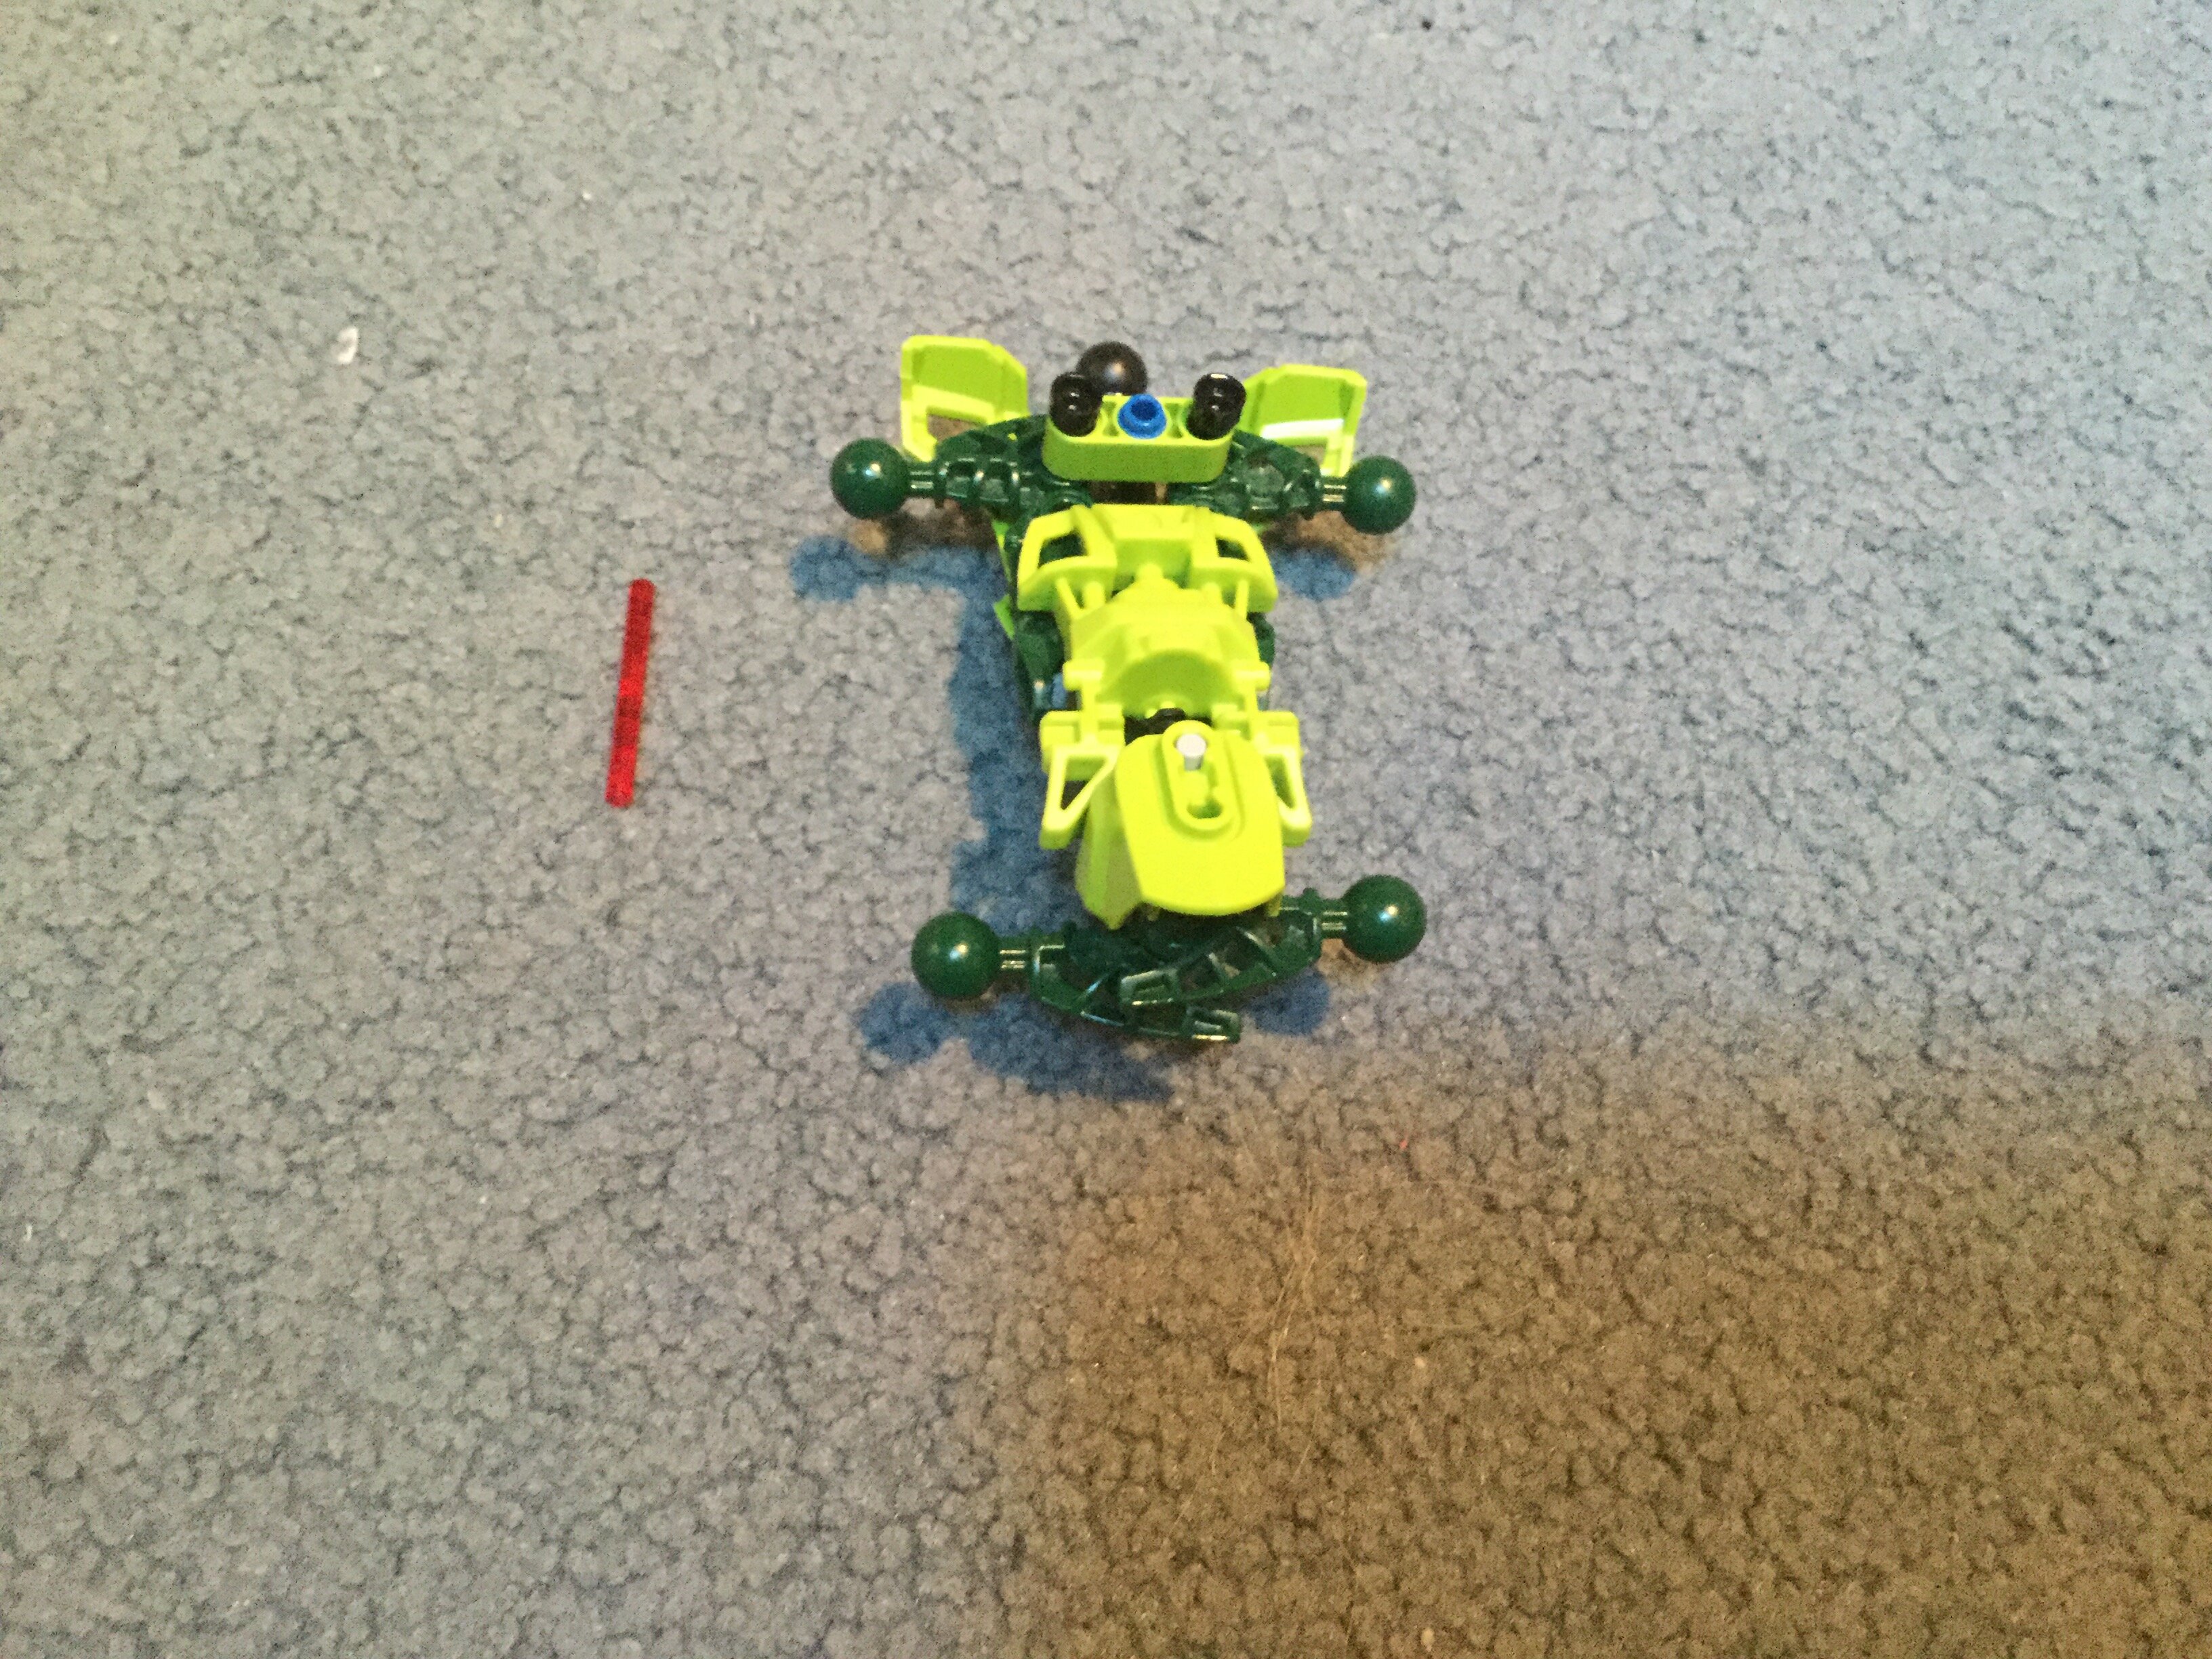
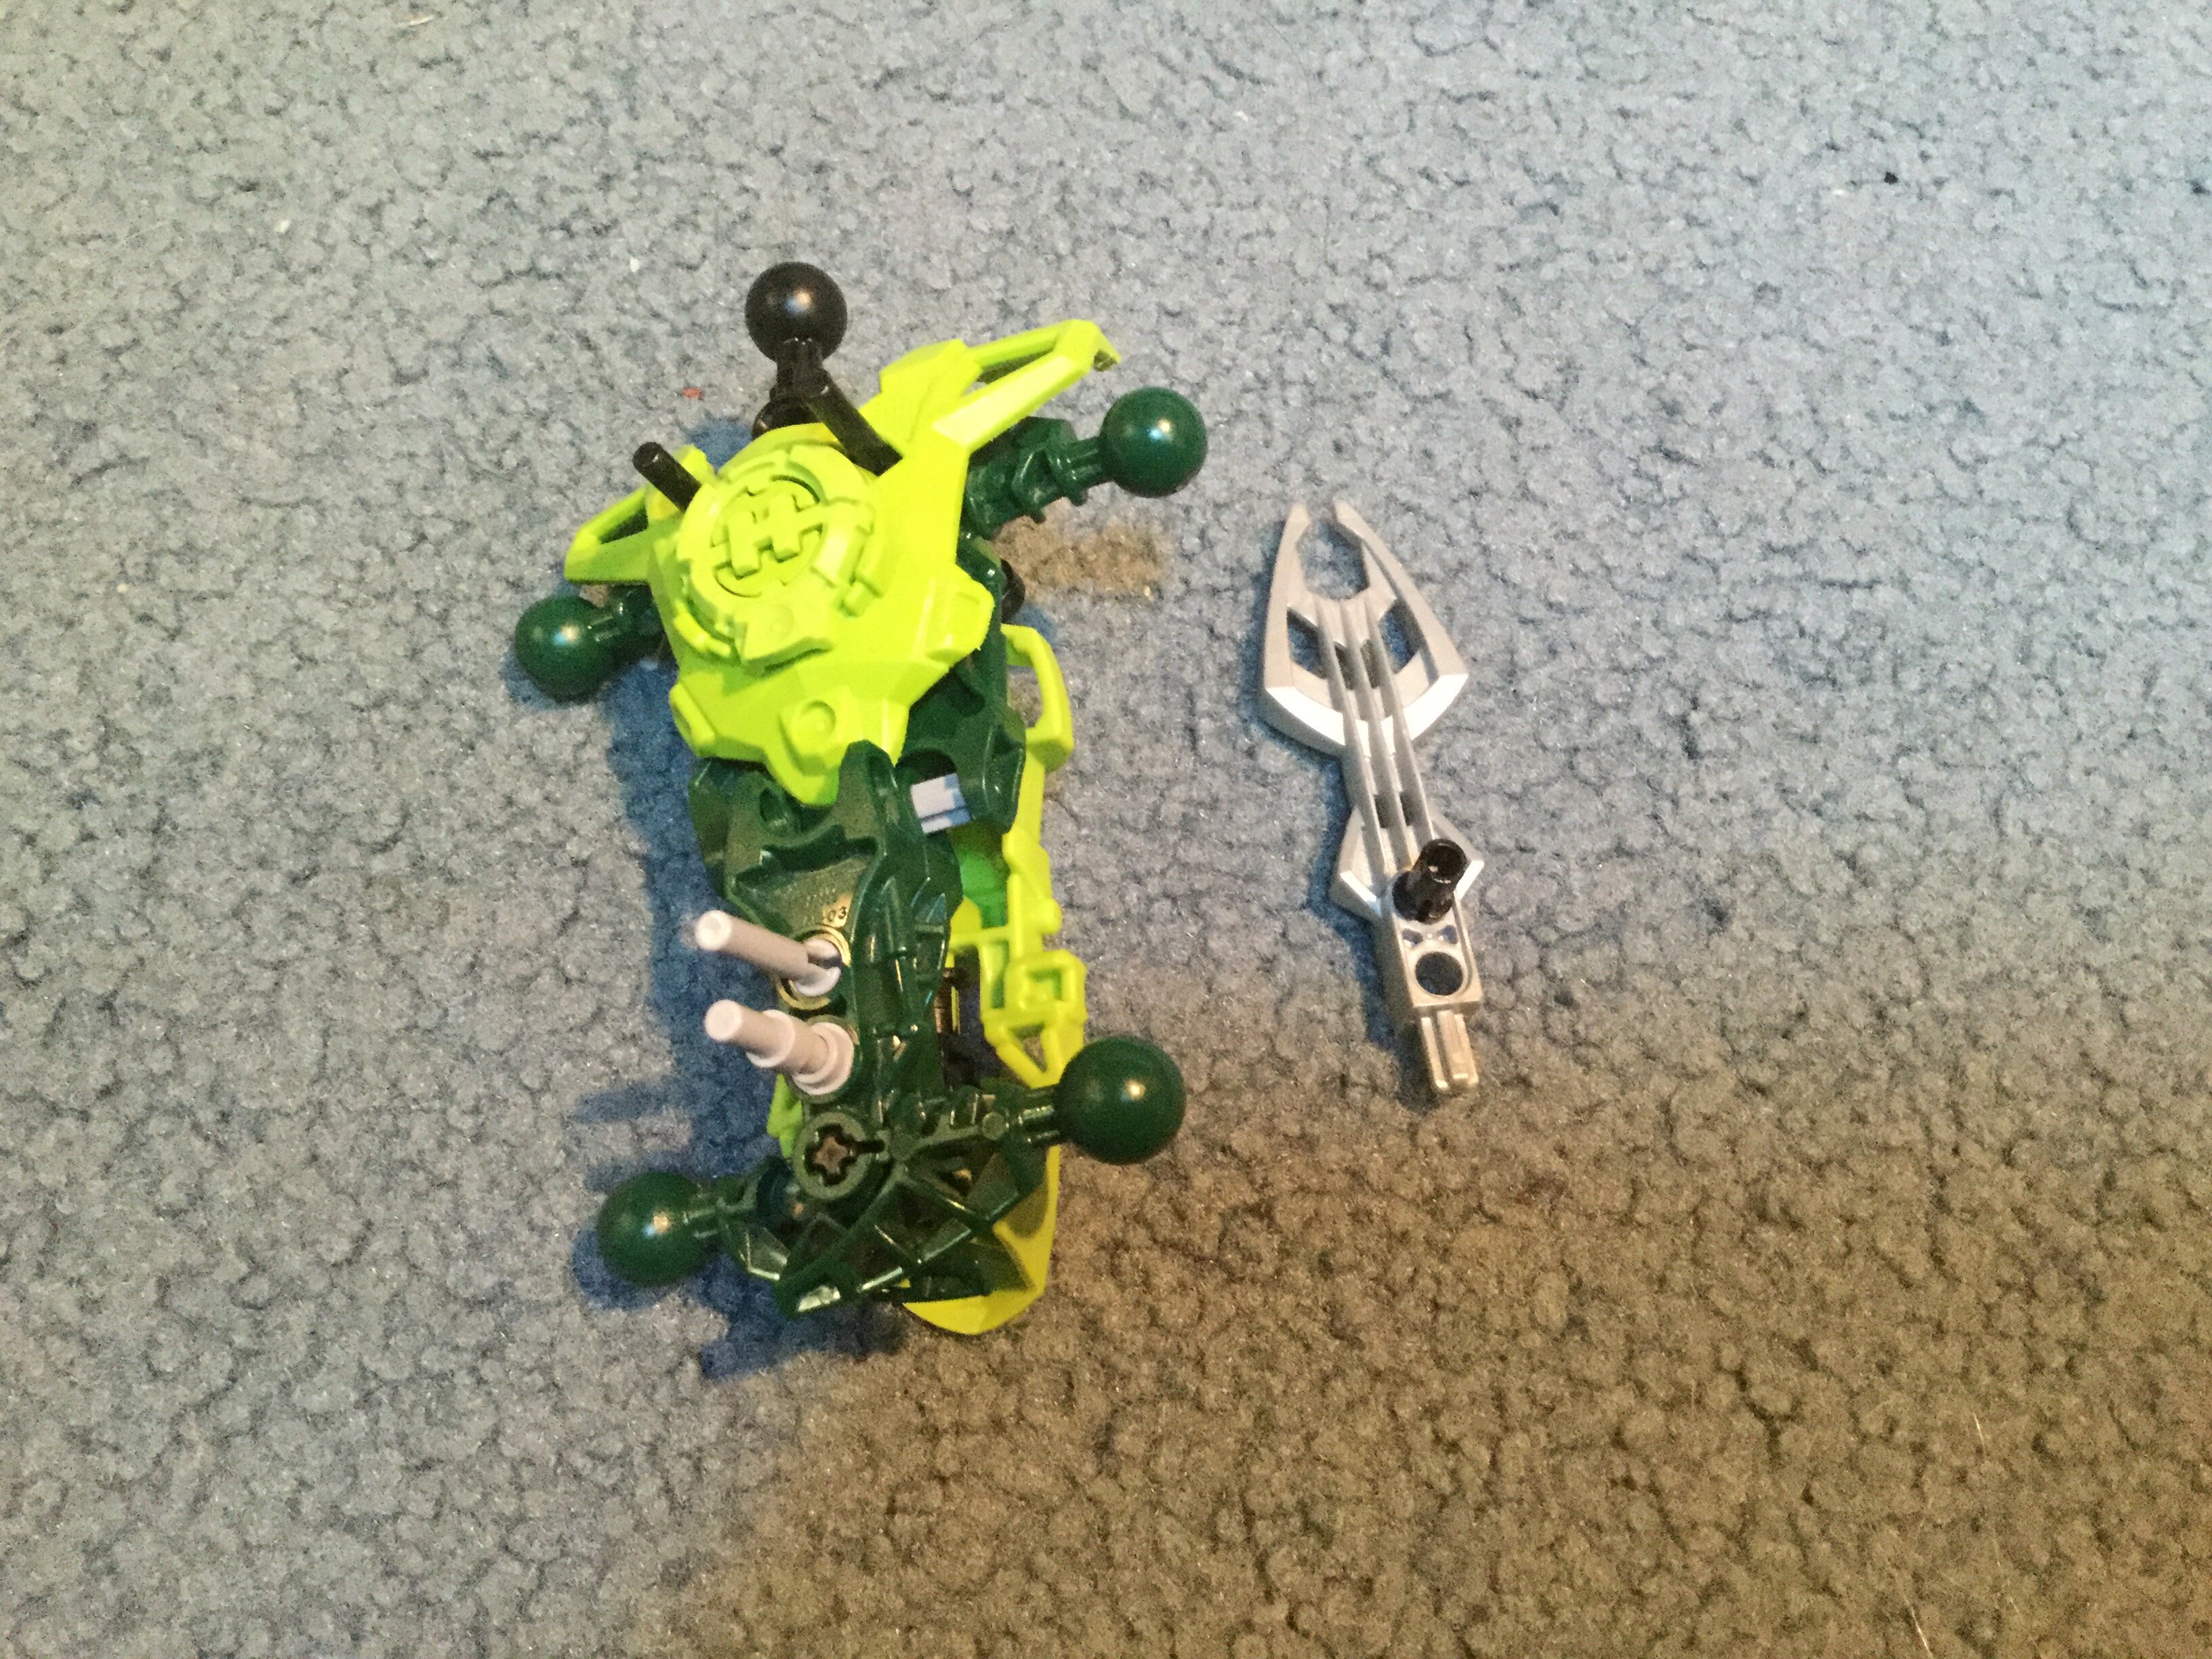
One of a few flaws about this torso. If you try to move the arms forward, the masks fall off.
Not saying it’s perfect, mind you, but at least it can serve as a decent starting point.
Anyone have tips on building a custom upper arm that the same dimensions as this CCBS bone piece, but more filled in?
You mean aside from slapping together a G1 friction socket, a straight axel/axel connector, a two and three peg long axel, and two loose ball joints, one of the more recent design and the other the original?
Speaking of which, I recently came up with a somewhat custom head design for a MoC I’ve been working on, and I figured I’d share it since I personally haven’t seen it anywhere else. It’s relatively simple, and really only consists of six pieces, so all of you shouldn’t have much of an issue building it without pictures.
What you’ll need:
An HF 2.0 head - not the cap or visor/goggle attachment, just the head.
One pneumatic T-bar, a.k.a. that one piece used to connect Hydraxon’s fingers.
One system clip; the one that resembles minifigure hands.
One HF Brain Attack Visor.**
One translucent Bohrok eye.**
And one of Hydraxon’s claw tips from said fingers.***
** Should be the same color/shade.
*** Should be a color similar to the translucent pieces or the actual head in question.
How To Build
If you’re reading this far and you’ve built it correctly, you should now have a custom-ish head, complete with bangs and ponytail, for use on your future MoCs. Granted, the side you didn’t build off of and the portion that the visor doesn’t cover will appear to have been shaven, but hey, it adds character.
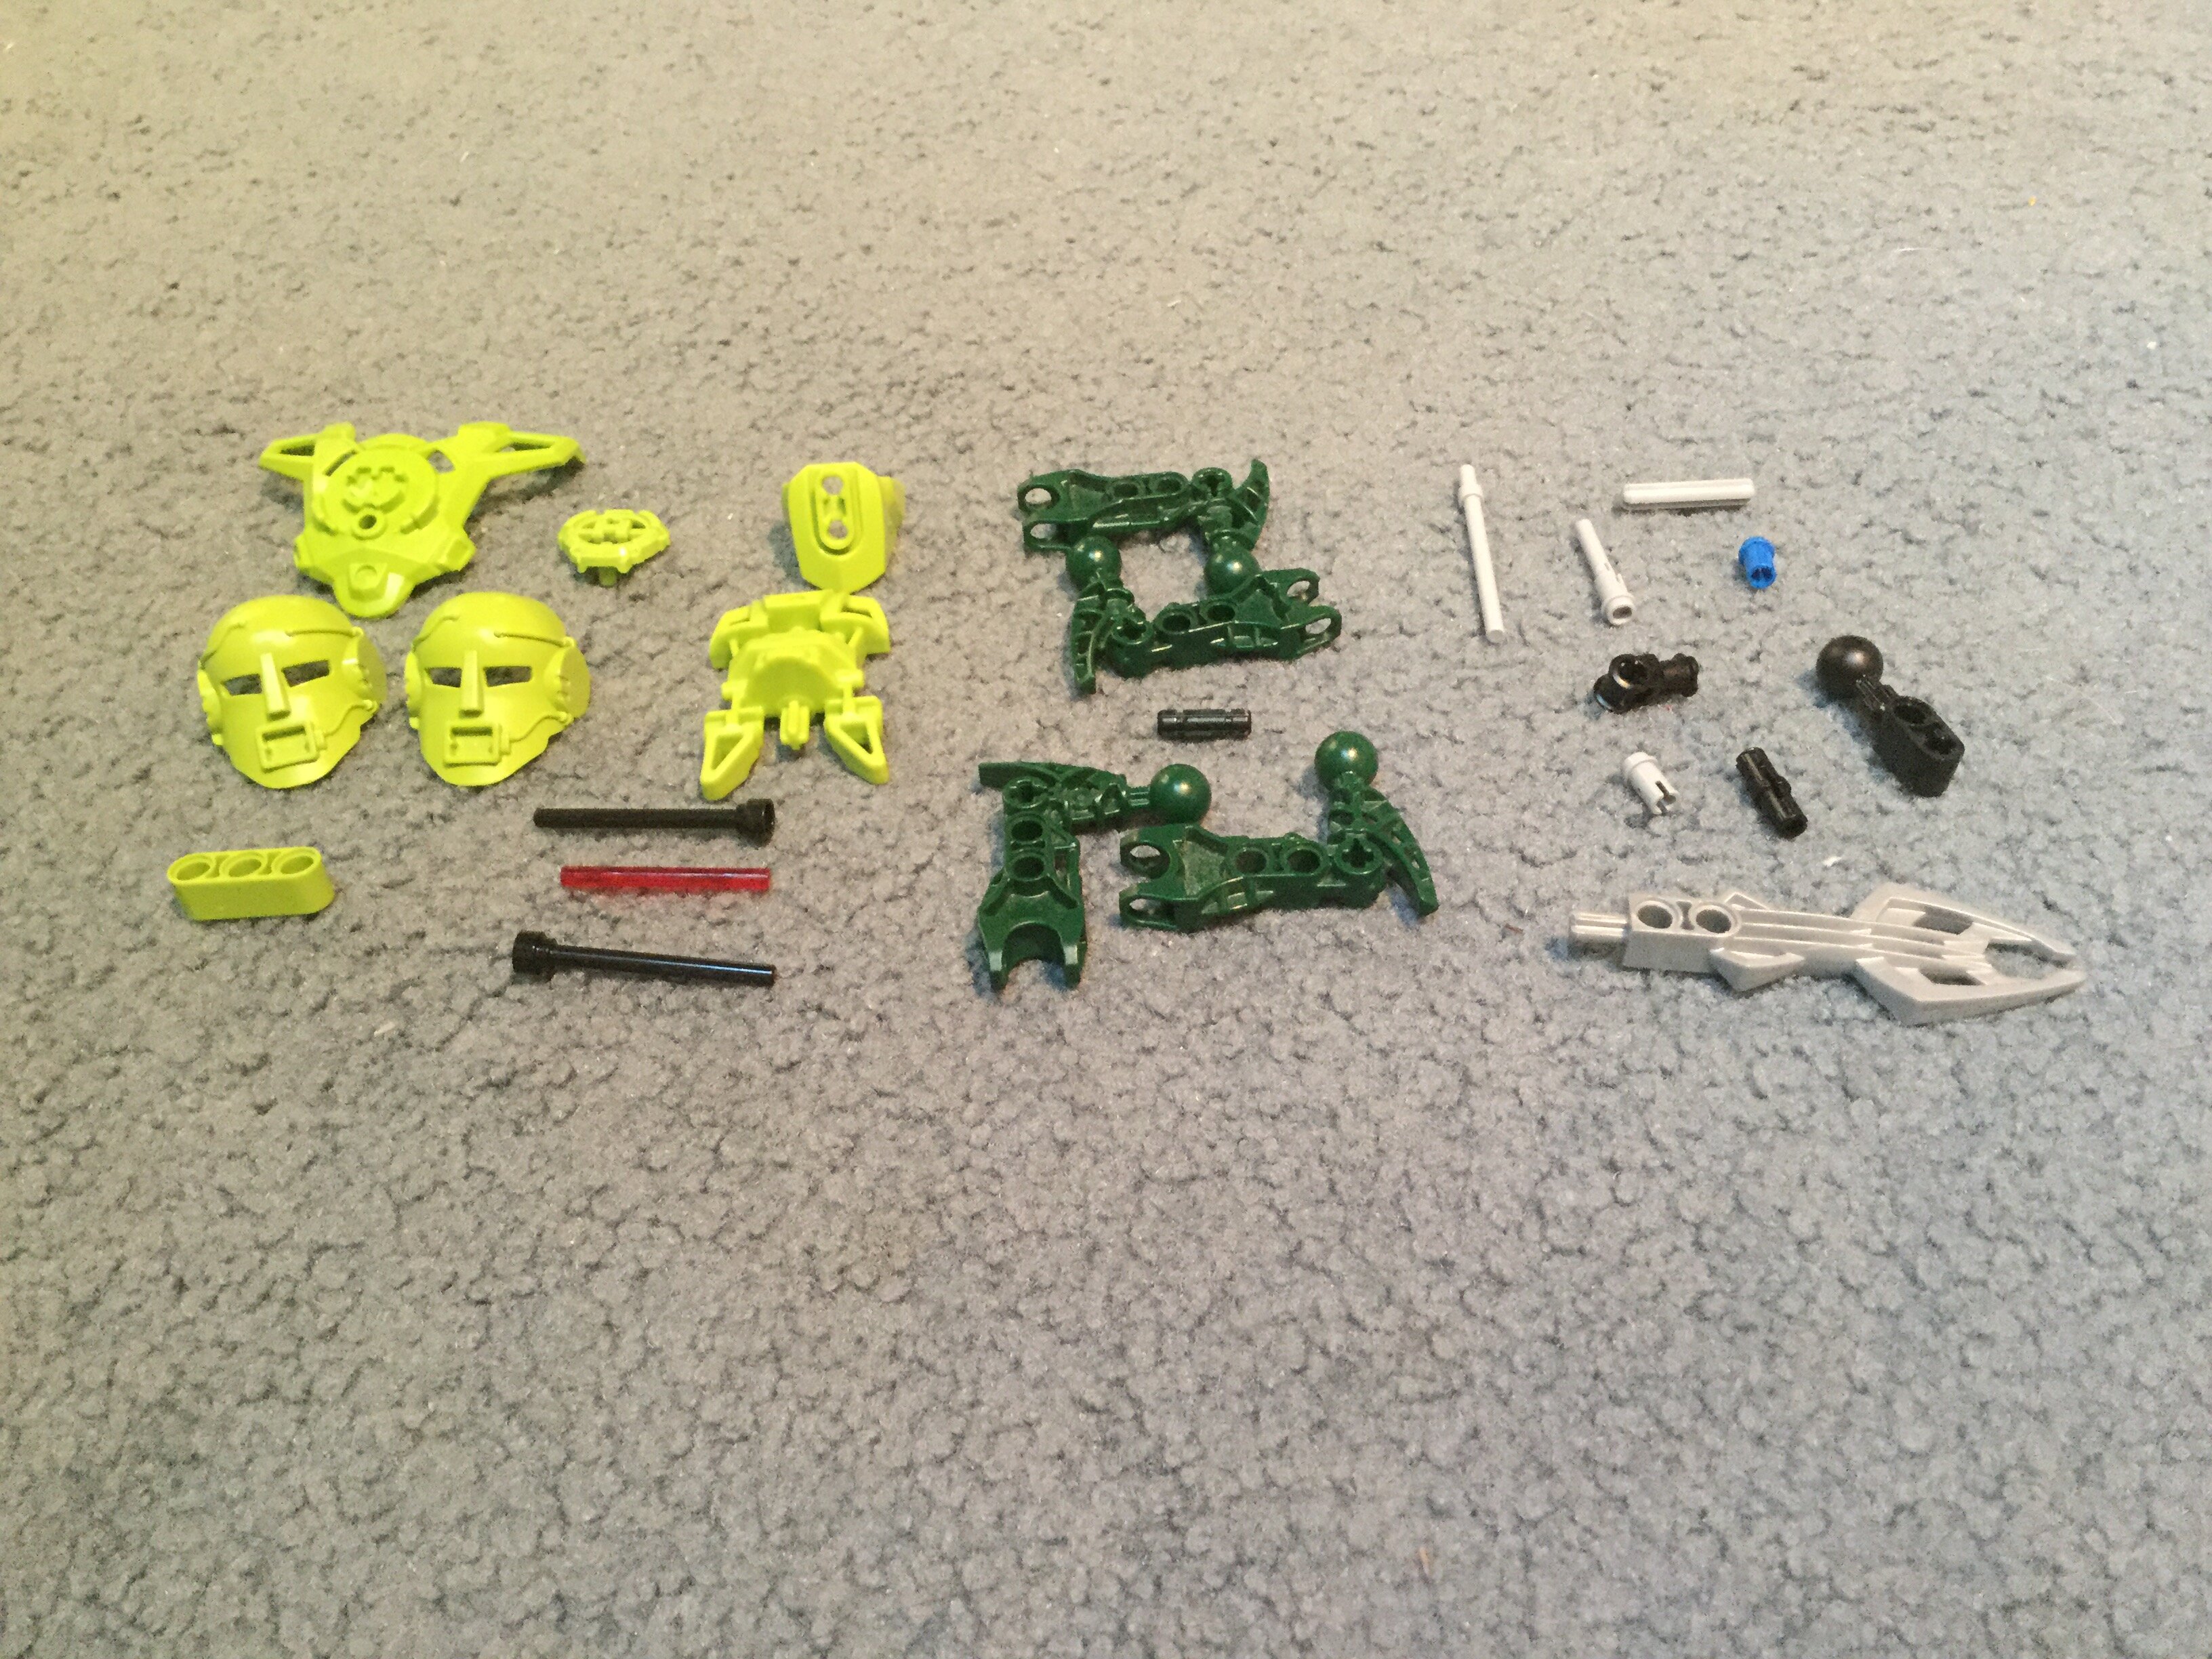
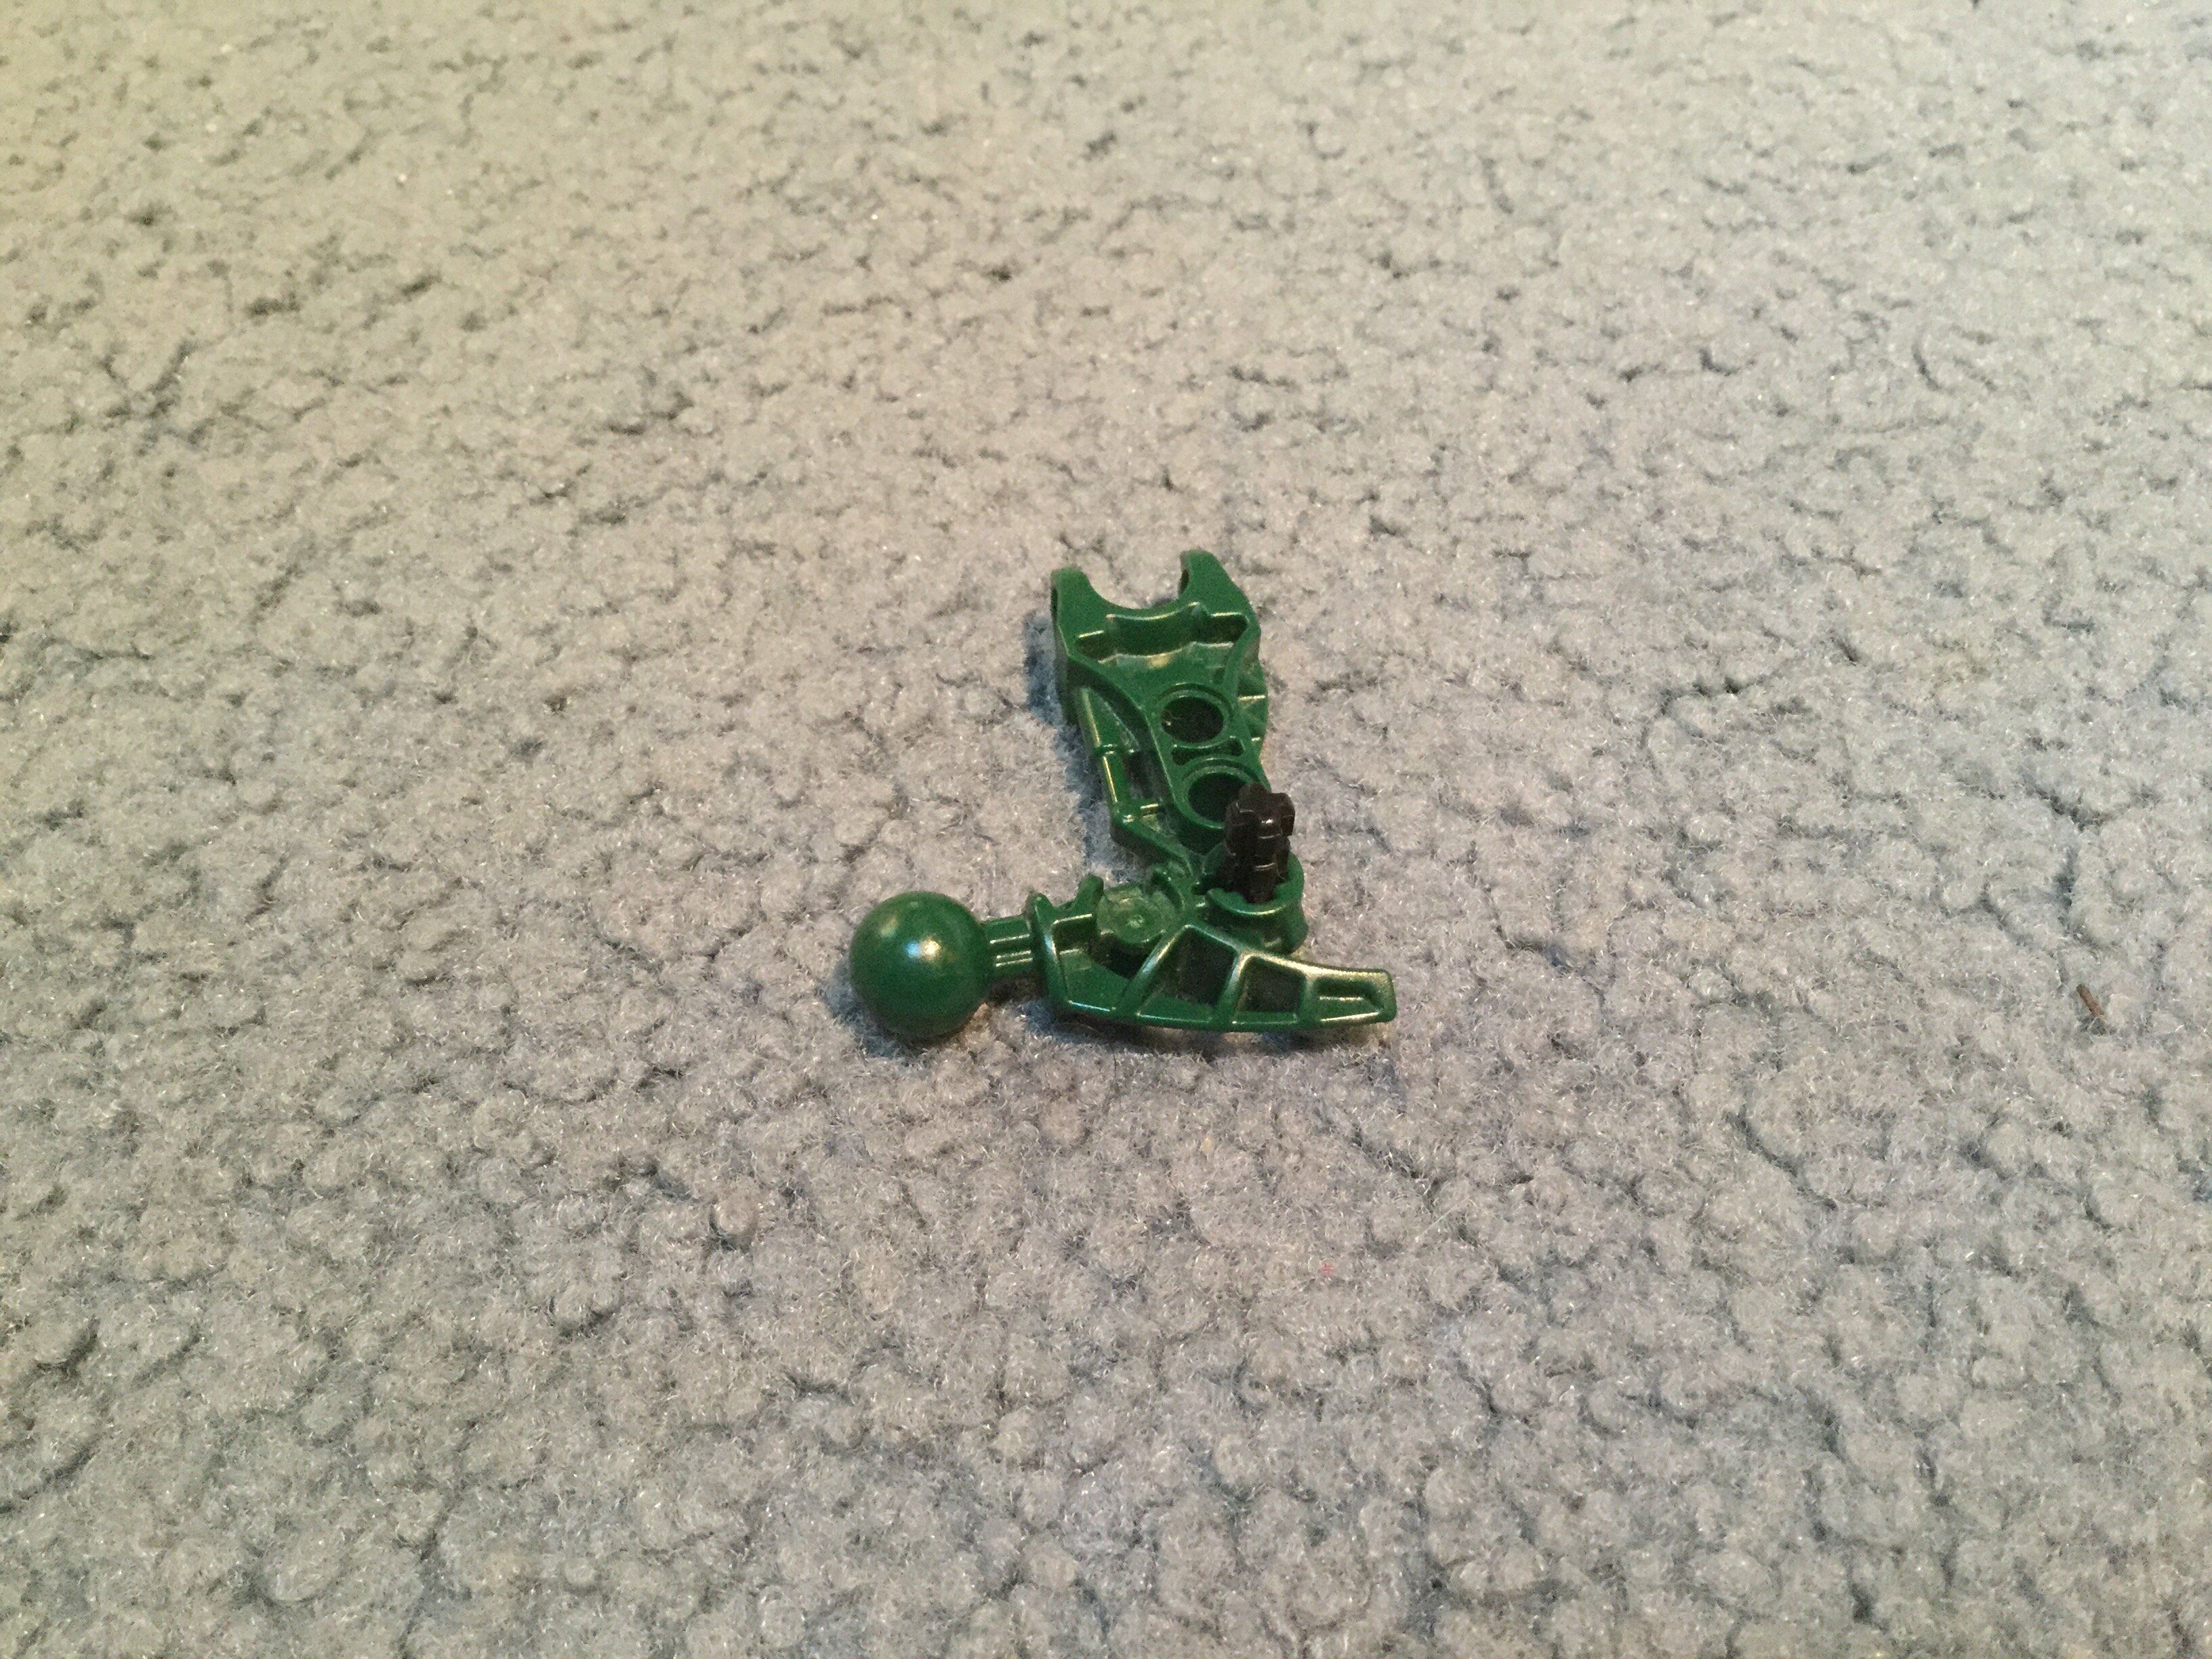
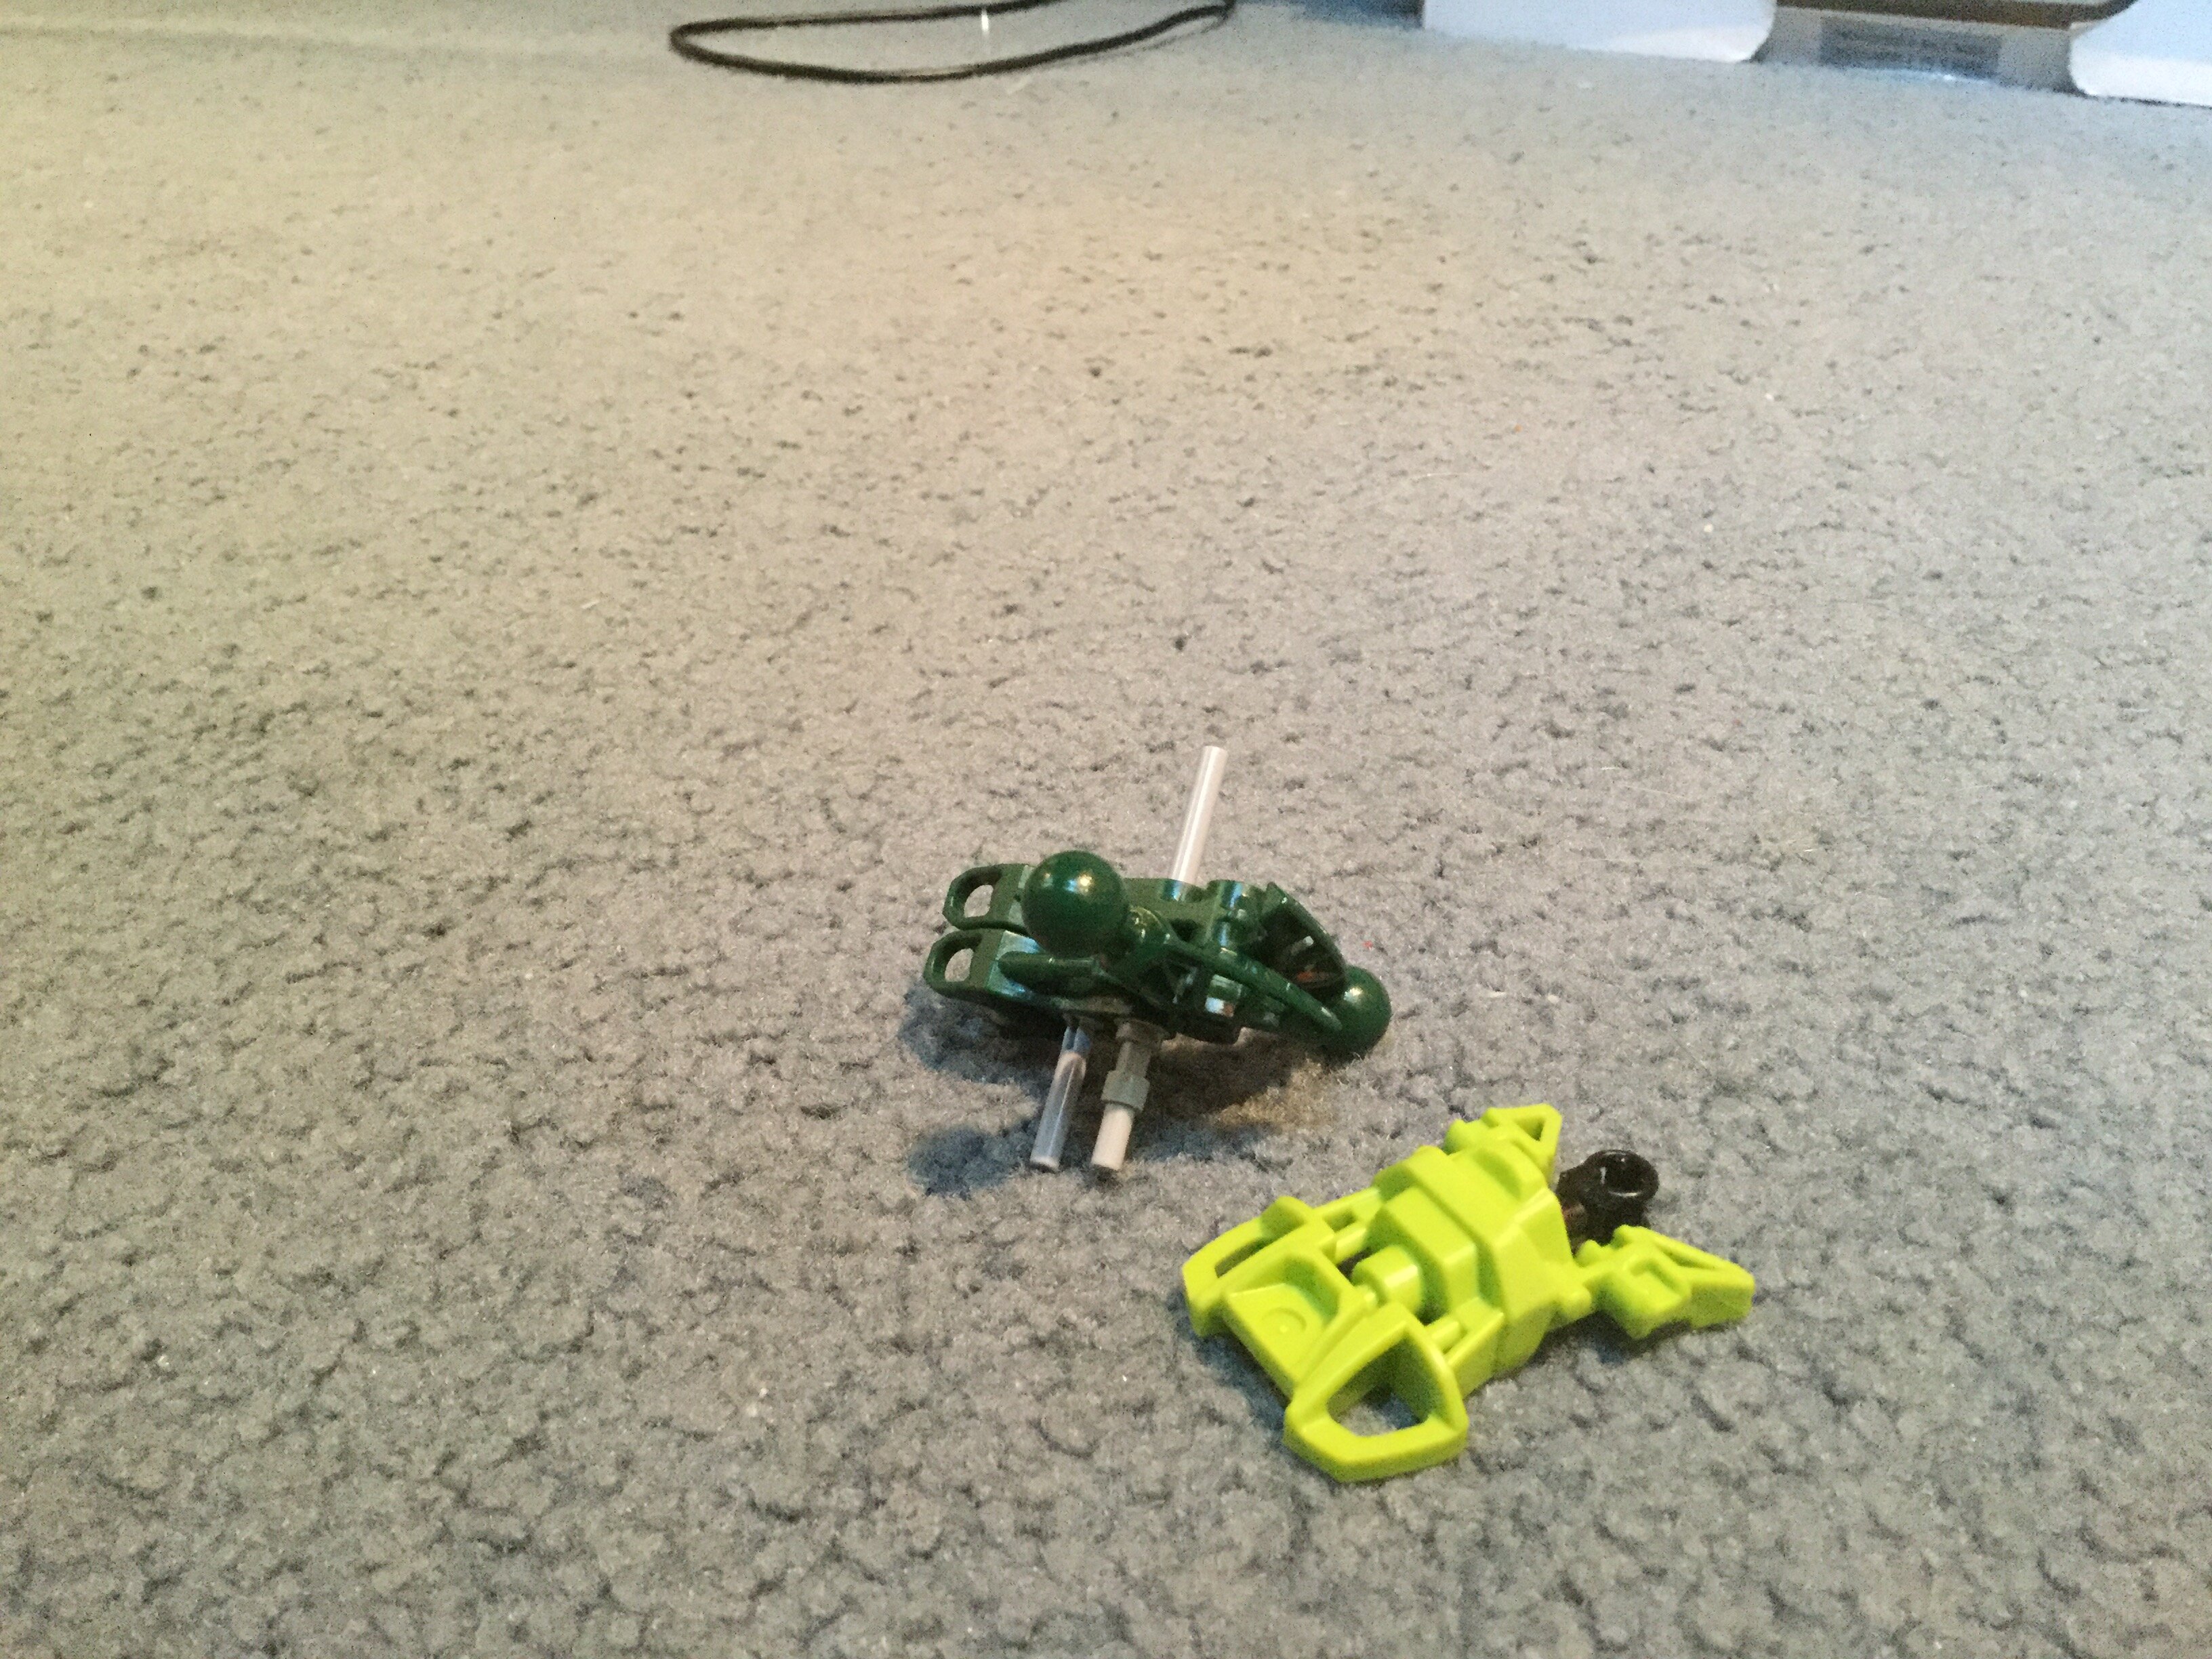
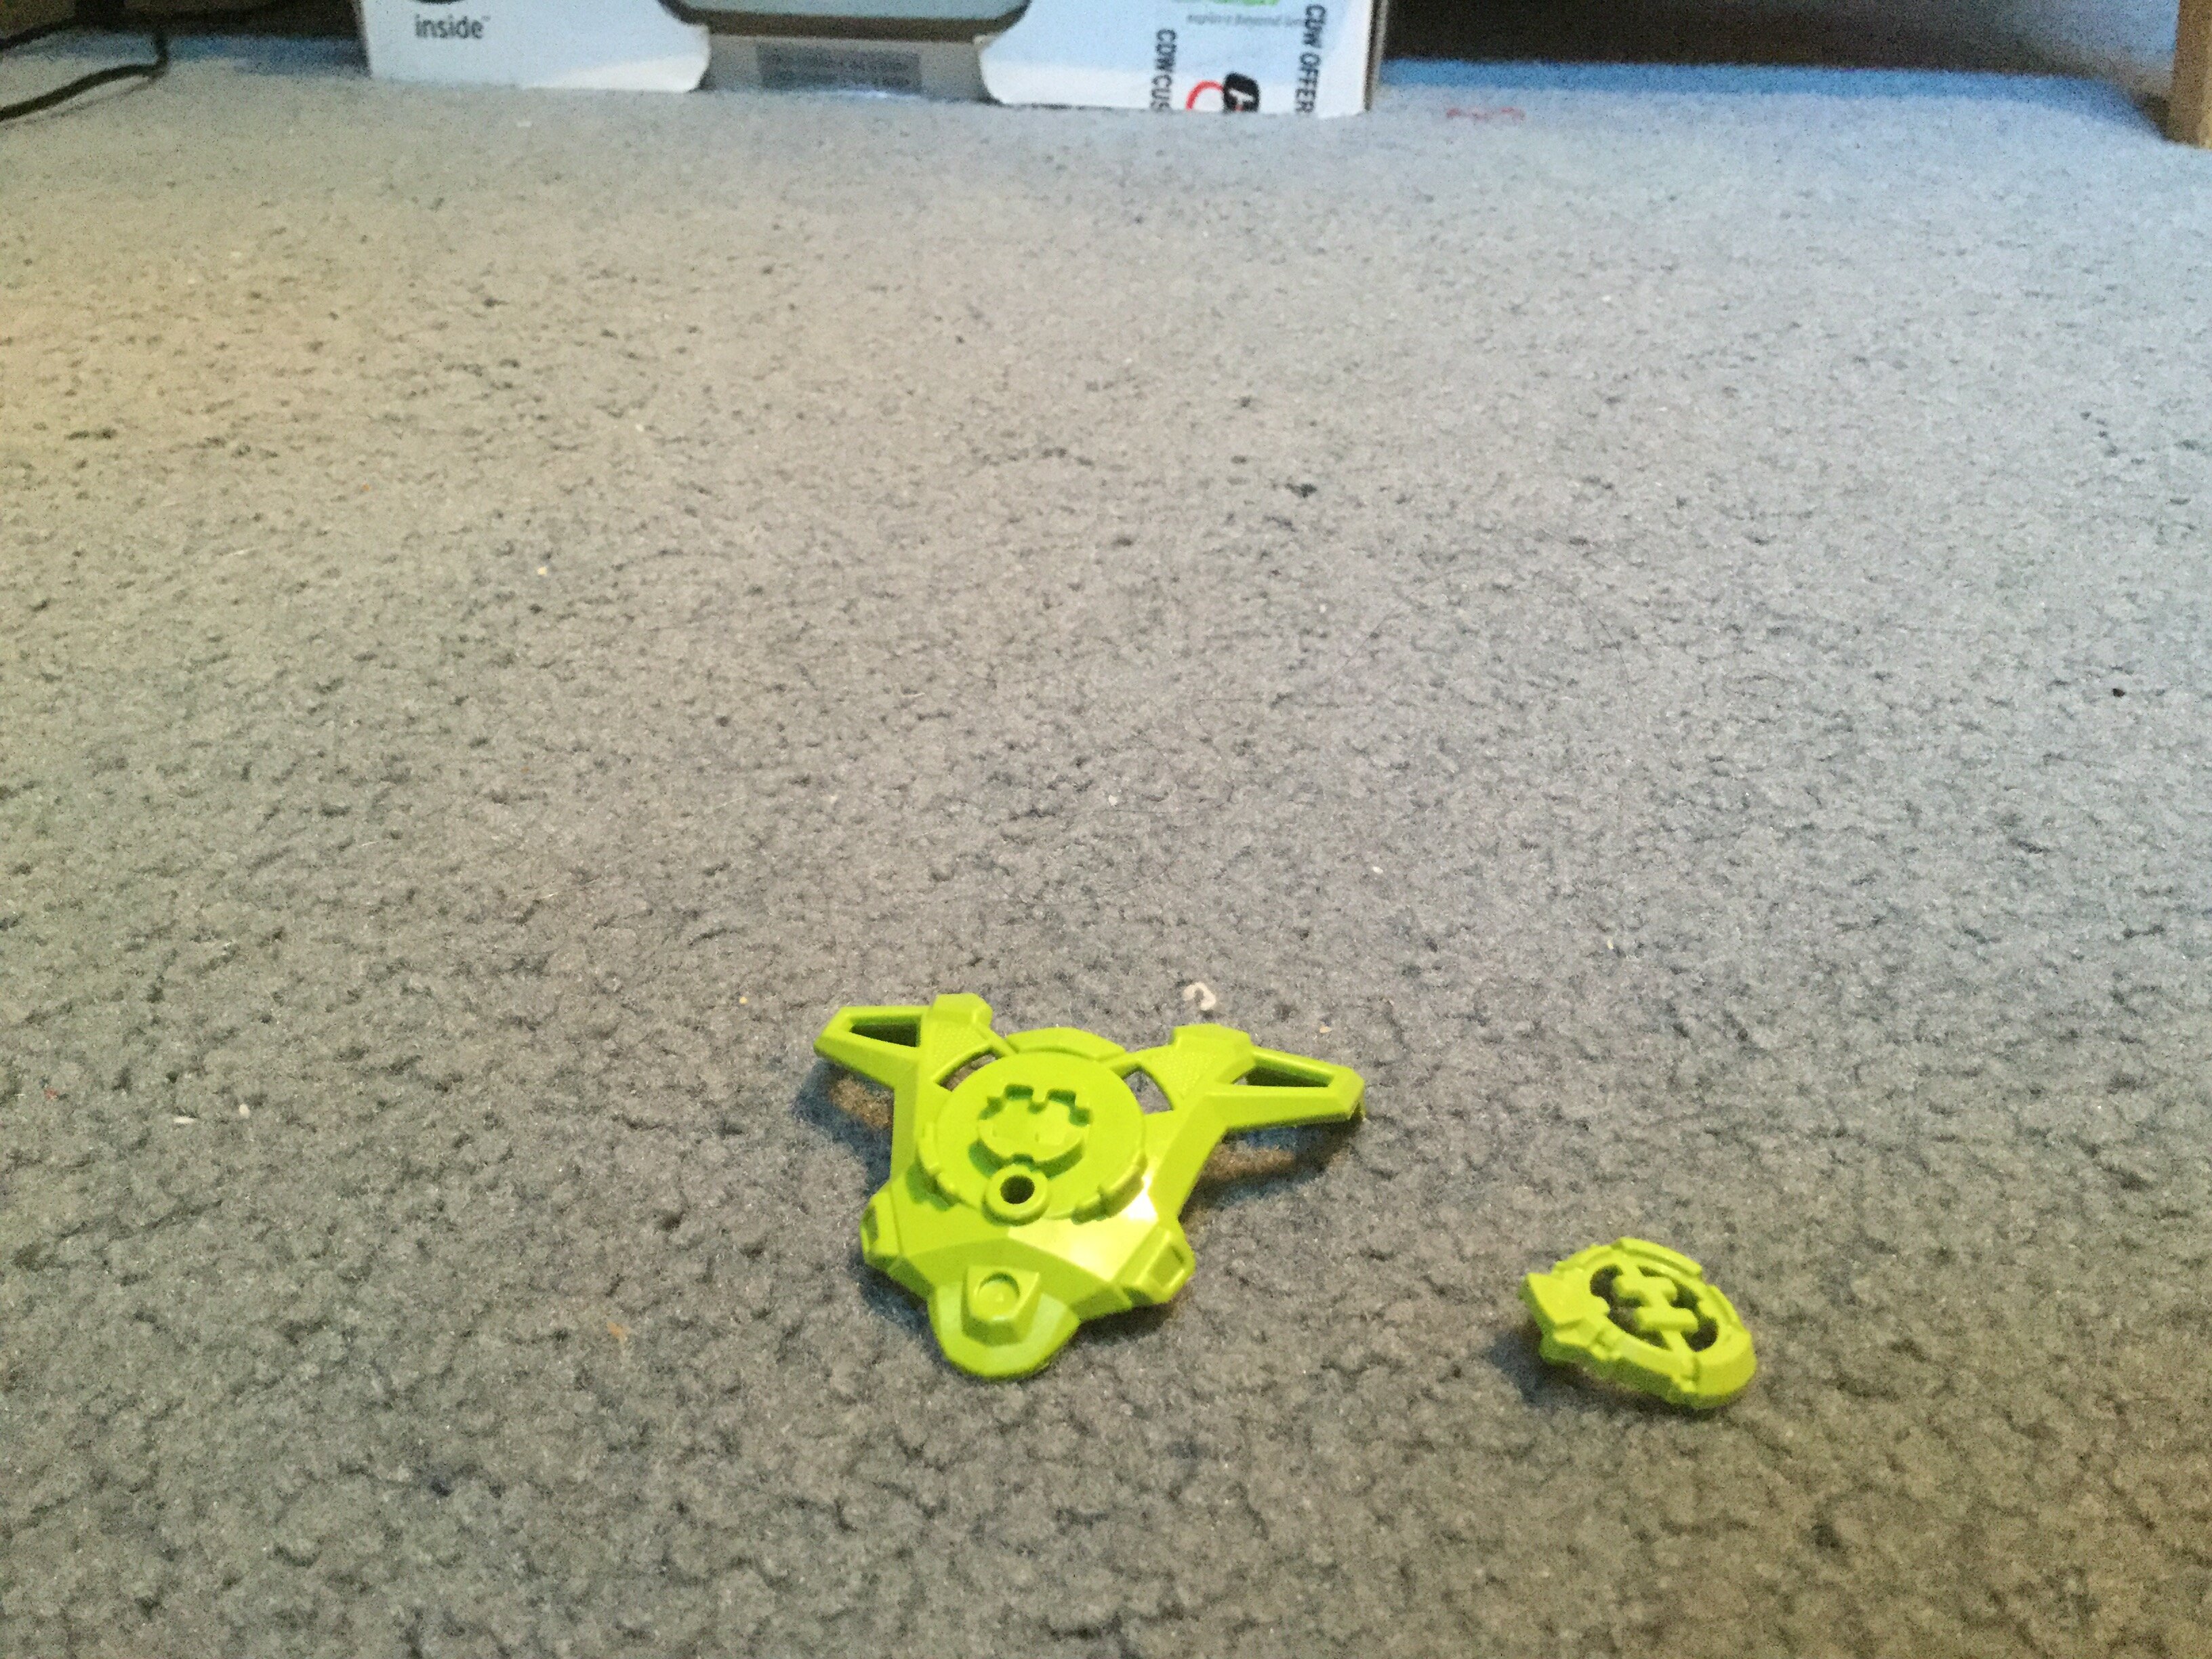
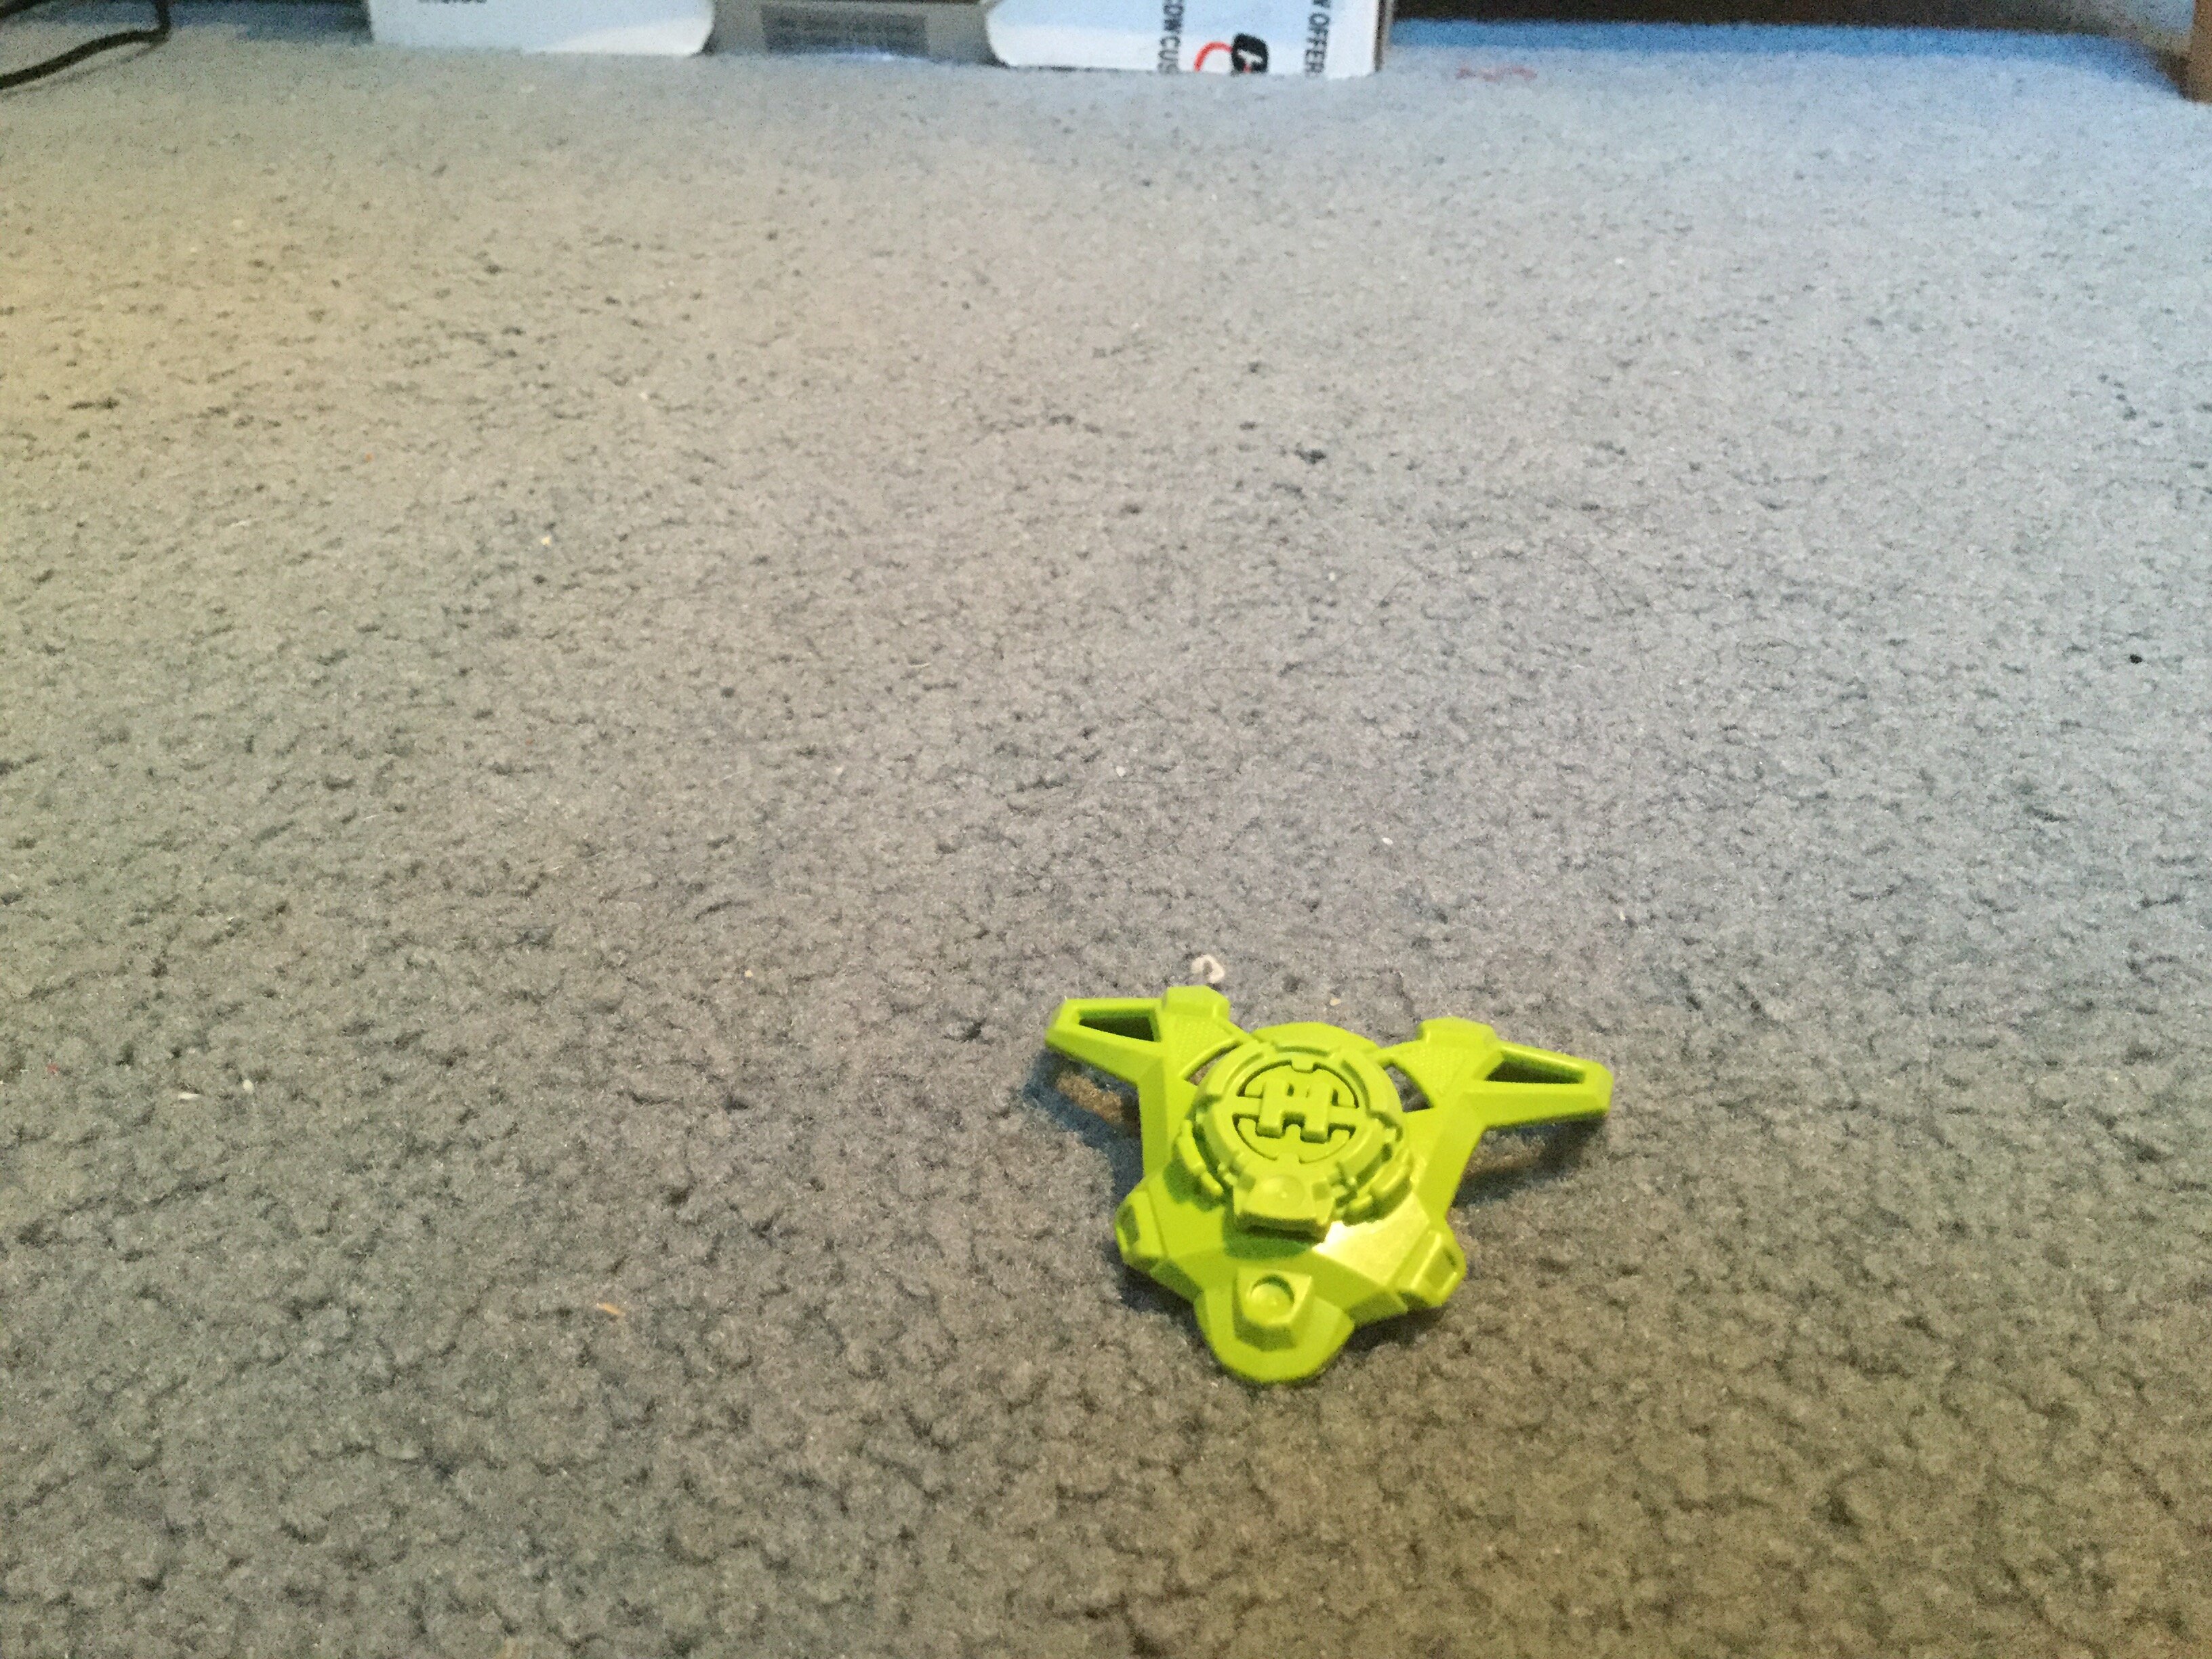
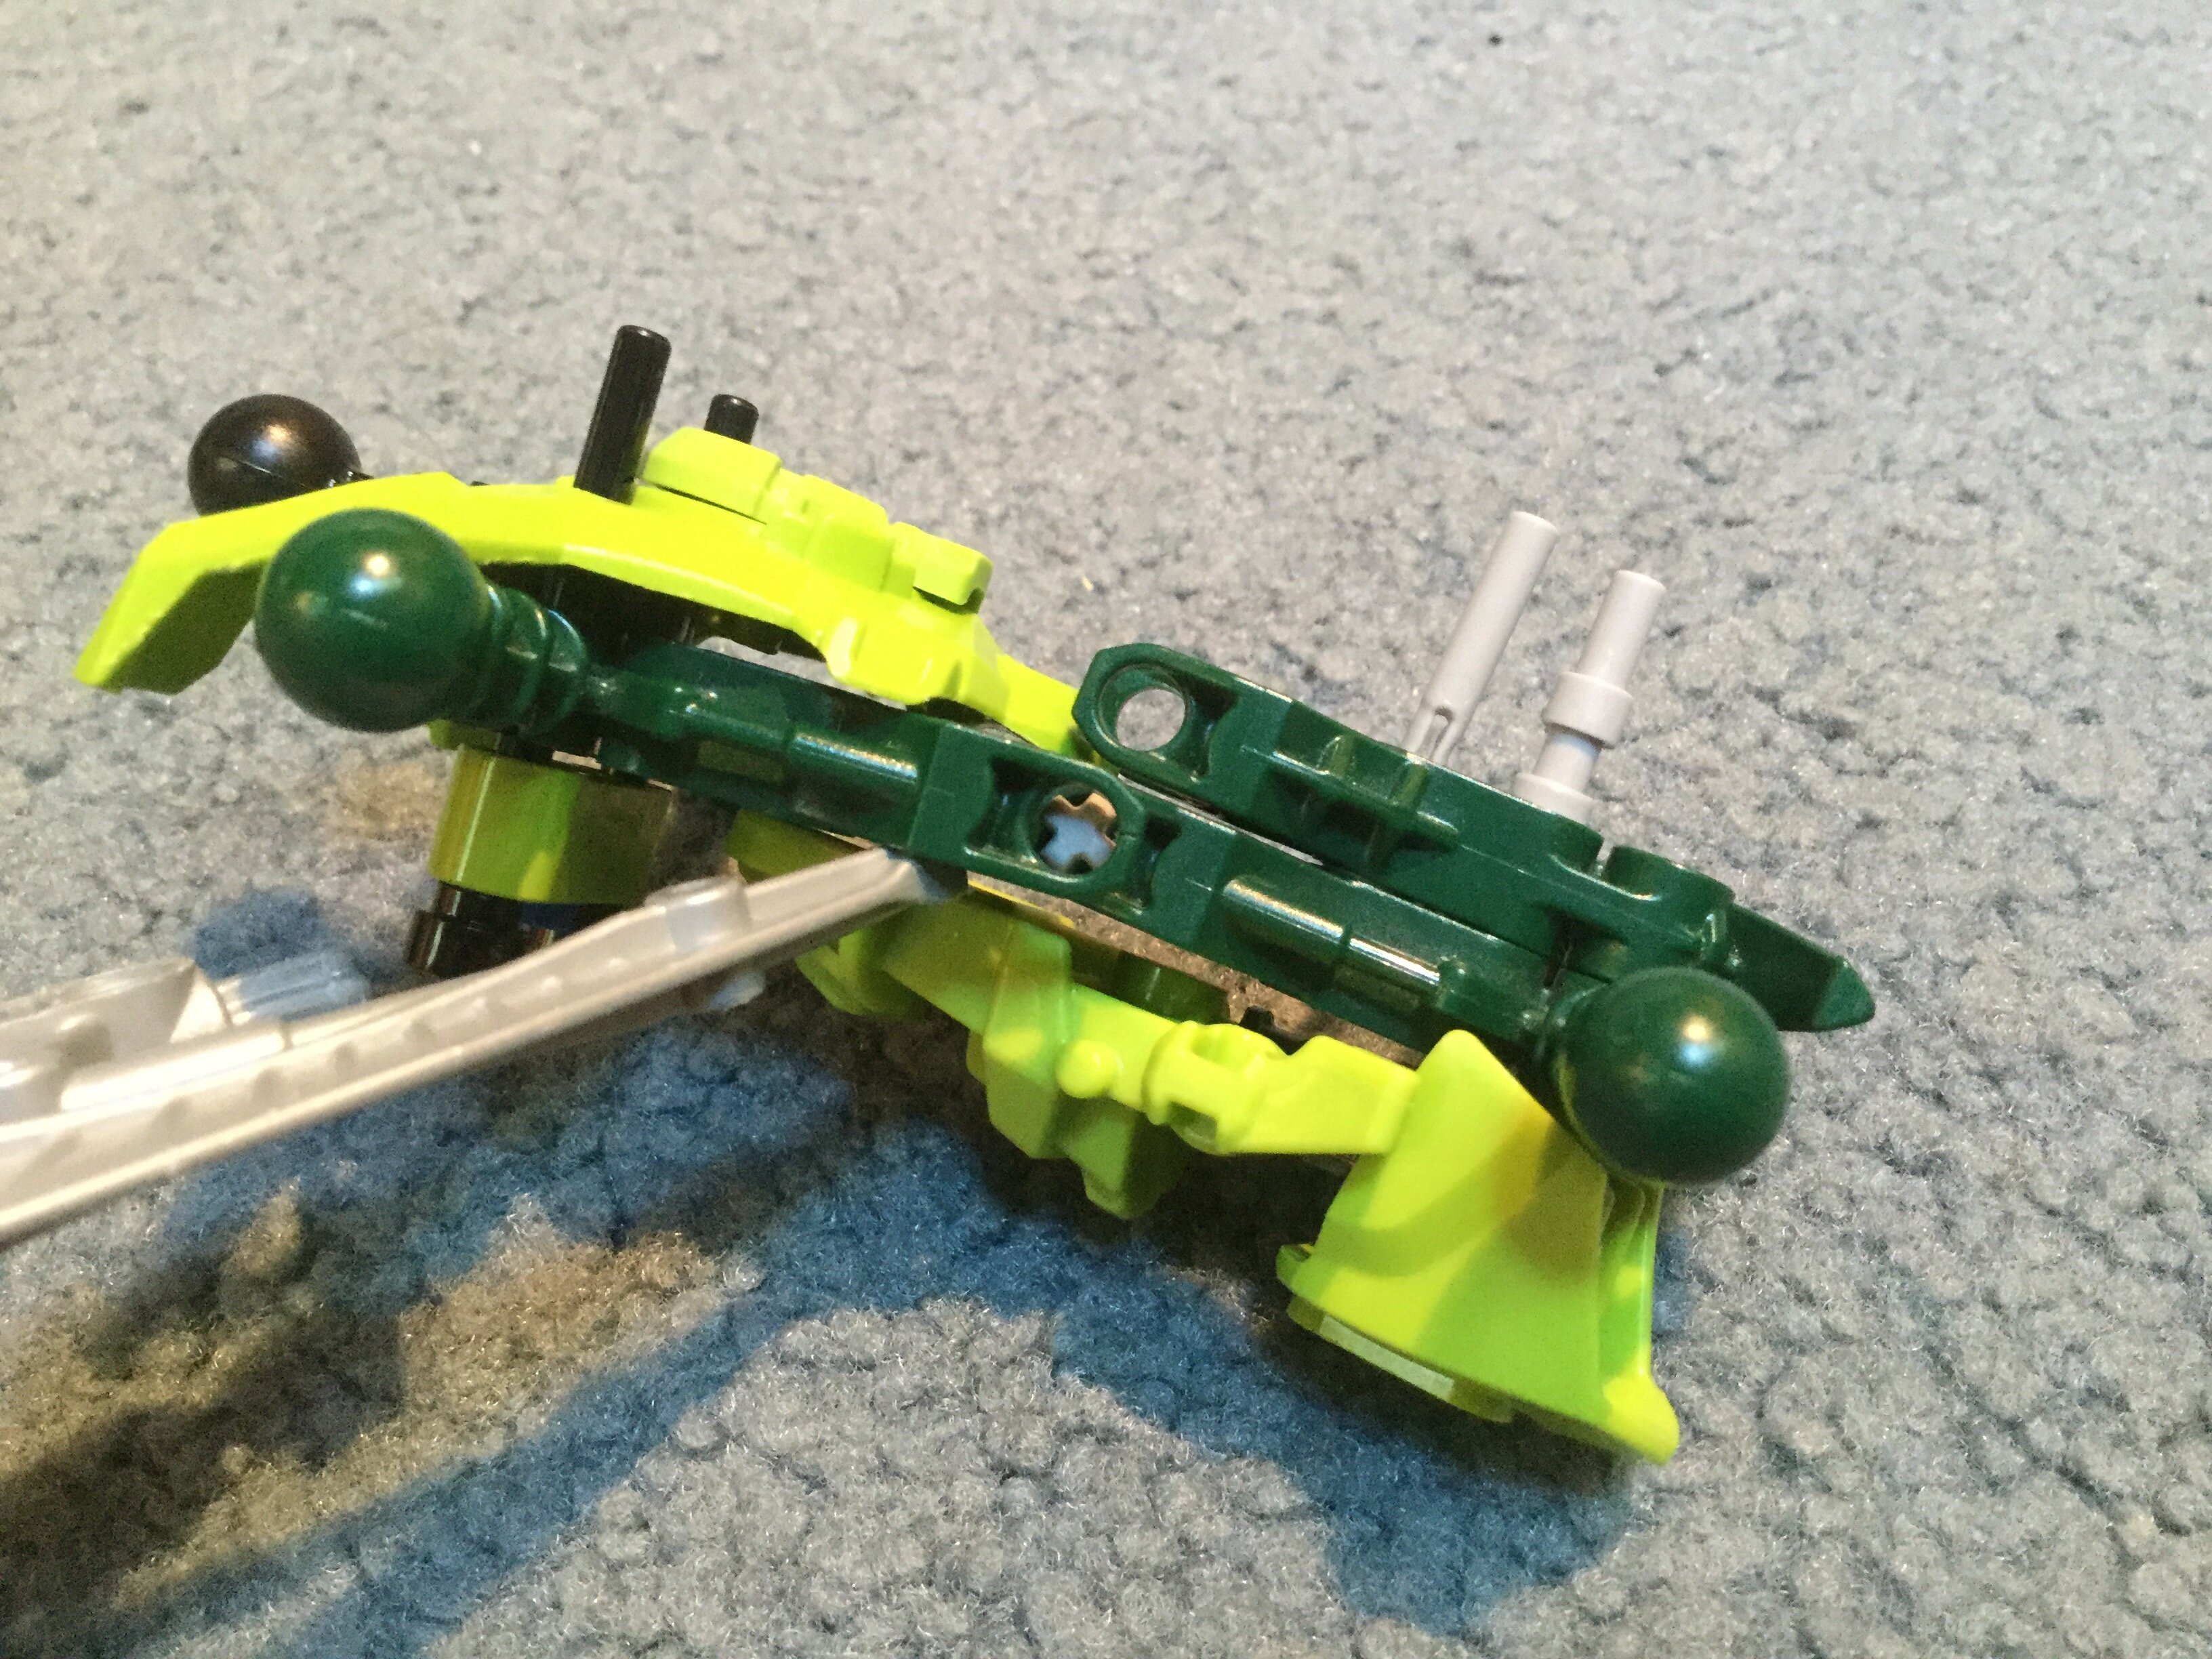
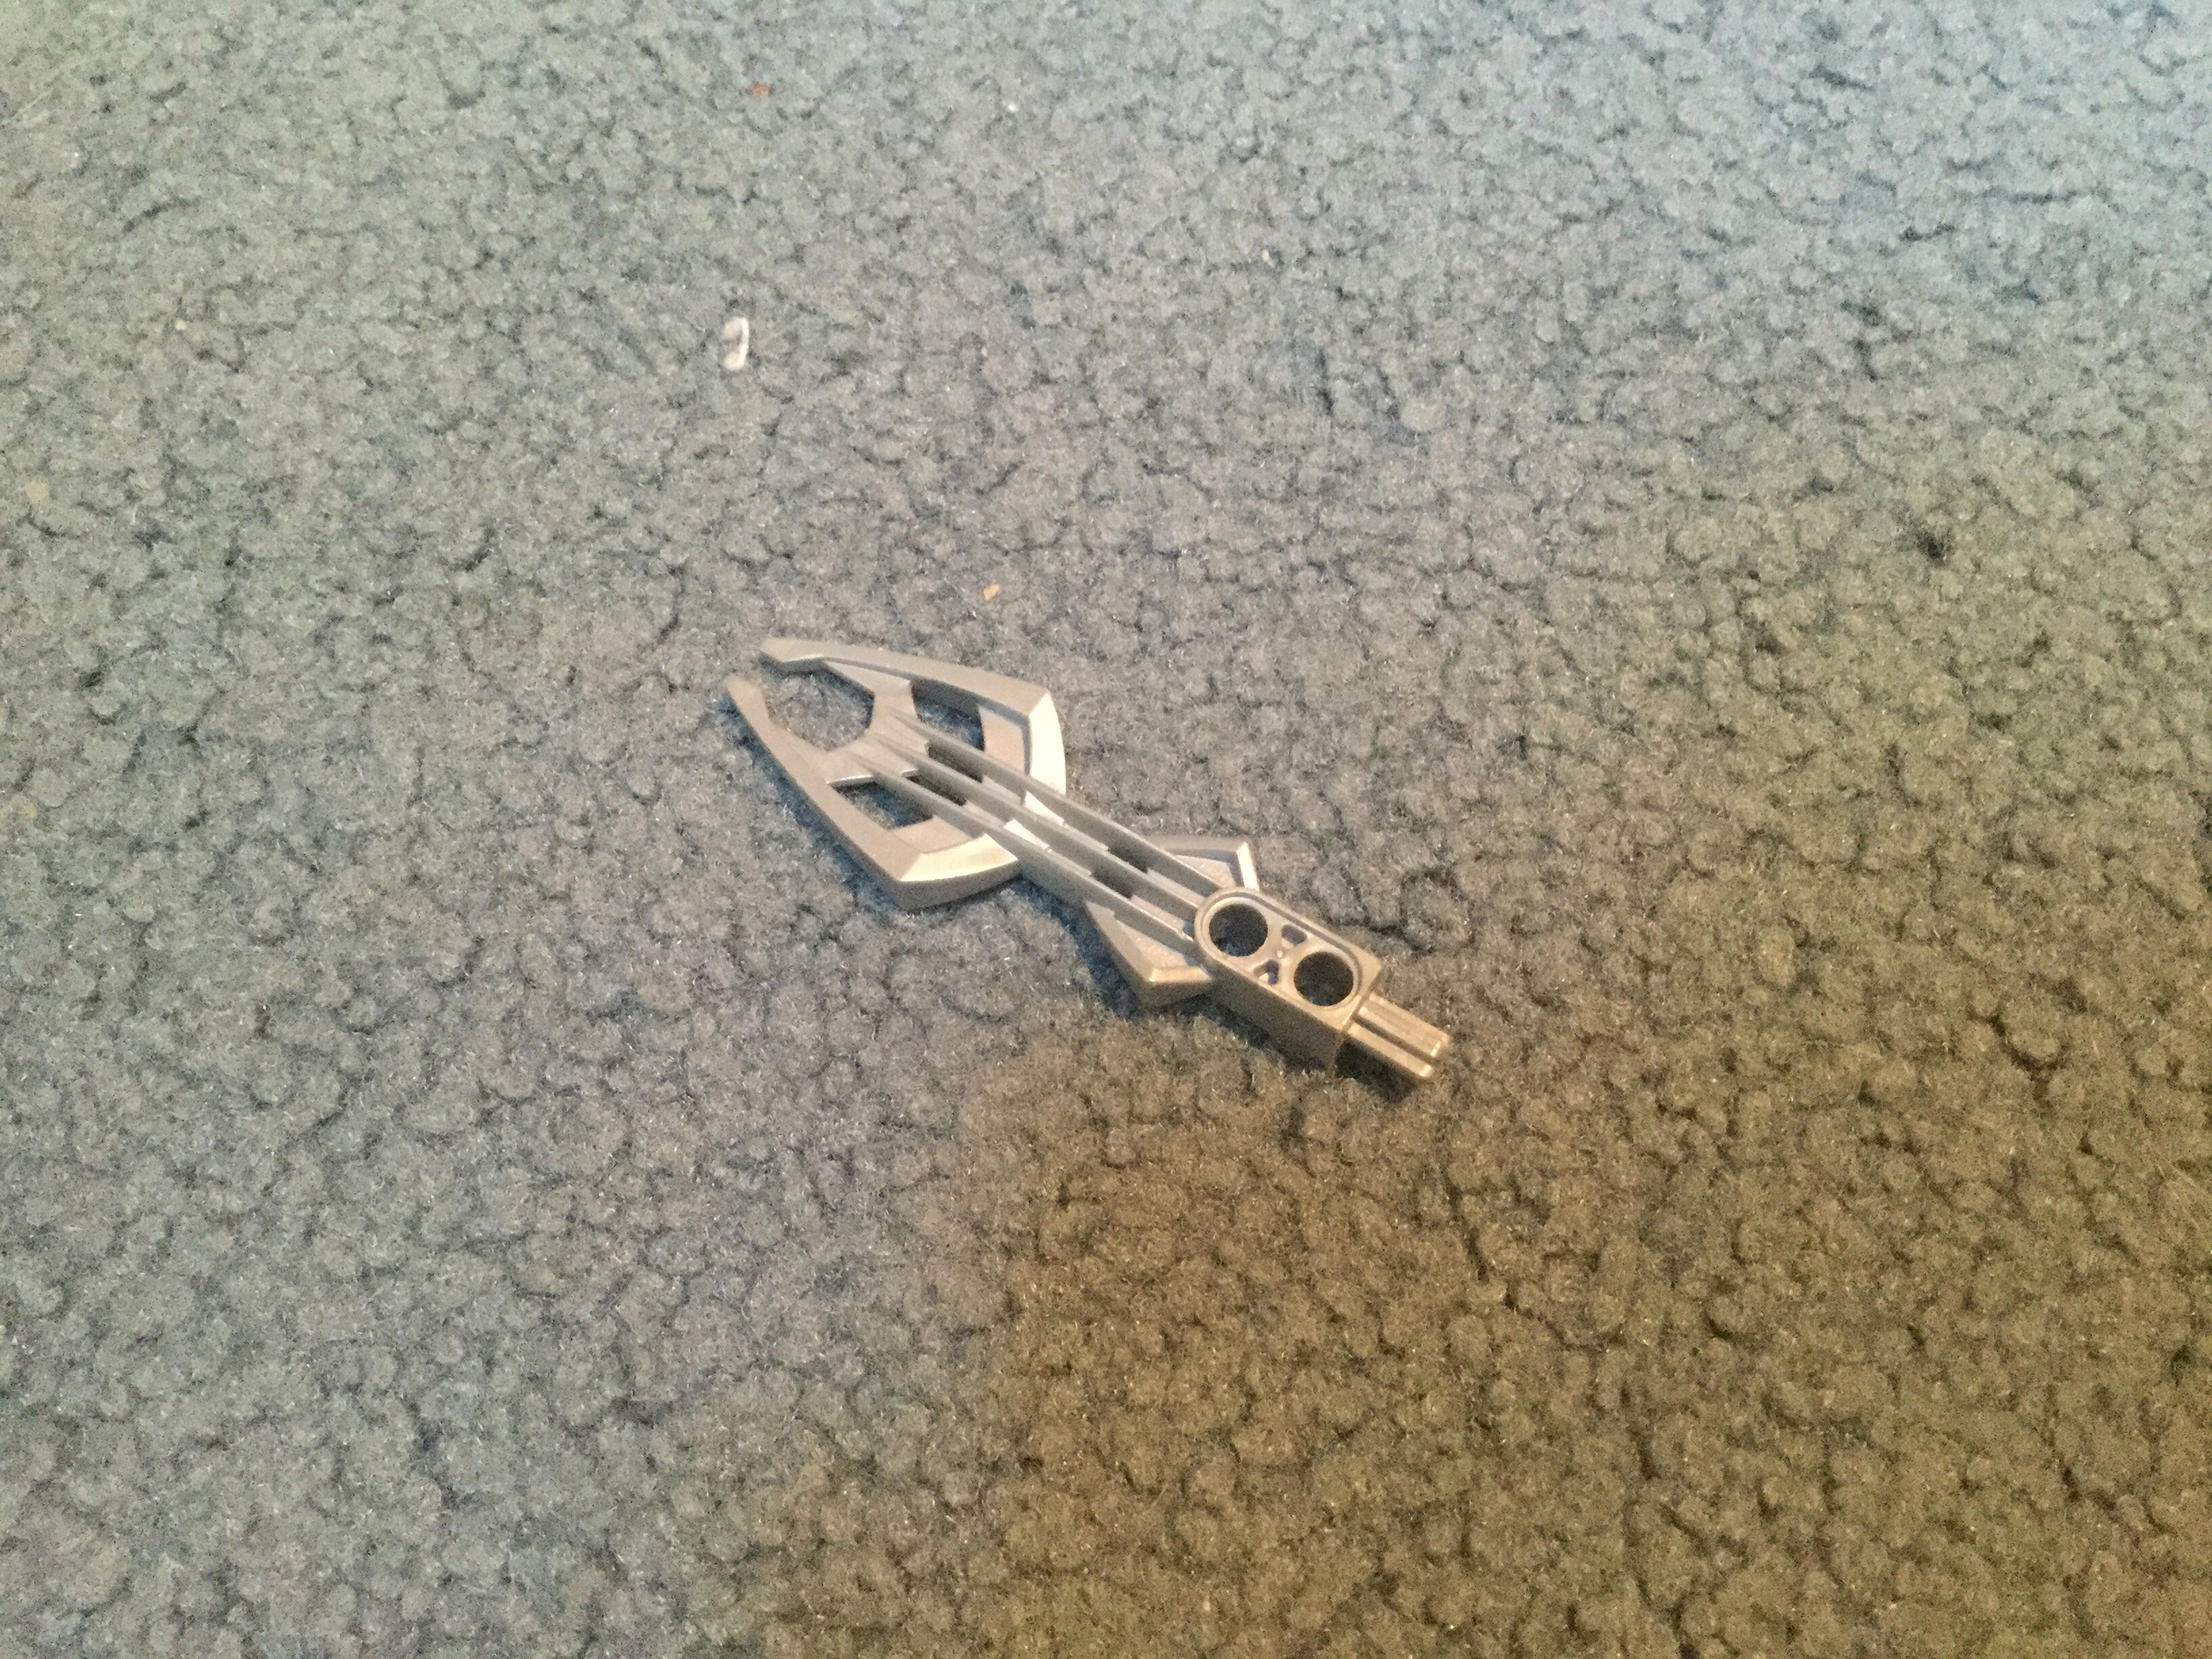
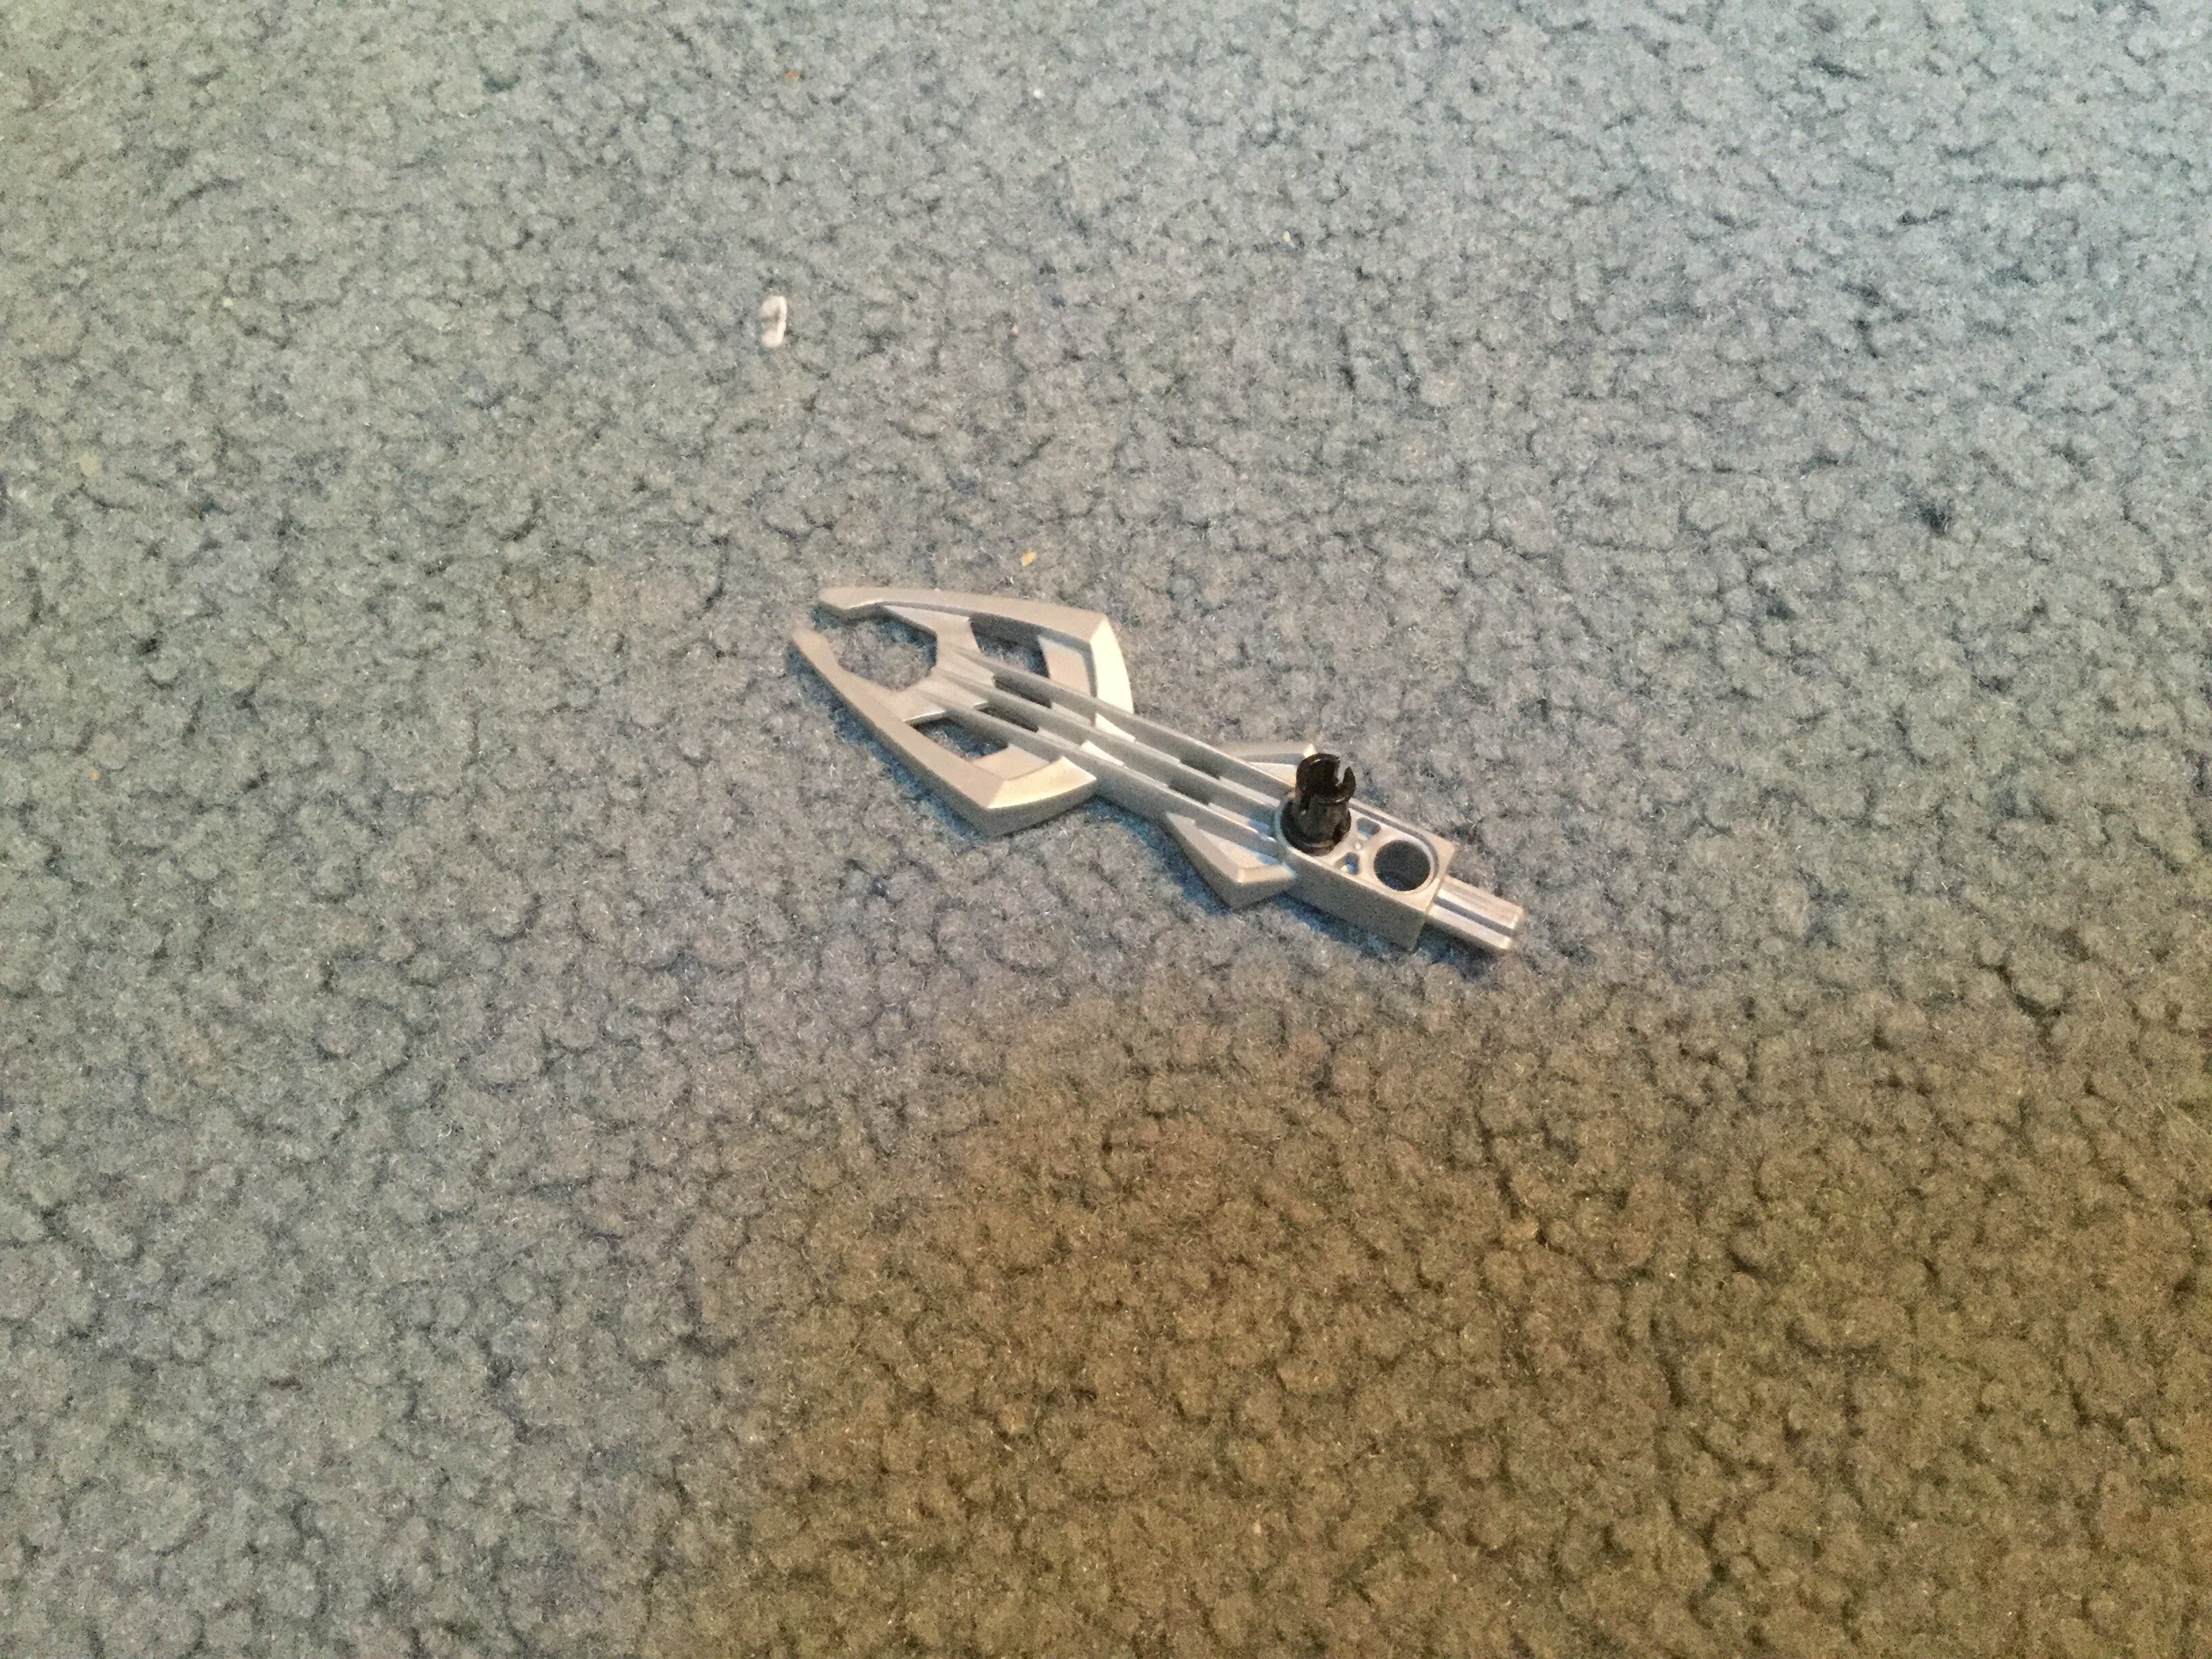
In the Inika builds, the upper arms and upper legs utilize a single connector piece that features two ball sockets and three technic holes.
I am looking for a substitute that replaces this piece but works the same way. This is because I am trying to use the newer, more robust ball sockets that LEGO has released, and I do not trust the older connecting sockets from the 2000s since they break easier.
Any tutorials and tips for substitute pieces or constructions are welcome.
In my experience the inika versions of the upper arms & legs are relatively safe. Owning 5 out of 6, I believe only one of Jaller’s sockets broke on me. The ones I always thought one had to watch out for were the versions released in 2008-2010; Those sockets are differently built and more brittle.
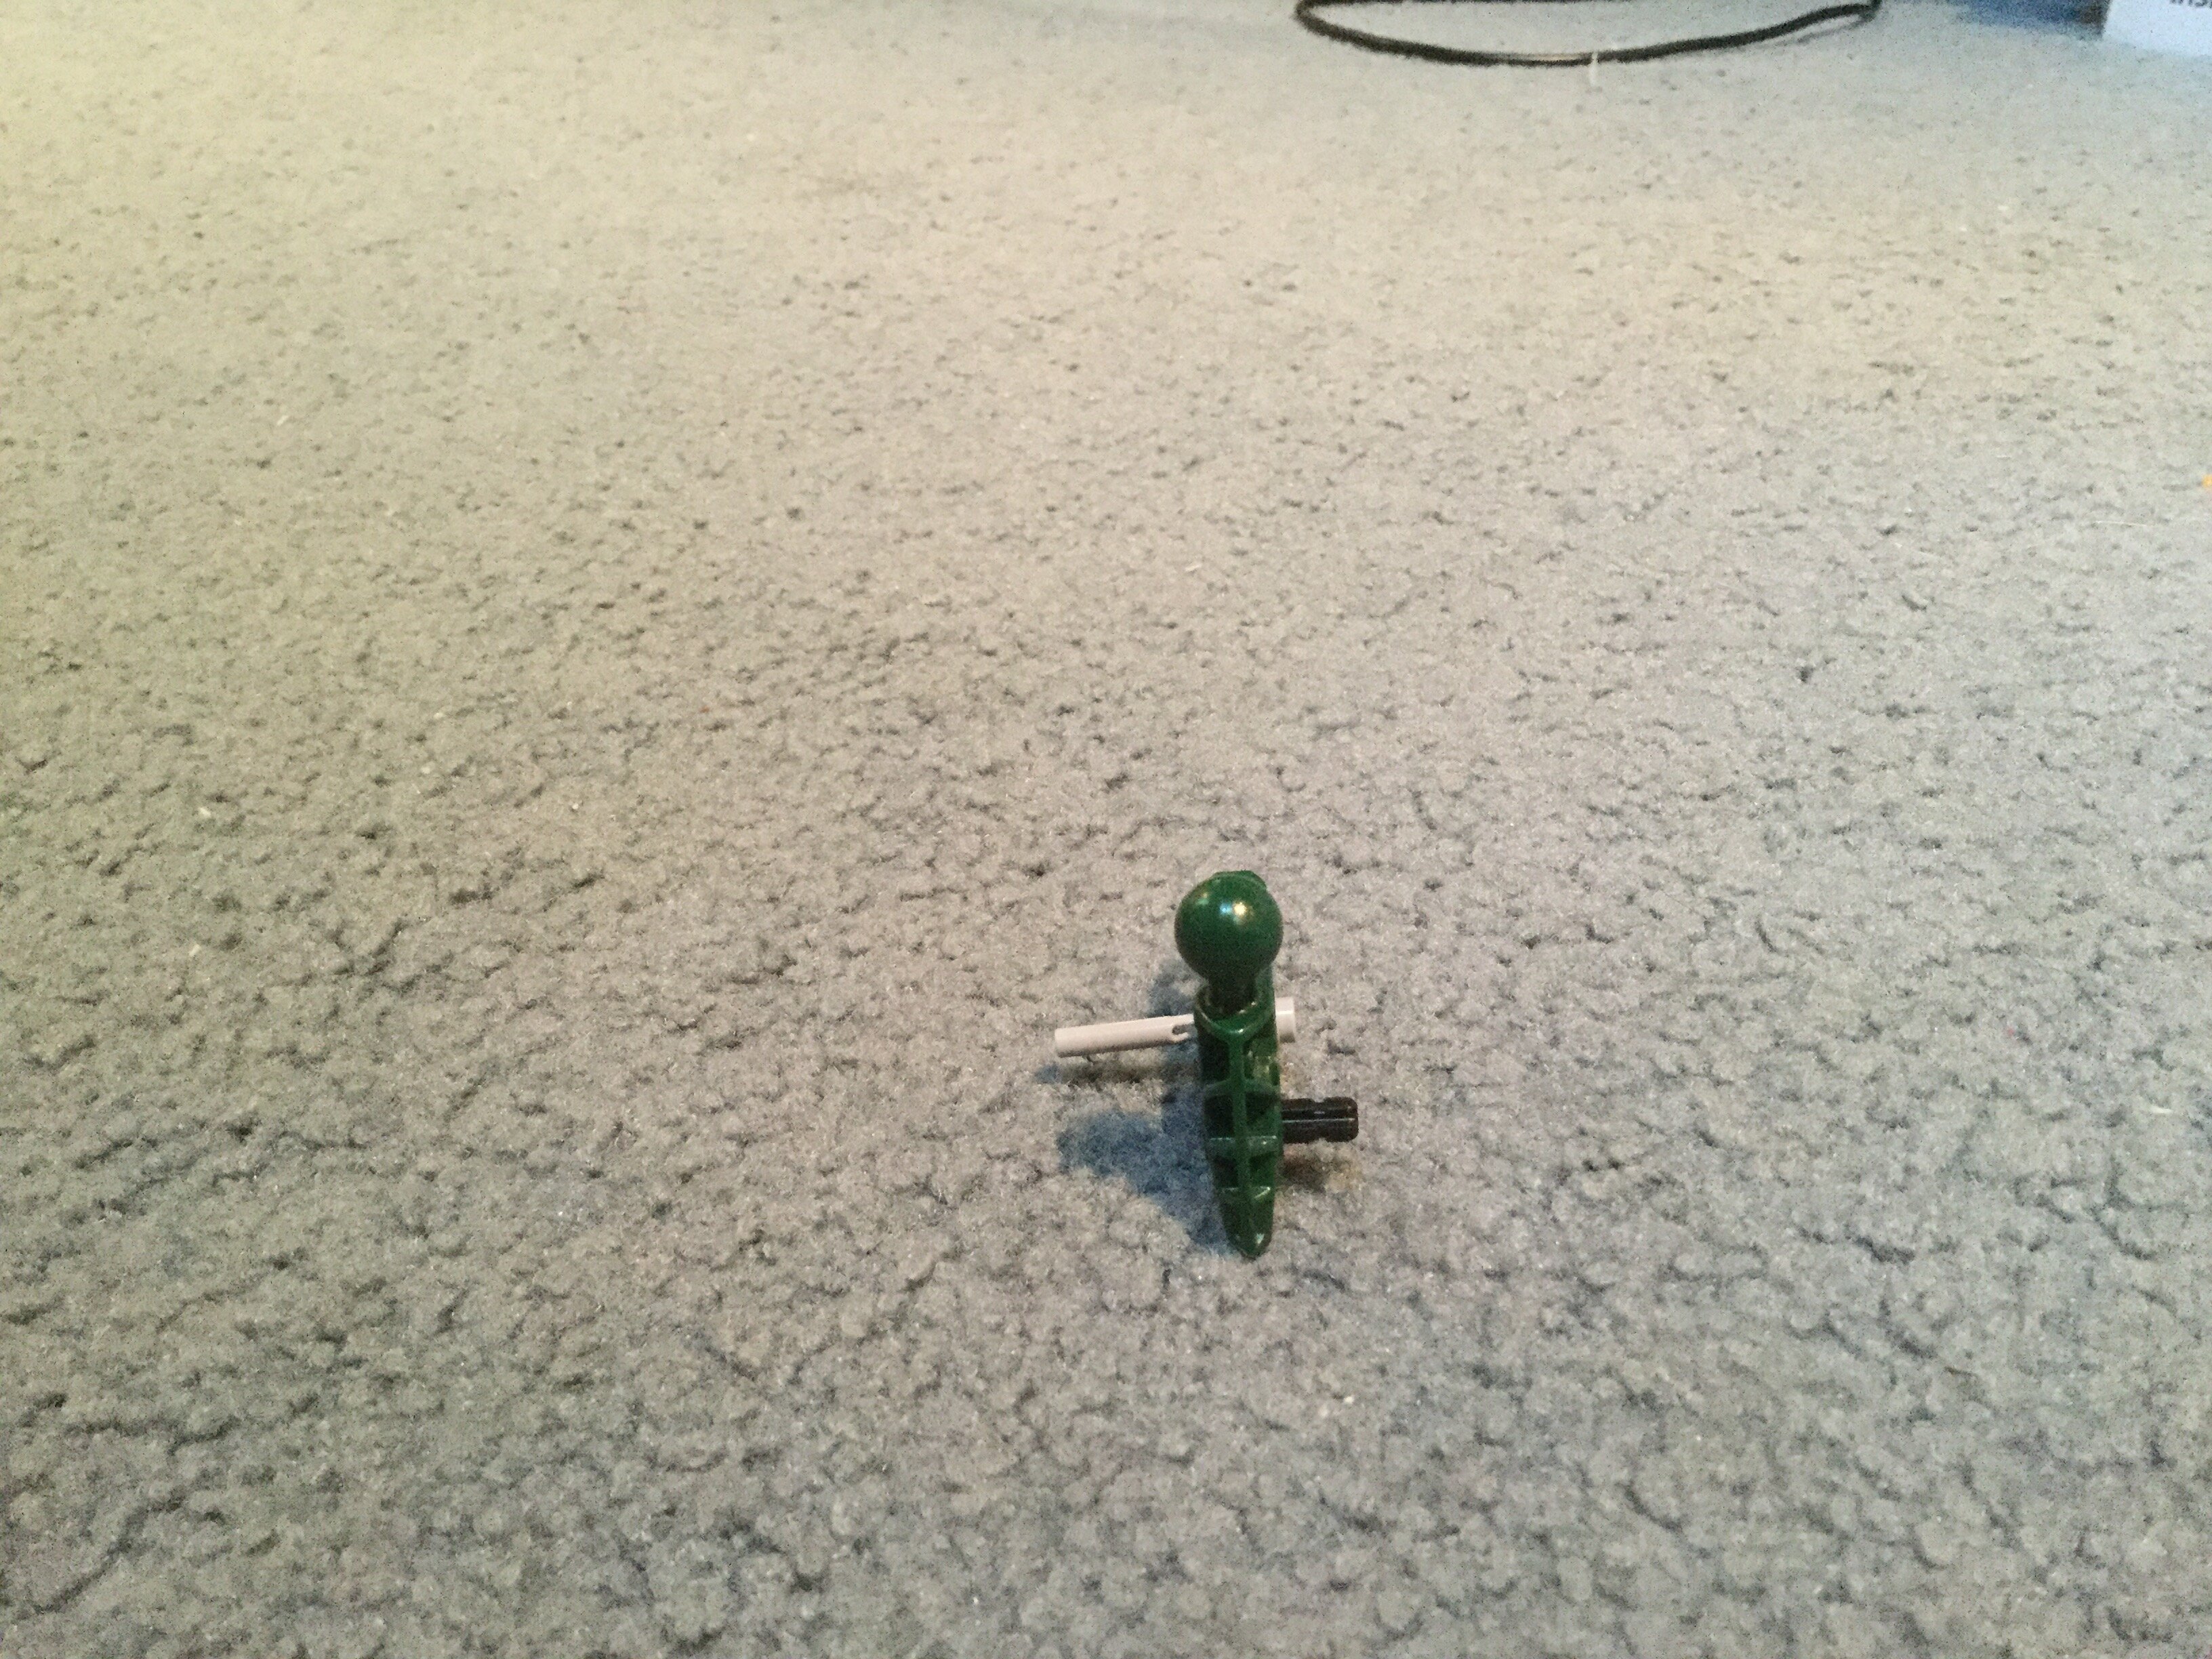
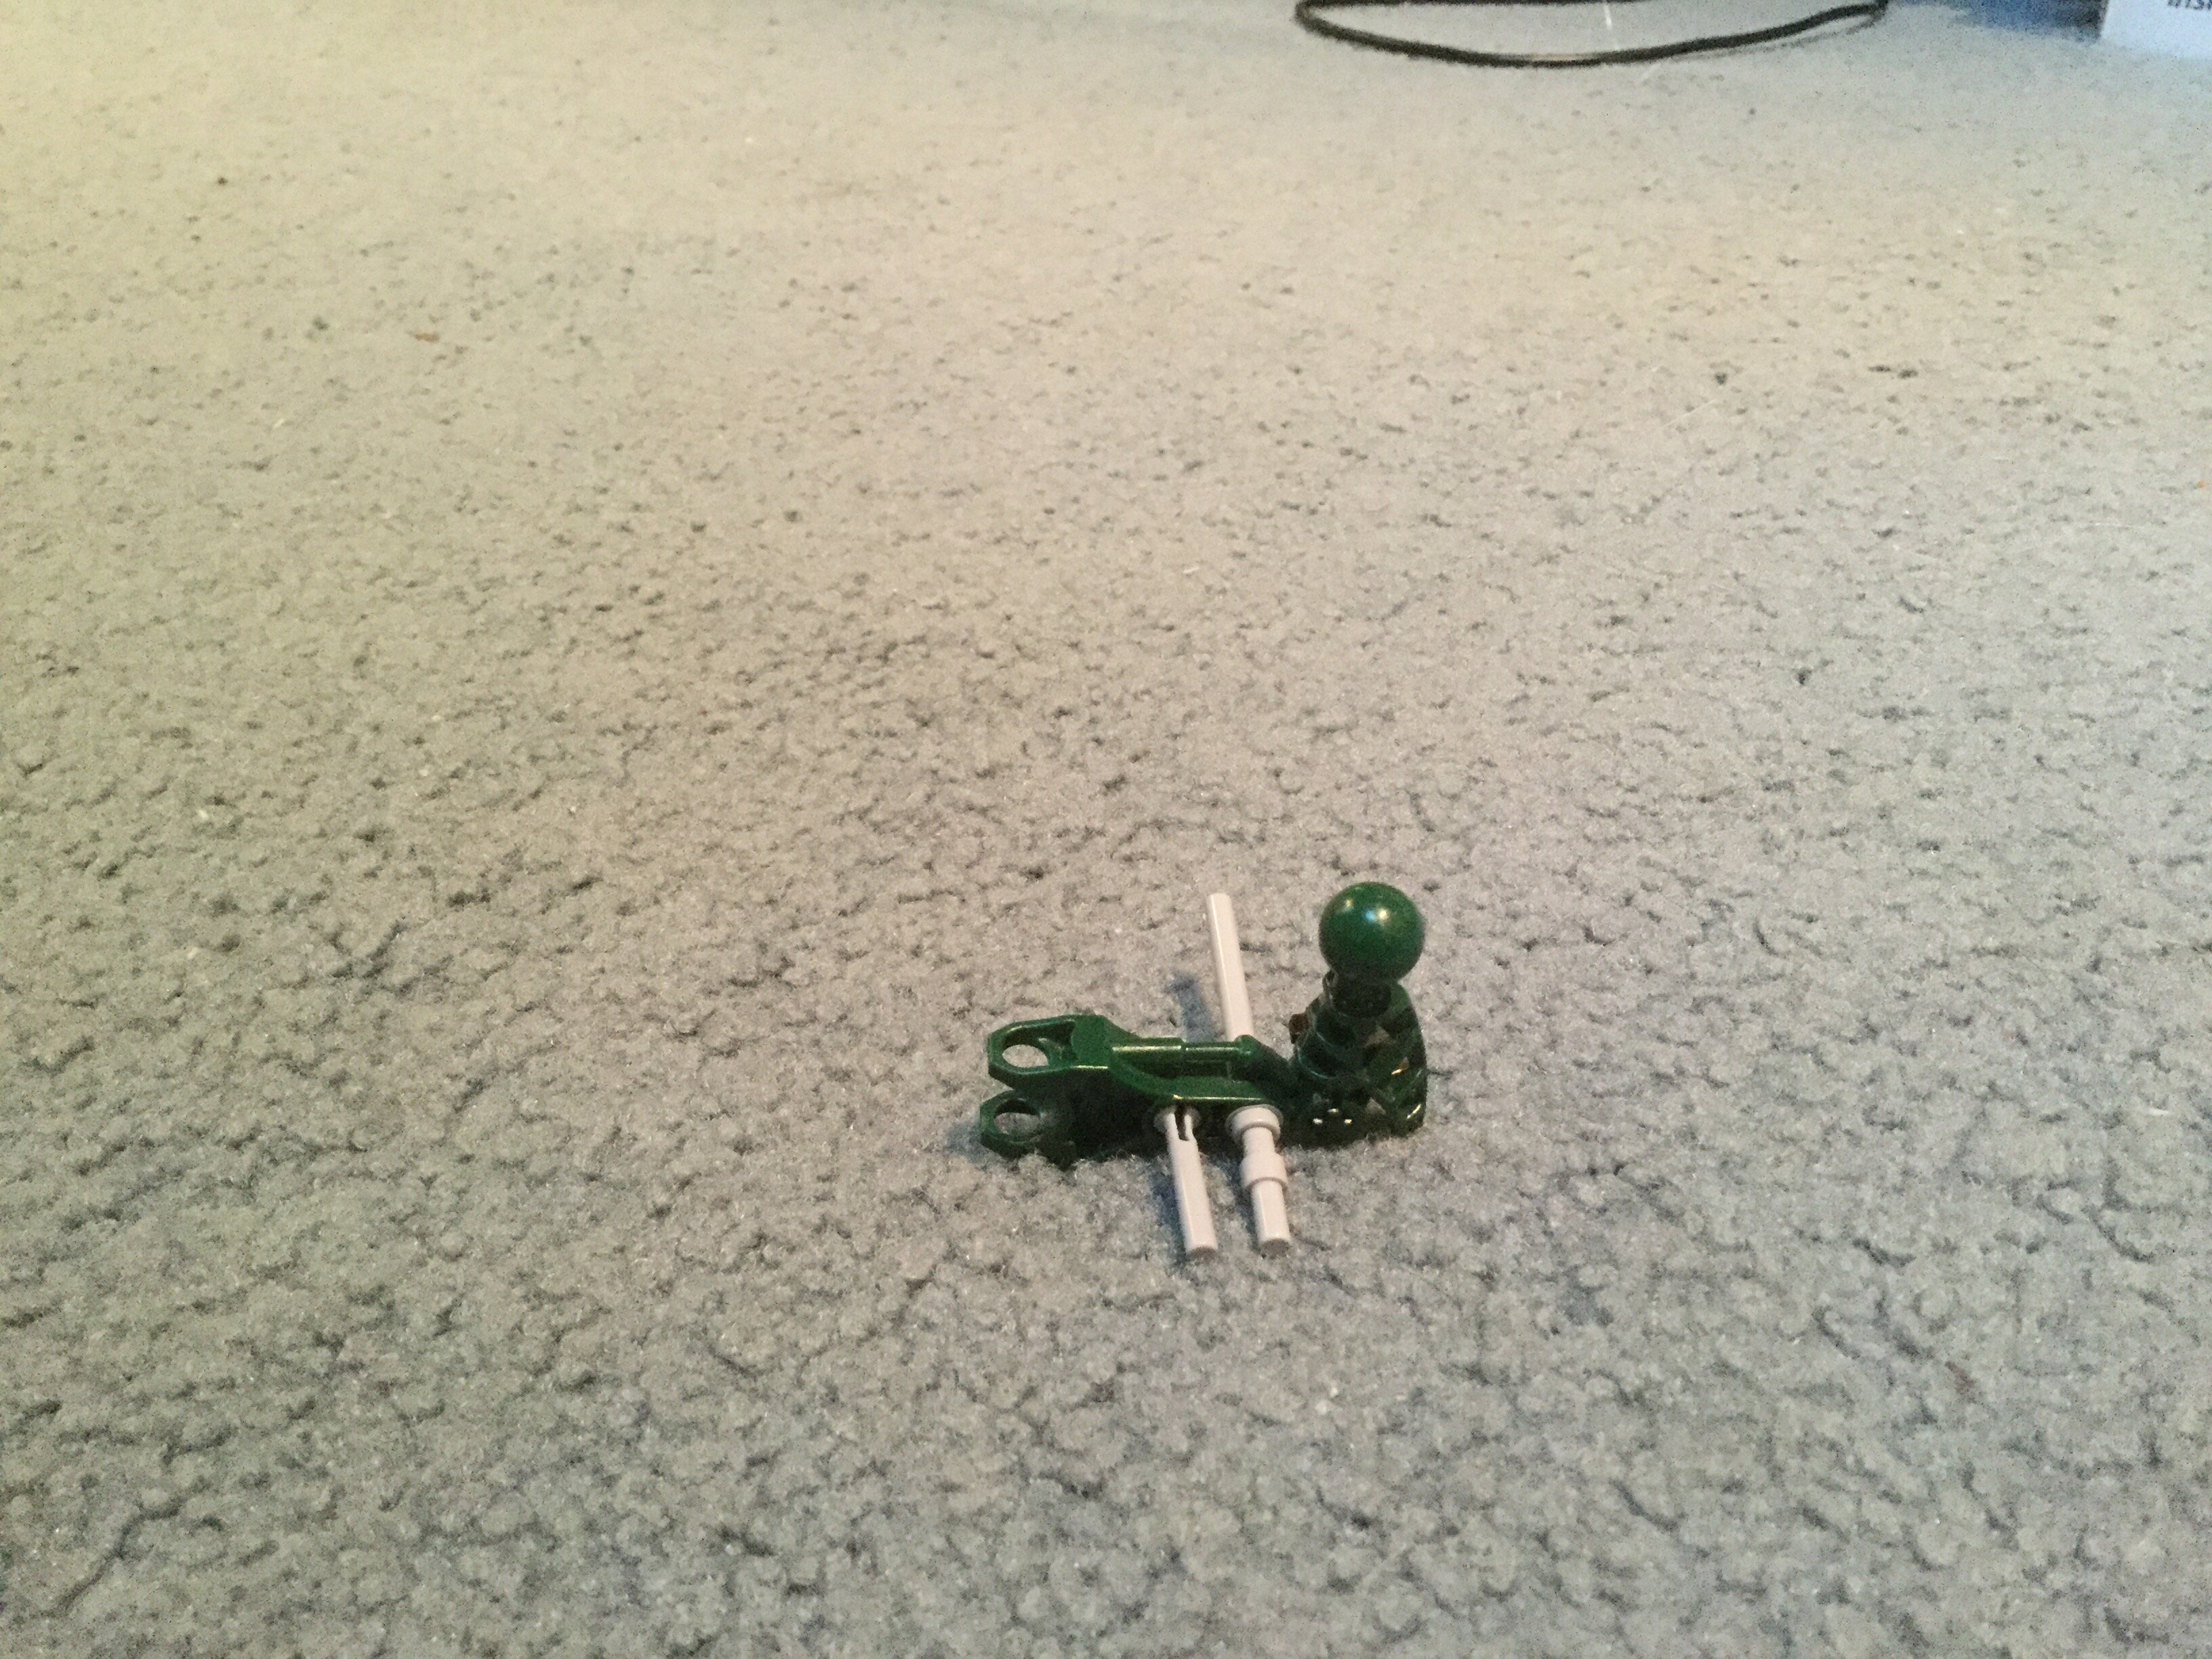
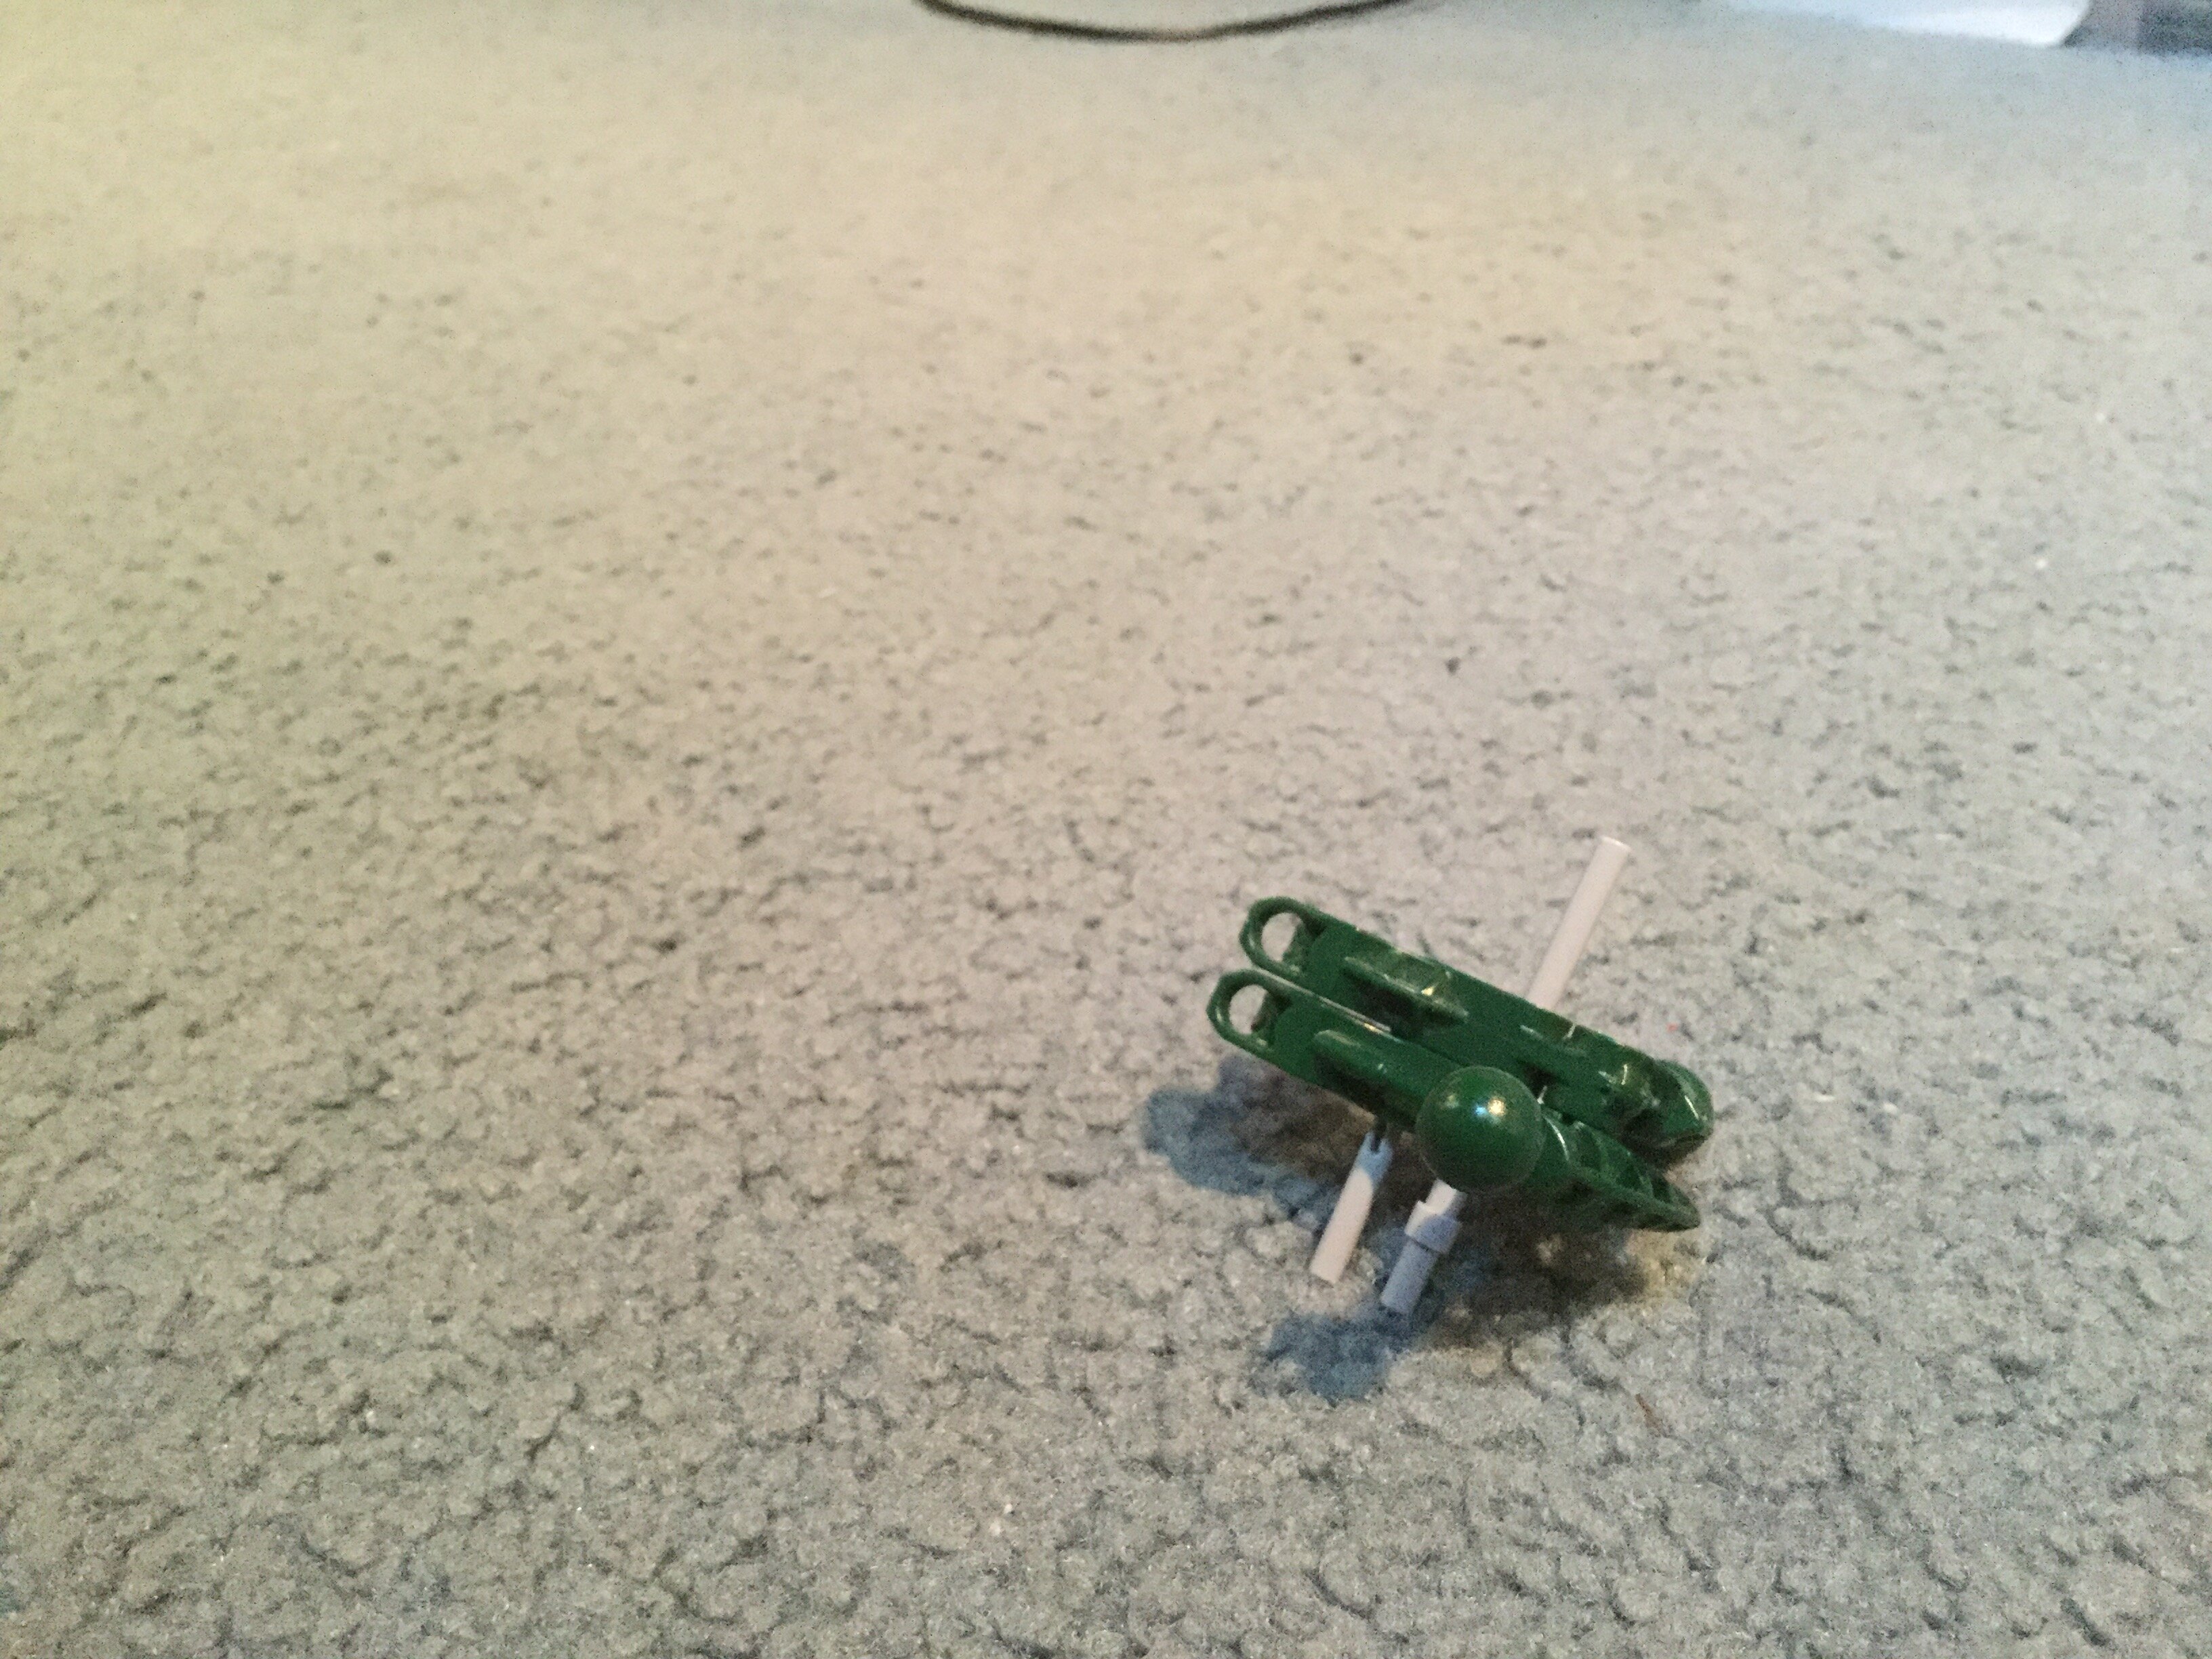
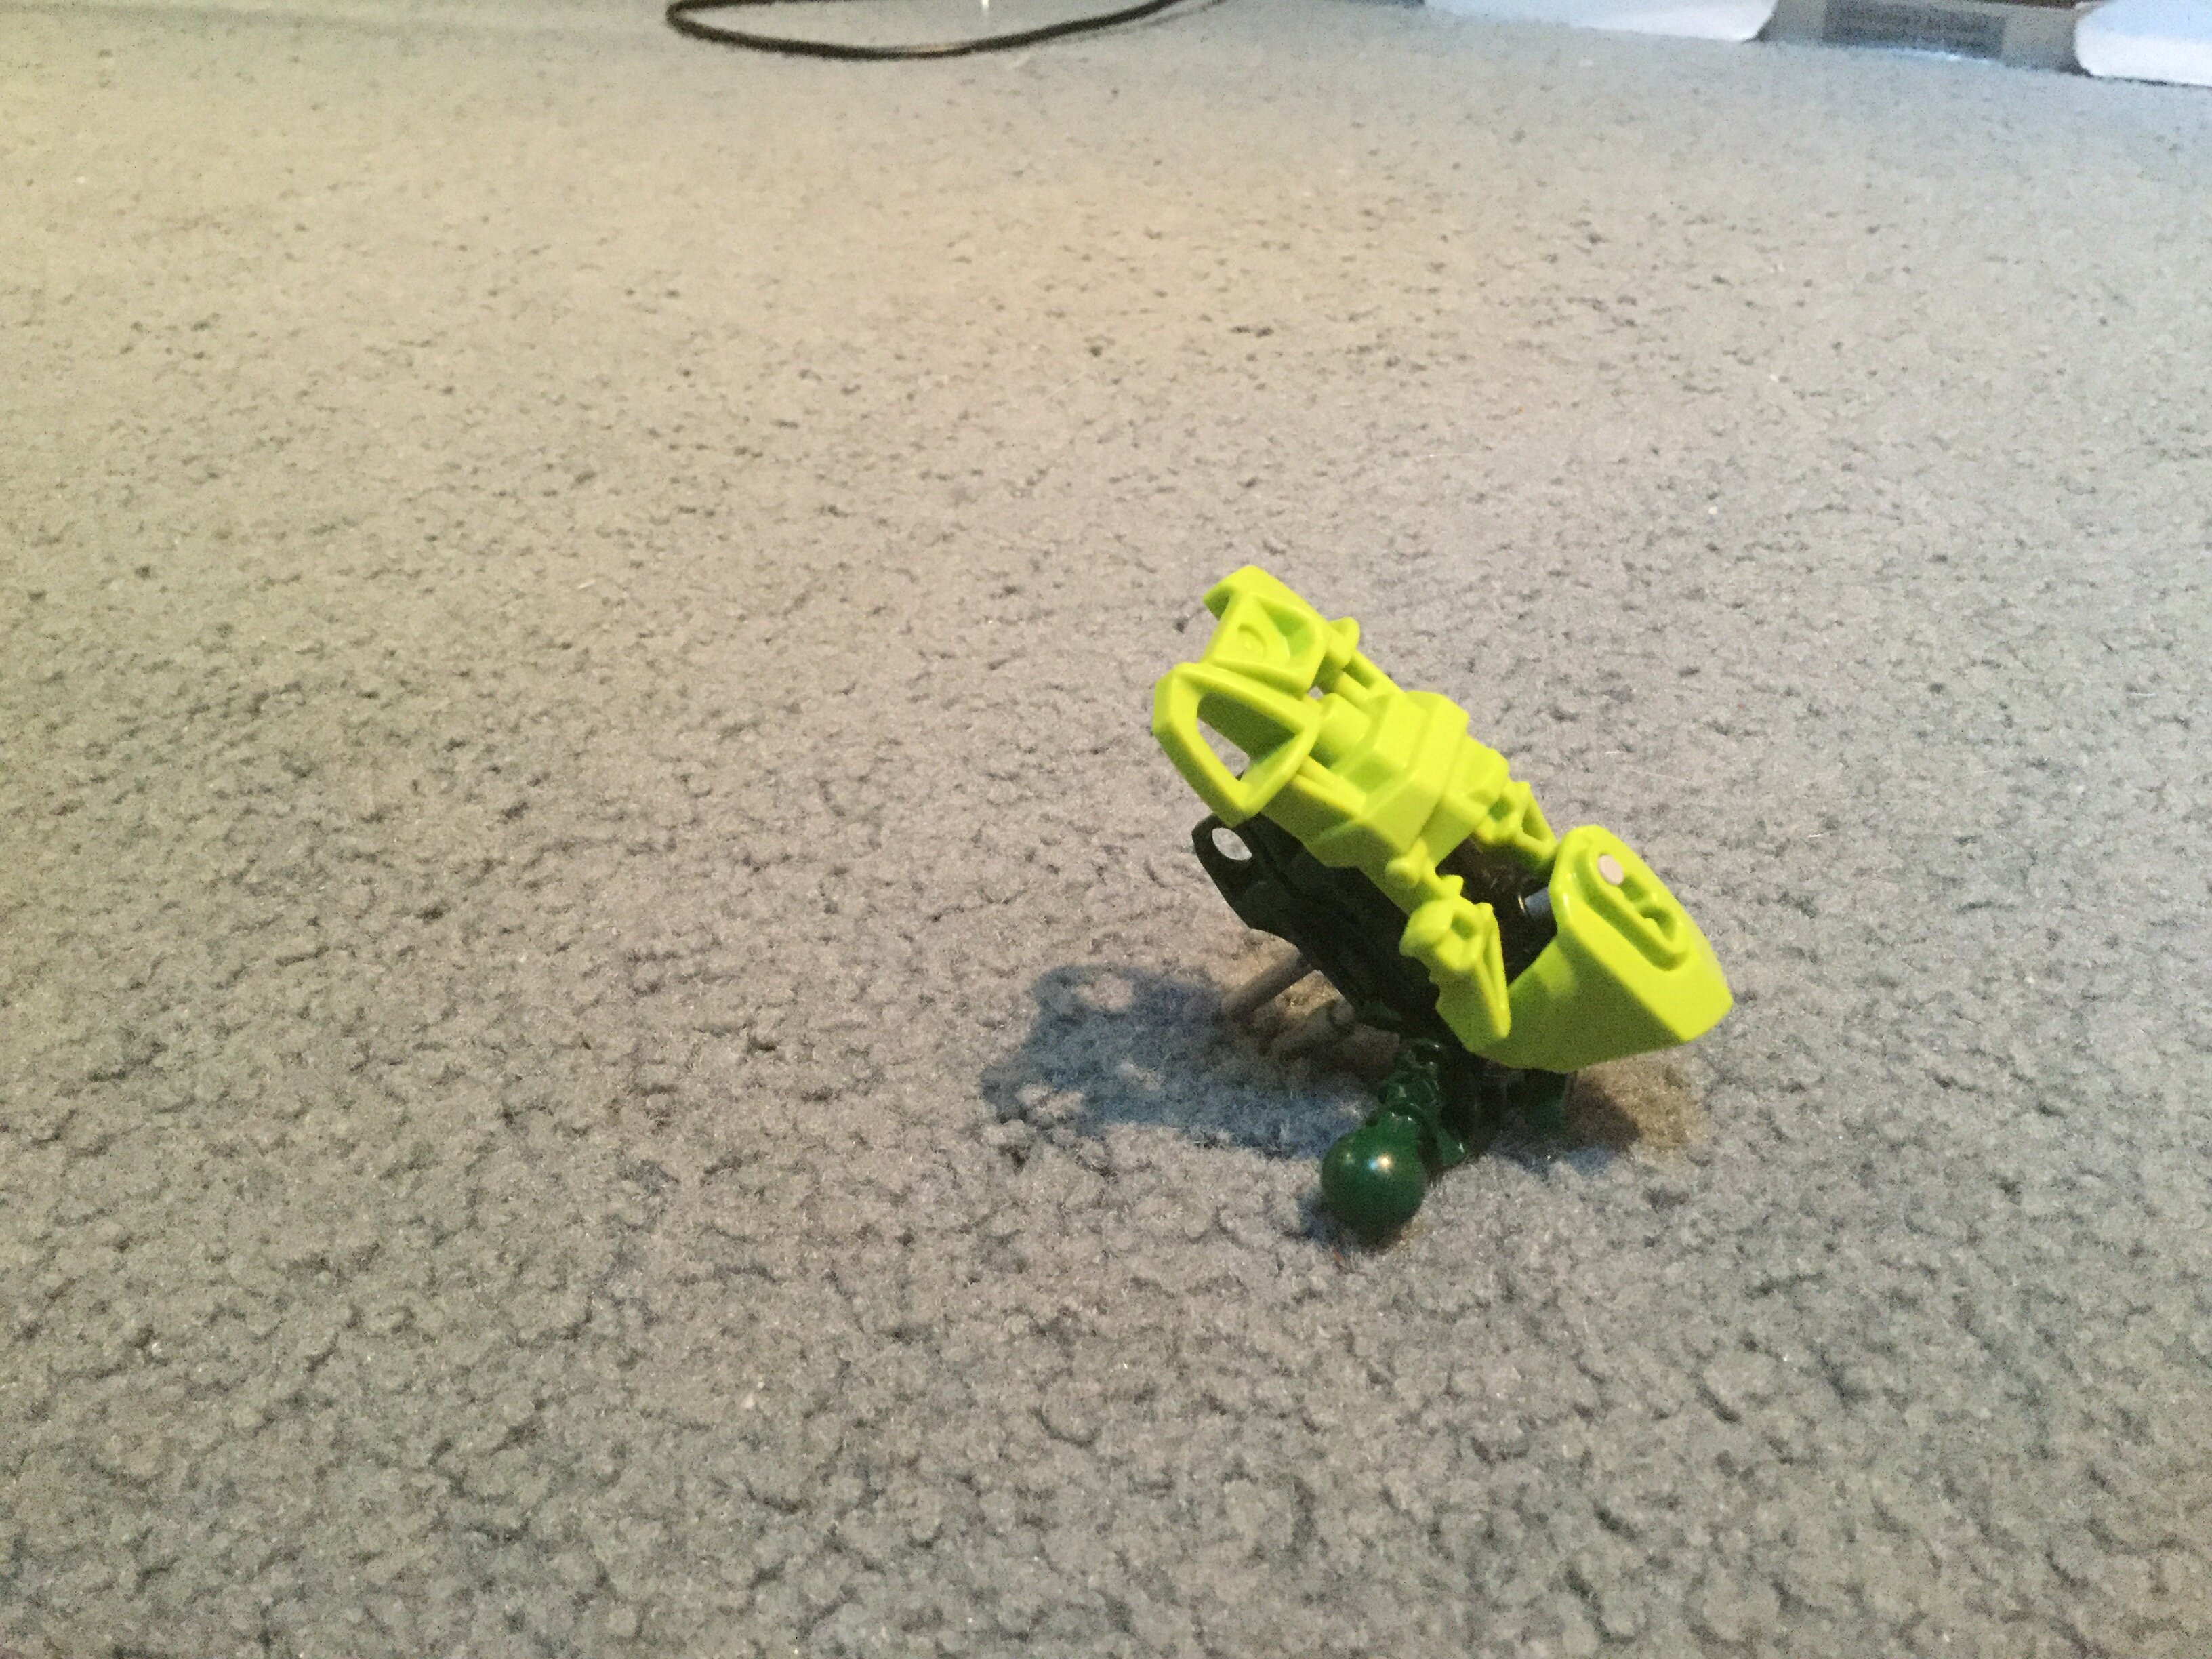
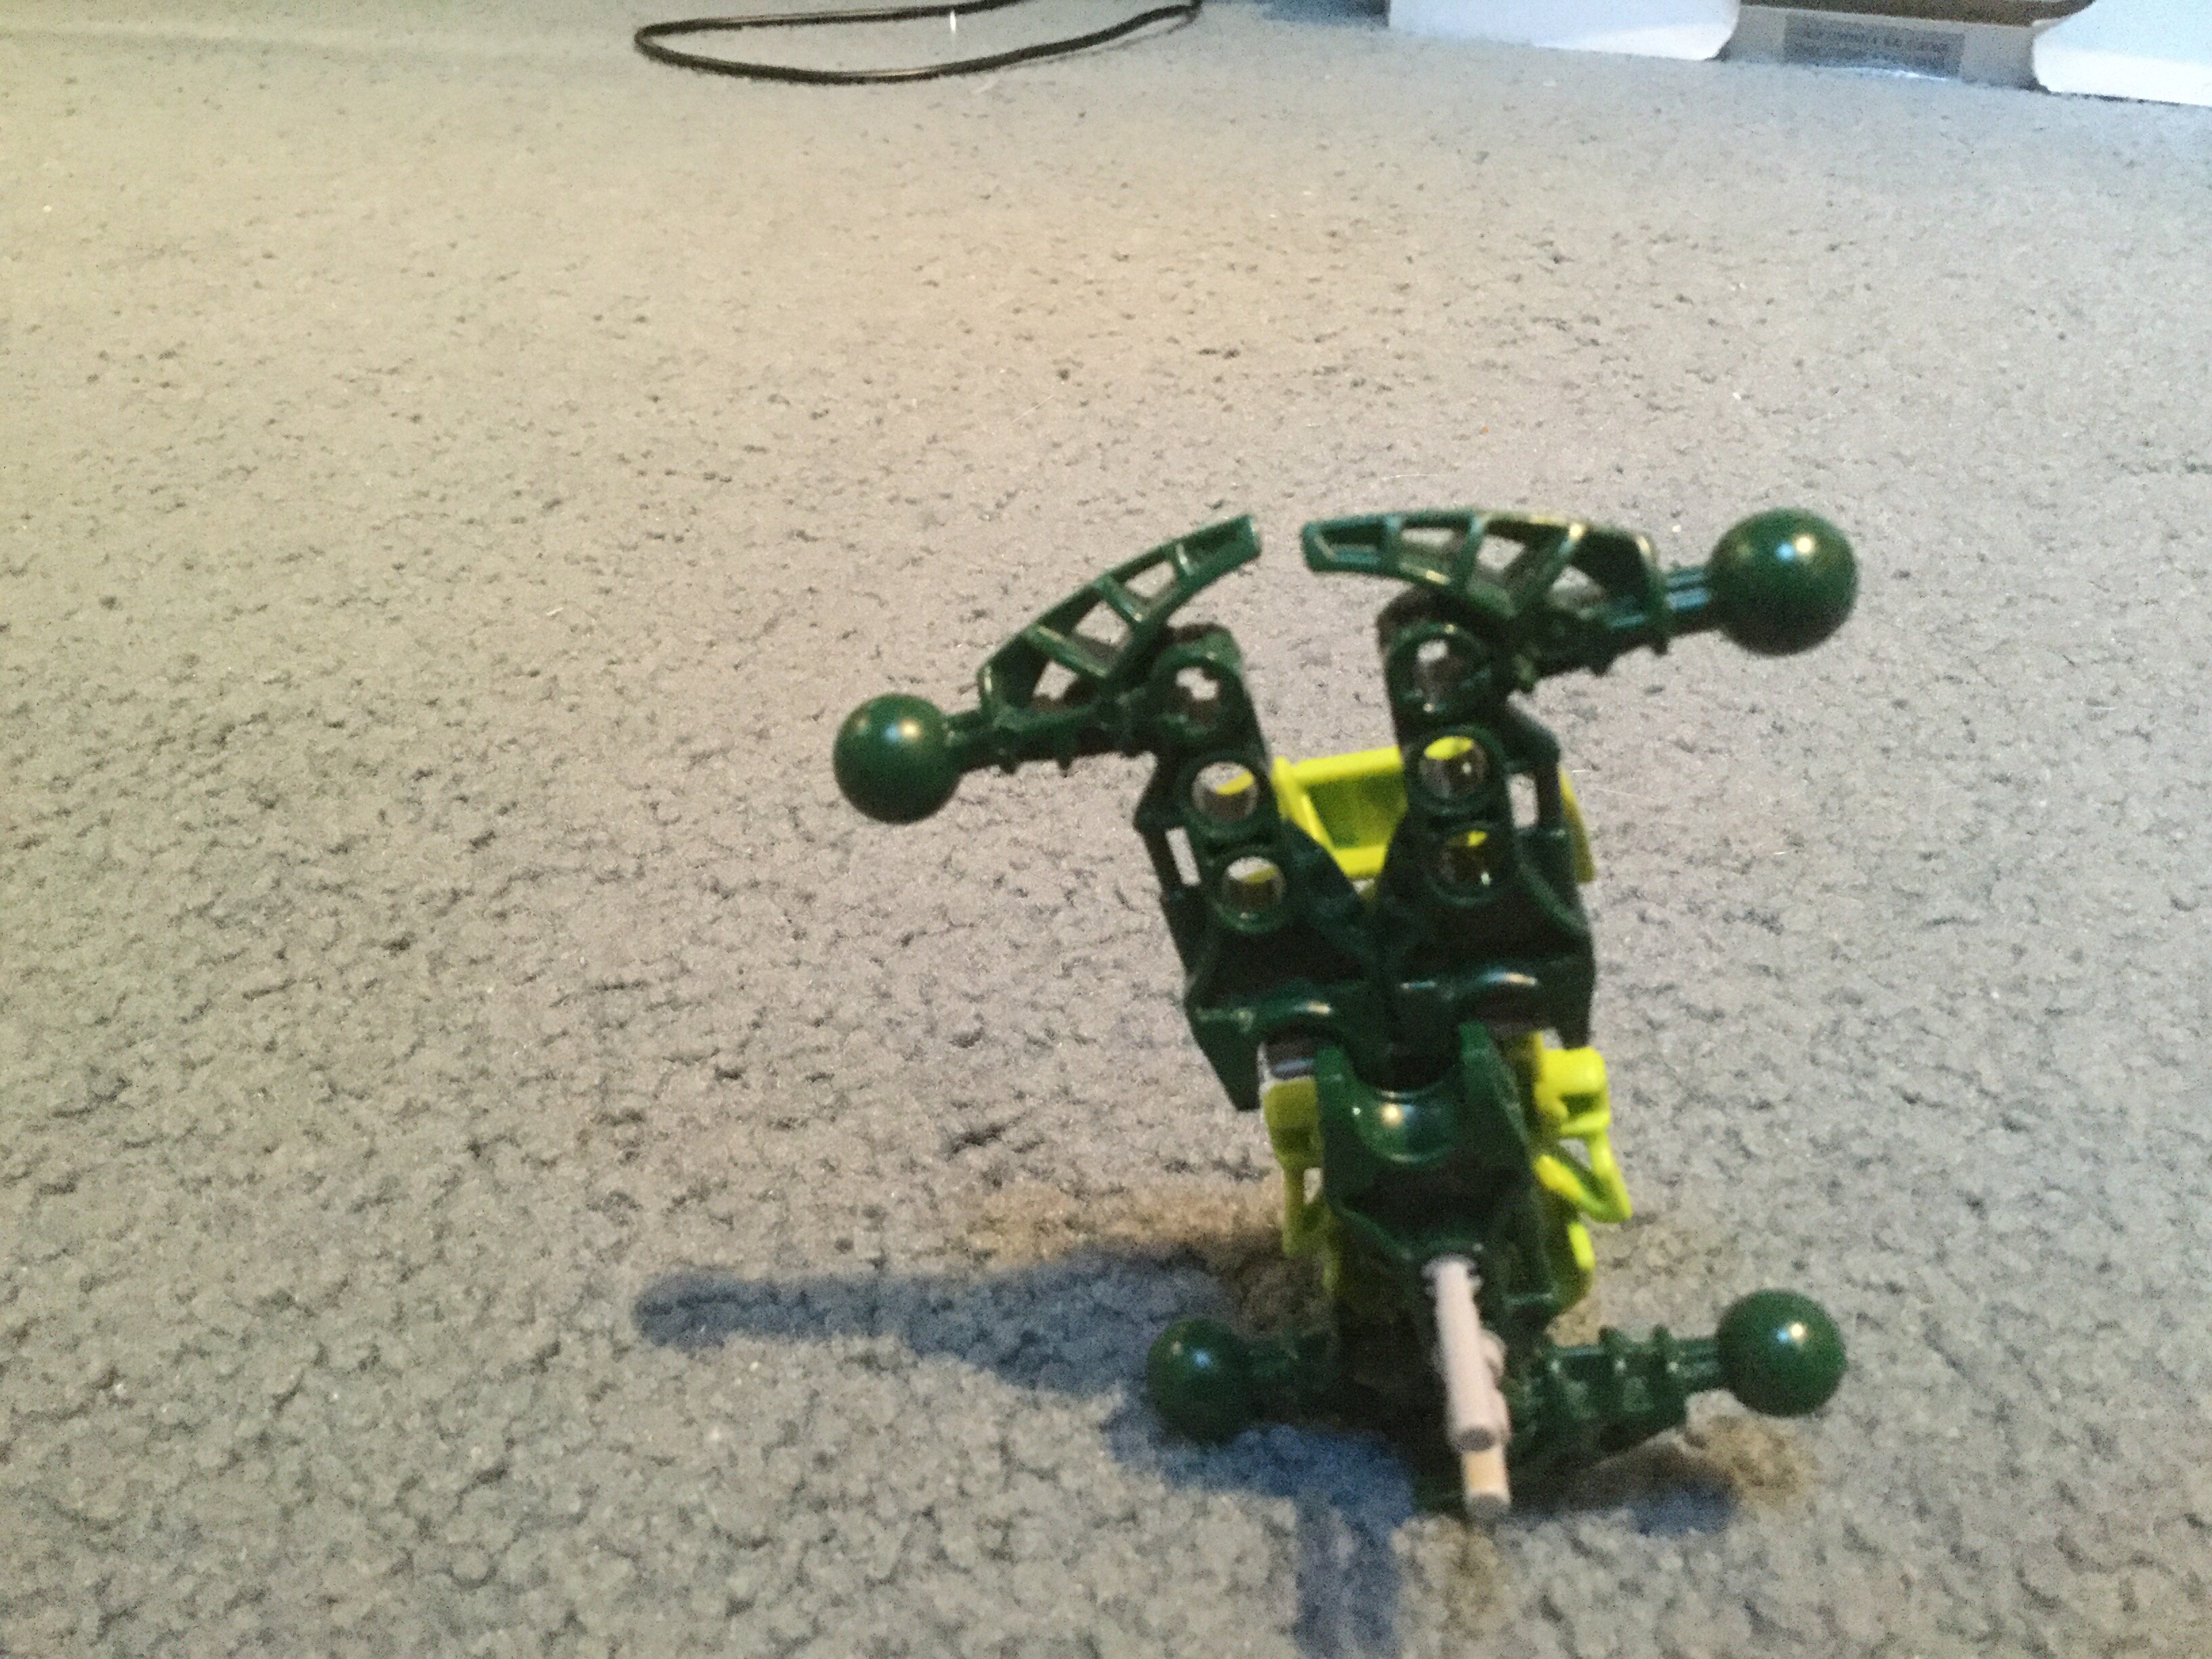
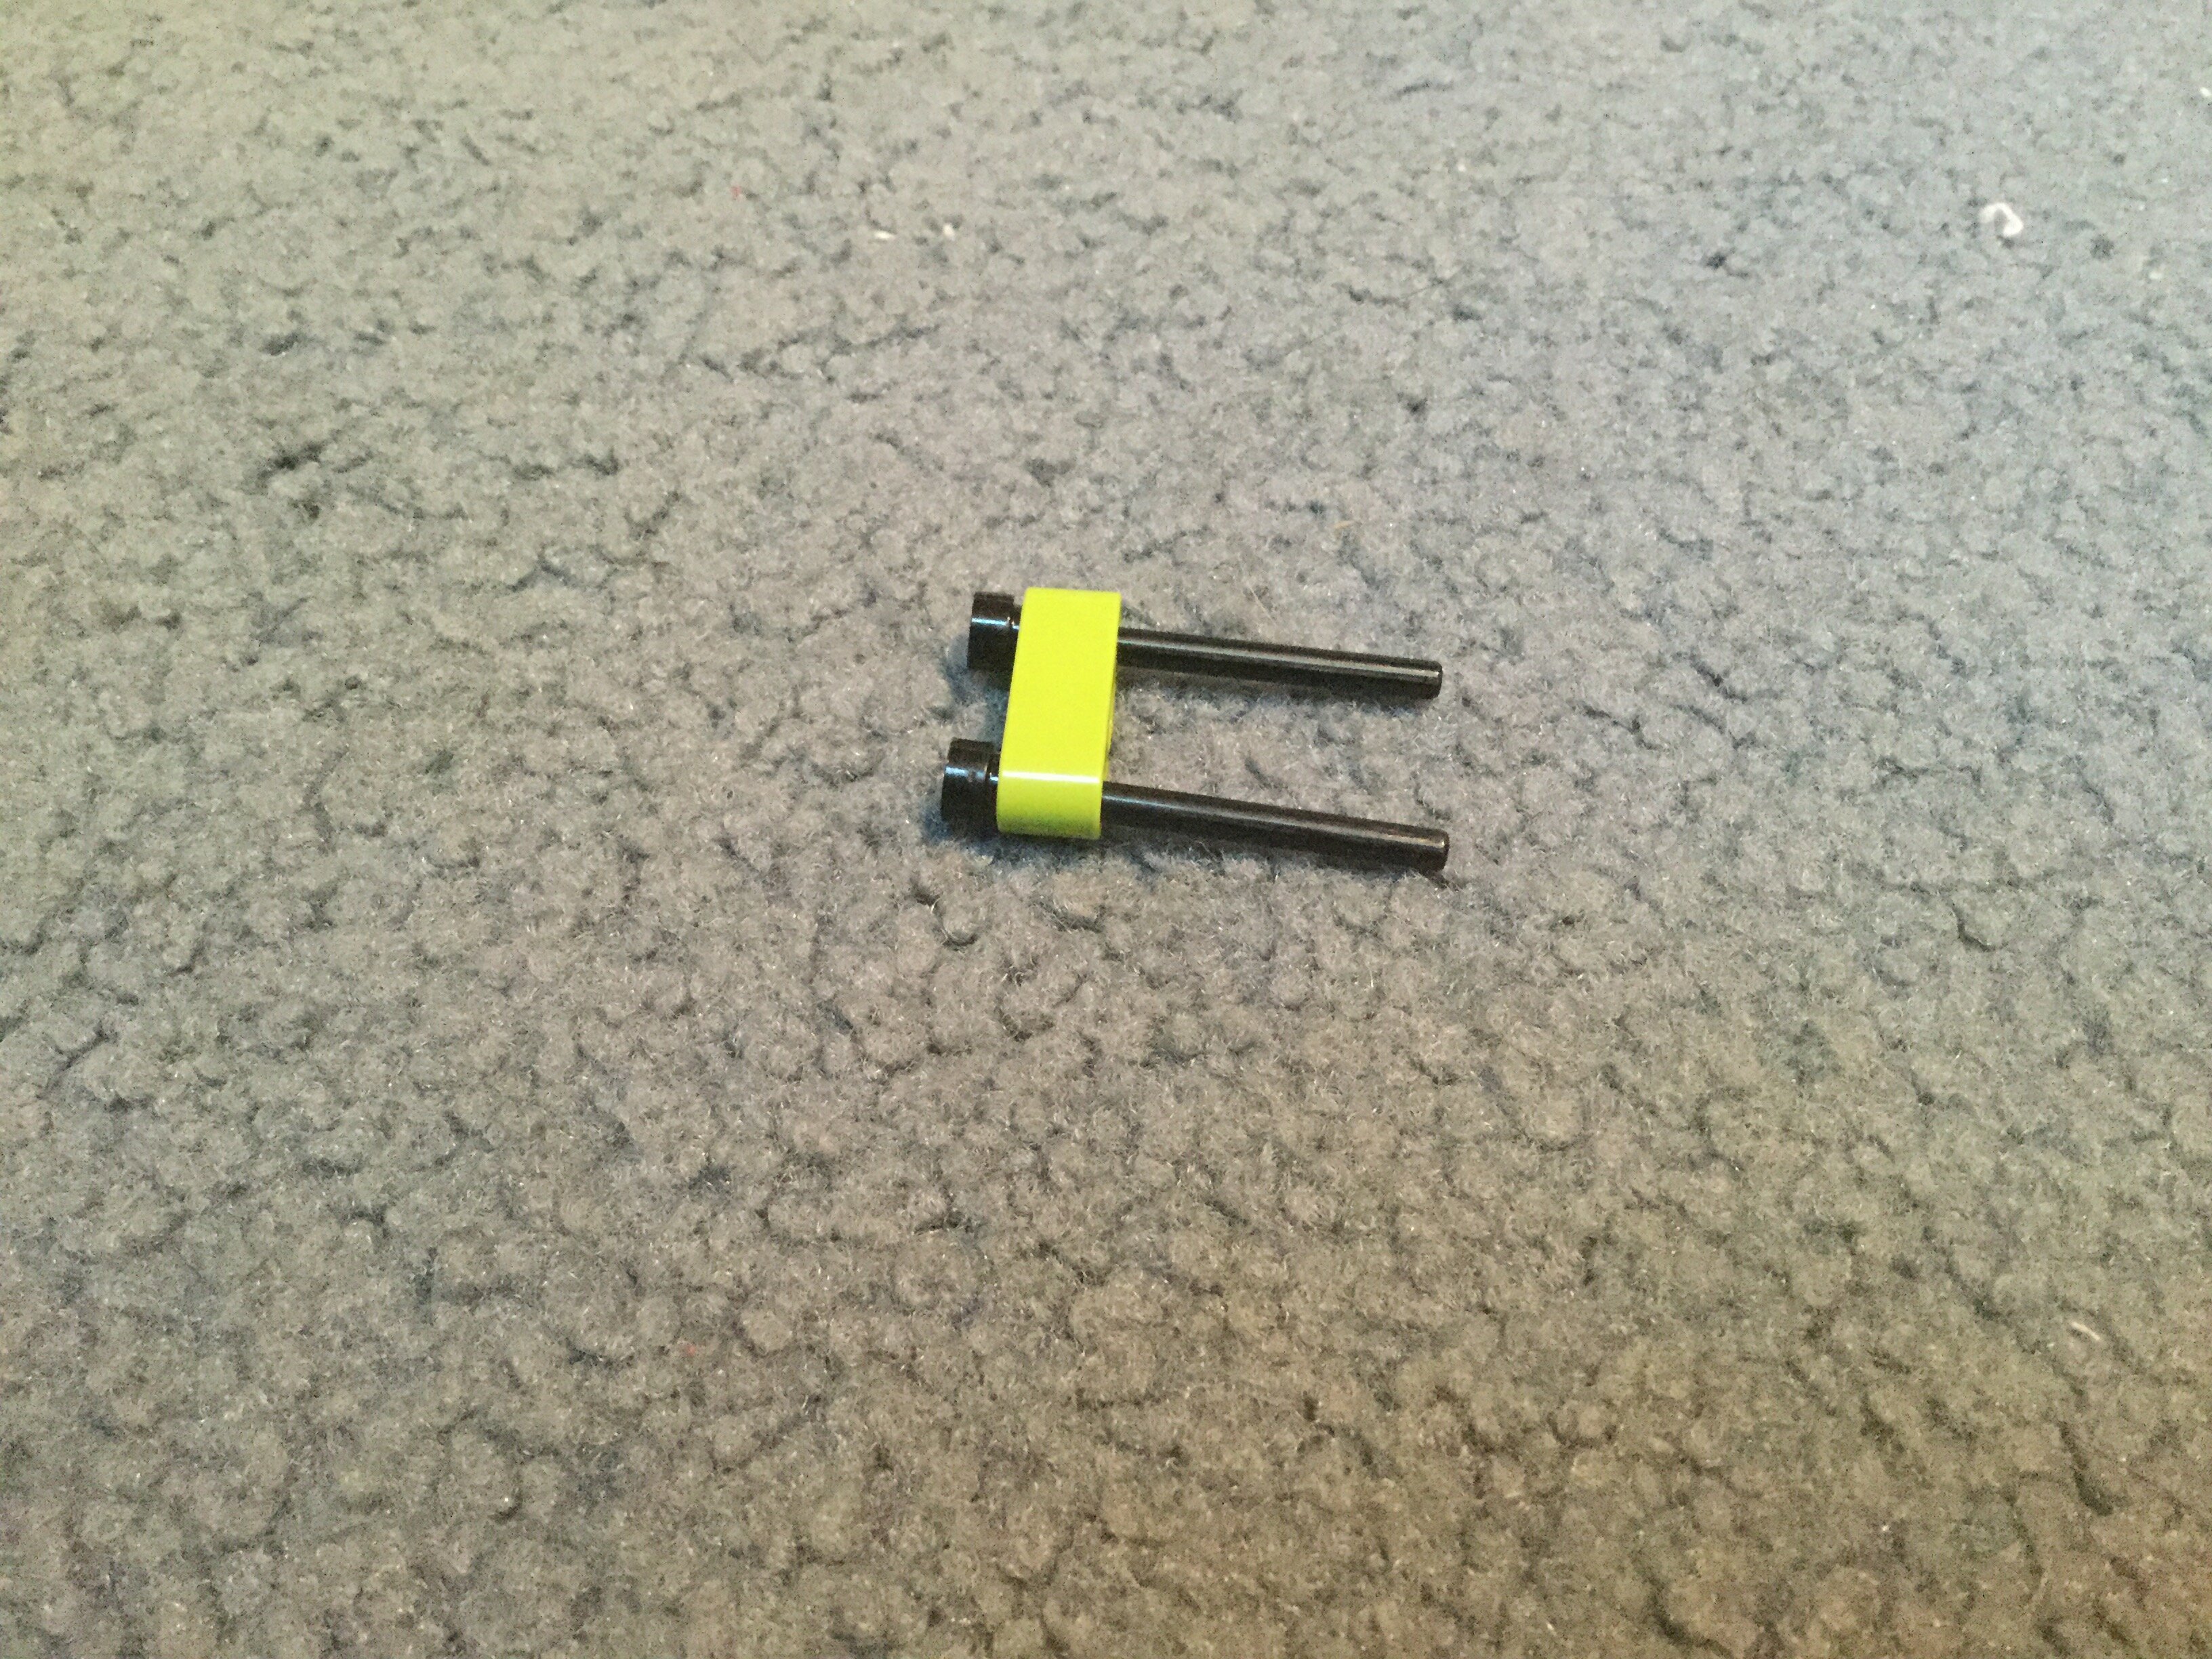
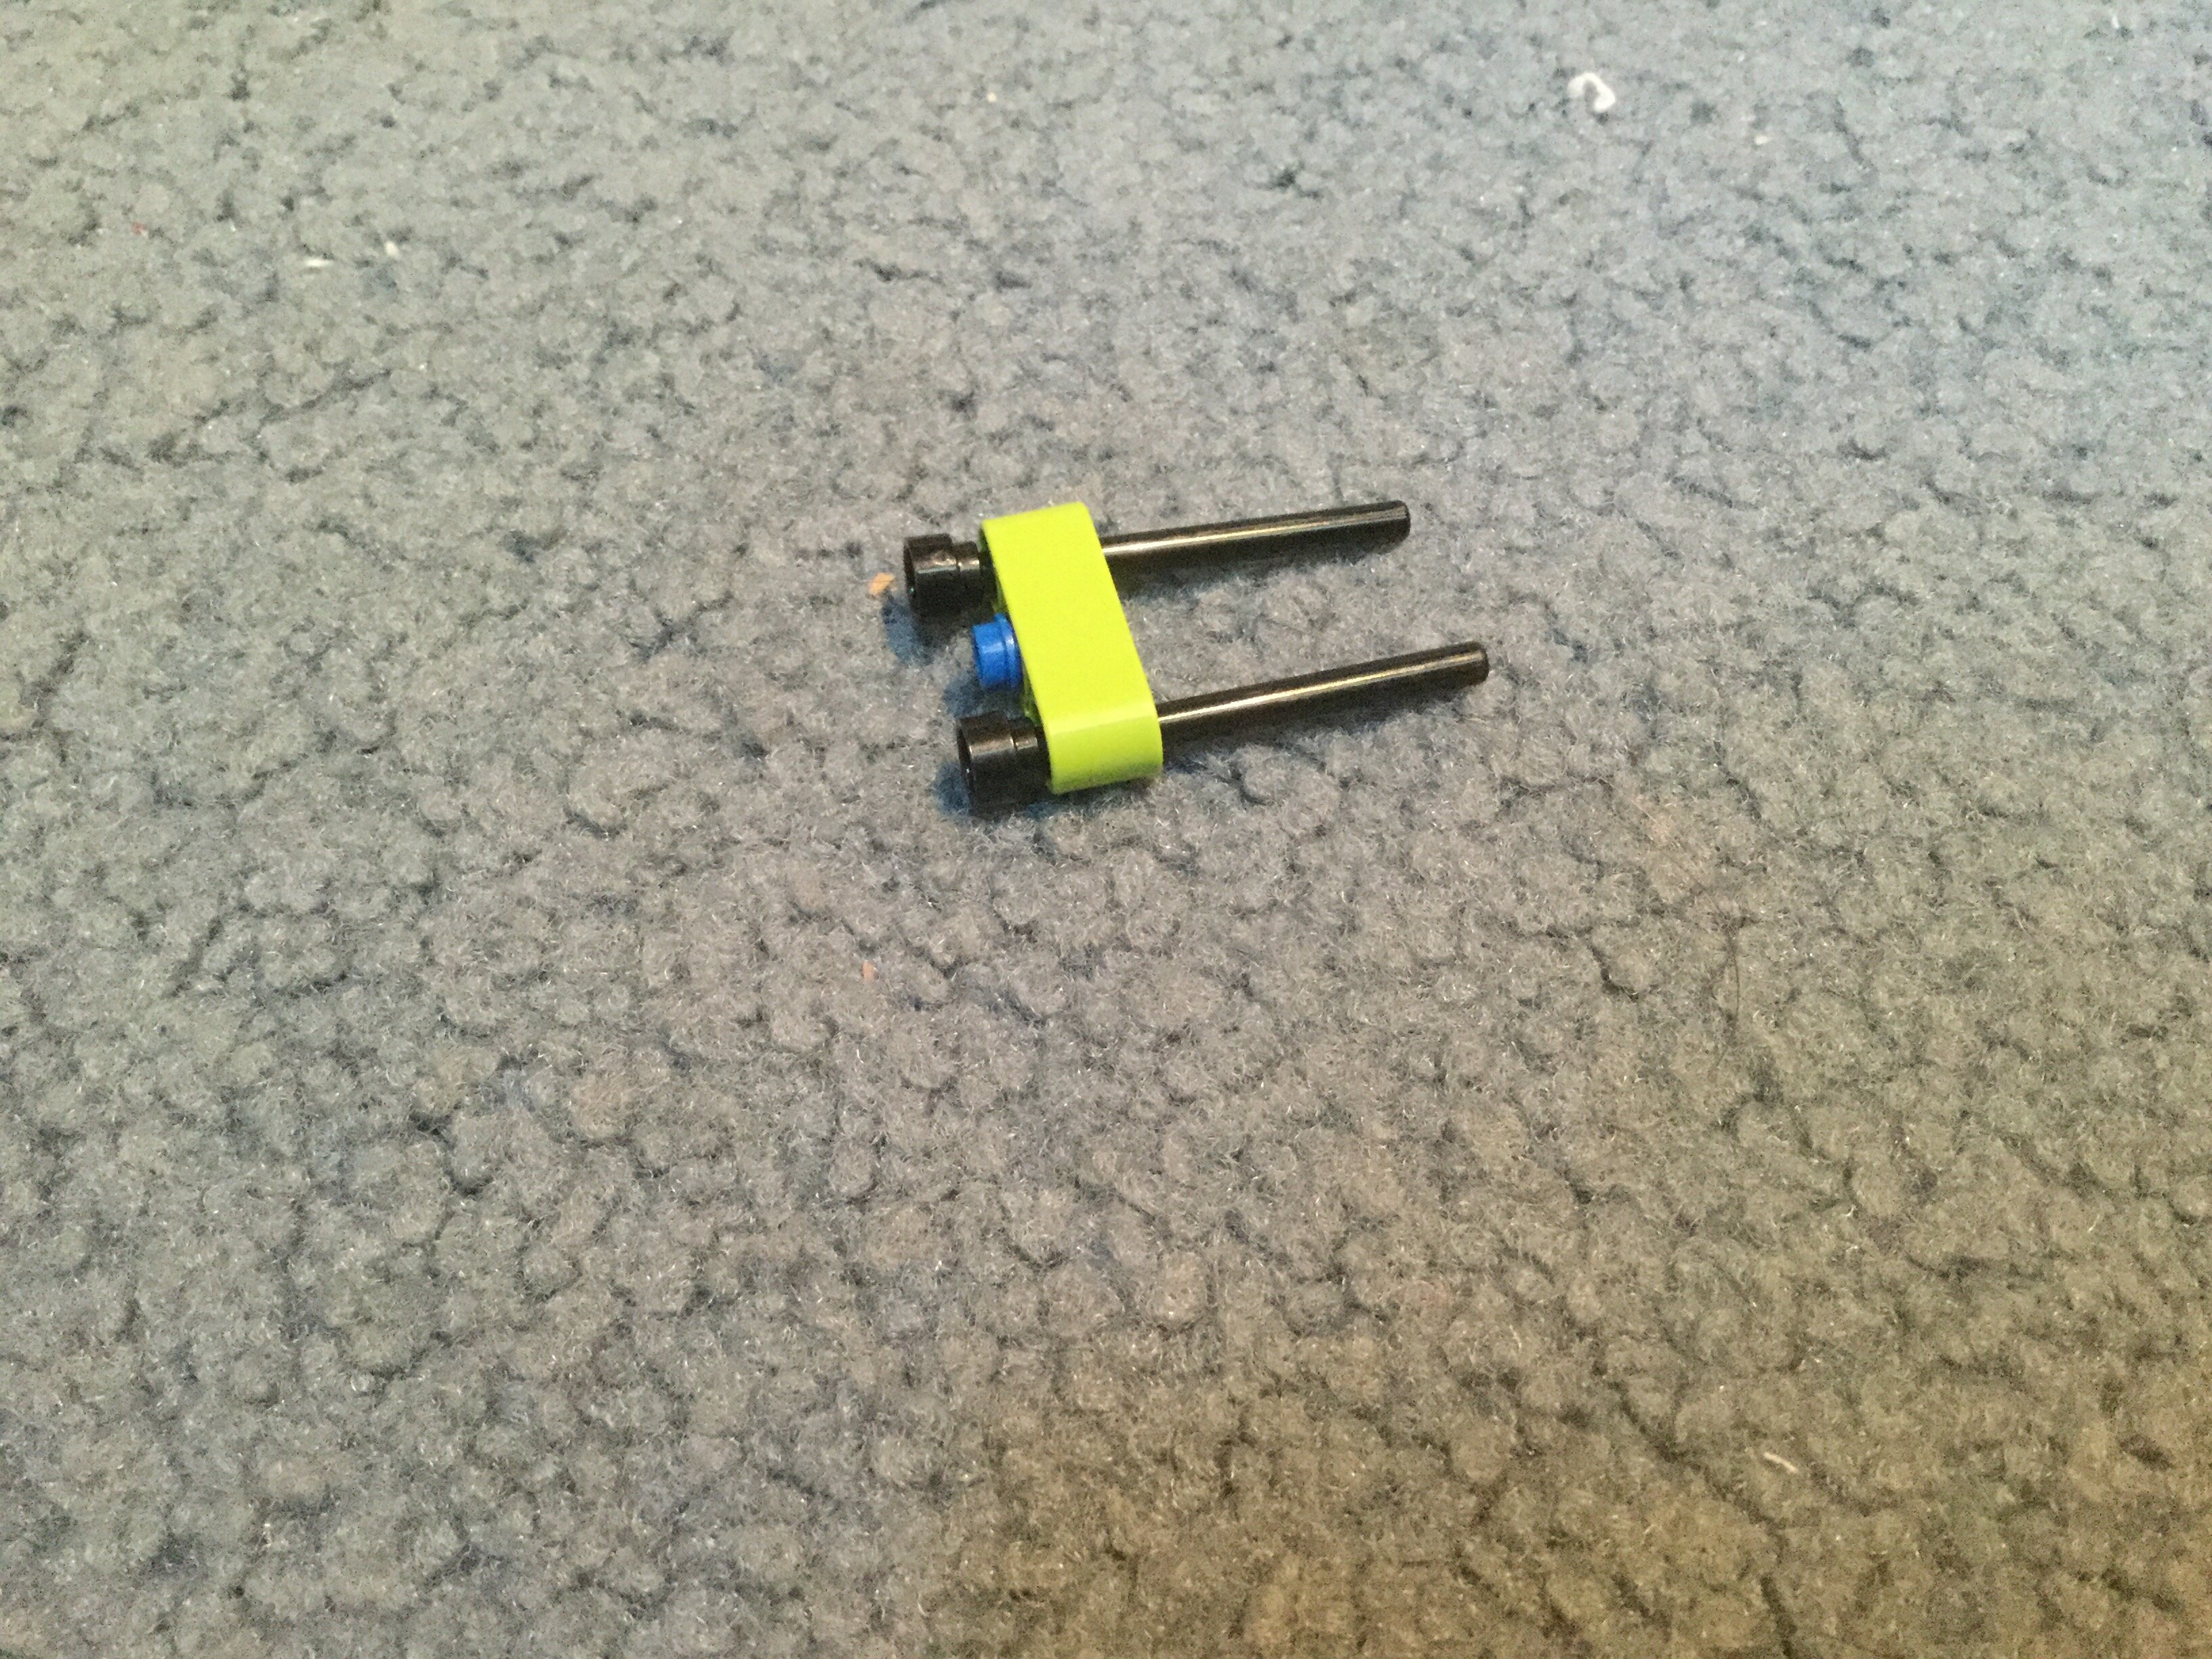
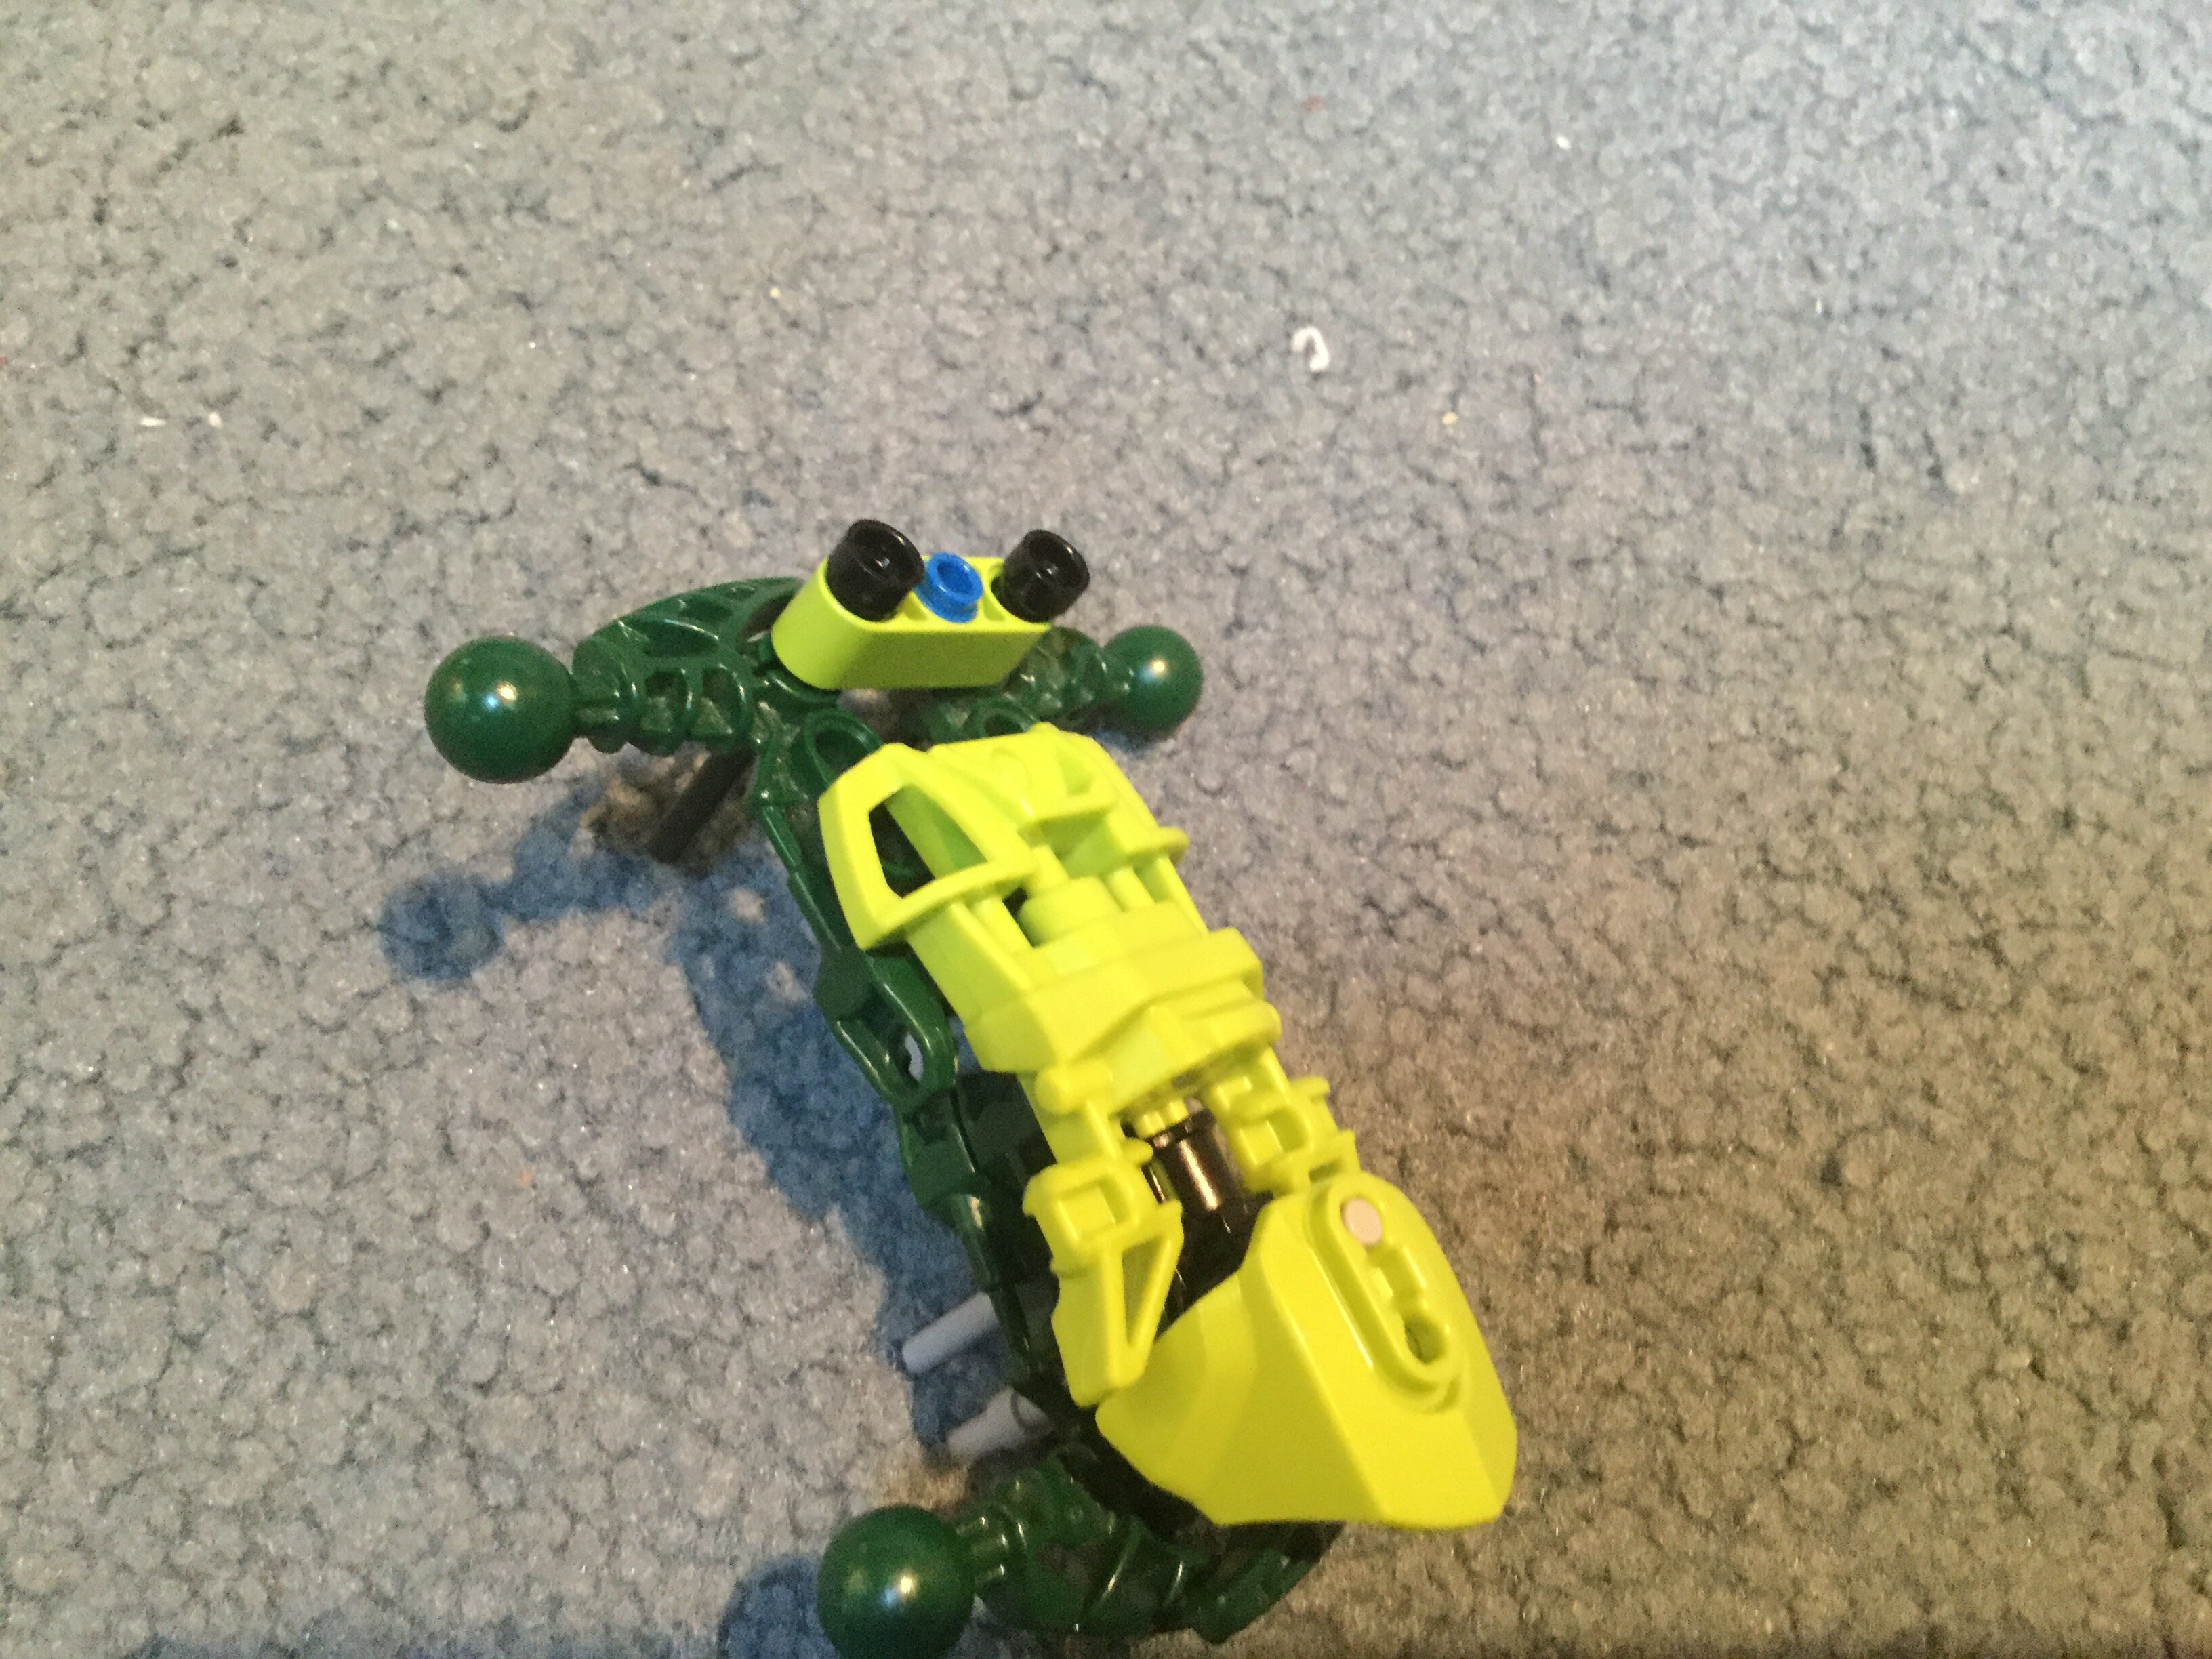
Otherwise you could try combining two of the modern hand pieces with this piece and four 2 cm axles. It’s not exactly the same, but it’s close.
I don’t know of a part that works like the Inika Torso, I have actually been looking for a similar part. The closest I have come is an upside down Storm Beast chest. http://cache.lego.com/media/bricks/5/2/6135323.jpg
You may have to make a custom torso…
Ah, I see. My worries about a weak socket were revived after breaking another one of the pre-2008 connectors fairly recently, and apparently it was a new one off a Brinklink while I was at it.
My concern is that the connectors of the last decade, in my experience, are prone to becoming loose. It’s evident in my Mata and Piraka sets, but I’m assuming that’s from extreme amounts of usage from previous piece owners.
The newer CCBS-era sockets are extremely durable and tight, from what I can understand by rough-and-tumble testing some in dirt and sand. I’m just paranoid I guess about breakage, but I’ll take the chances with the connectors pre-2008.


