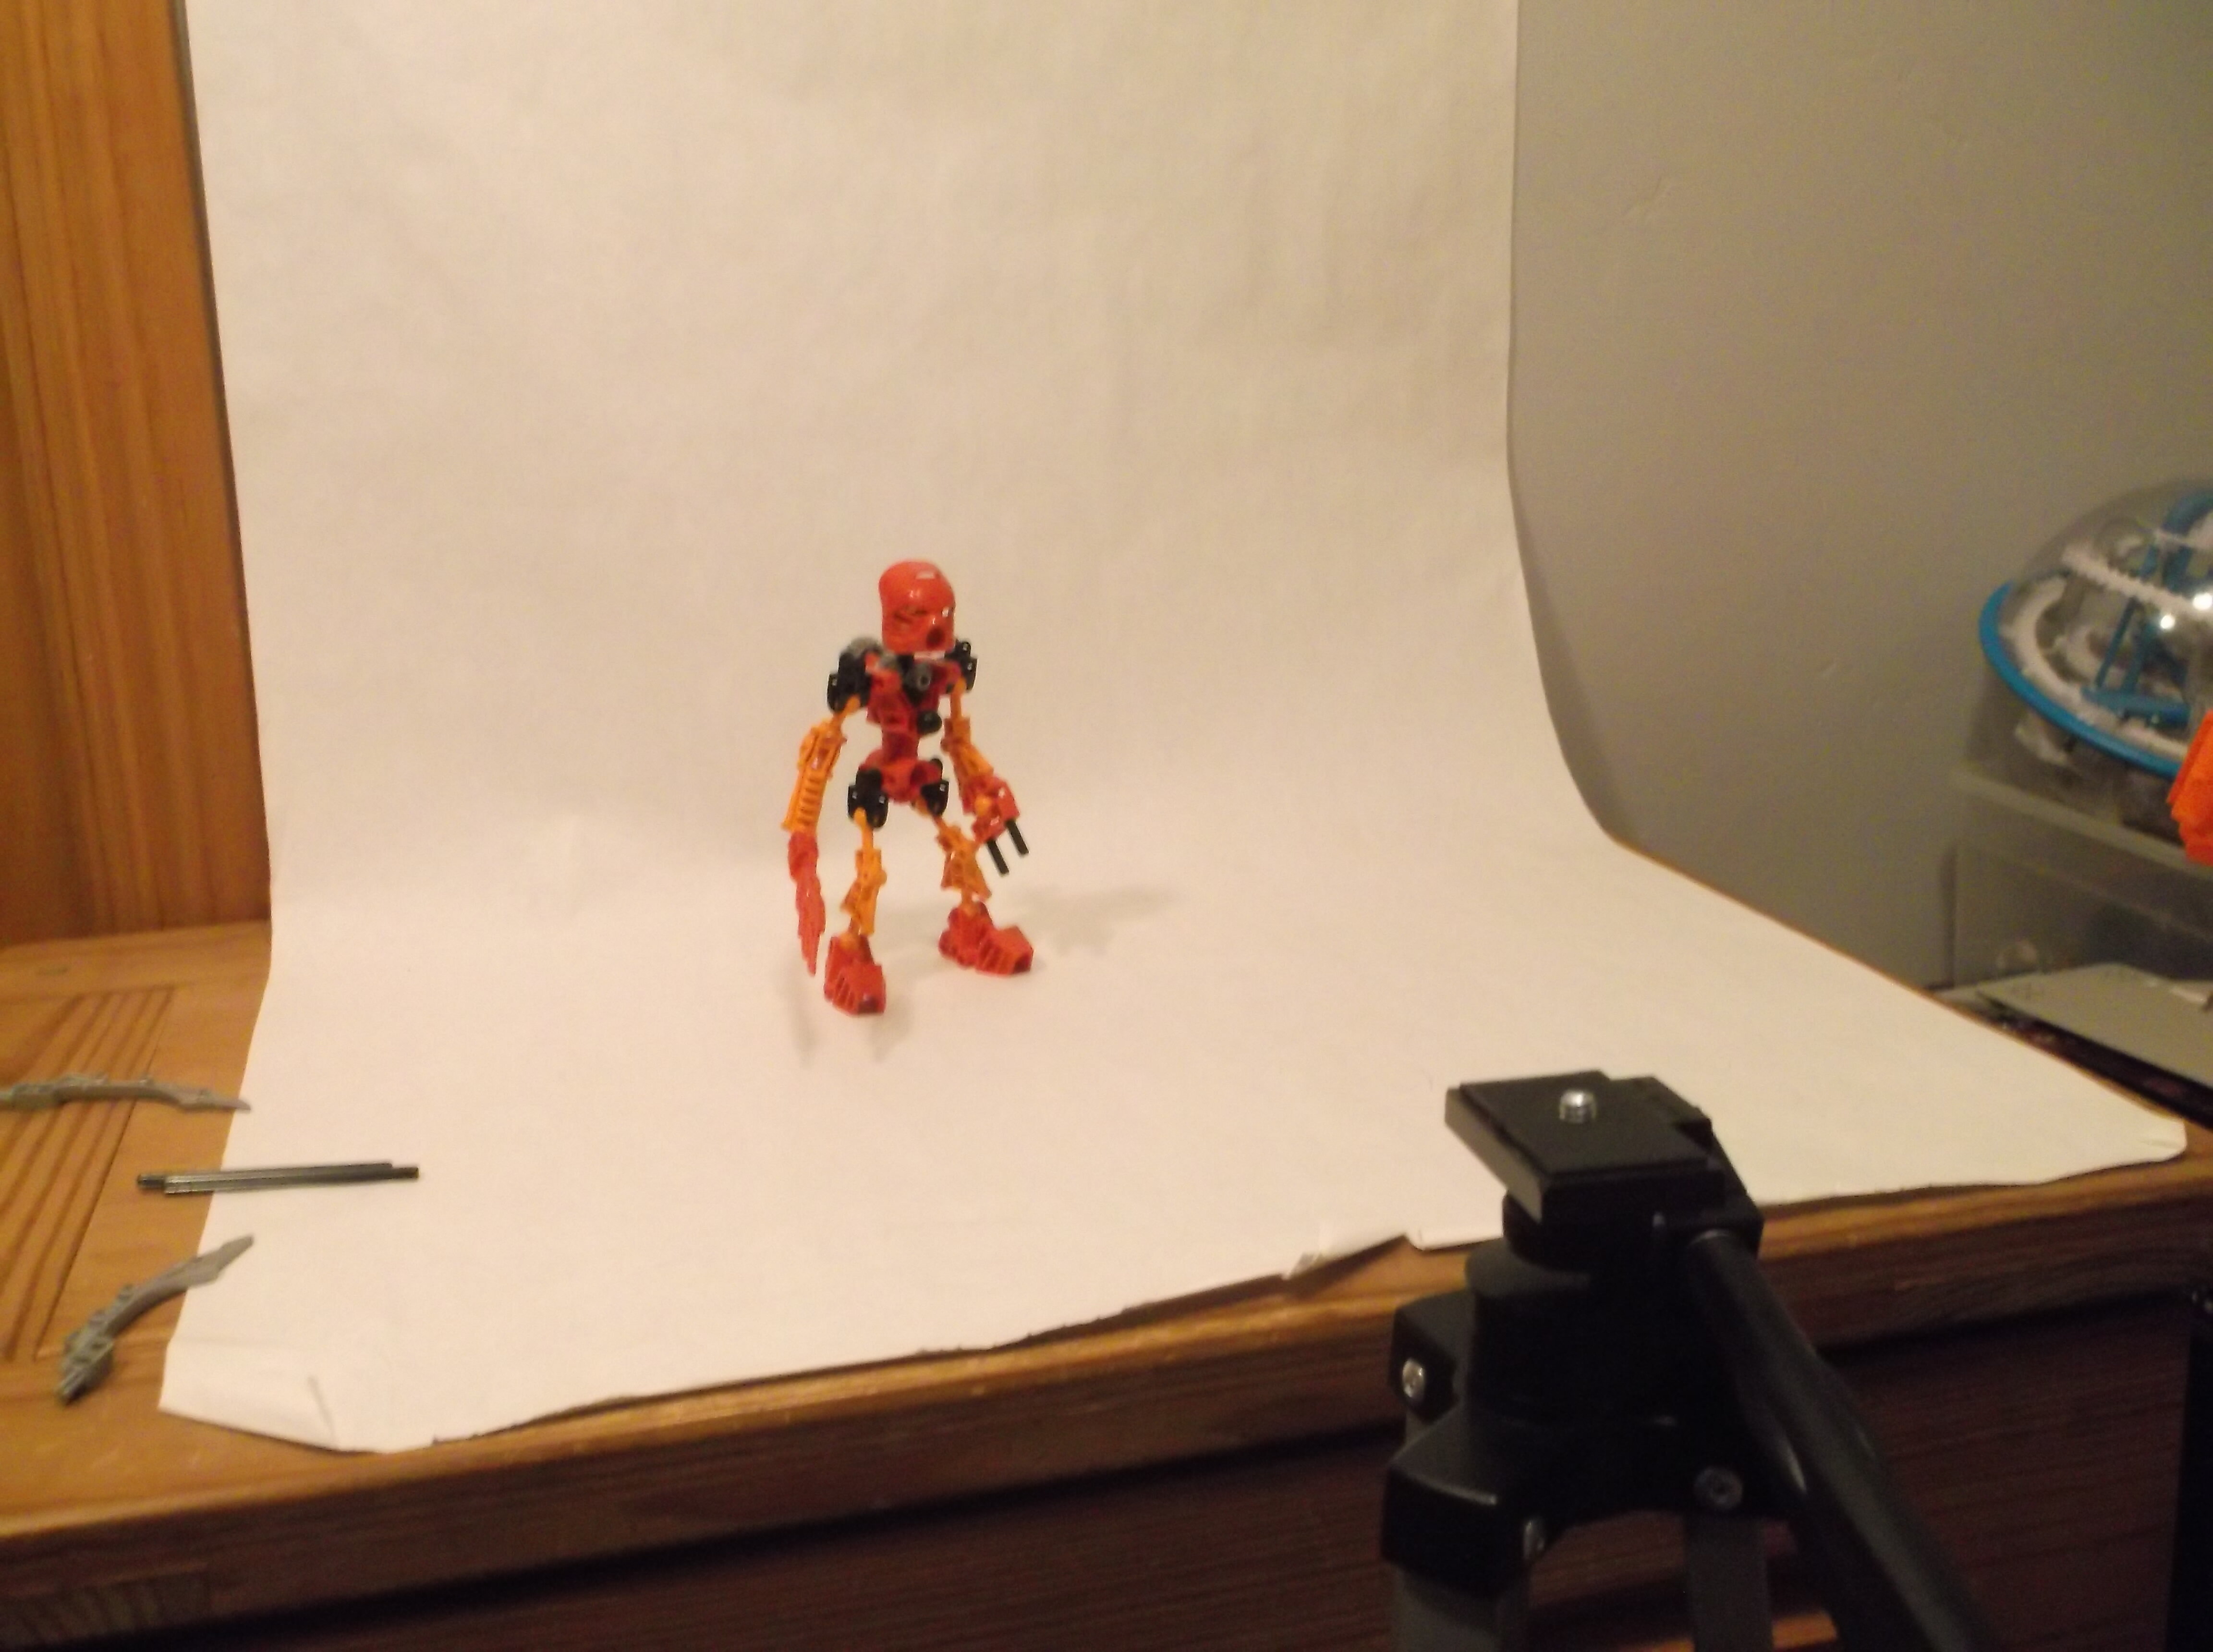
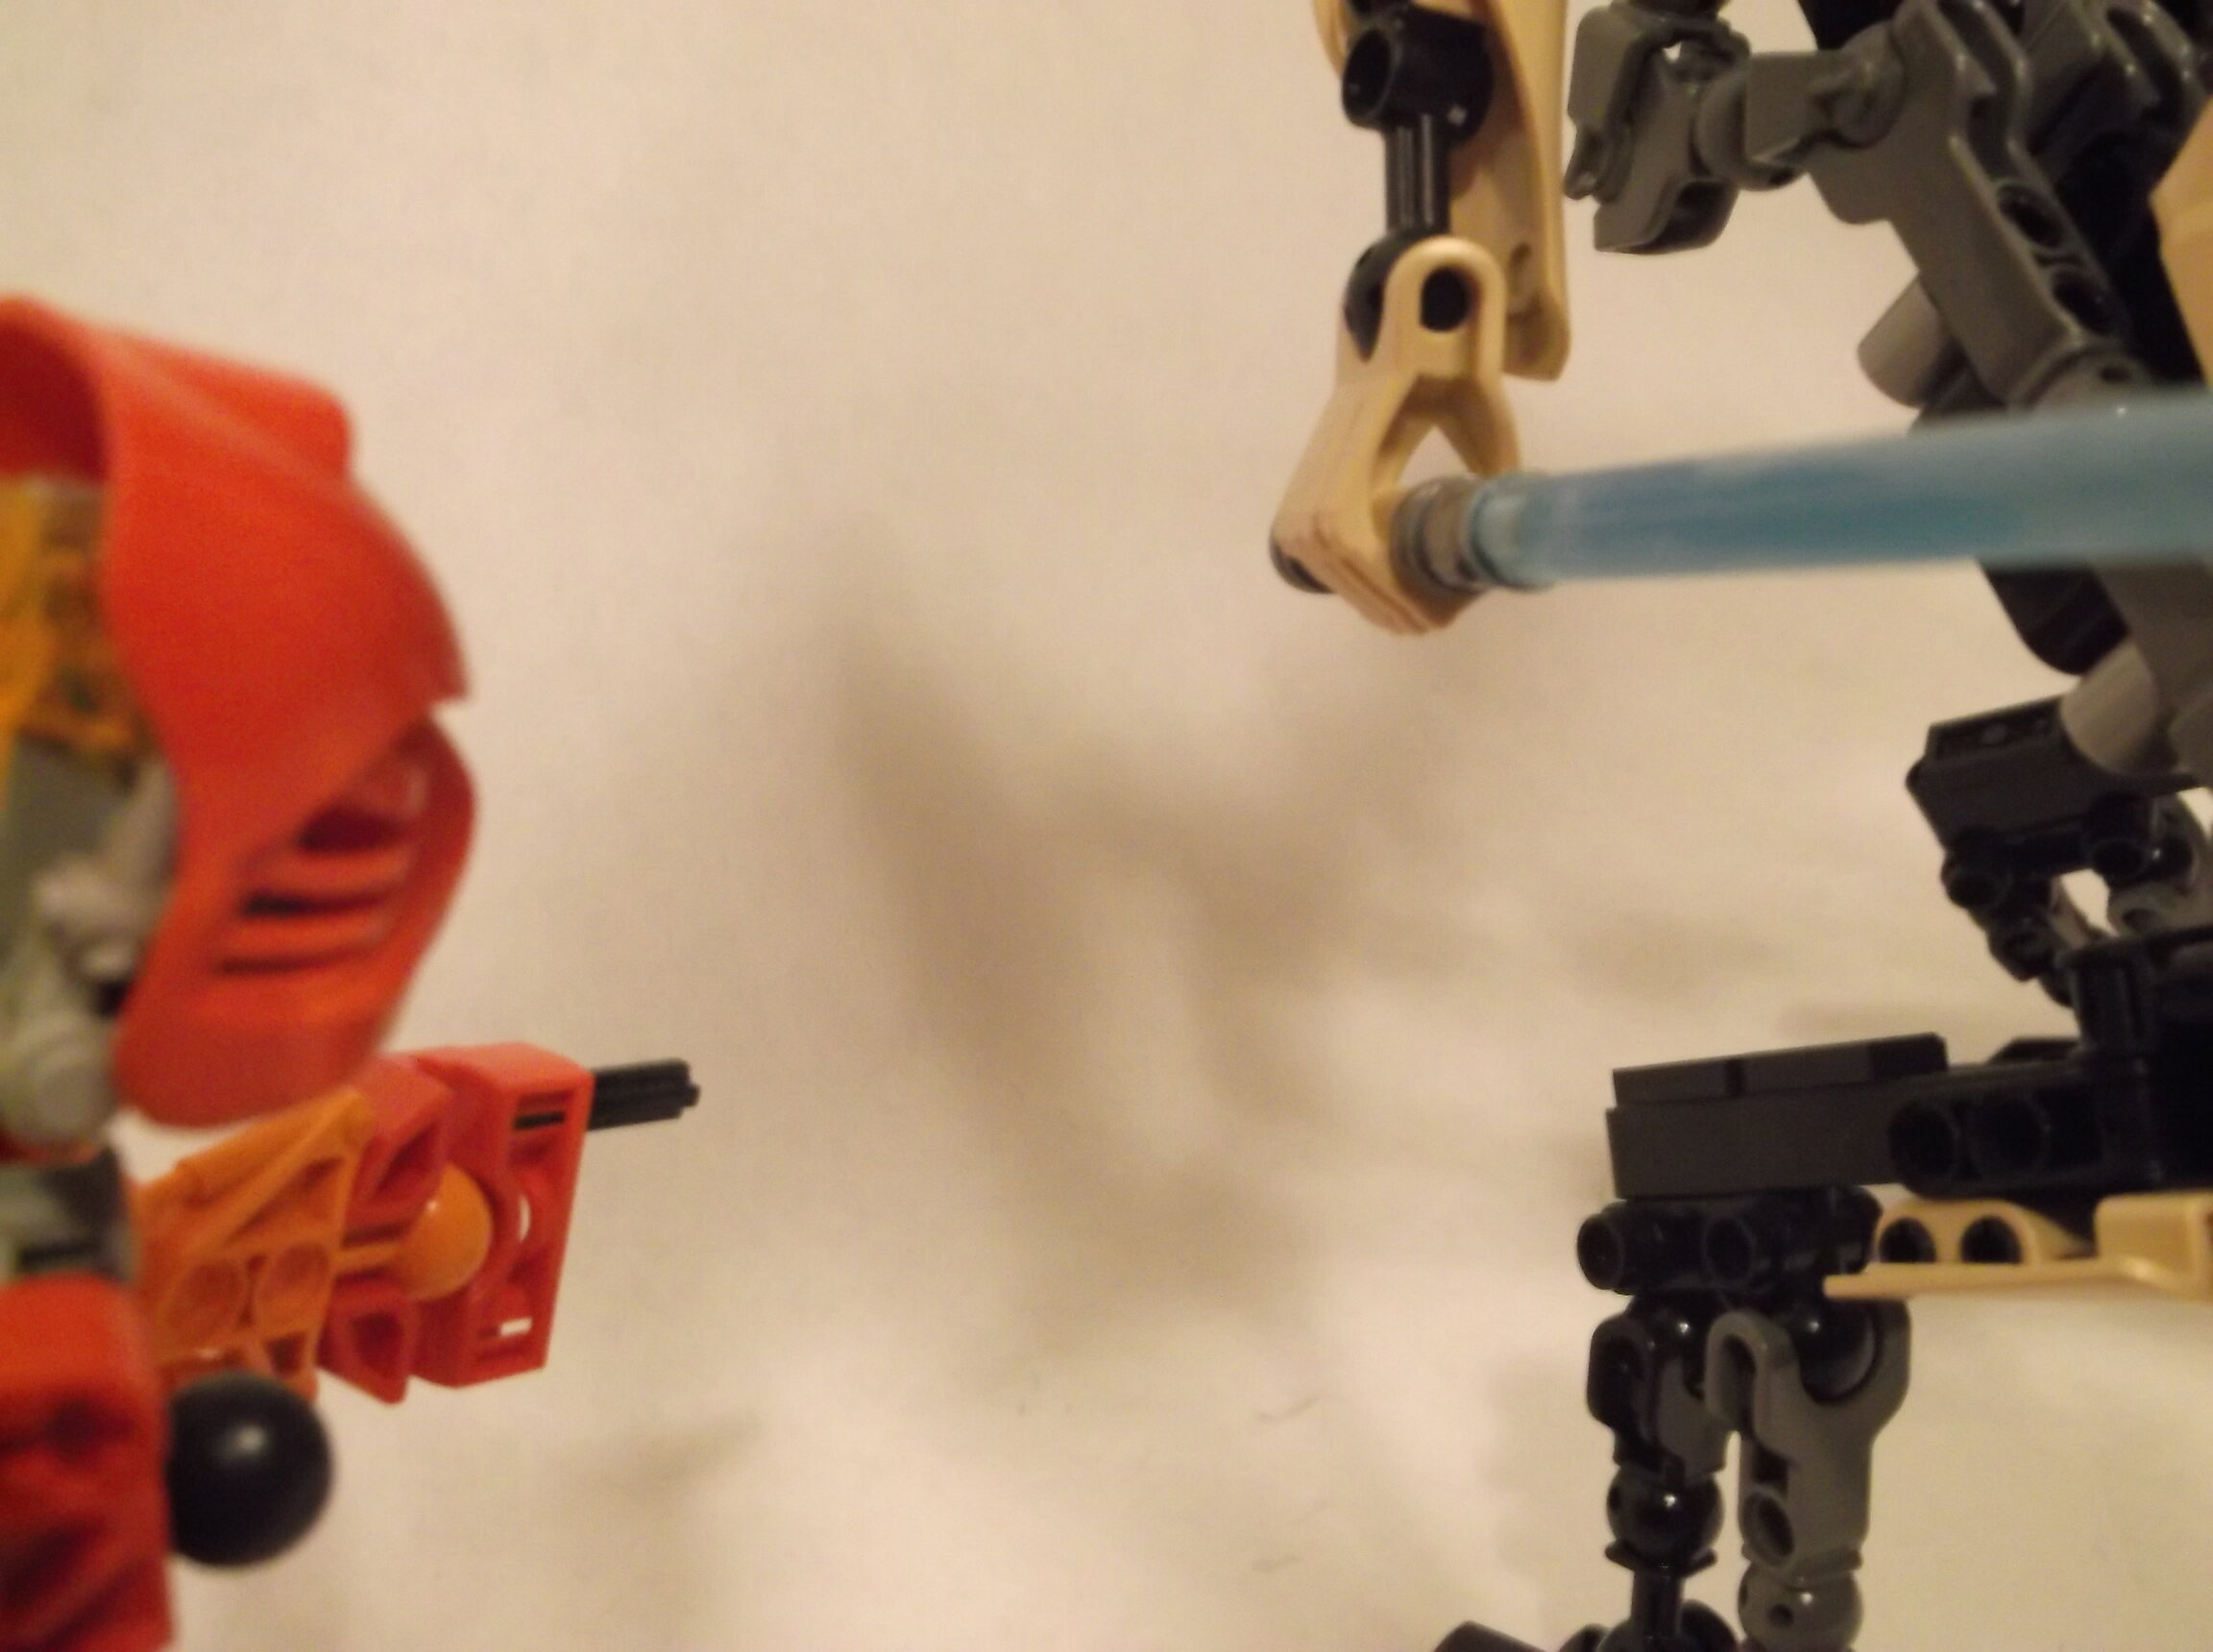
I’d say my biggest problem is that I don’t have the best set up. My set up has a couple of problems, first I can’t zoom out that much cuz you can see off the sides and it means I can only really have short MOC
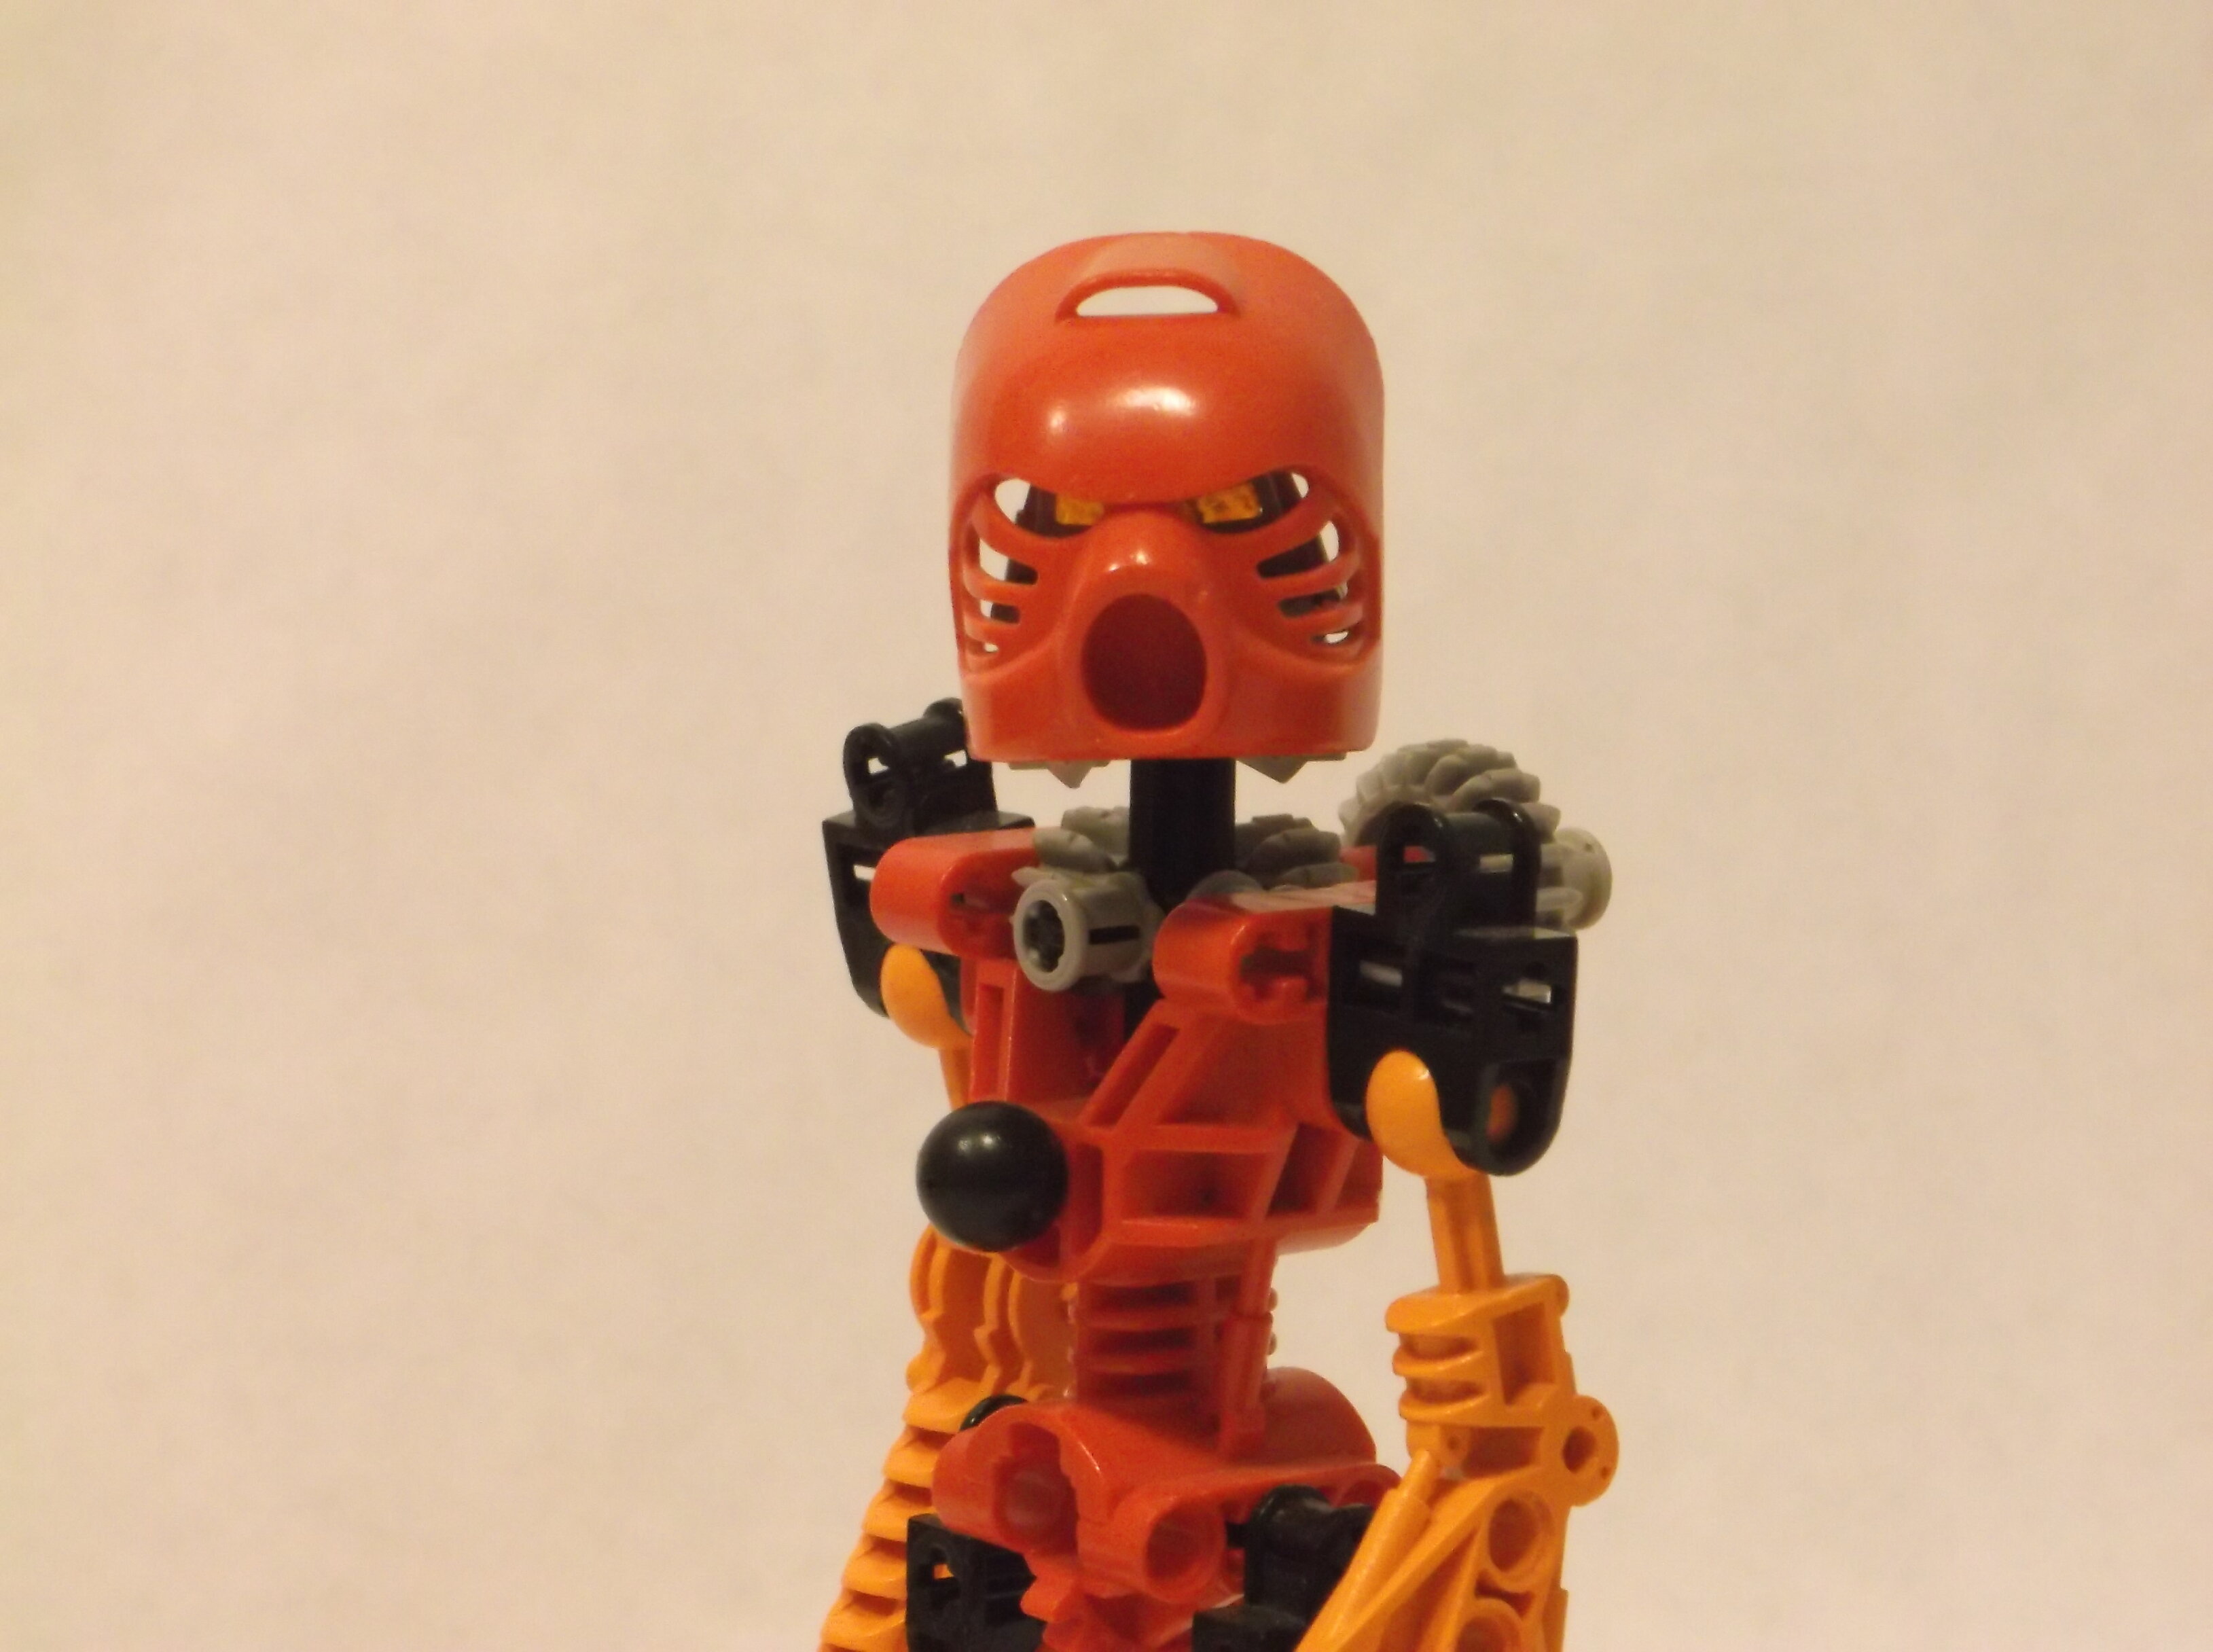
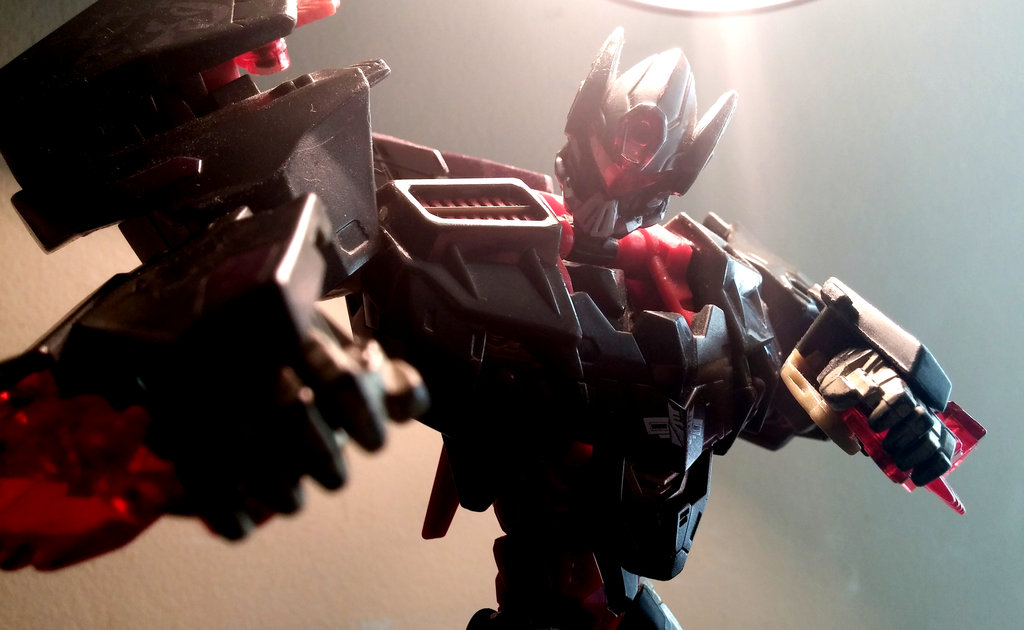
Second off I don’t really know how to light my set so it has this weird worm glow and i can’t fix it without using flash and that also looks kinda bad.
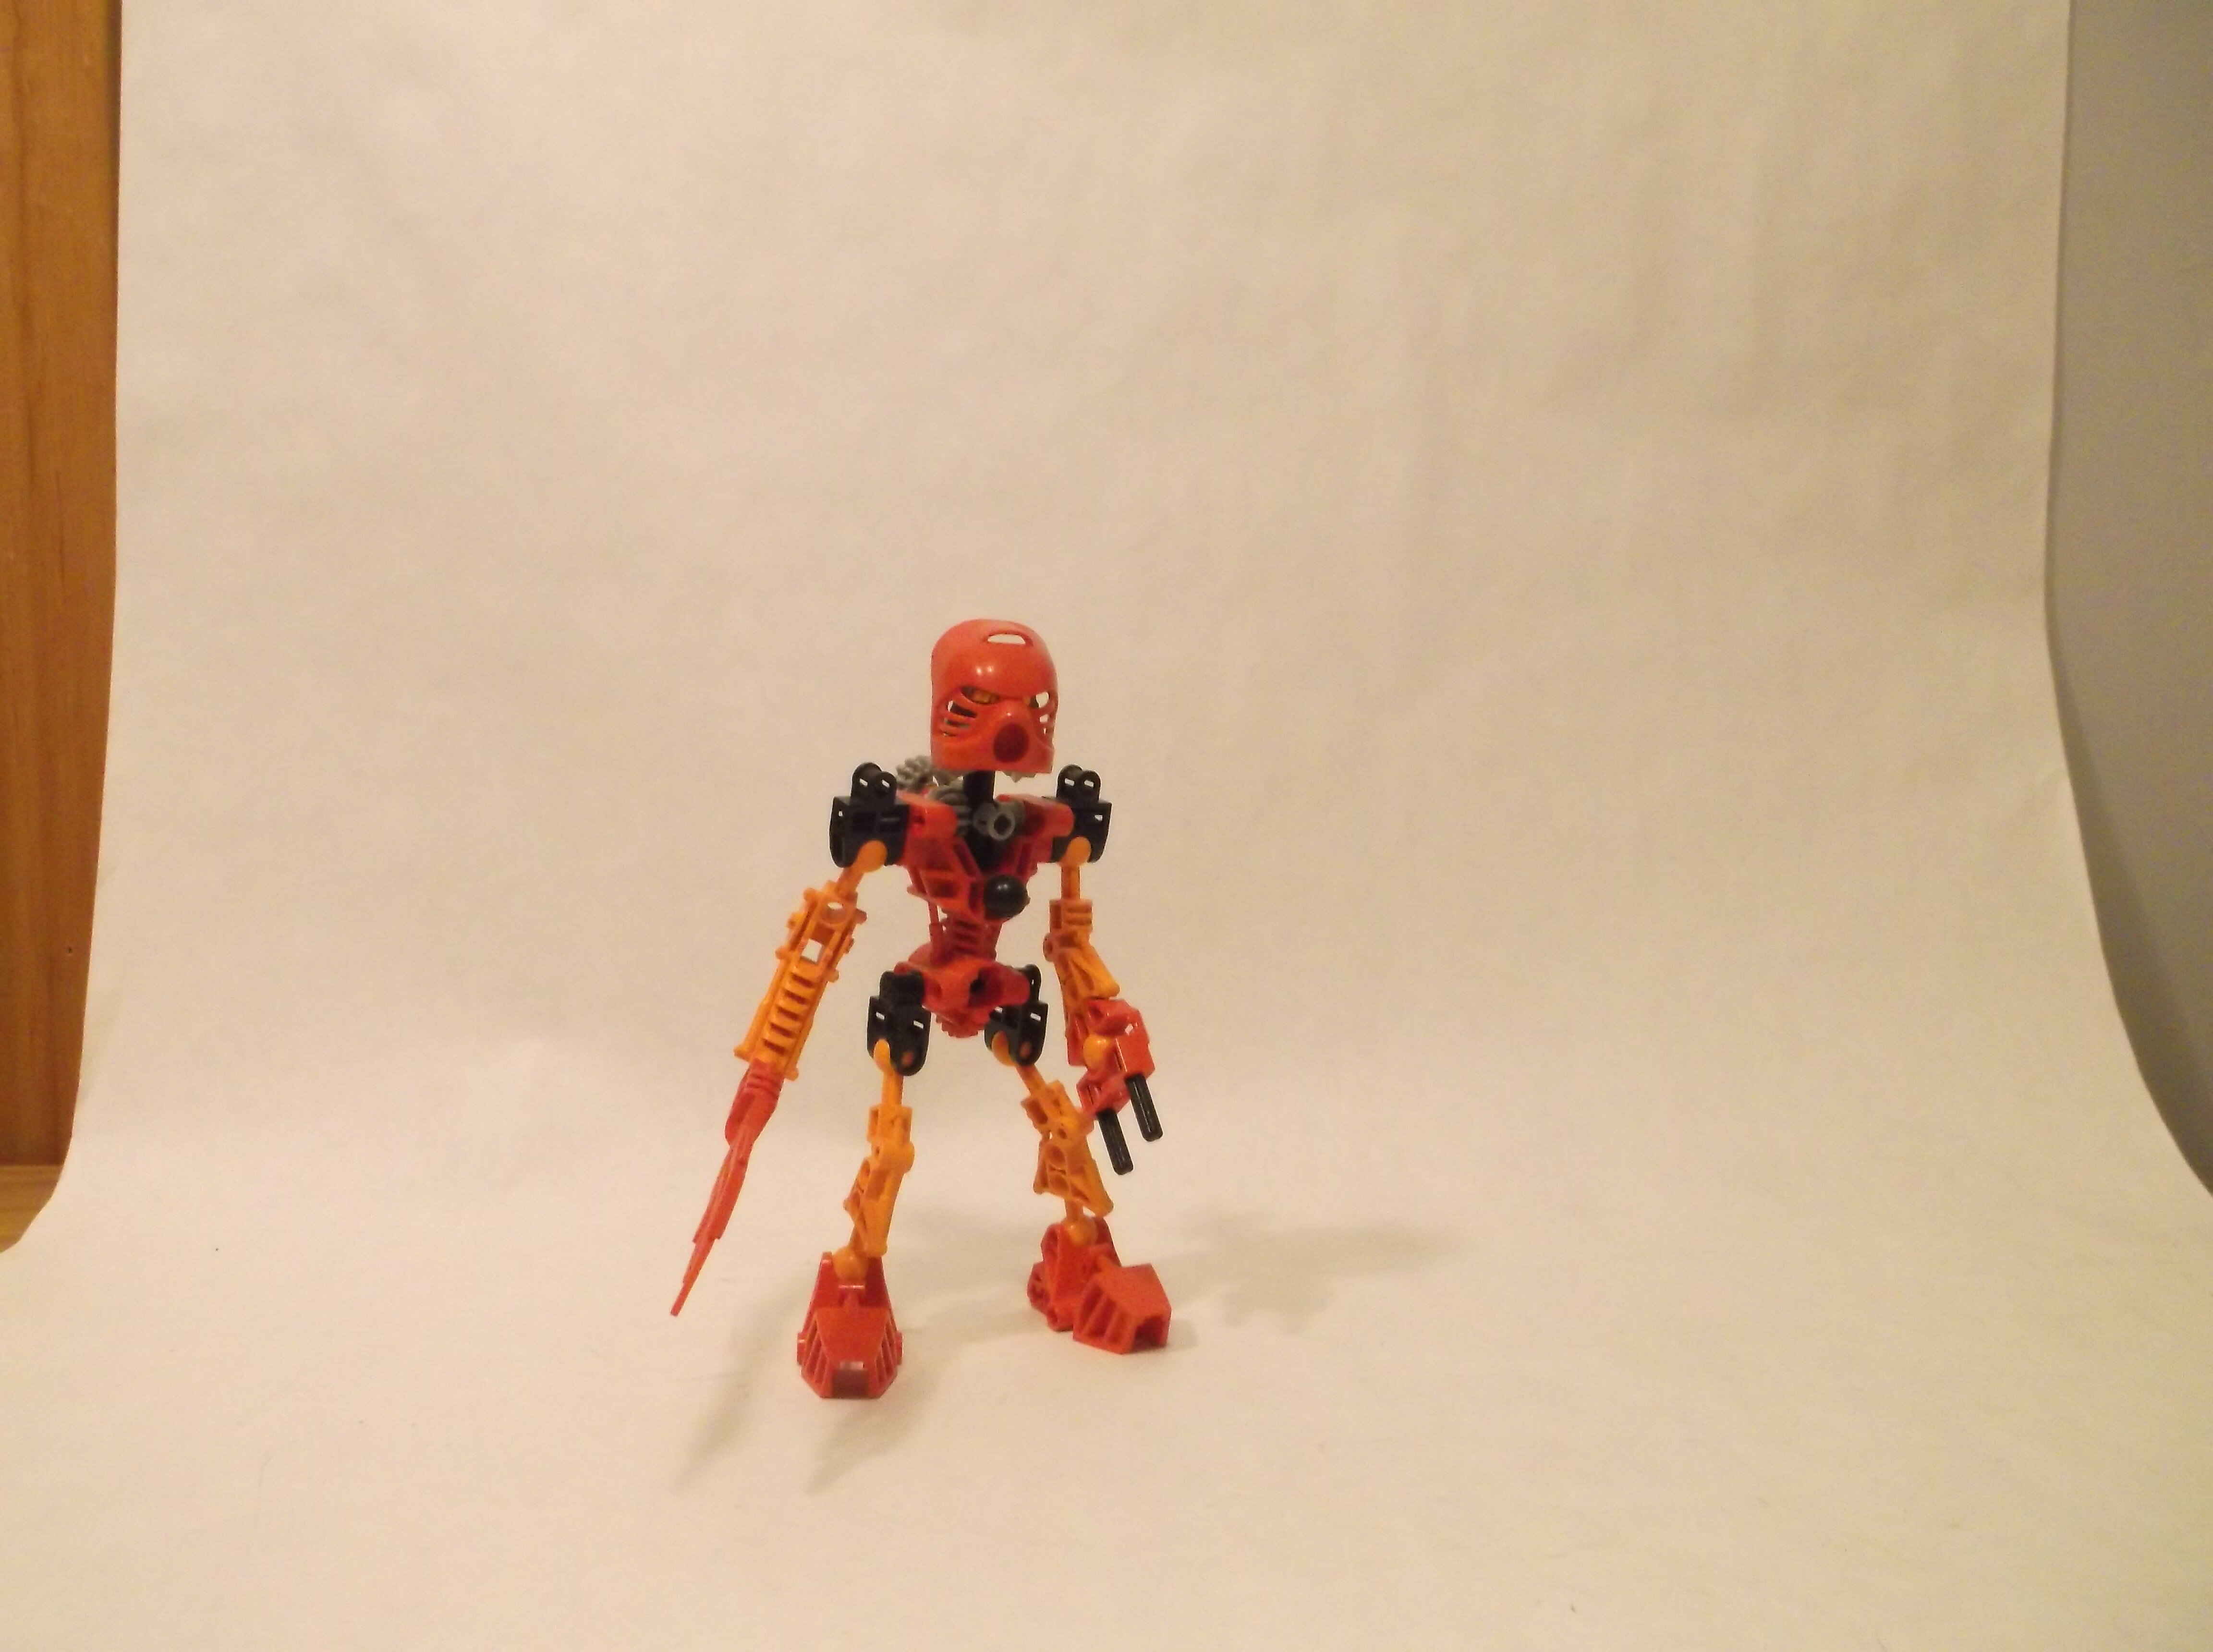
I mean, the flash isn’t the worst, and I myself use a ‘small’ light box with… side issues but I can still get a full body pic of my tallets Mocs (I.e. Podupo, Tekan).
I’ll get some pics of my setup to show ya what I’m talking about in a bit.
As for getting the pics though, well all I do is crop the sides off the image to remove as much of the side as needed and/or I can, and if needed I just take side pics (turning camera sideways).
Don’t use flash. You’ve gotta surround your subject with light. It looks like your ceiling lamp isn’t enough, so bring in more light sources to position on both sides of the subject. If you still see shadows, you’ll have to diffuse the light. A darker backdrop might also help.
I think your tripod looks similar to mine. You should be able to rotate your camera 90° to get more height and less width. Zooming out without a larger backdrop, you’ll be stuck cropping your pictures.
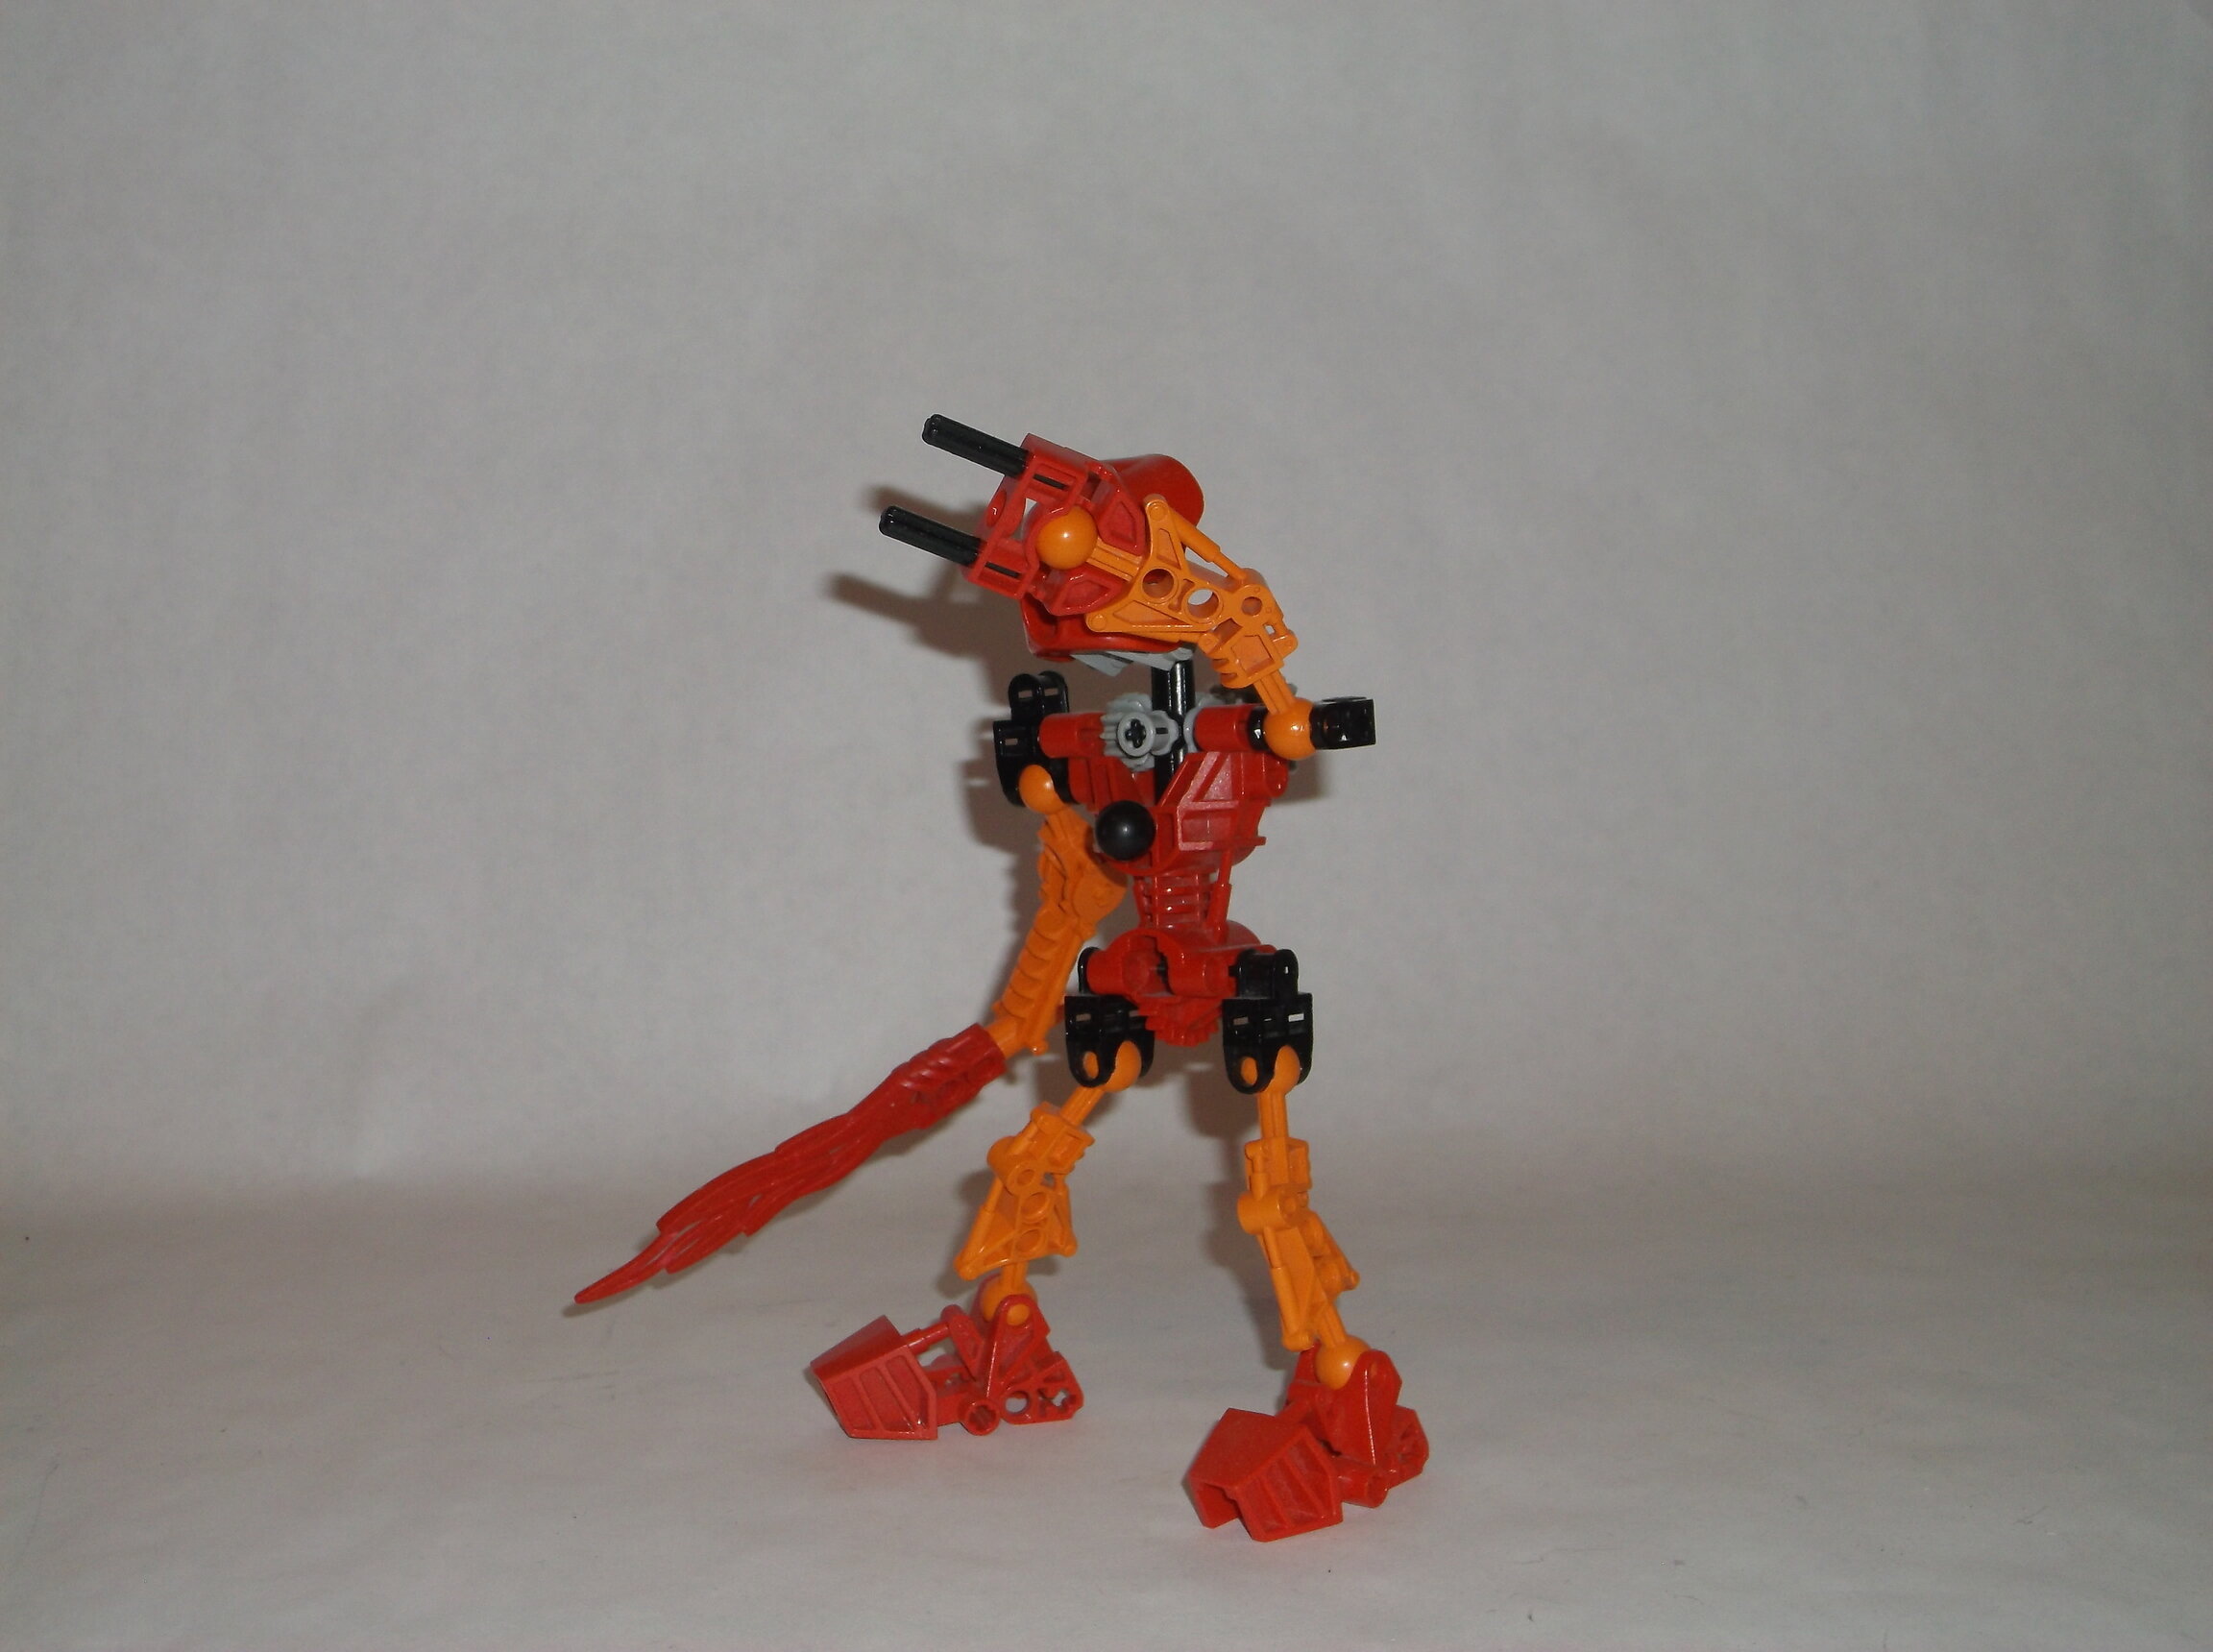
The zoom problem can be negated if you start cropping your pictures. That way you can photo larger mocs, so long as they stand within the background borders. My own background is about the same size as yours, but I can photo even 50cm tall mocs with it.
I personally use Windows Photo Gallery for cropping and color adjustments. It’s quick and easy, allowing me to edit a batch of photos in a short time.
Presentation, honestly, is half of MOCing; you can be the best MOCist around, but if your photography is blurry and cruddy, no one’s gonna know.
So, from what I’ve gathered over the 3-ish years I’ve had to build in both System and Constraction, I would say a few basic things are necessary for good photos:
Good Backdrop
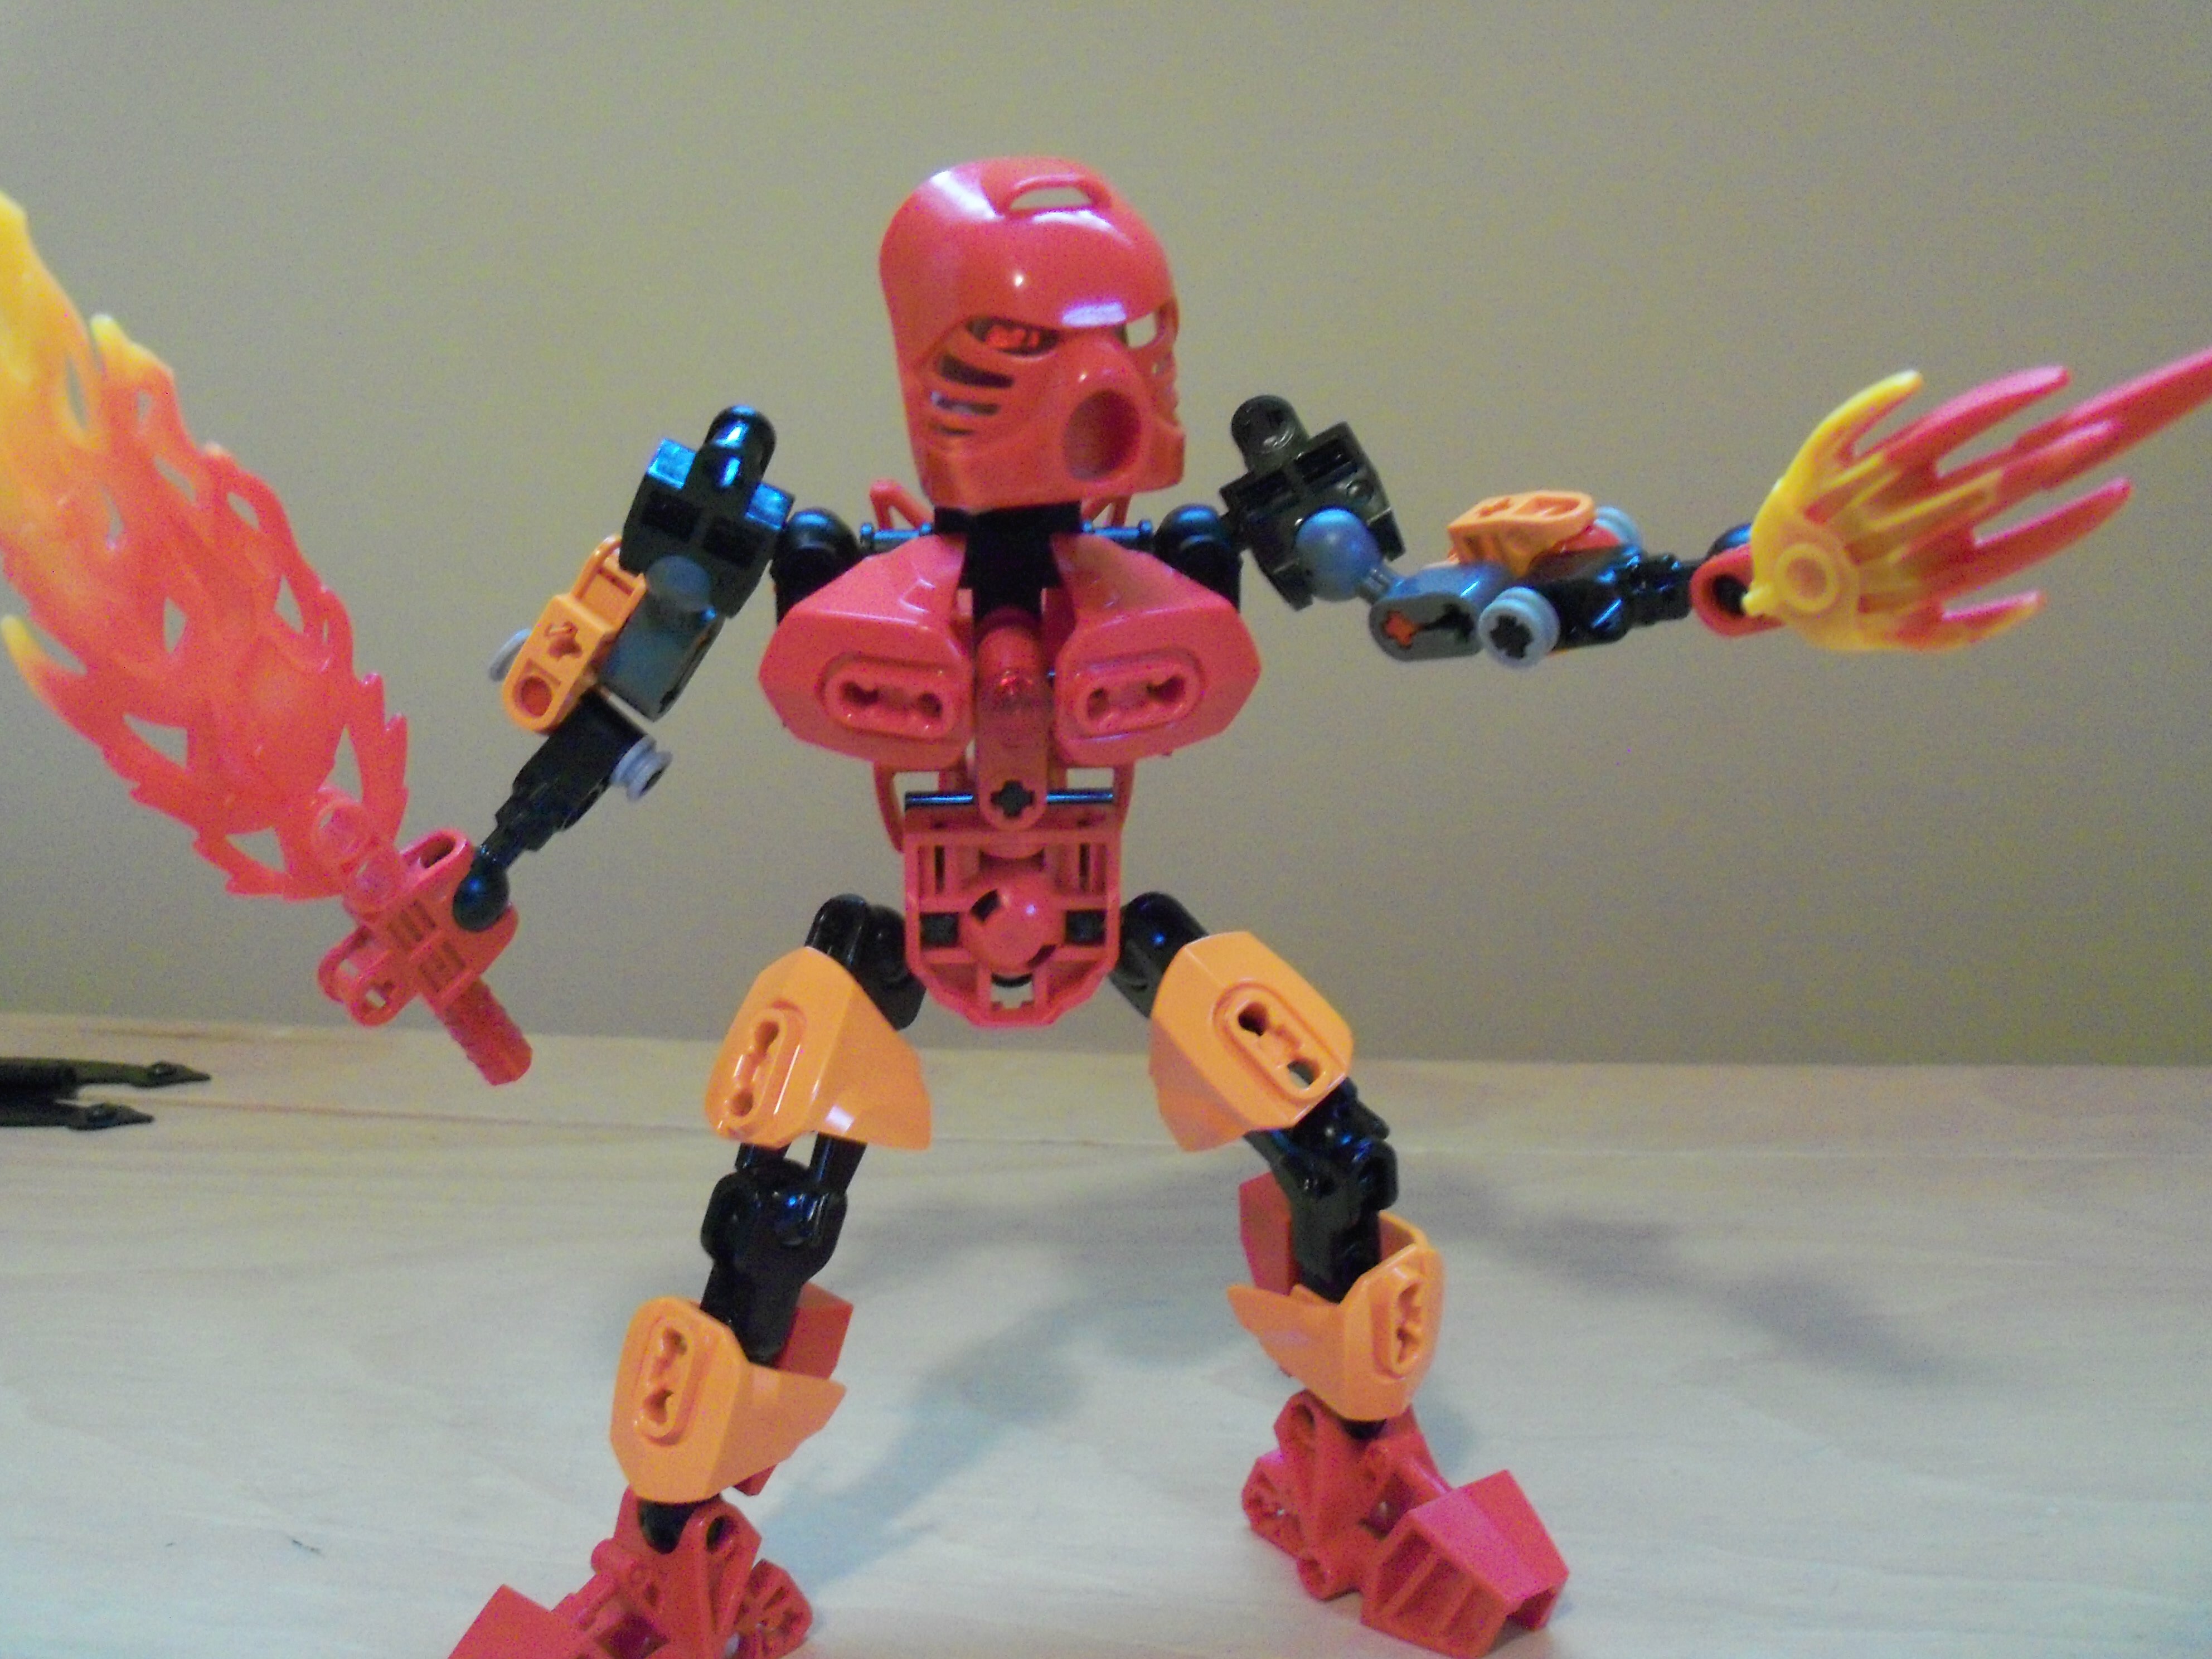
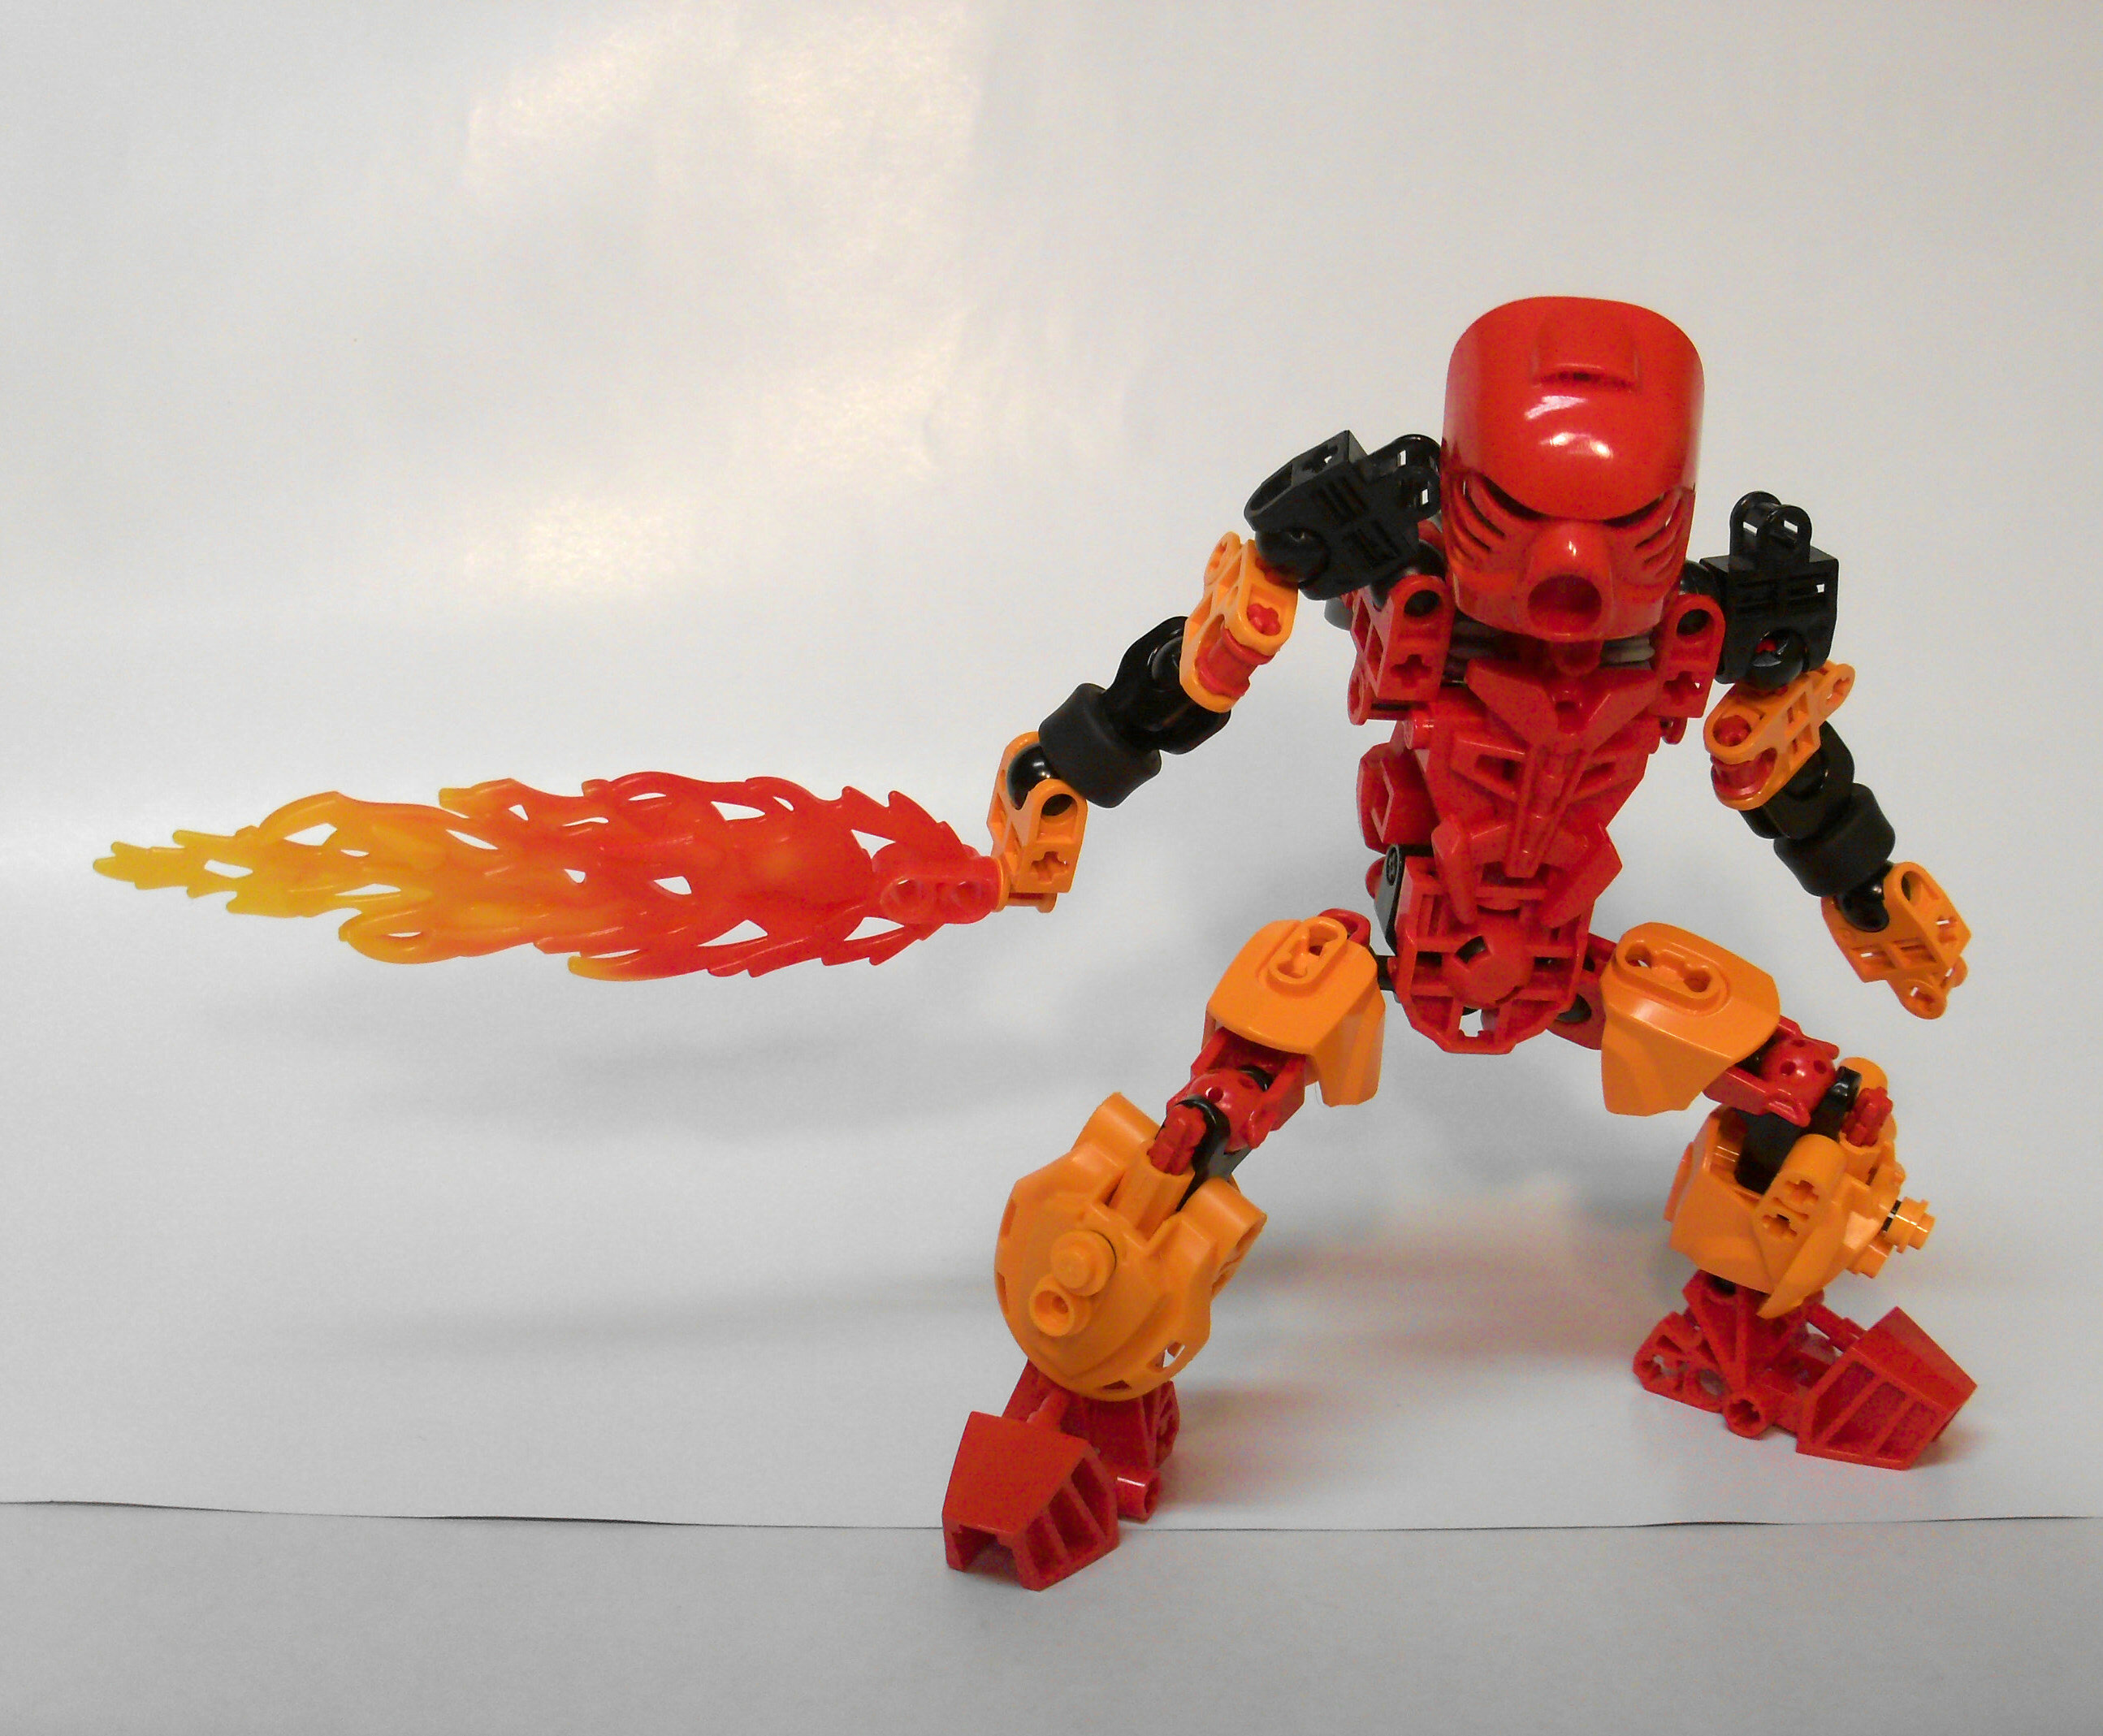
This is always the first step; it’s jarring if your background is a filled by your living room. A wall and a desk is a bit better, but a solid background color is always the best bet (much like what you have now). This can be further acted upon using a program that fills out the background; I personally like using FotoFuze. Highlighting can be tricky, as sometimes parts of your MOC will get cut off, but on the whole it does its job. The next step (which is what I’ve been exploring recently) is getting different backgrounds to help complement the MOC; white works well to start, but if you notice, most of the better, advanced builders will change their palette depending on the MOC.
Good Lighting
See if you can get 2-3 lamps and an overhead light to provide enough brightness for your MOC to be seen; a lightbox can also be used (you can find tutorials to make one online, or purchase on from a store). I personally prefer daylight lights since they don’t have a yellowish glow to them, but you can usually tweak your photos afterwards to get the colors how you want them. Also, like everyone else is saying, DO NOT USE FLASH. Flash will make your MOC look like crap 100% of the time.
Editing
I personally am not a master at this; I have no idea how to use Photoshop or even GIMP. However, there are very simple edits you can make either on your phone or on a computer; both come with a pre-installed editor. You can use the clarity filter to make your photos a little sharper, you can brighten the photo, you can brighten the shadows, darken the shadows, crop, etc. To get the color to ■■■■■ from yellow-ish to more white/blue-ish, you can adjust the temperature of the photo too.
Anyways, that’s my quick guide to photography based on what I’ve learned. Hope it helps!
EDIT: Oh, and also use a stand if you have one. A lot of blurriness comes from a shaky camera, although I think phones can sometimes automatically balance it out for you if you use a phone for taking pictures.
Your setup actually isn’t too much different from mine!
Personally, I find editing to be the easiest way to compensate for a lower photo quality. My camera doesn’t take amazing pictures, but using even a basic photo editor and tweaking some things can help your photos look a whole lot better!
My process goes something like this:
Set up paper background (additional tip: tape your background paper to the wall and the floor so it keeps still and consistent during the photo shoot)
Ensure background is surrounded by ample light (preferably within a natural light source like a bright window, or surrounded by lamps)
Take photos of MOC (always use manual focus if your camera has it). Take multiples so you can be sure you have the clearest picture. Don’t worry if you can see past the background paper. Try and get as close to your MOC as you can, but don’t use zoom! Zoom will make your picture blurrier if your camera isn’t that great
Download photos to computer, delete the bad photos, and rename all photos using a naming convention for ease of sorting (I use an abbreviation of the MOC’s name_Photo Number)
Load photos into a photo editor (I use PhotoDirector, but this can be anything as simple as Windows Photo Editor)
Crop the picture. Remove anything past the background paper and frame your MOC so that it takes up most of the picture. This does result in your photos being different heights and widths, but it really helps with making them look good
Adjust the Exposure. This usually means turning it up so that your image is brighter and the MOC can be easily seen. Don’t go too bright, however.
Adjust the Temperature. Most photos taken with artificial light will have a yellow tint to them. To balance this out, lower the Temperature of the photo until your background looks mostly pure white instead of yellowish. If it starts turning blueish, raise the Temperature a little
Adjust the colors. PhotoDirector has some sliders that let you alter the amount of each color in the photo. I use this to make the colors on my MOC more saturated while eliminating any colors that aren’t present. If your MOC doesn’t have much yellow, you can also drop the Yellow to 0 to make your background pure white. Use with caution, altering the color saturation can alter the shades of your MOC’s colors (if your MOC has silver, for instance, removing blue and purple will make the silver turn pure flat gray)
Adjust the Sharpness. This can make your image a bit sharper and compensate for the photo quality. Don’t overdo this! A little sharpness goes a long way! Too much and your image will look grainy!
And that’s it! You should go from photos that look like this:
I have a desk lamp which I use as a lighting source, and my background is simply my desk (Or the outdoors when I take photos there)
Focus is good, as you need to be able to make out what is happening in the photo. Blurry photos aren’t appealing, even if it is by accident. I use a phone, in which you can focus by taping on the subject.
I also tend to take the same photo serval times, and use which ever one looks the best. Heck, I’ve scrapped some photos becuase I thought none of the photos look good.
You can also use a photo editing program like GIMP or Photoshop to enhance the photo or give it an effect if you want, weather you want to make the colors brighter or just give an effect like this:
(done by putting the subject in front of the light source and turning up the contrast and lowering the brightness)
If you choose Gimp, make sure you download it here:
There is another site going around for it that not only downloads an outdated version of the program, it’s also a virus. I’ve even seen it in an “ad” on some search engines while looking it up. Just thought you should know.
I’m what some may call a “noob” when it comes to this as most of my knowledge on how to take photos is from two electives in my online high school that I really enjoyed.