Custom head design for G1 masks attached to a balljoint connection à la a Hero Factory head?
edit: specifically a Great Huna
Custom head design for G1 masks attached to a balljoint connection à la a Hero Factory head?
edit: specifically a Great Huna
Anyone got frames or ideas as to how to build a roughly Turaga-sized MOC? Something more ornate/detailed than a Matoran (and a bit bigger) but smaller than a Toa.
I don’t have a specific frame, but I do have some tips that’ve helped me - start with the proportions of the torso. If your comparative Toa builds have hips that are 5 units apart and shoulders that are 7 or 8, give your Matoran/Turaga 4 and 6. It usually only takes one or two pieces to armor the torso, so start with that and then build the frame around the desired part. For limbs, studs inside pinholes, or mini figure-sized rods inside axle holes are a great way to provide mobility in a small space. Size 1 connectors and T-bars are great for those techniques. And obviously Mixel joints are your friend. I’d suggest using some sort of system build for the feet. A basic build would be a 2x2 brick with the socket on the side attached to some simple slopes and plates.
nuuuuuu I need the social interaction
Now the Piraka can truly be gangsters with this new method.
piraka rap intensifies
I must see @Mesonaks self moc with this
I might be able to help you there
Please do
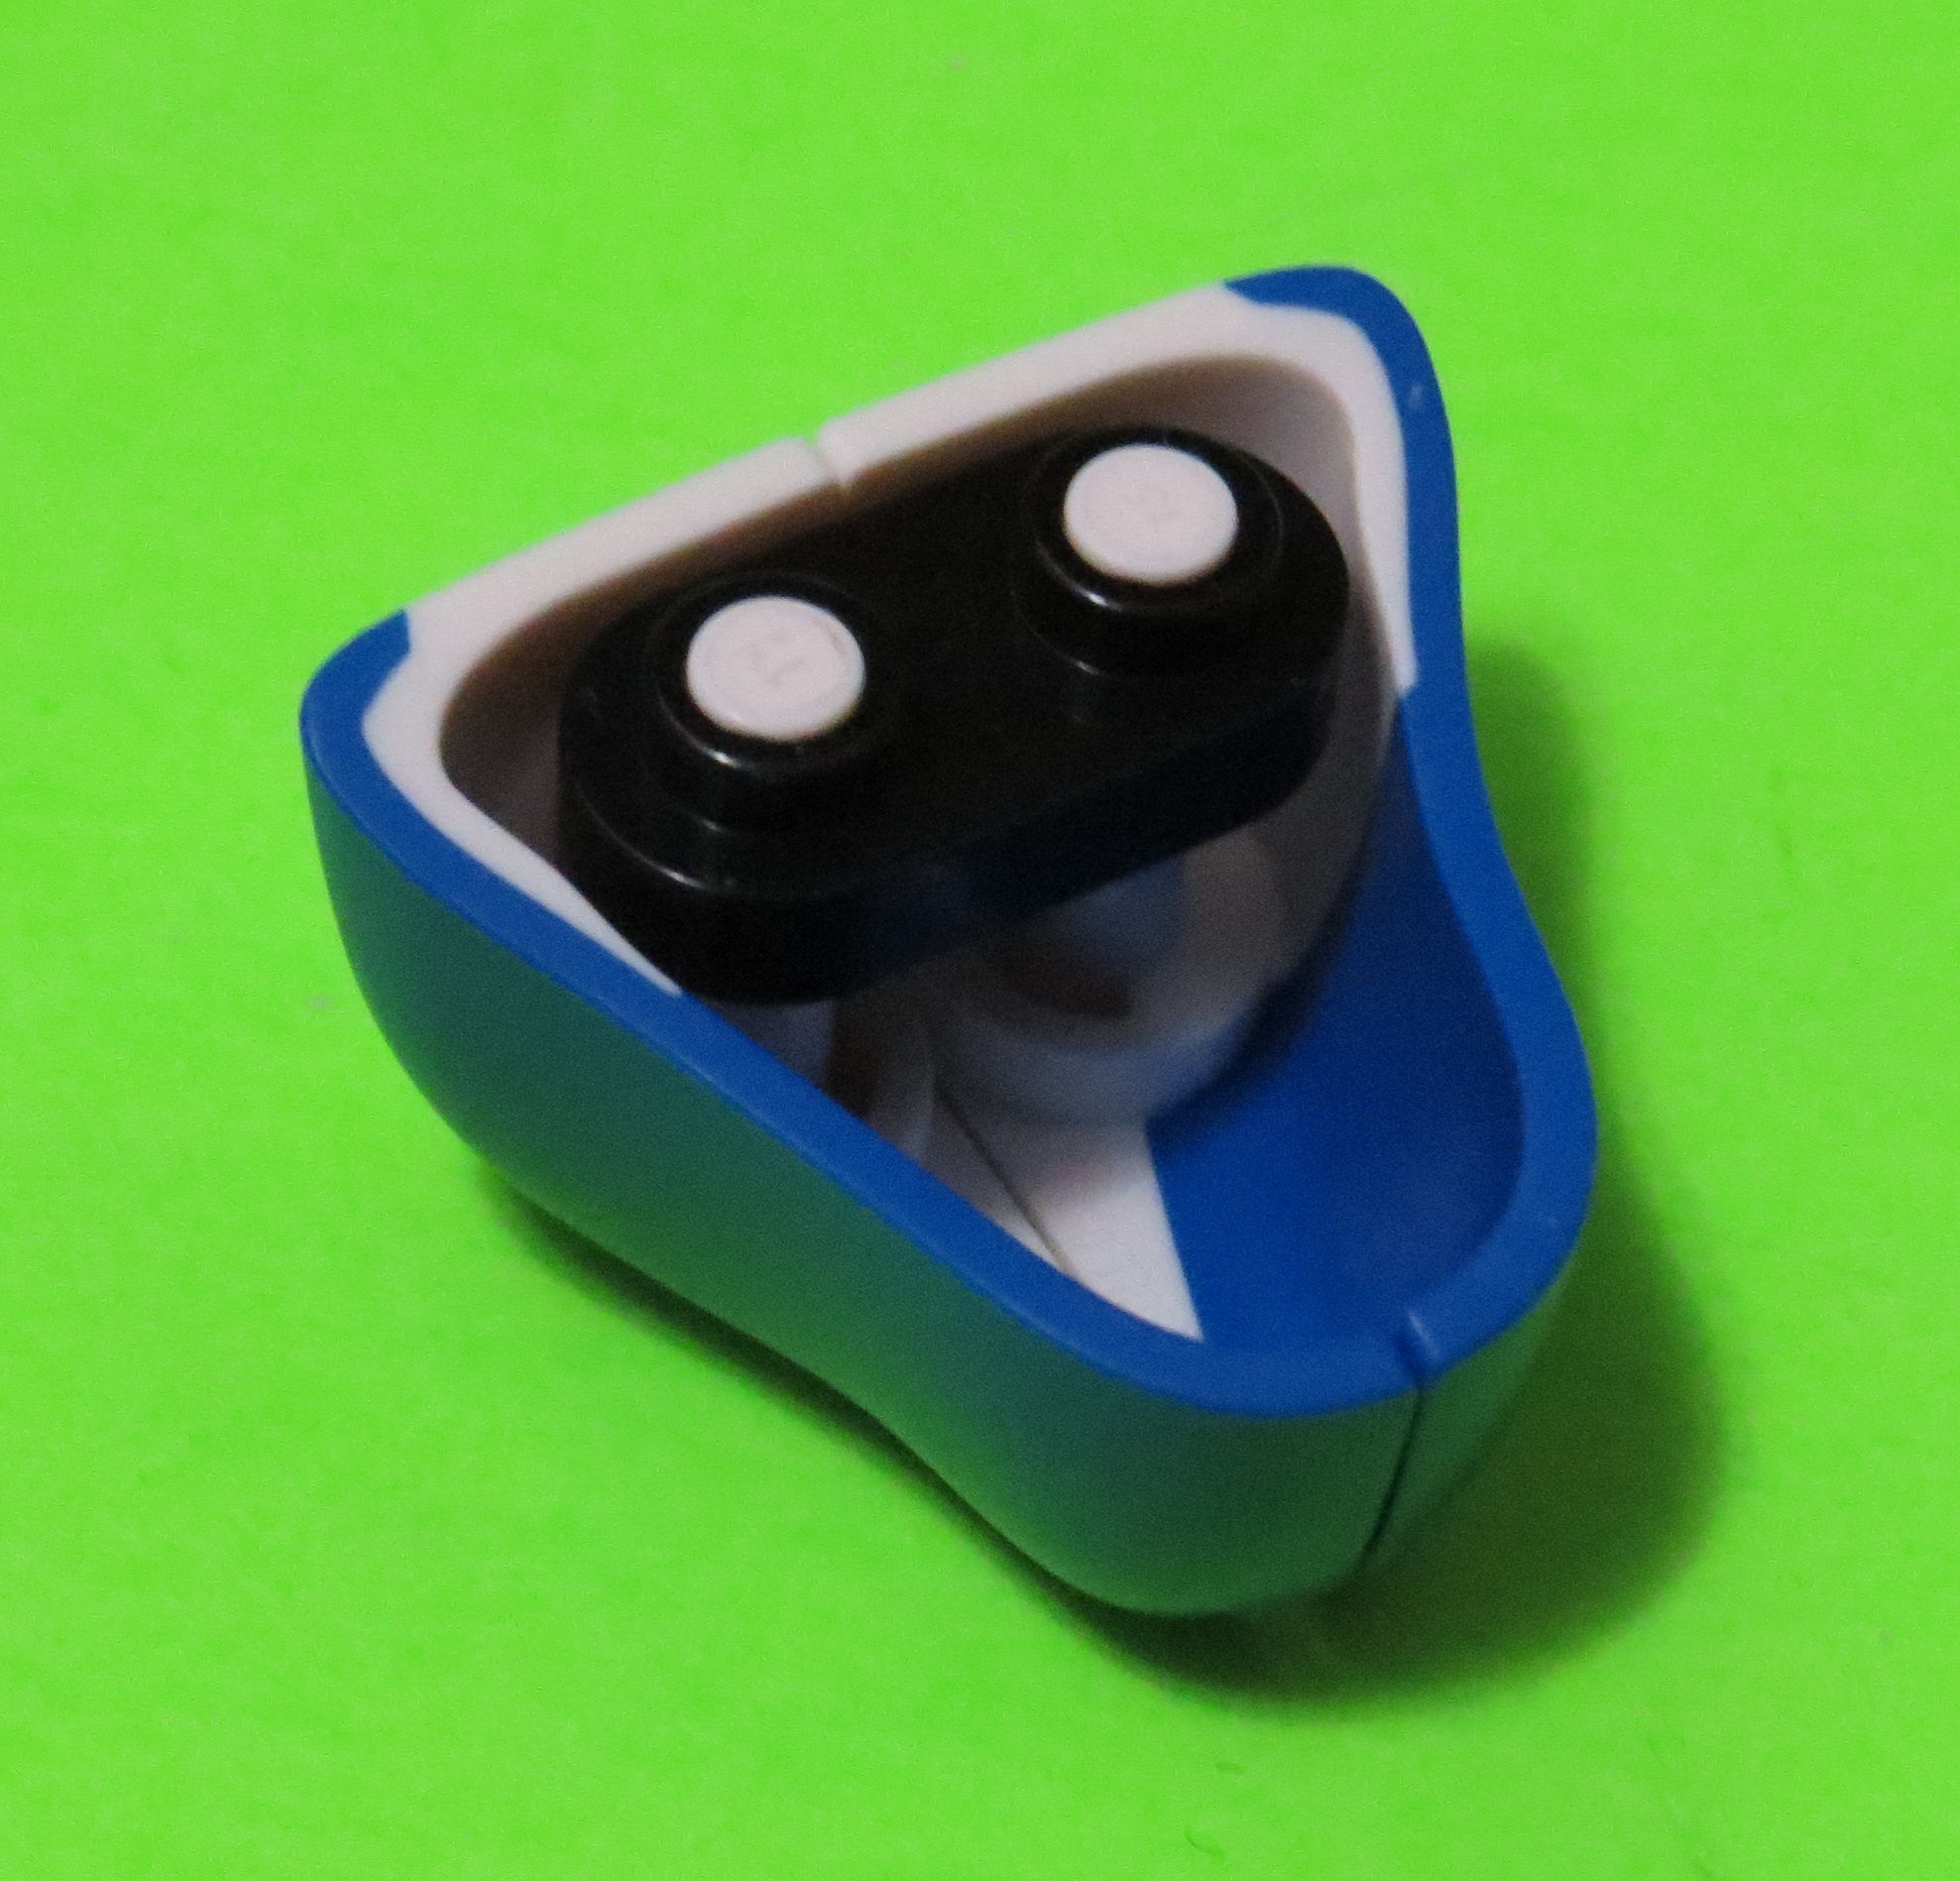
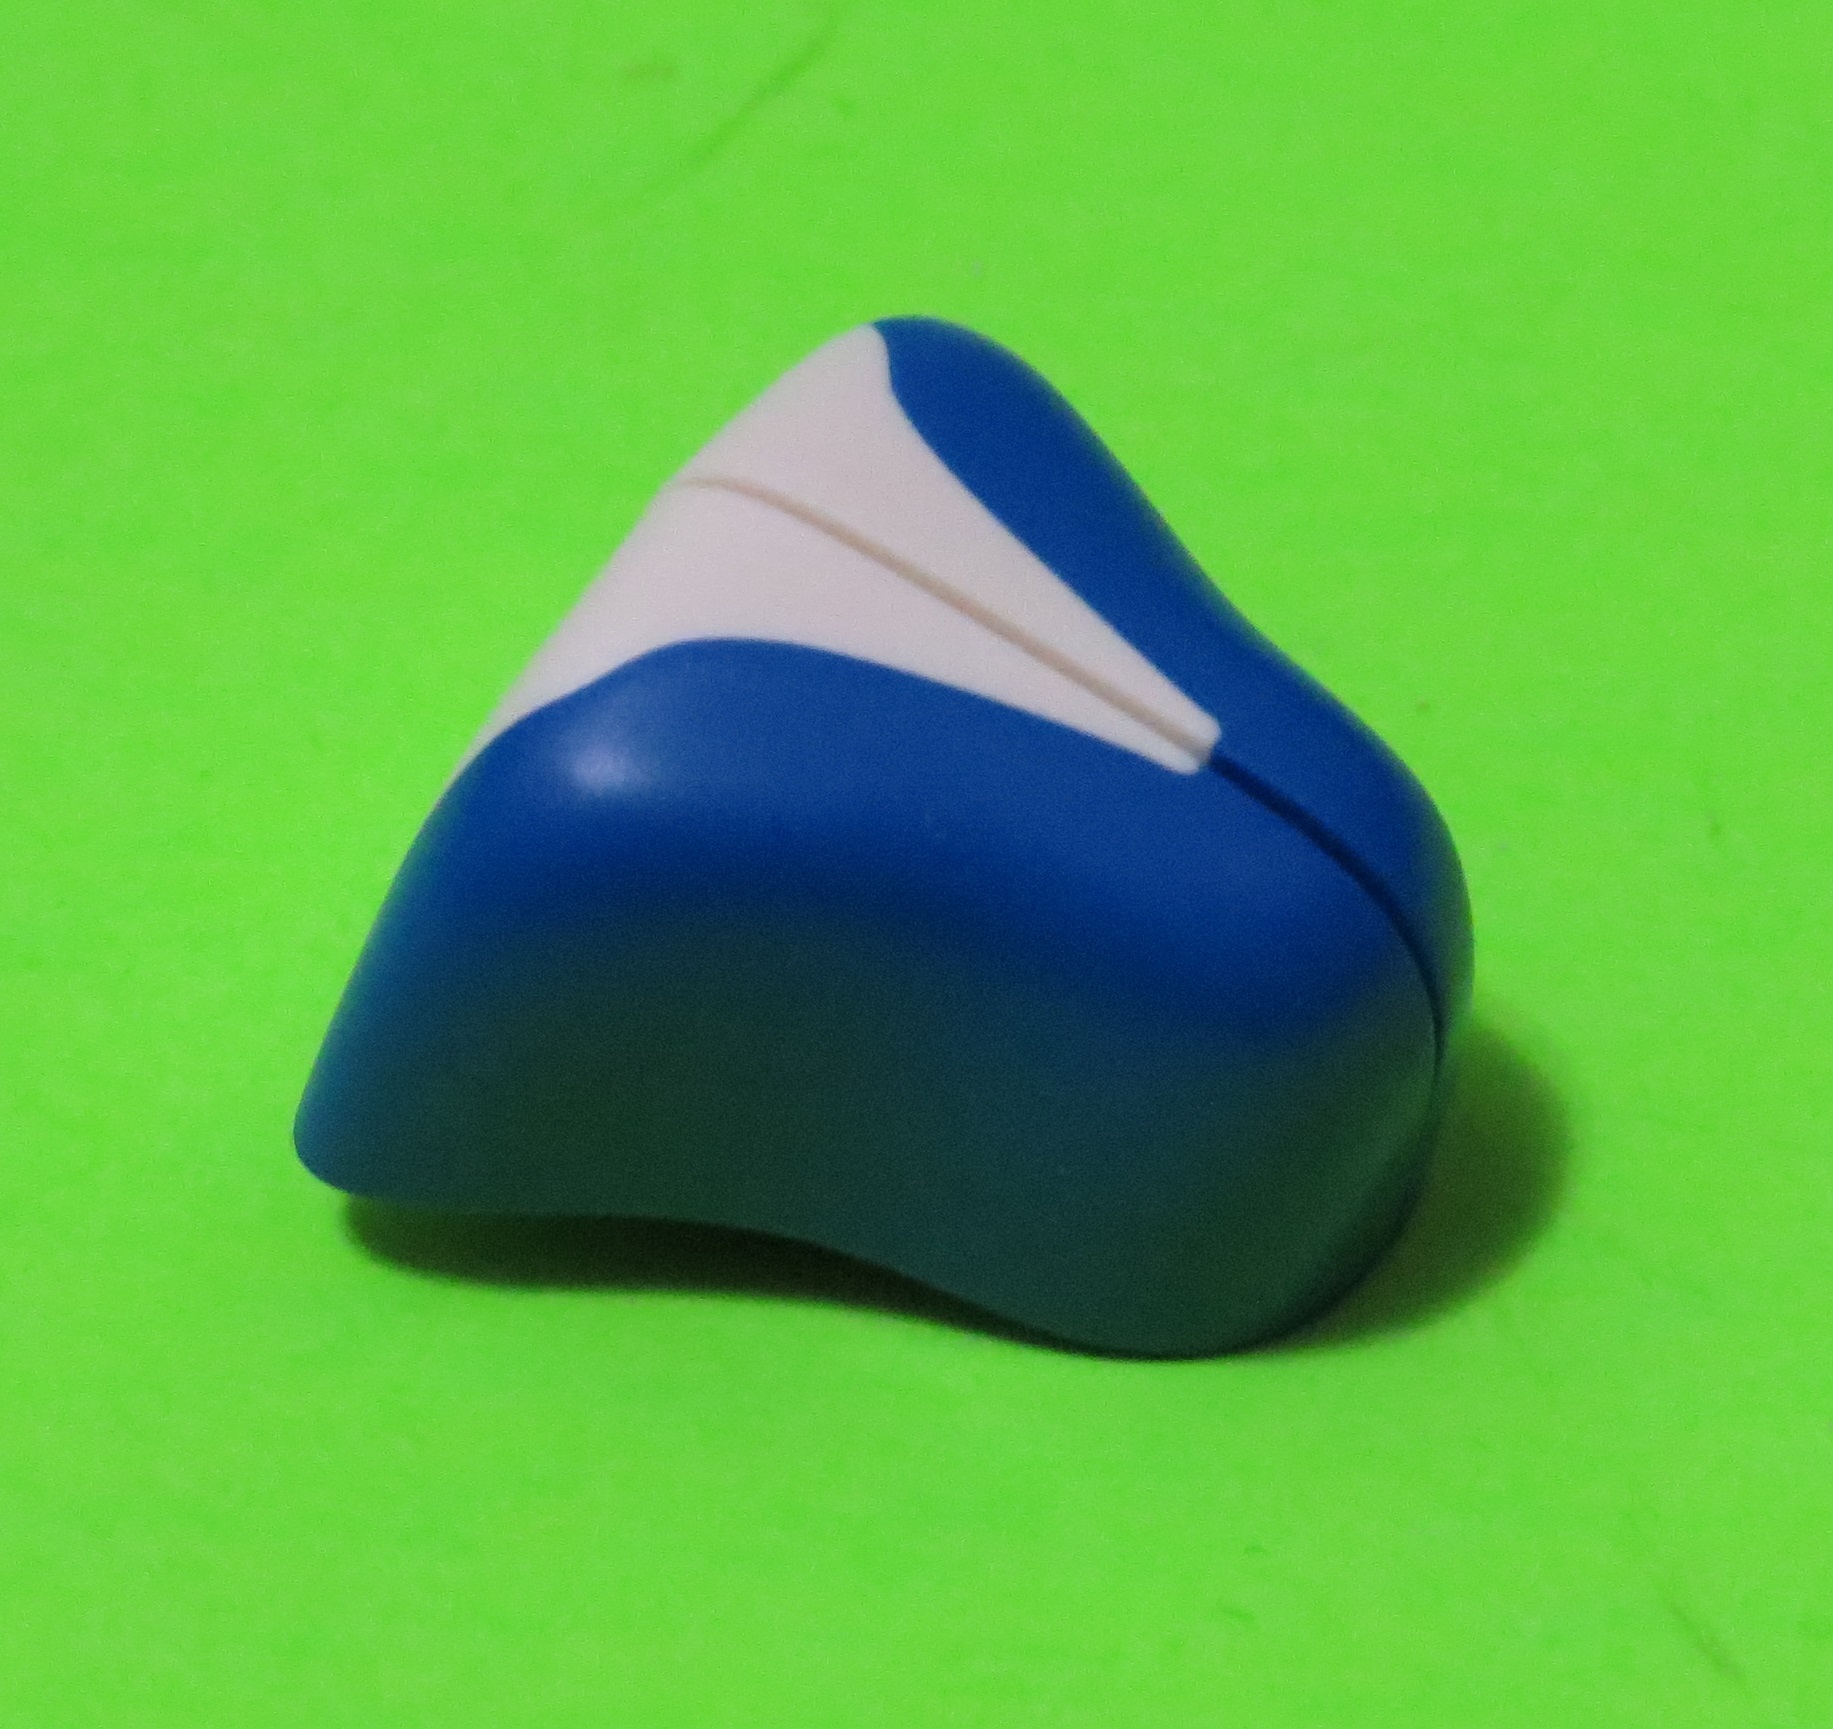
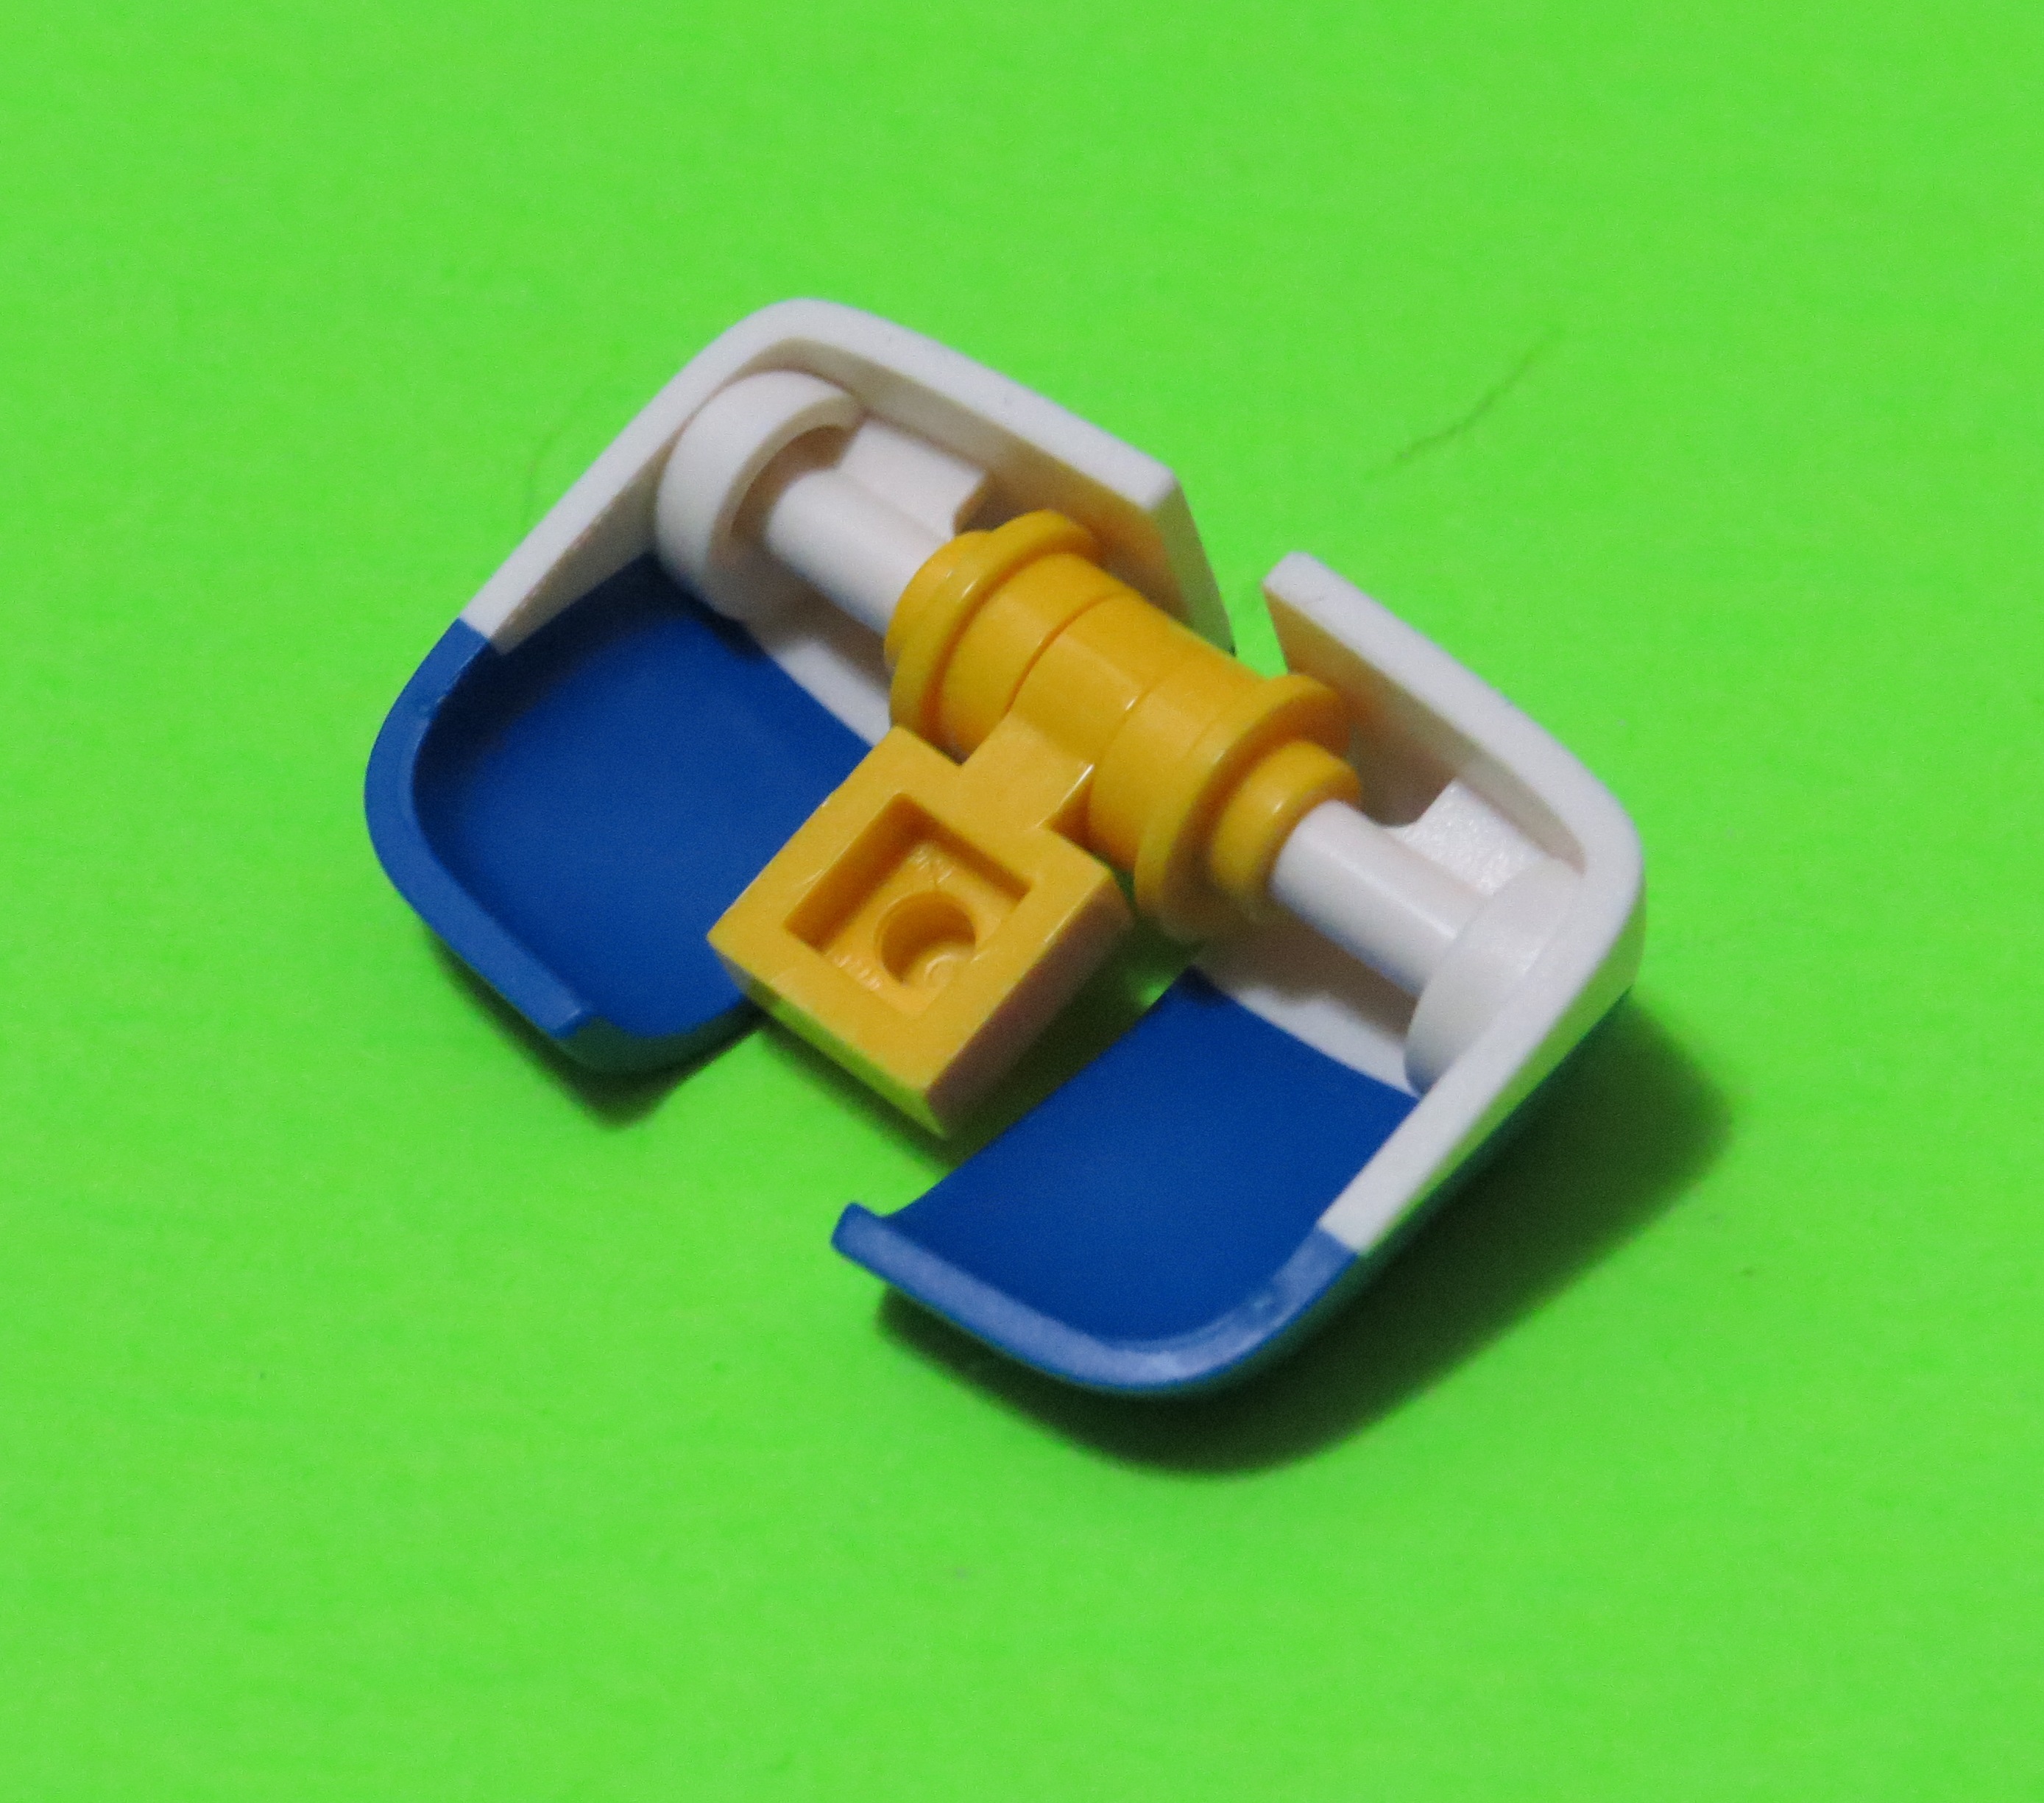
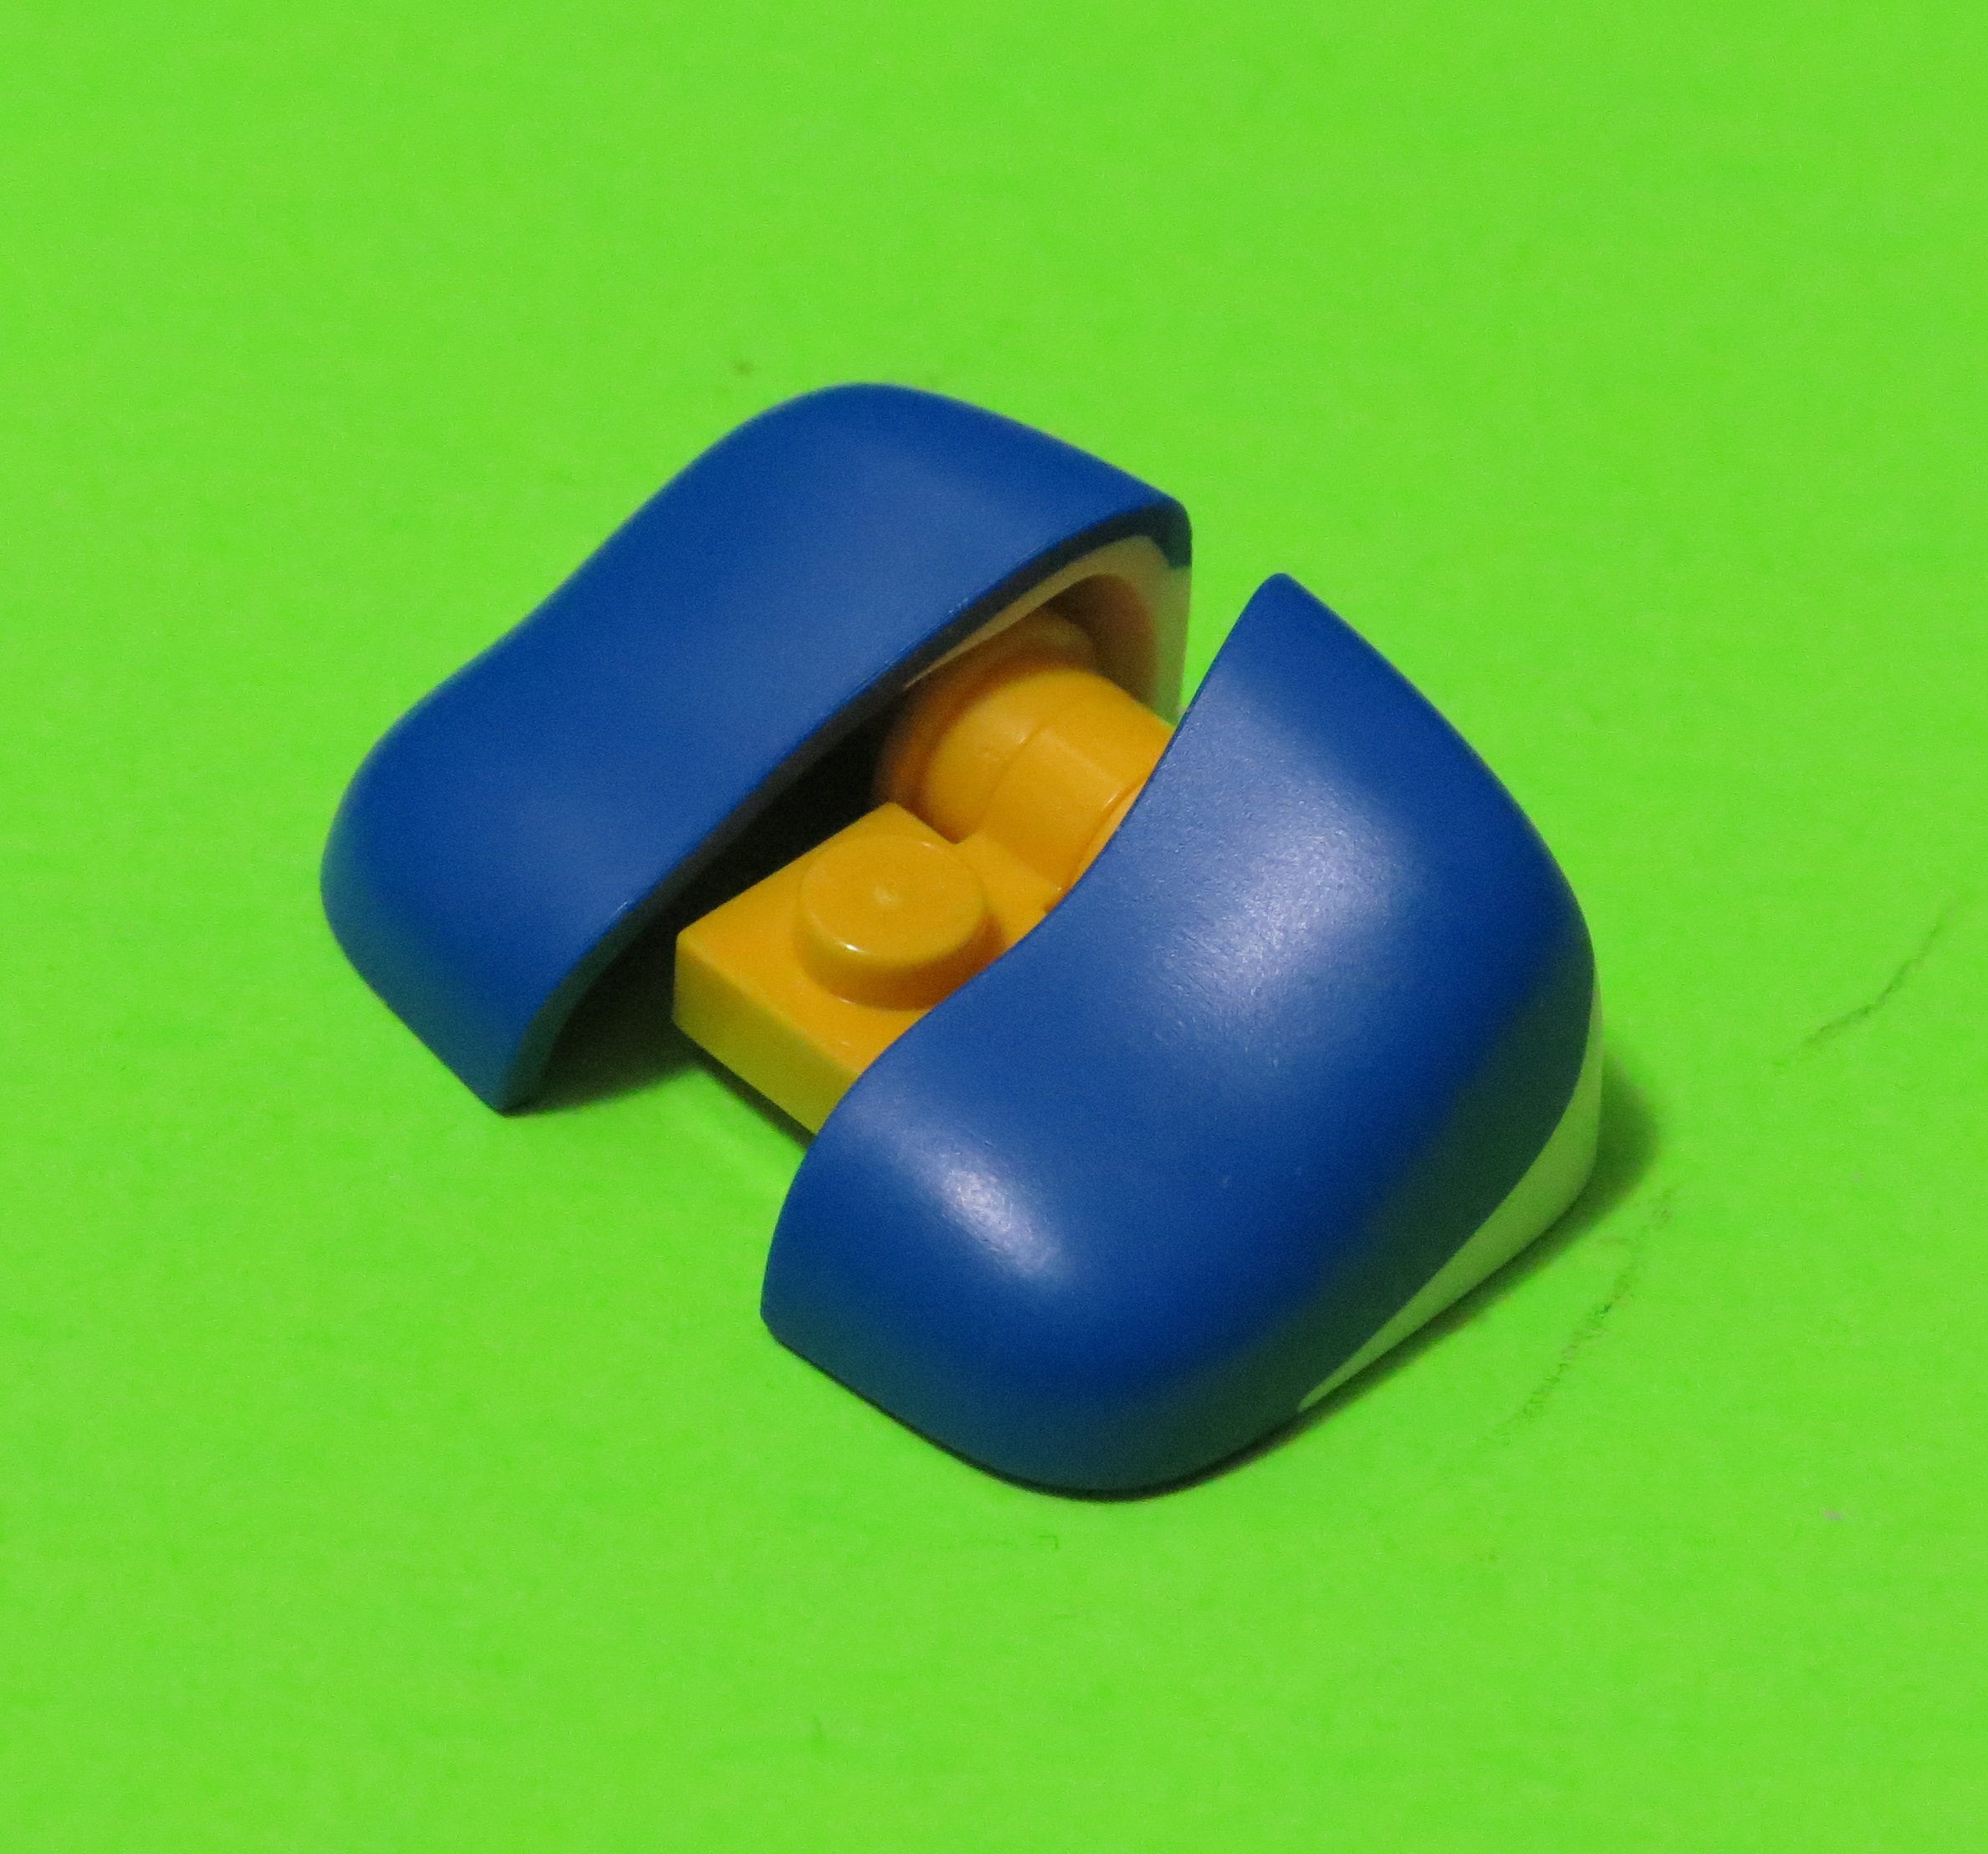
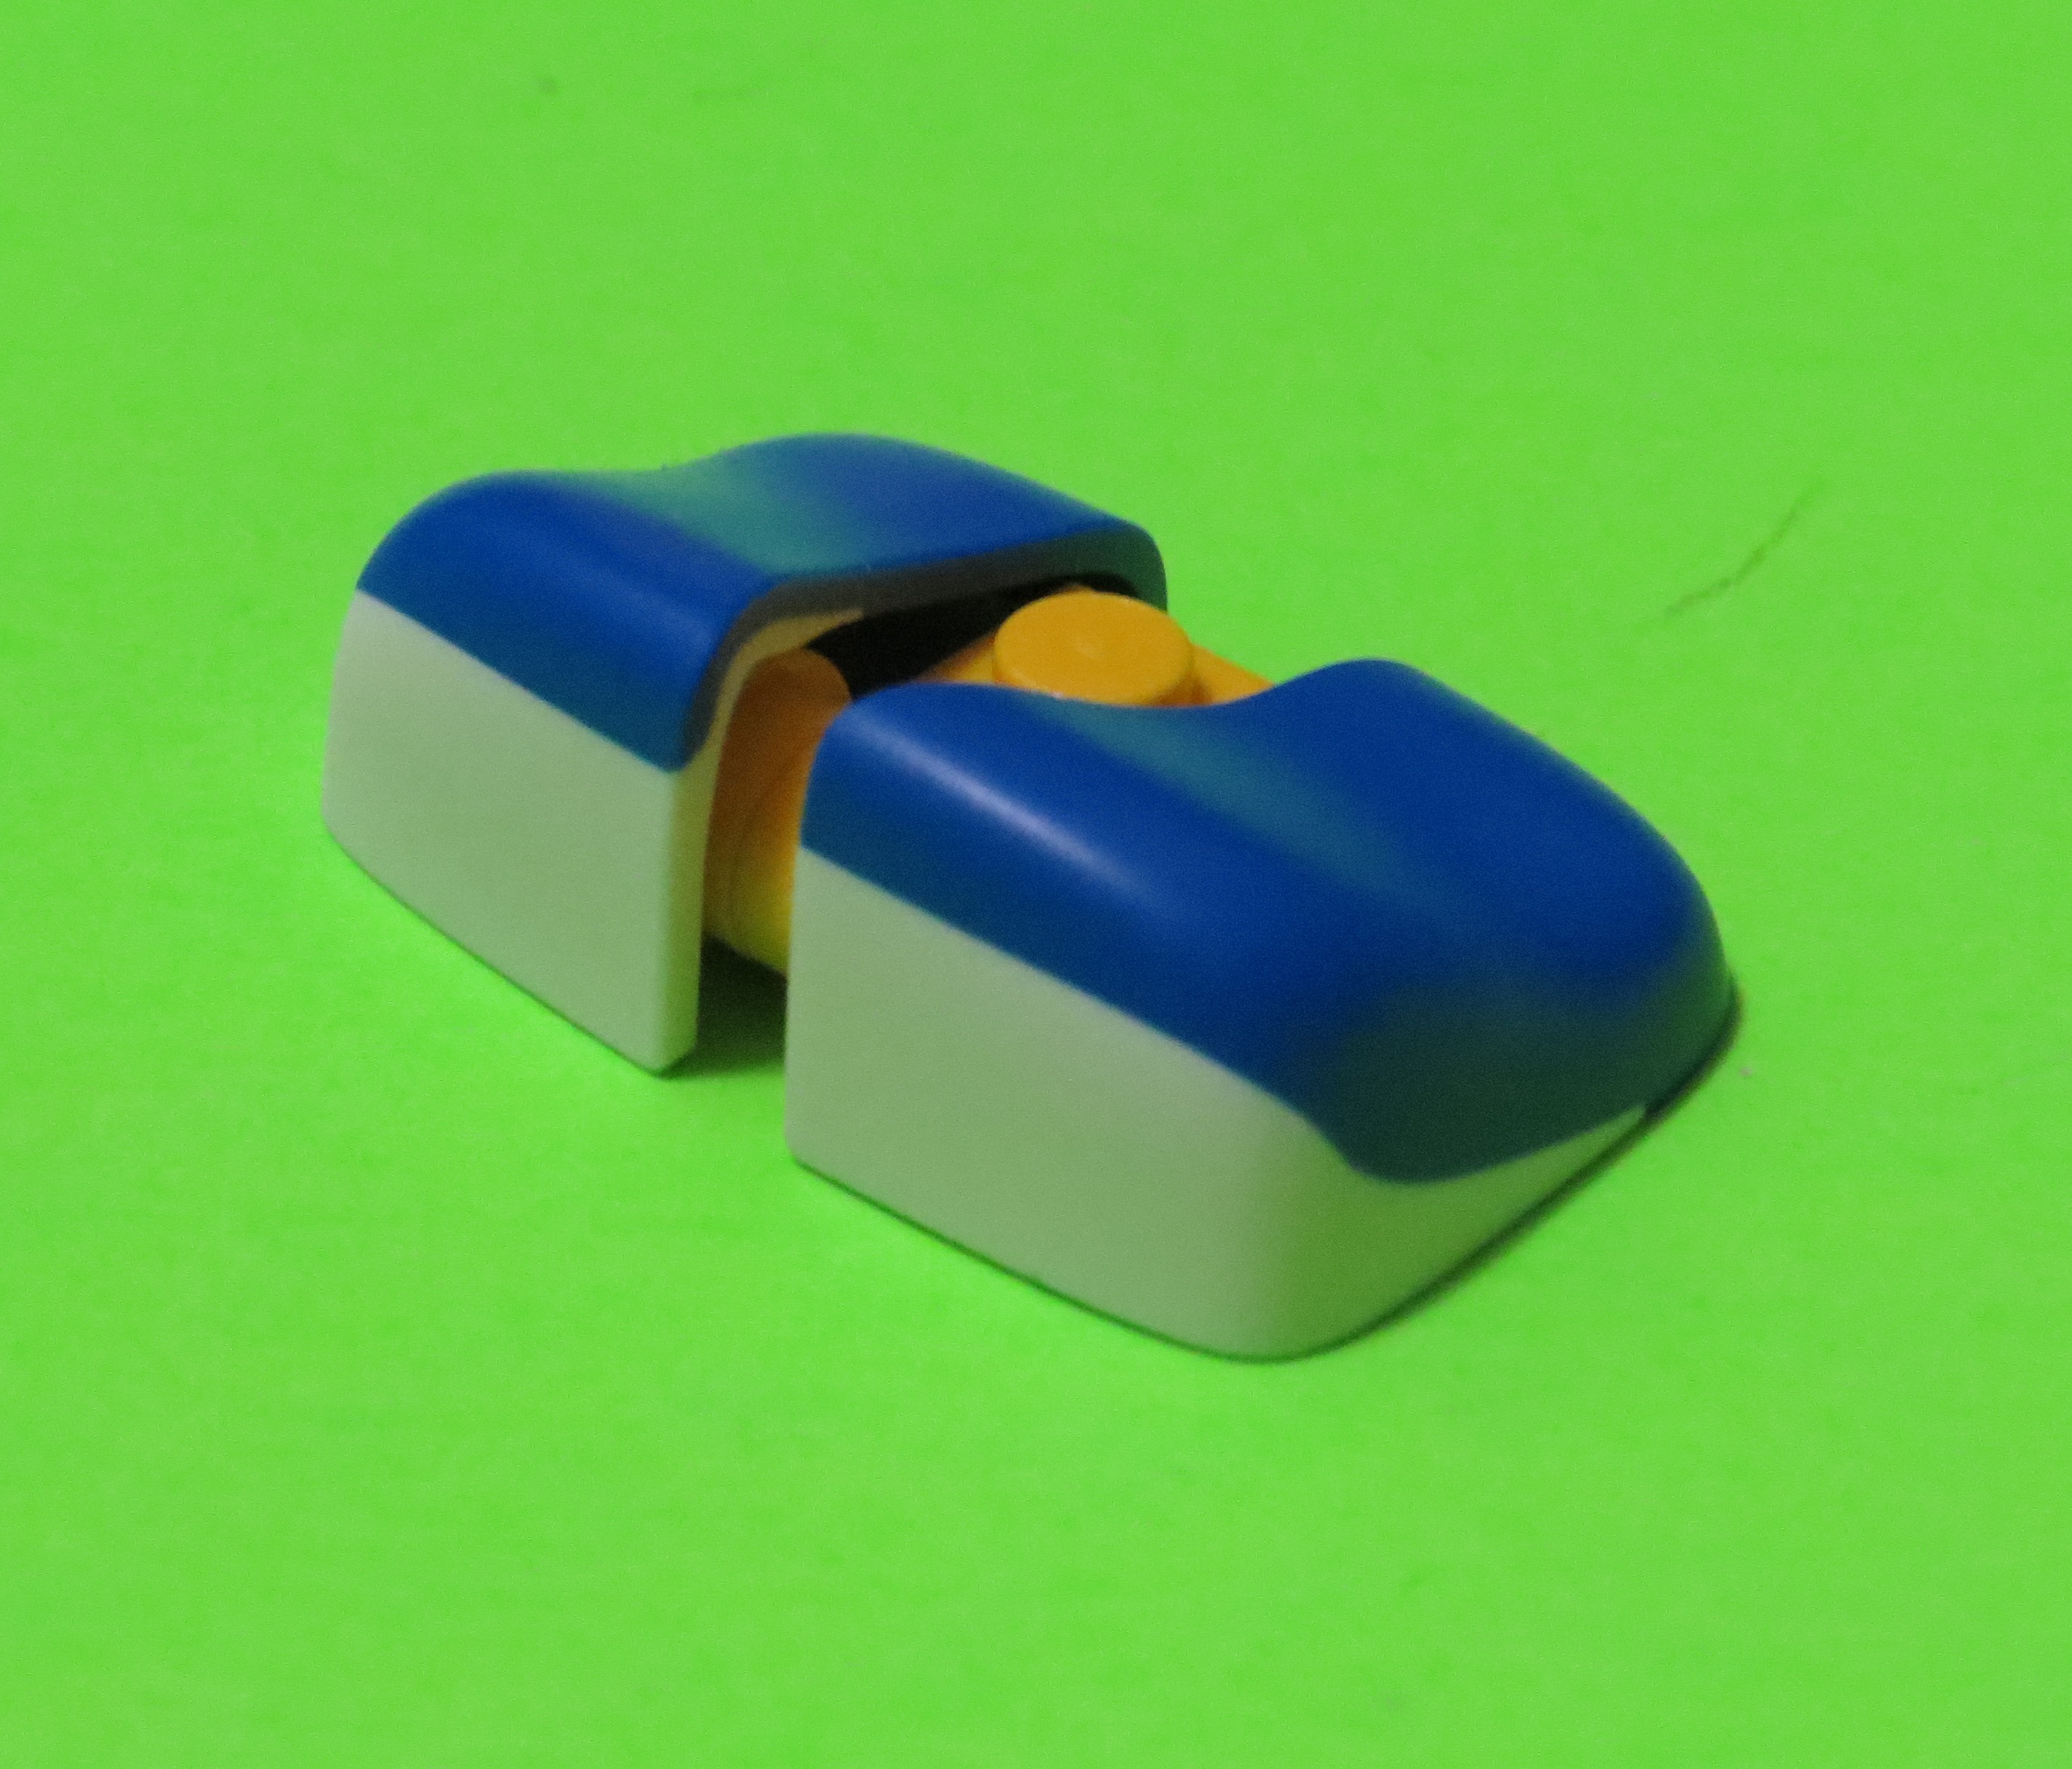
This year, LEGO introduced two more power-up packs for the Super Mario line, the Tanooki suit and Penguin suit. The Penguin suit introduces a pair of very interesting flipper add-ons for Mario’s arms. These elements act like tiny fairings and have 3.18mm shafts molded in for Mario to hold. What’s so interesting is that the designer of these flippers 1) allowed enough room inside so that apollo studs can attach and 2) made the inner edge of the flipper perfectly flat so that it can sit flush with regular bricks.
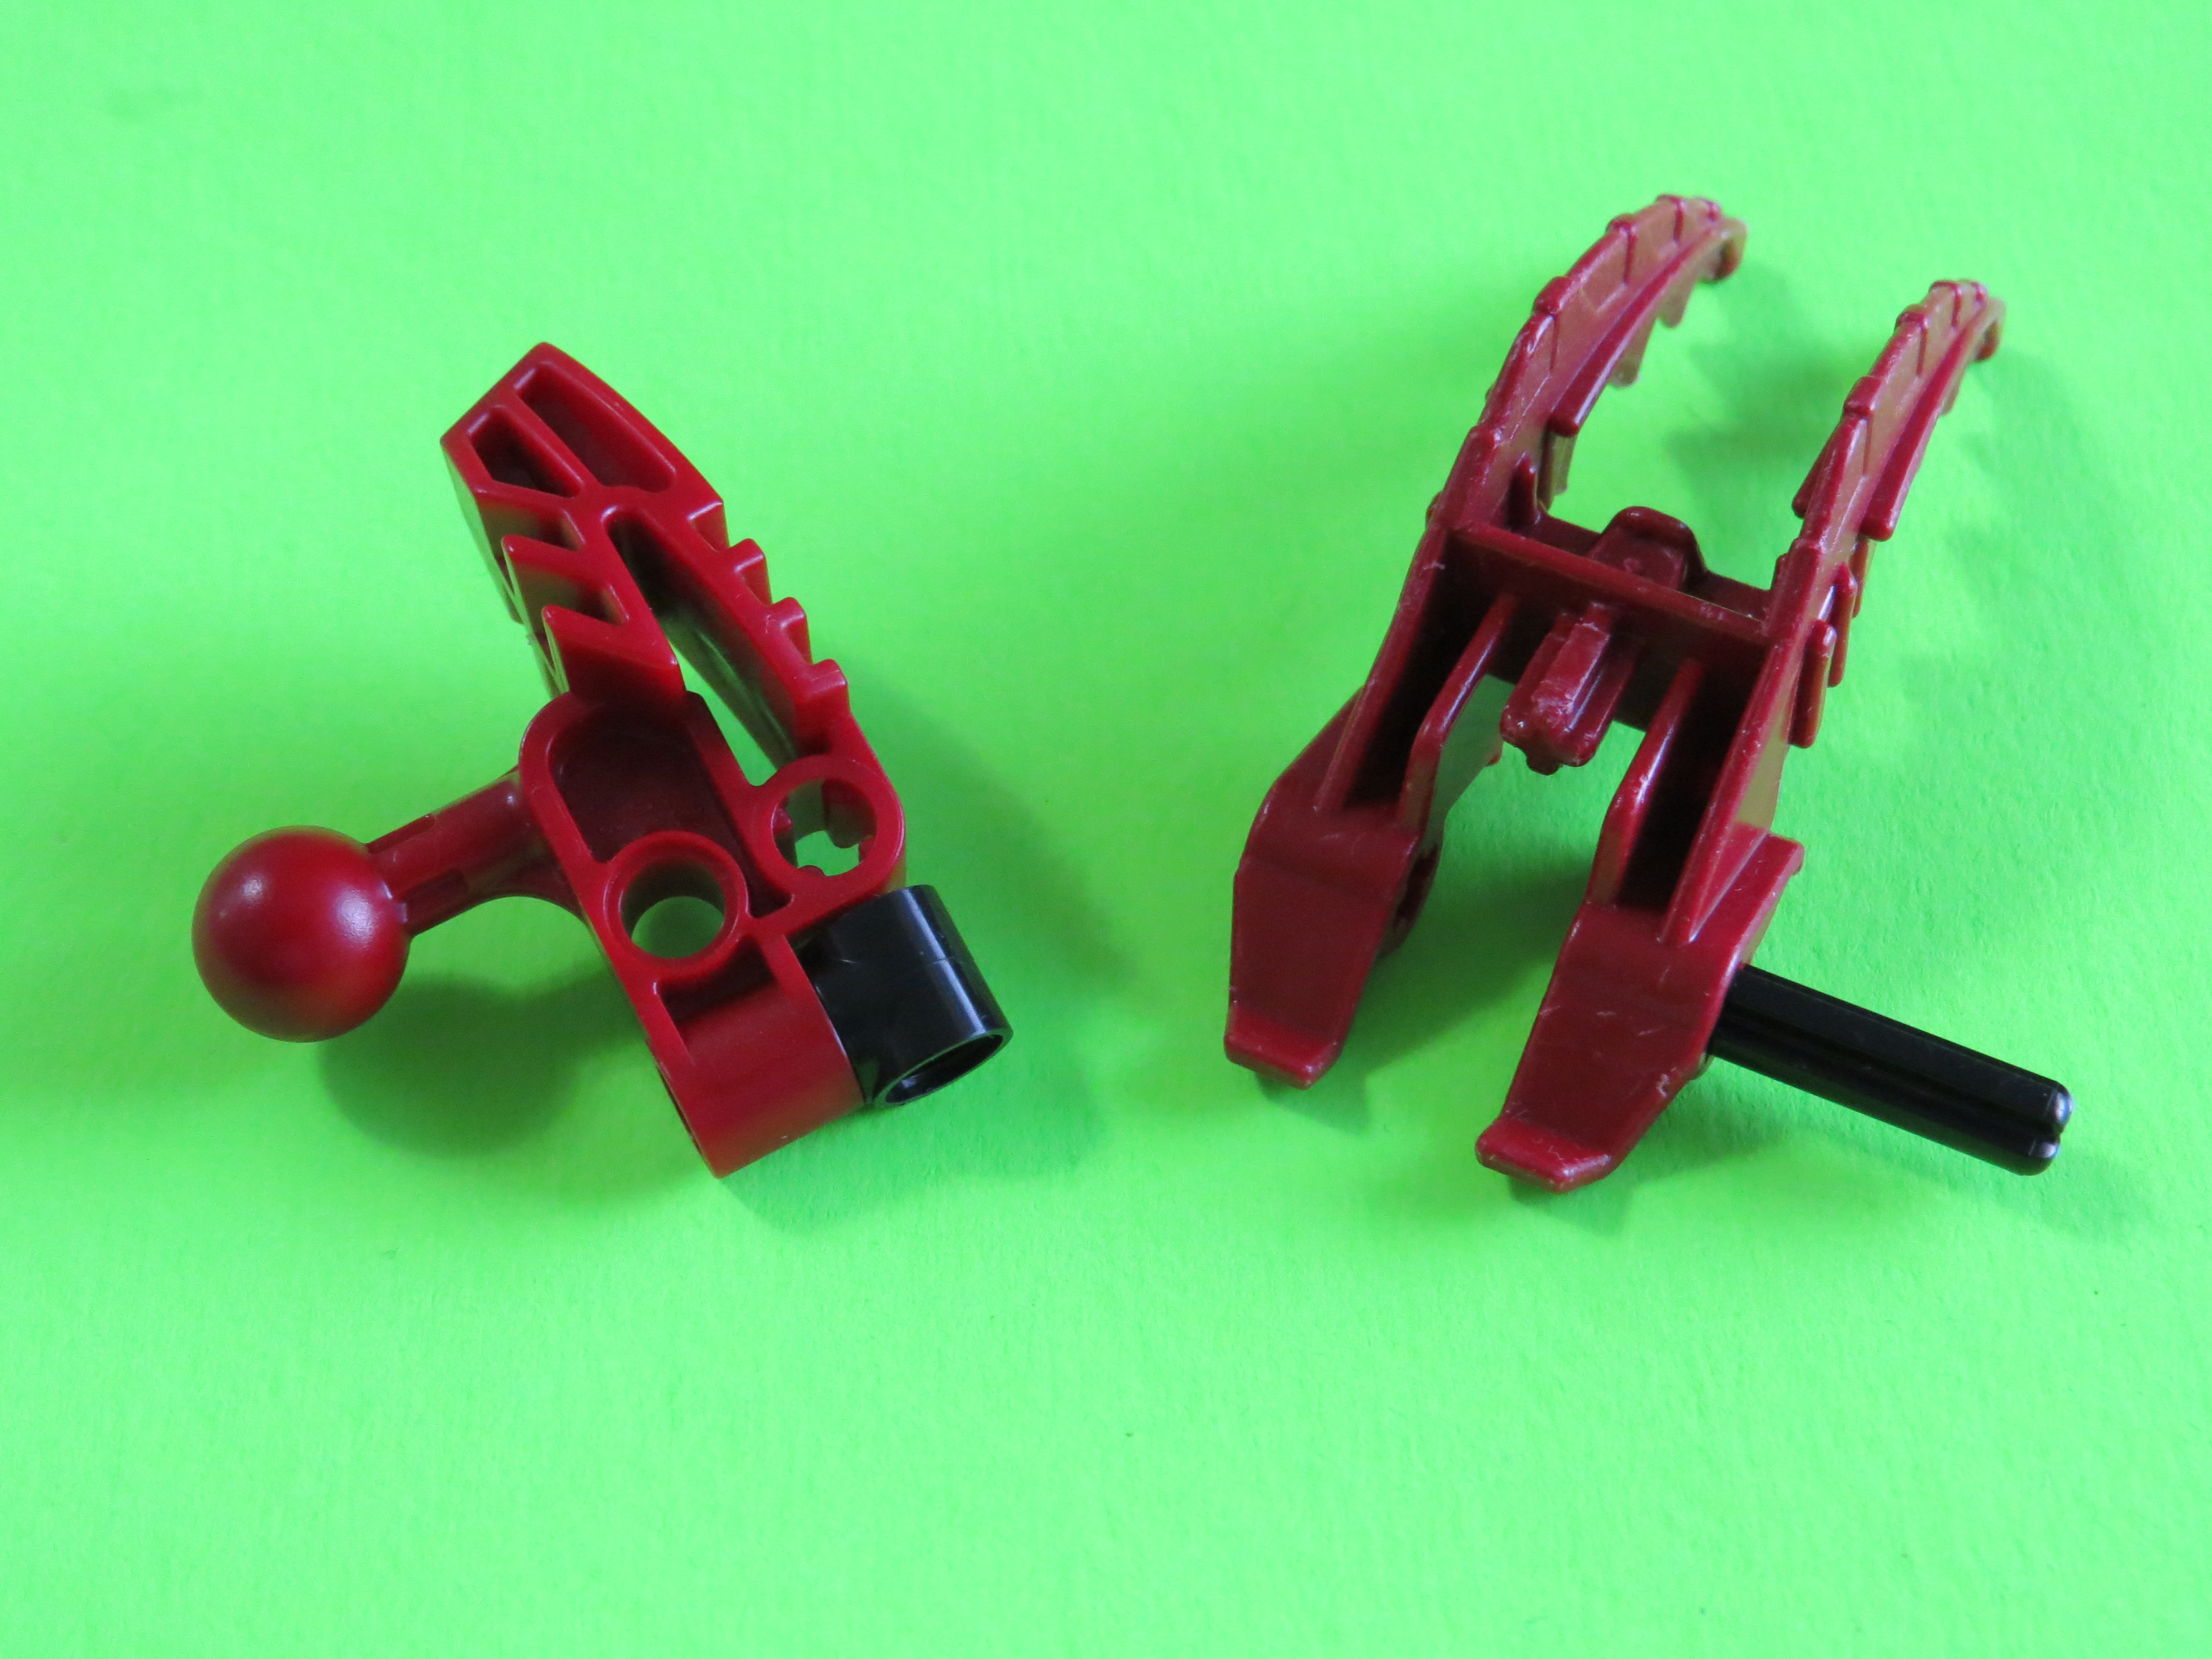
Pictured below are a couple of simple ways you can attach the flippers.
The flat edges can seat perfectly flush with each other through use of a 1x2 plate with rounded edges and hollow studs, forming a nose or jaw kind of shape.
The second configuration positions the flat edges differently. This results in shoes or eyes.
Anyway, these parts are nuts and I hope they get used in more sets.
not familiar with that piece.
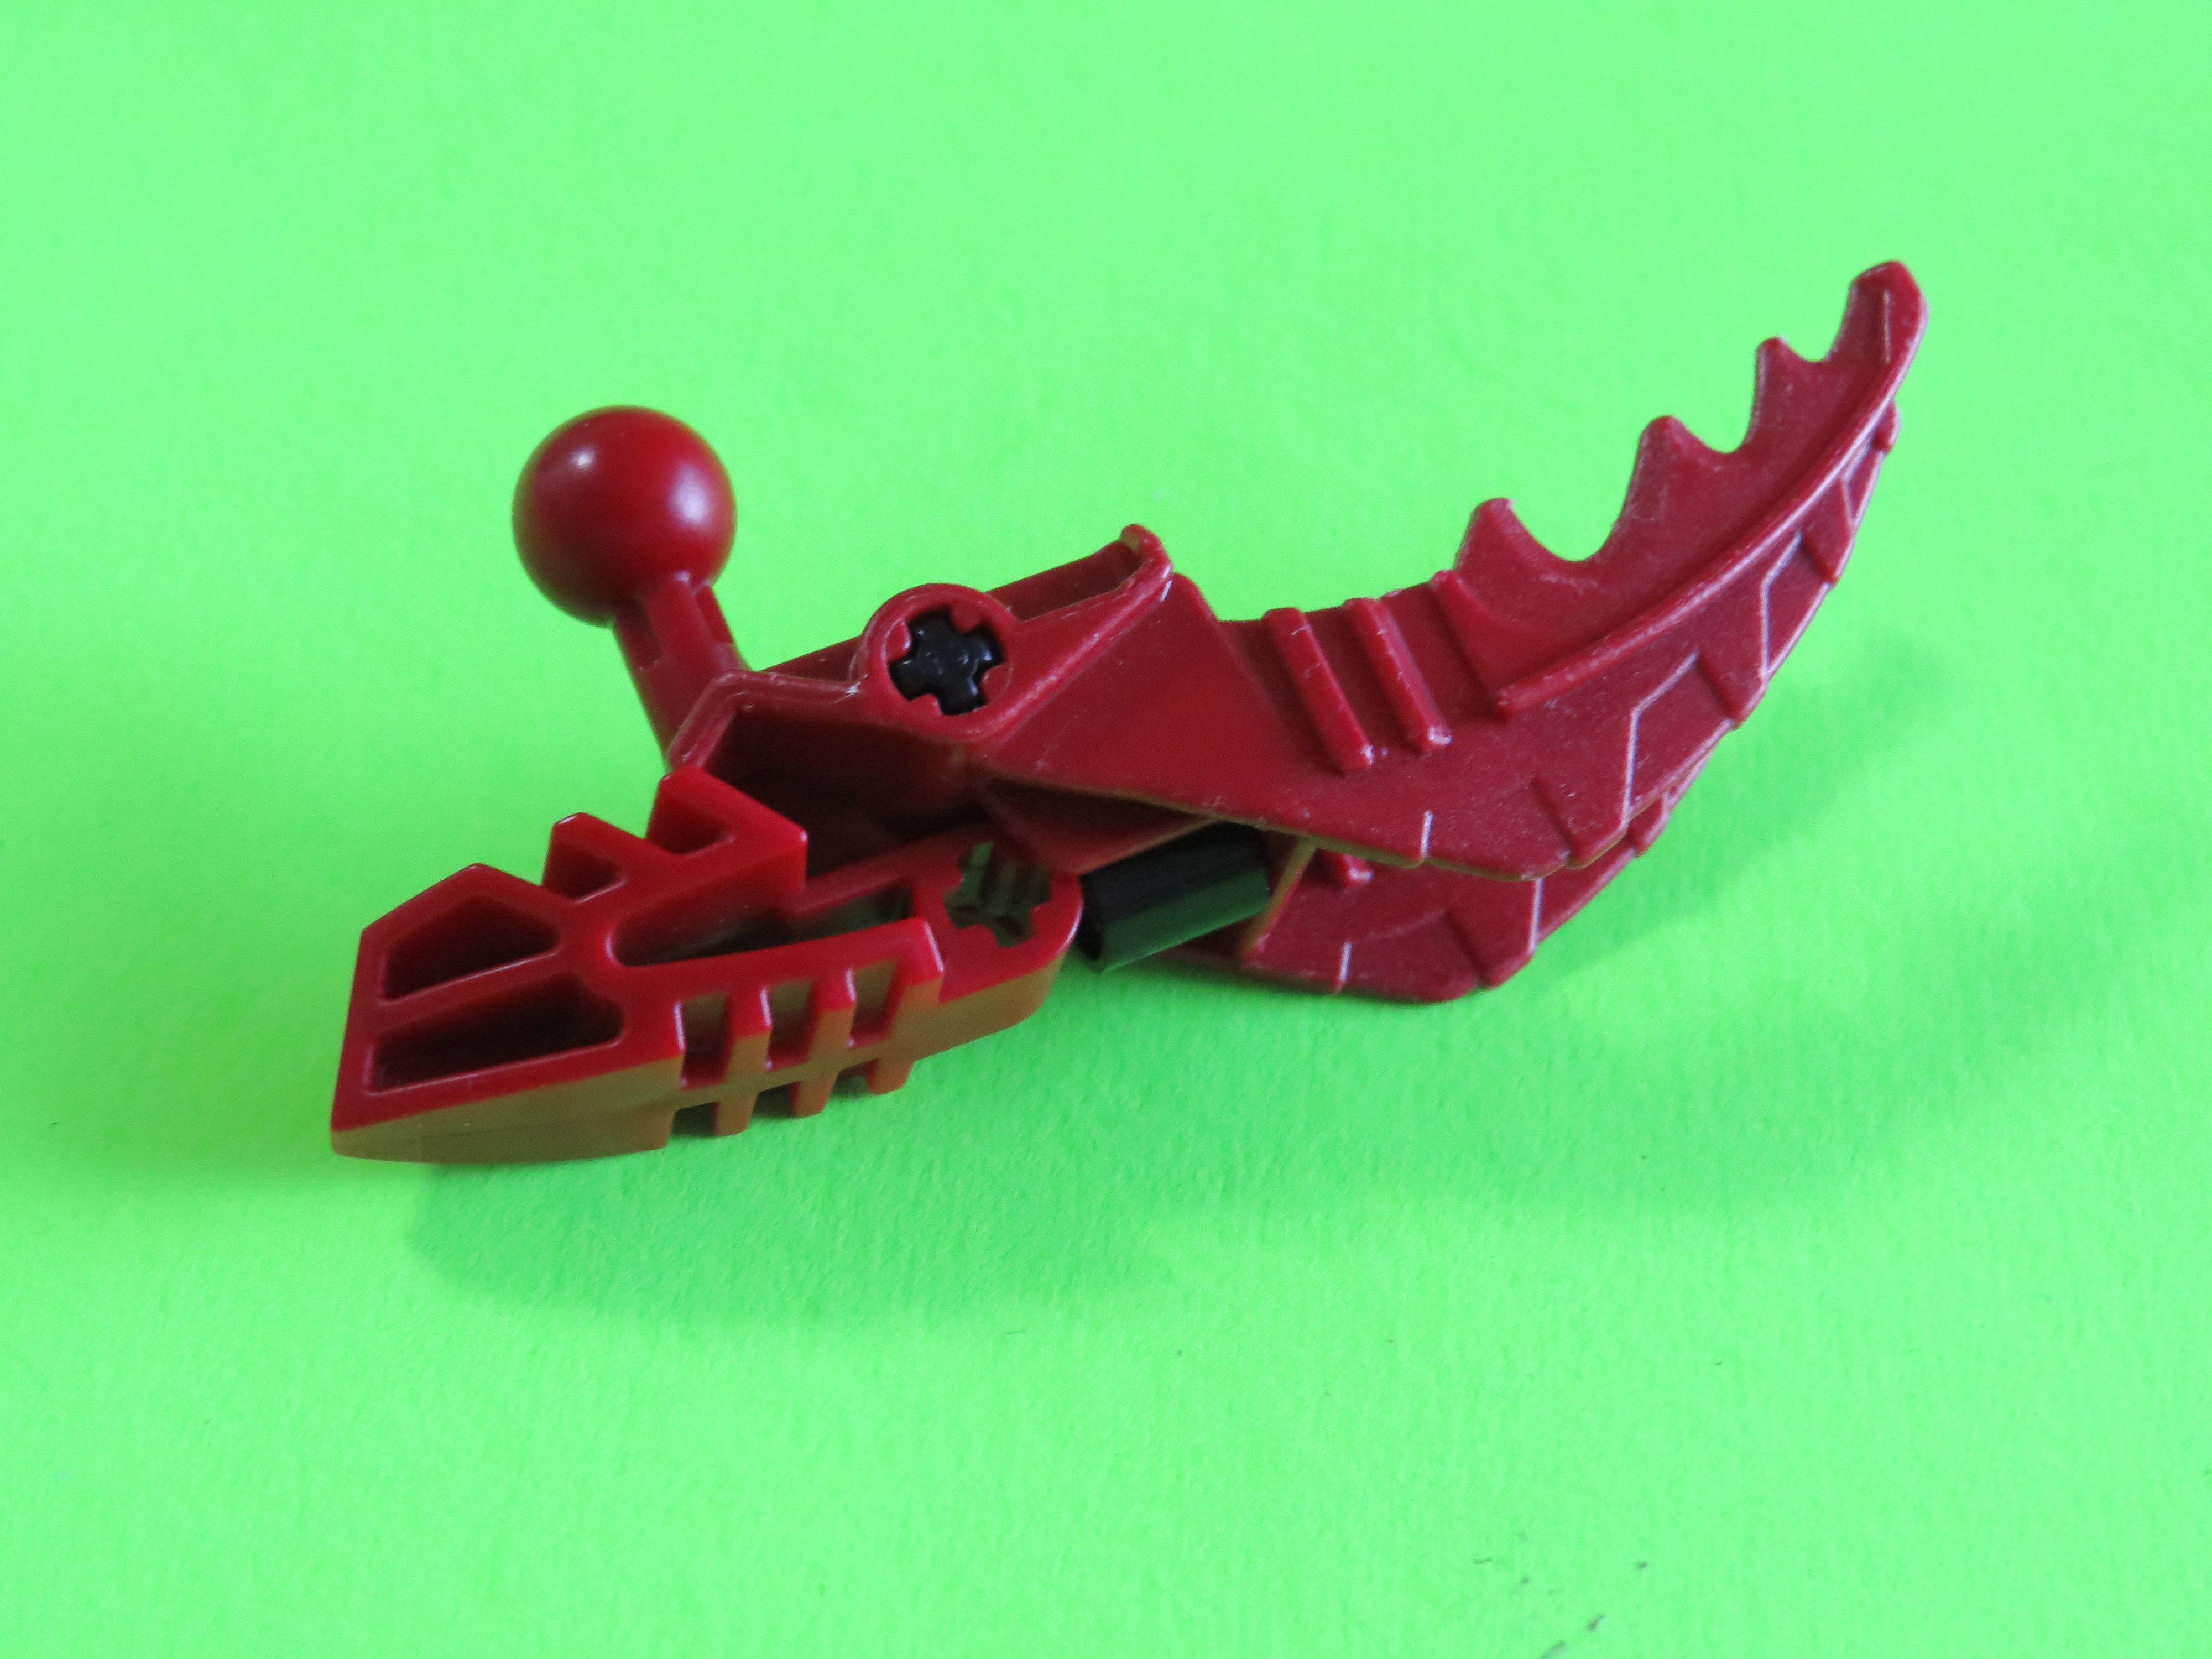
Jokes aside, this is quite a neat find. The top construct might also be able to function as chest armor if imbedded and synergized well enough, although the scale of a model like that might be somewhat inconvenient.
Apollo studs are what the New Elementary blog calls them. They’re that 1x1 rounded plate with a hole going through, or that piece that attaches unikitty’s horn to its head. The flippers are relatively small in scale, being about three studs long so the first construct might work well for an av-matoran or agori sized torso.
whoops, thought it was a type for “hollow”. My bad.
I feel like that would have to be quite an intricate (system-heavy, which makes sense given who I’m talking to) design to keep it from looking forced. Although I guess the taper at the end isn’t too narrow - what about a 1x2 bow at the bottom, for complete armor on a model around technic minifigure scale?
1x2 bow at the bottom
I mean, you could try it, but the 1x2 bow is much blockier than the construct above it so it might not match. An upside down reversed benny astronaut helmet or a blue technic figure helmet would work far better but you’d have to find some way to attach it.
(post withdrawn by author, will be automatically deleted in 24 hours unless flagged)
Generally, if you want to avoid stress to the attachment point of the ball, squeeze down on the ball with your index finger and thumb (from both sides on which the socket is open) as hard as you can, hold the socket tight with your other hand and pull the ball straight out with some force.
It may be a bit harsh on your fingers though so only do it when you really want to save the balljoint. I don’t think this is that useful anyway since usually the point of failure is the socket. I think it saves some stress there too but I have no idea whether it’s a significant amount.
balljoints are basically indestructible tho. The amount of time when it’s under pressure while being put into a socket is negligible.
@Cordax suggested a way to keep 08 sockets from breaking while using them in MOCs. I’ve recently disassembled my Rockoh T3, which was kept built for over a year. I put friction adders on Pohatu’s long sockets, and used them in a MOC. None of them have had any damage (at least not that I can see). Luckily I haven’t had any trouble with his black Y-joints.
Ah yes this was 100% your idea and was definitely not suggested by me.