I would recommenced the frosted detail. It is more expensive but the quality of the print is higher. If not that then any of the smoothed plastics should do.
2 Likes
Awesome thanks for letting me know ![]()
1 Like
Thanks! I would assume that if I got the frosted detail, I would have to paint it myself?
1 Like
Yeah you would.
Dang thought I’d be the first lol. I’m really close but I’m having a bit of trouble with ikirs head and the umarak rib arm. Anyone have pictures of how those work?
@Cyber-Hand YES! I’ll definitely be getting that in black.
$41 for the polished gold steel… Tempting…
1 Like

With my birthday this Saturday I’ll definitely be buying my own.
1 Like
Guys, I can’t figure out the staff, more specifically it’s gear function… can someone help? The pics just don’t show enough.
That arm does look right thank you.
But I think what I figured out for the tail might actually be more accurate.
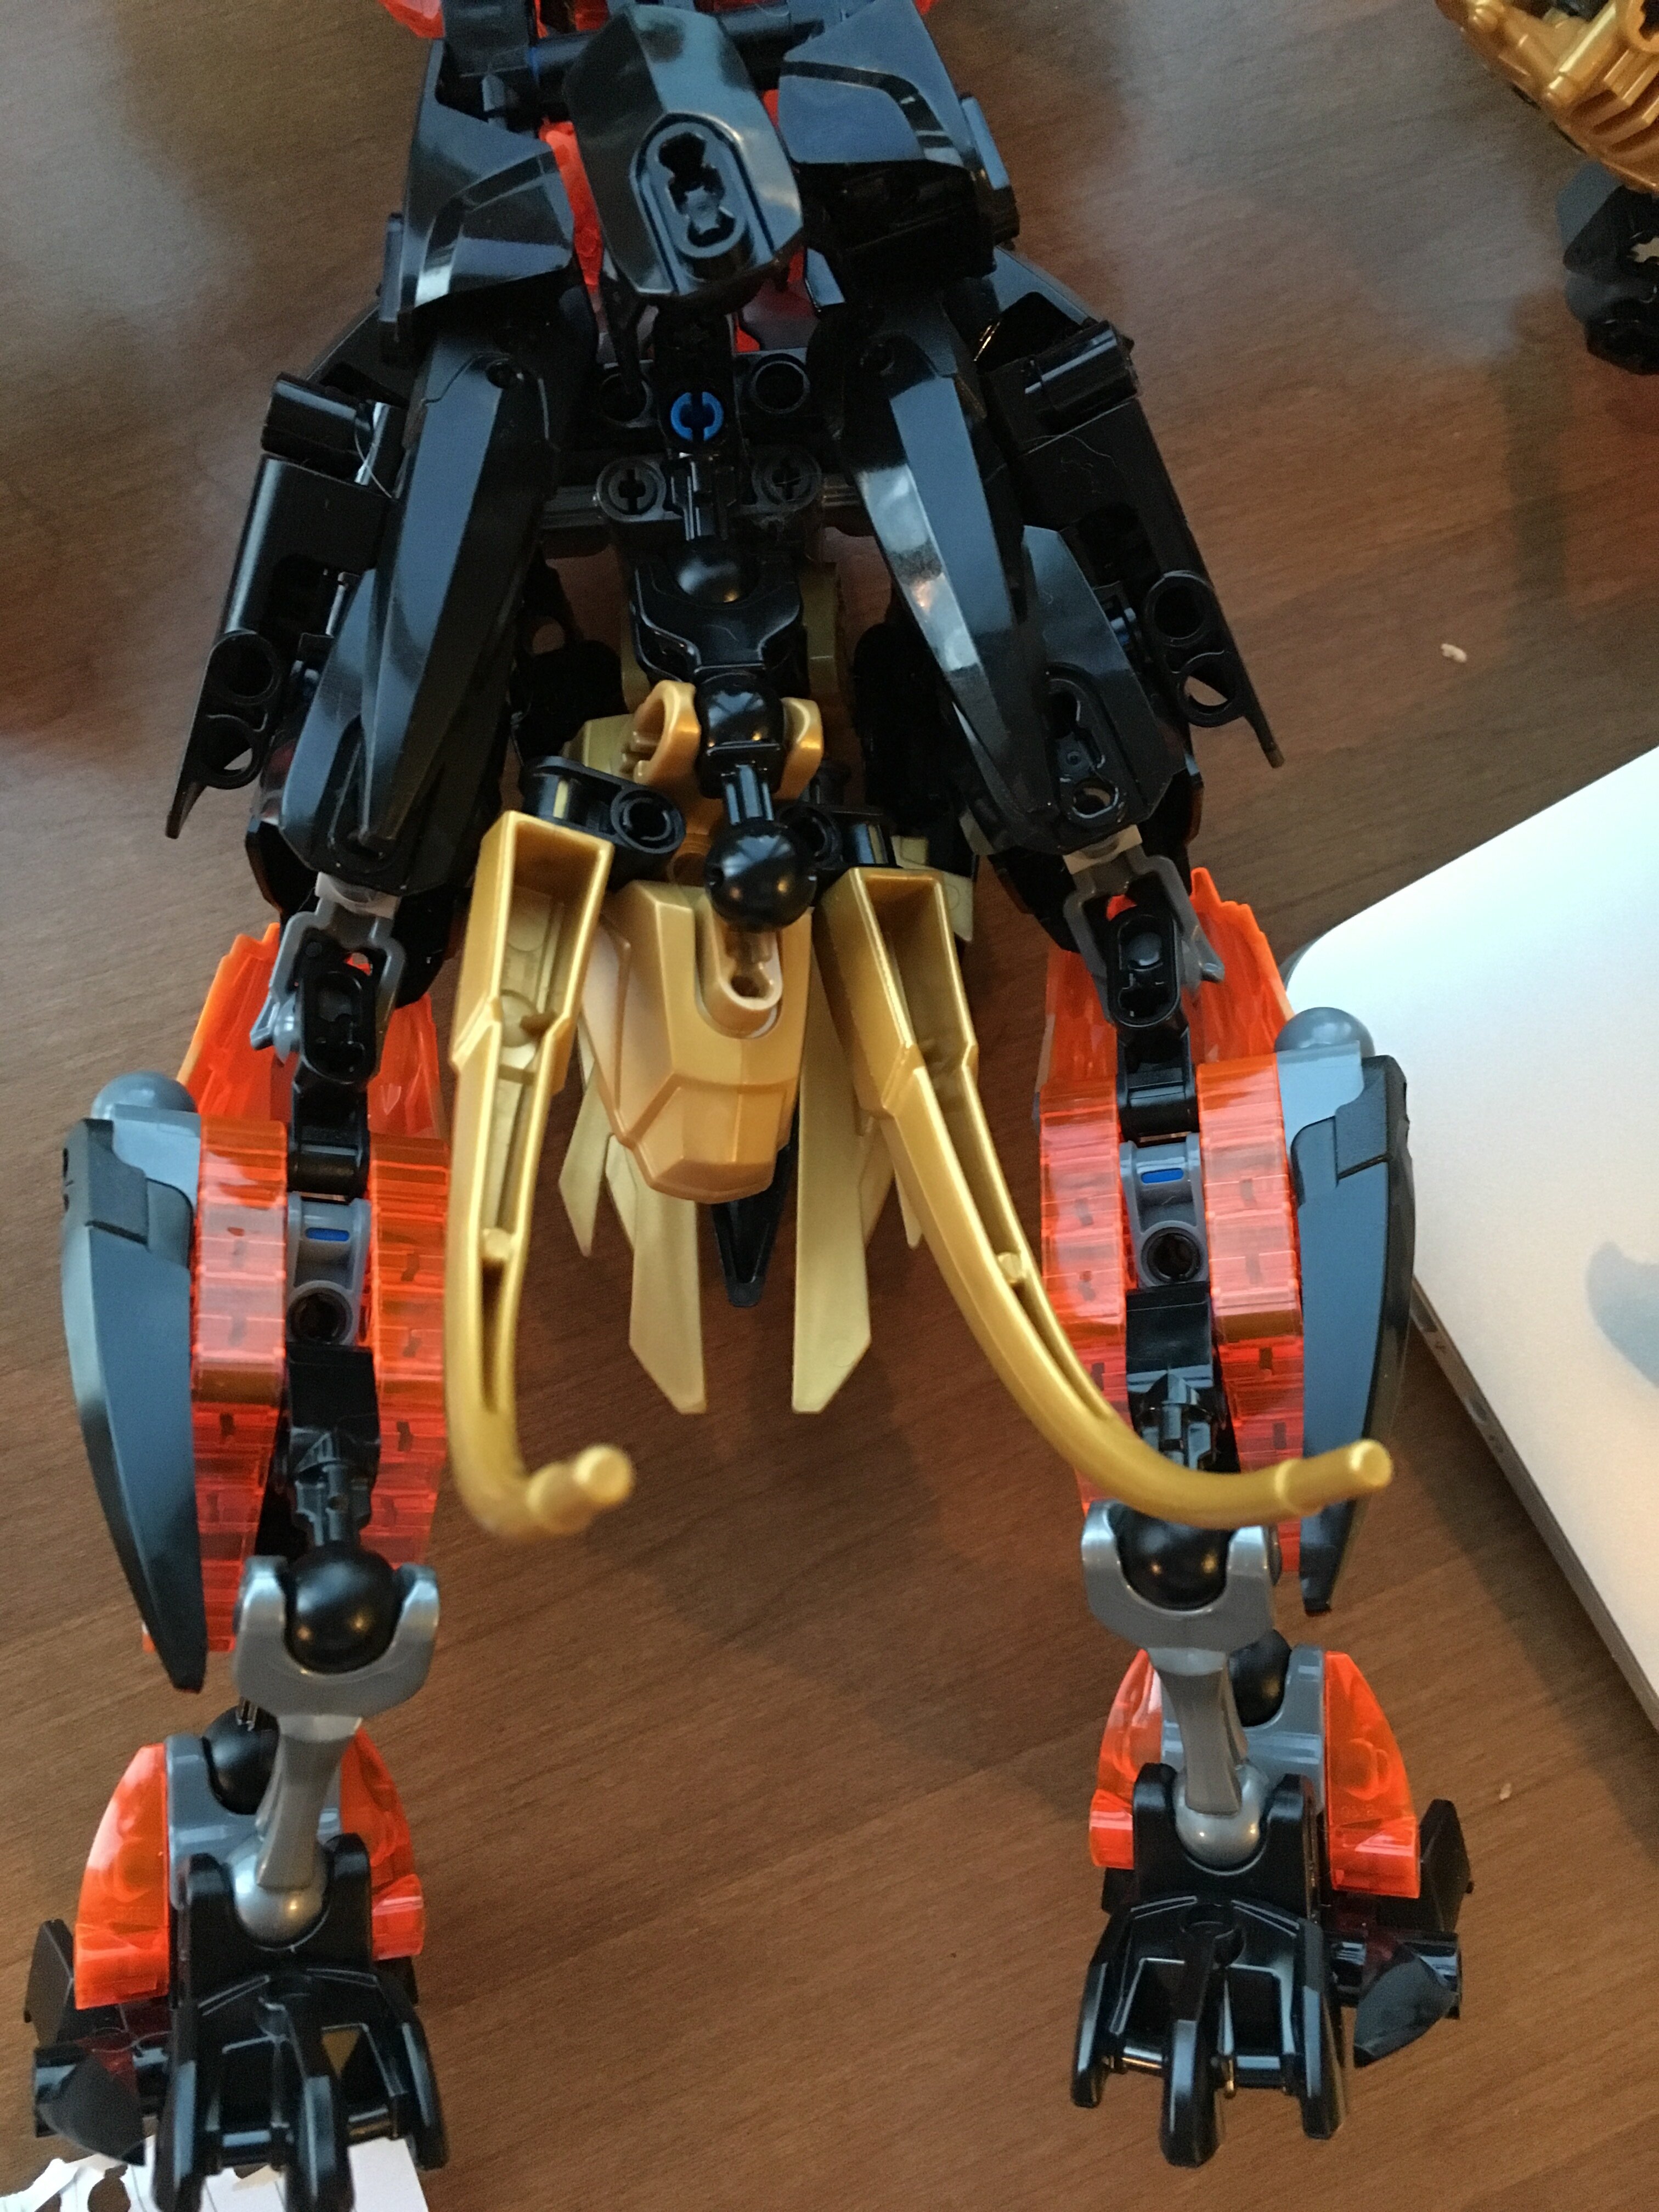
The creature head attaches to that open balljoint. If you look in the photos you can actually see the gold foot.
5 Likes
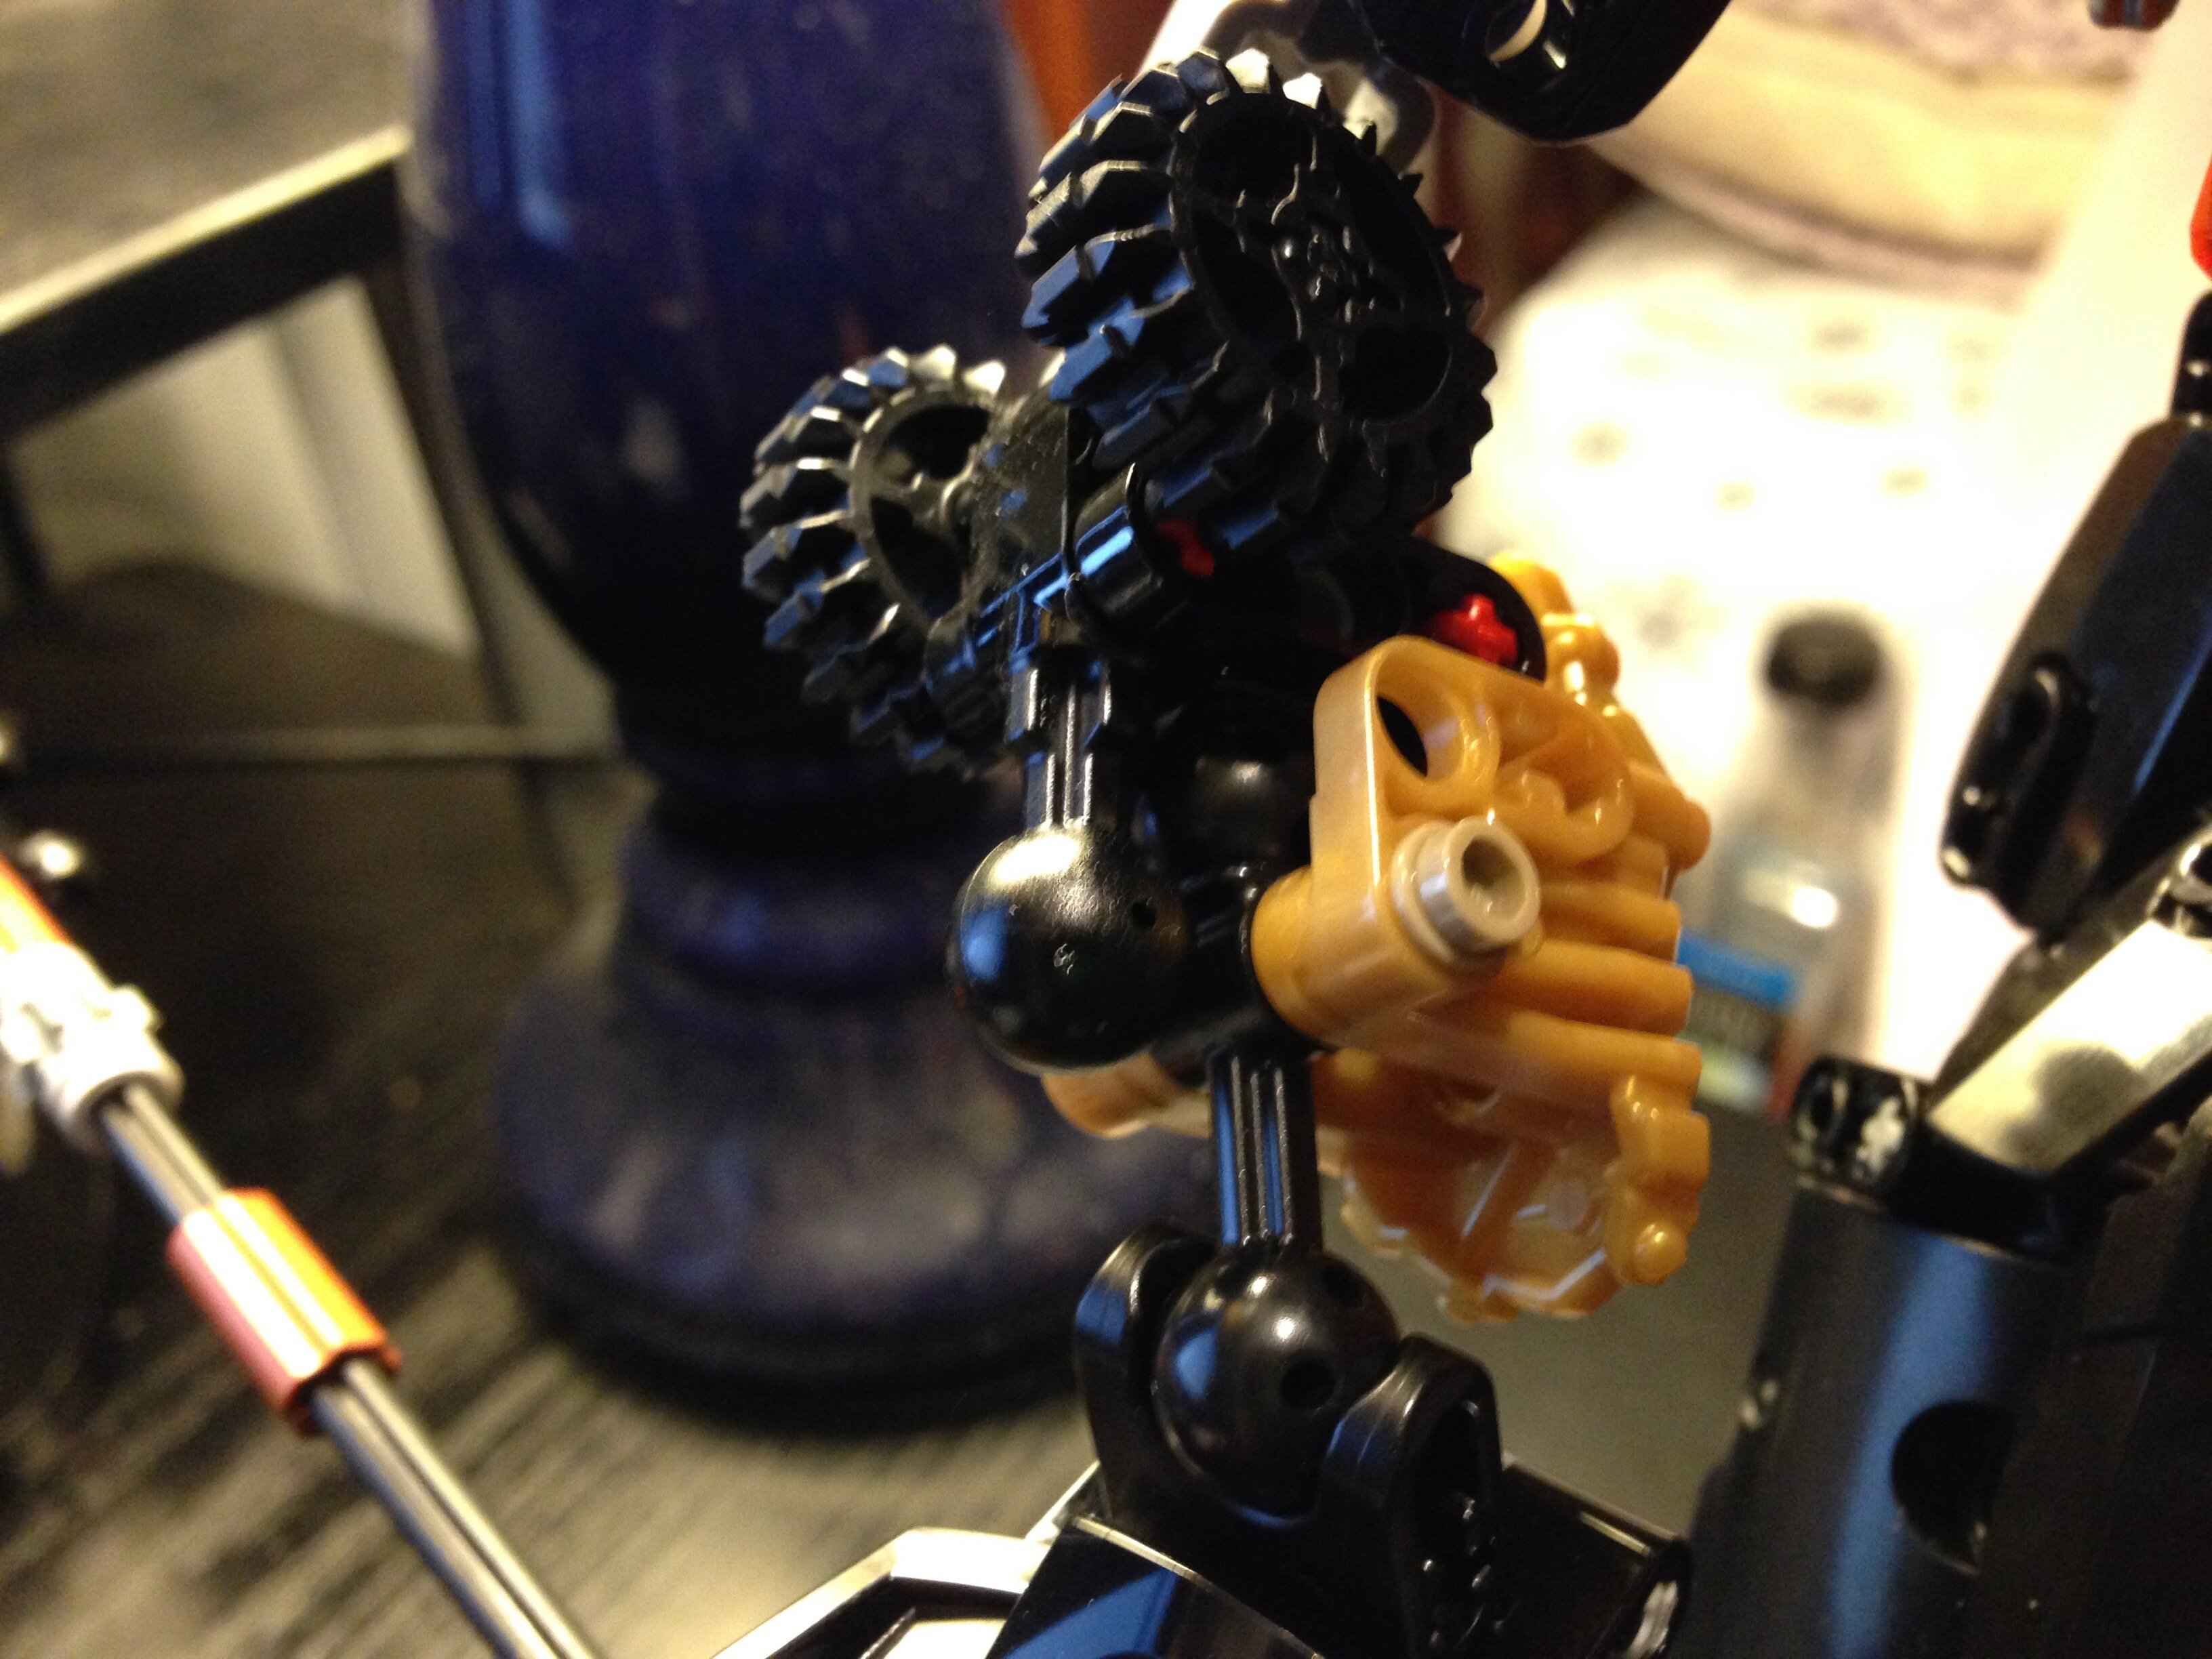
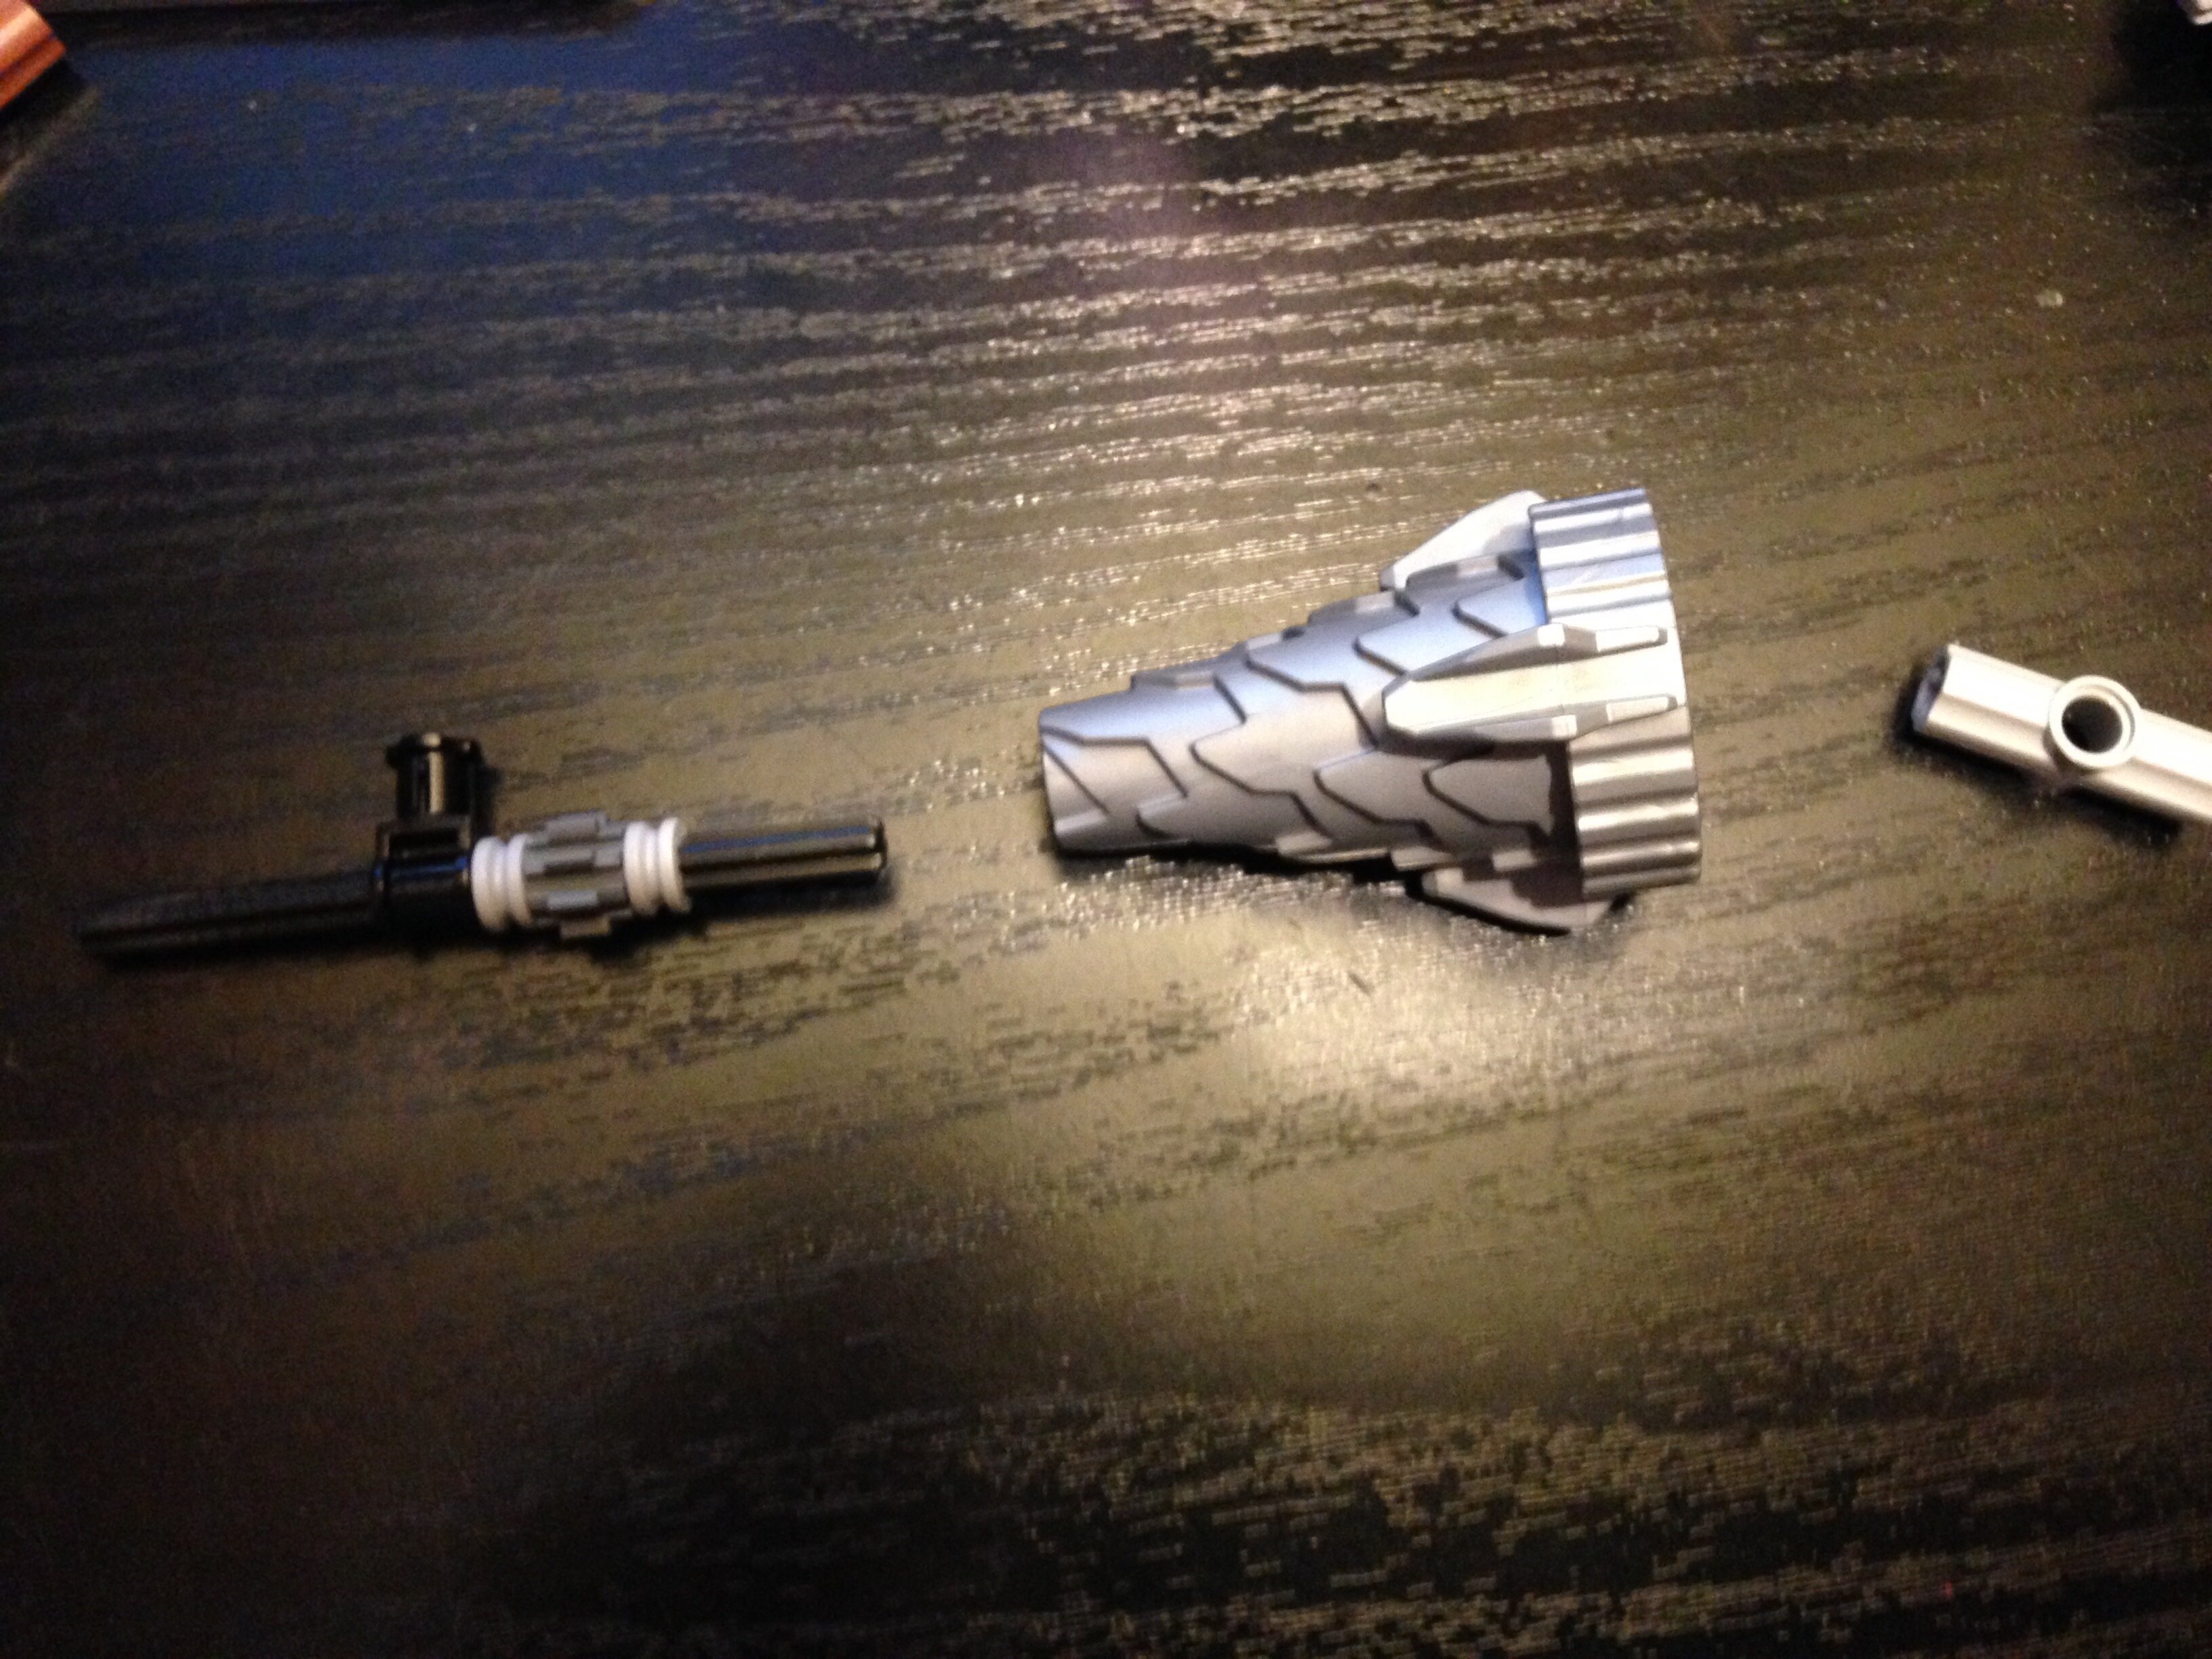
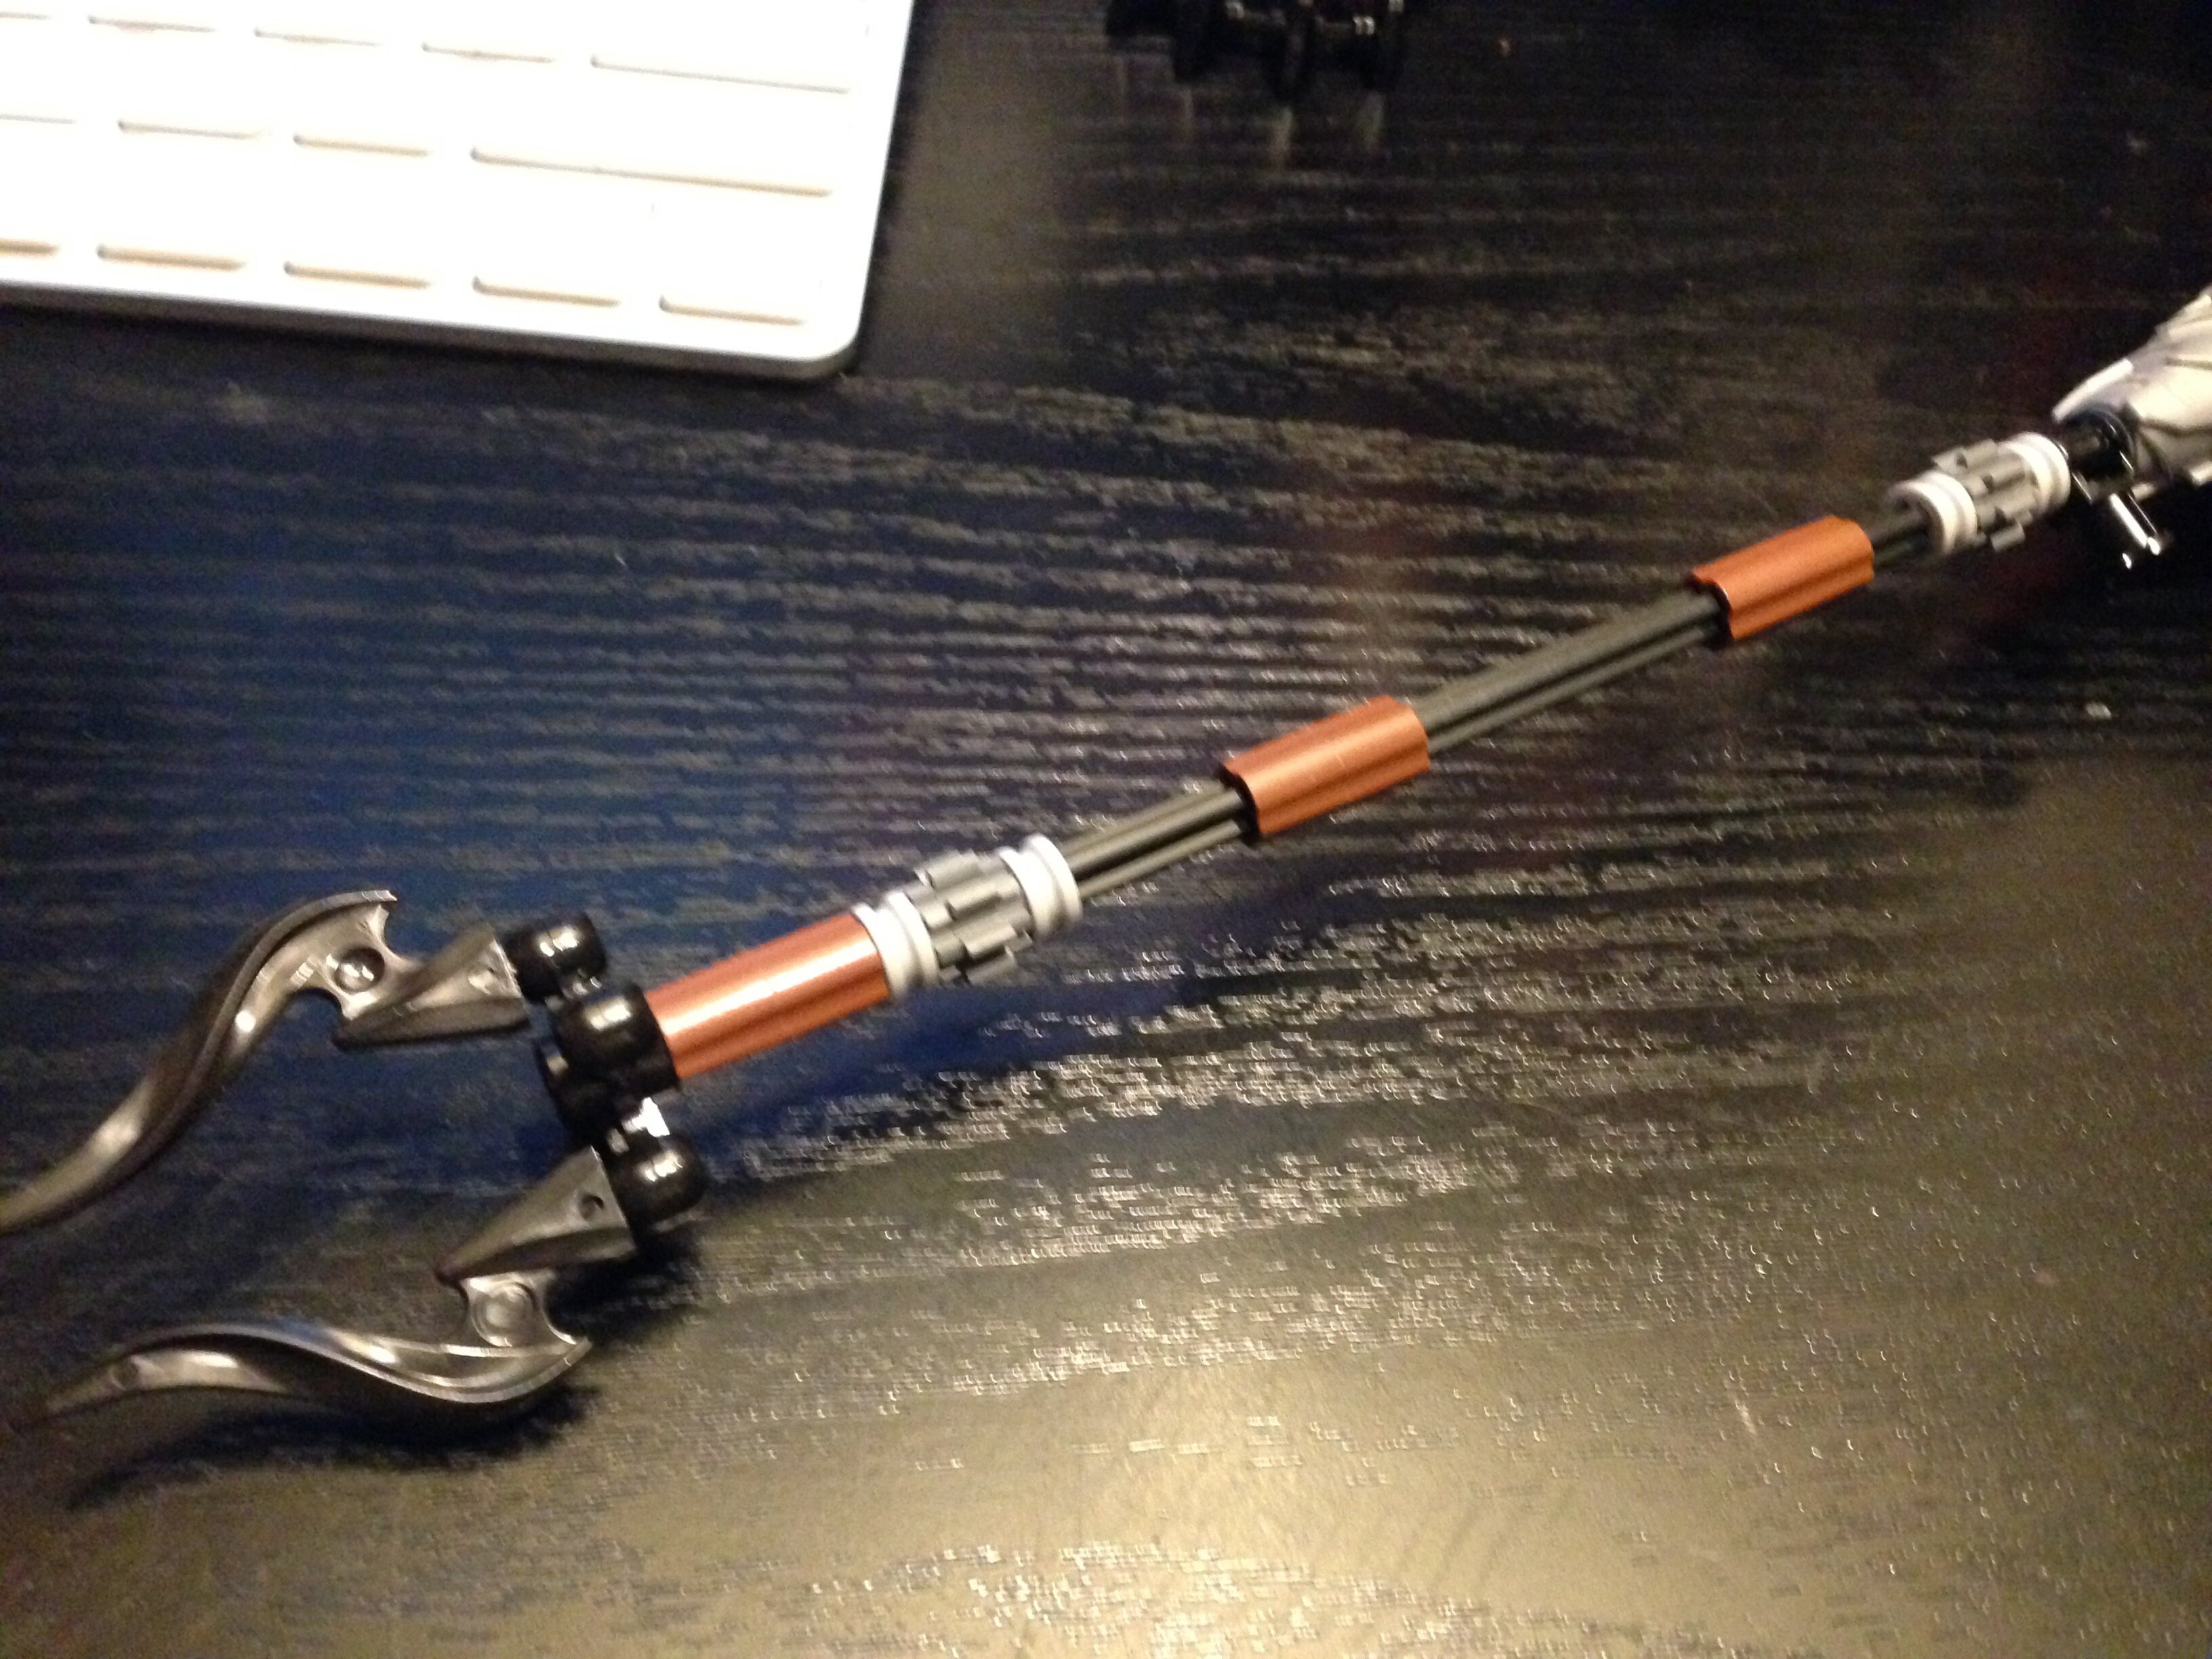
So for everyone that will inevitably and do have problems with the staff here you go.
Start off with this
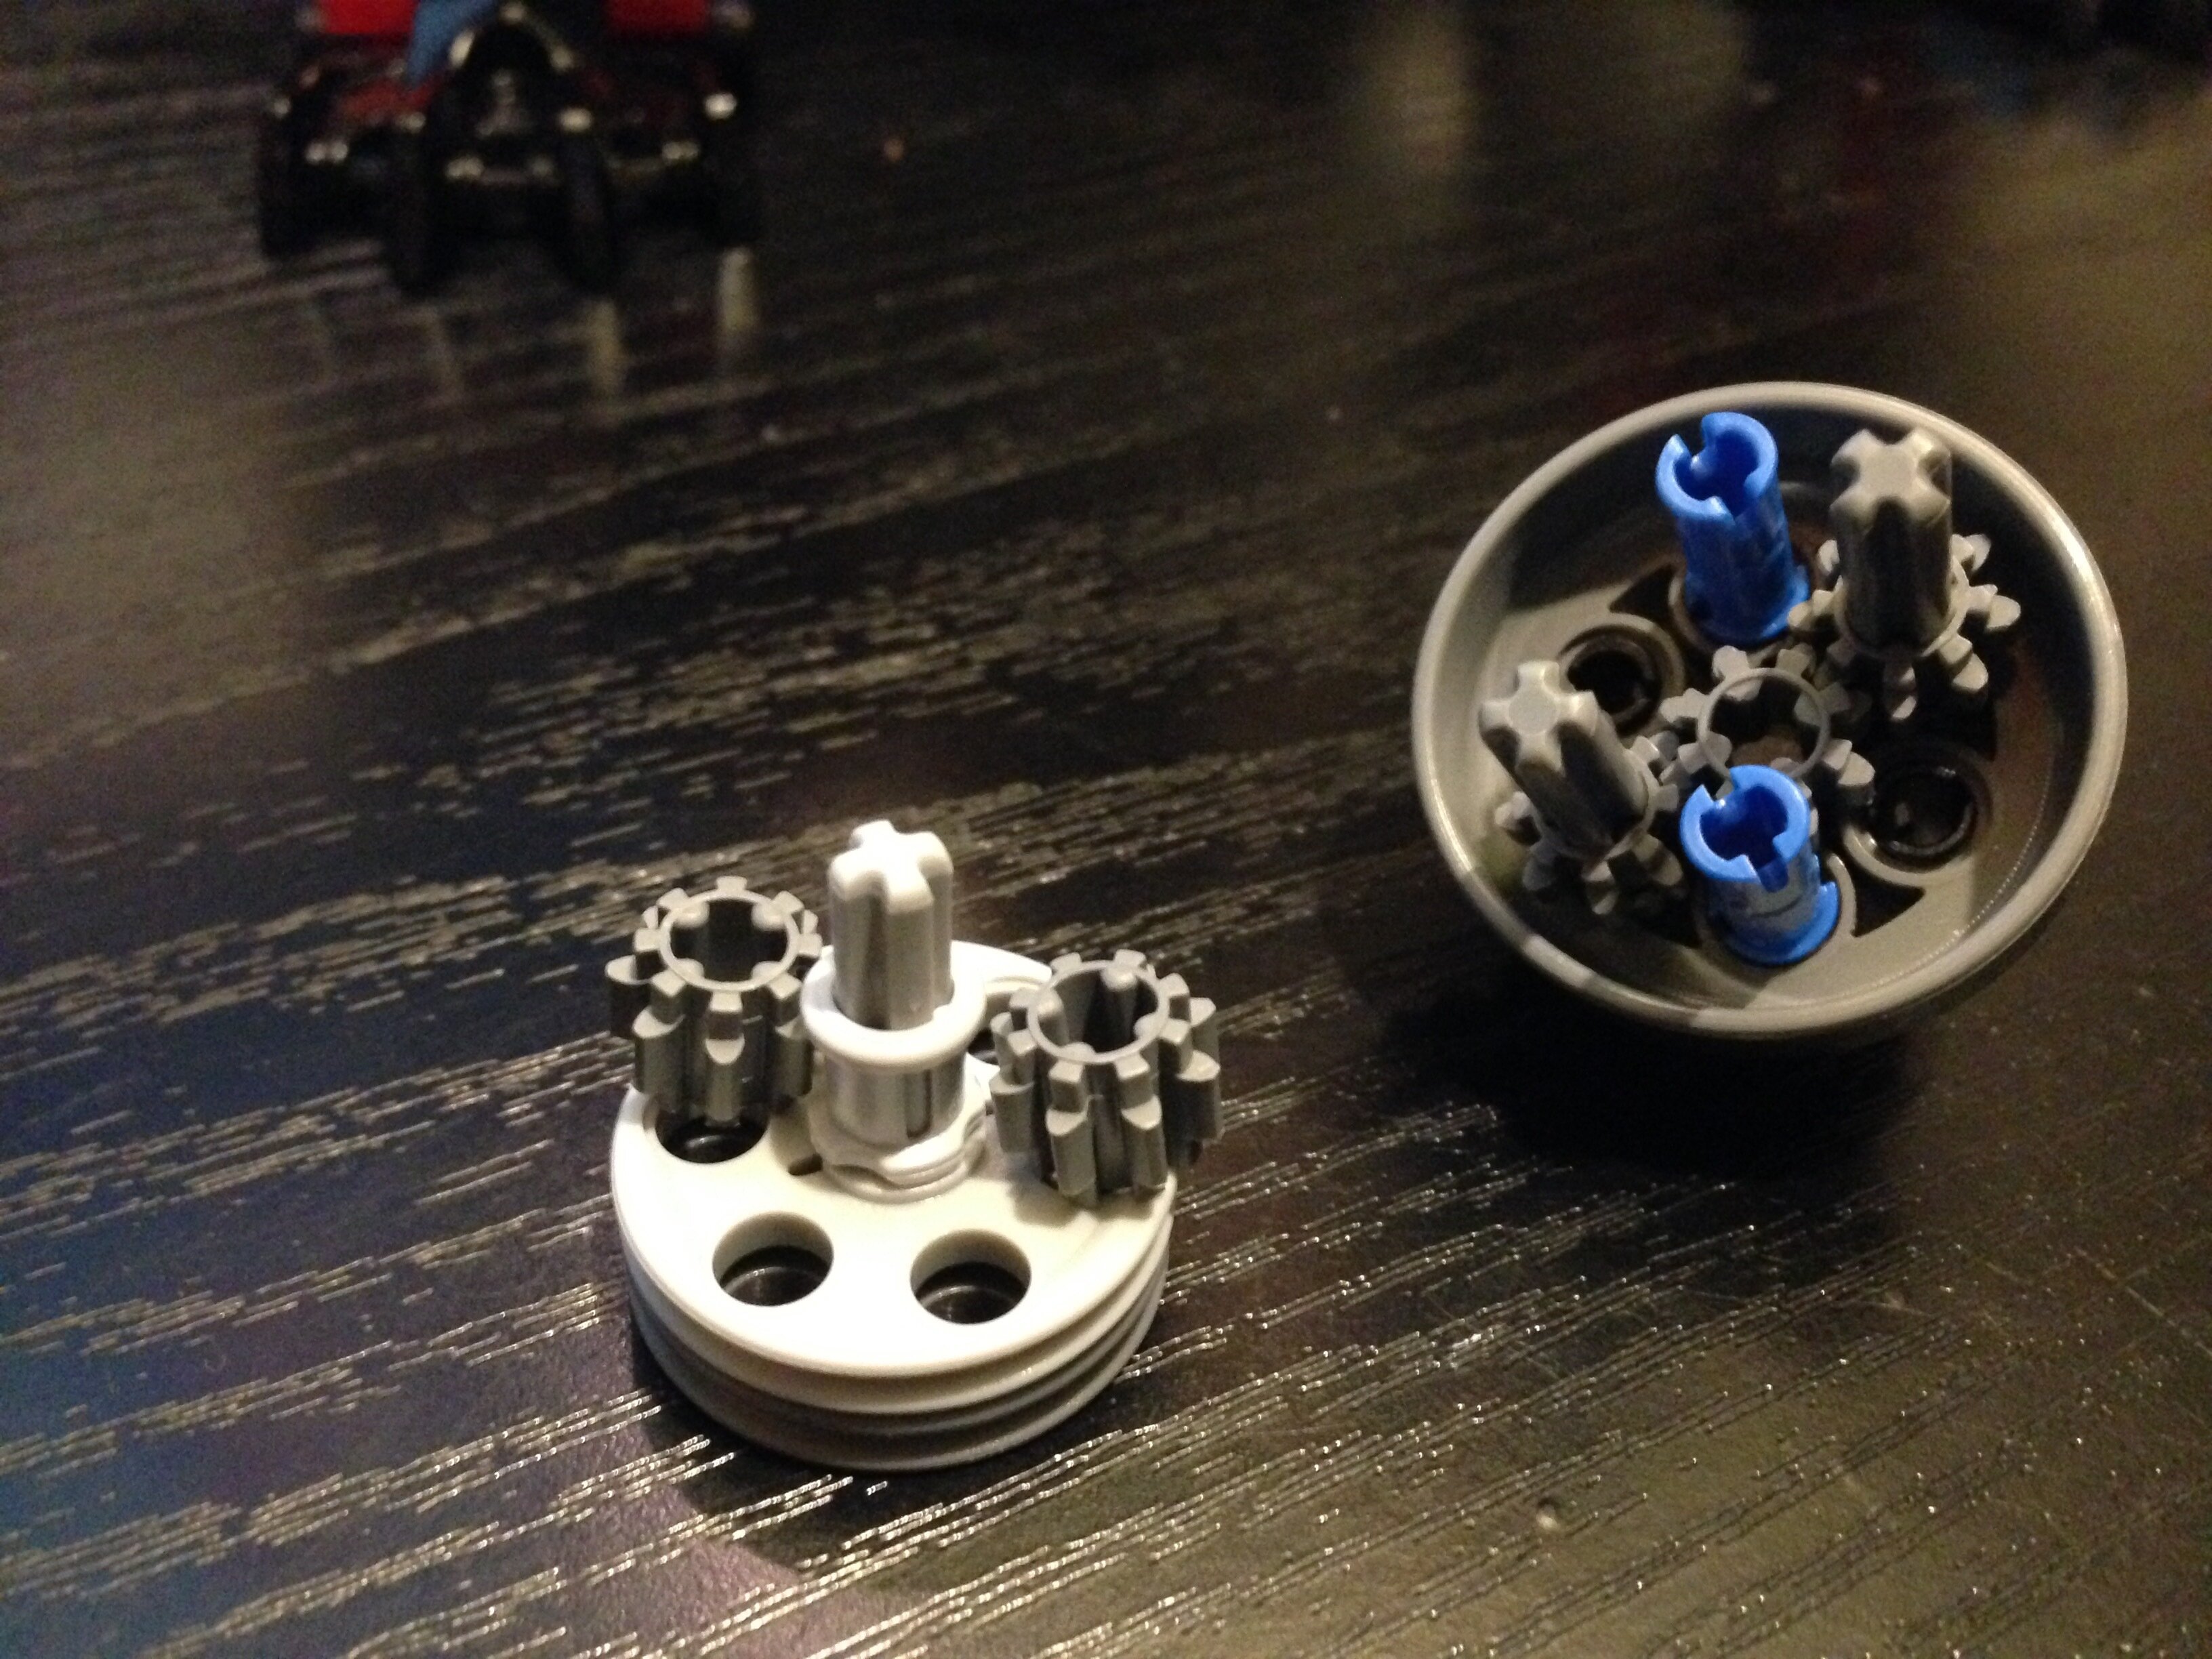
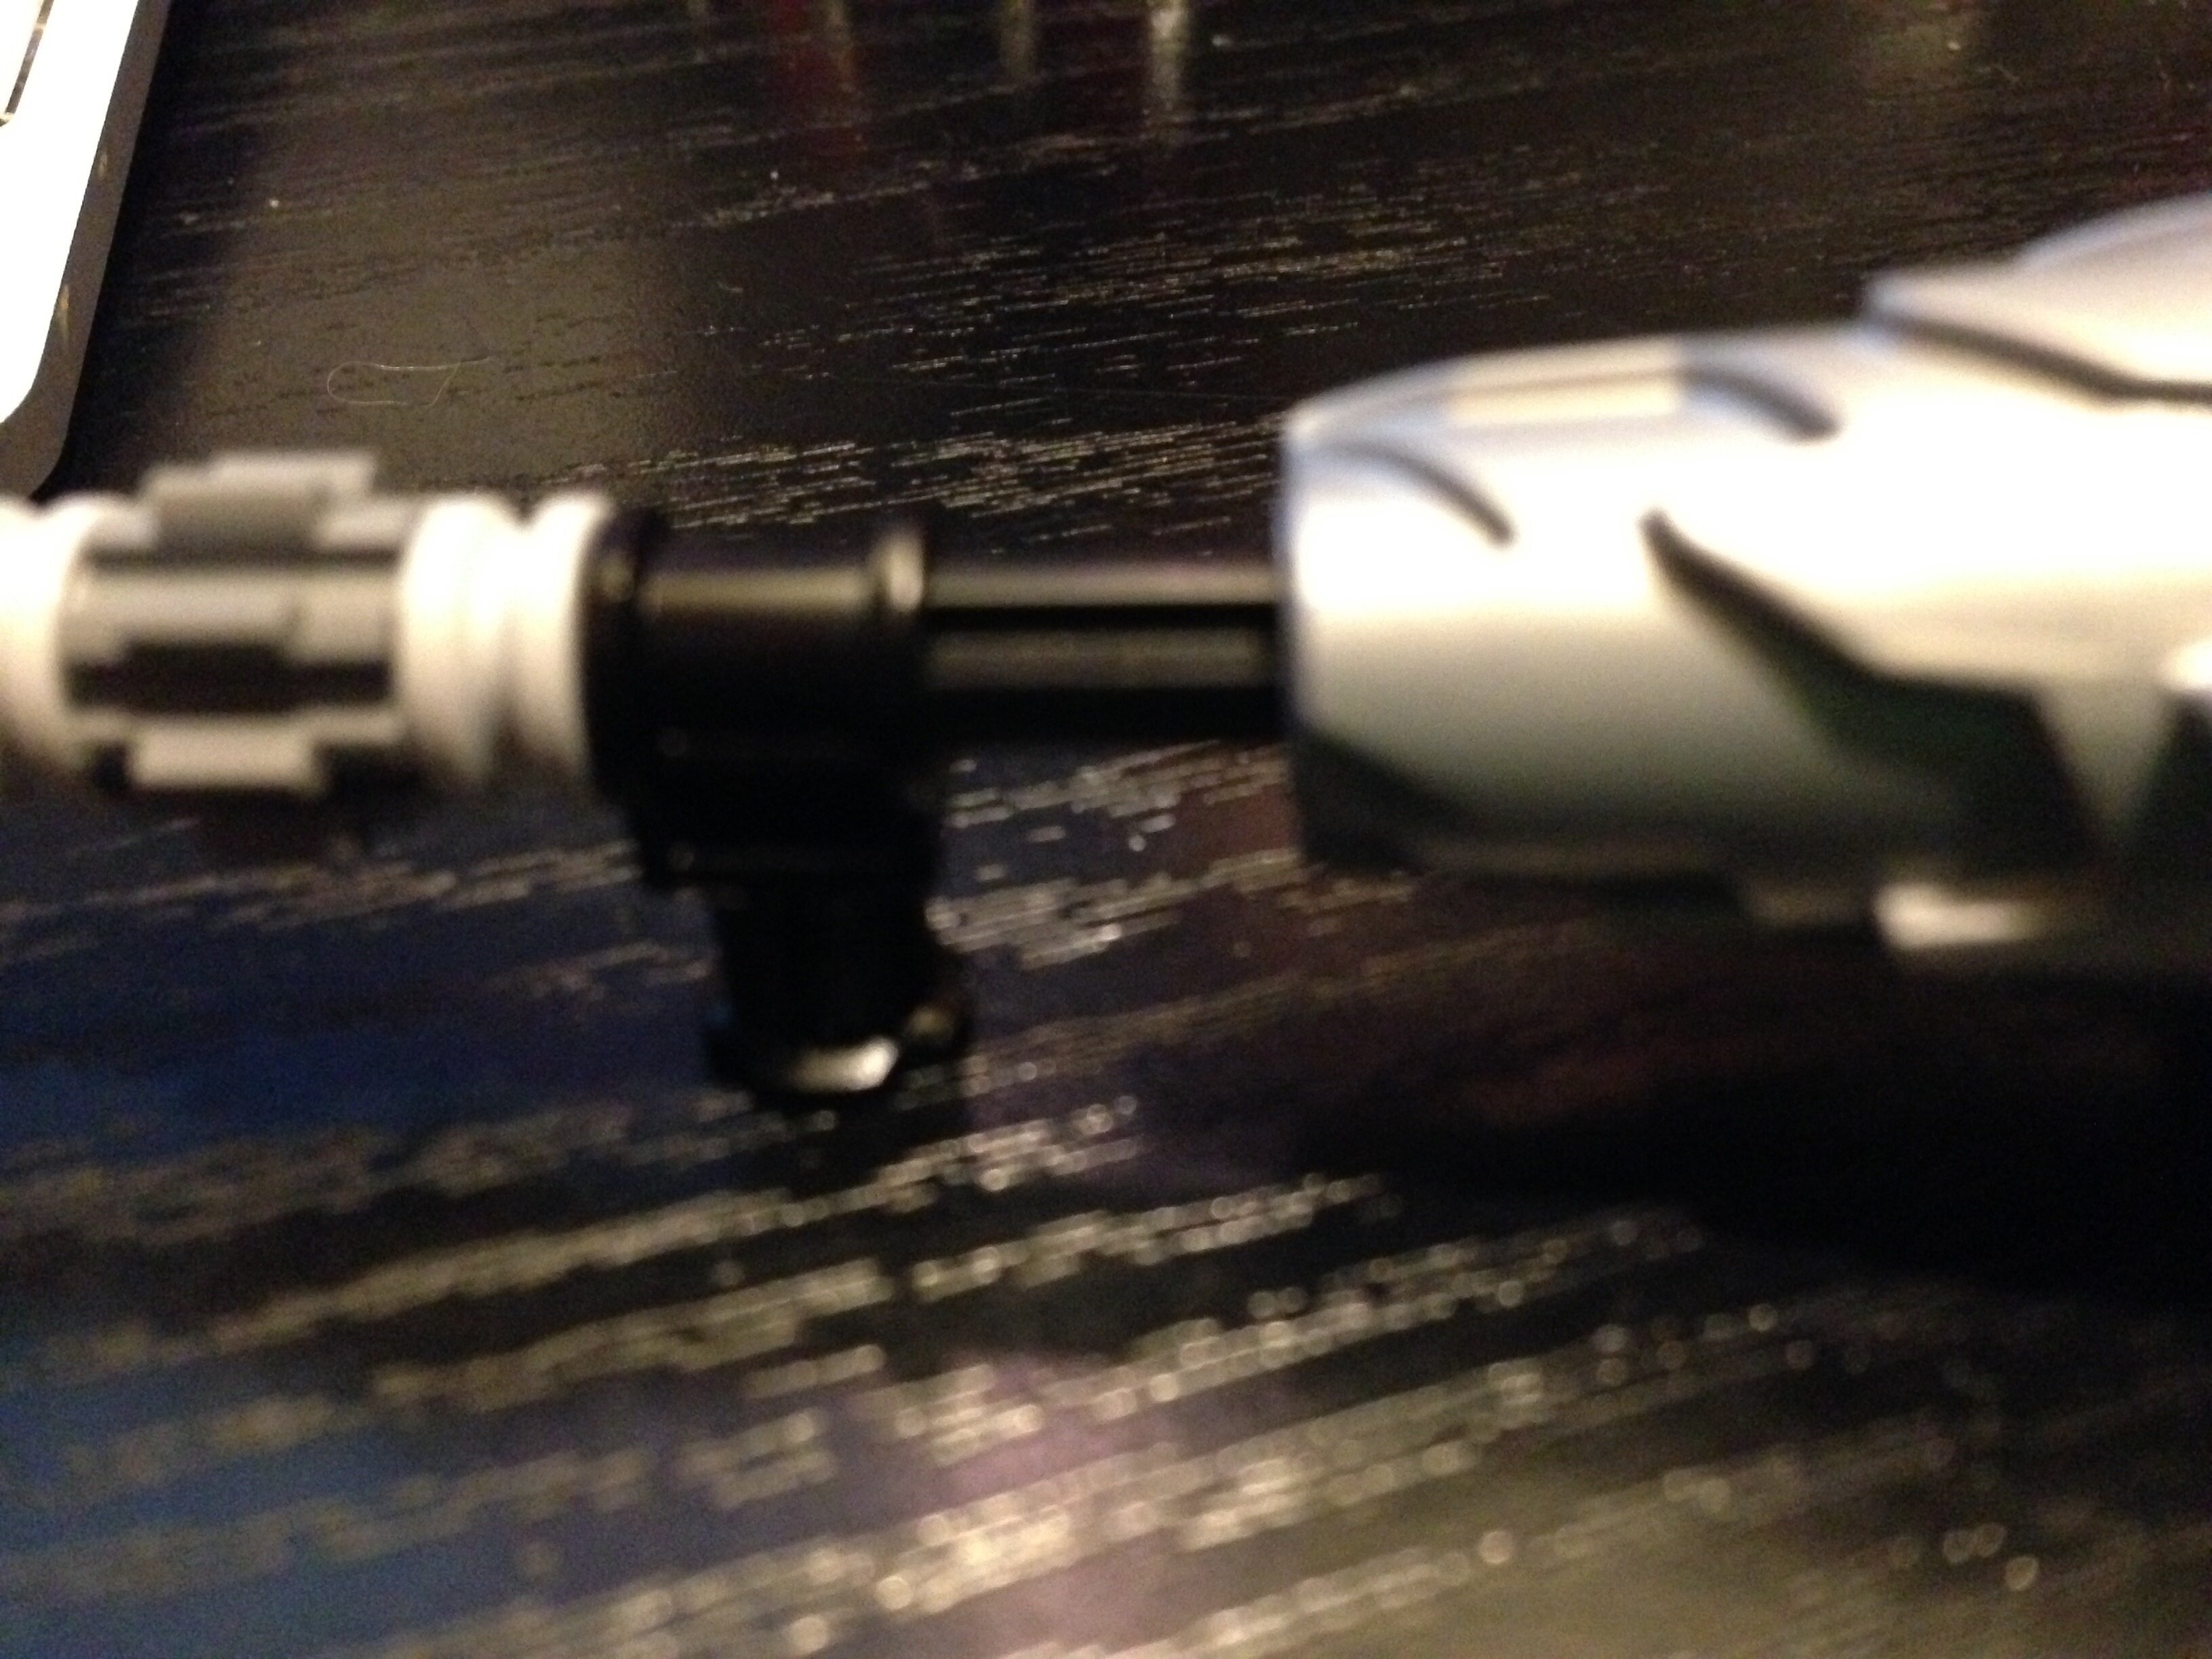
Than everything on top off the staff attaches via long grey axle.
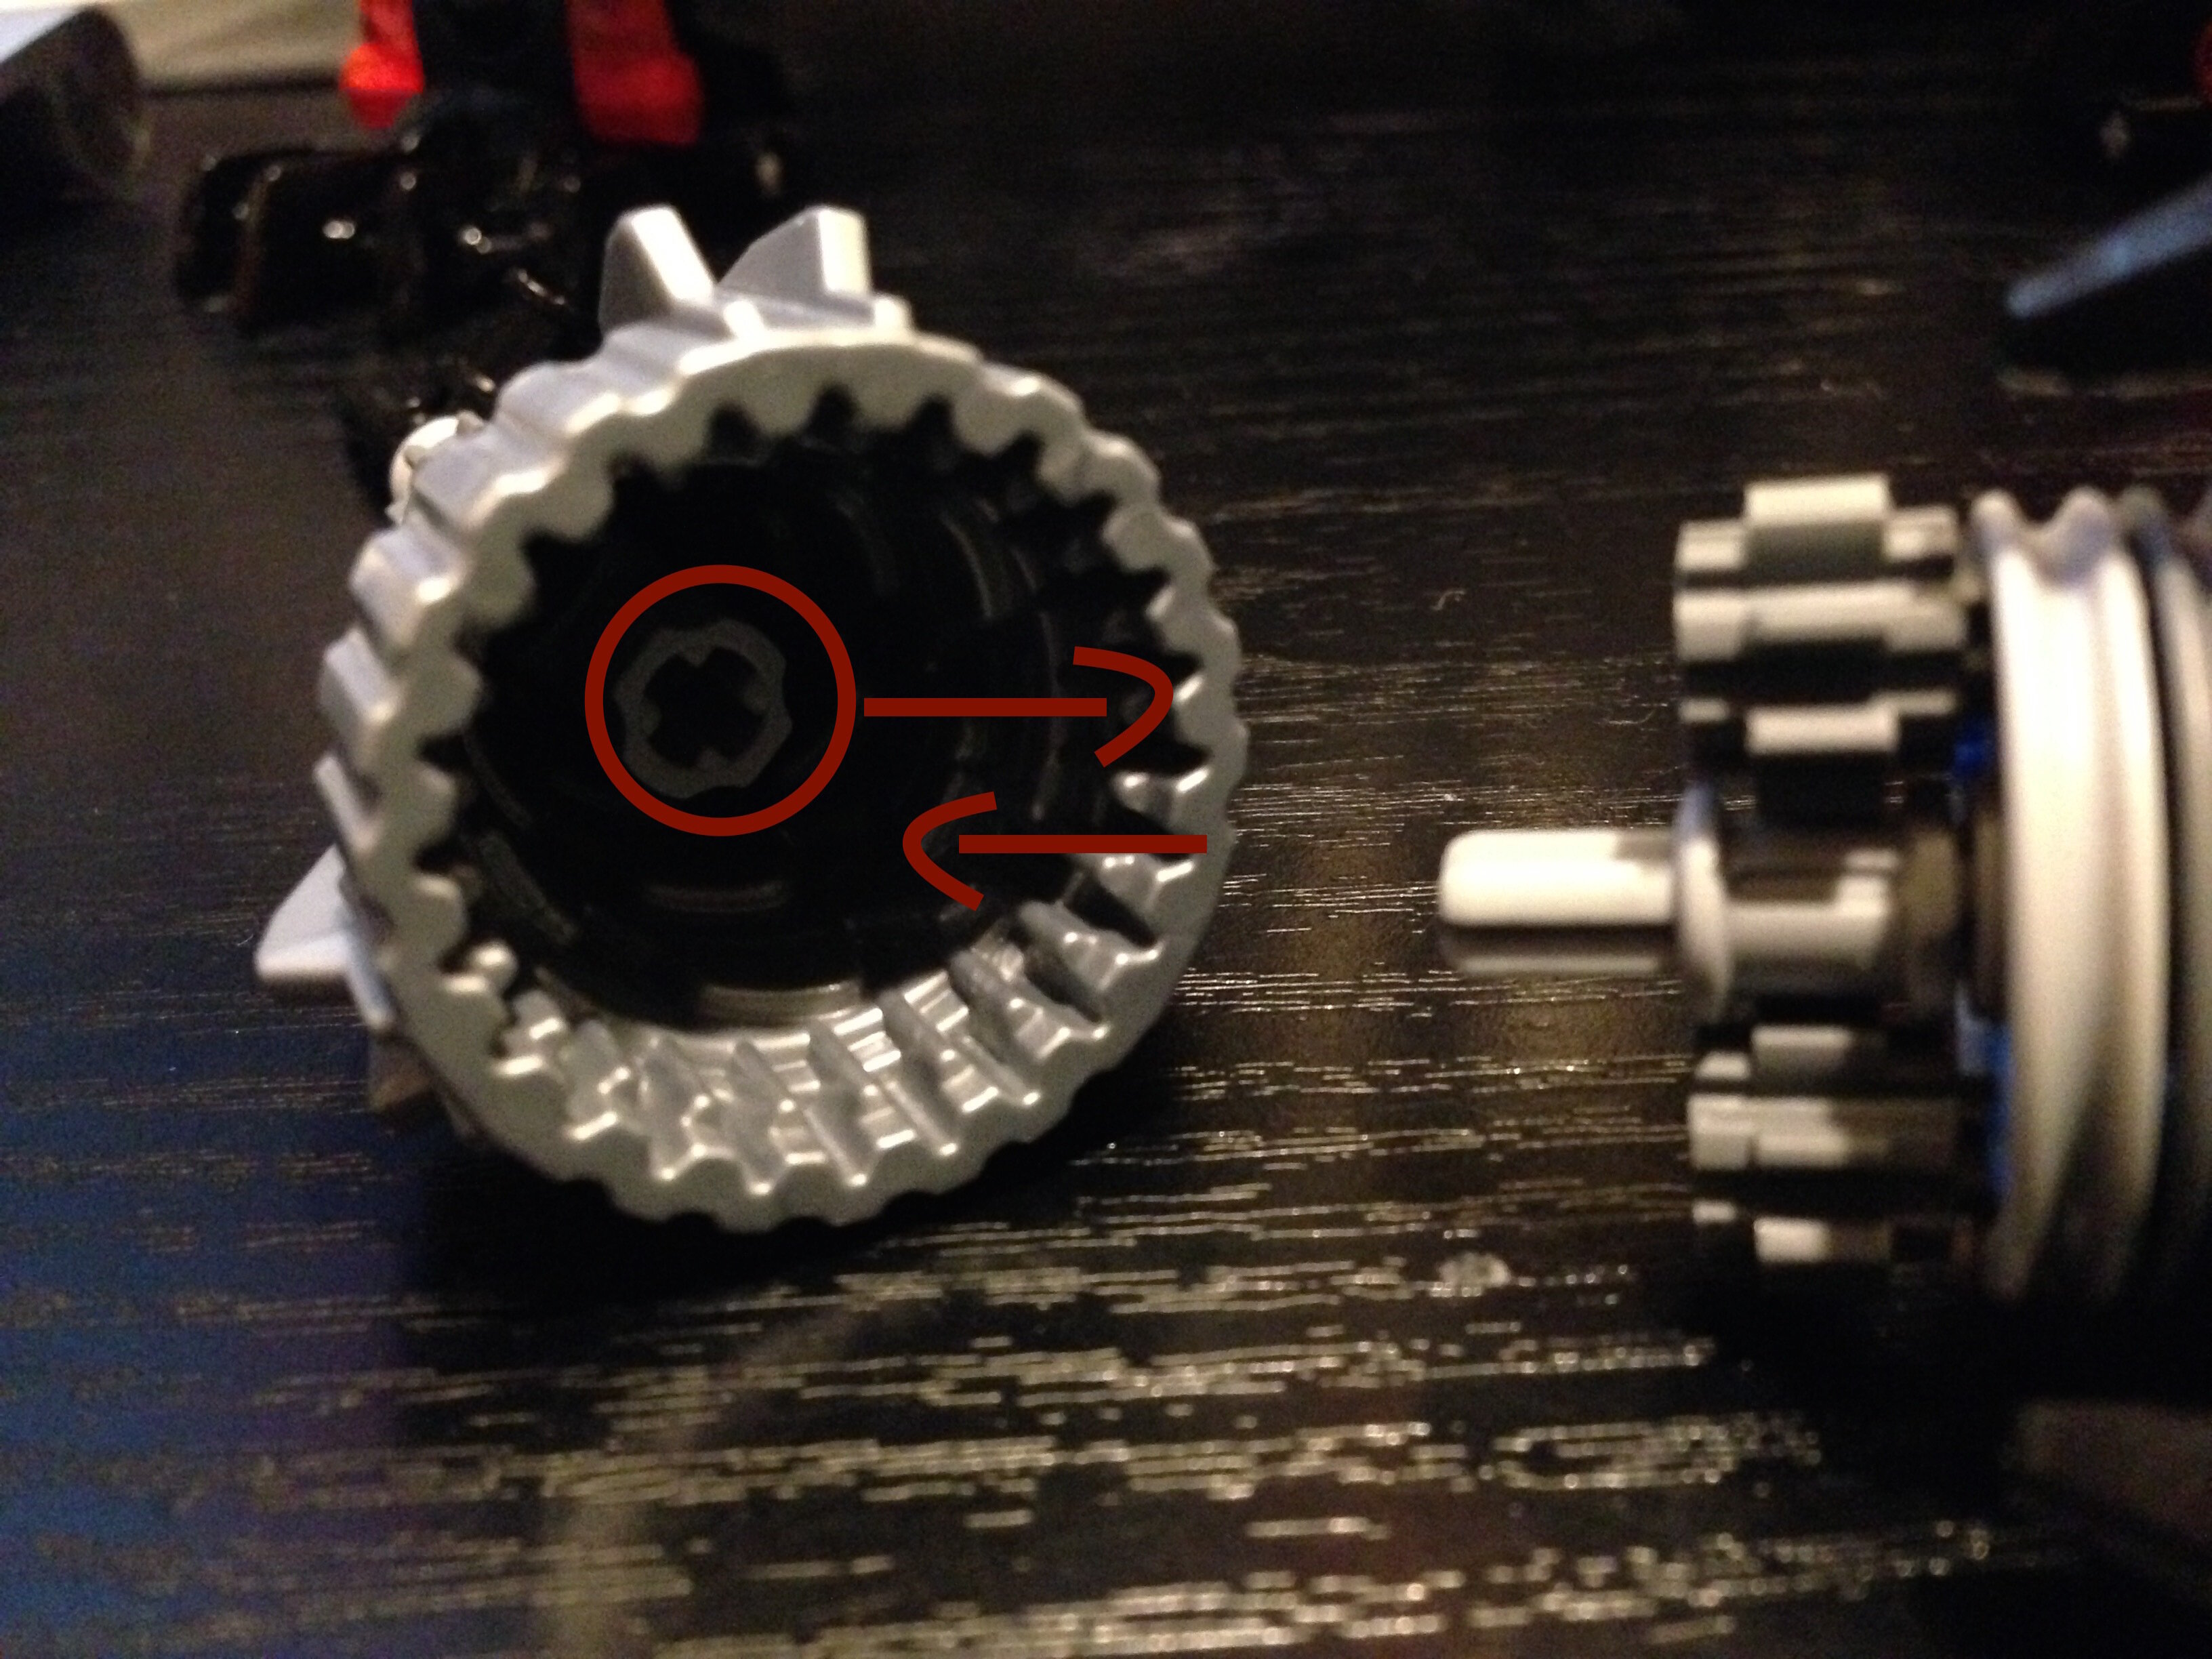
It gets fishy here so pay close attention. You attach the upper part of the staff to the skull grinder shoulder with the three gears. The grey axle MUST go threw the middle gear and end there. If it’s too long this does not work it has to attach to the middle gear and end there.
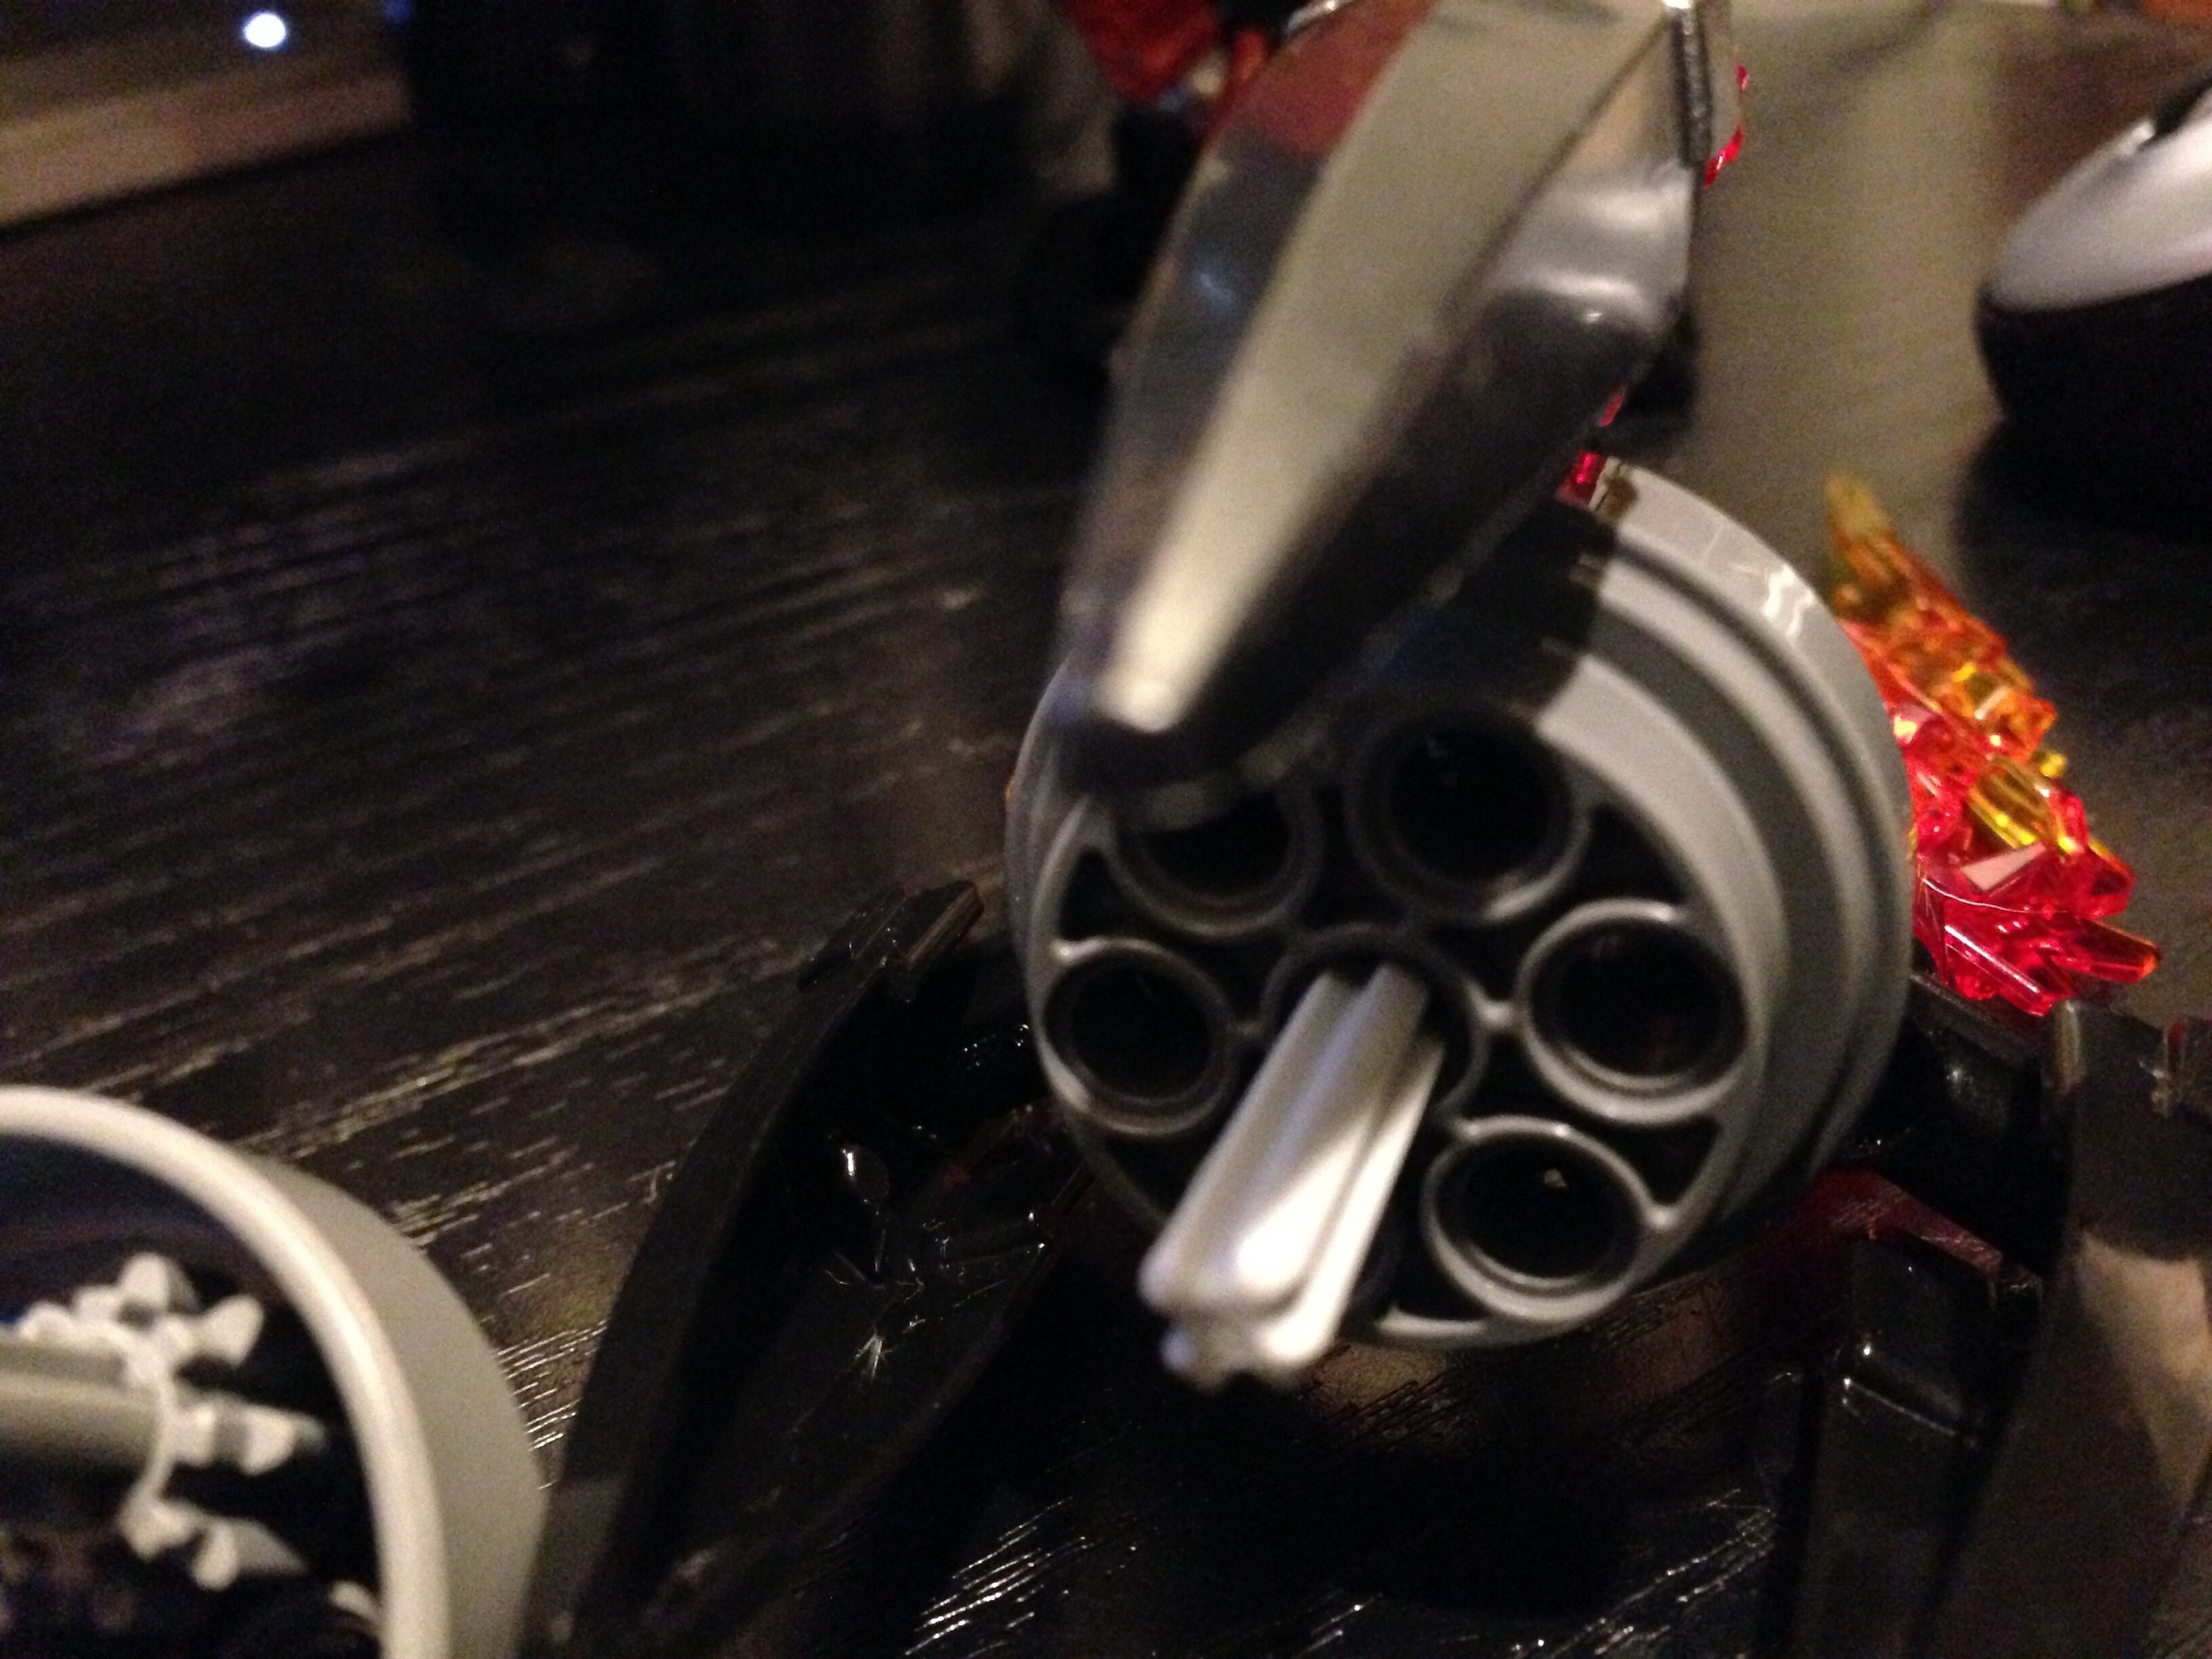
You than attach the first two parts together. It is critical that both grey axles are placed exactly here. Neither can be too long or too short.
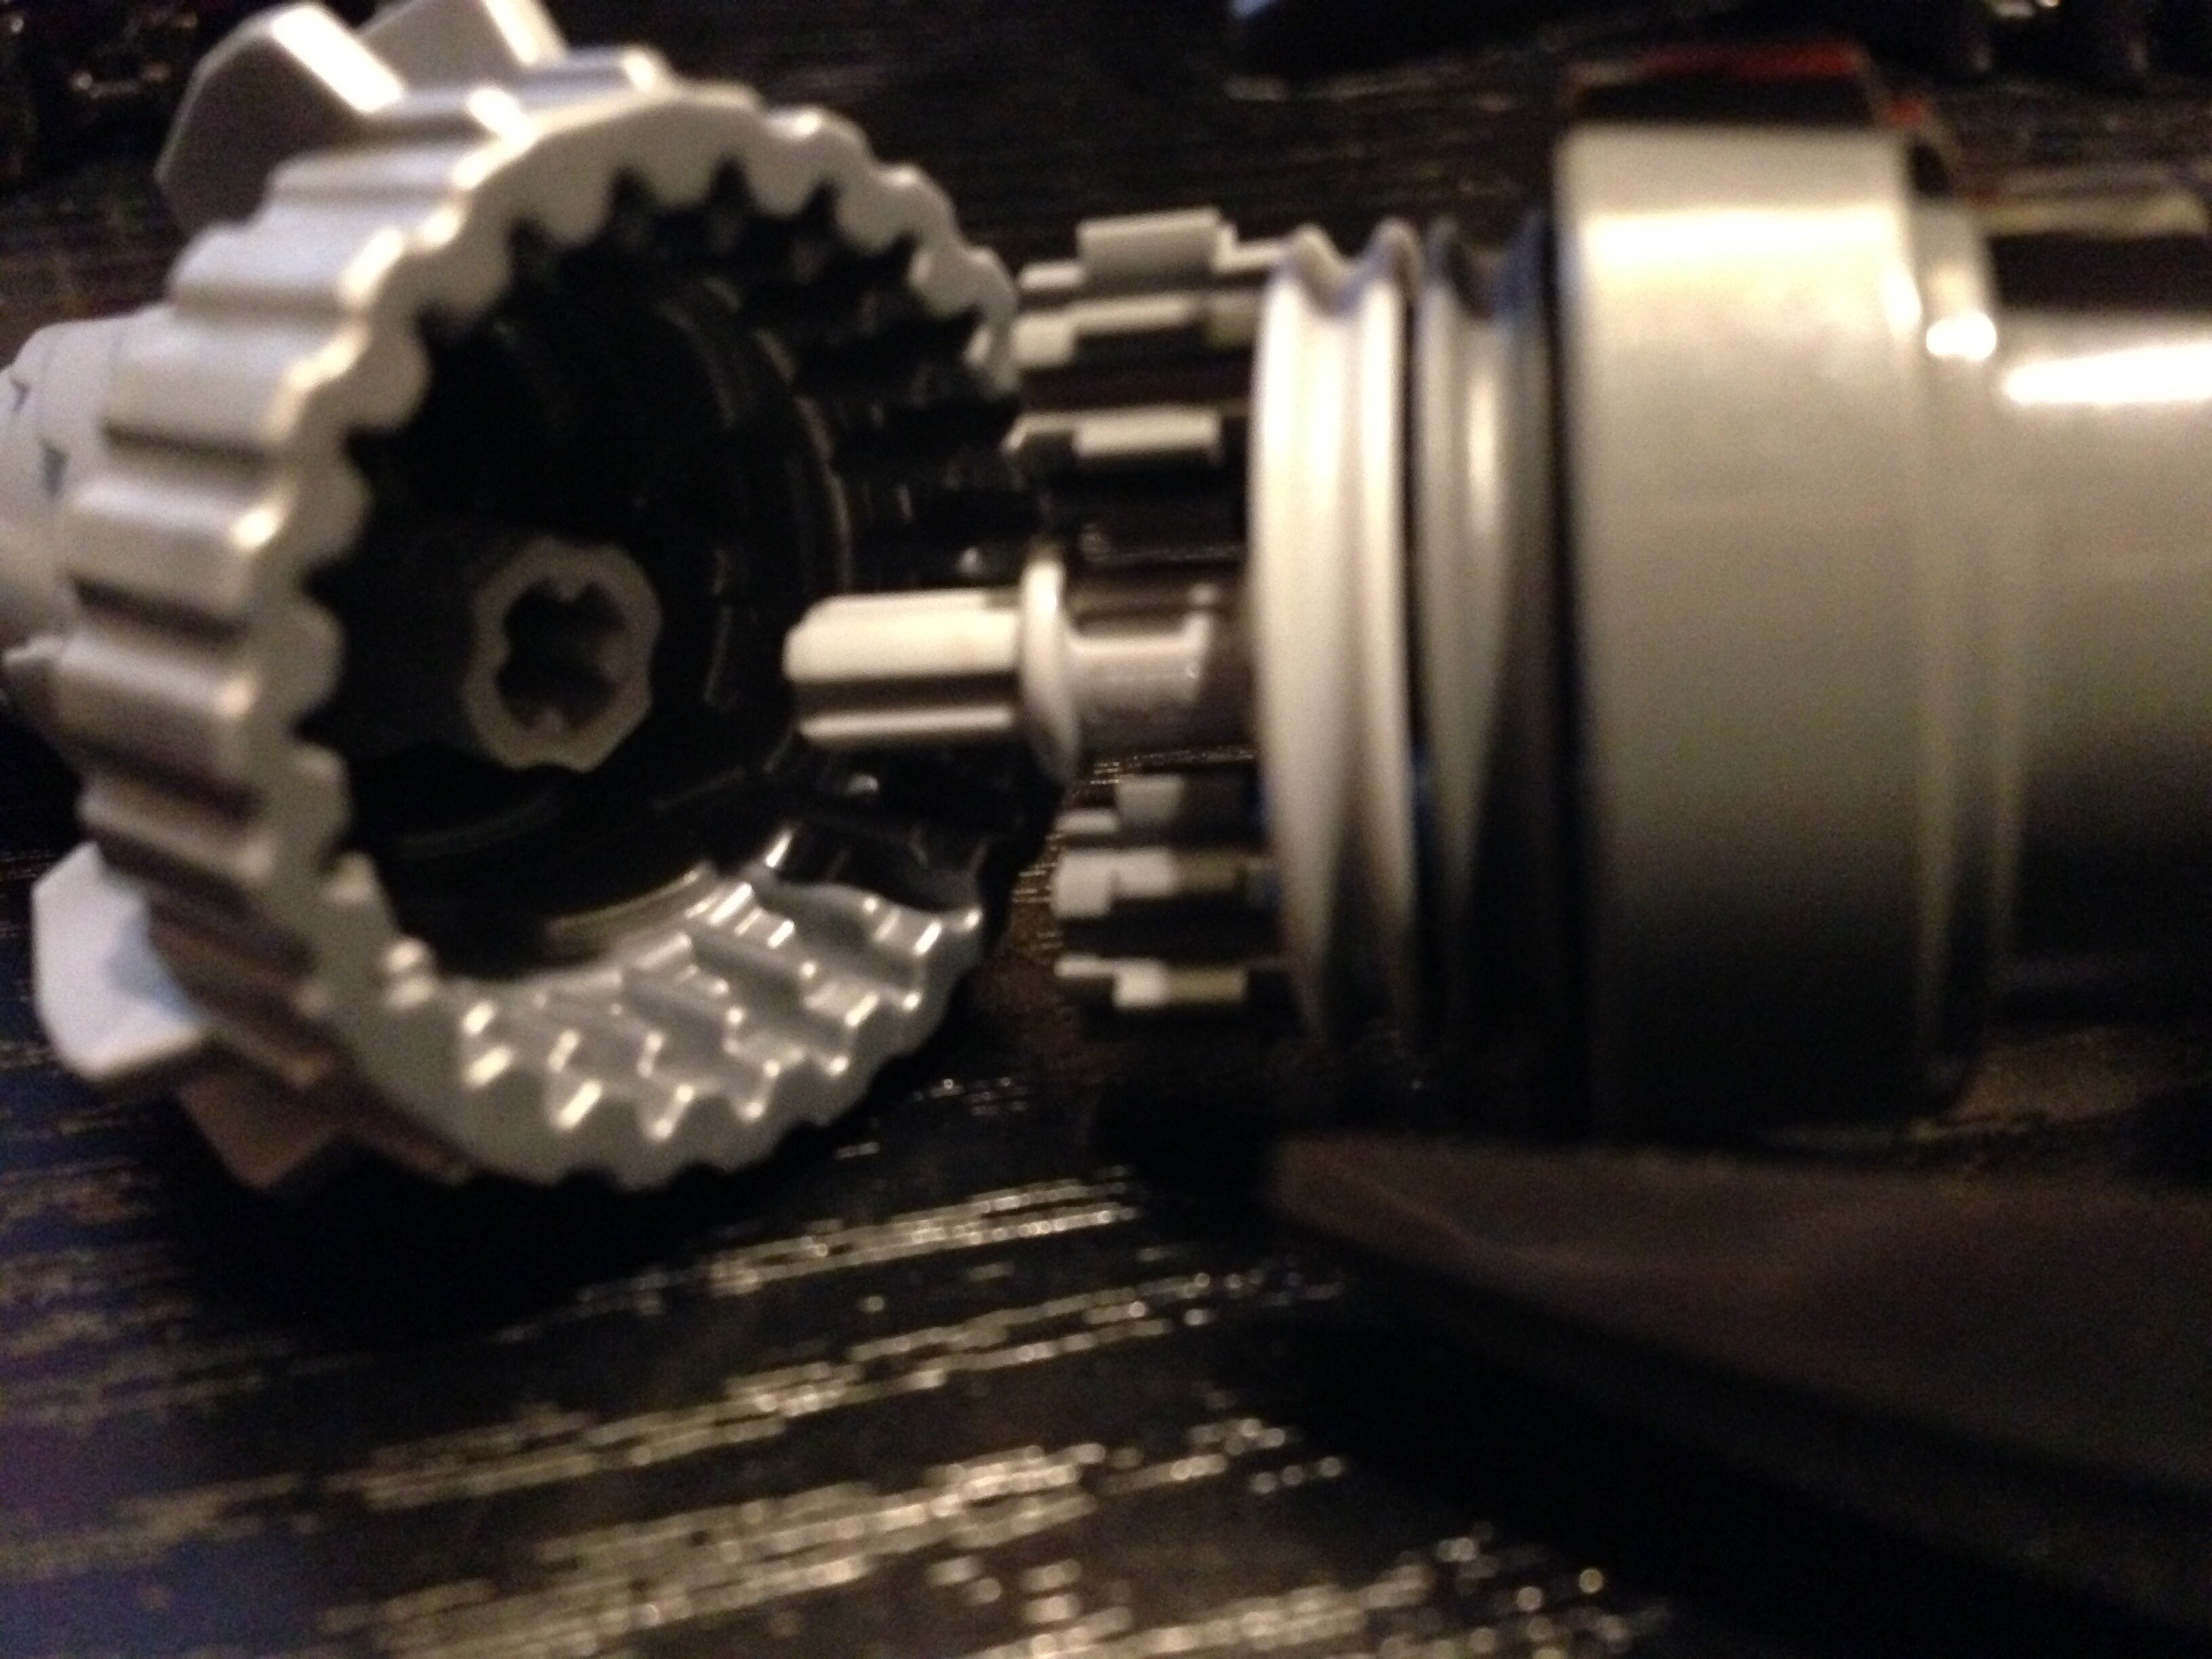
This image is NOT a good example but it gives you a rough Idea. The mistake is there should be more lee-way at the from of the axle. Meaning you have to slide the gear and technic parts down the grey axle a little bit.
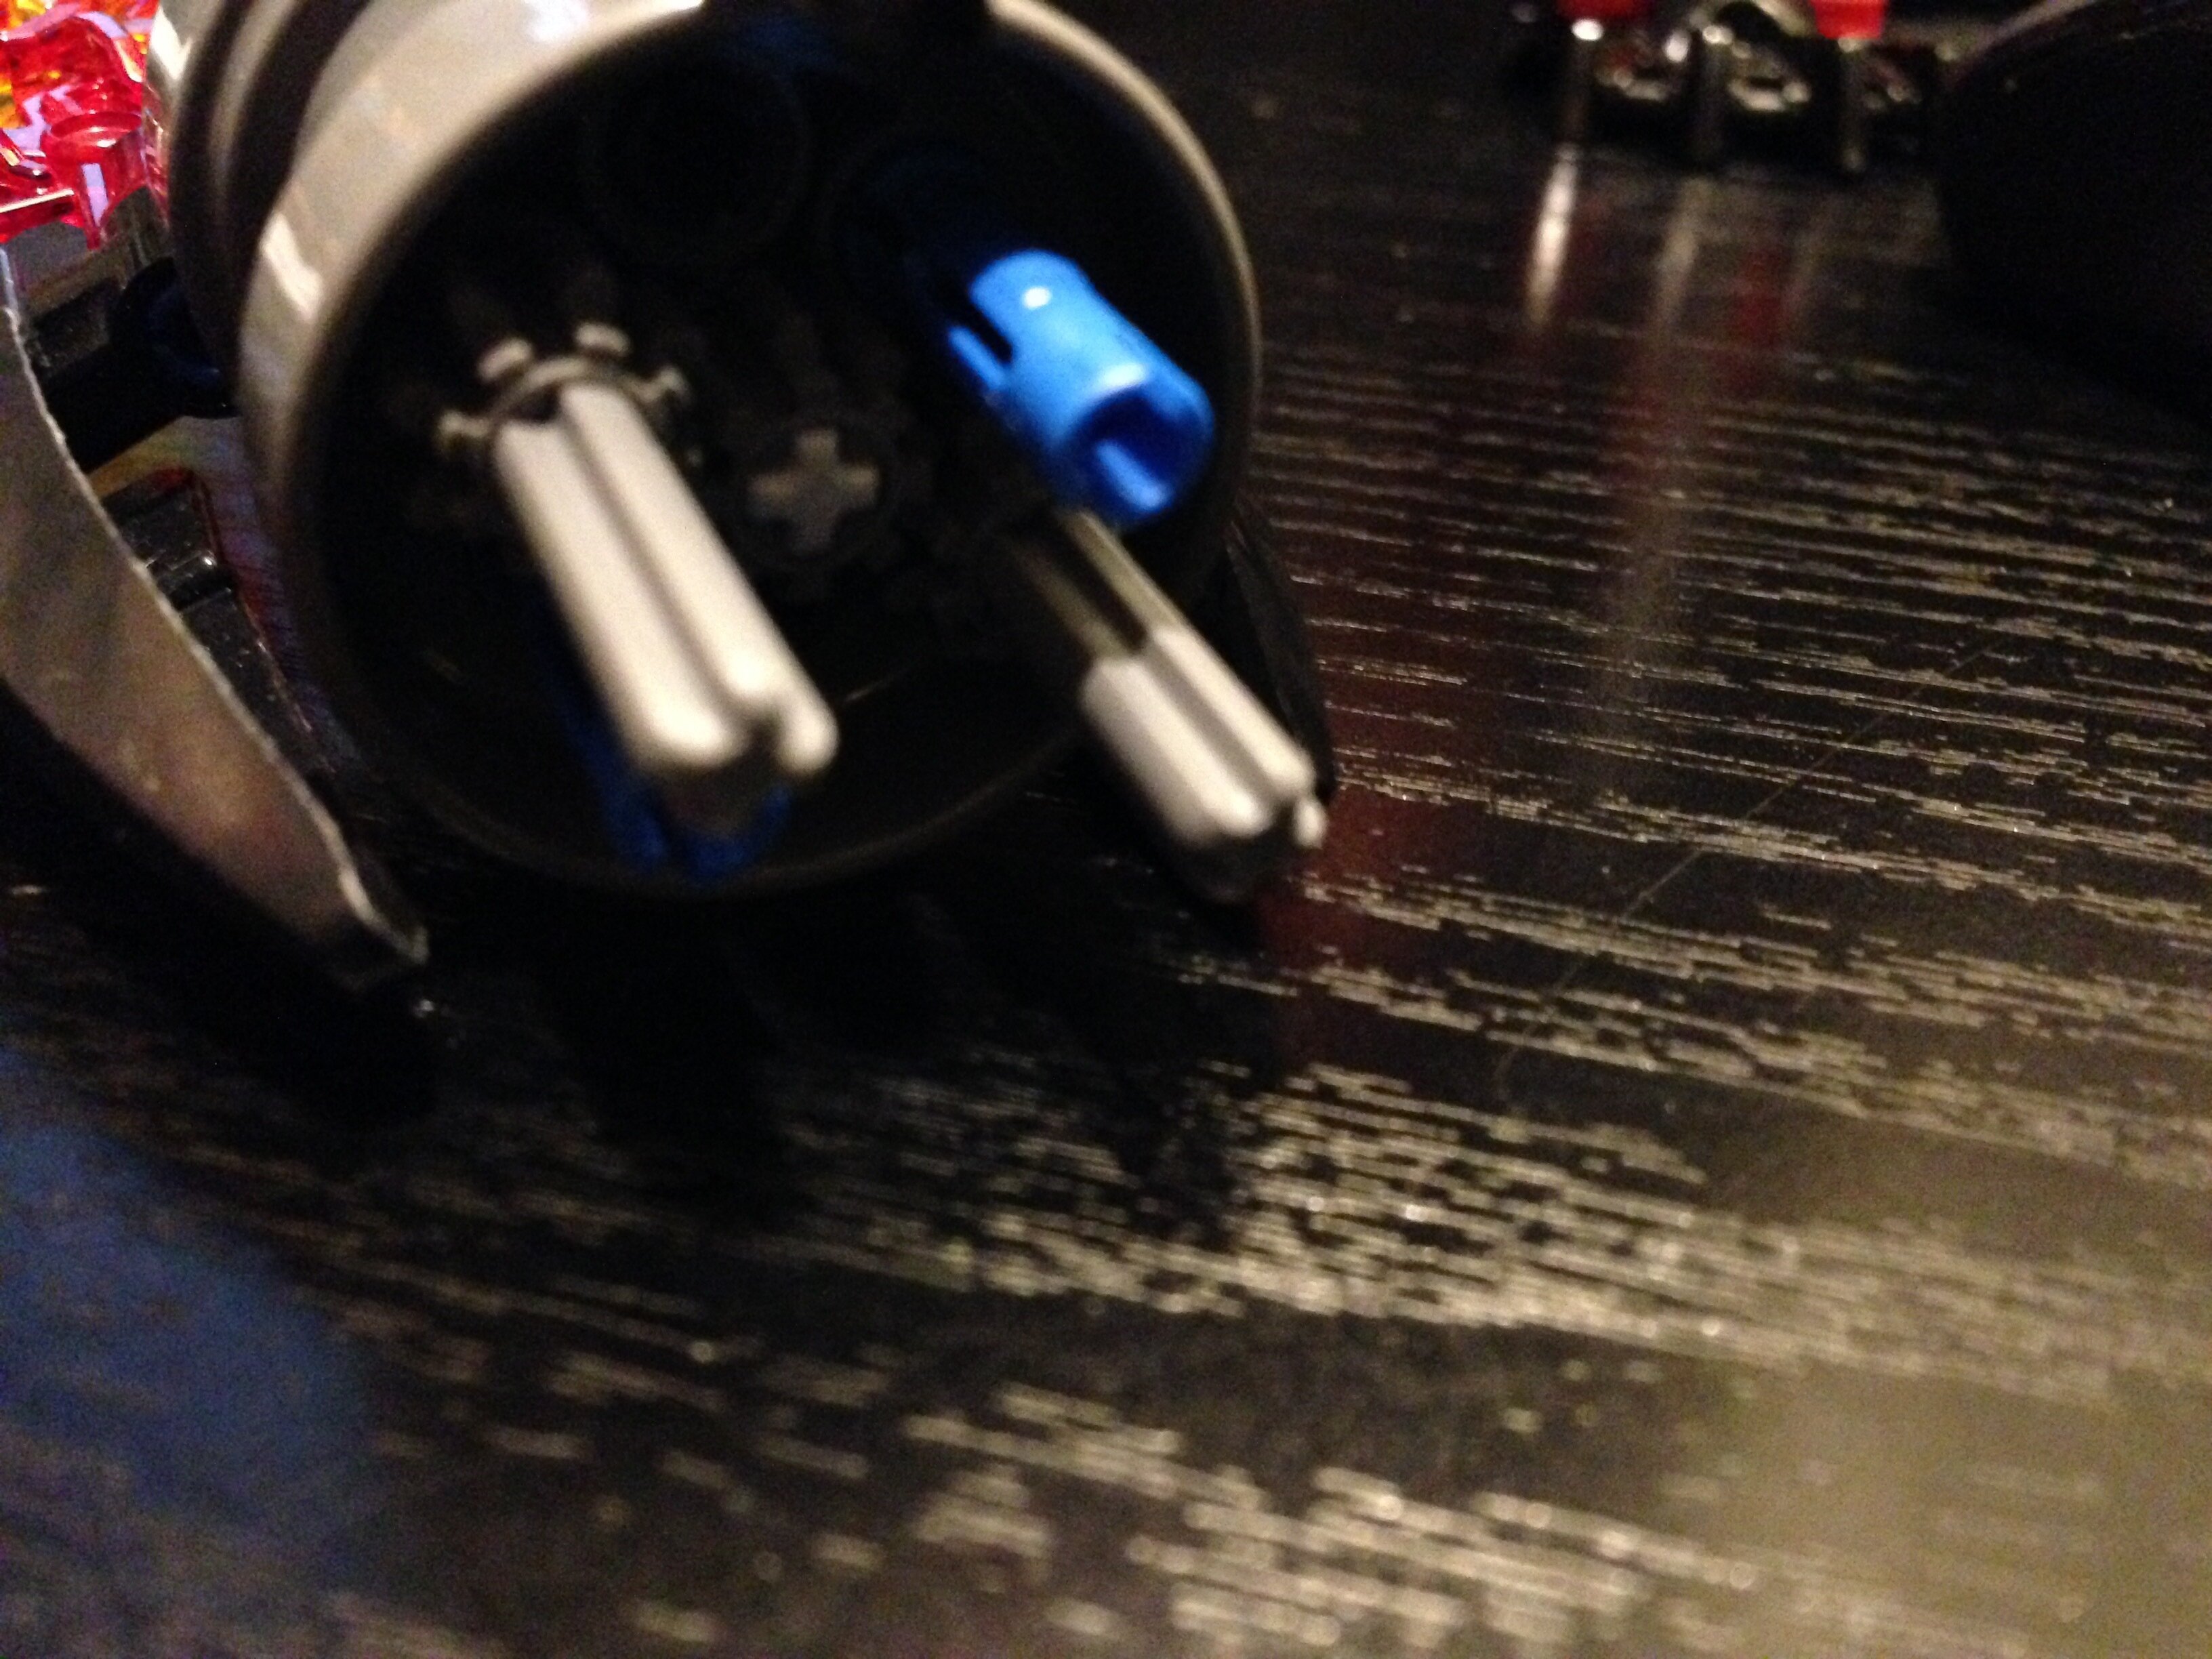
The lee-way is represented here. there needs to be room for the axle to slide up and down.
It’s hard to tell but you should be able to move the technic piece up and down freely.
Push the axle forward and attach both pieces together. It might be a little ruff to connect them do to the gears but it should connect fairly easily.
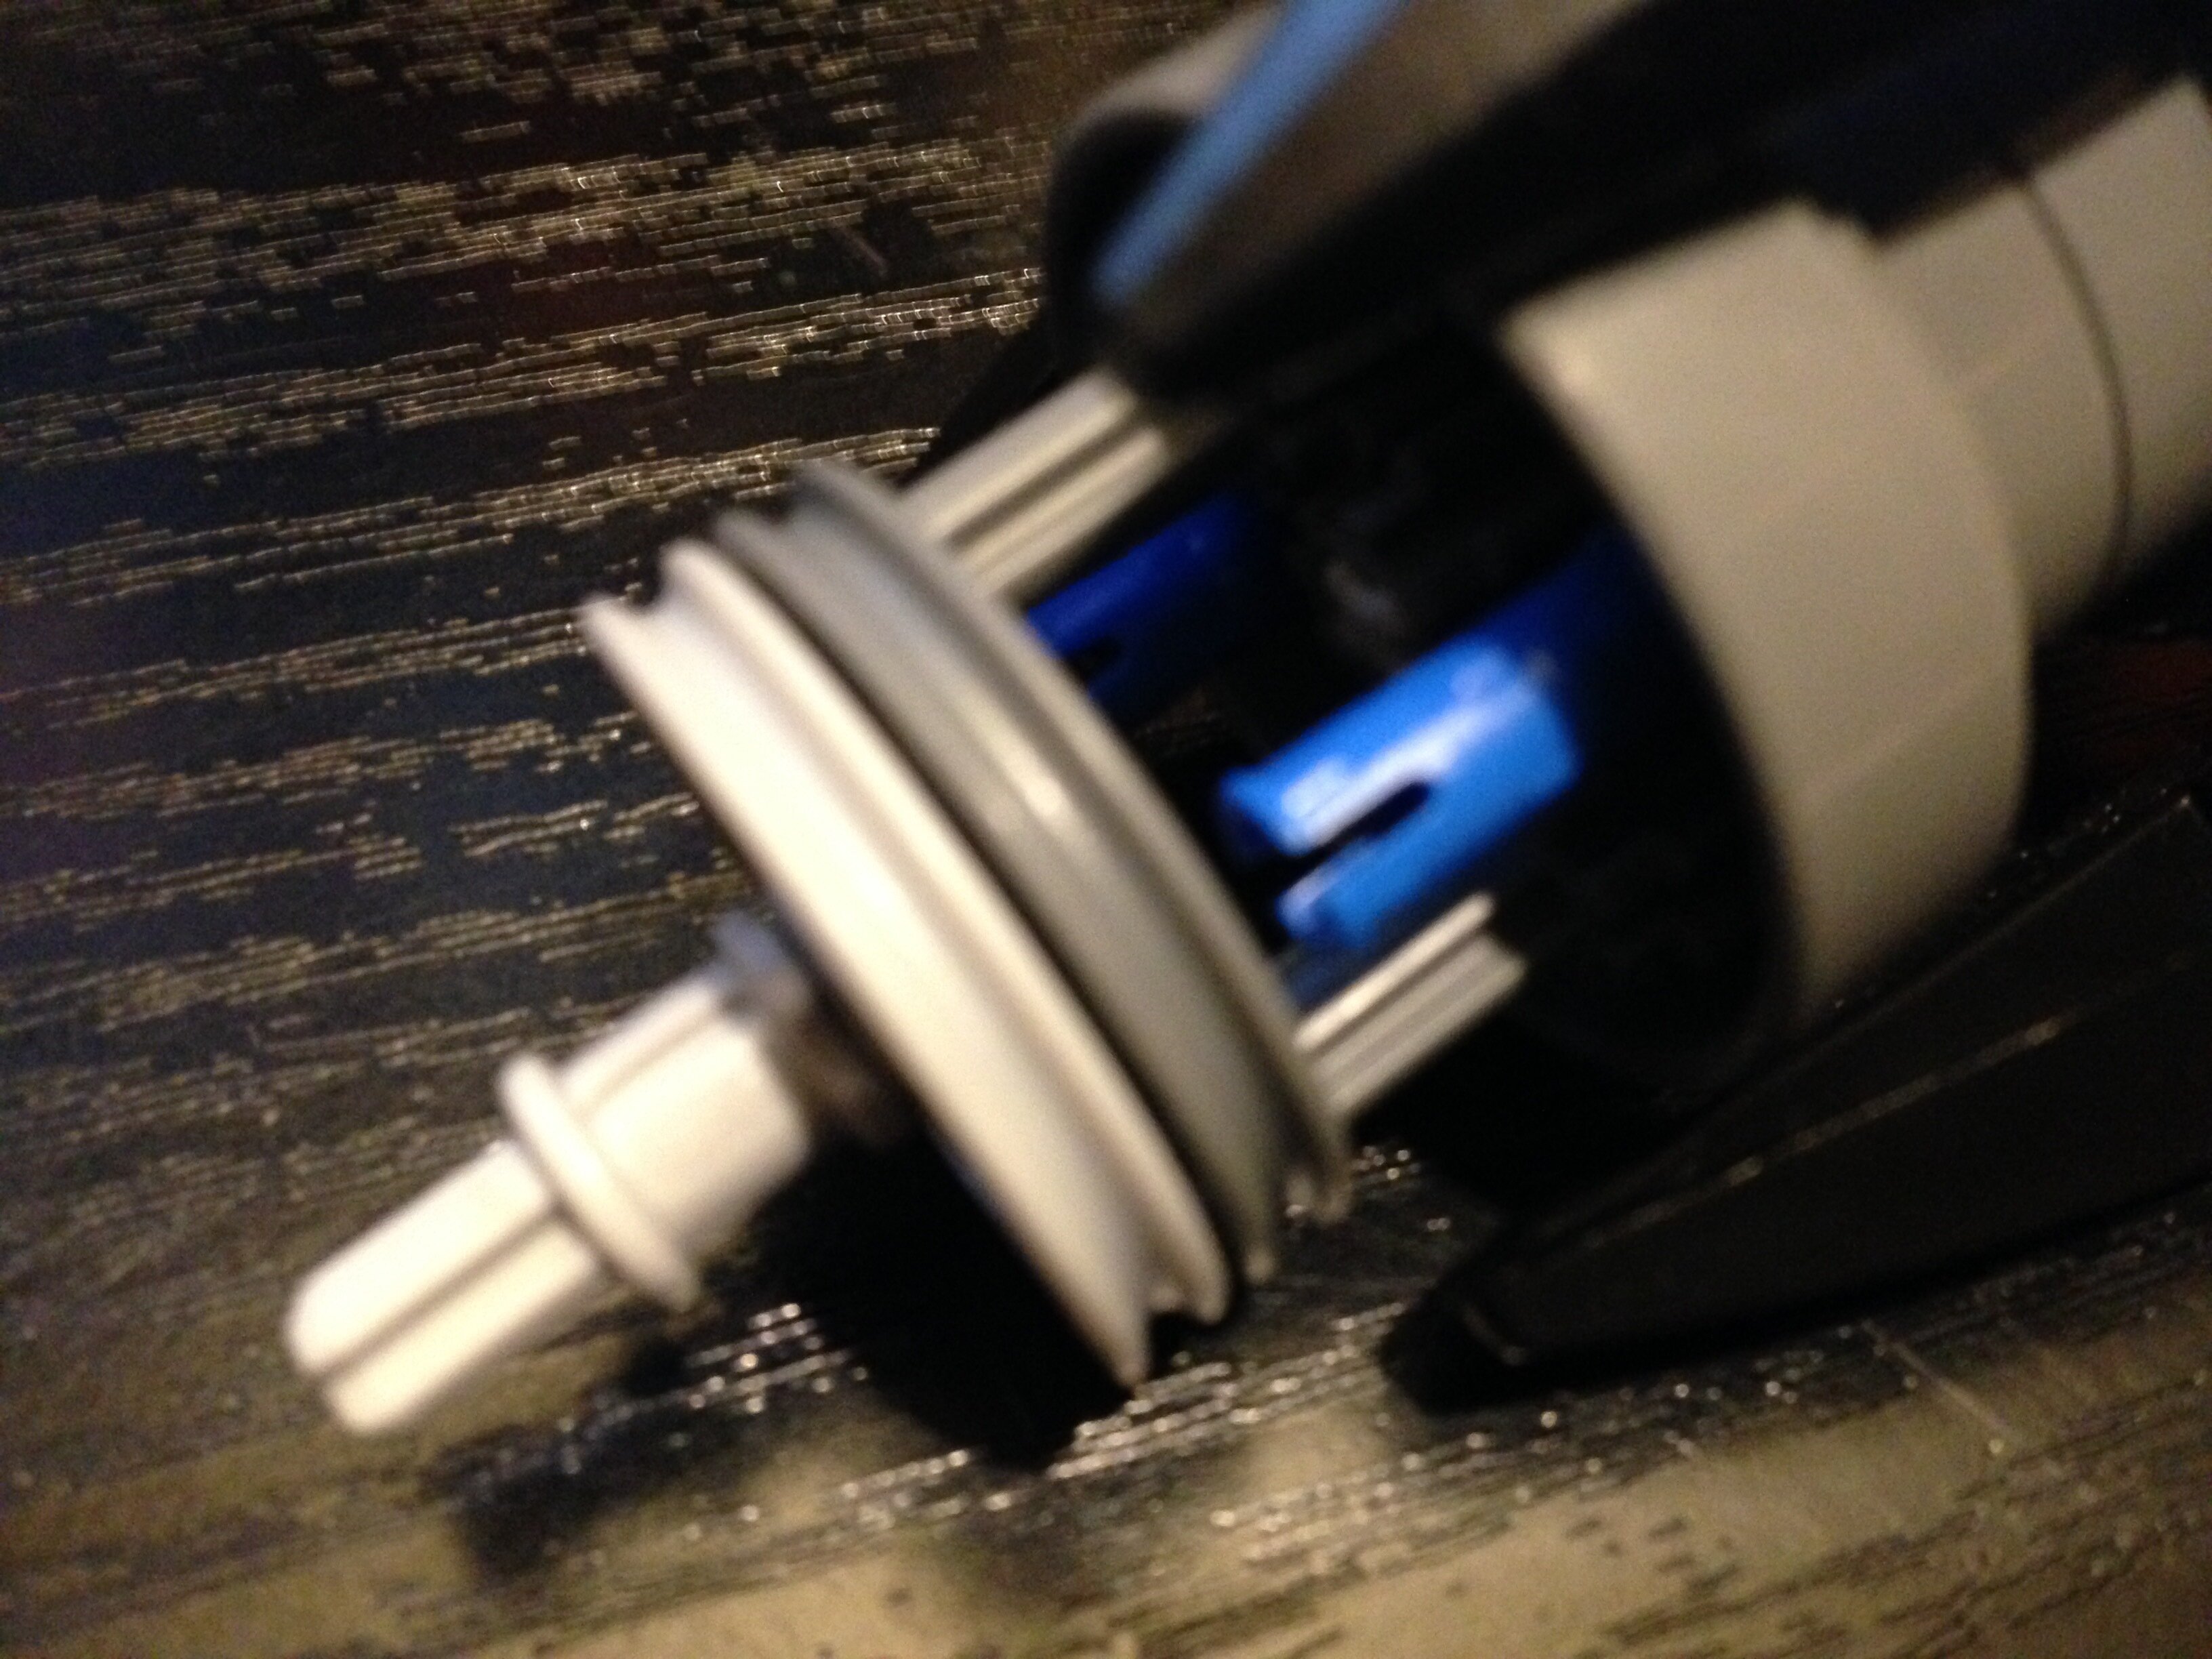
Ok that’s it! The gear function should work, simply twist the drill and the top should twist in the opposite direction. But here is a look at the lower part of the staff for you all.
8 Likes
Can we assemble a list of parts people have used in there models
2 Likes
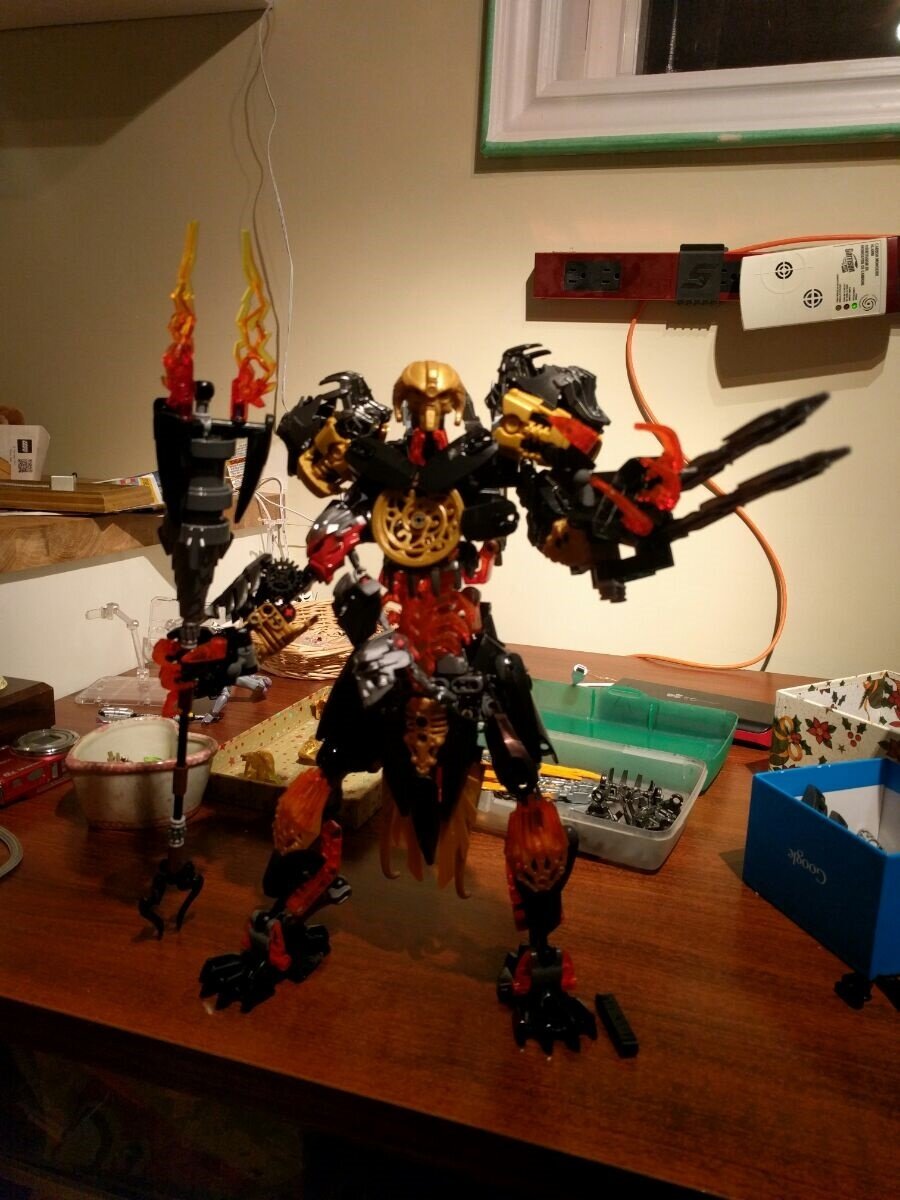
Finally finished. I’m 99.8% sure it’s exact but I’m not sure about the color of one piece. However other than the mask which I’m ordering and the chain which I just don’t care for I think it’s correct. Did other people need one extra black ball piece that wasn’t in the sets or am I crazy?
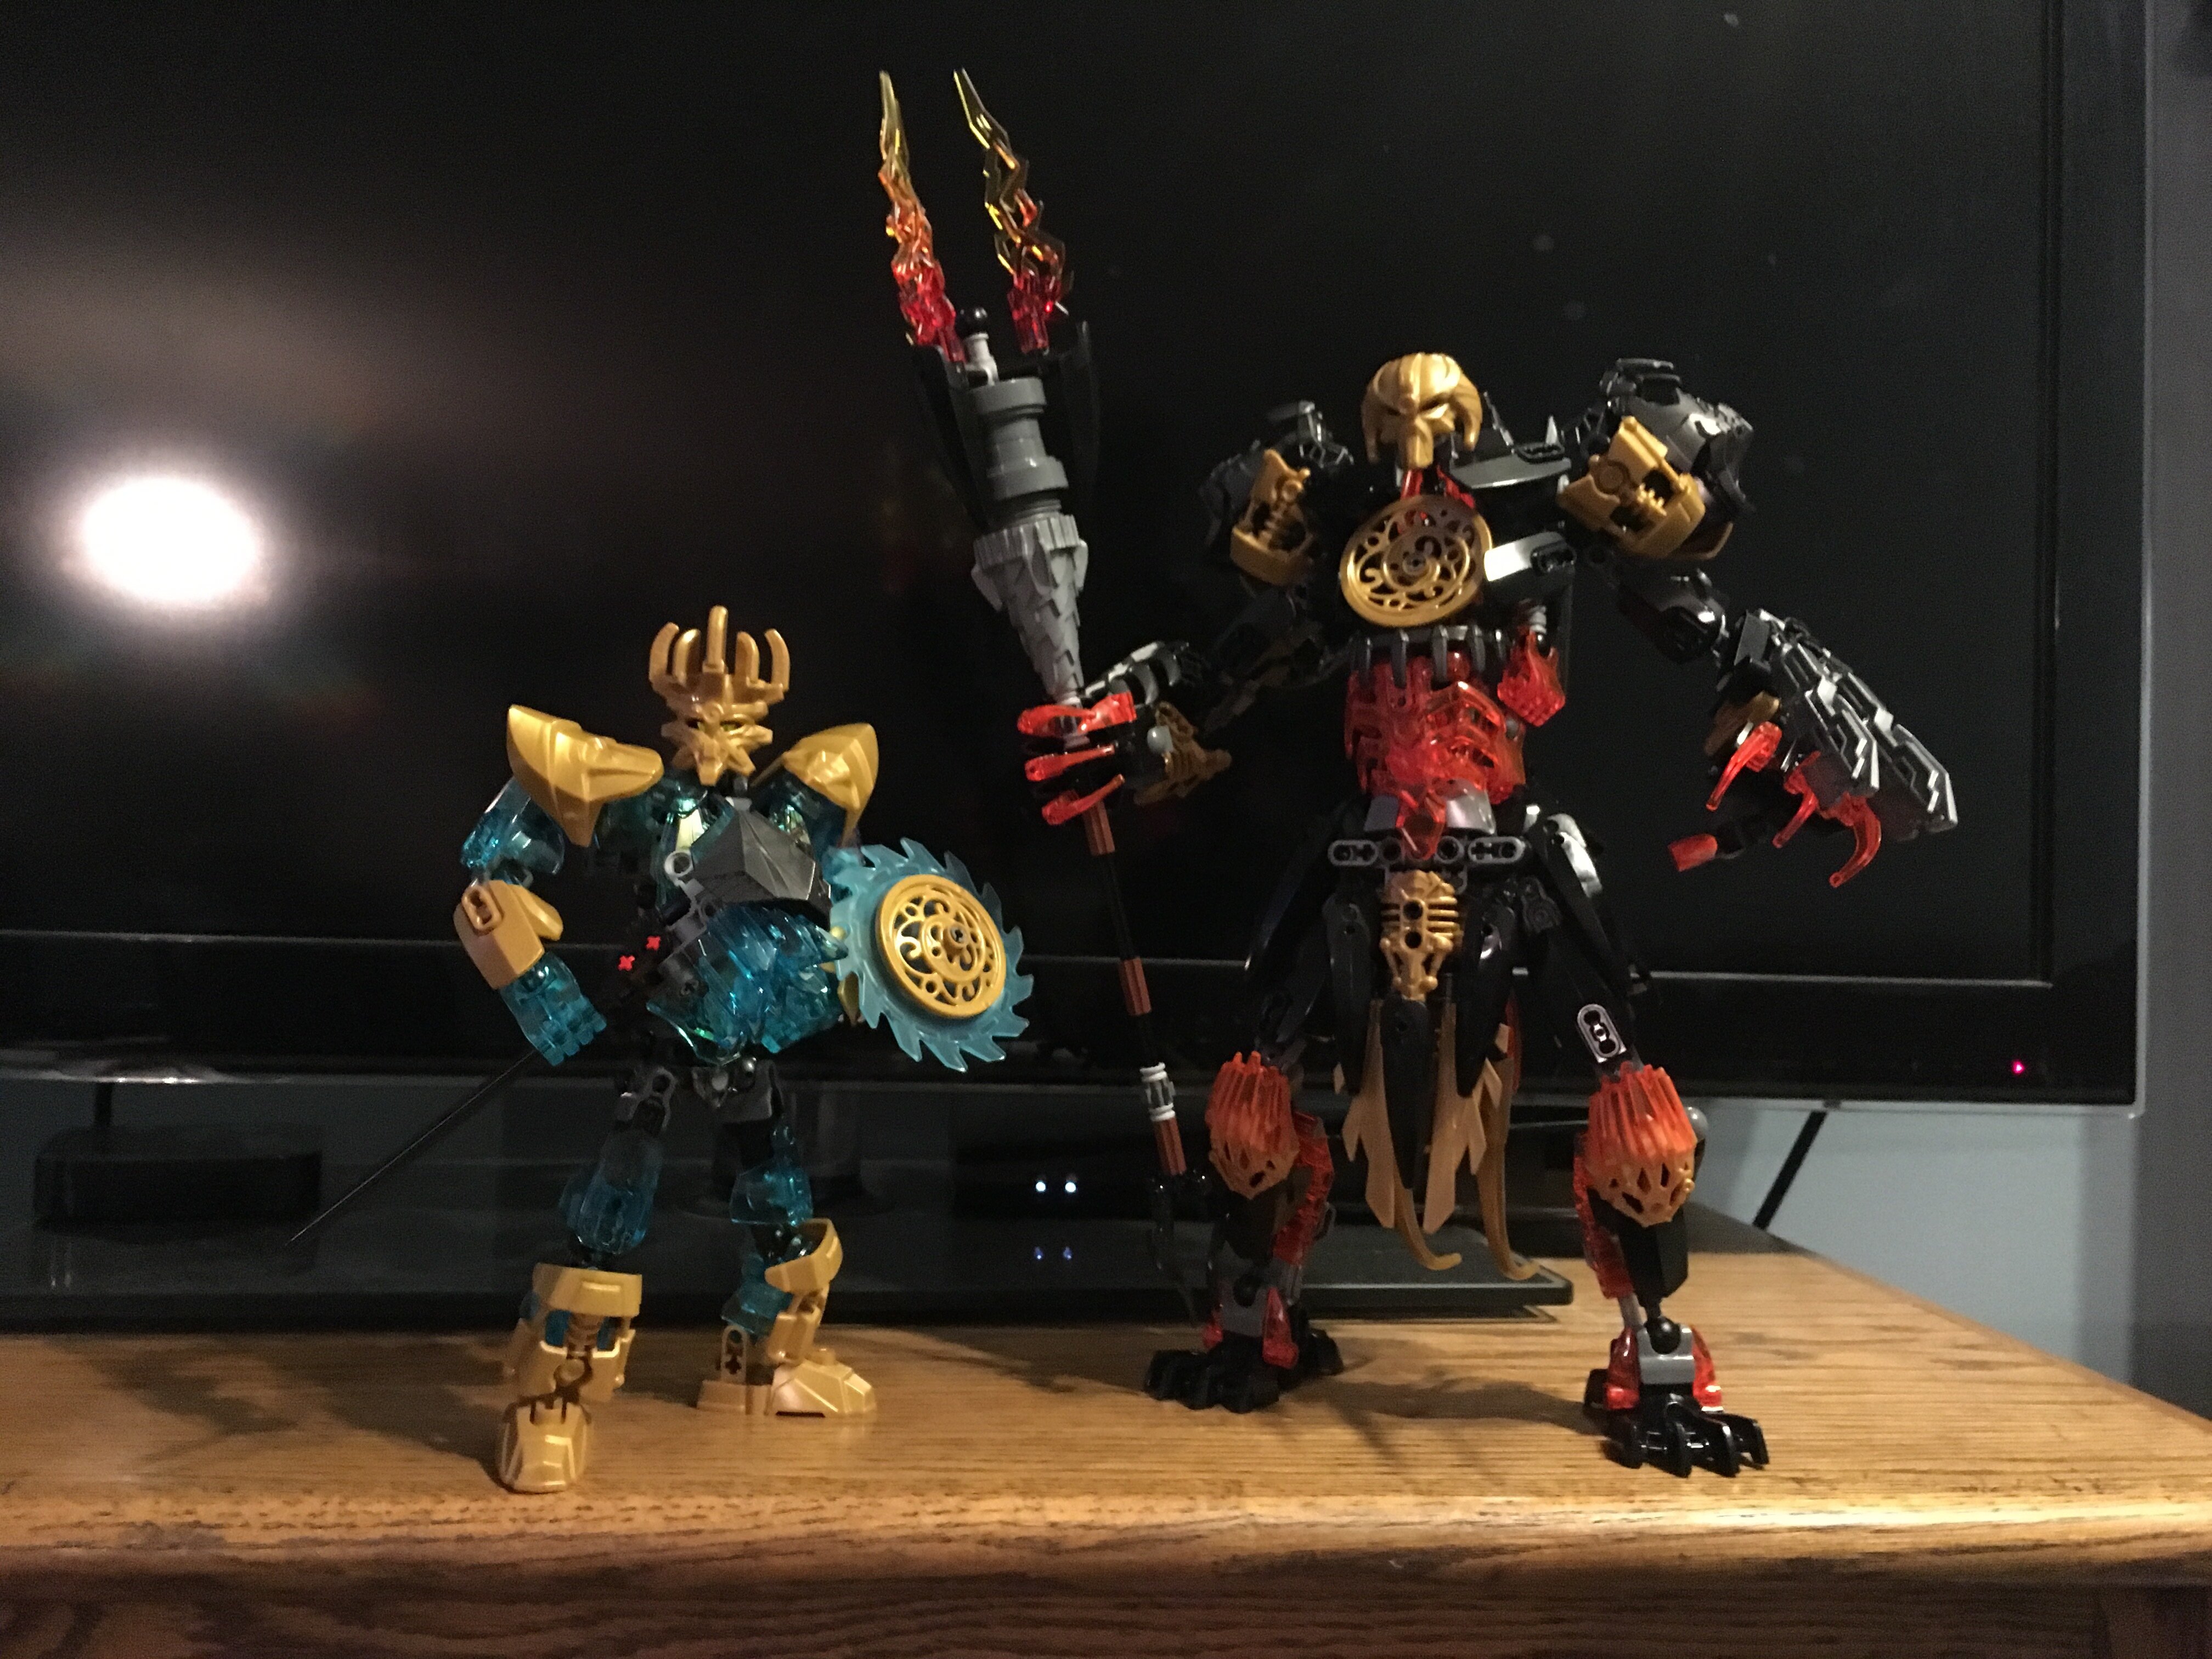
If I’m honest, I’m kind of glad we didn’t get a makuta set because this is better than any they’d give us in a box.
@Cyber-Hand do you know which black would be most similar to Lego Black?
7 Likes
Which black ball piece was it so I can see if I have it? Thanks!
Now that we’ve got the right design, someone should make step by step instructions.
1 Like
Oof, that’s gonna be hard. I assume they’d also handle the parts list. But they GOTTA have the Mask be put on last as G2 tradition.
It would be cool if after all that, someone made fan box art for the set.
1 Like
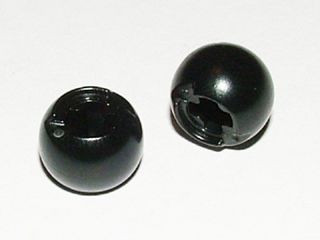
It’s just the regular black balljoint ball piece with an axle hole through it. When I made him I needed one more than was available in the 7 sets.
2 Likes
I’m thinking of sticking Lava Beast in the combiner to give him some toes and to also give him wings as well as that ball with the hole through it.
1 Like