I hope anyone who reads this finds this somewhat helpful. These are some basic steps to drawing a character with correct proportions, or at least the proportions you want the character to have. i’d also like to apologize in advance for the paper I did this on, it’s the back of an old spanish assignment, so you can kinda see spanish questions on the back, just ignore it.
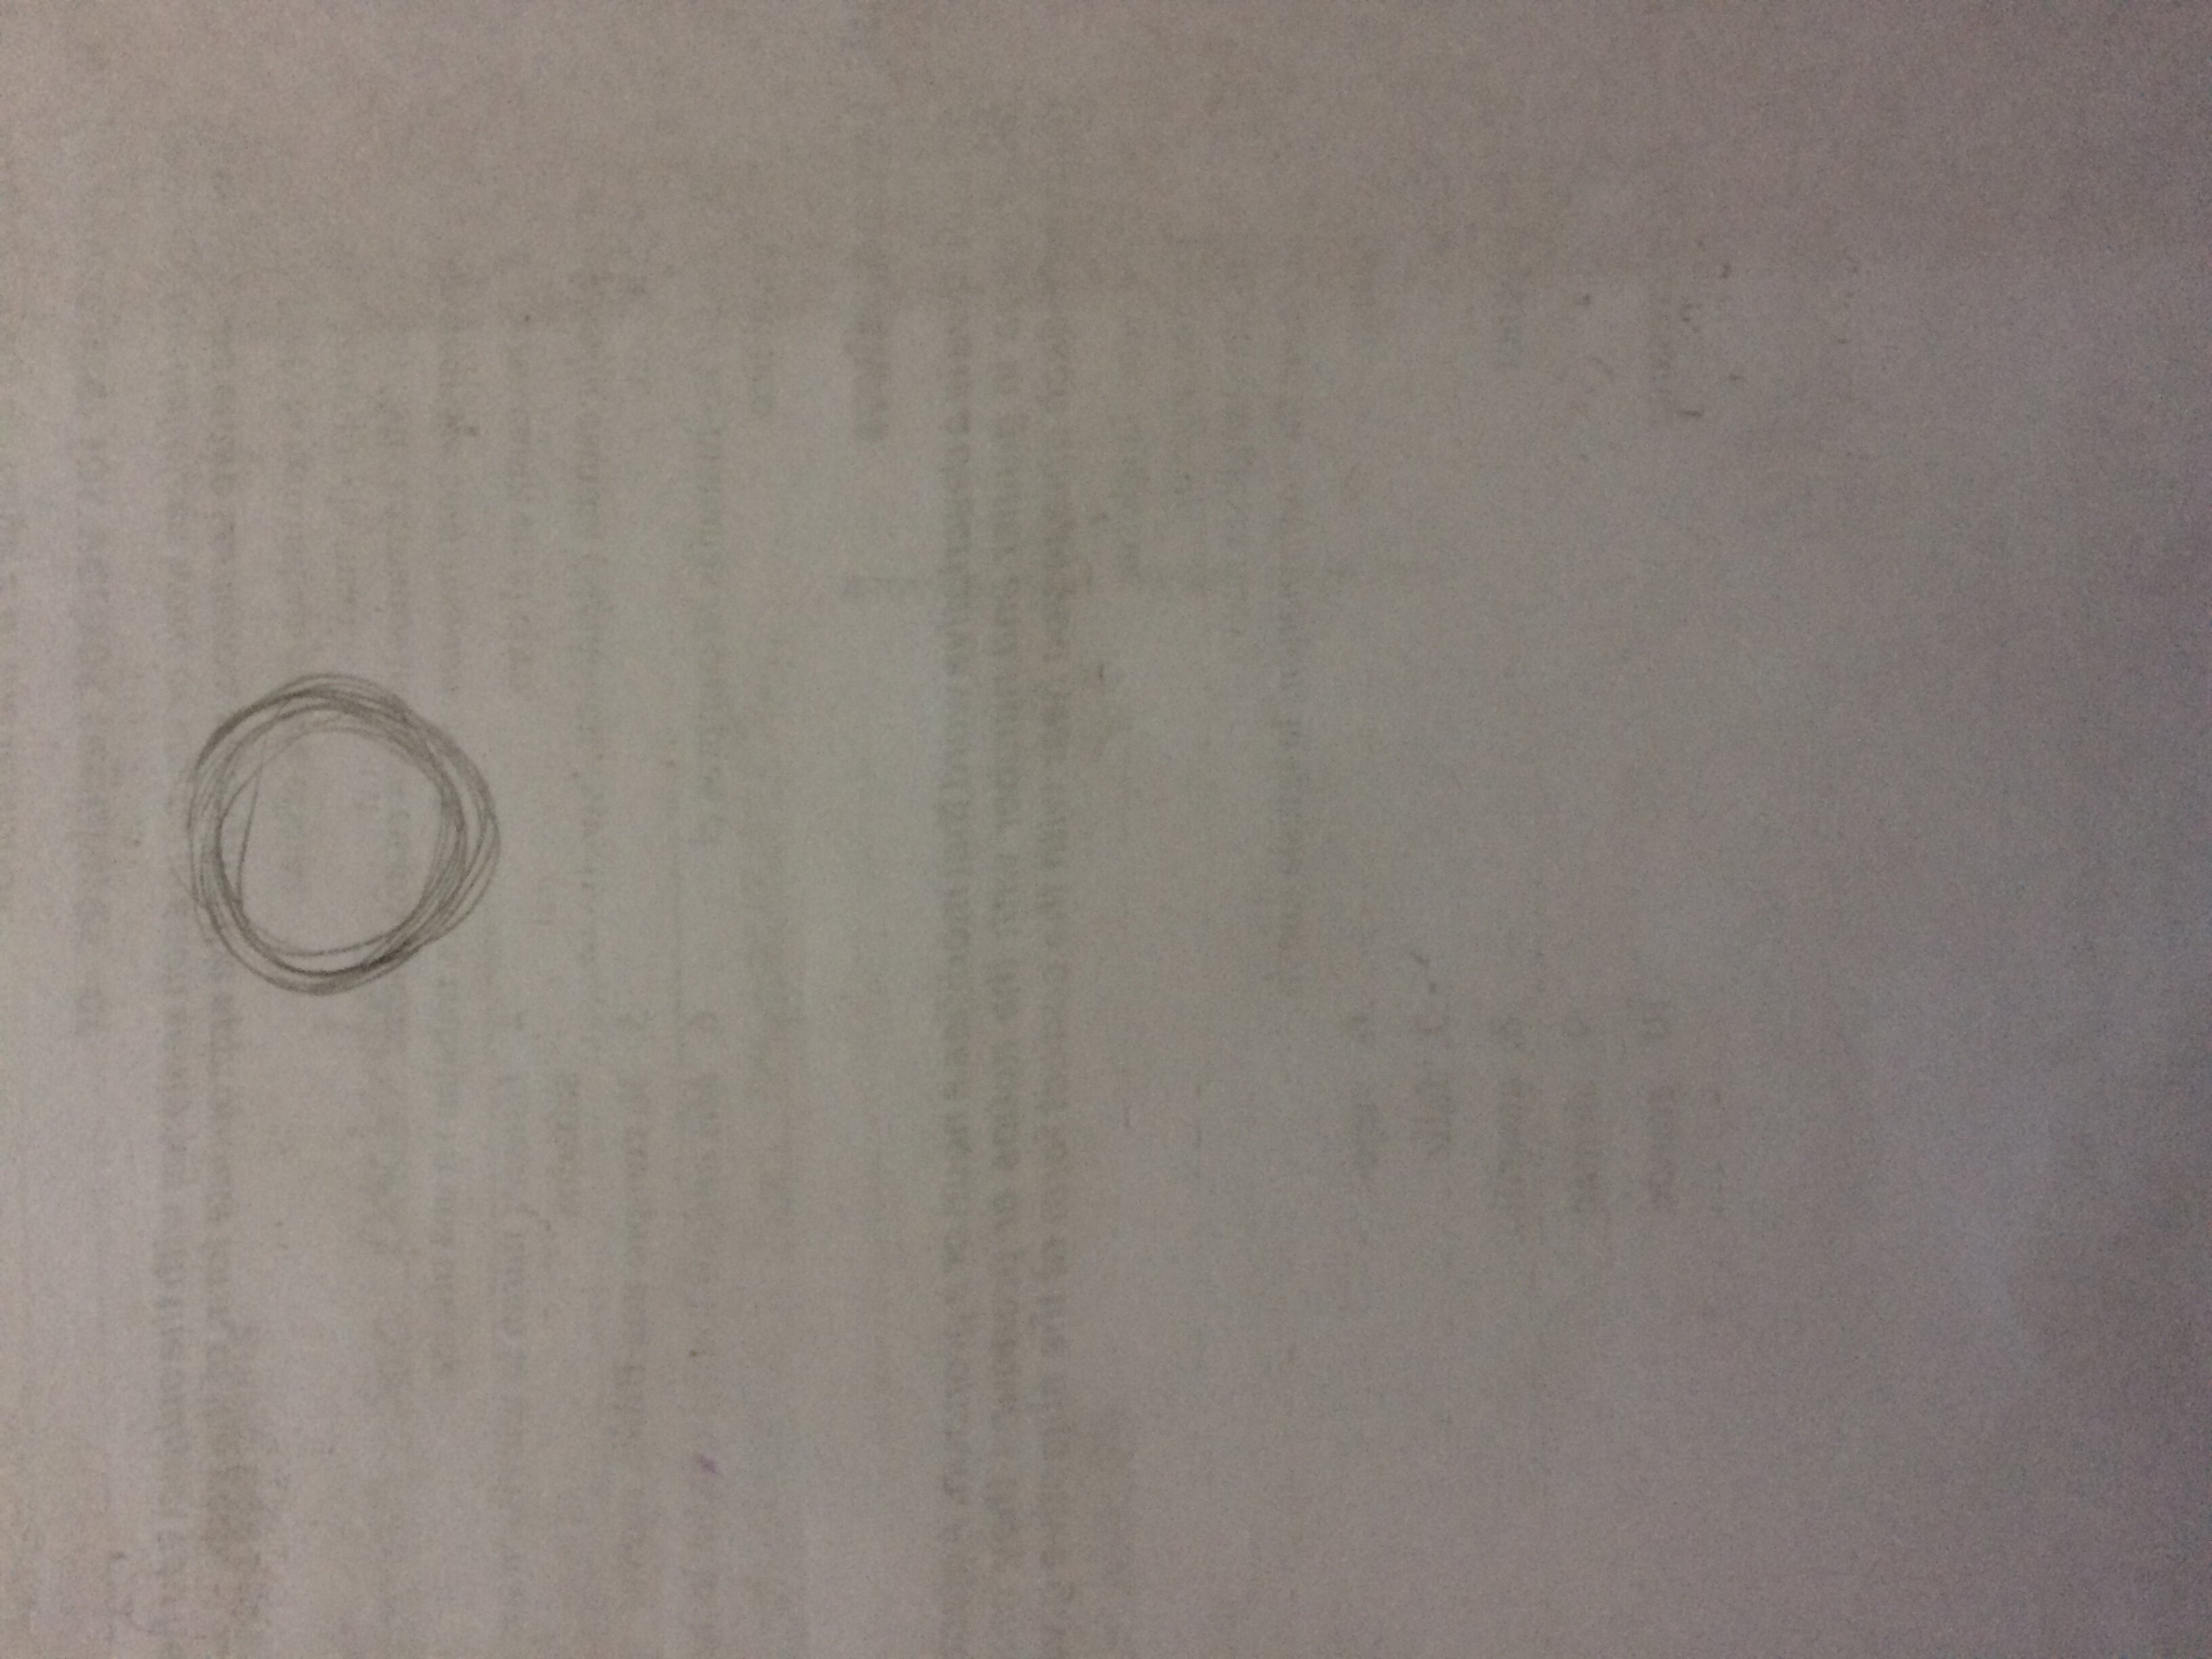
Normally, you want to start with the head. It contains the most expression and is perhaps the most important part of a character when drawing them, so generally you’ll center everything around it. Just draw a basic circle for now, don’t worry about posing it just yet.
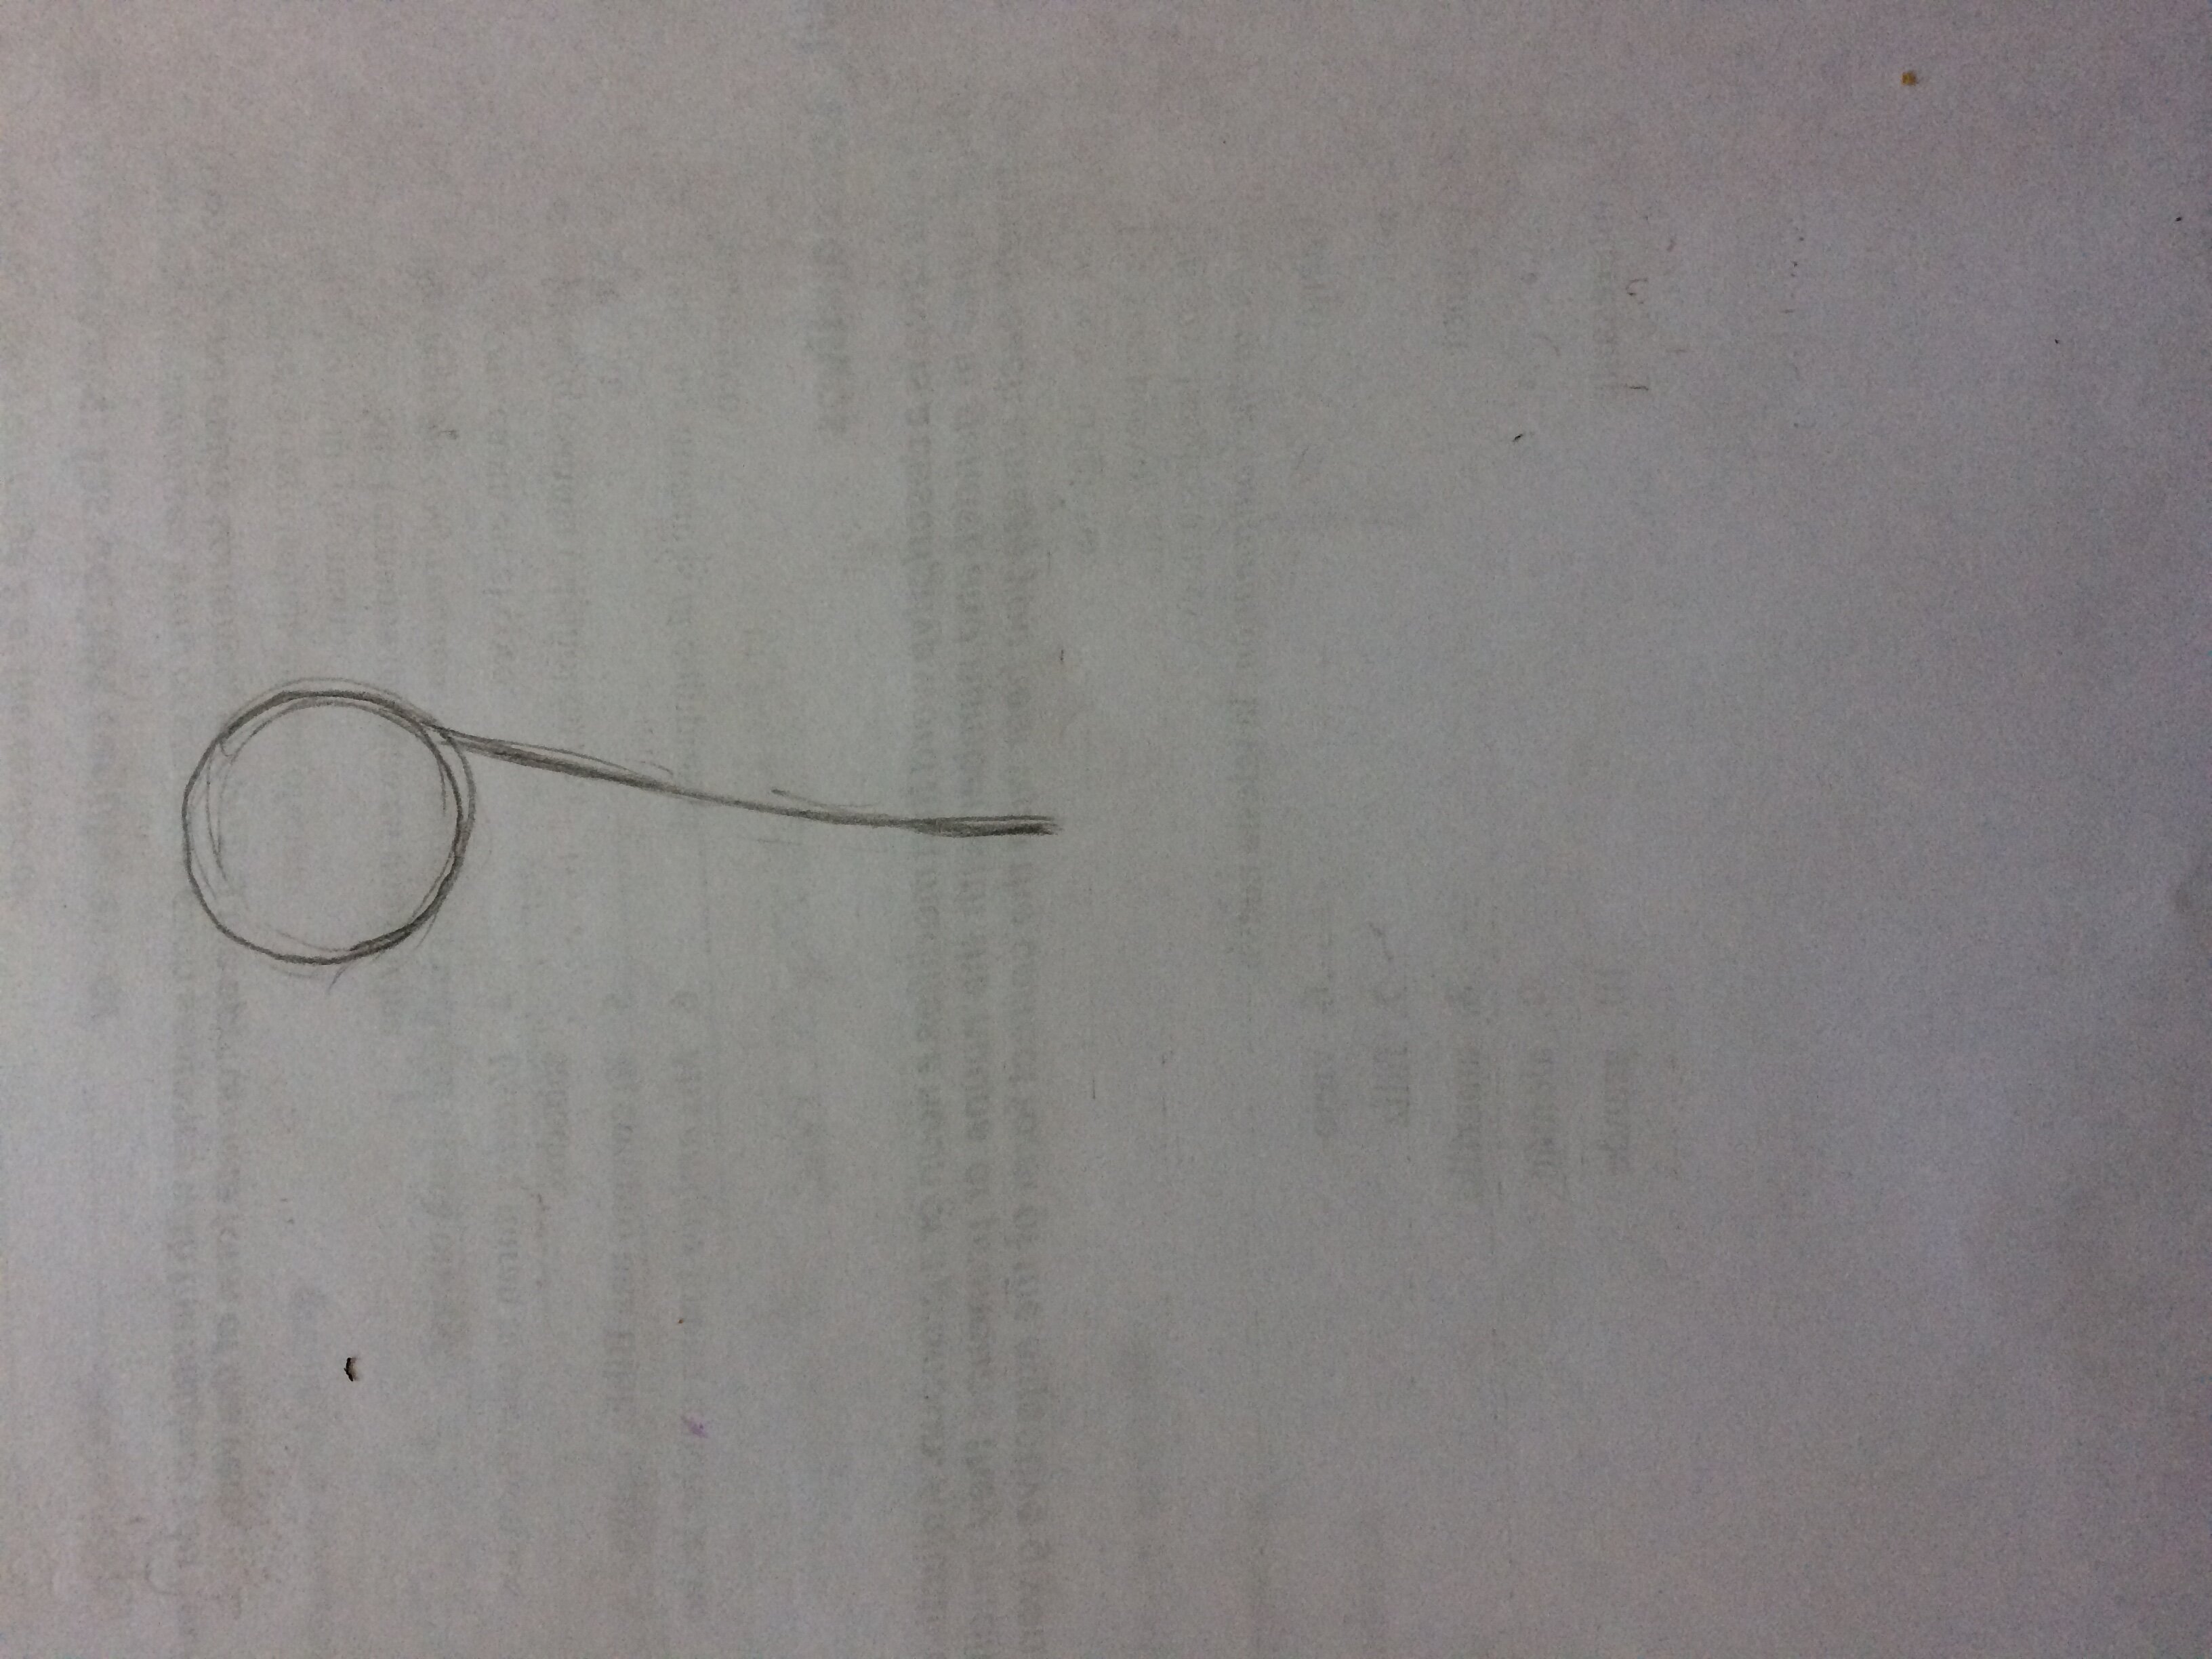
After that, you’ll want to begin drawing a skeleton for the body. It is important to remember that in organic life, creatures will generally form arcs, not straight lines. Draw the neck from the back of the head.

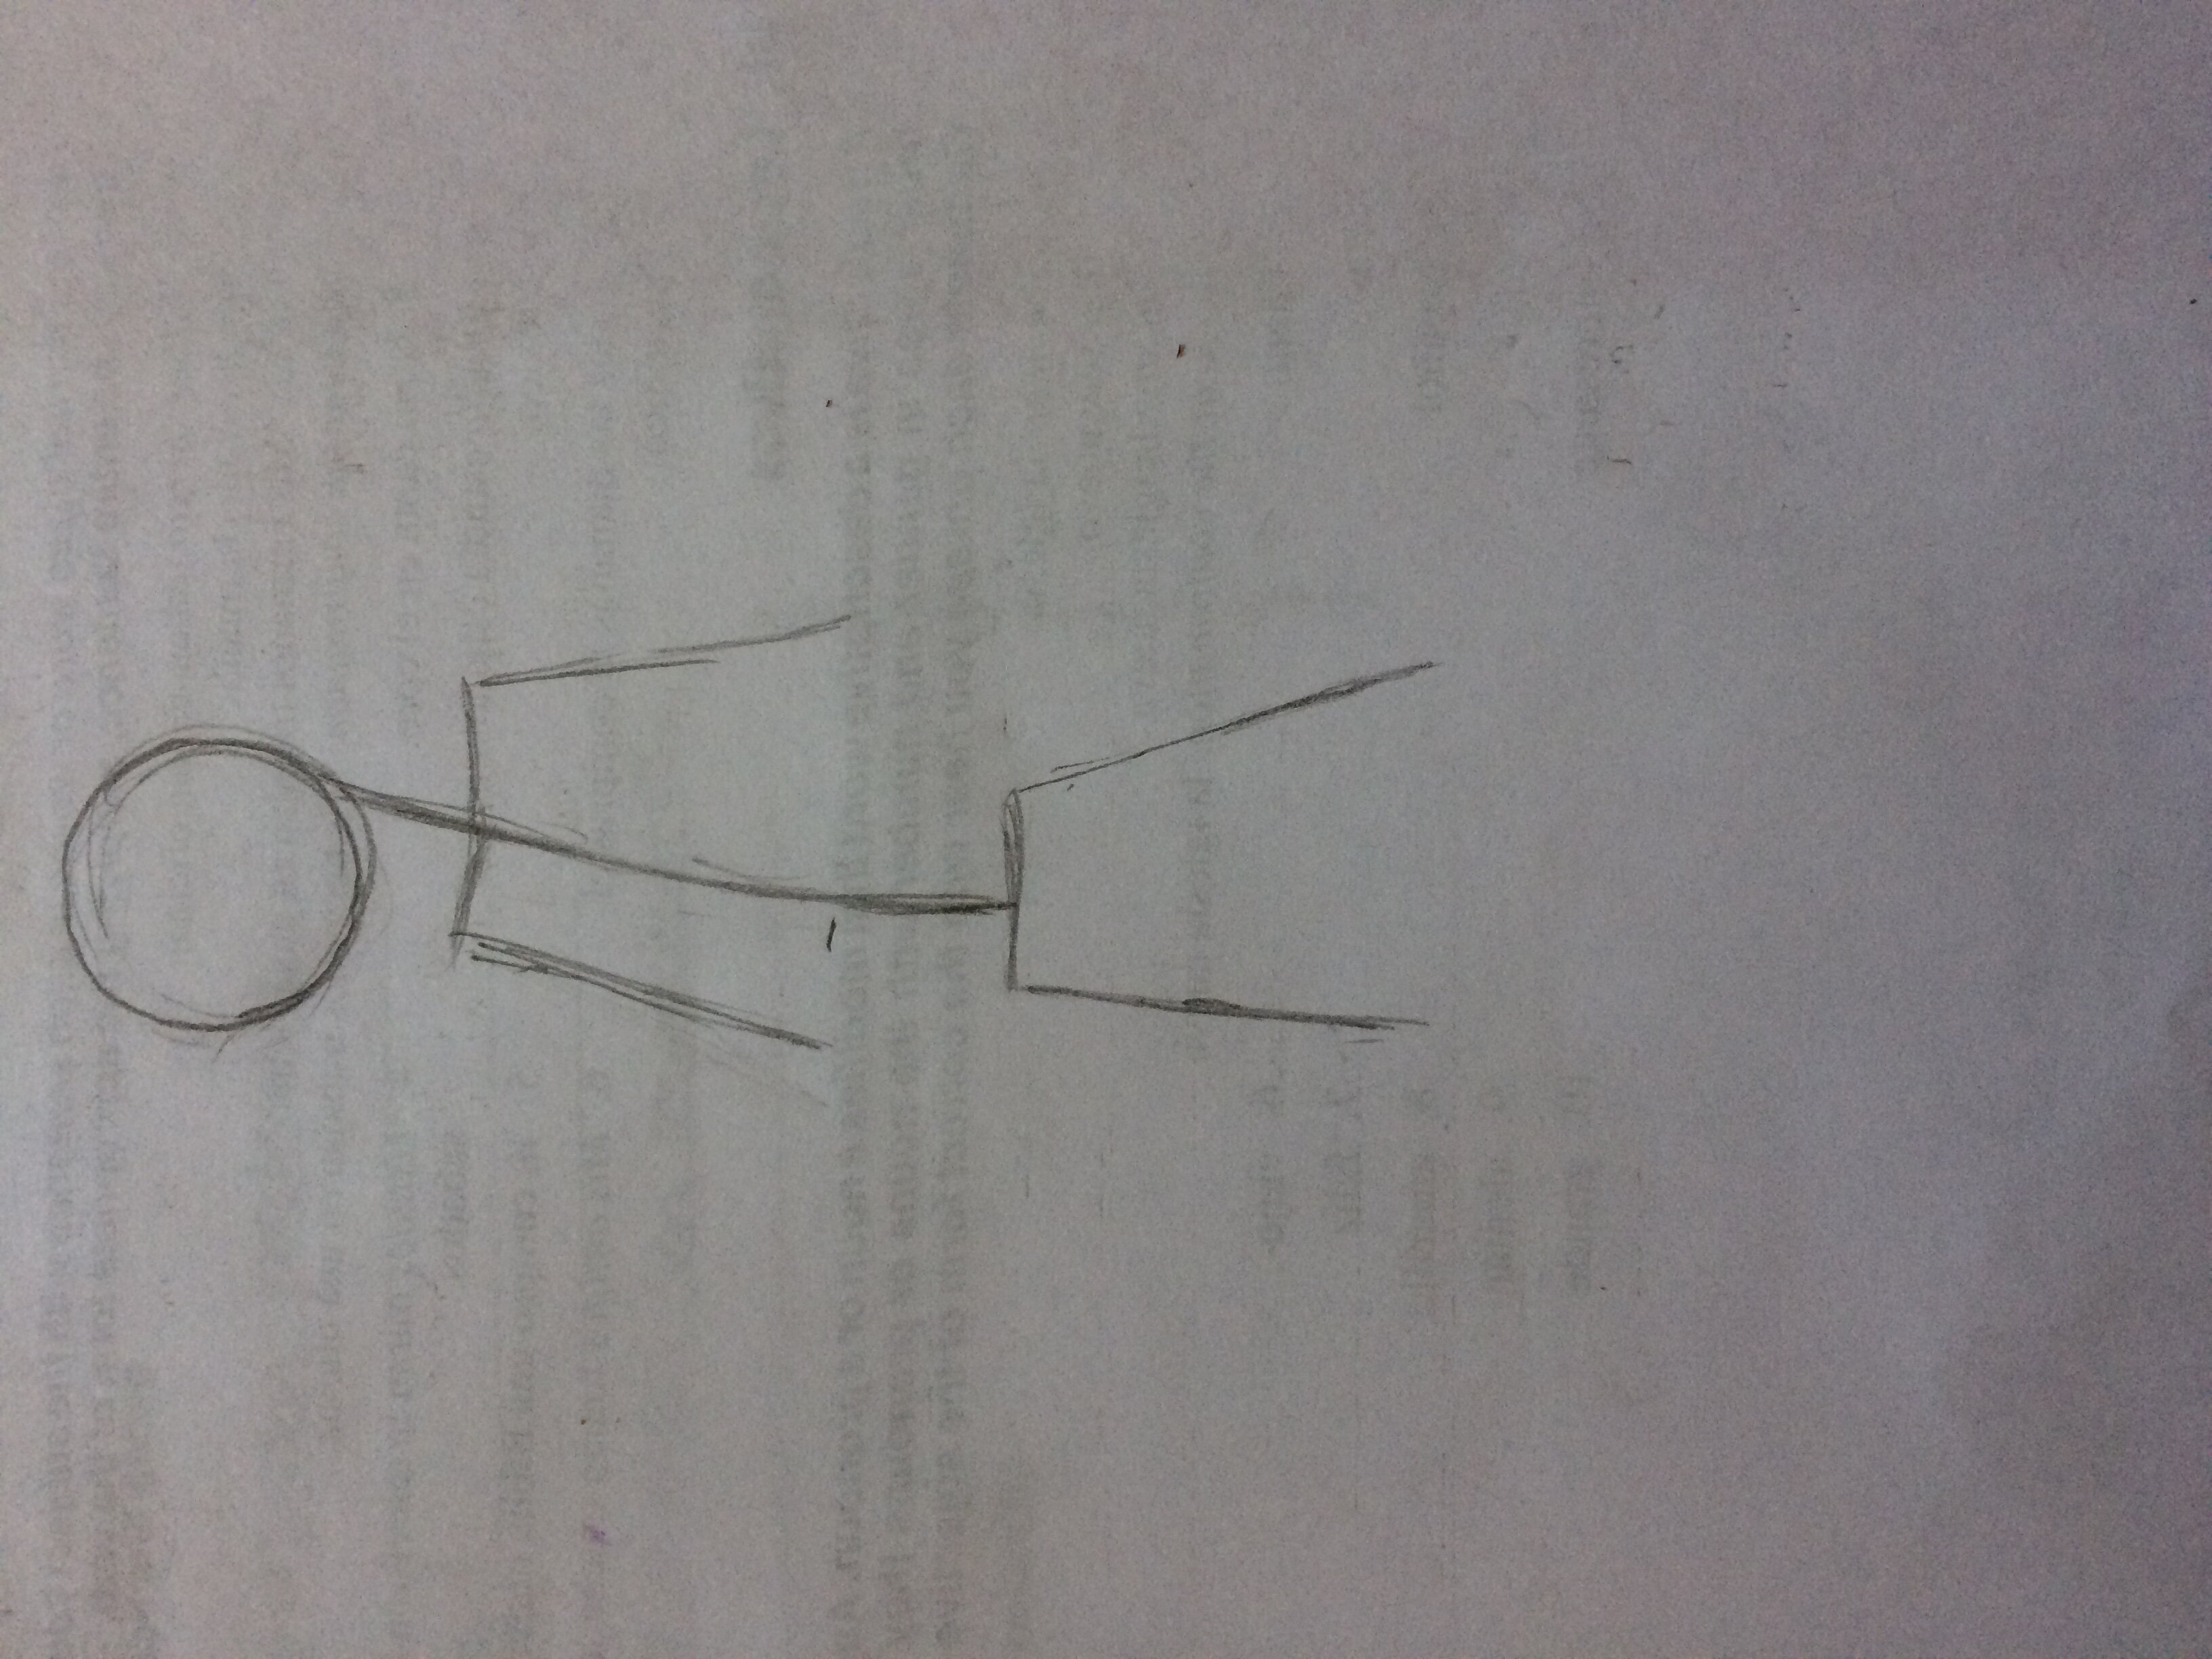
Now you want to start forming the shoulders and pelvis. The legs and arms do not originate at the body, otherwise characters would look horendously odd. Instead, the shoulders and pelvis extend outward, and at the end of each of them a limb is placed.
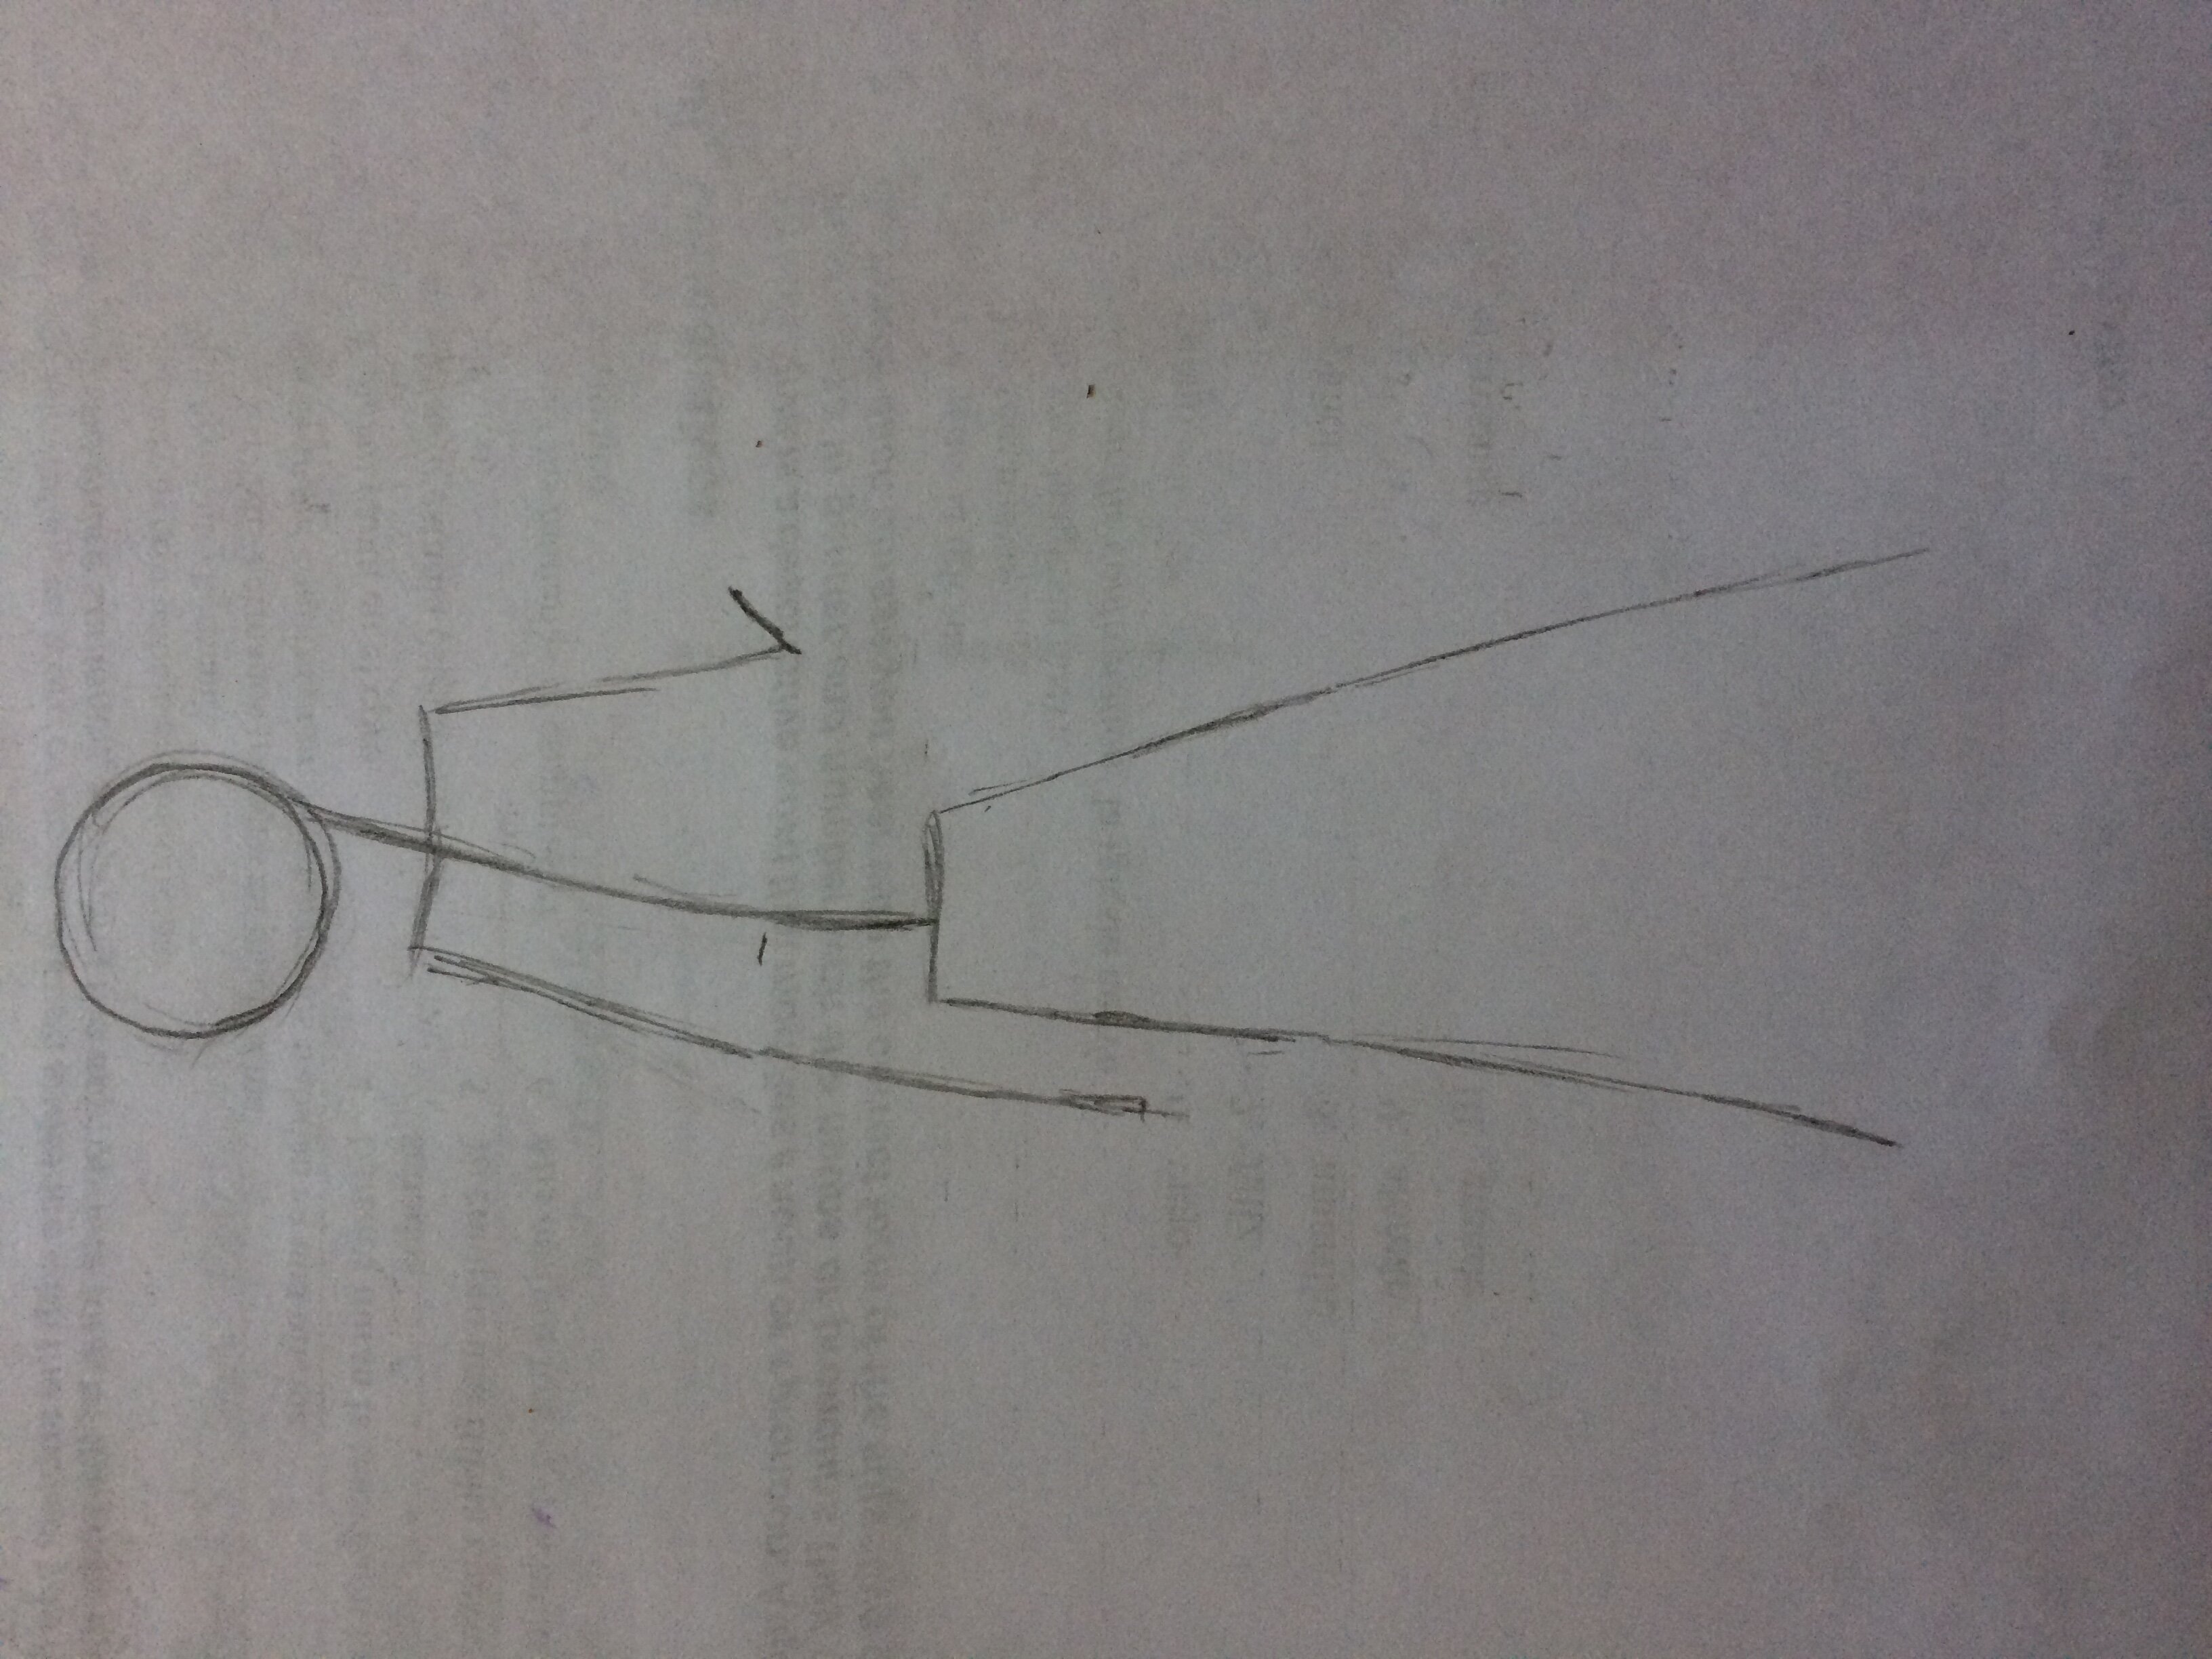
The upper arms and legs are connected to the shoulders and pelvis. The upper arms should be the length of the point where the shoulders meet the body to the belly button, where I have drawn a mark indicating the belly button. The upper legs should be the same length.
The lower legs should be drawn so that the legs are nearly the same length as the body, if not a tad longer. The lower arms should be long enough so that when the hands and fingers are drawn on, the fingers reach the knees. Notice also the shortness of the right arm (or the characters left arm). This is due to Perspective. The arm is, in a 3-dimensional space, coming toward the viewer, and so it is drawn shorter.
Now draw the hands and decide how you would like your head to be posed. This is the last step in drawing the skeleton.

Now is when you want to begin drawing the shapes and sizes of each part of the body. THIS IS THE MOST VARIABLE PART OF THE DRAWING. These determine whether a character is fat or skinny, short or tall (if you want short, make the head bigger and shapes fatter propotionally.) I did a more lanky character here.

Finally, add the finer details, shading, texturing and whatnot. This takes a lot of work to master, but I’m not going to teach you how to shade because frankly I don’t know how to teach that. It’s something you learn over time and by observing real life. Here I have drawn our lord and master Eljay may his soul rest in peace 
 he’s up there with Greg Farshtey now
")