Hello, I’ve finished a big project that is my first studio build and I am a bit clueless about the rendering controls. Any tips? I would like the creation to be in a white void but with a shadow on the ground. Plus I would like to do one picture with a background but one thing at a time I suppose.
Any help would be very much appreciated.
7 Likes
I (sadly) haven’t experimented very much with renders, but here is what I know:
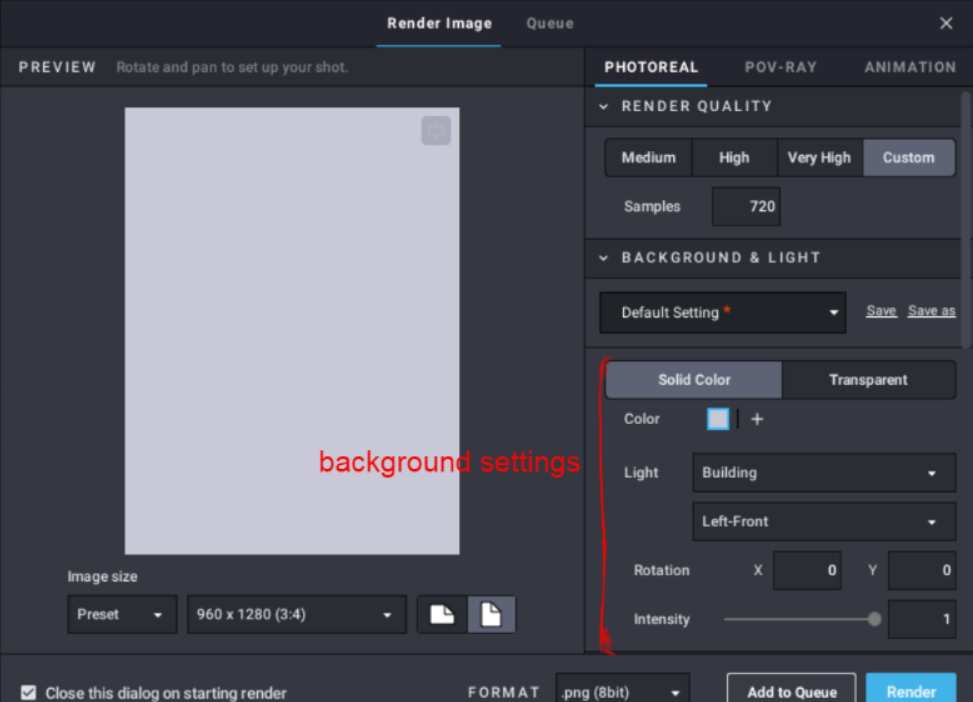
Image size should be at least 960x1280, or it would be very poor quality. Making size bigger than that will result in a much longer rendering time (with settings I use it takes 30-40 min on my computer)
Amount of samples seems to be not that important, I couldn’t make difference between 512 and 720
Those "default settings buttons are unclear to me, they seem to not do anything.
On the picture above I marked with red the background settings. You can do it either a normal picture with background, or in a special format without one, to add the background later using something like photoshop. Floor shadow appears automatically in first mode and can be added in the second. In order to chose background color click right mouse on small colored square and set it up.
I prefer to make pictures without background, and adding needed one later, and in that mode there are more filters. I use Building and Mechanic ones, others are pretty weird:
Dawn:
Piazza:
Oh, and you can check how those two 600x800 pictures work.
Also there are light settings, just making light from different angles.
That actually all I ever used at all, camera settings are not familiar to me, and material effects I’ve only seen used here. Hope that was of any help.
9 Likes
My major tip is make a bunch of renders with the lowest size and render quality (to reduce rendering time), playing with the different options abailable adding them to the queue, and when you find a configuration you like, make the final one in high resolution.
About the light, in general Building is the best option, since the other ones make a more crude effect, but maybe that what you look for. Also you can manually increase the intensity over 1, if you want more light.
If you are rendering a luminucent part you can use Translucent colors, instead of Trans- colors. This pieces will bright without needing to change the light direction, but they only come in a few colors and it seems that not everyone of them works well.
The camera setup is easier to configure just moving the image and the field of view should be in 15 but you could put a higher number if you want to change the perspective.
UV degradation I use from 0 to 0.1, I don’t really know what it does but the images looked weird to me with higher numbers. Scratches I use 0.1 to 0.4 since it give a used look without making the pieces looks sanded.
3 Likes
So I don’t need mods to make parts glow?
1 Like
Yup, no mod needed. Just change the color. Here is an example of some colors and how they look:

You must try wich one fit better to your render.
7 Likes
I figure this is the place to go for help with stud.io renders.
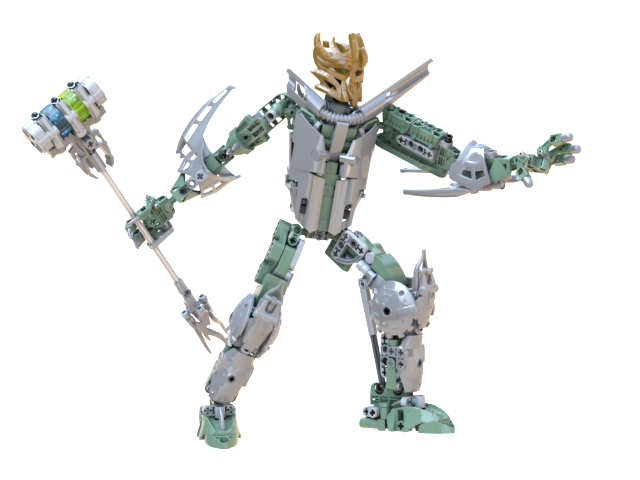
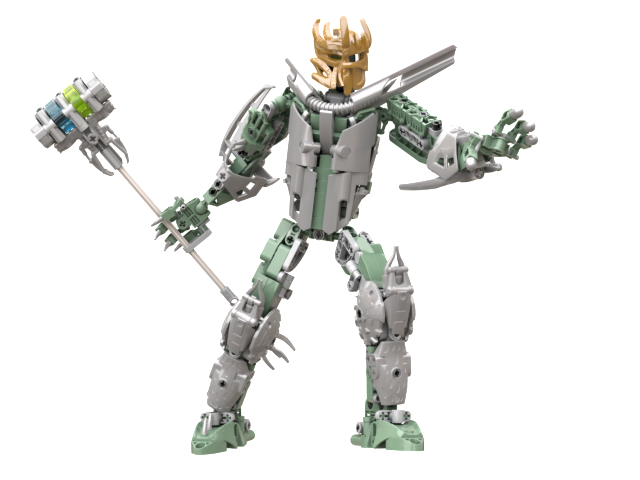
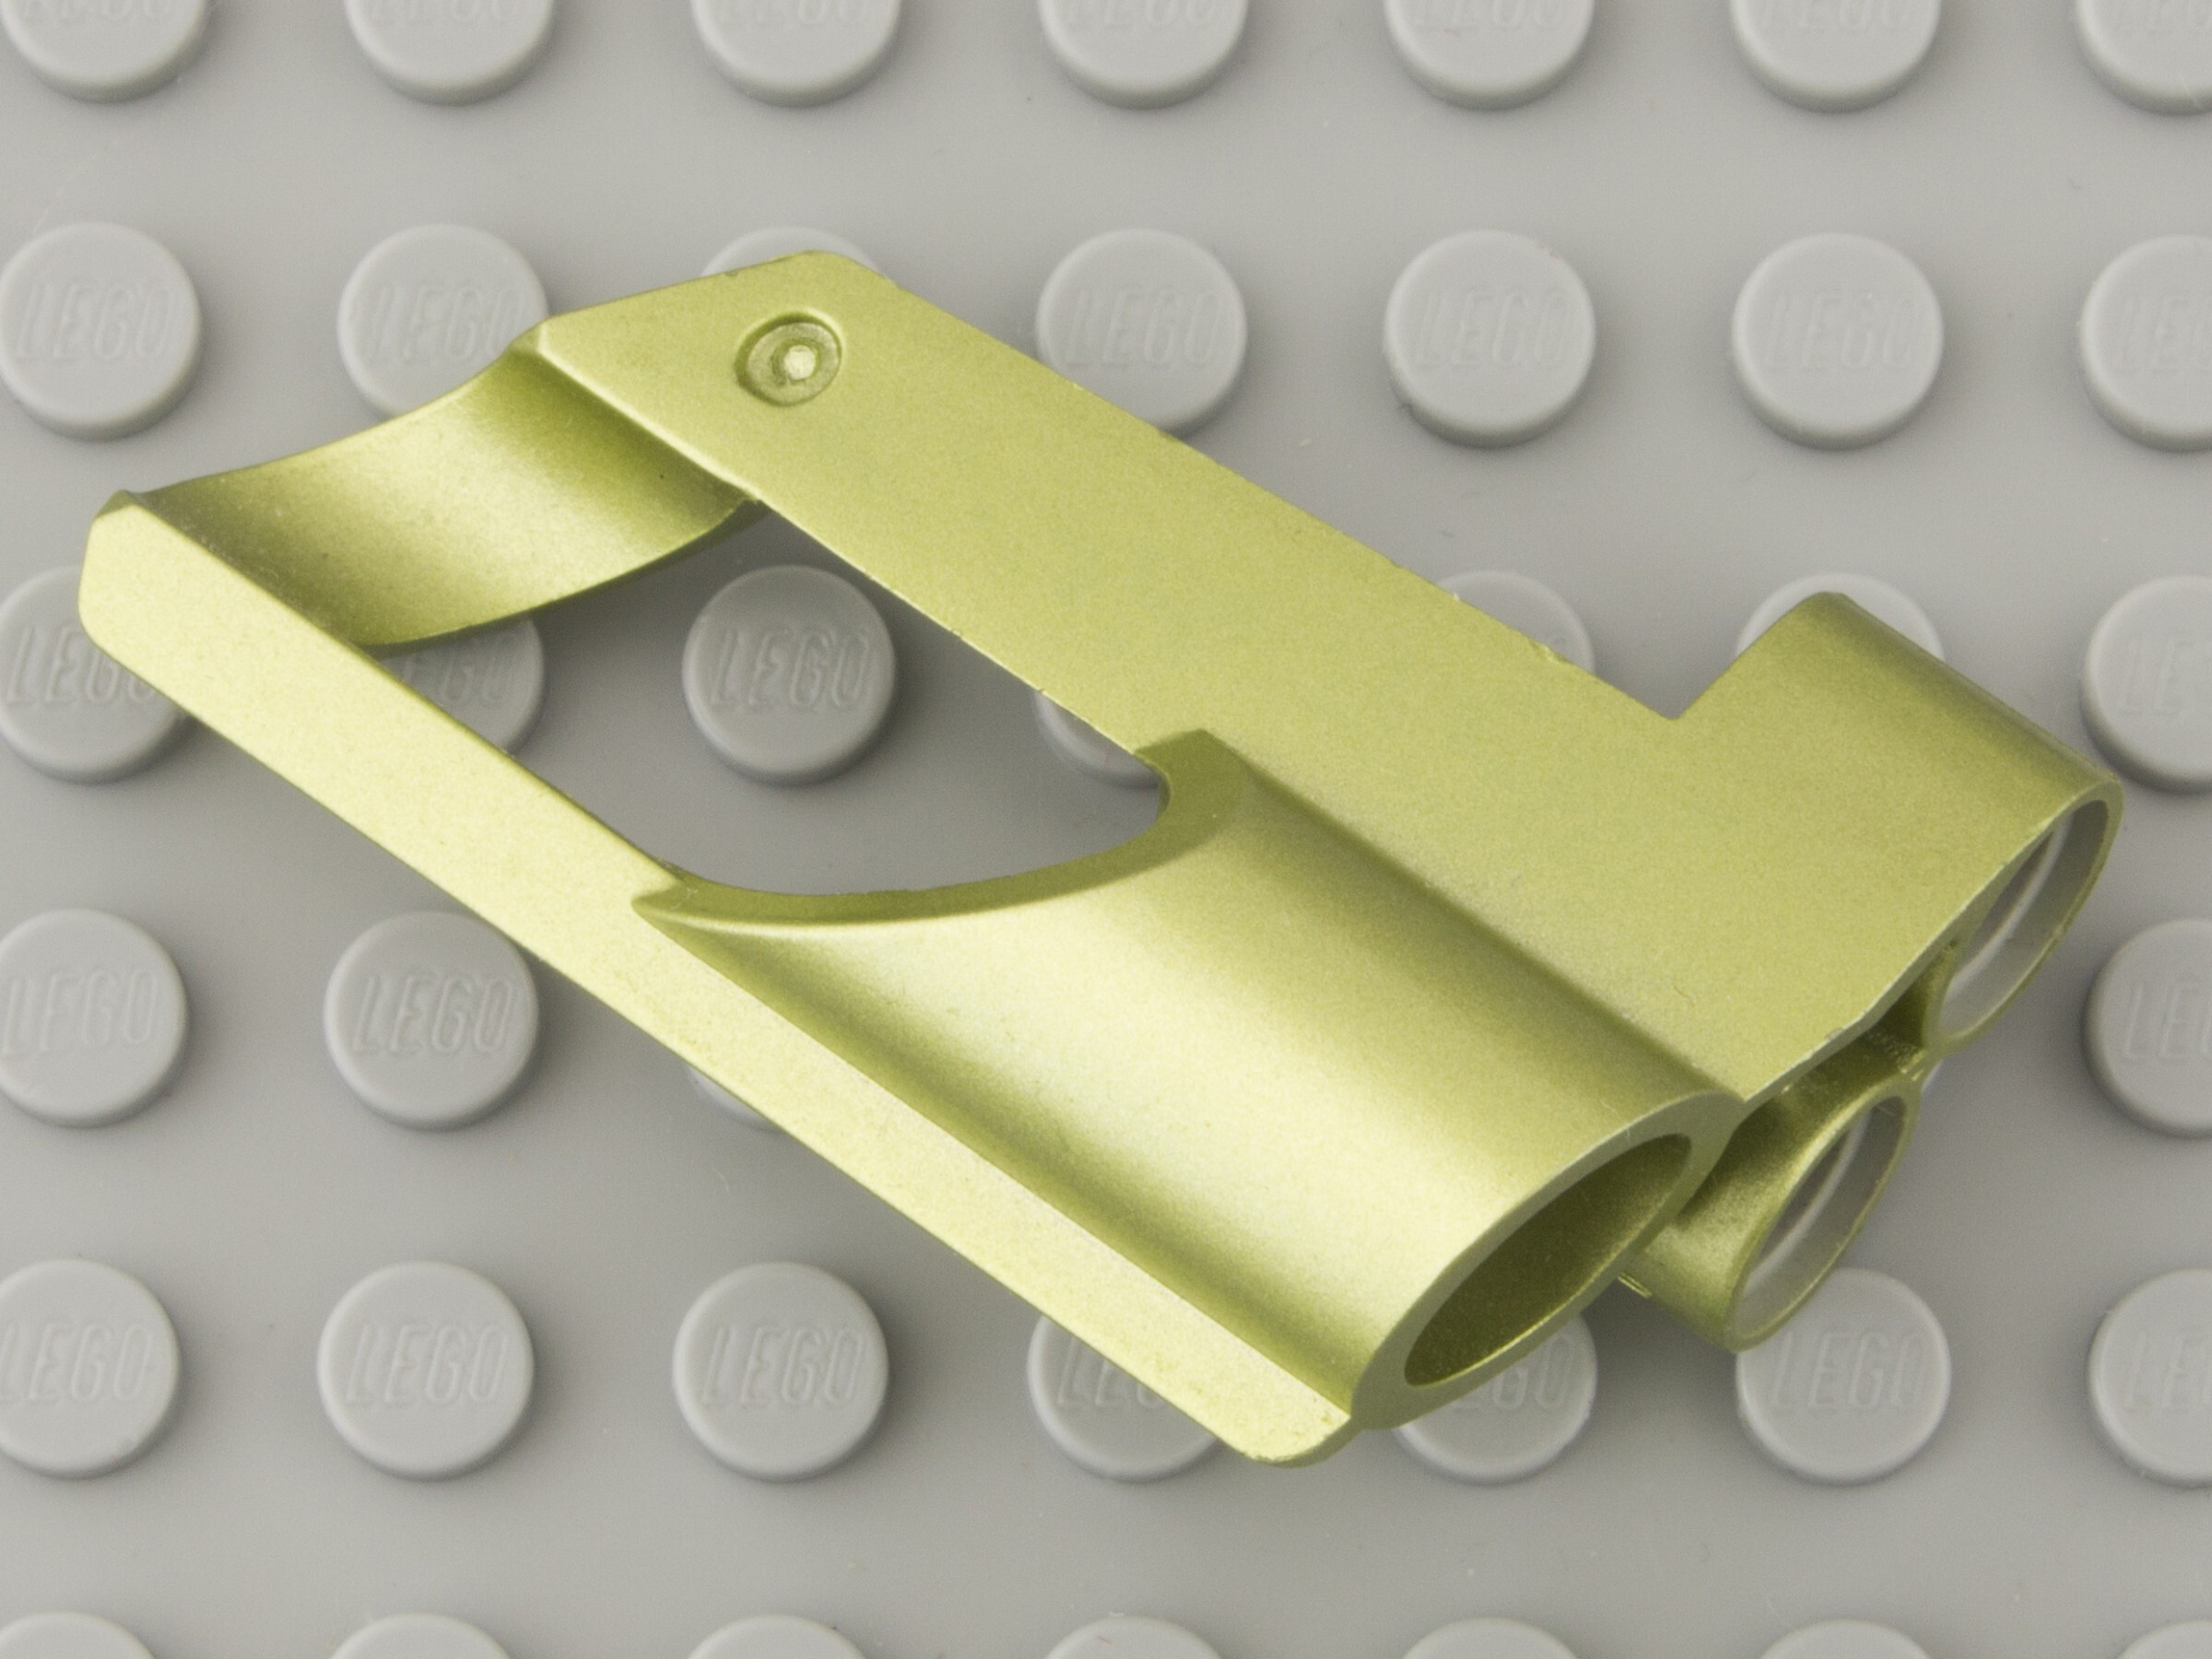
I’m having issues rendering metallic green parts; they’re coming out looking yellowish-gold.
Original:
Render:
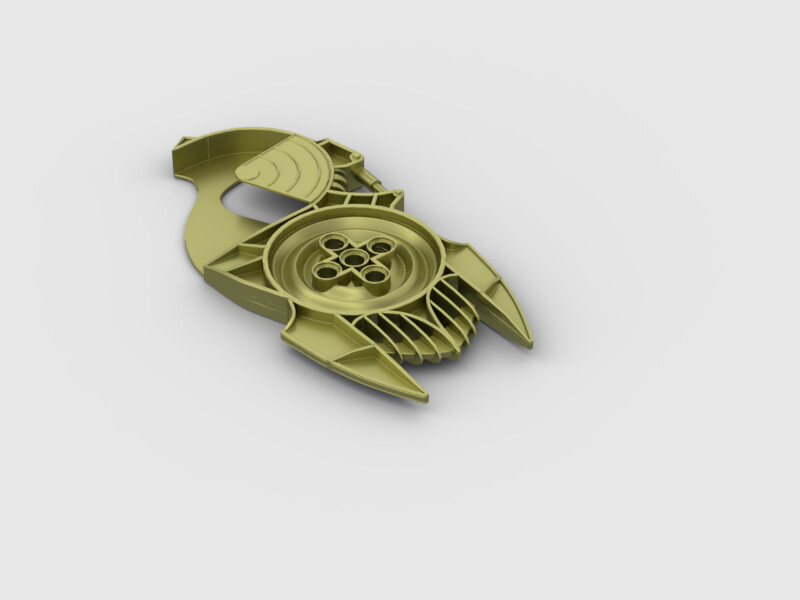
Is there any way to make these parts look more green using render settings?
3 Likes
Do you have installed the colorpack? Maybe there is a color that work better in the renders. You could make your own color, but that is harder.
You can also try other rendering light options. Building is the one that works best in most cases but maybe other lights give you a better color.
If nothing about works, then I would suggest retouch the images in a program like Photoshop.
2 Likes
reviving time
You would have to pose the moc in the program and then render it, right?
1 Like
The rendered version more closely resembles the actual lego color (I don’t know if you still need this info. I assume you asked this question when you were working on your Kualus moc)
If you want the figure to be posed, then yes, you must pose it before rendering.
2 Likes
thanks
1 Like
I have a moc that I want to render, but oddly enough, the only lighting options available are Mechanic and Building. I can’t scroll to any of the other three options. I’ve tried restarting Studio but that didn’t work.
Does anyone know what the issue might be?
1 Like
The Developers might be working on the other lighting settings, they are unavaliable to me aswell, it is possible that if you find a way to get an older version of Studio, which I believe is accesable under the change log, it may have the other settings.
You could also try to do it how @Synnova32 does it, with a plate lighting it instead of the standard lighting.
2 Likes
I think it depends on whether background is solid or transparent from memory? One option limits the render styles to those two I think.
Also nice pfp, been meaning to say I like it.
4 Likes
Yep, you’re right. Thanks!!
2 Likes
Well that’s weird, I remembered it that way as well, but it didn’t change anything for me when I tried it.
2 Likes
To elaborate, use Baseplates with Luminous Soft White as their color around your MOC for manual lighting then setting your Render Intensity to 0 ![]()
3 Likes
I’ve experimented with your method of lighting to mixed results. I think I’ll download the color pack so that the pieces aren’t so glossy and reflective.
Hopefully I don’t accidentally destroy studio like I did last time I tried to download it
edit: The color pack appears to no longer be available actually.
2 Likes
You could try rubber colours, which are in base Studio, if all the colours you need are there.
Just not rubber white, for some reason it turns out a light blue in the renders.
4 Likes