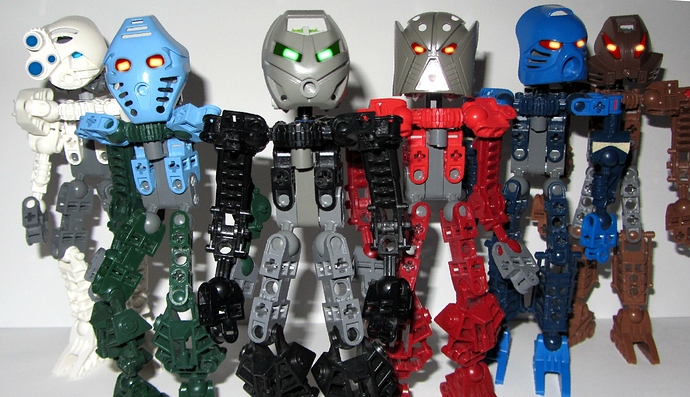
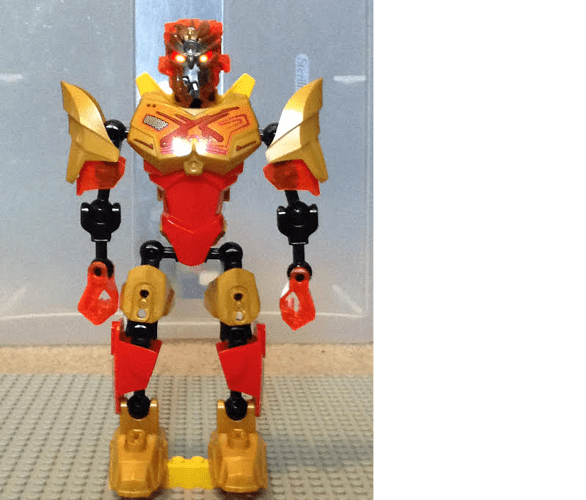
Here a small yet easy tutorial on how to improve your MOC images for example. I’ll be talking about the Eyes effect you get like in the movies. This tutorial is for Paint.NET, but I’m pretty sure Adobe PS and Gimp have the same tools.
Step 1
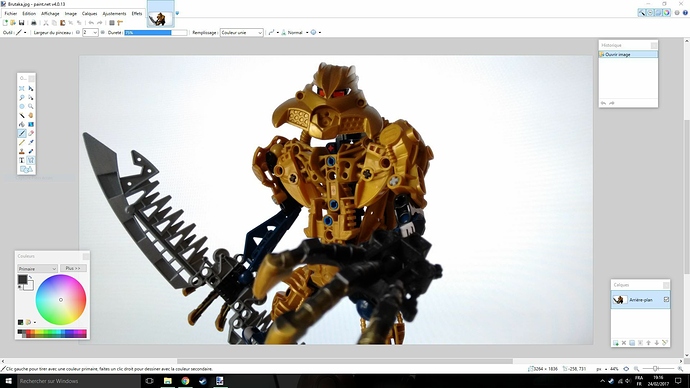
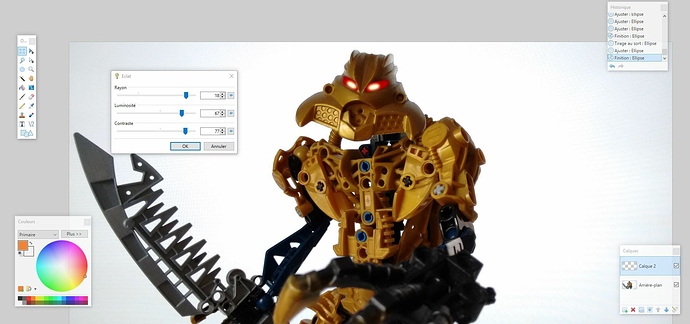
Take a random image you made with a Bionicle figure. Here my simplified Brutaka.
Step 2
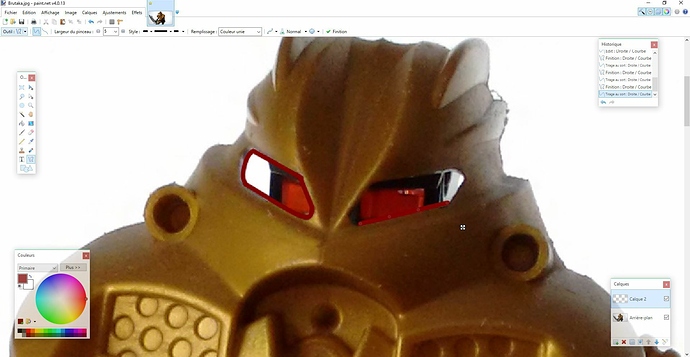
Add a new layer over your initial one.
Step 3
Use the line tools(or free-hand brush) to draw over Brutaka’s “Eye holes” of his mask. Usually, I would recommend to use dark red, dark blue, and dark green.
Step 4
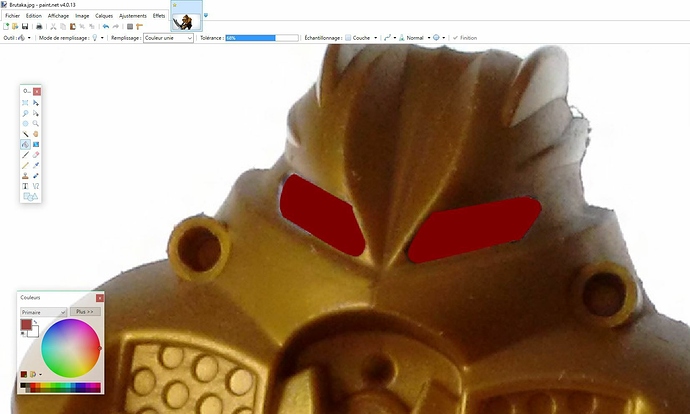
Use the bucket tool to fill the blank part of his eye. Remember to increase your tolerance because it would leave some grayish parts on the borders.
Step 5
Now for the “Iris”, I recommend to use the forms tool, and use circular ■■■■■■■■■■■■■■ borders). Use orange, light blue or light green. It must be much a bright colour.
Step 6
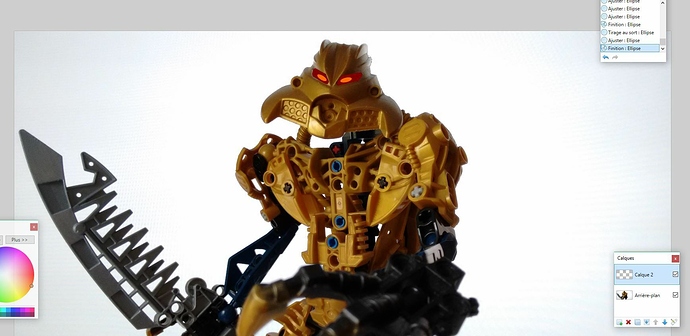
Now Brutaka looks like this. Remember this: Everything has to be done on your second layer. I tend to forget that while working on multiple images.
Step 7
Now go to Effects, Image/Photo and to…whatever it is called in English(brightness or sun I guess).
Step 8
Now you should use high numbers for all three options, except for Brightness, it should be lower than the other two.
Step 9
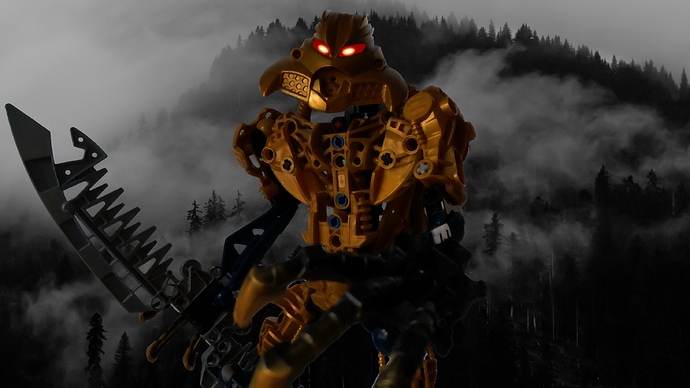
Voilà. Finished. With a new background and some small changes, it looks something like this.
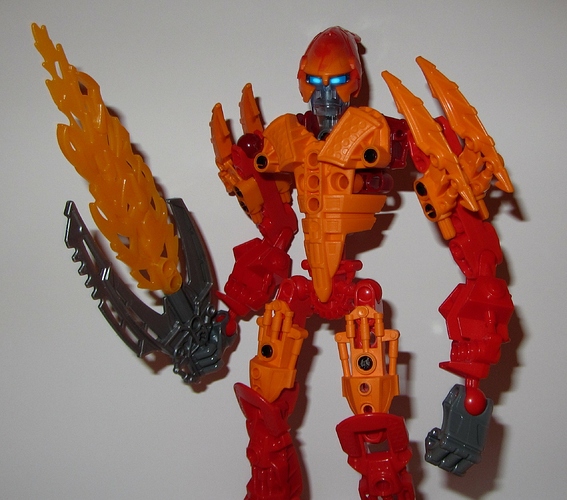
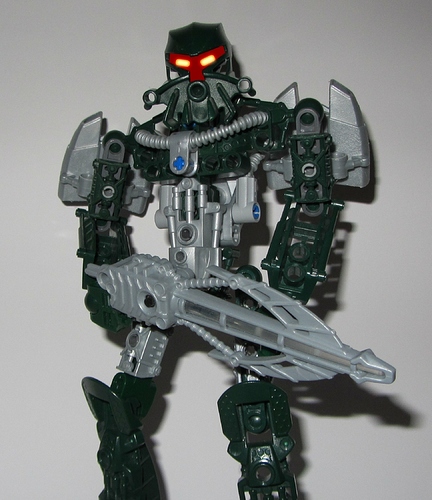
Here some other examples:
These are pretty old, that’s why they have rectangular iris forms. Oops.
