
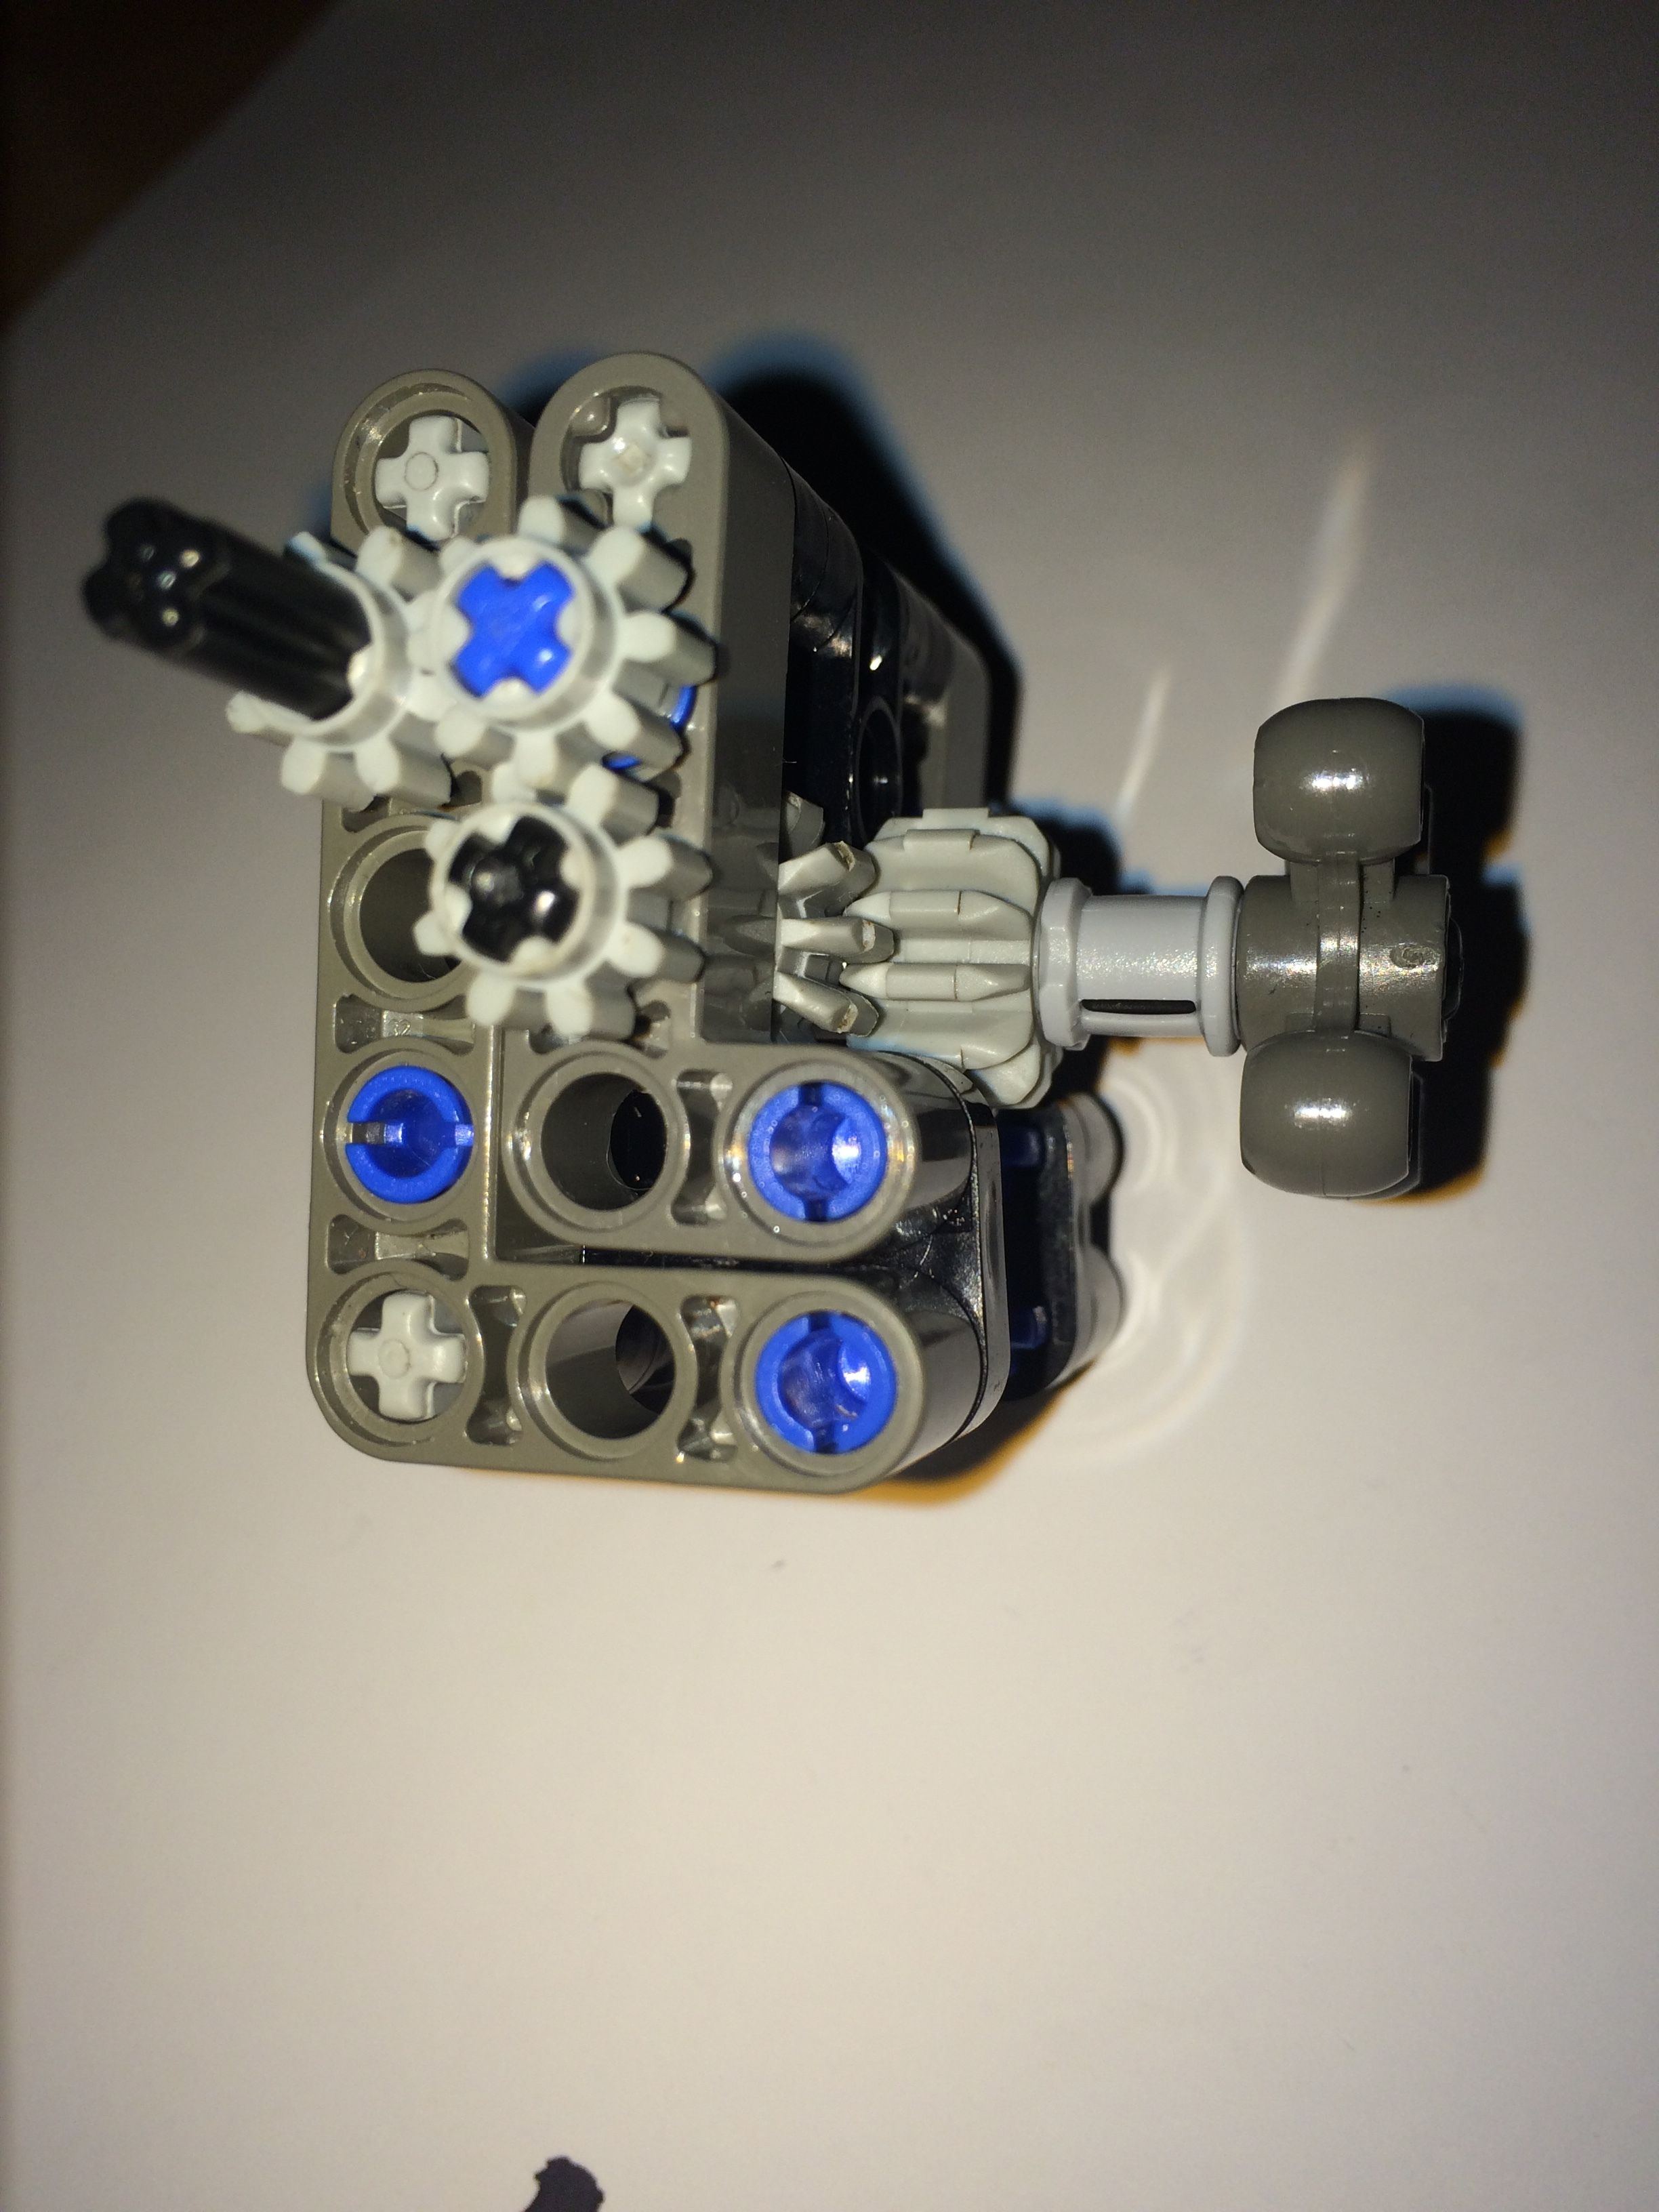
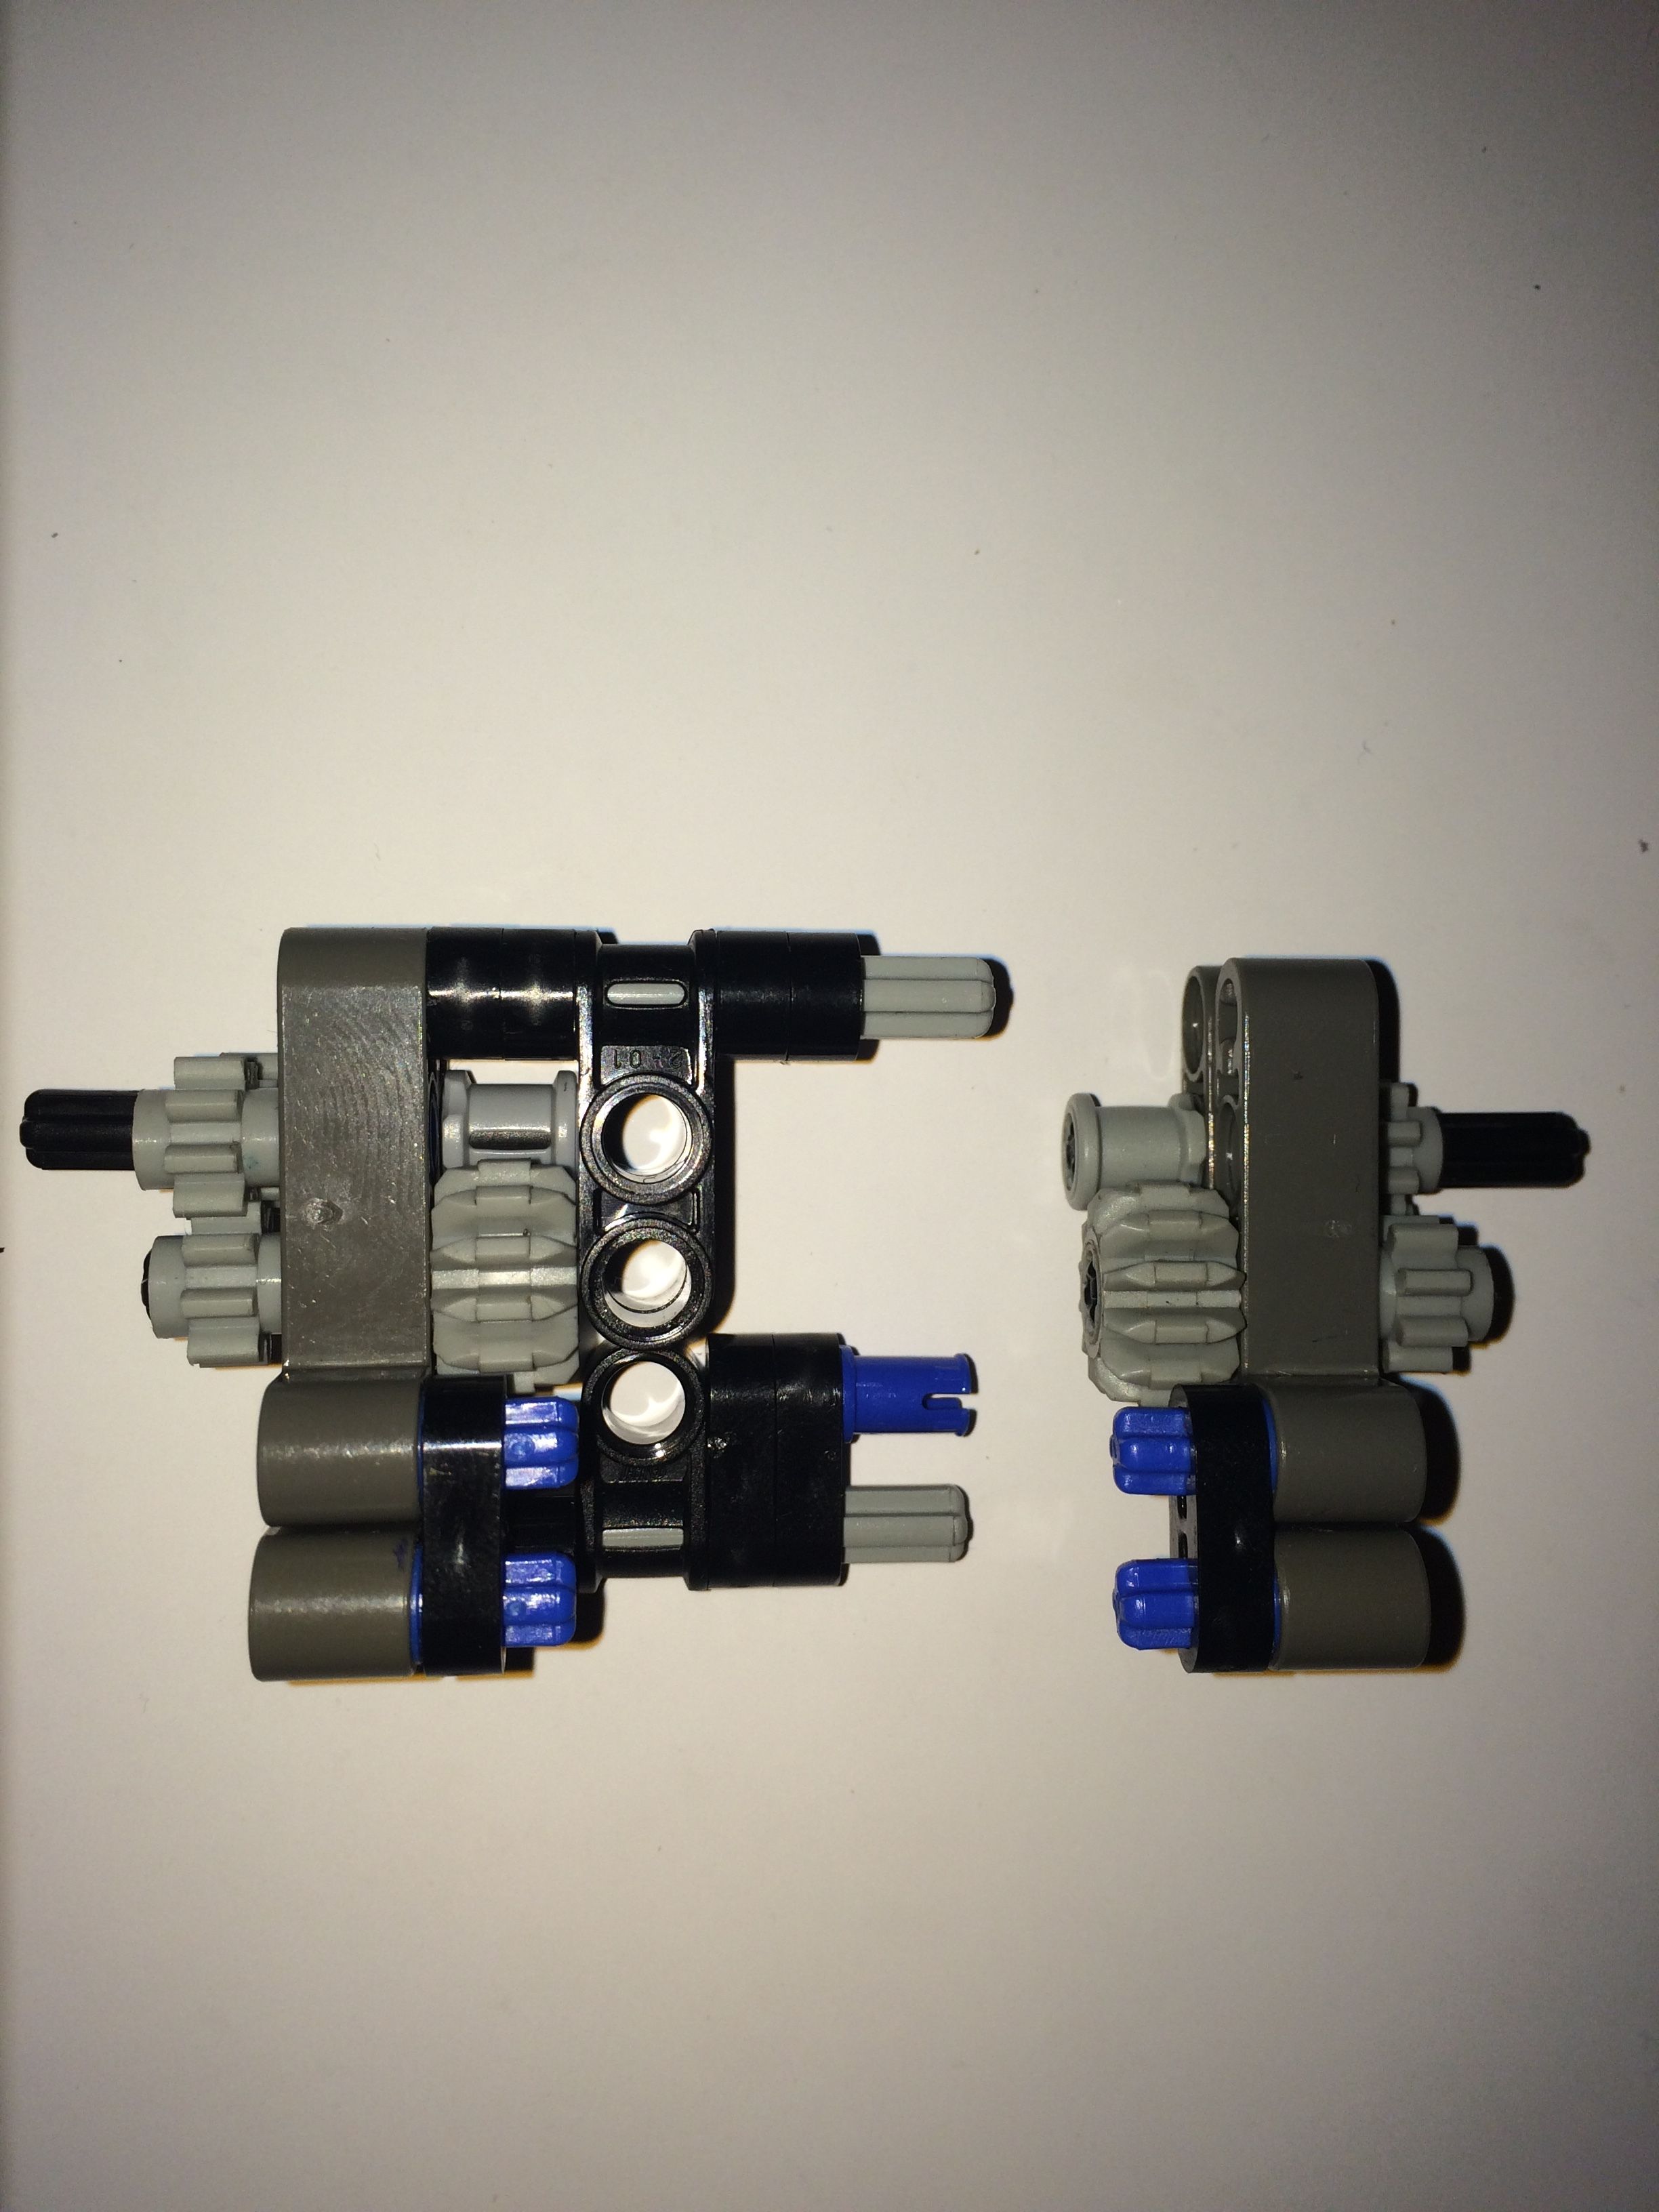
Many of you will be unwilling to pay $15+ to obtain the 2015 gearboxes for your MOCs (assuming you already have the spare parts for this design handy), which is why I’ve created a universal gearbox for use with most G1 torso pieces.
The design is about as compact as gearboxes from 2015, and contains only 48 pieces.
If you’re interested in building one of these guys, look no further…
#Pieces you’ll need:
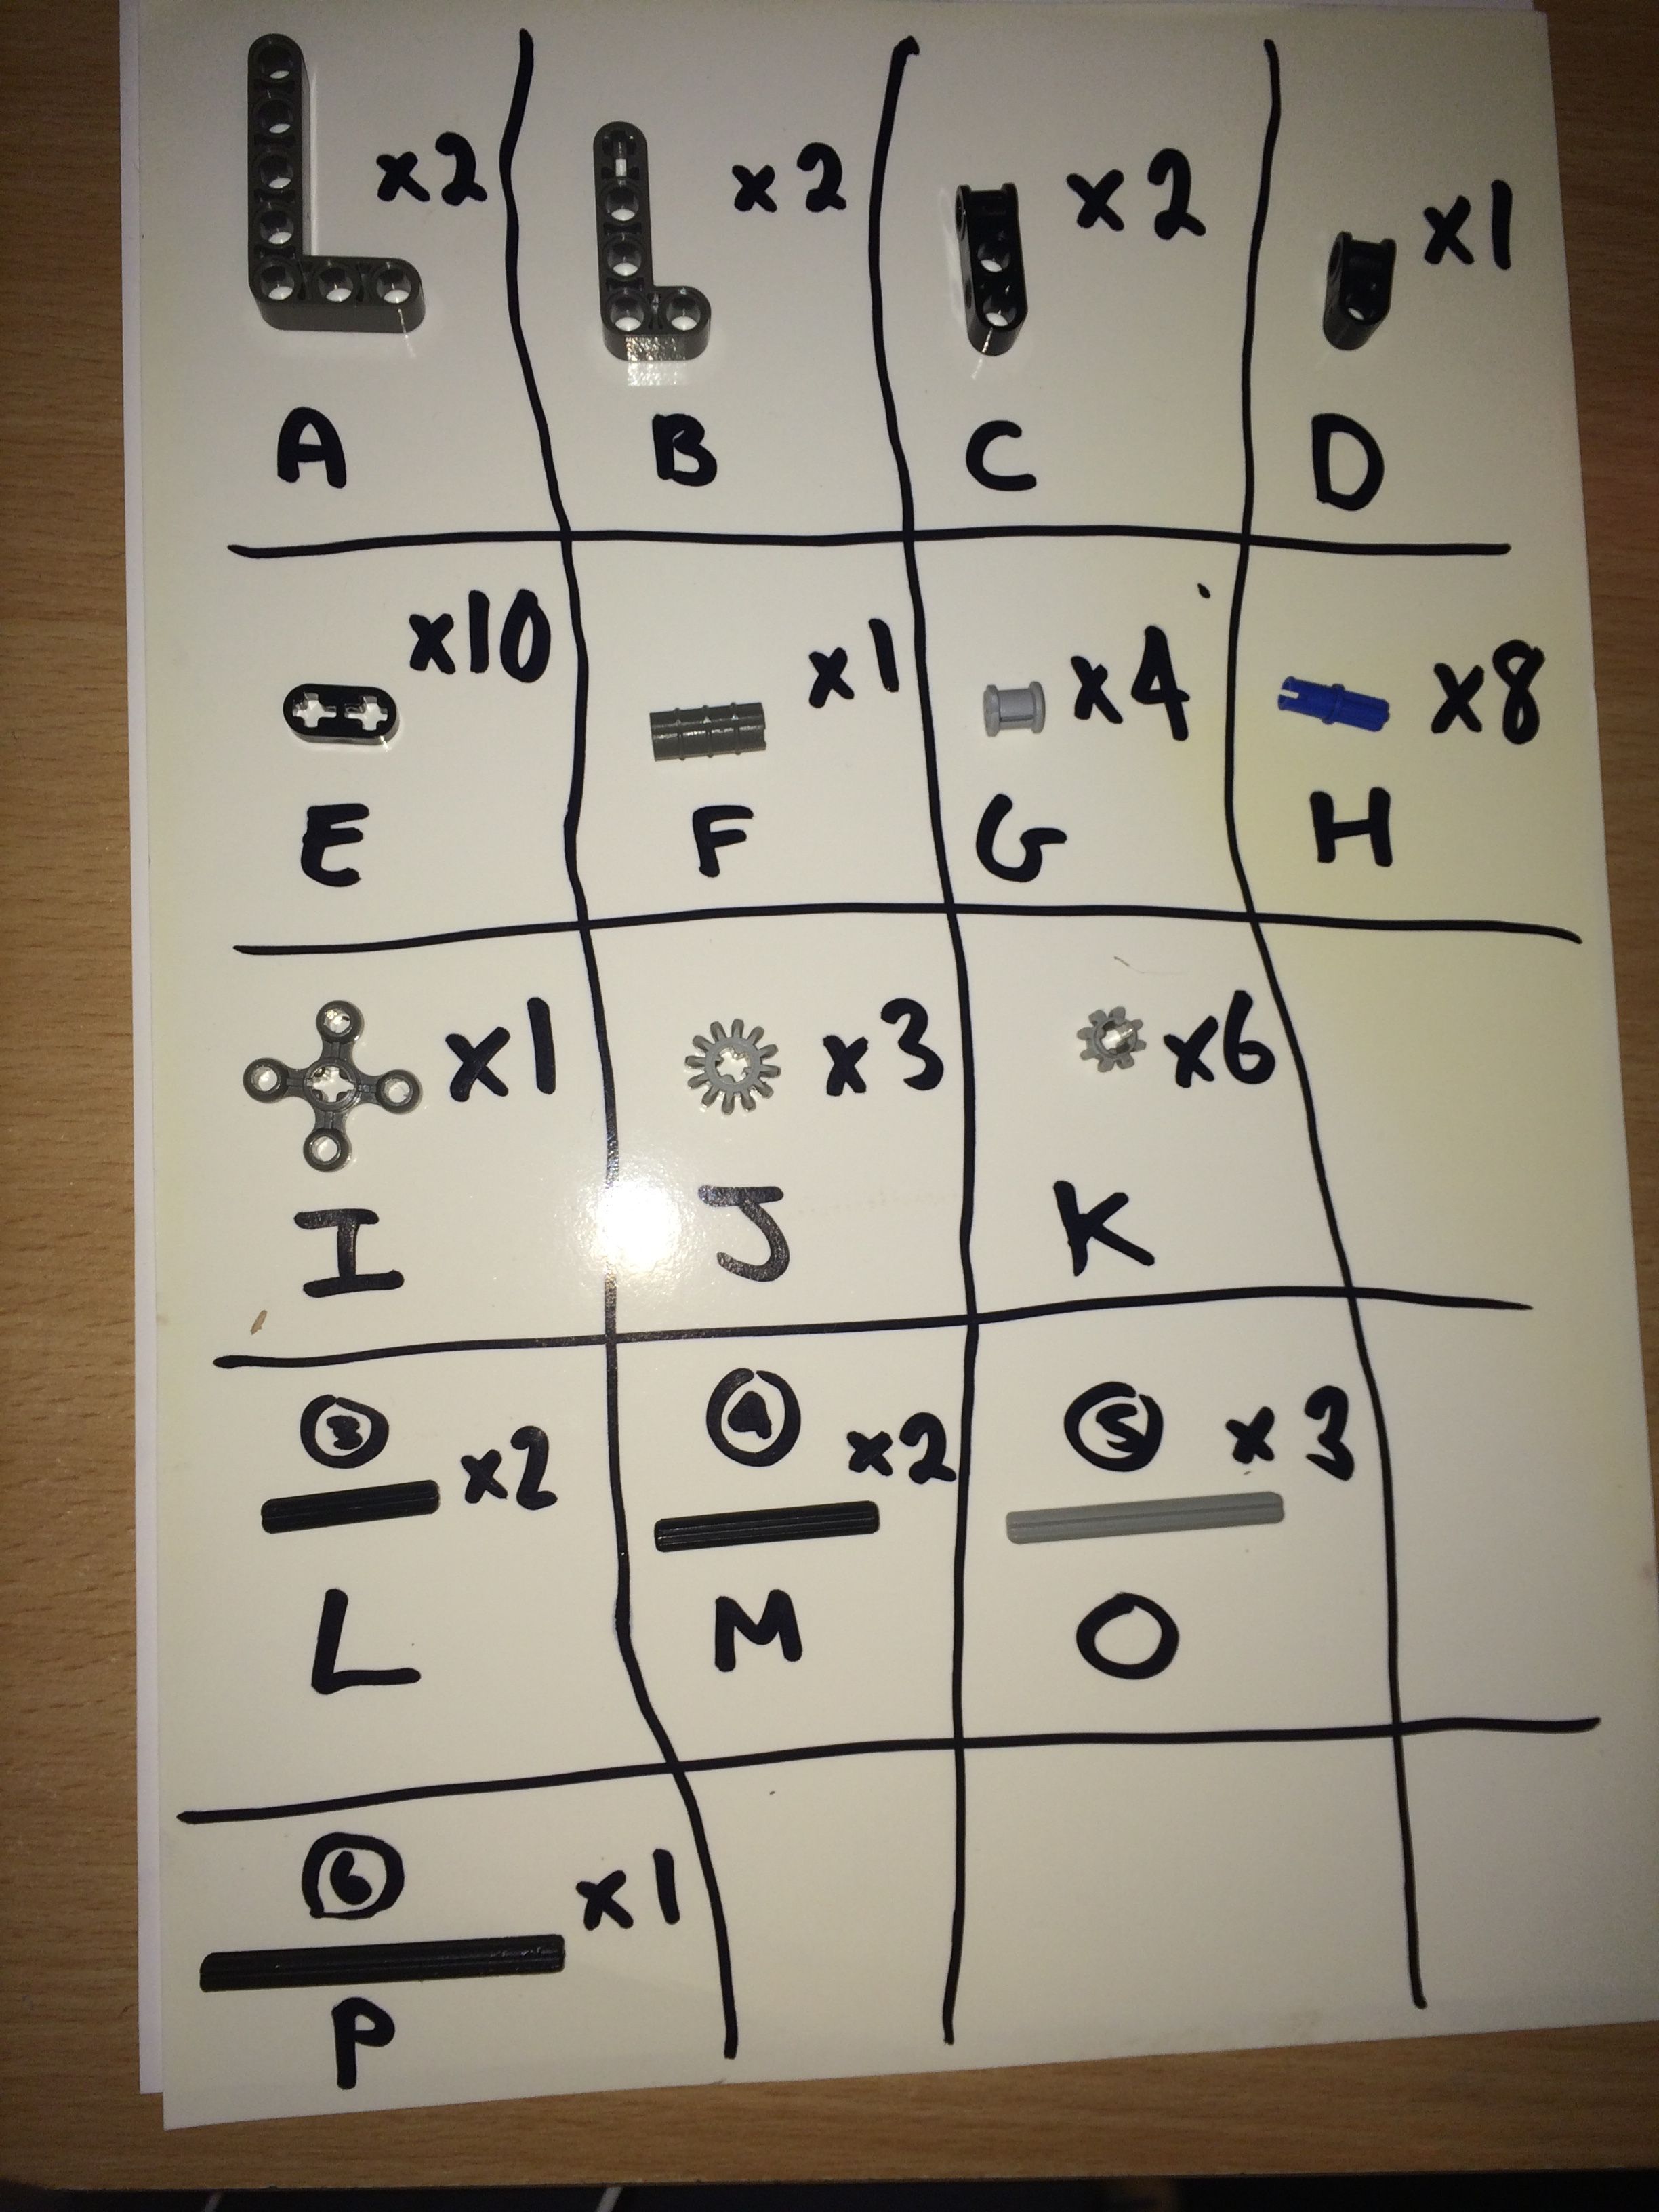
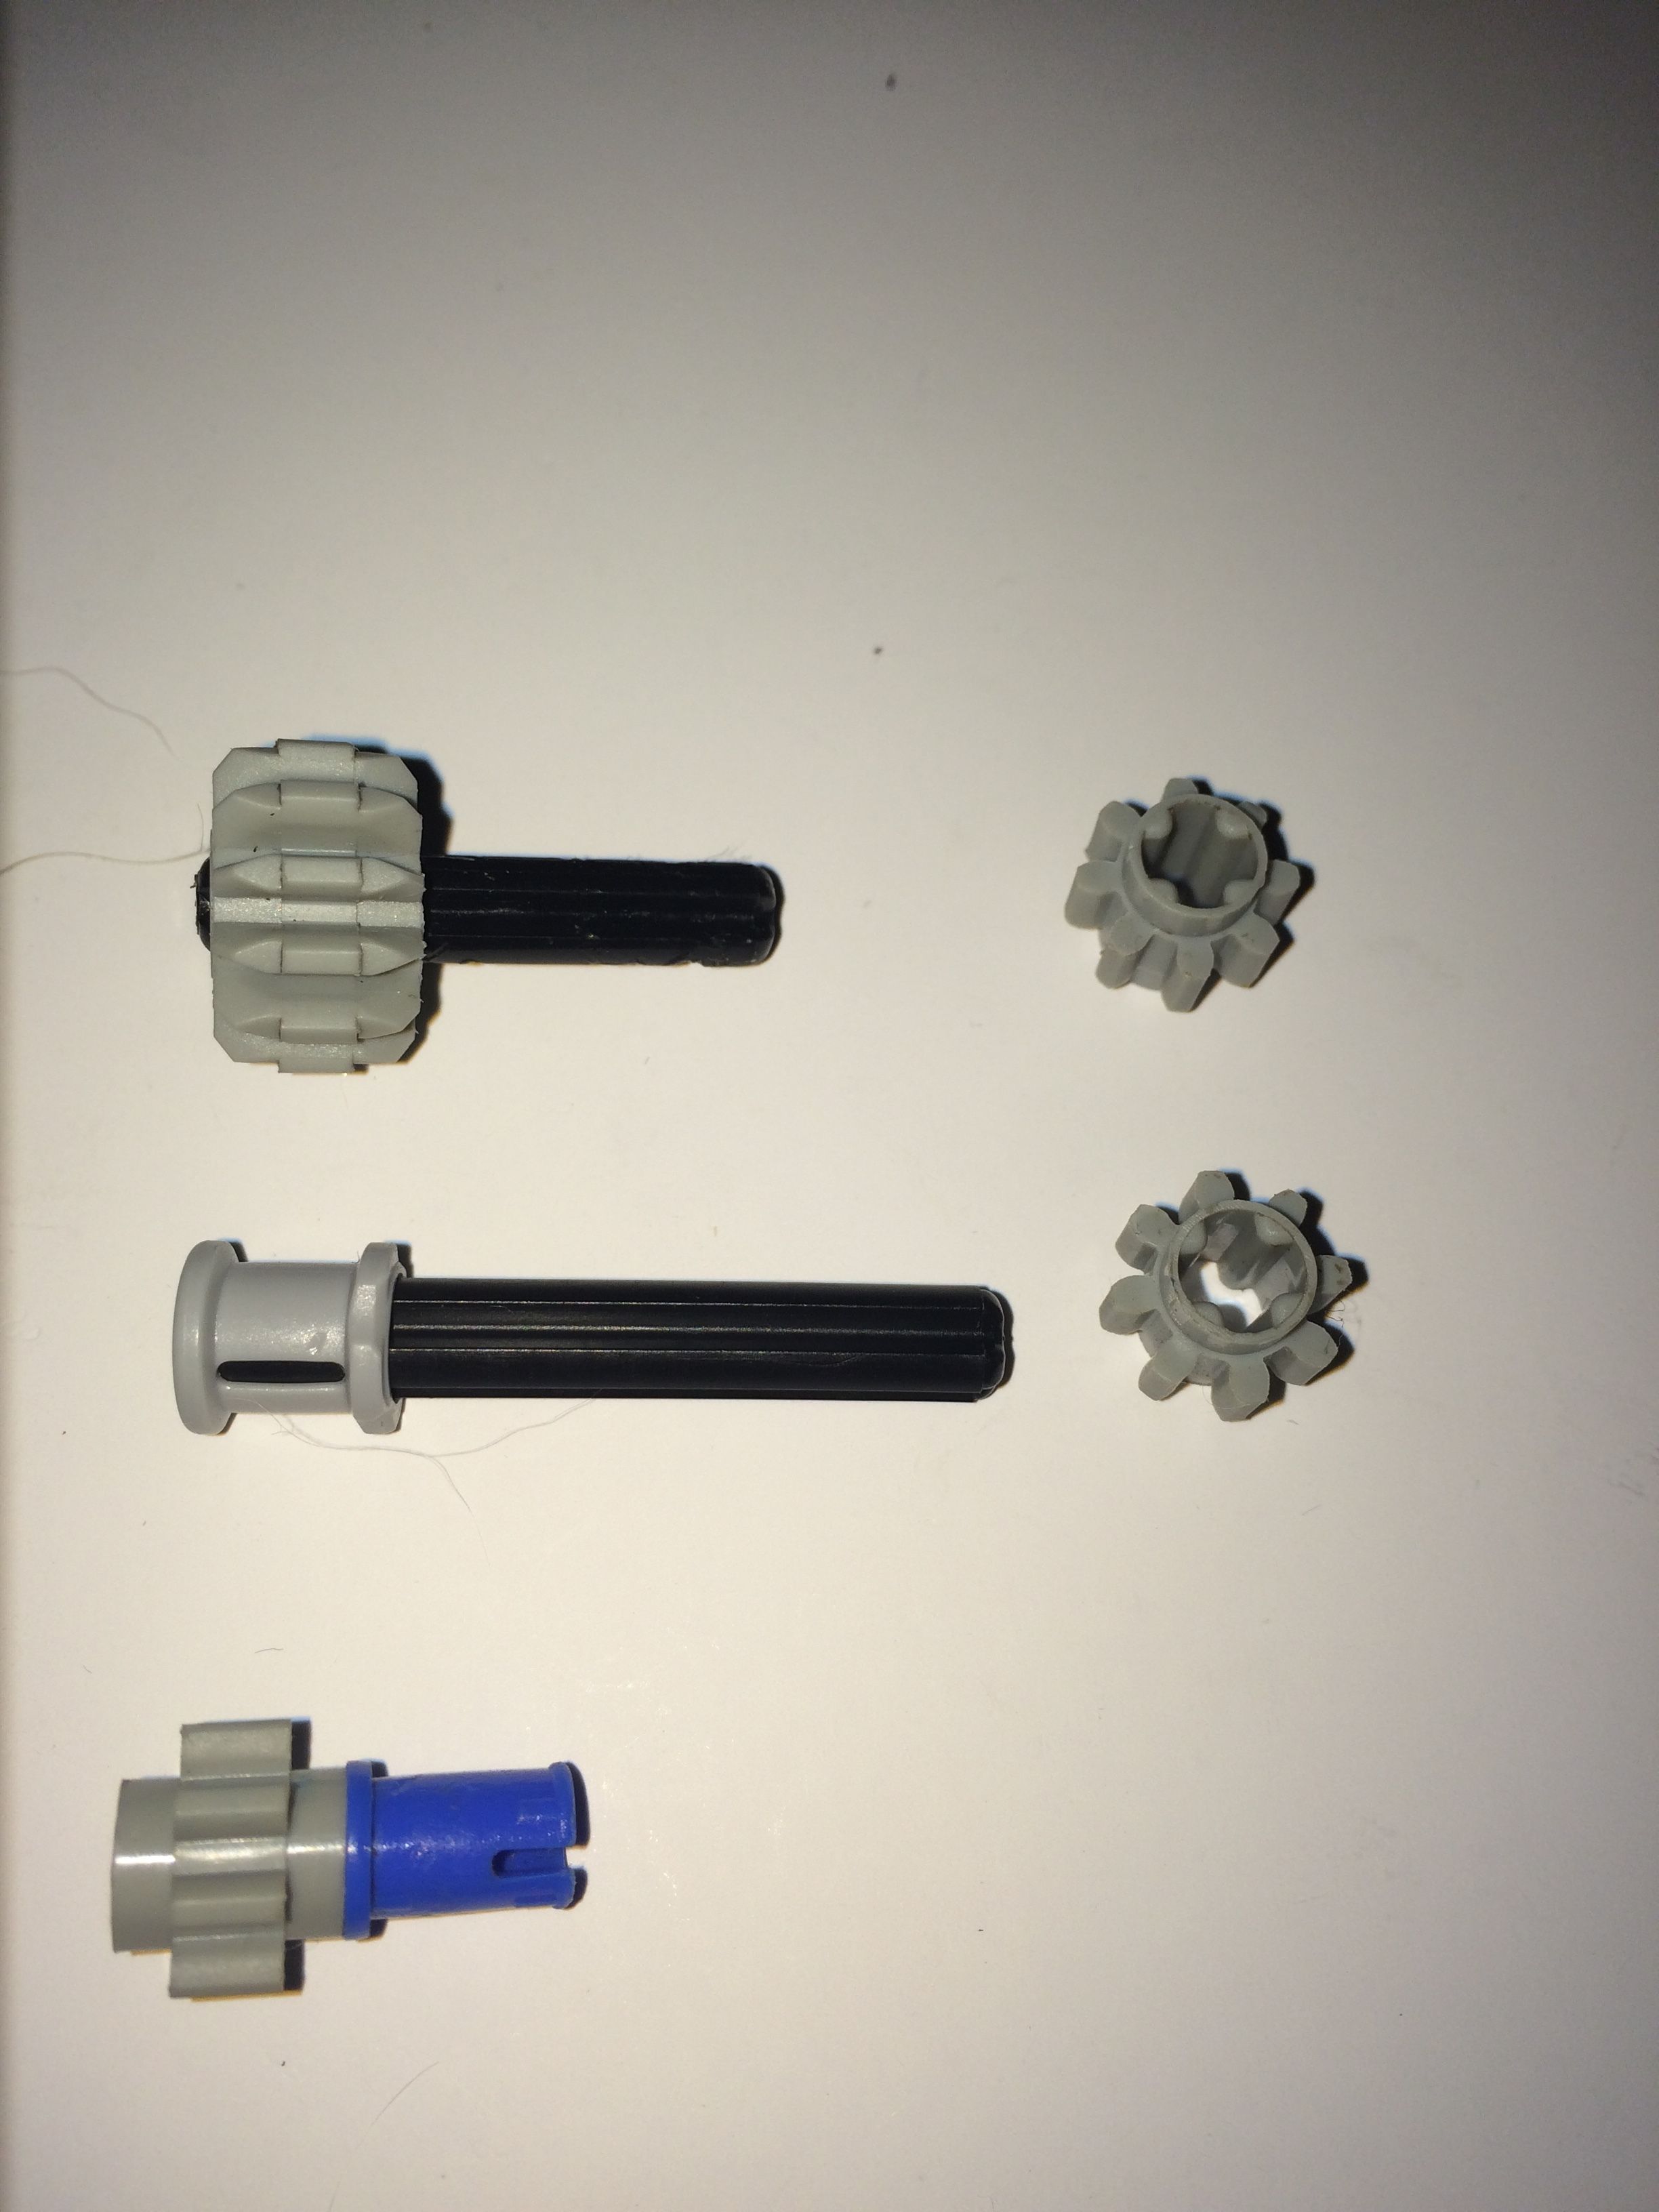
Most of these pieces are relatively common in G1 sets, except perhaps the small cogs. Unfortunately these are essential for the design (larger cogs get stuck on torso pieces you attach them to).
#HowTo Guide:
#1.
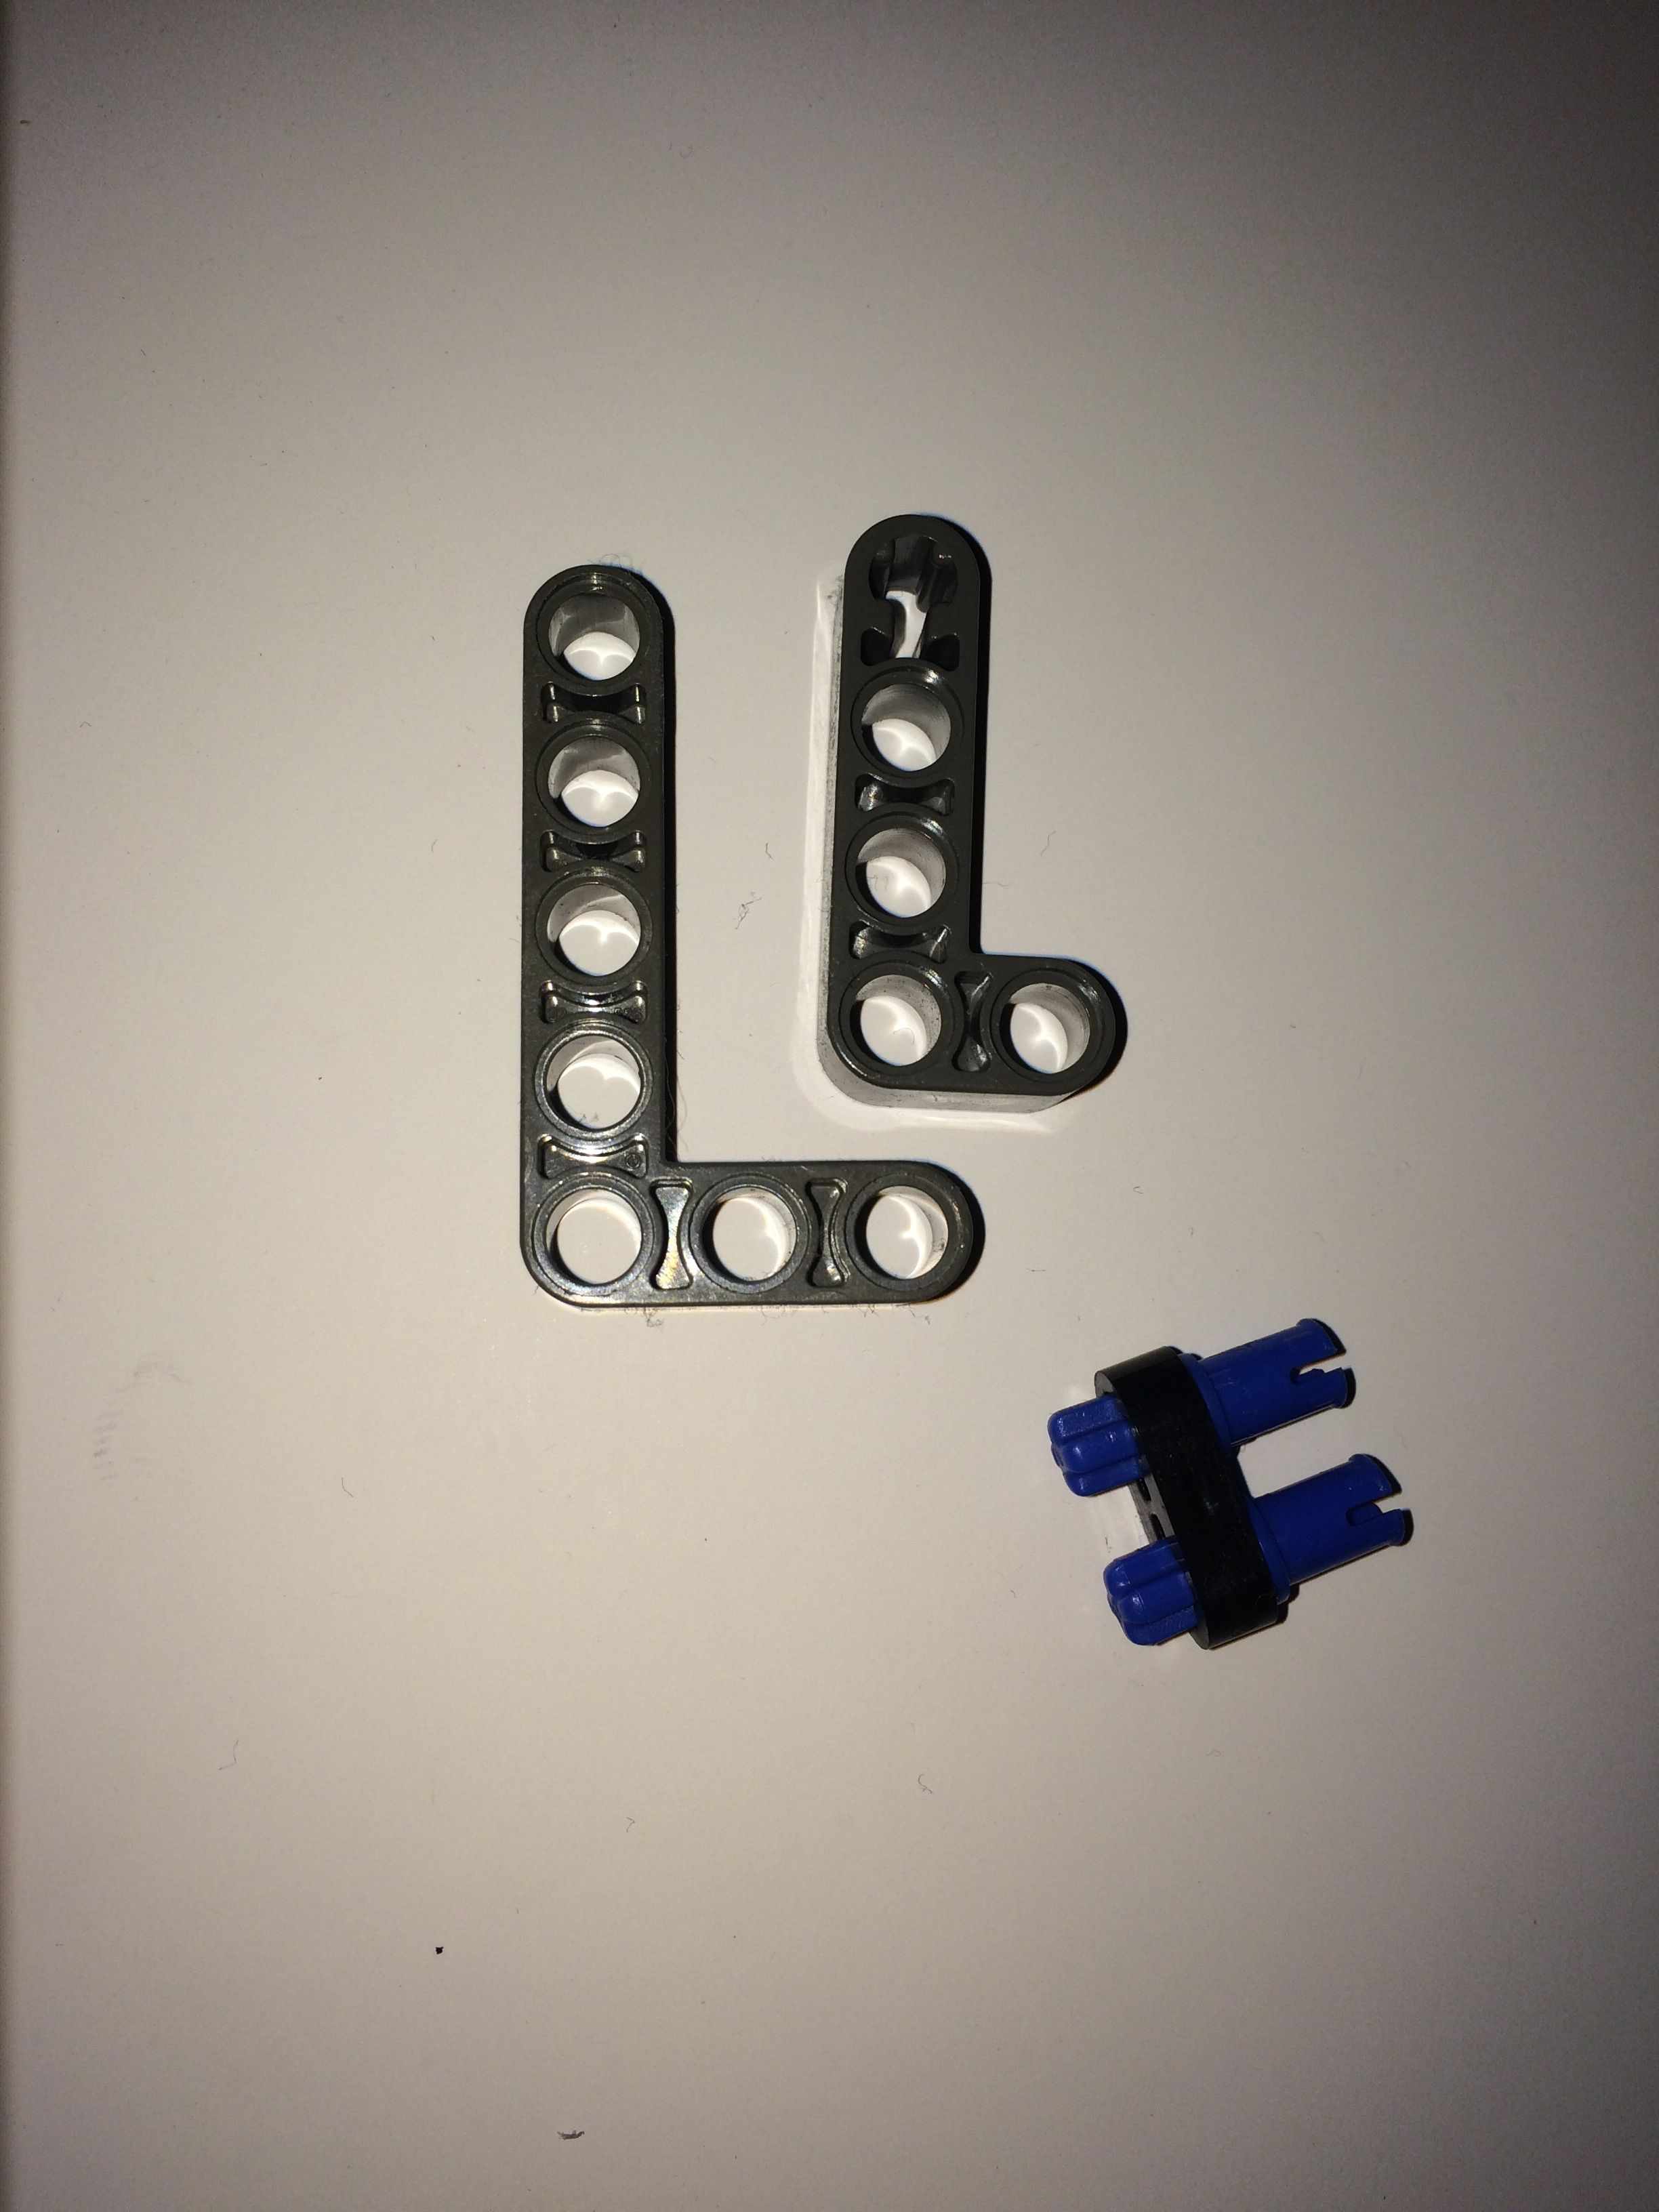
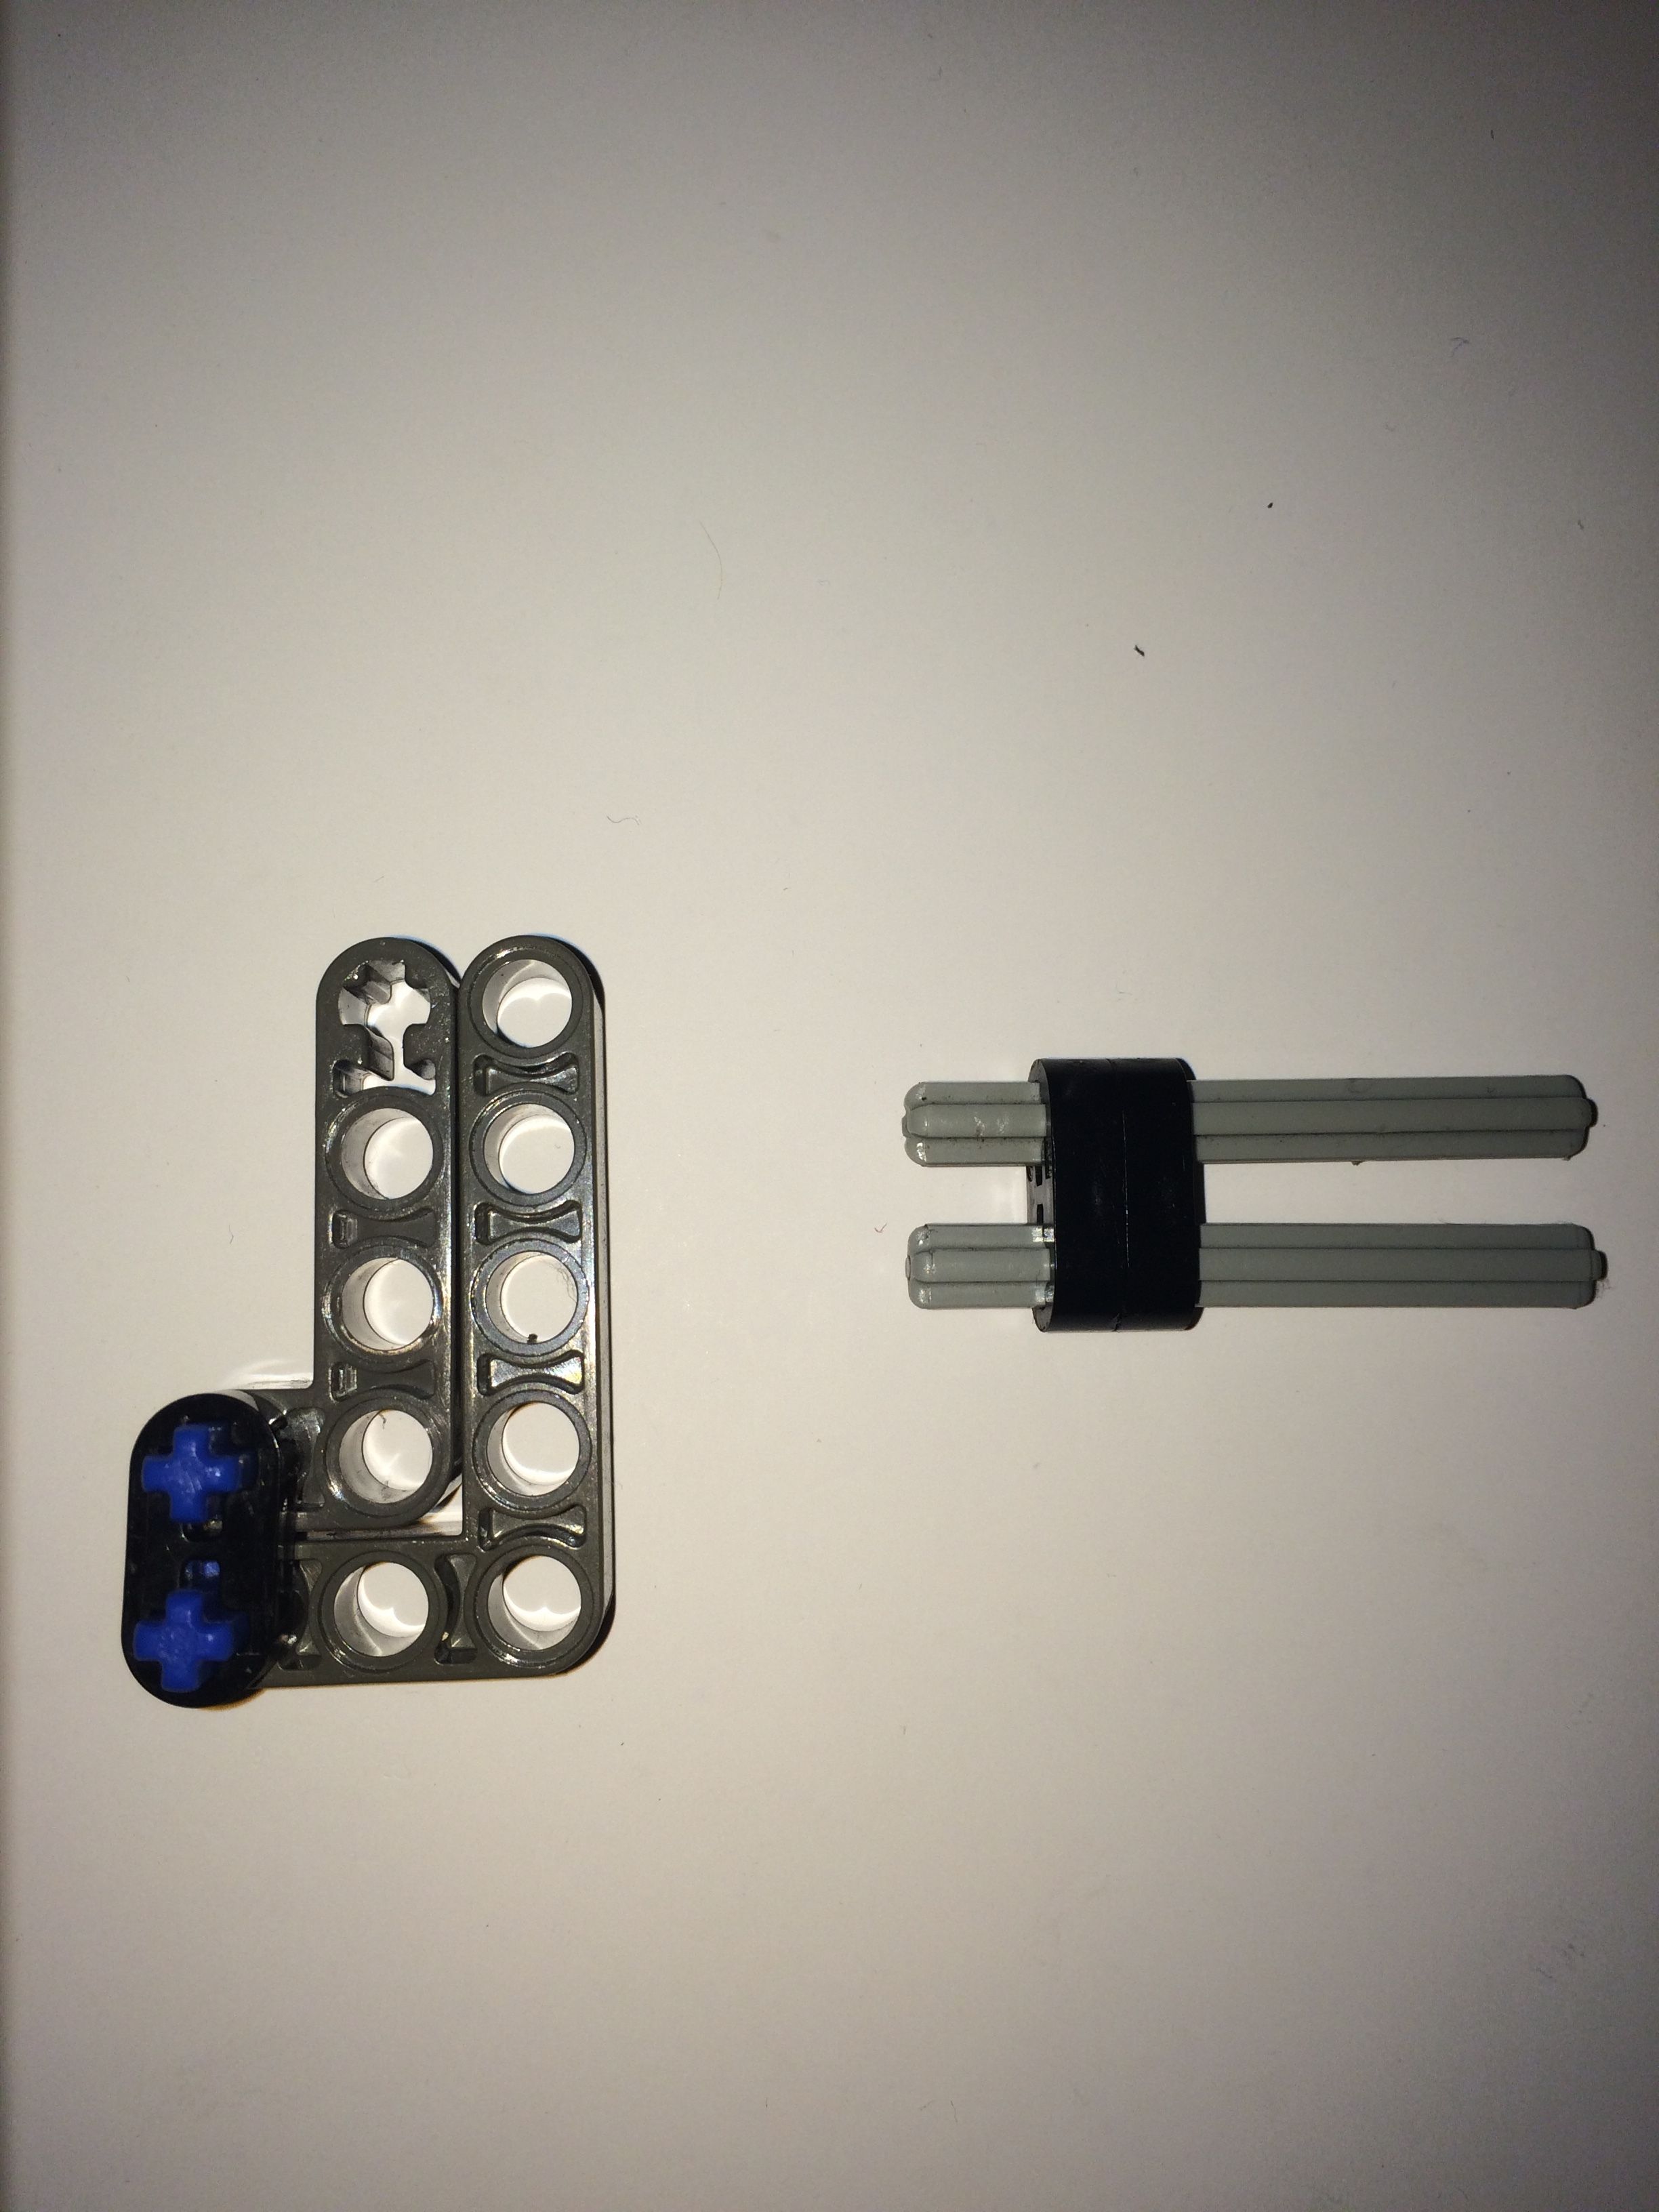
#2.
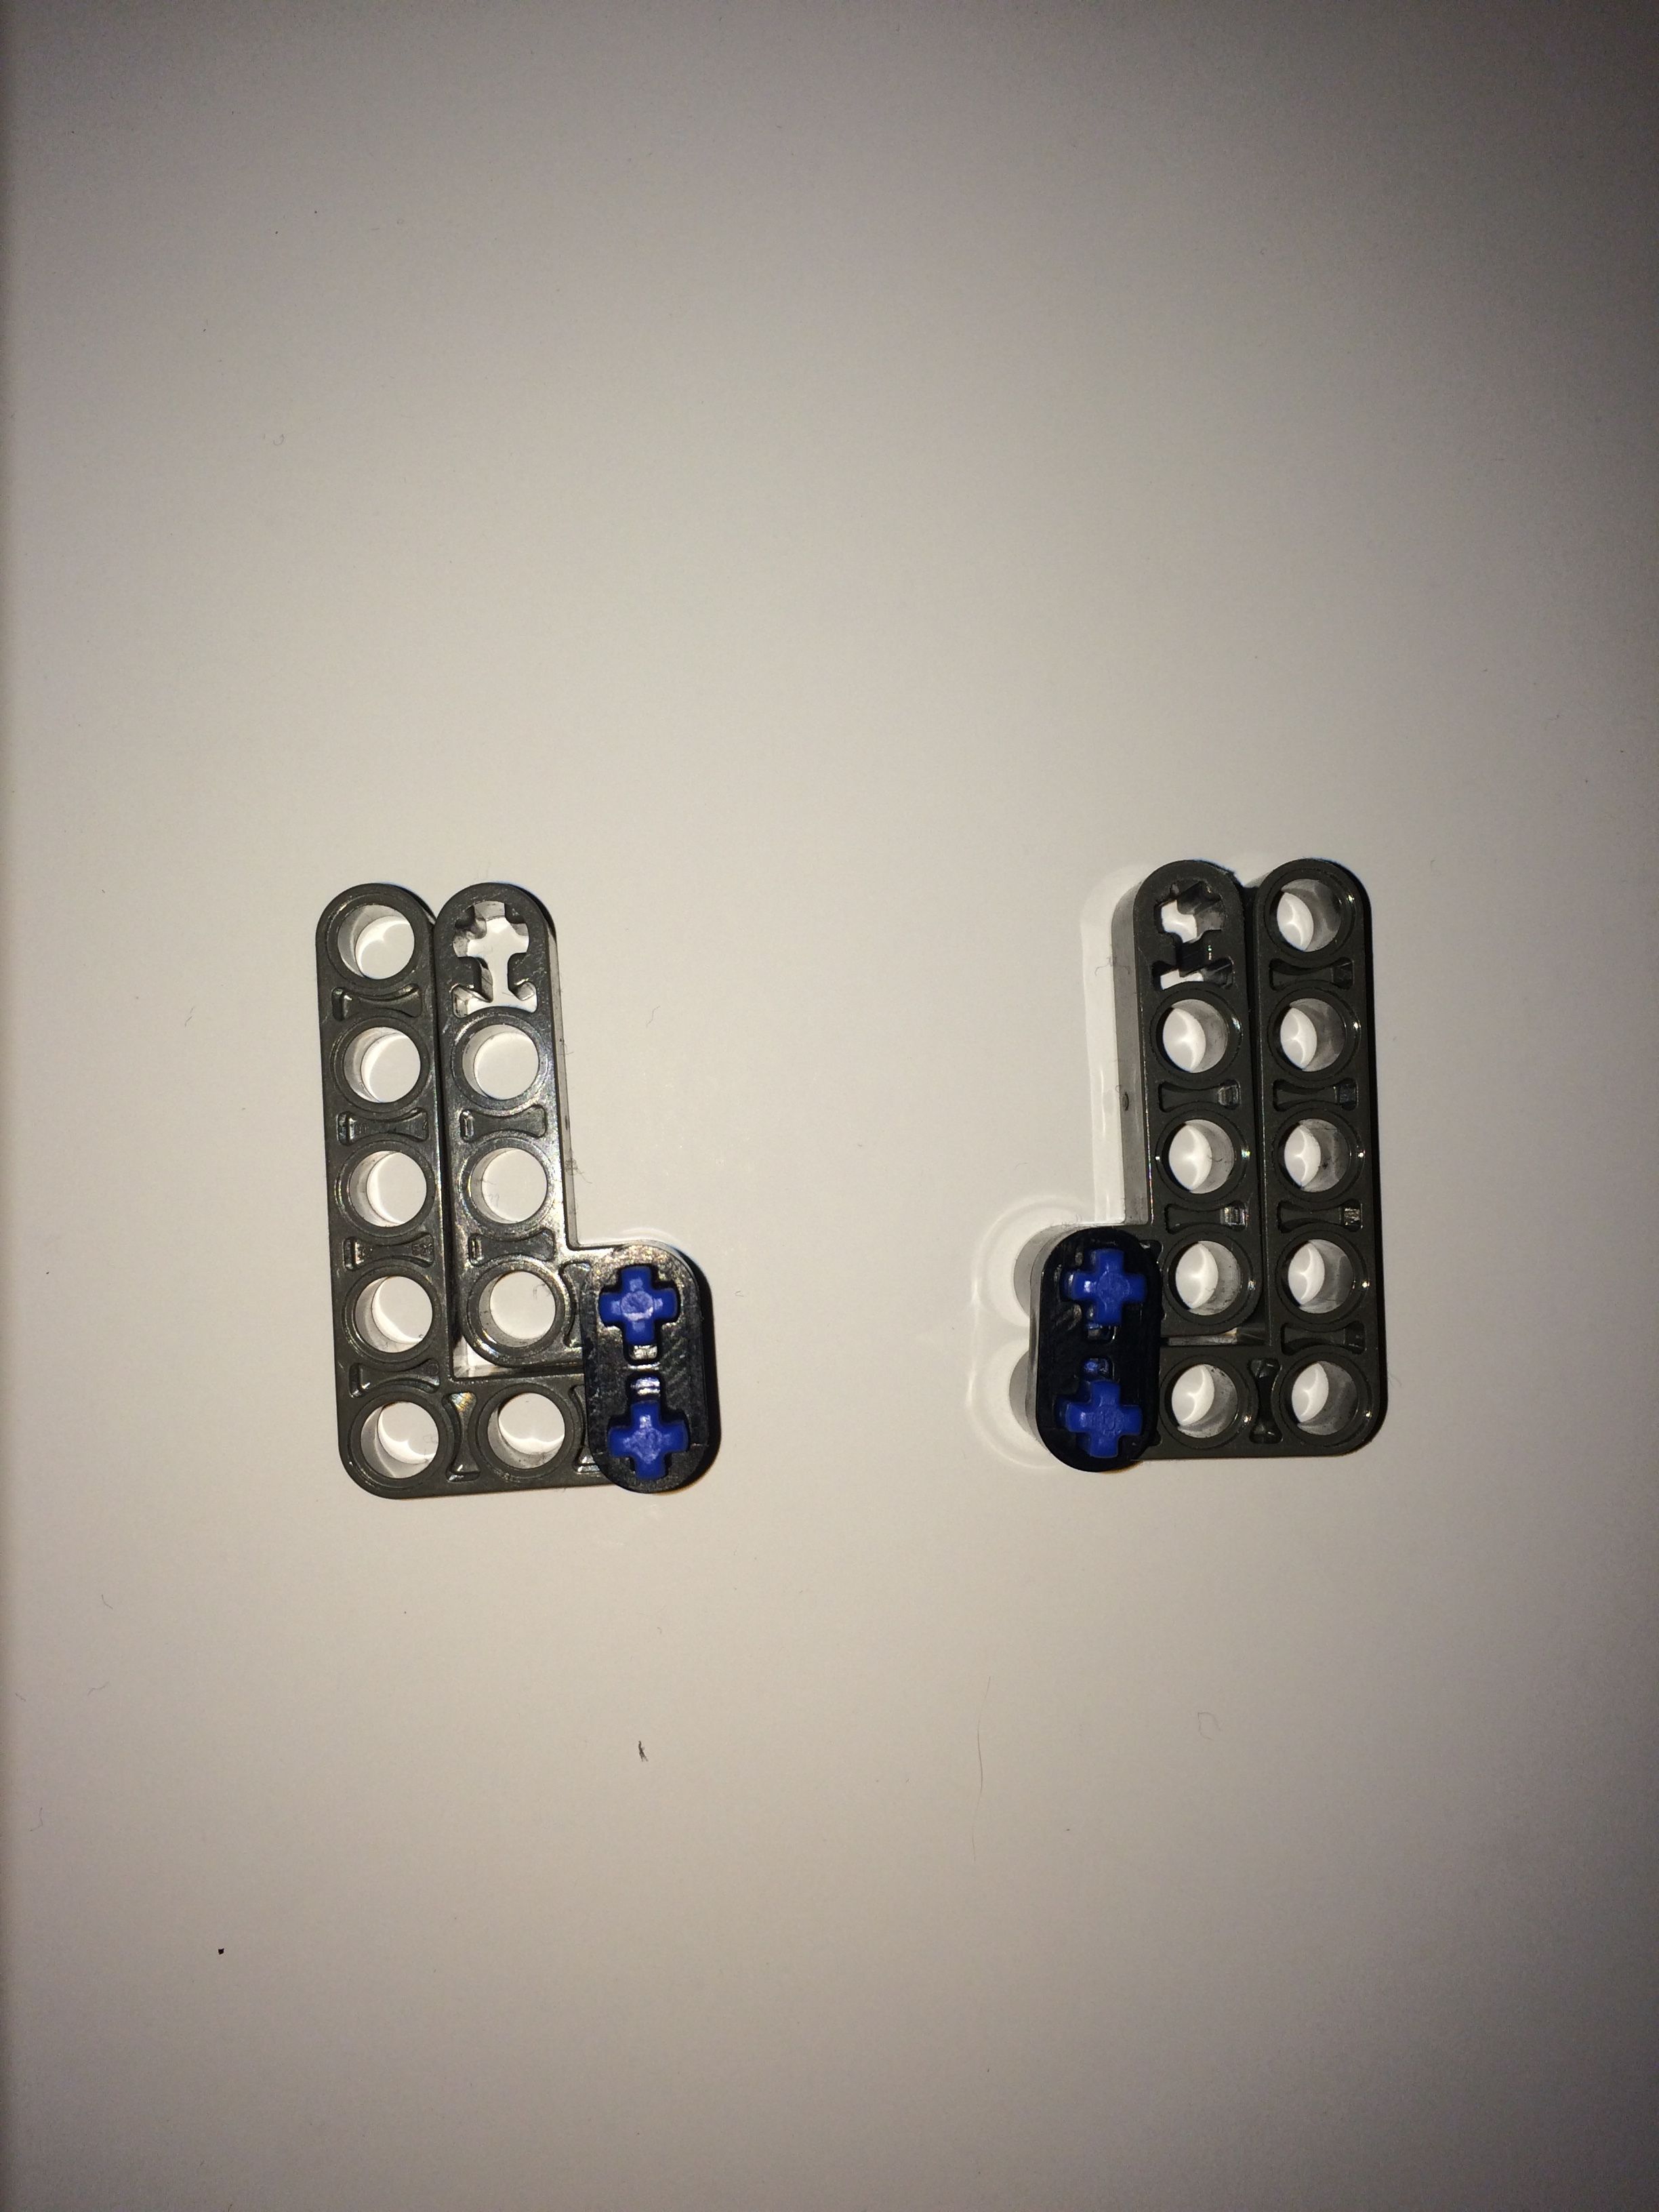
#3.
#4.
#5.
#6.

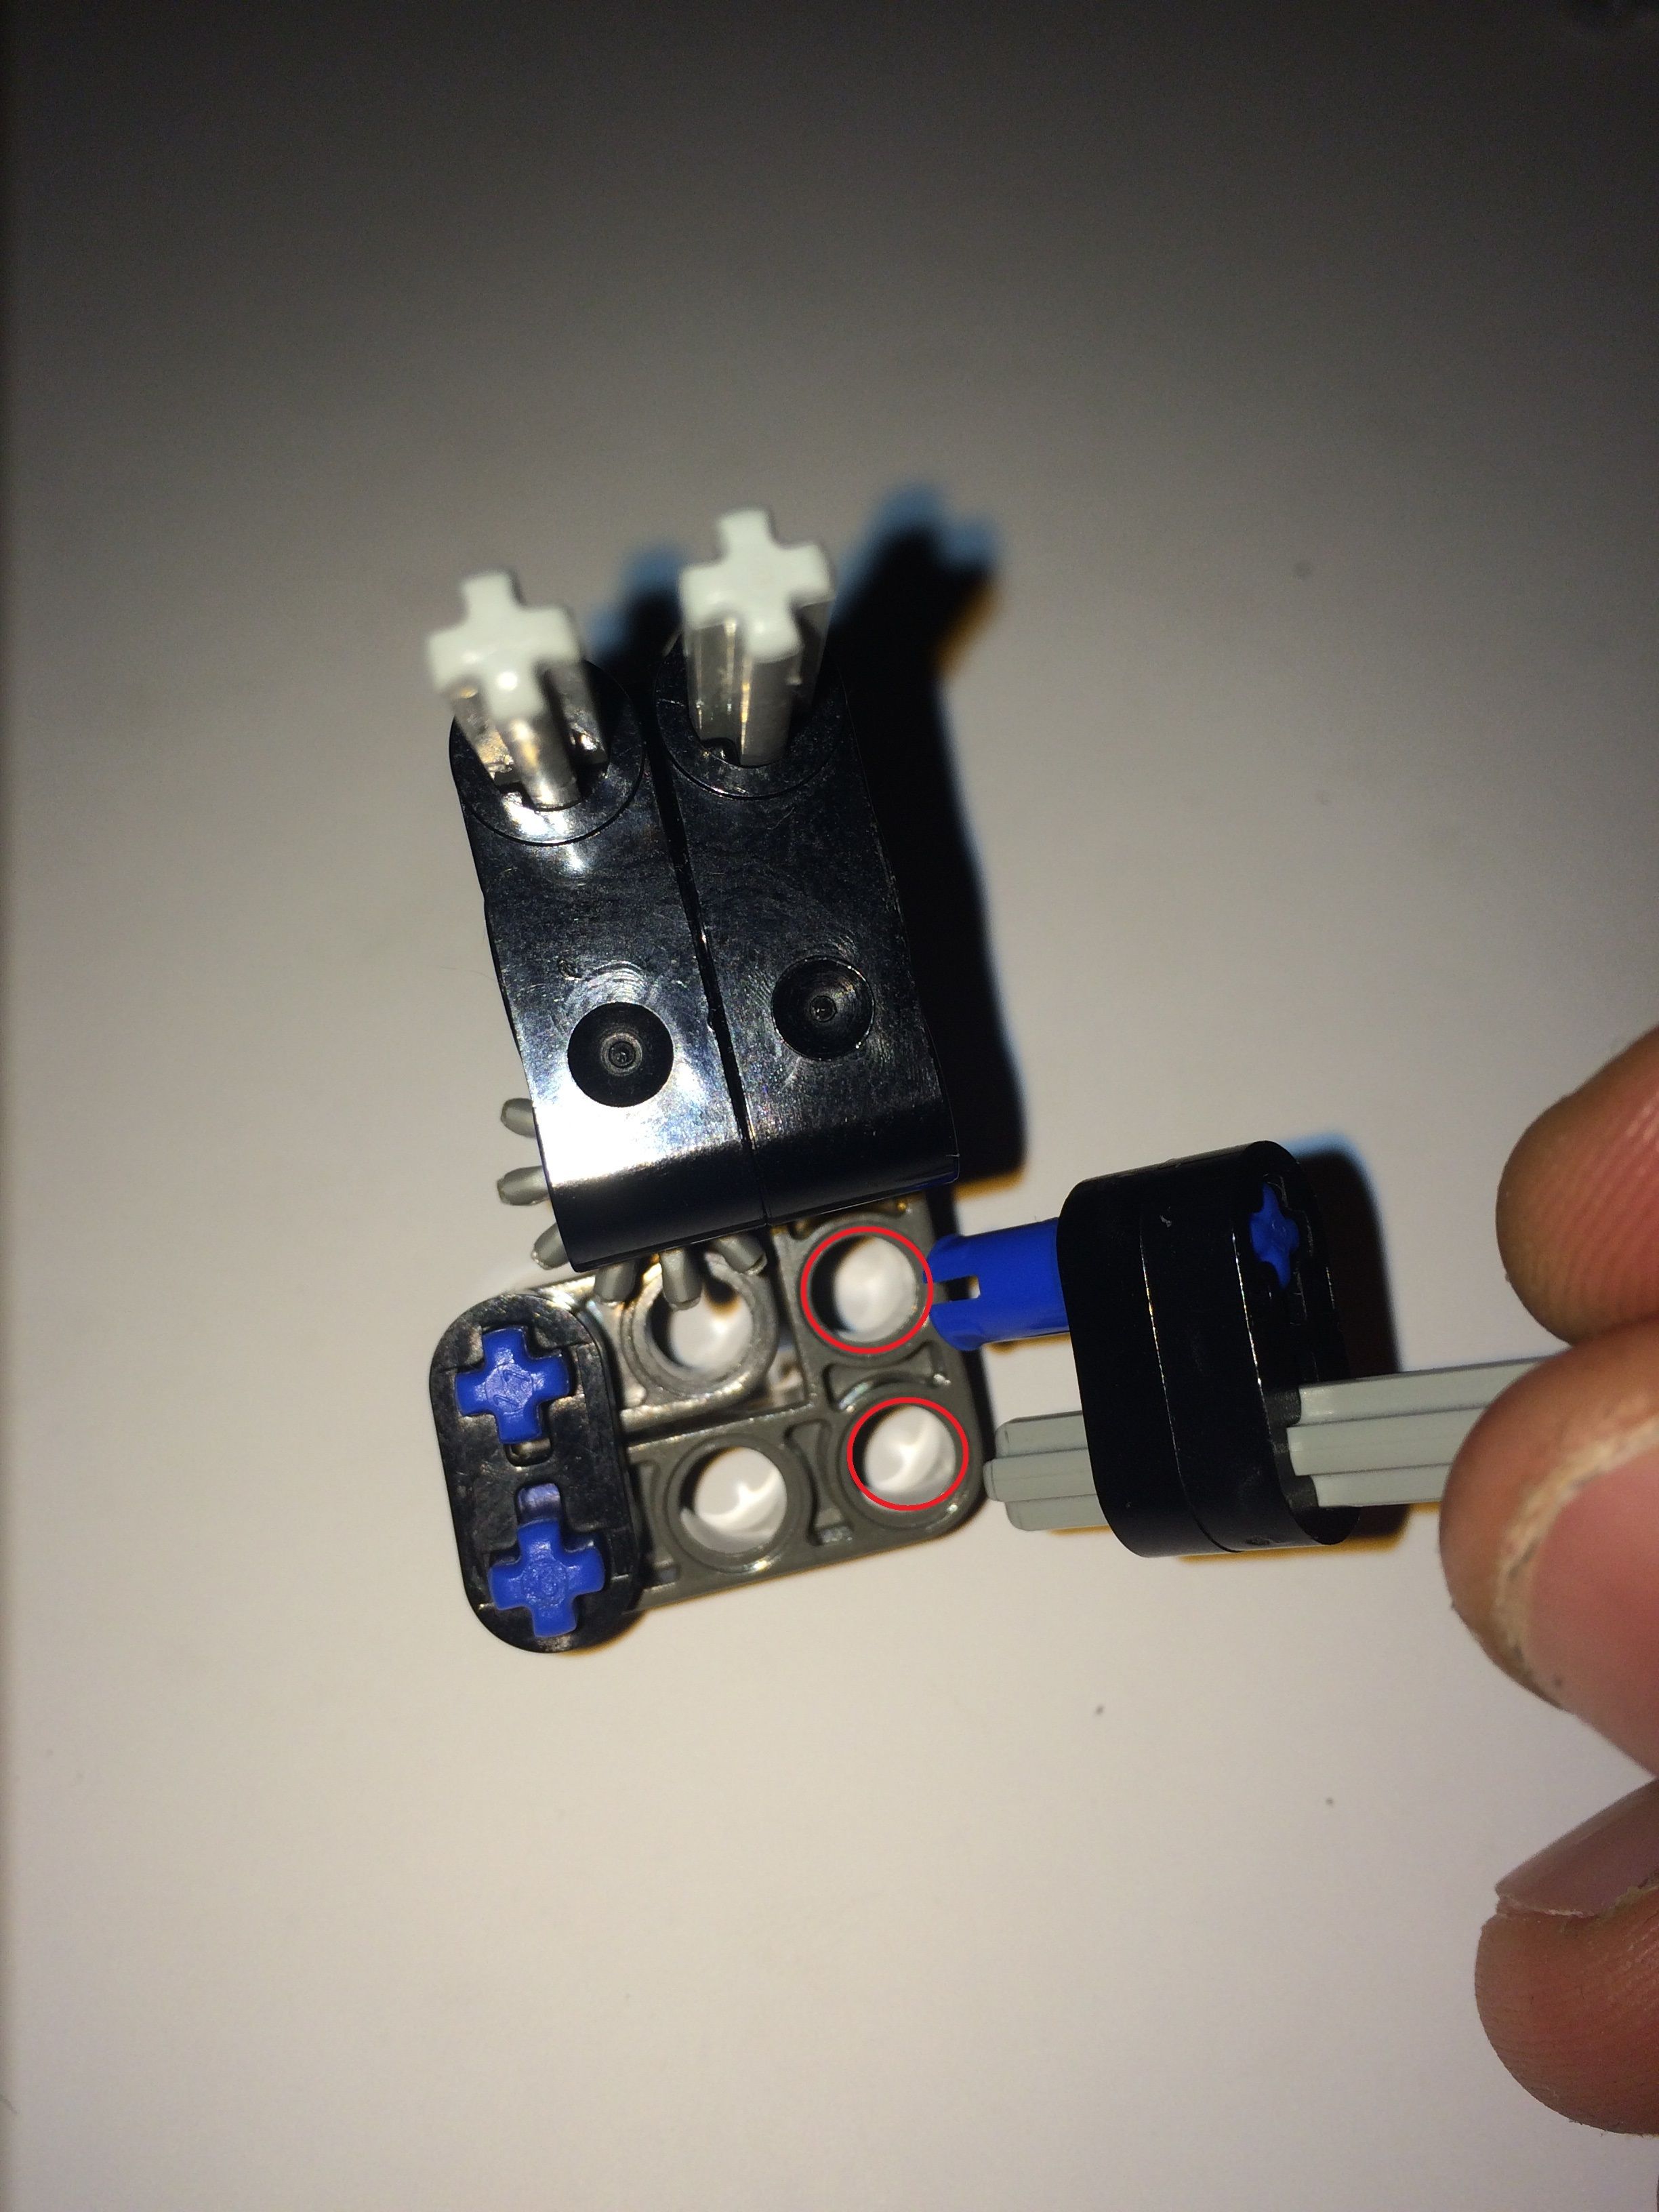
*Slide the axles from step 5 into the holes shown.
#7.

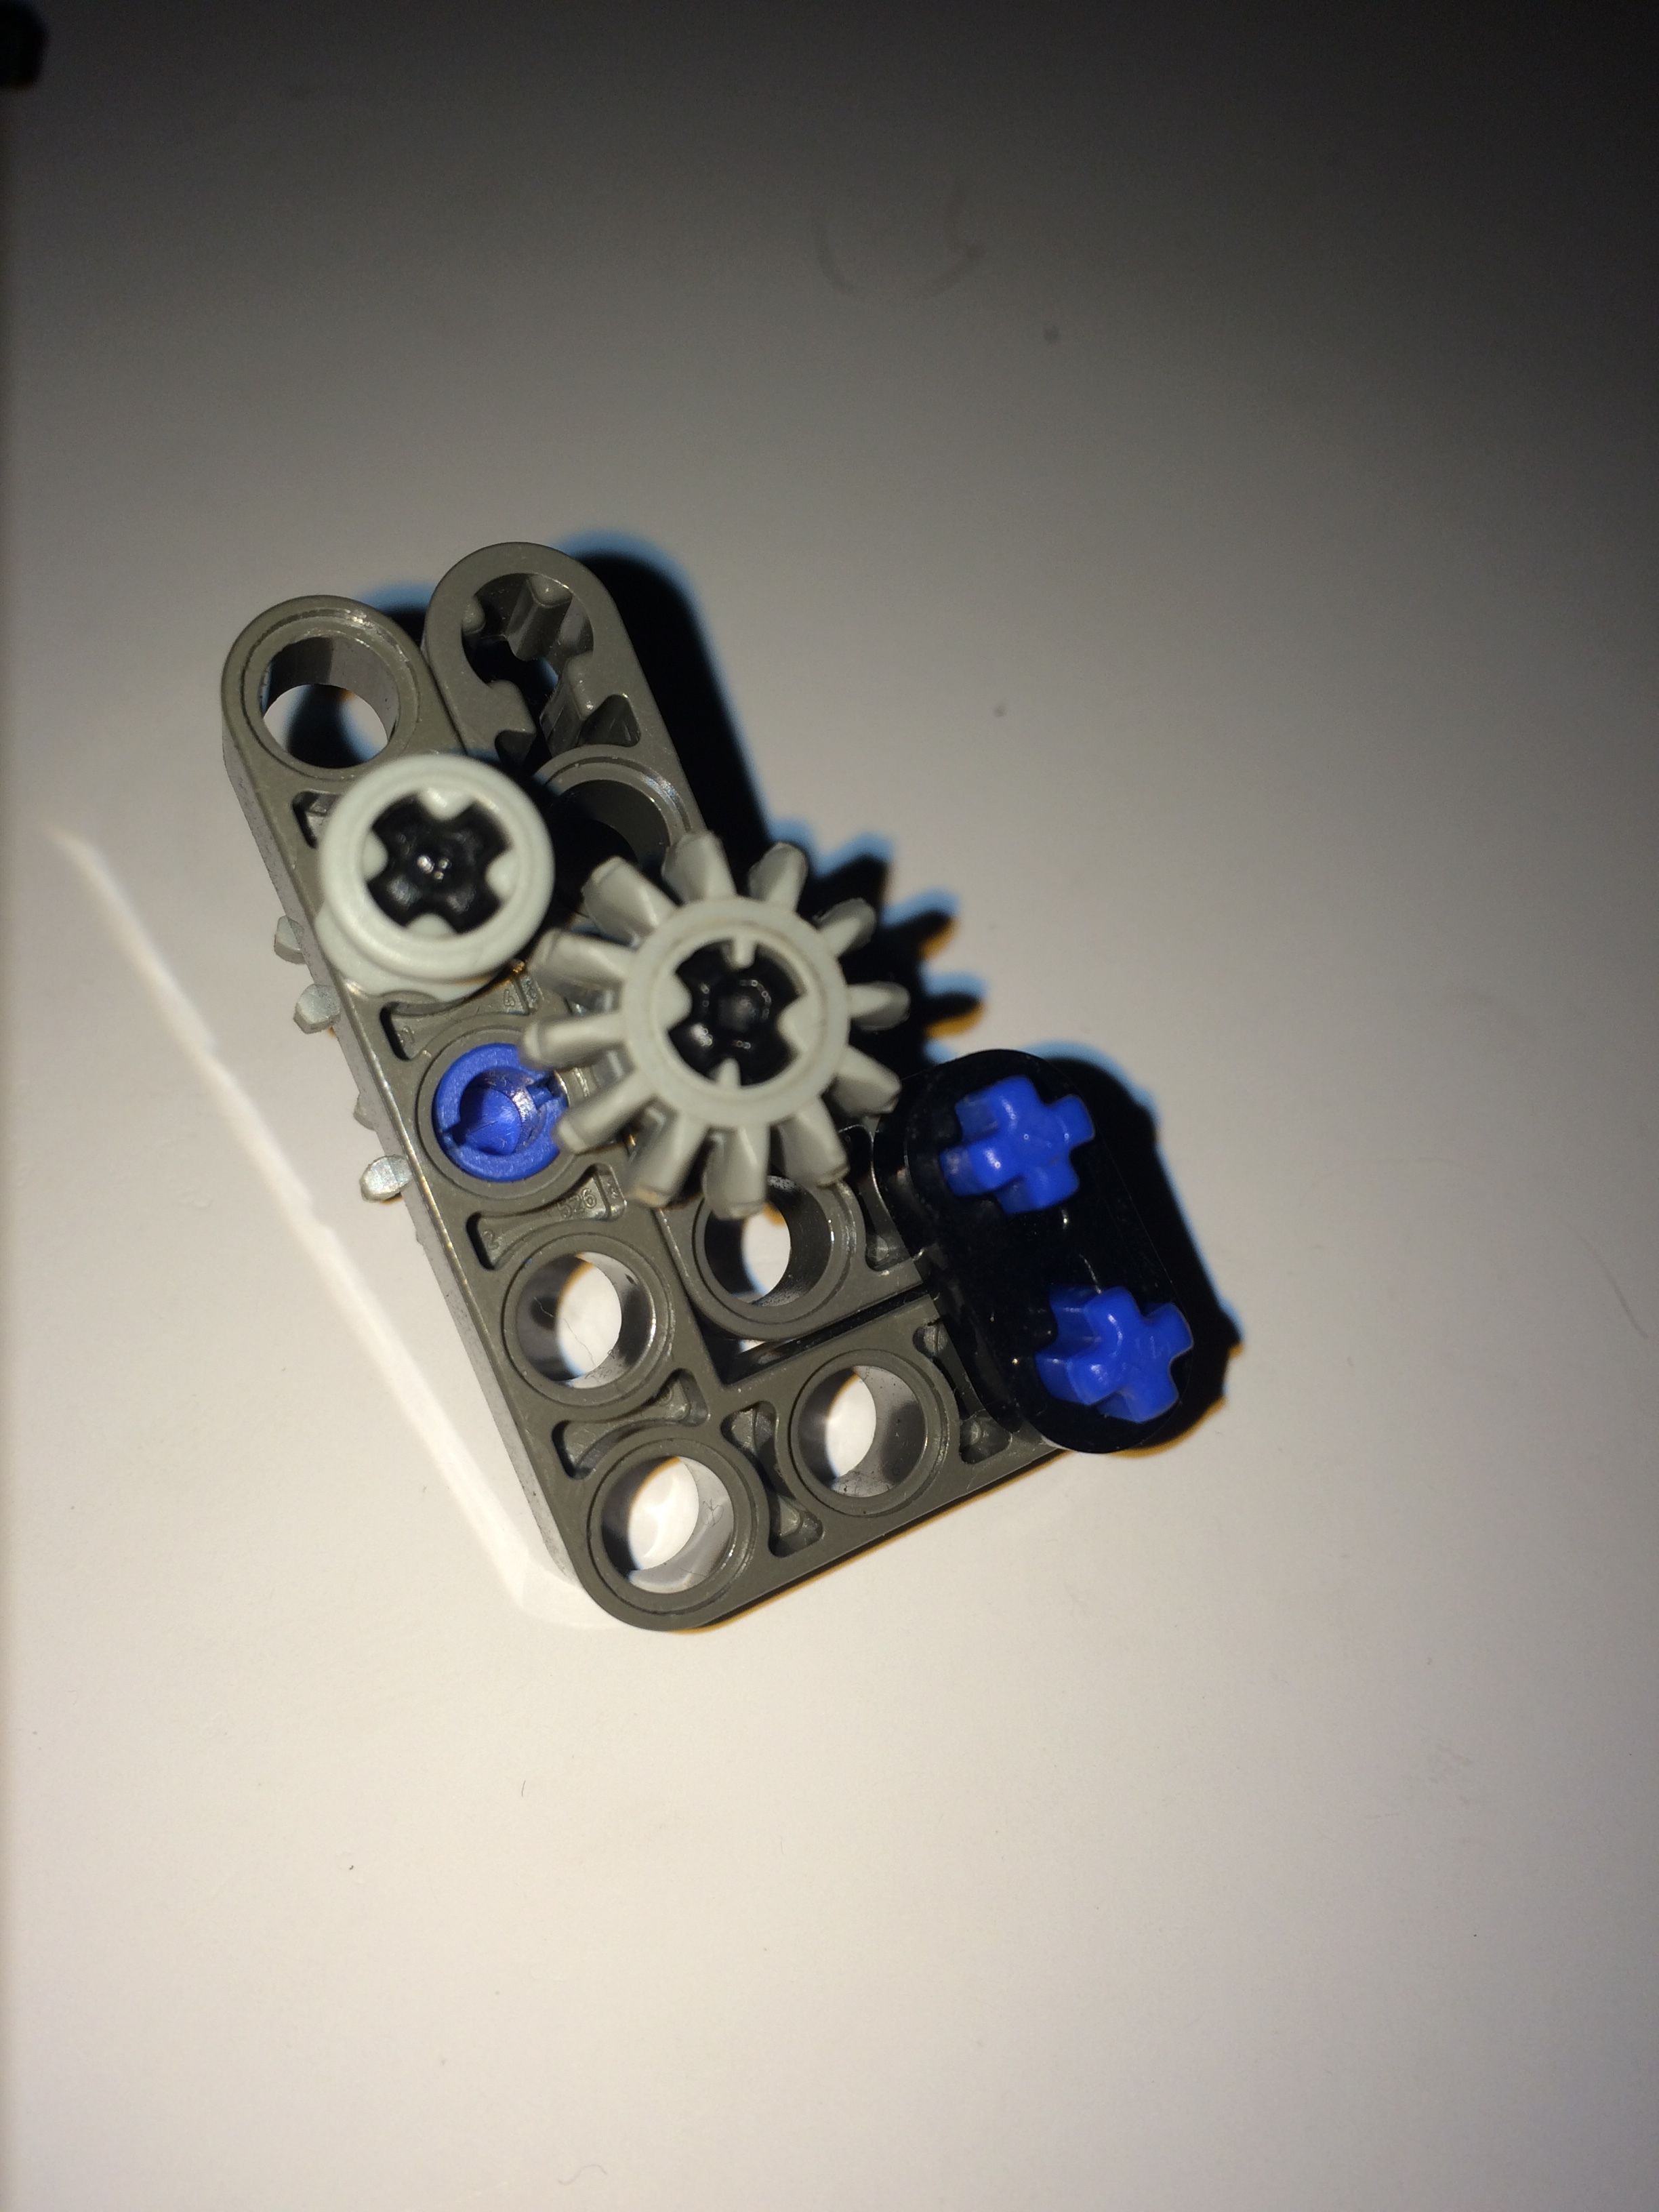
*On the other side, add small cogs to the exposed (black) axles. Now add the third cog (attached to the blue pin).
#8.
*With the other half of the gearbox (shown in step 2), do the same but reversed.
#9.

*Do the same as before on the other side (but again, reversed).
#10.
#11.

#12.
*This step is not essential, though it provides an extra connection point to torso pieces.
(Please ignore my obscenely short nails. It’s a habit.)
#13.
*This step is not essential, though it provides an extra connection point to torso pieces.
#14.

#15.
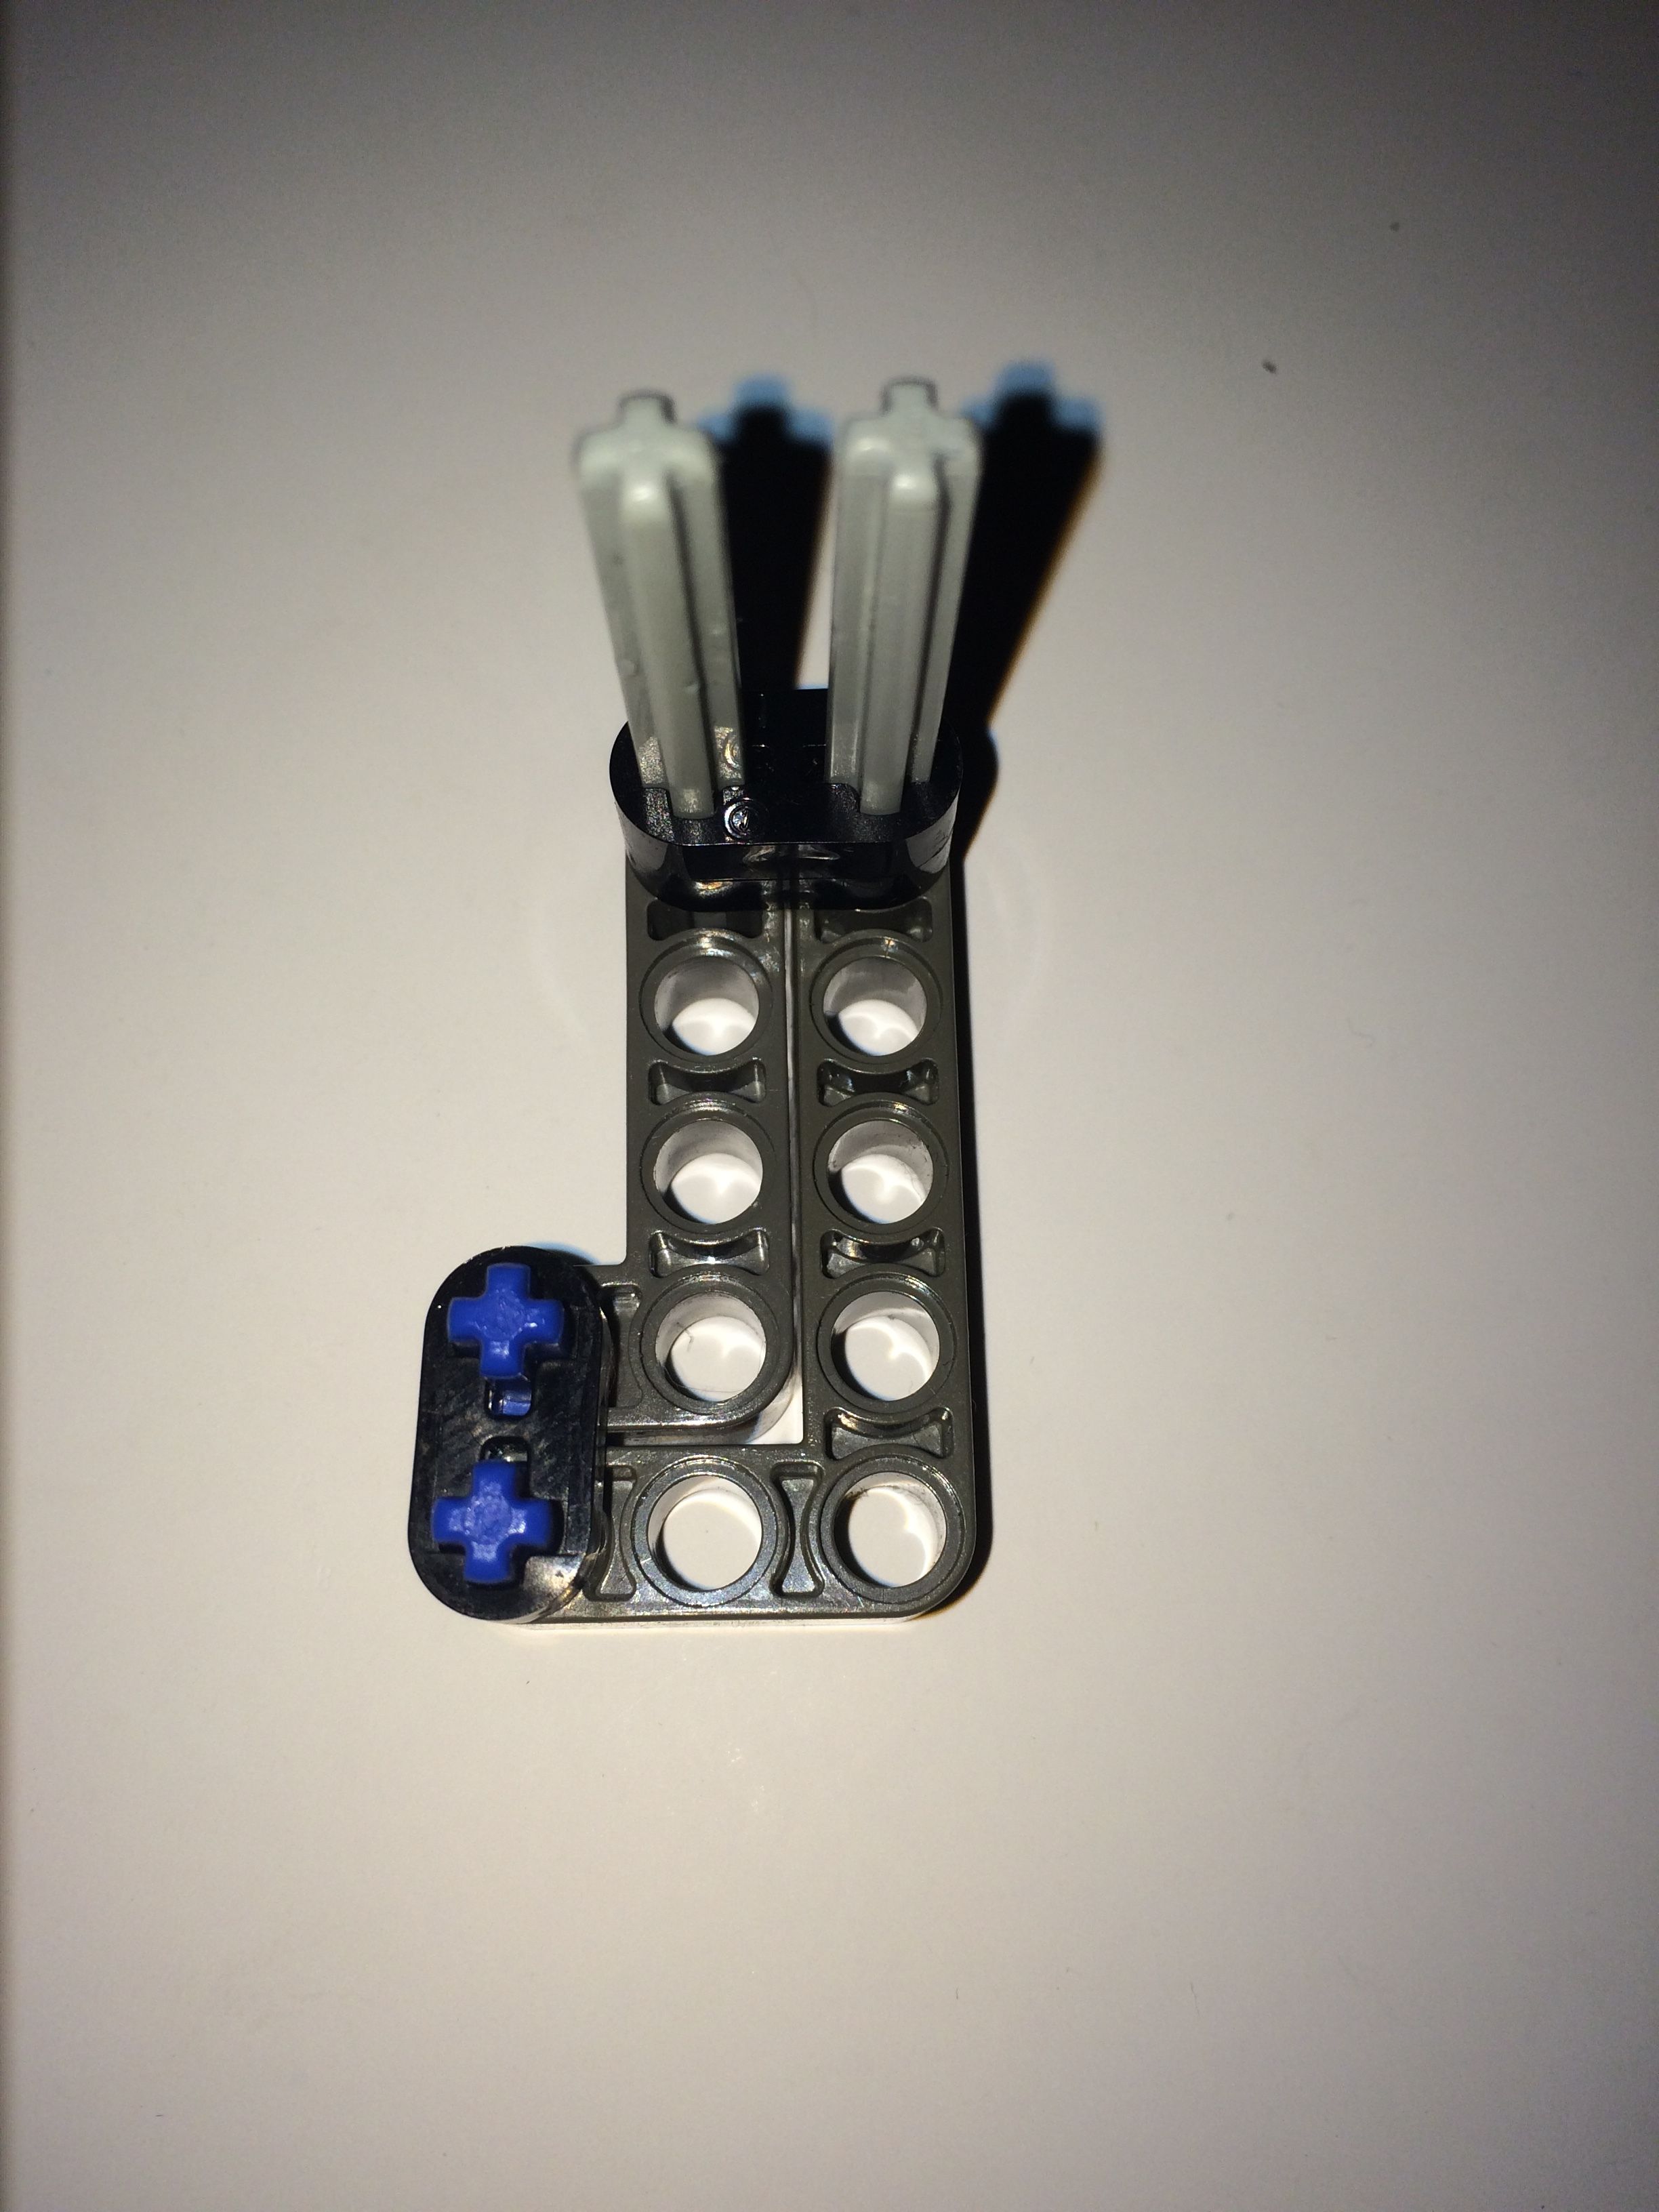
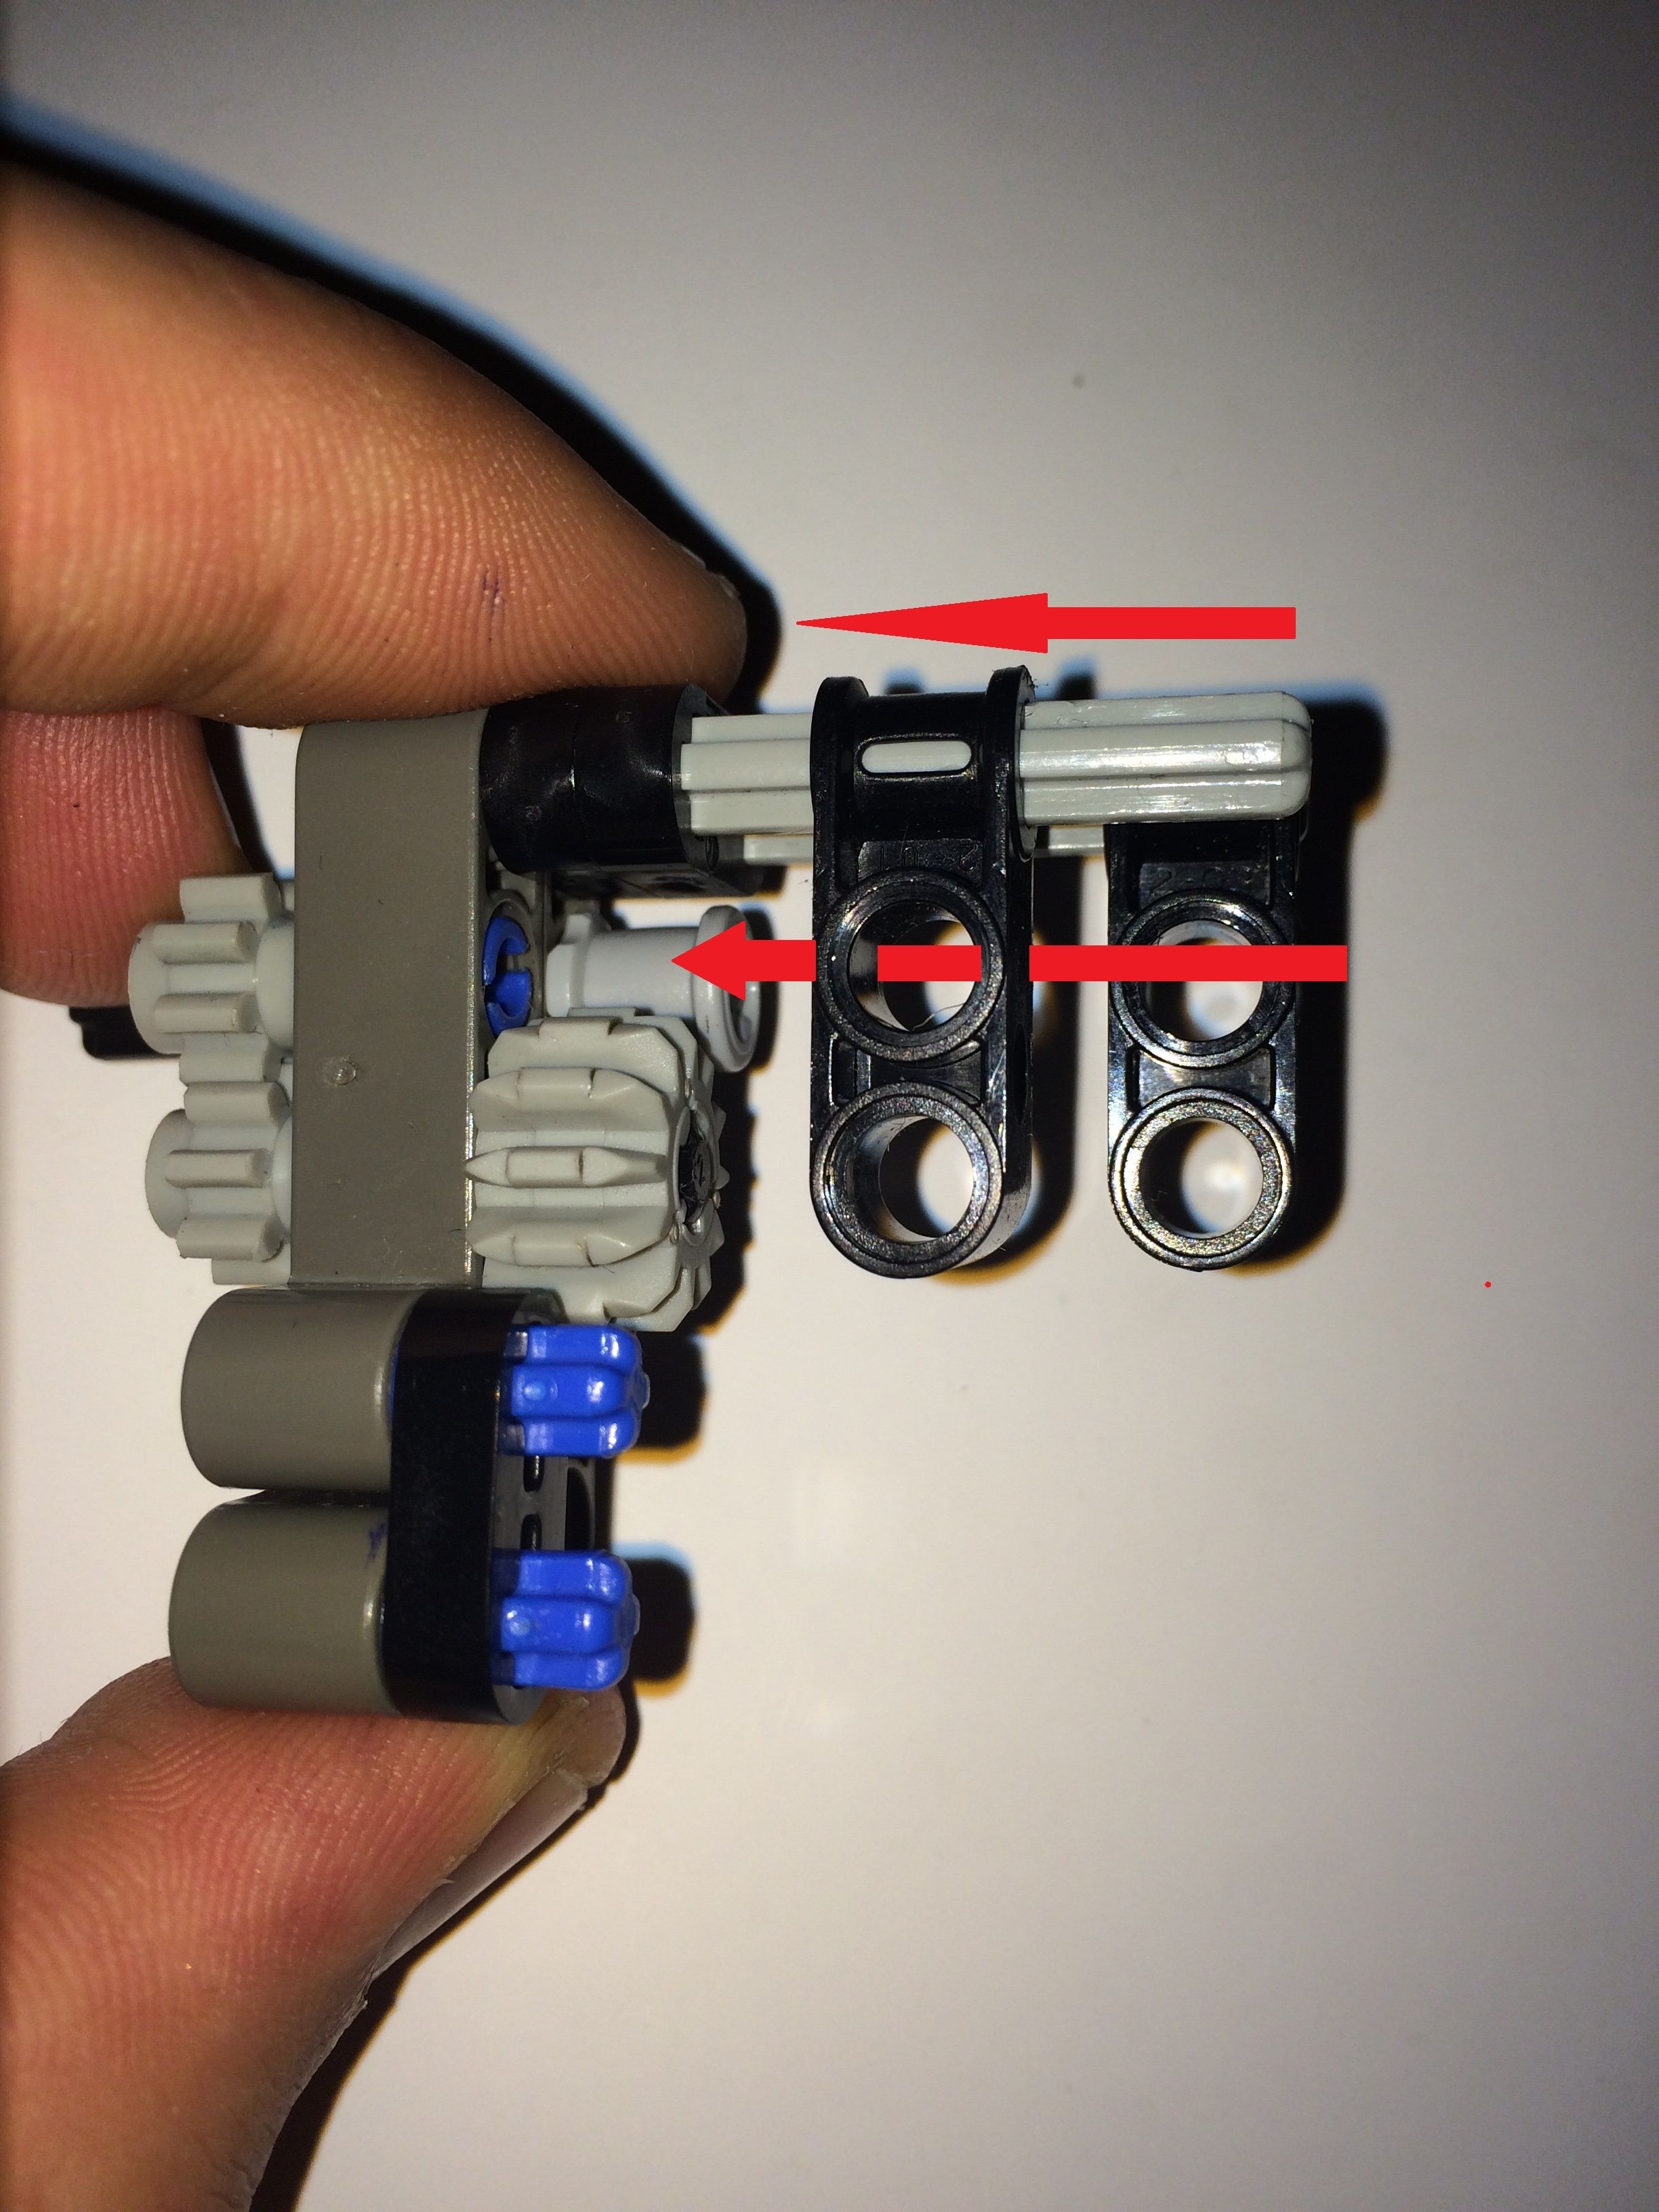
*Slide two ‘double-pin’ (piece E) pieces through the two open axles.
#16.
#17.

#18.
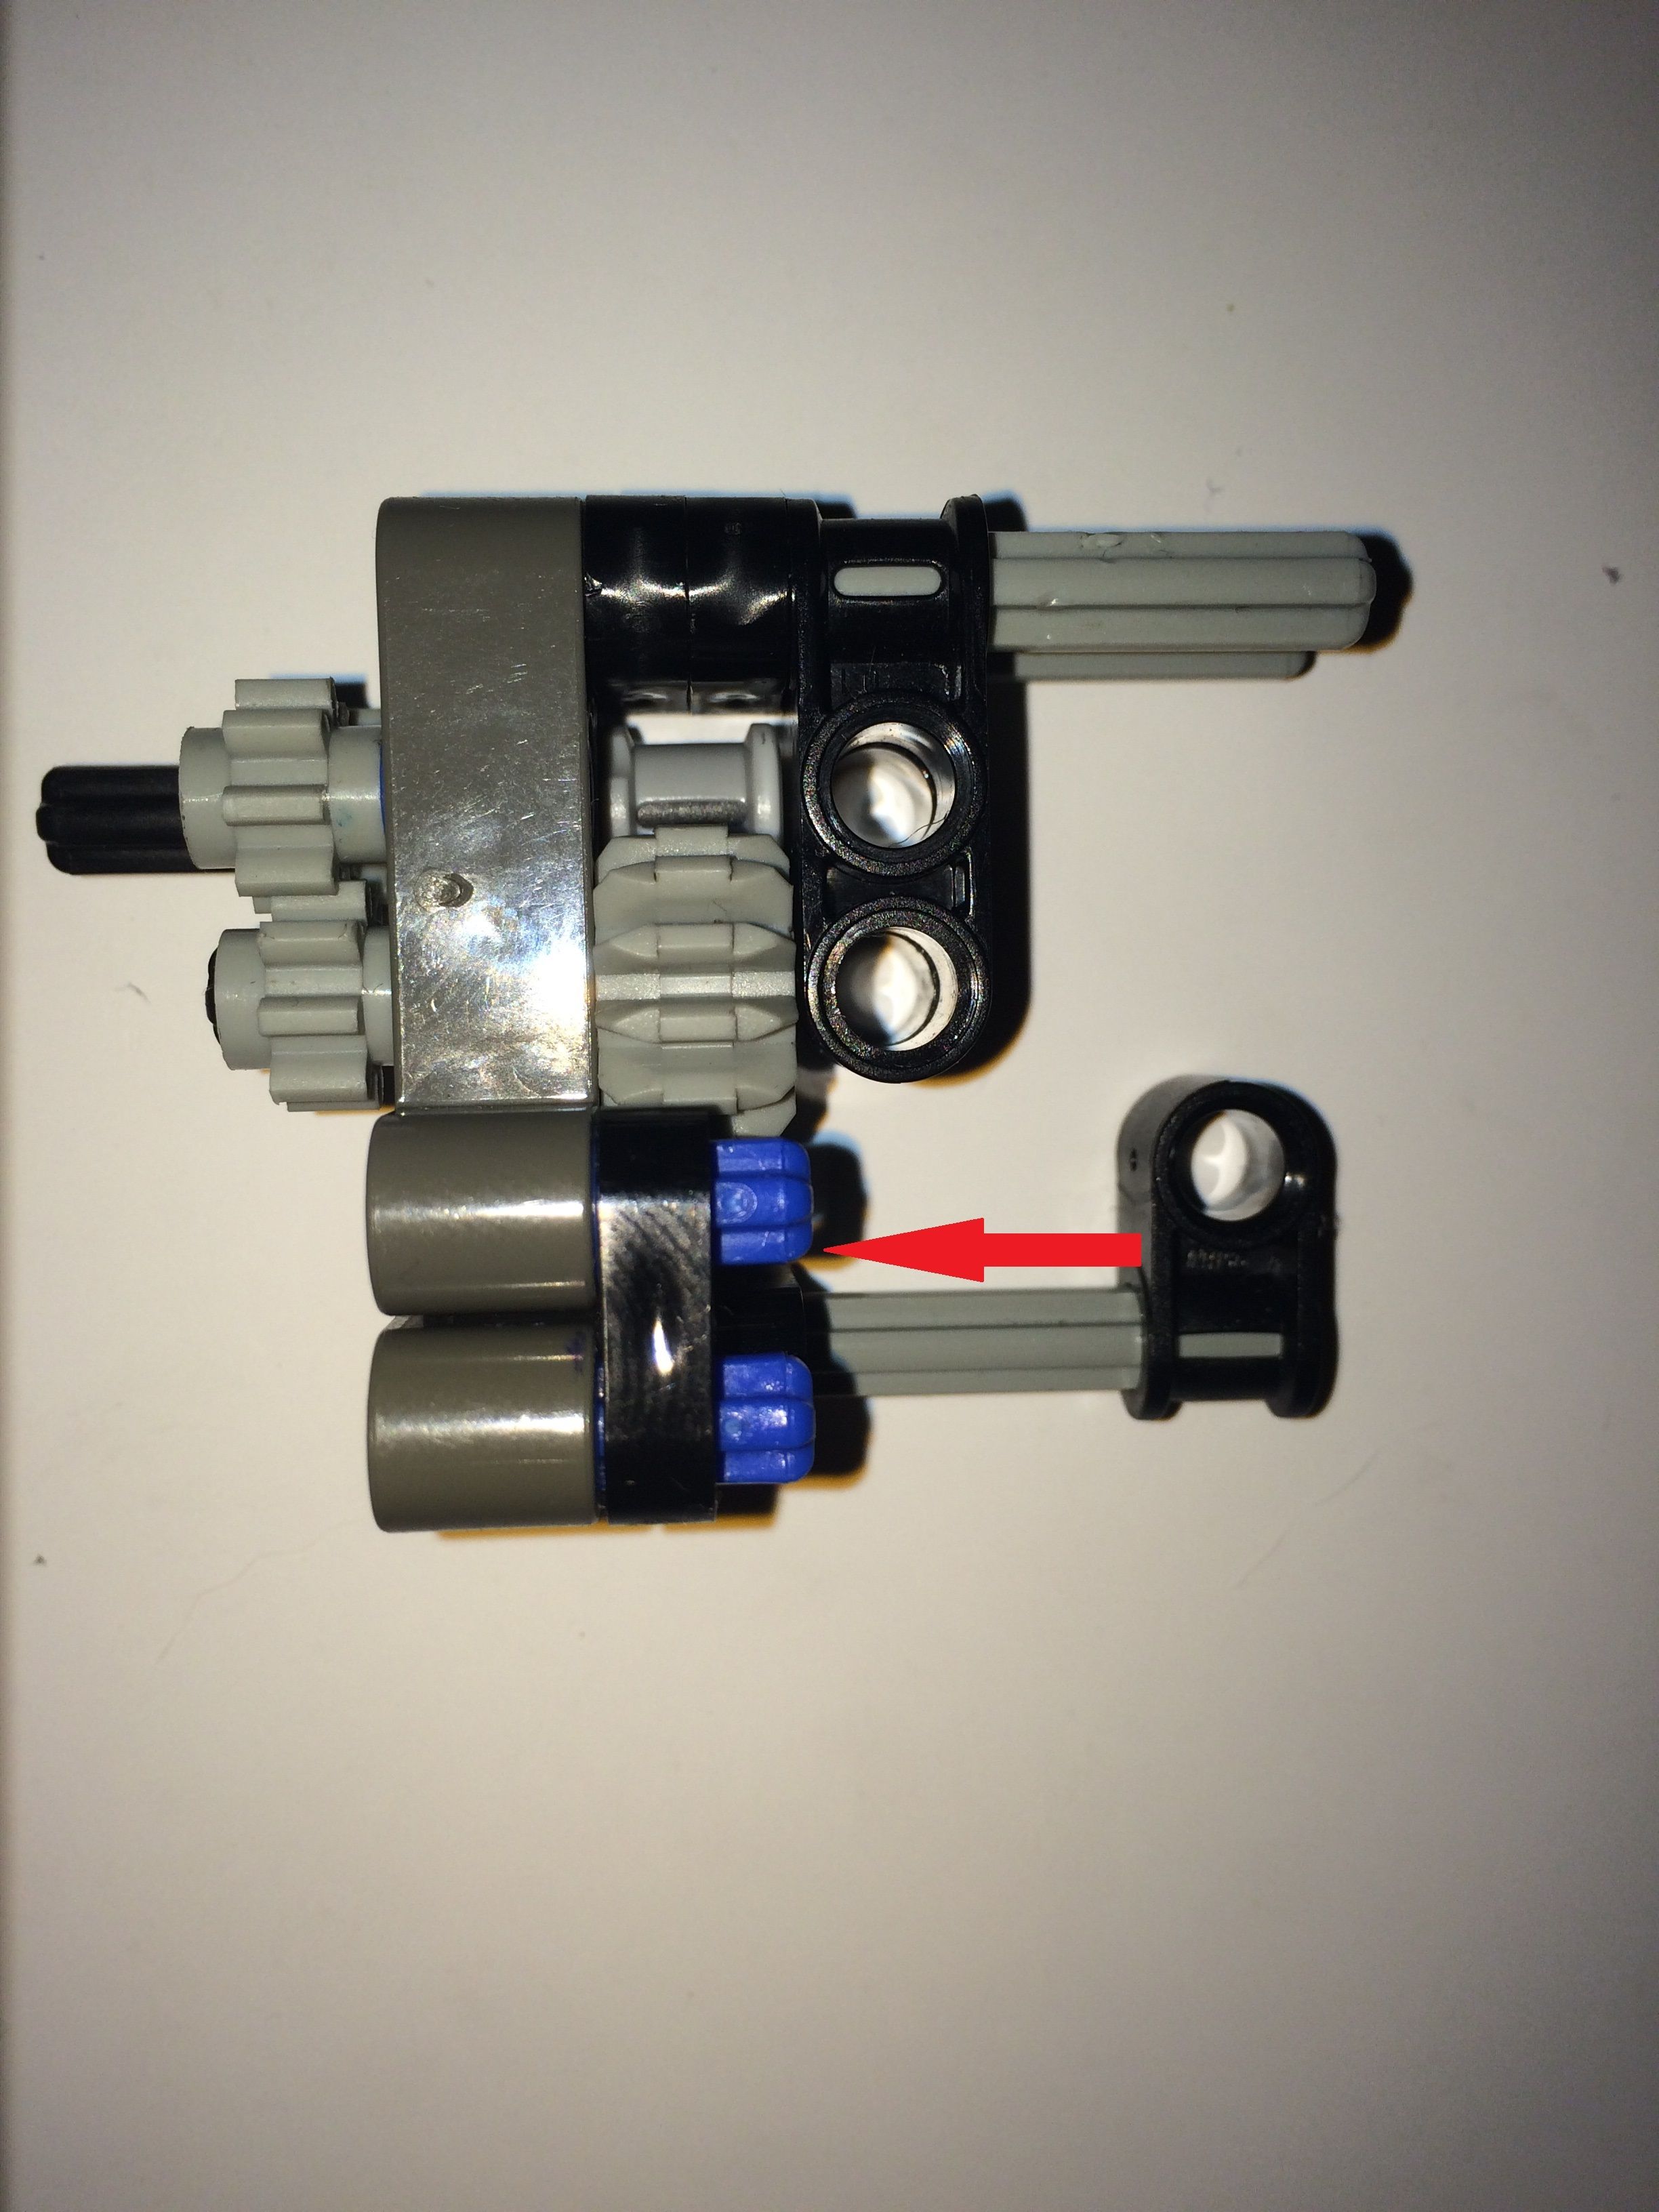
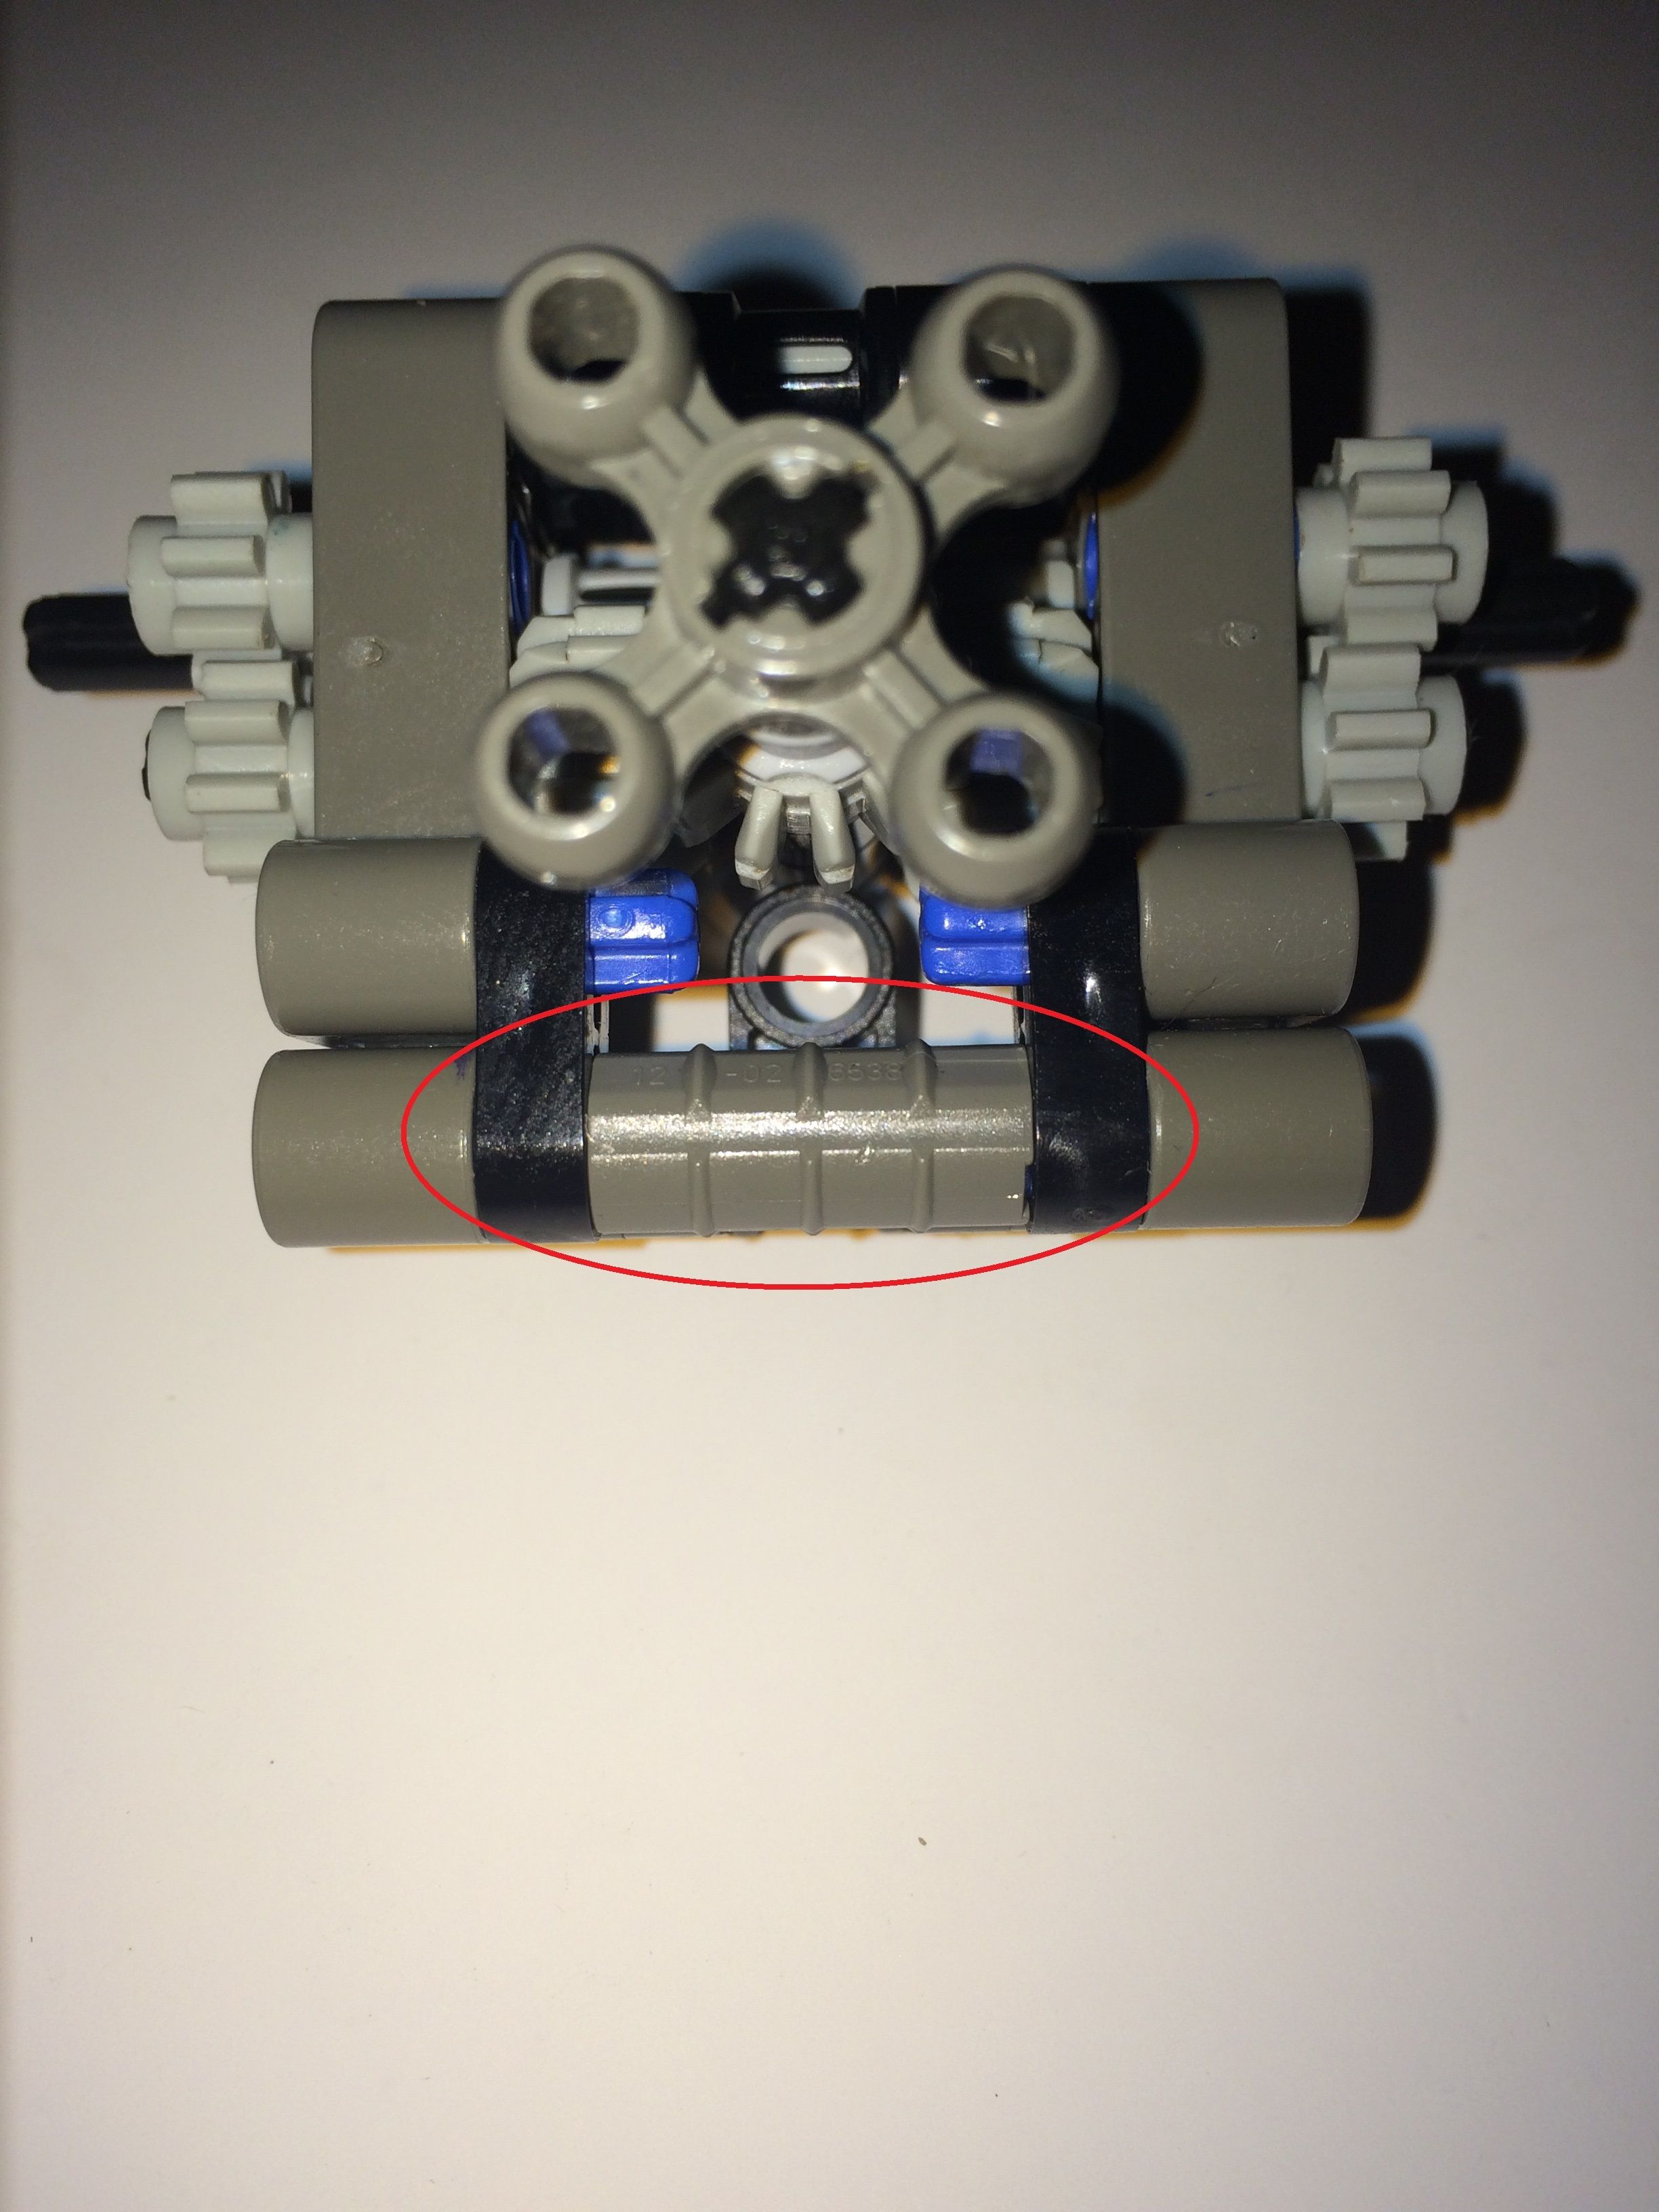
#19.

*Push the cog-axle rod from step 18 into the bottom hole (of piece C). It will pass all the way through the gearbox.
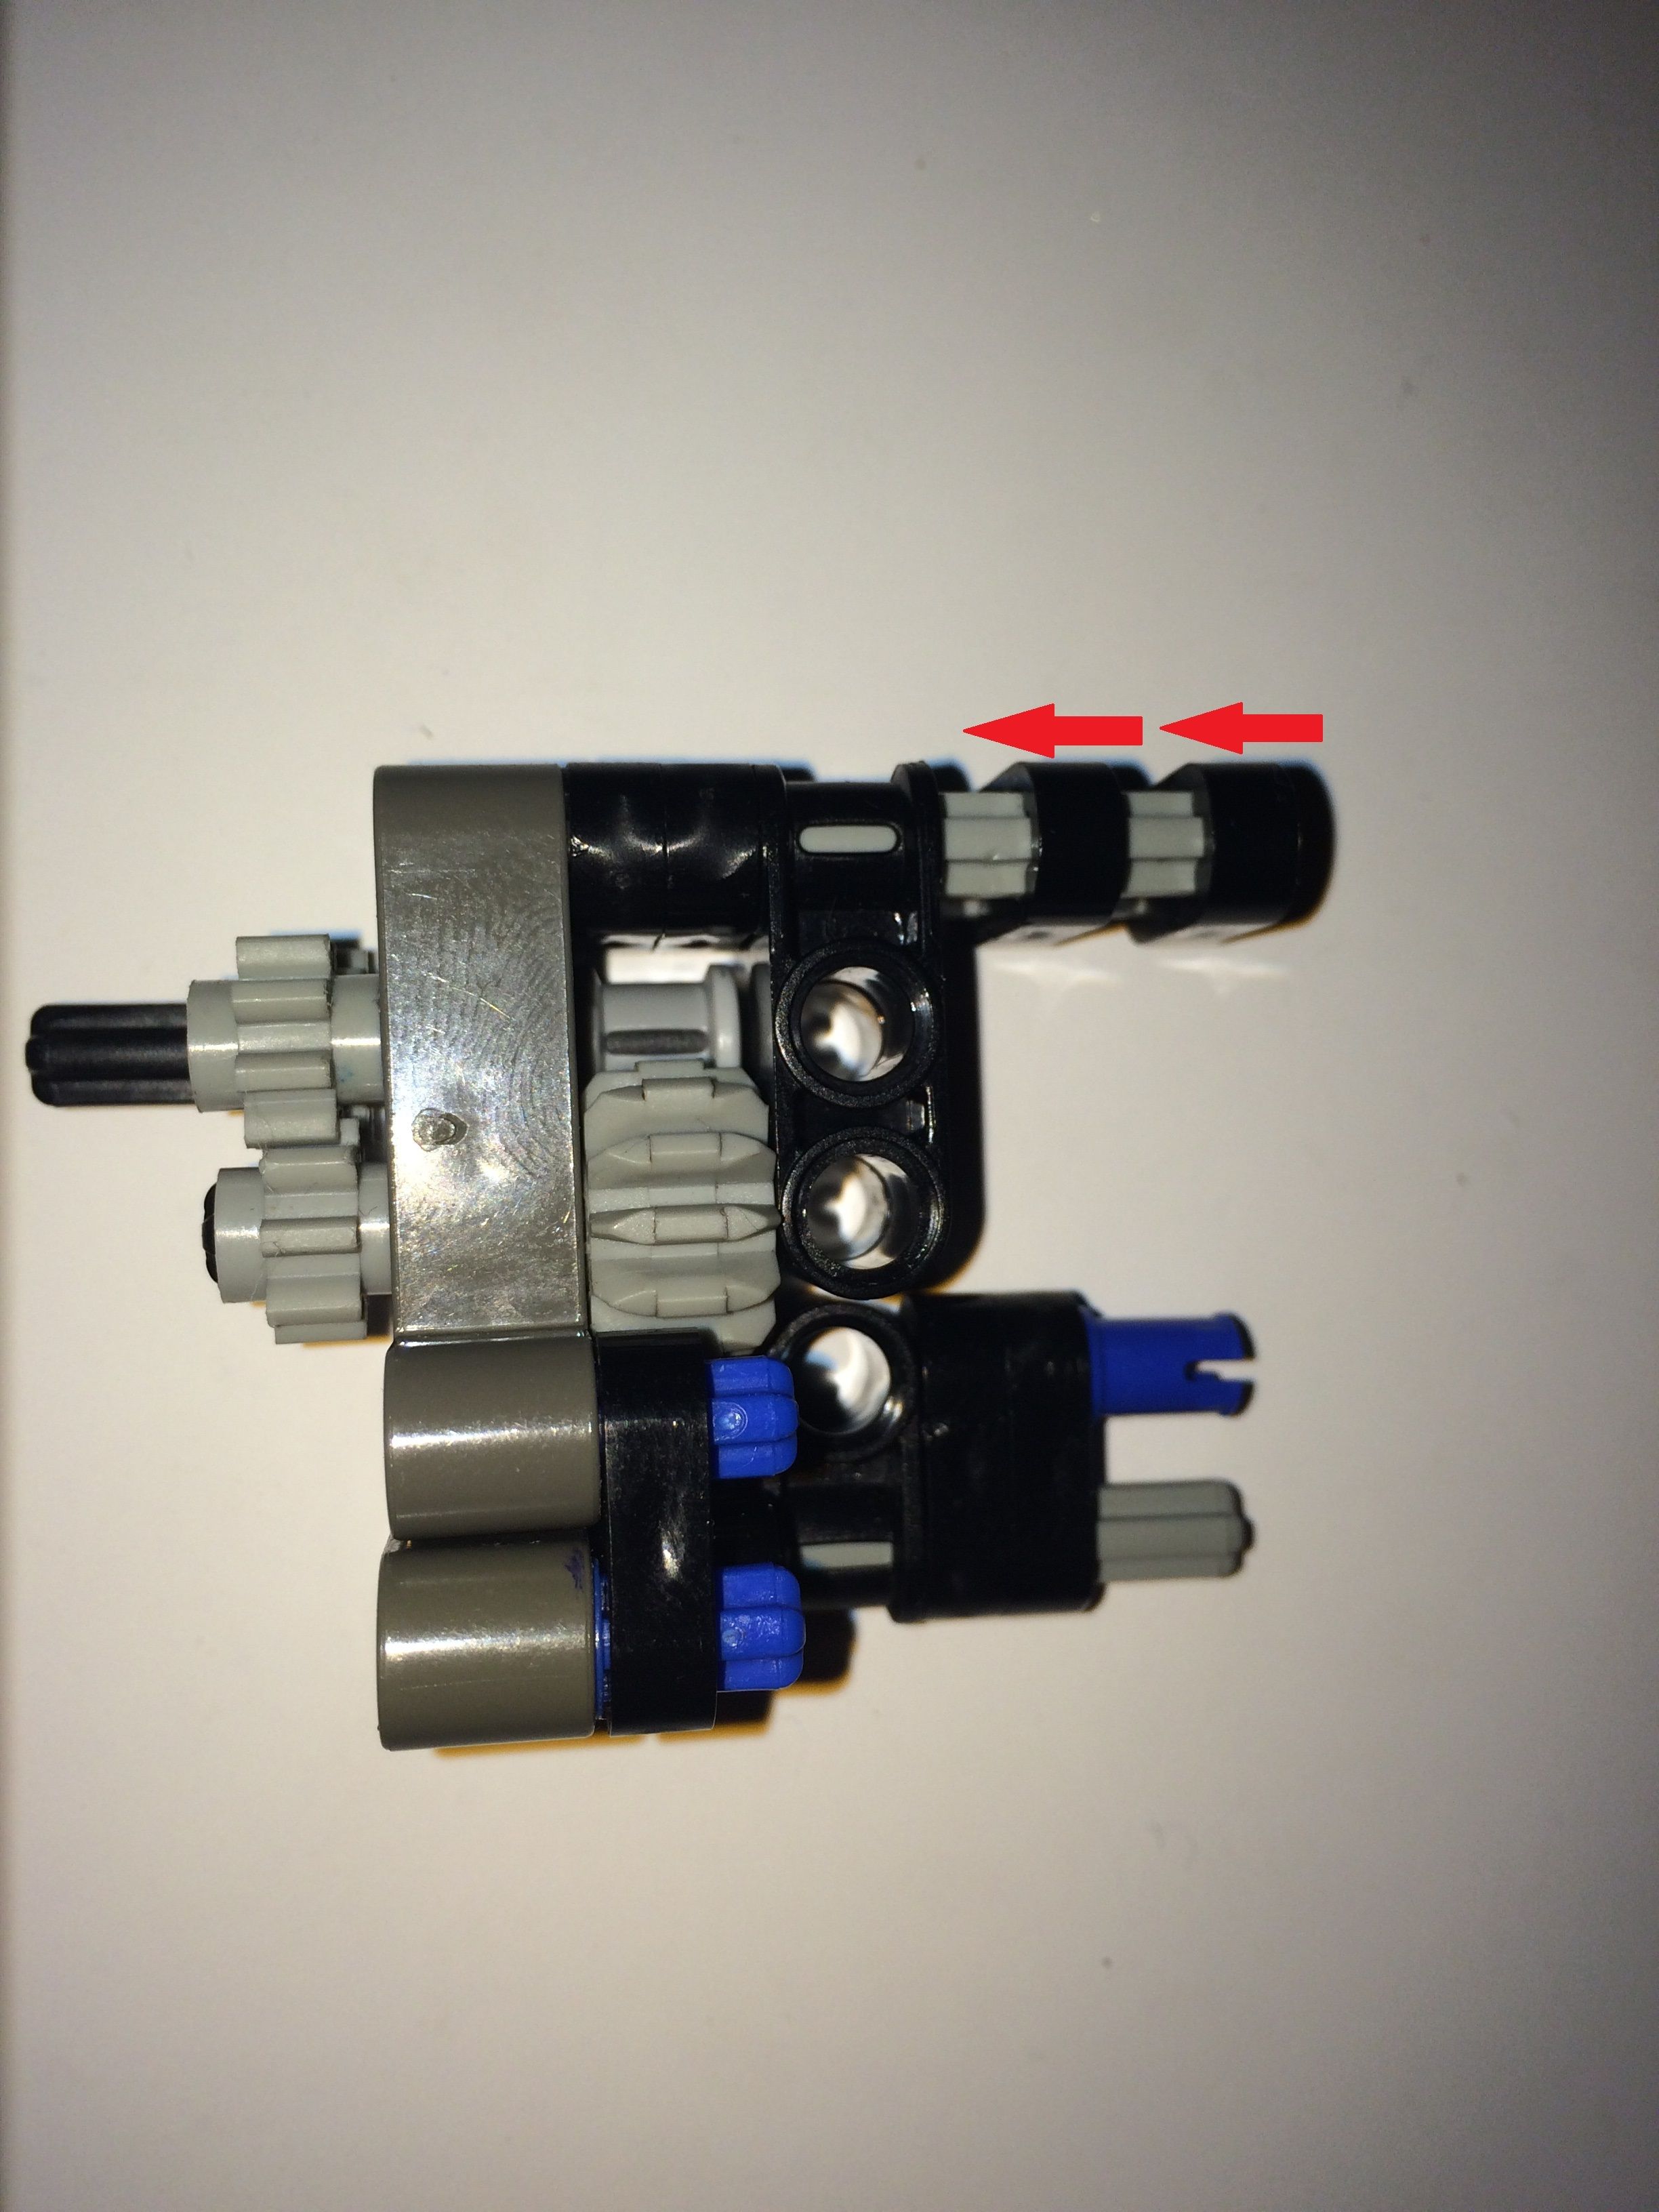
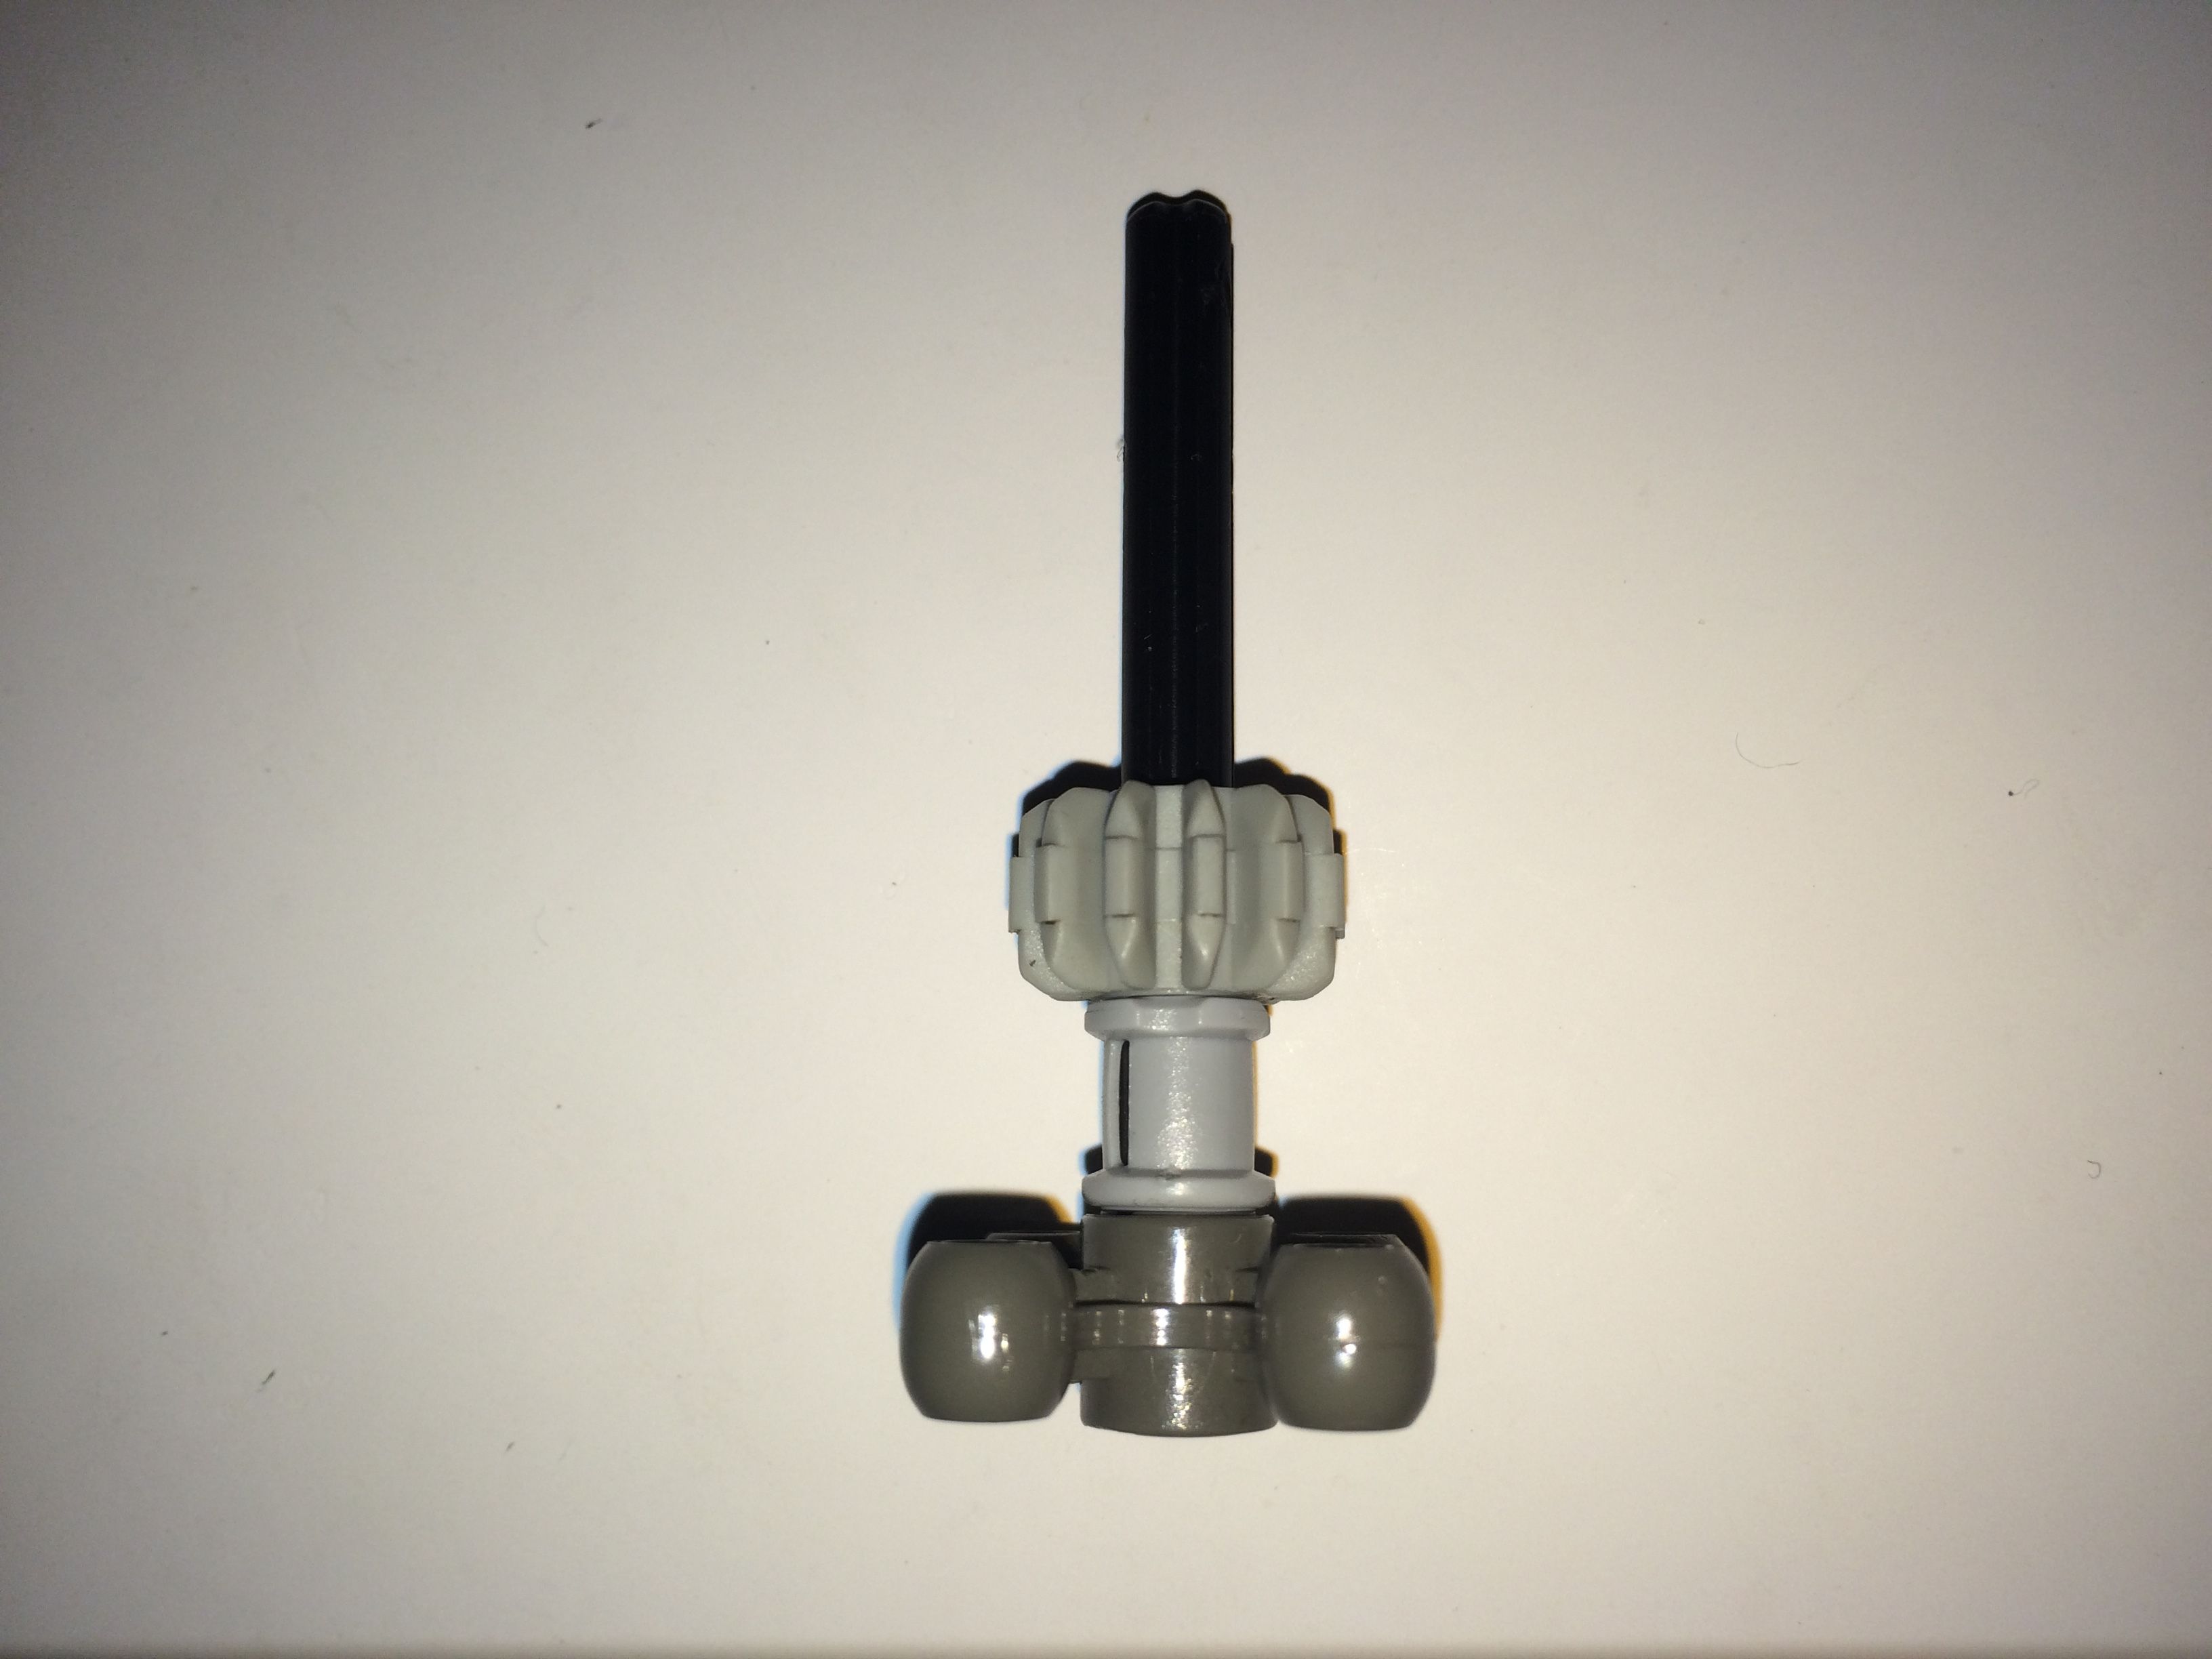
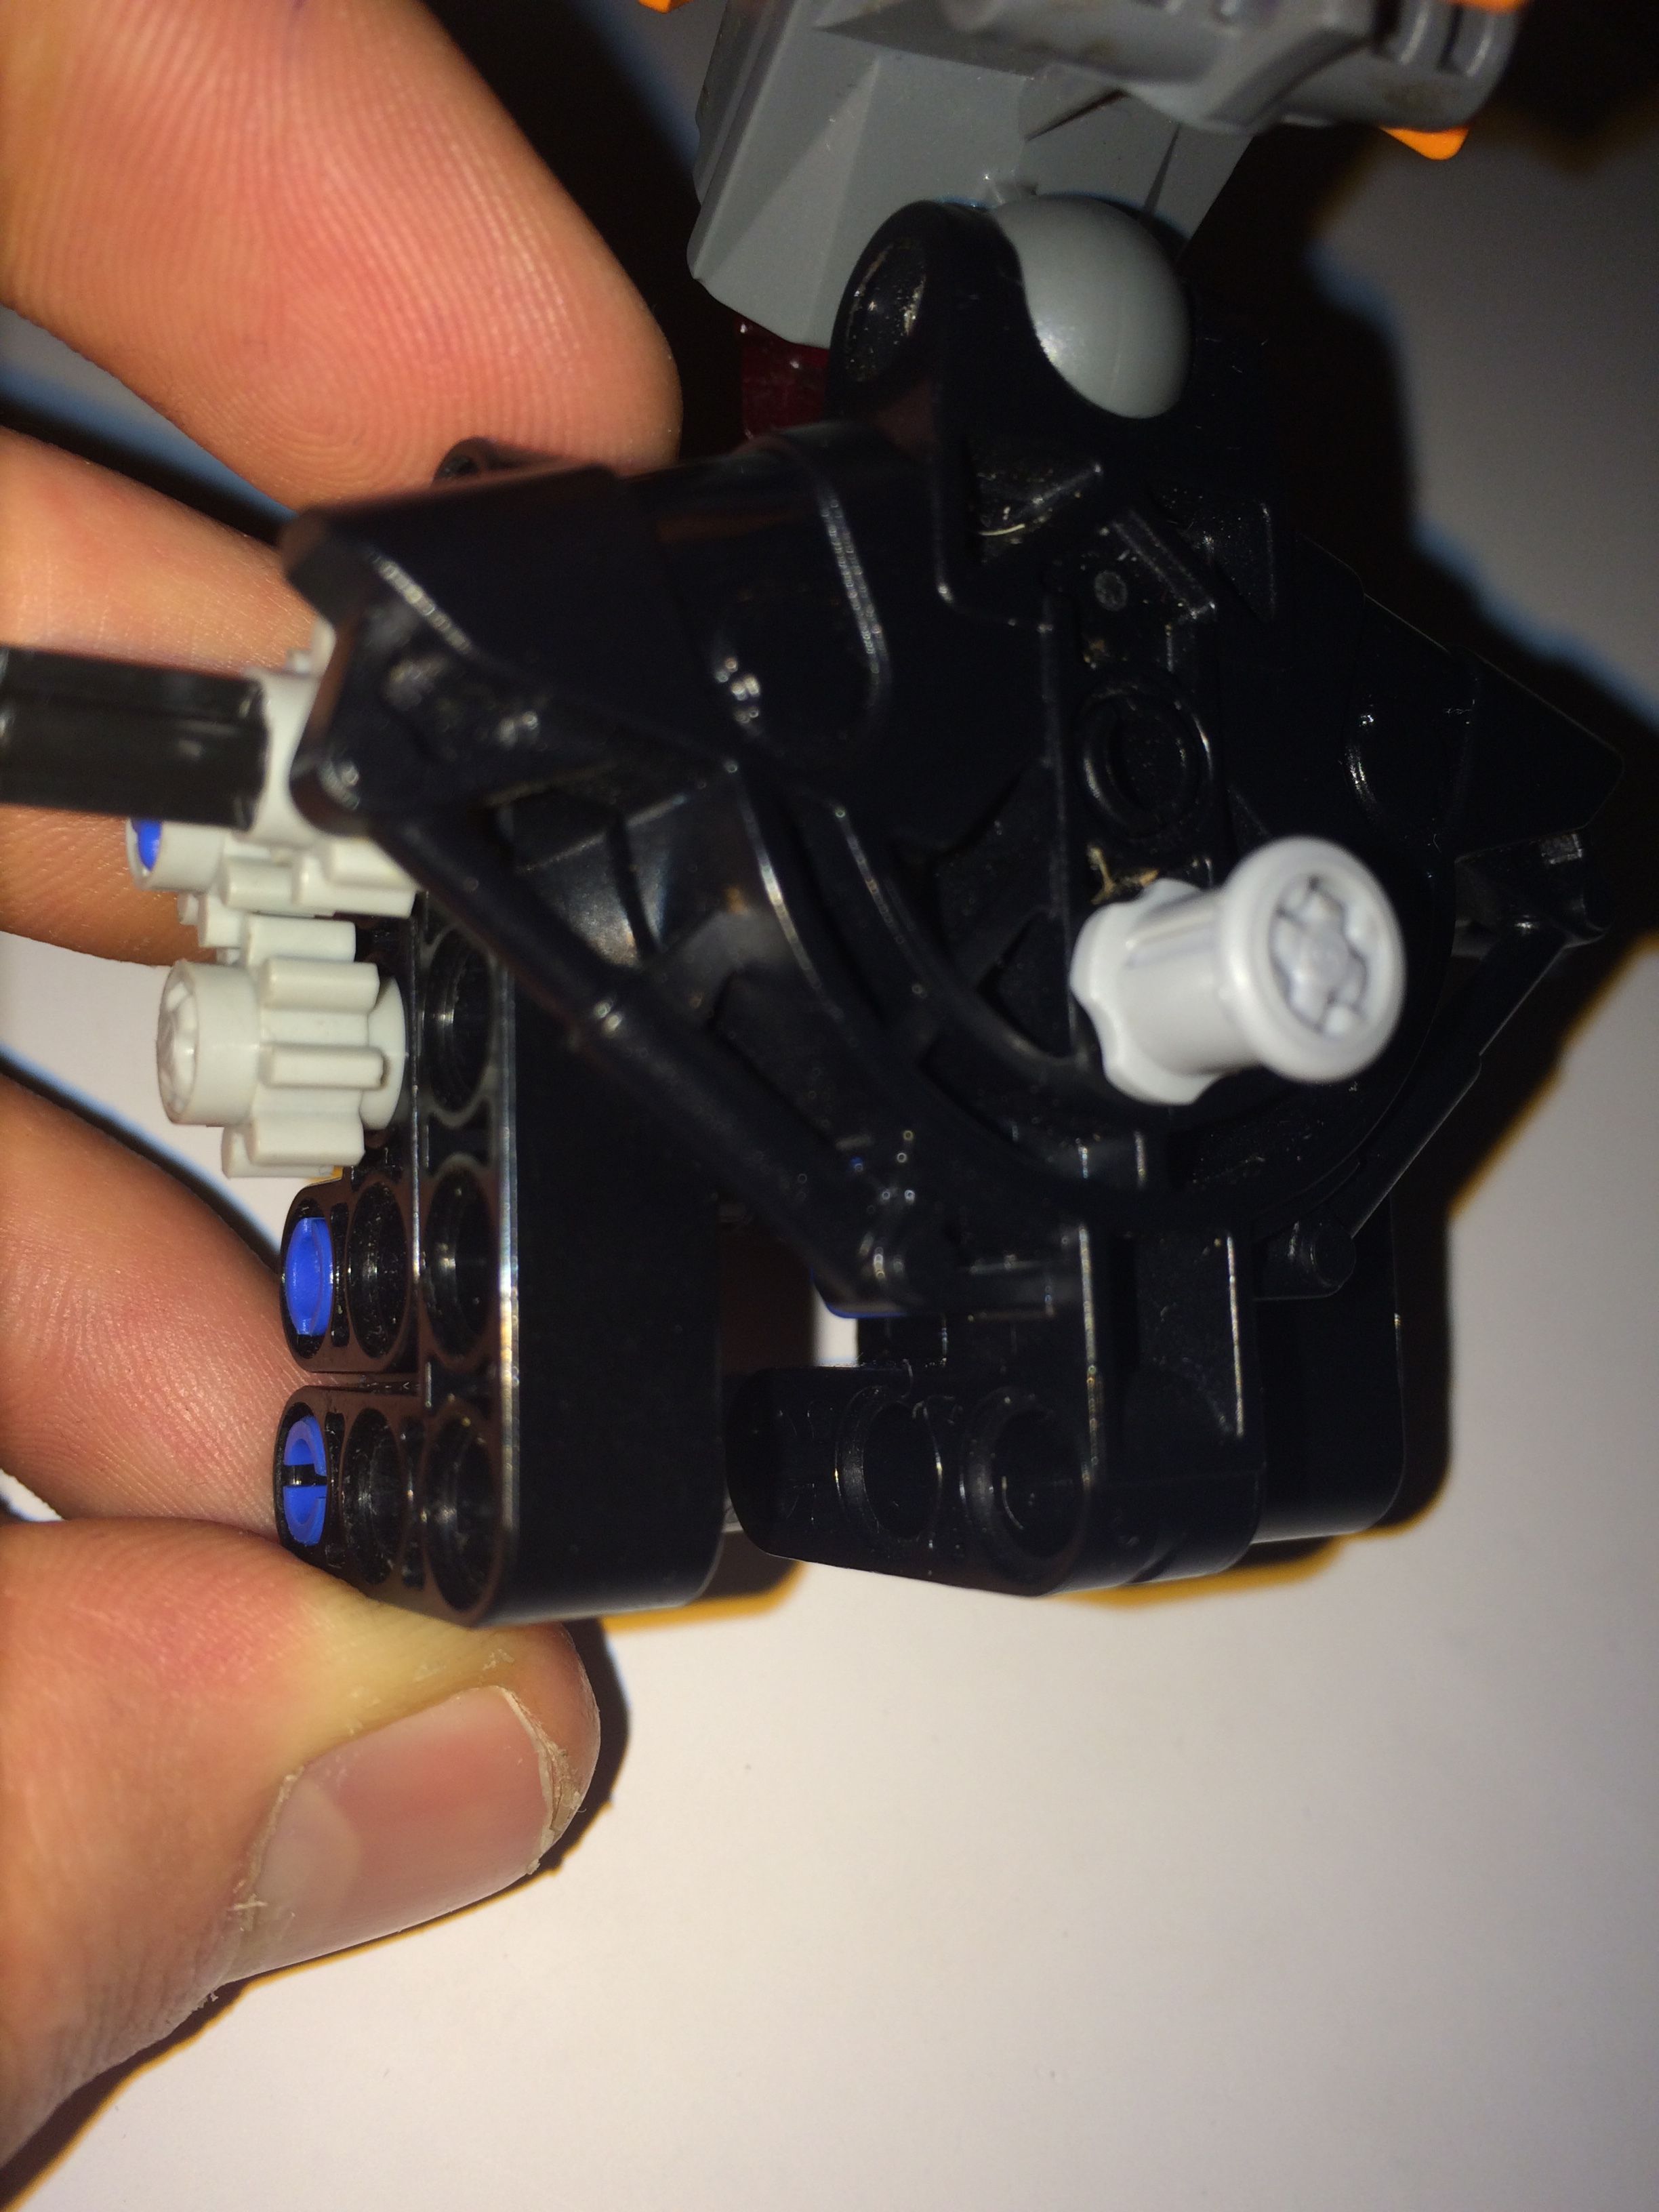
#20.
*Lock the rod off with a single bushing (piece G).
*The two blue pins above and below the bushing show possible connection points for the gearbox.
*The bushing can be taken off and, using a larger axle for the cog-axle rod, can help hold a torso piece onto the gearbox.
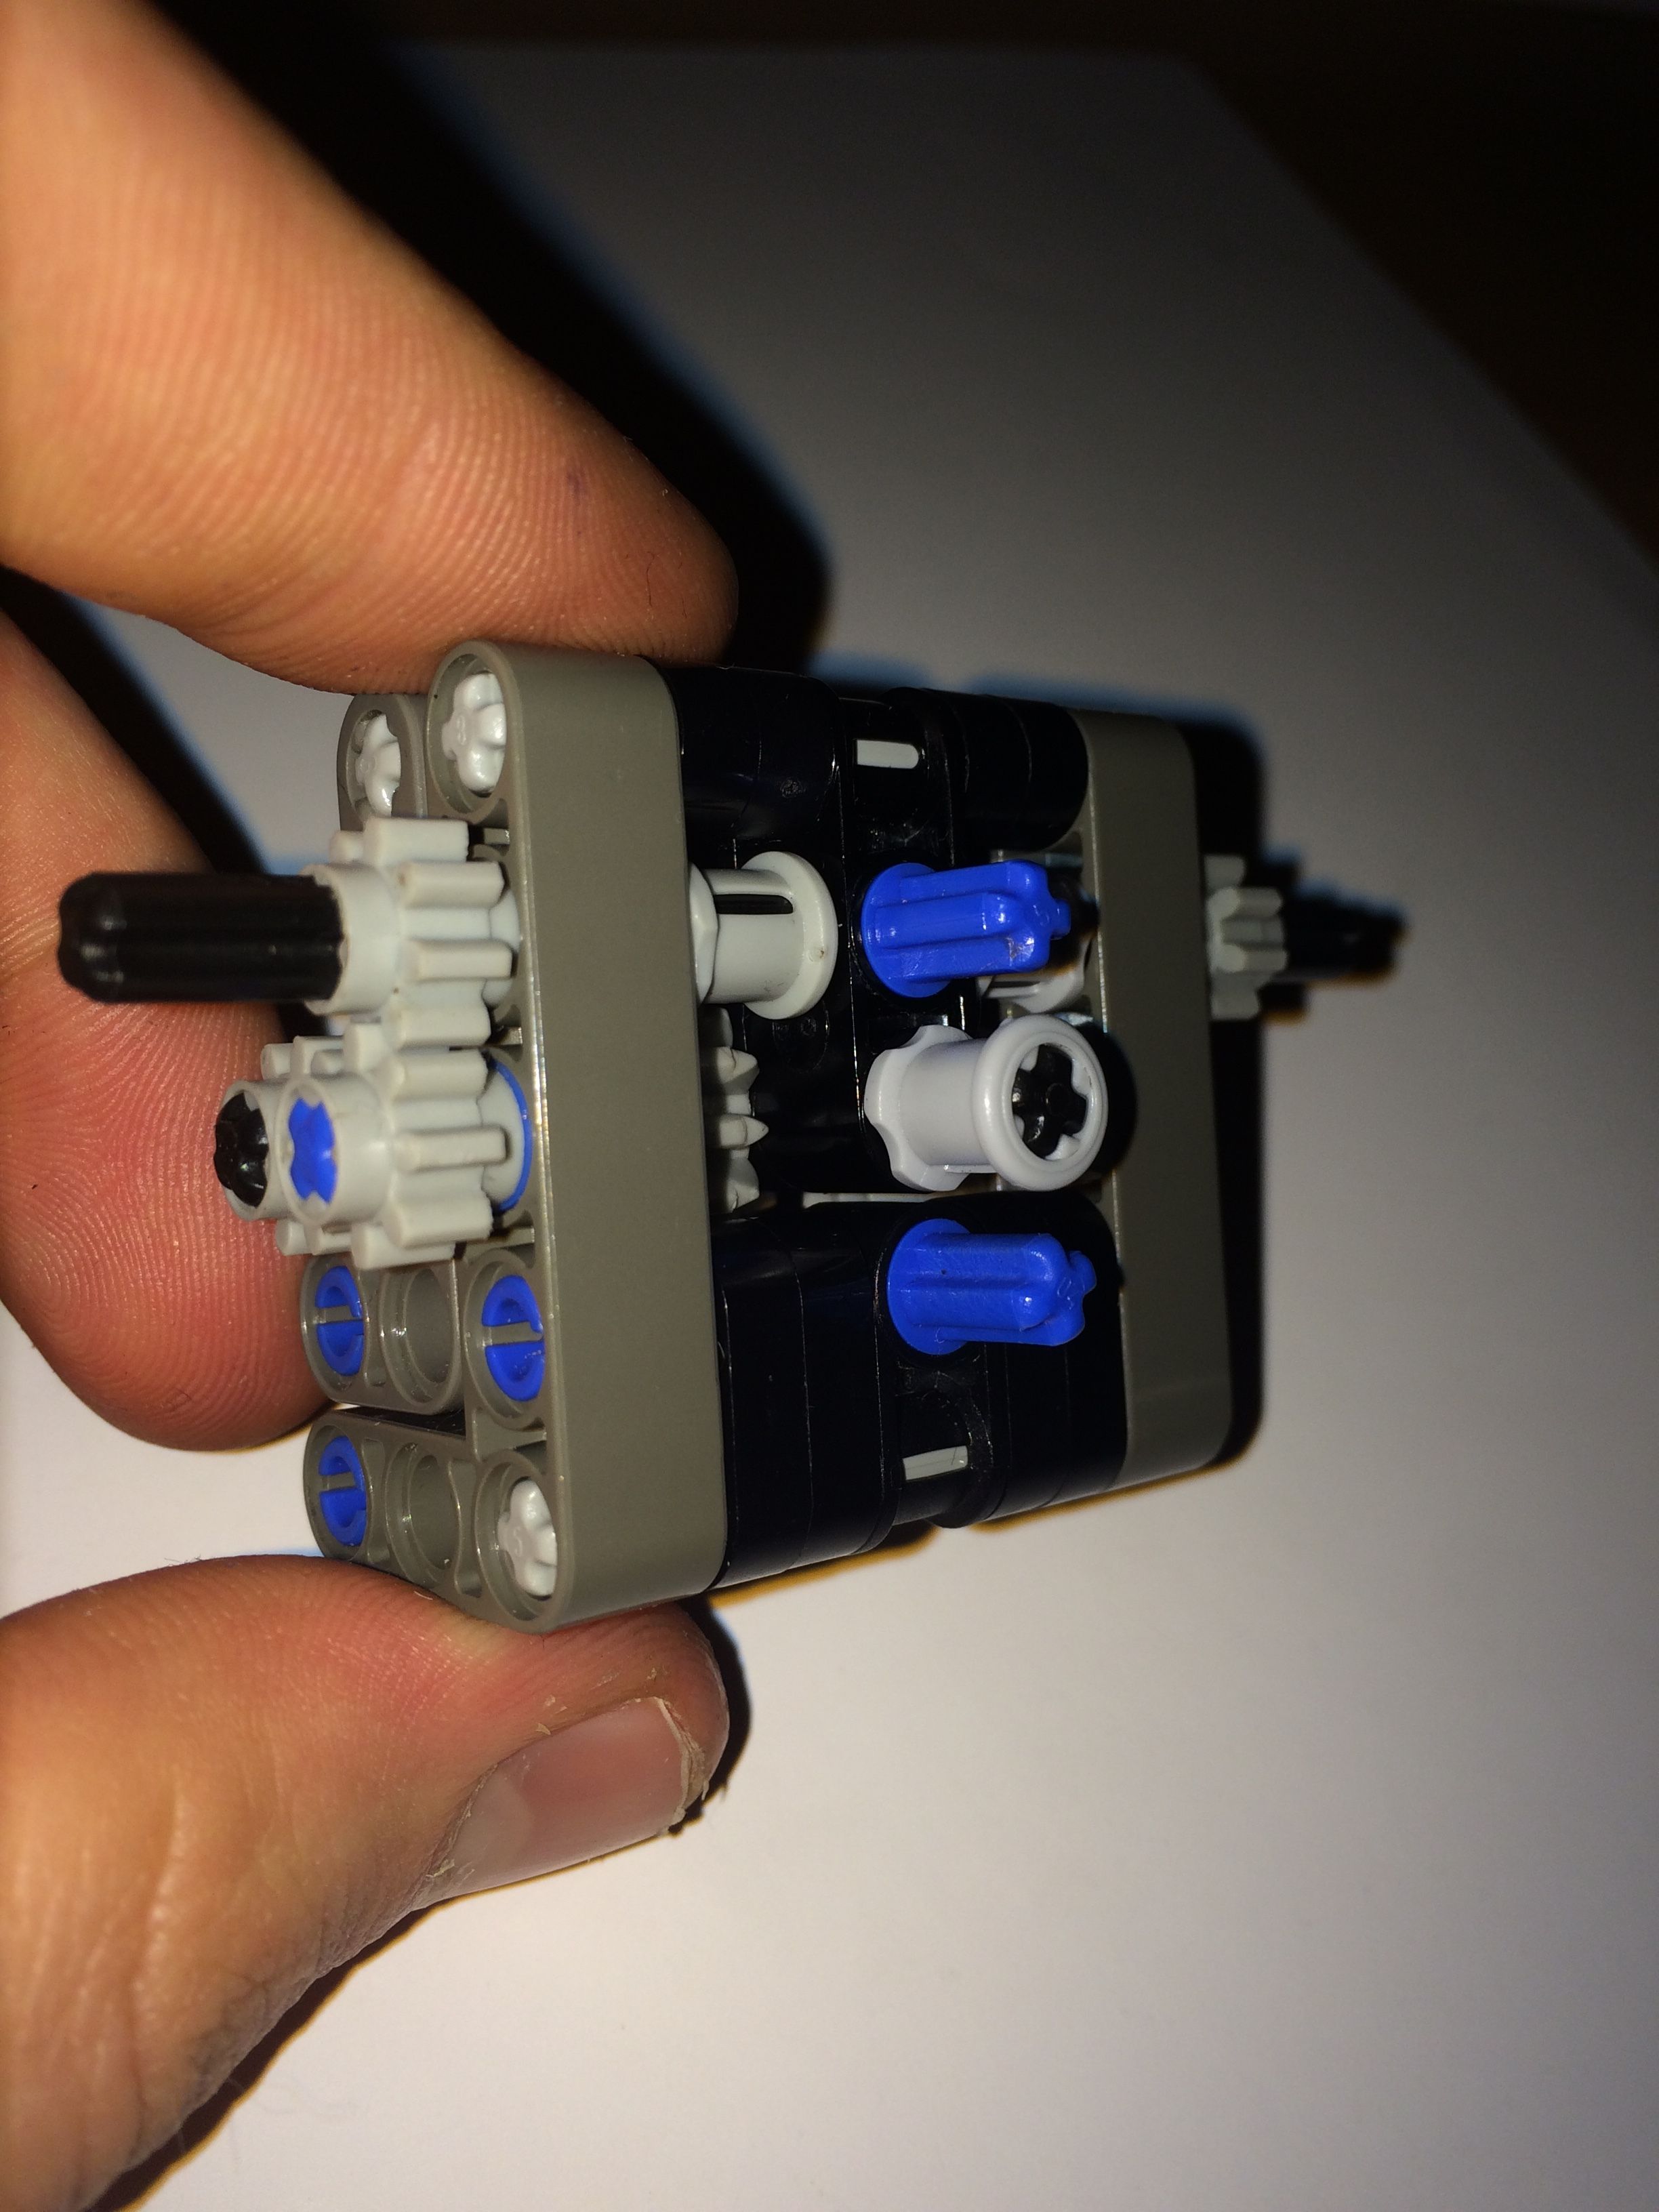
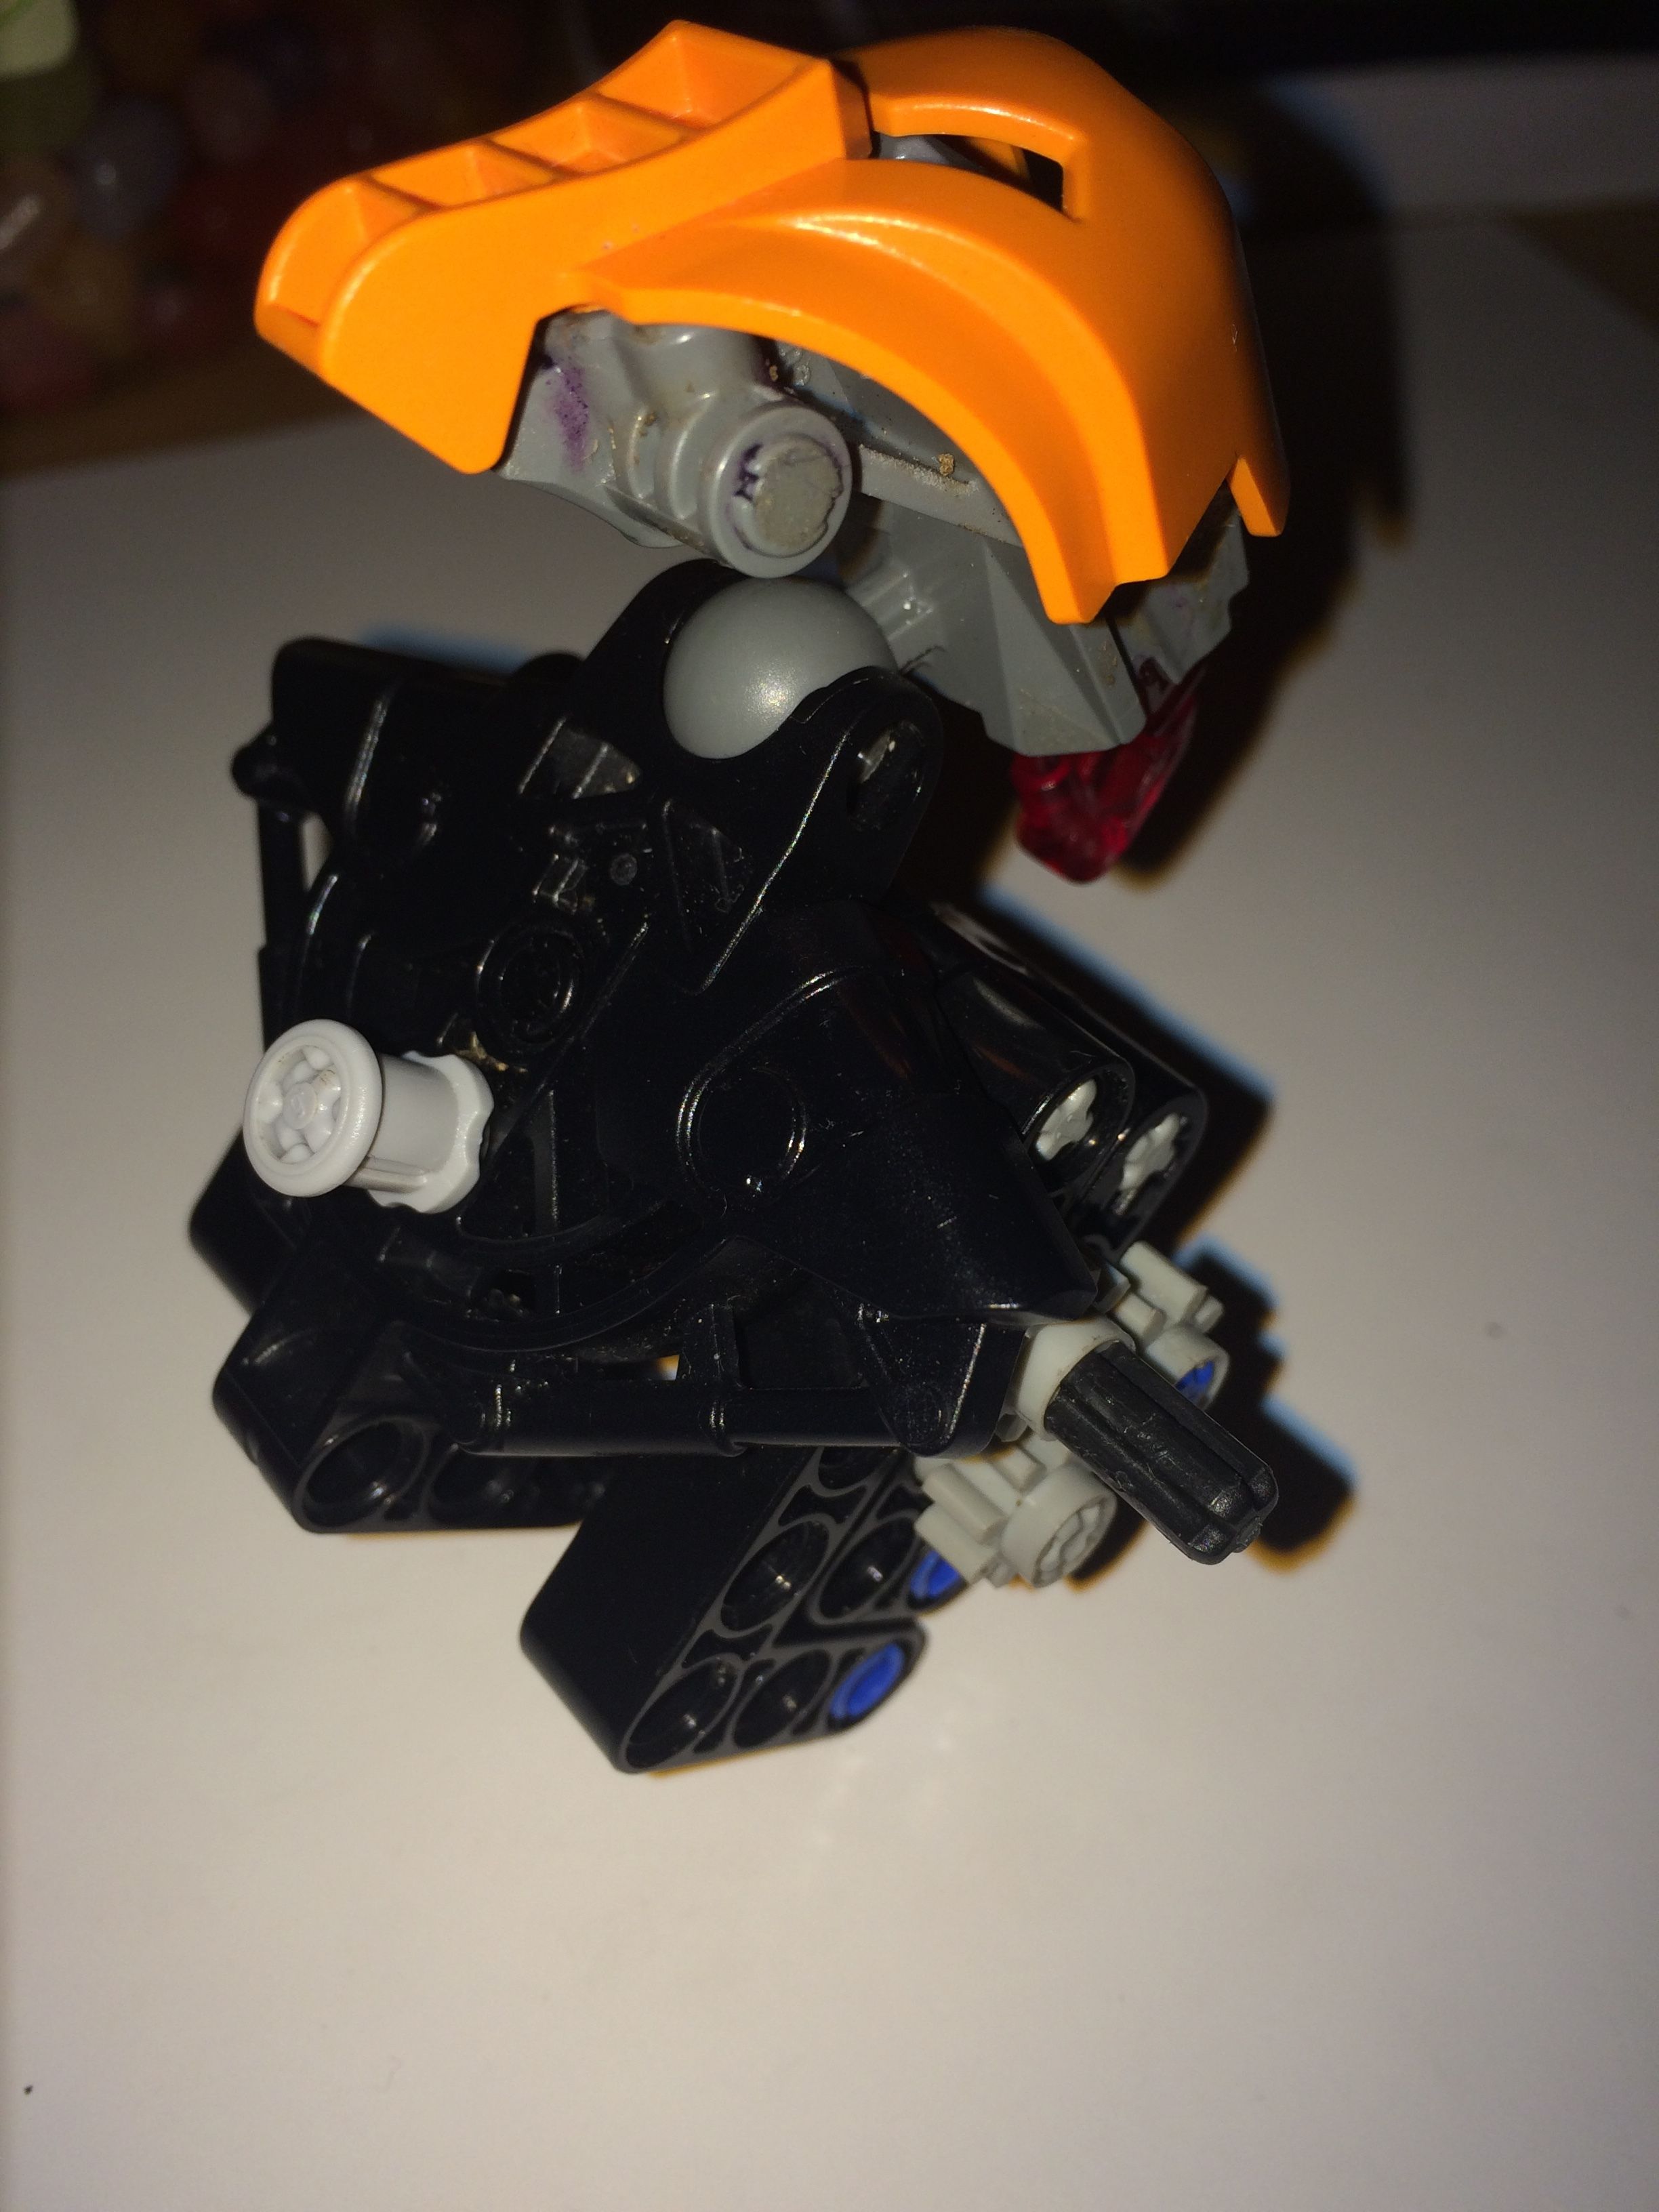
#21.
*Note that I forgot to add this piece earlier. This simply hides the pesky blue pins, though sadly the top set can’t be hidden (sorry @Eljay) as doing so would stop the gears turning.
#How to Use:
Some torso pieces attach to the gearbox better than others. The Inika torso has problems given its width, and it’s difficult to avoid the 2015 syndrome (whereby arms attached to the gearbox are further back than the torso piece, making bird’s-eye views of your sets look ridiculous).
I’ve found that this design works well with Vahki torso pieces, as shown below on a self-MOC I’m working on.

#Thanks for Viewing
This took me around 2 days to perfect so I’d appreciate any comments (and suggestions for improvement). I’d also love to see any MOCs that use my design (please do credit me, though).
I might work on some gear-based auto-cannon next, so look out for that.
Peace out. 
-Hazash-