Hey guys.
Do you know how to do a custom version of the makuta phantoka torso (the one with the silver ripcage)?
Any idea is appreciated
Hey guys.
Do you know how to do a custom version of the makuta phantoka torso (the one with the silver ripcage)?
Any idea is appreciated
For this tutorial I will show you guys how to build a floor using an unorthodox, yet precise technique.
Normally when building a floor out of lego you’re taught to stick bricks onto a plate. Bricks aren’t perfect squares, so to build our floor we will use minecraft heads which are almost perfect squares, minus that little neck cylinder underneath.
Our head is a bit taller but has less length and width than a 2x2 brick. If you try sticking minecraft heads in a row on a baseplate, they will not fit flush with each other, since the baseplate is designed to only fit normal bricks. So how will we fix the spacing issue?
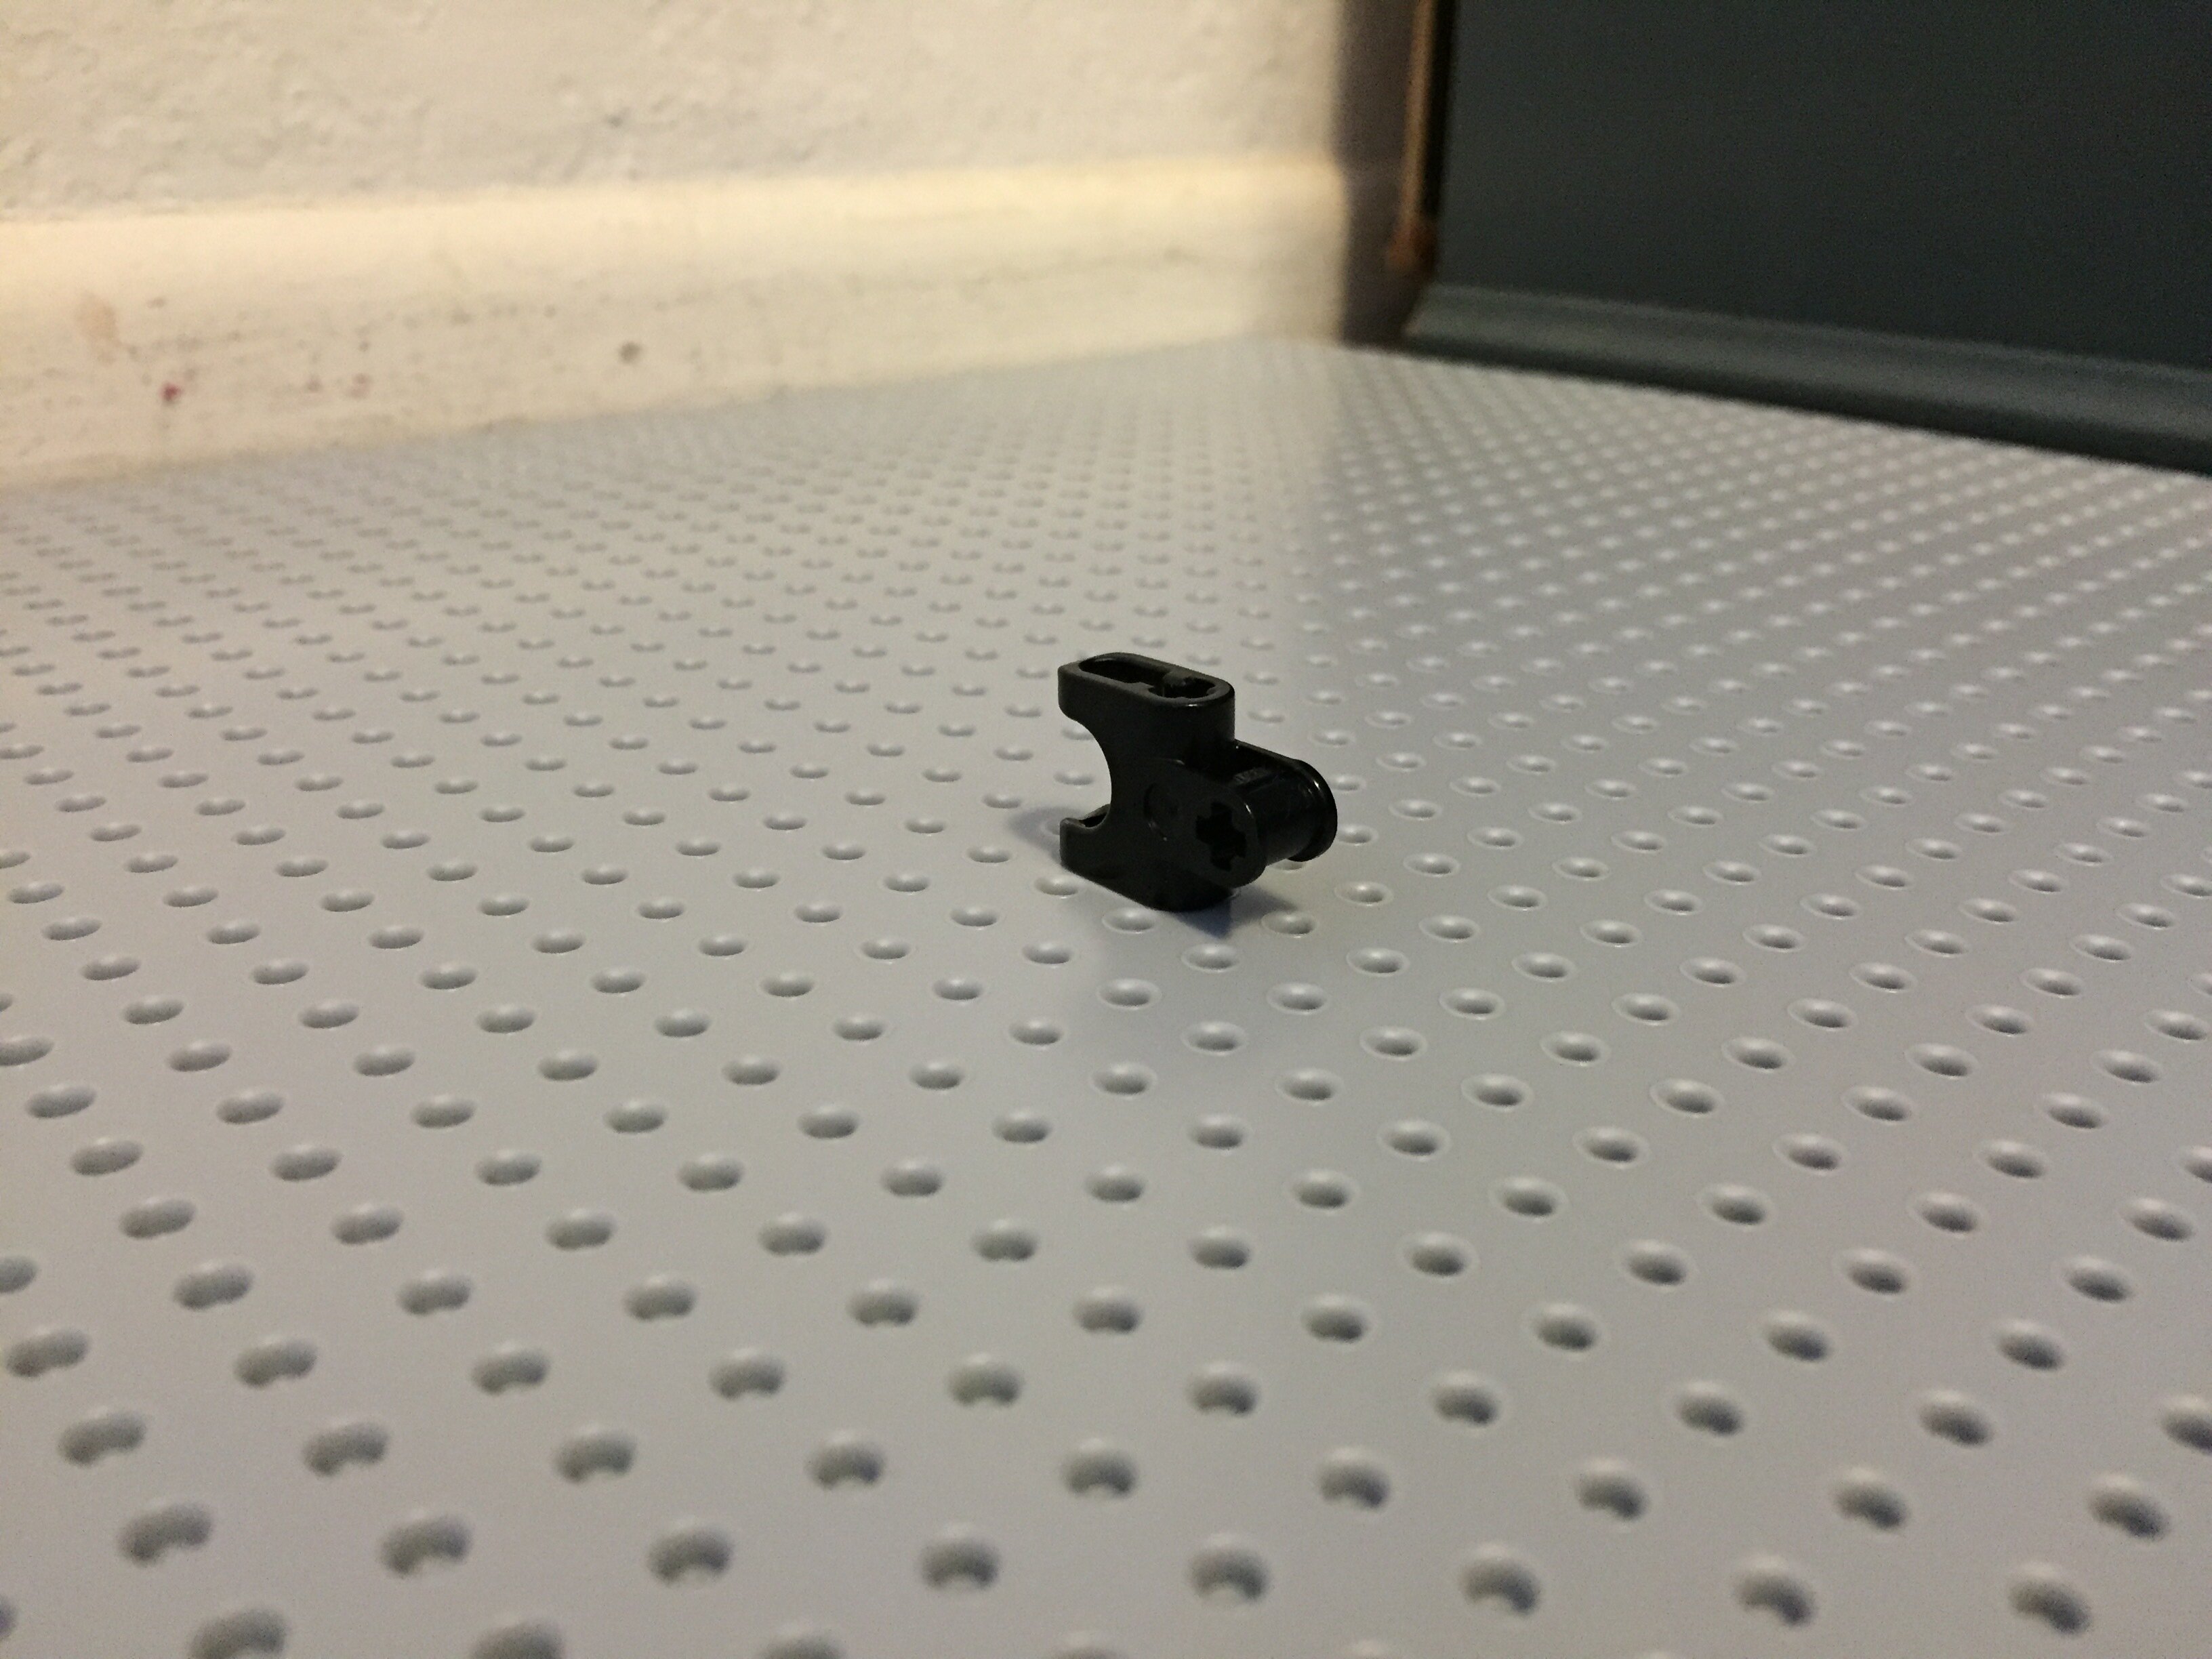
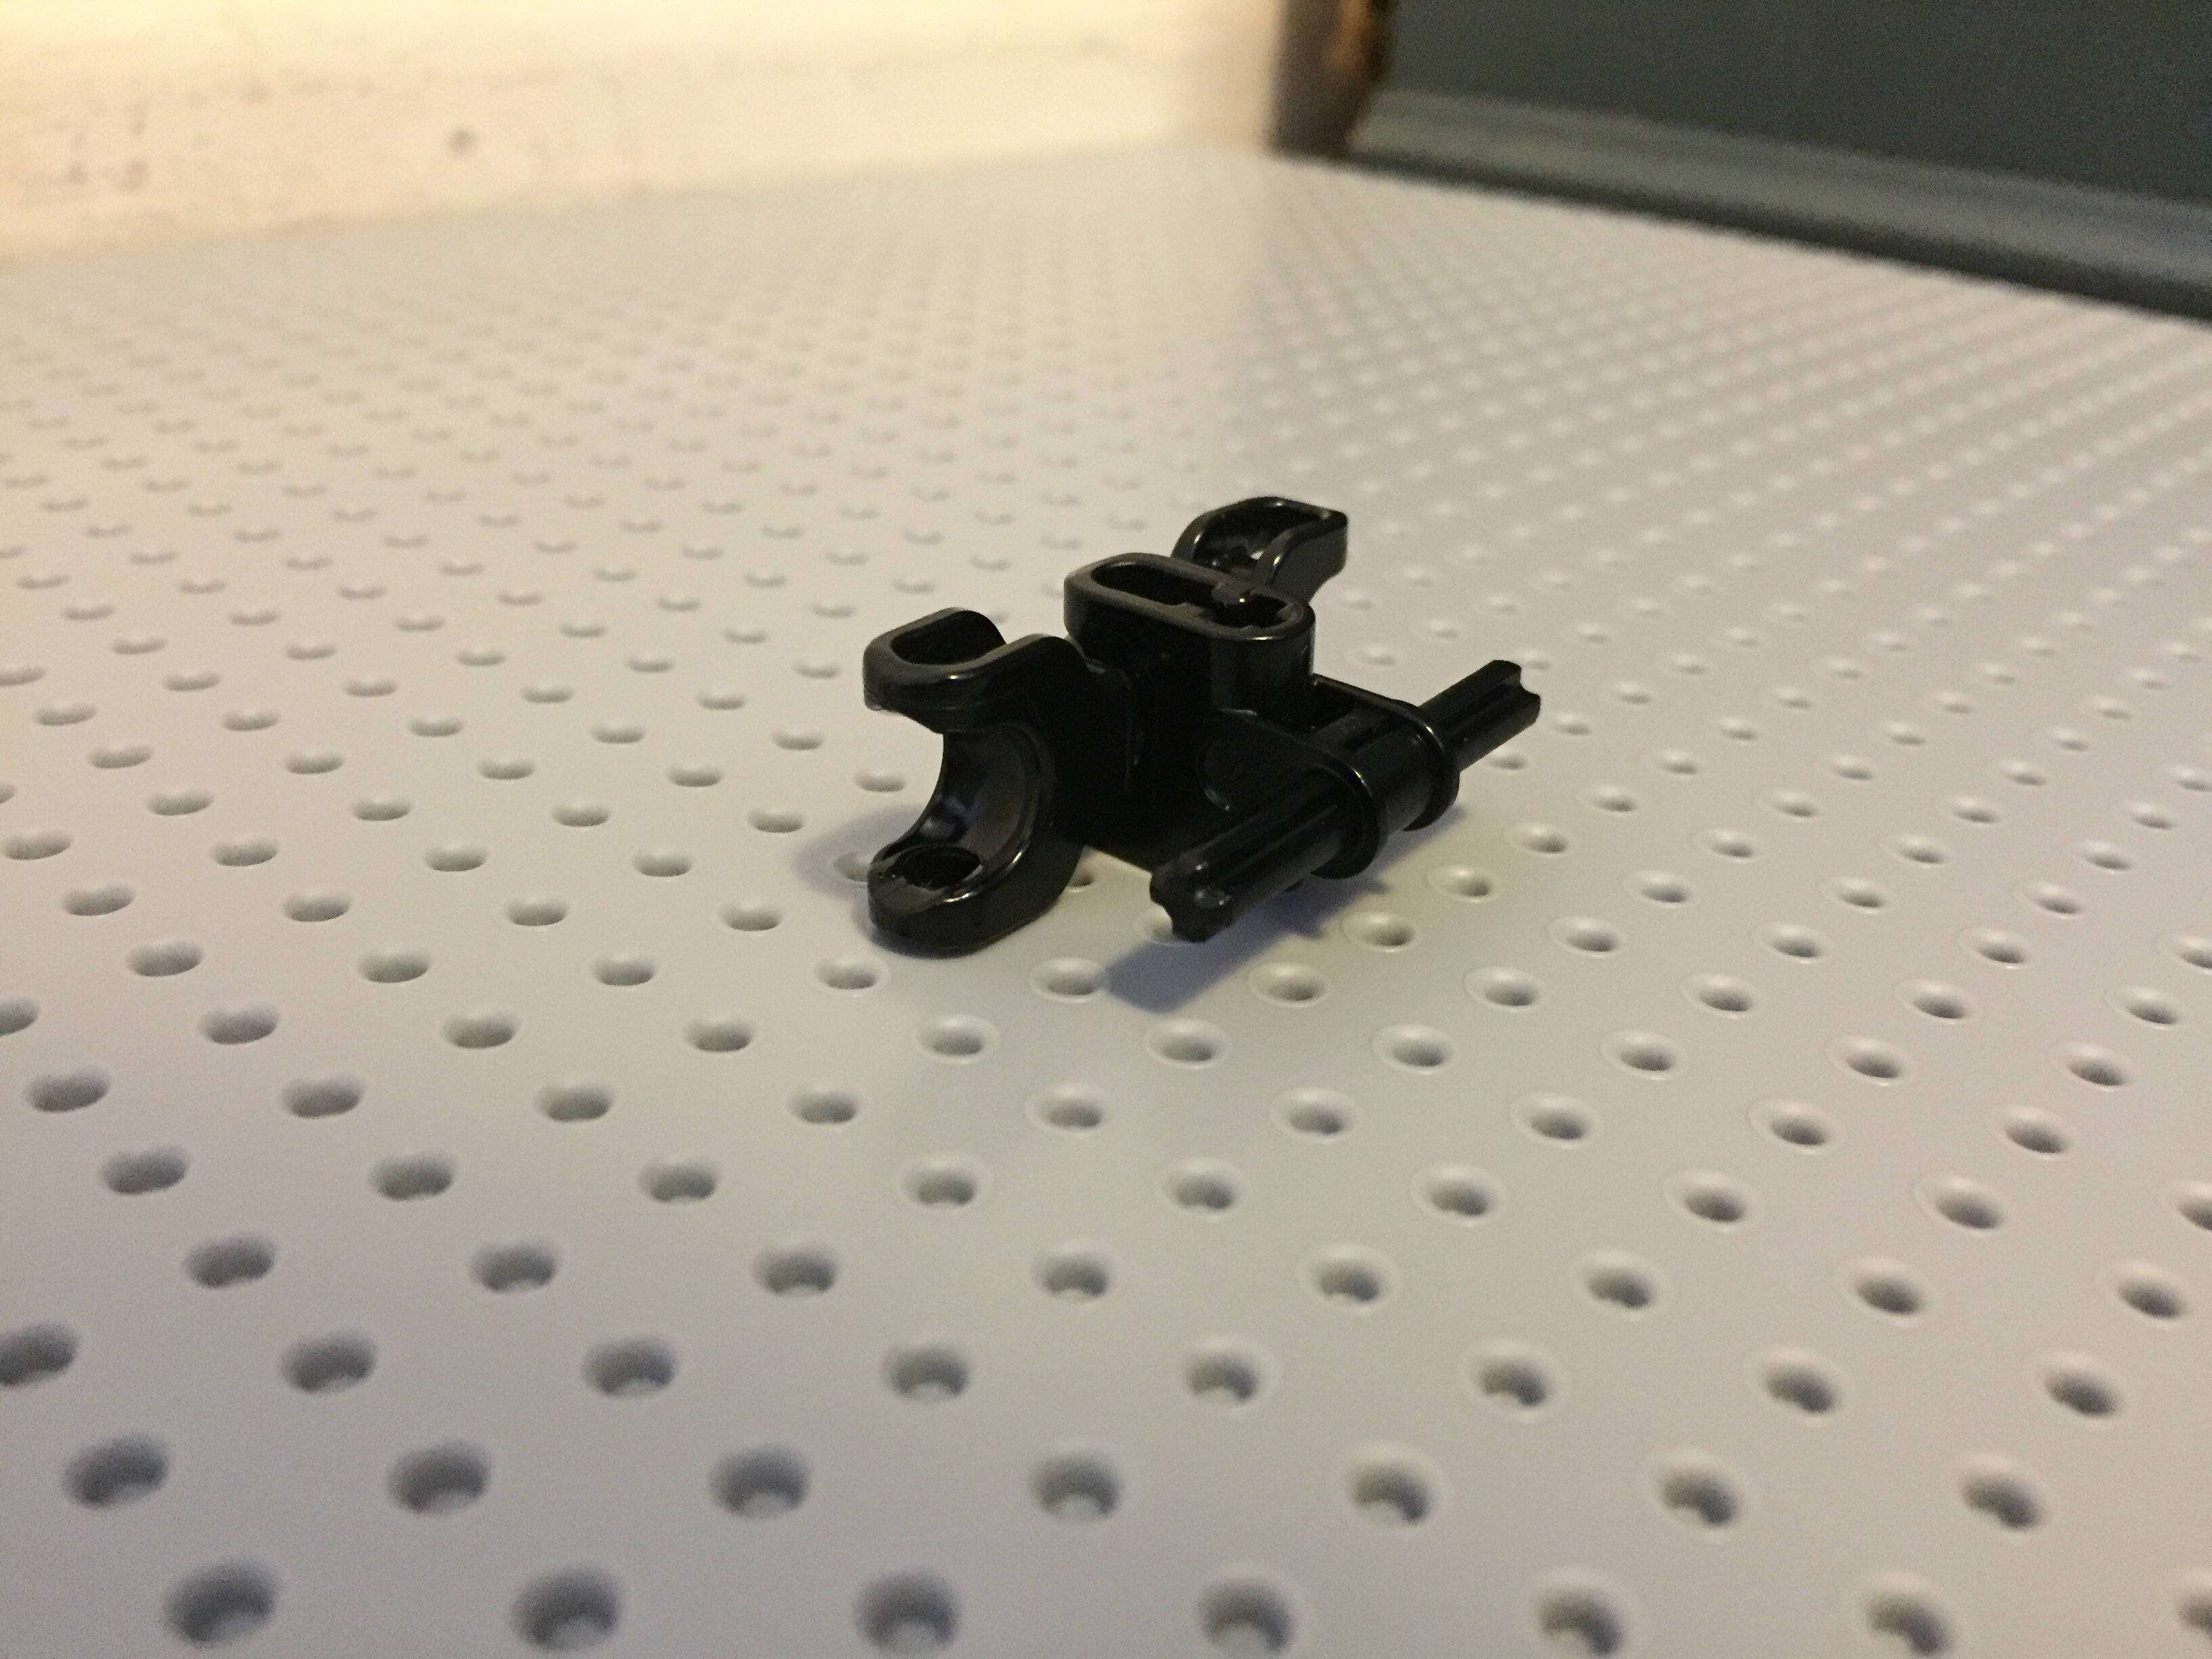
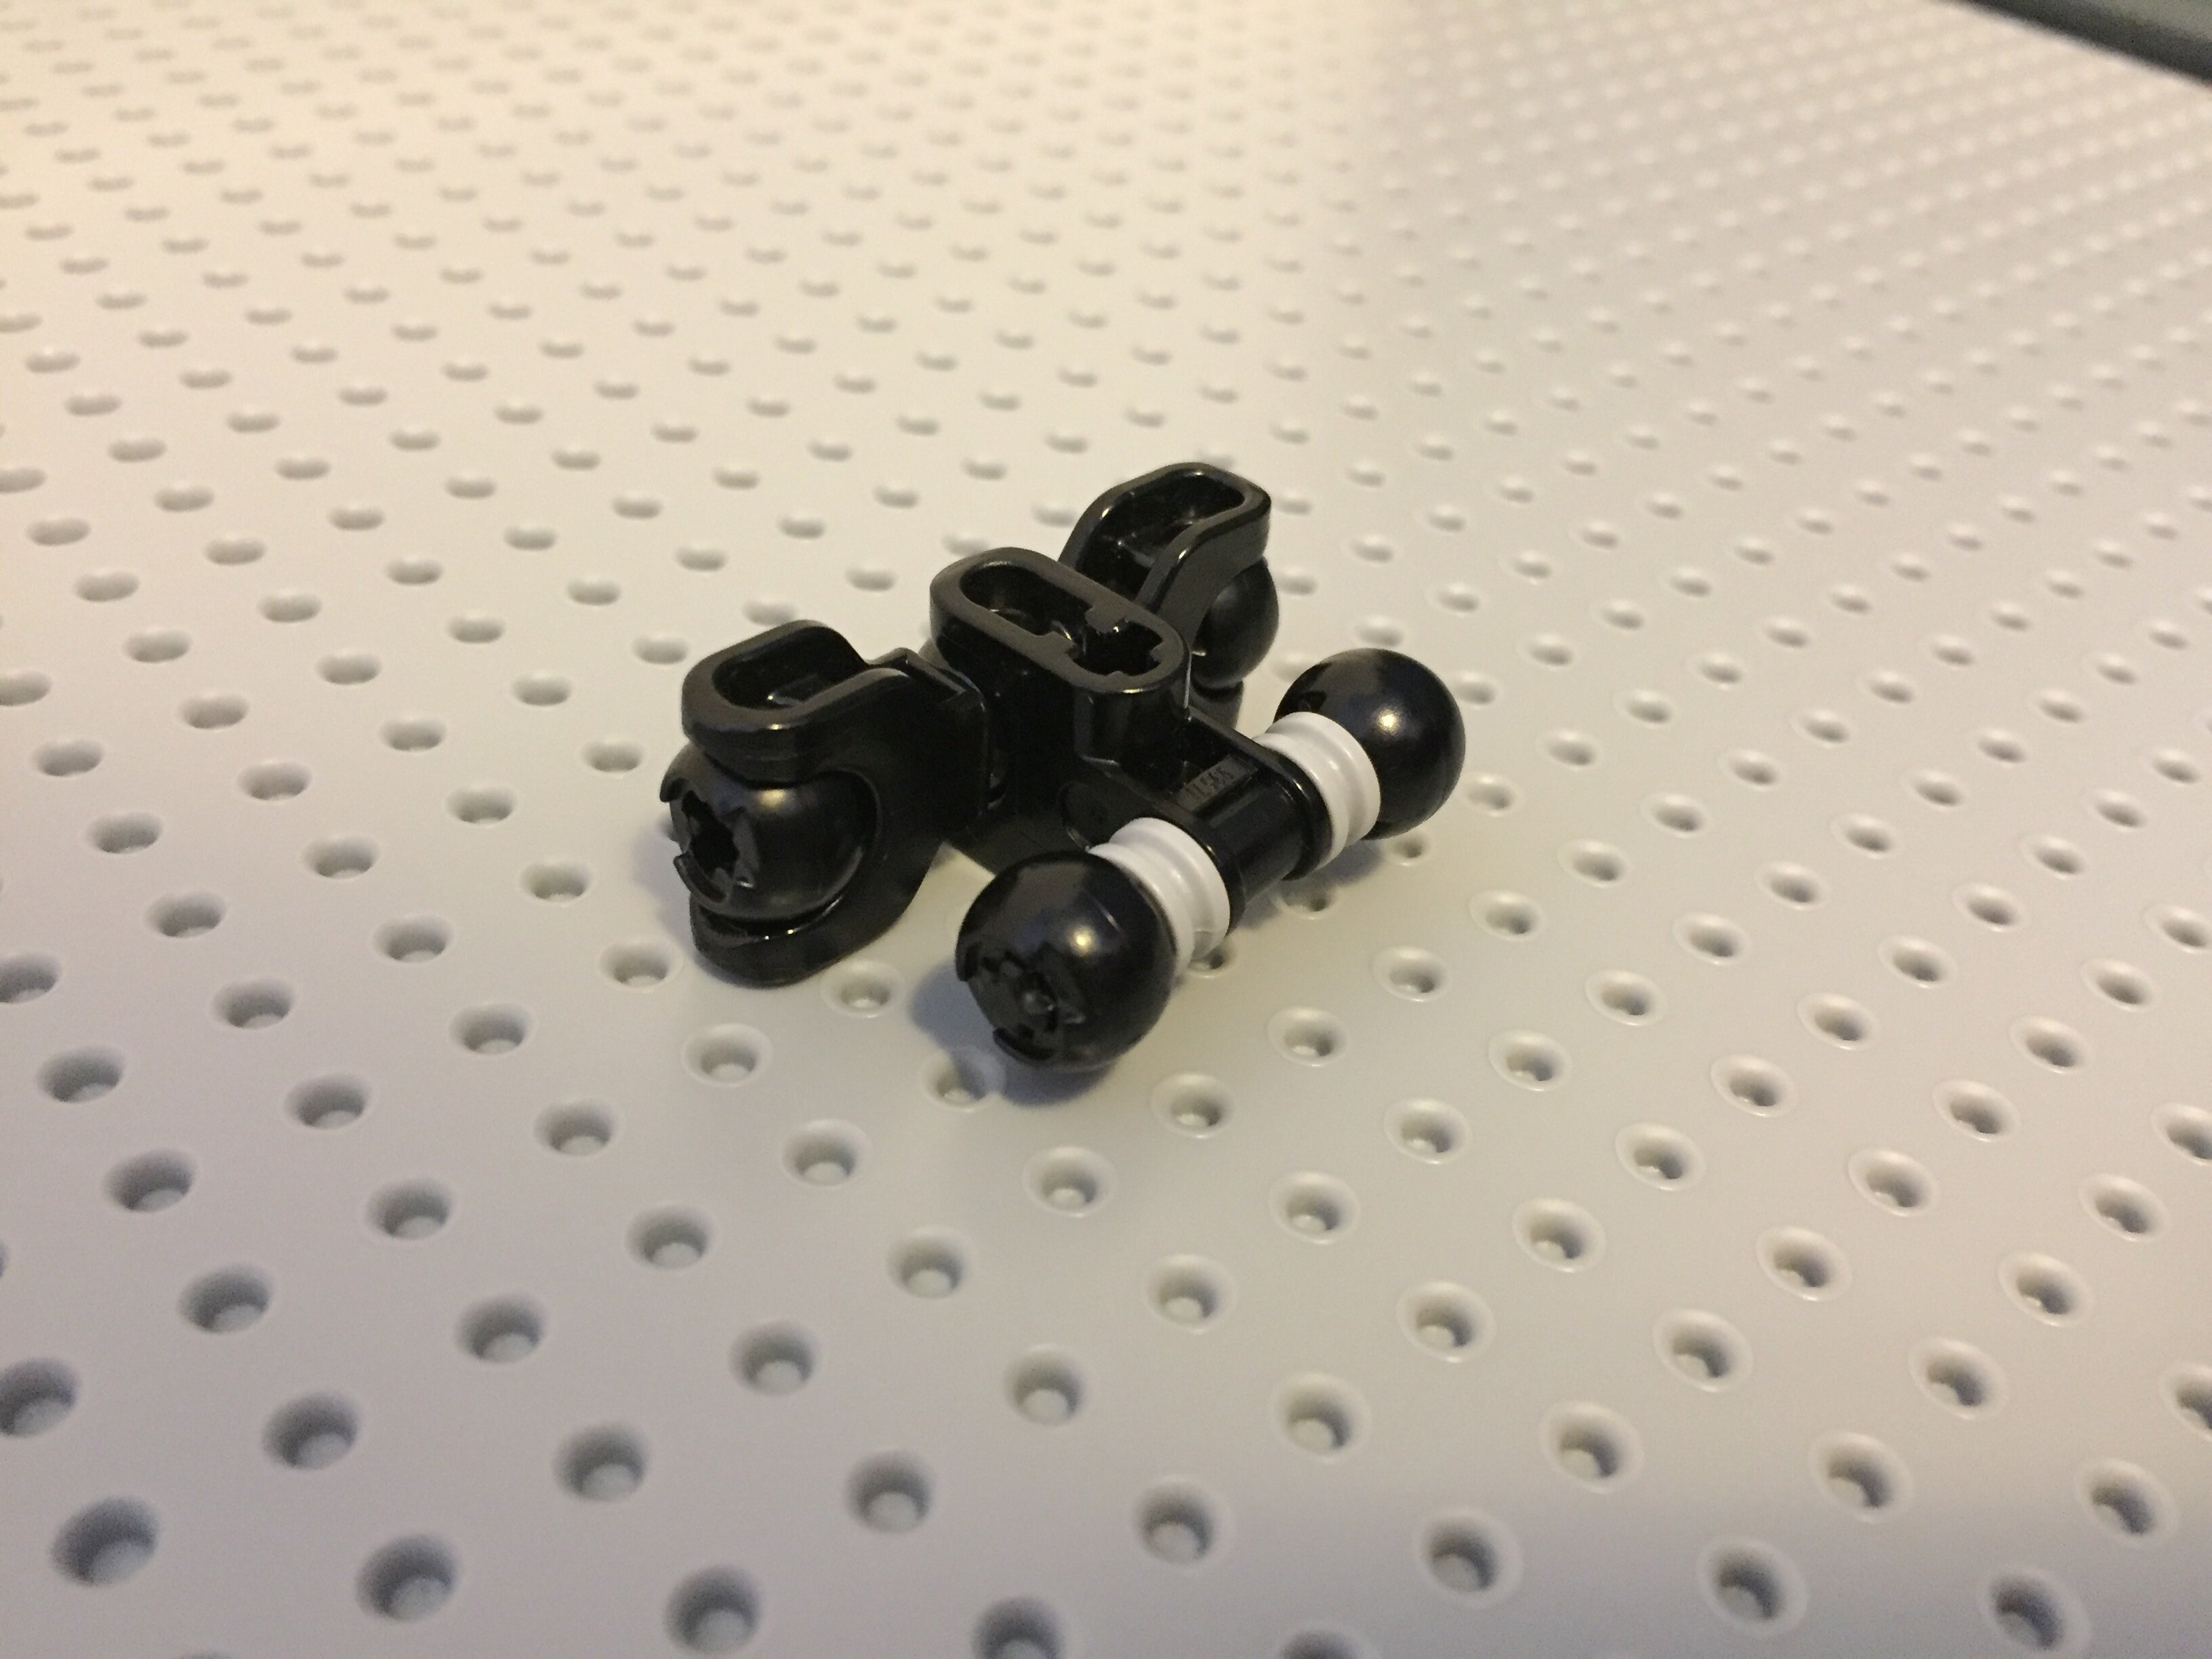
The answer involves using a 3.18 hose. 3.18 refers to the diameter of the piece shown above in millimeters. If you take a couple of clips you can attach them at any distance away from each other for as long as the tube reaches.
We’re going to use this principle to create our own baseplate that fits minecraft heads. The grid pattern is made up of precision spaced travis bricks connected with hose. In a real life version of this, you’d cut the tag ends of the hose off.
The last step is to apply the head blocks and color them. Now your floor is done.
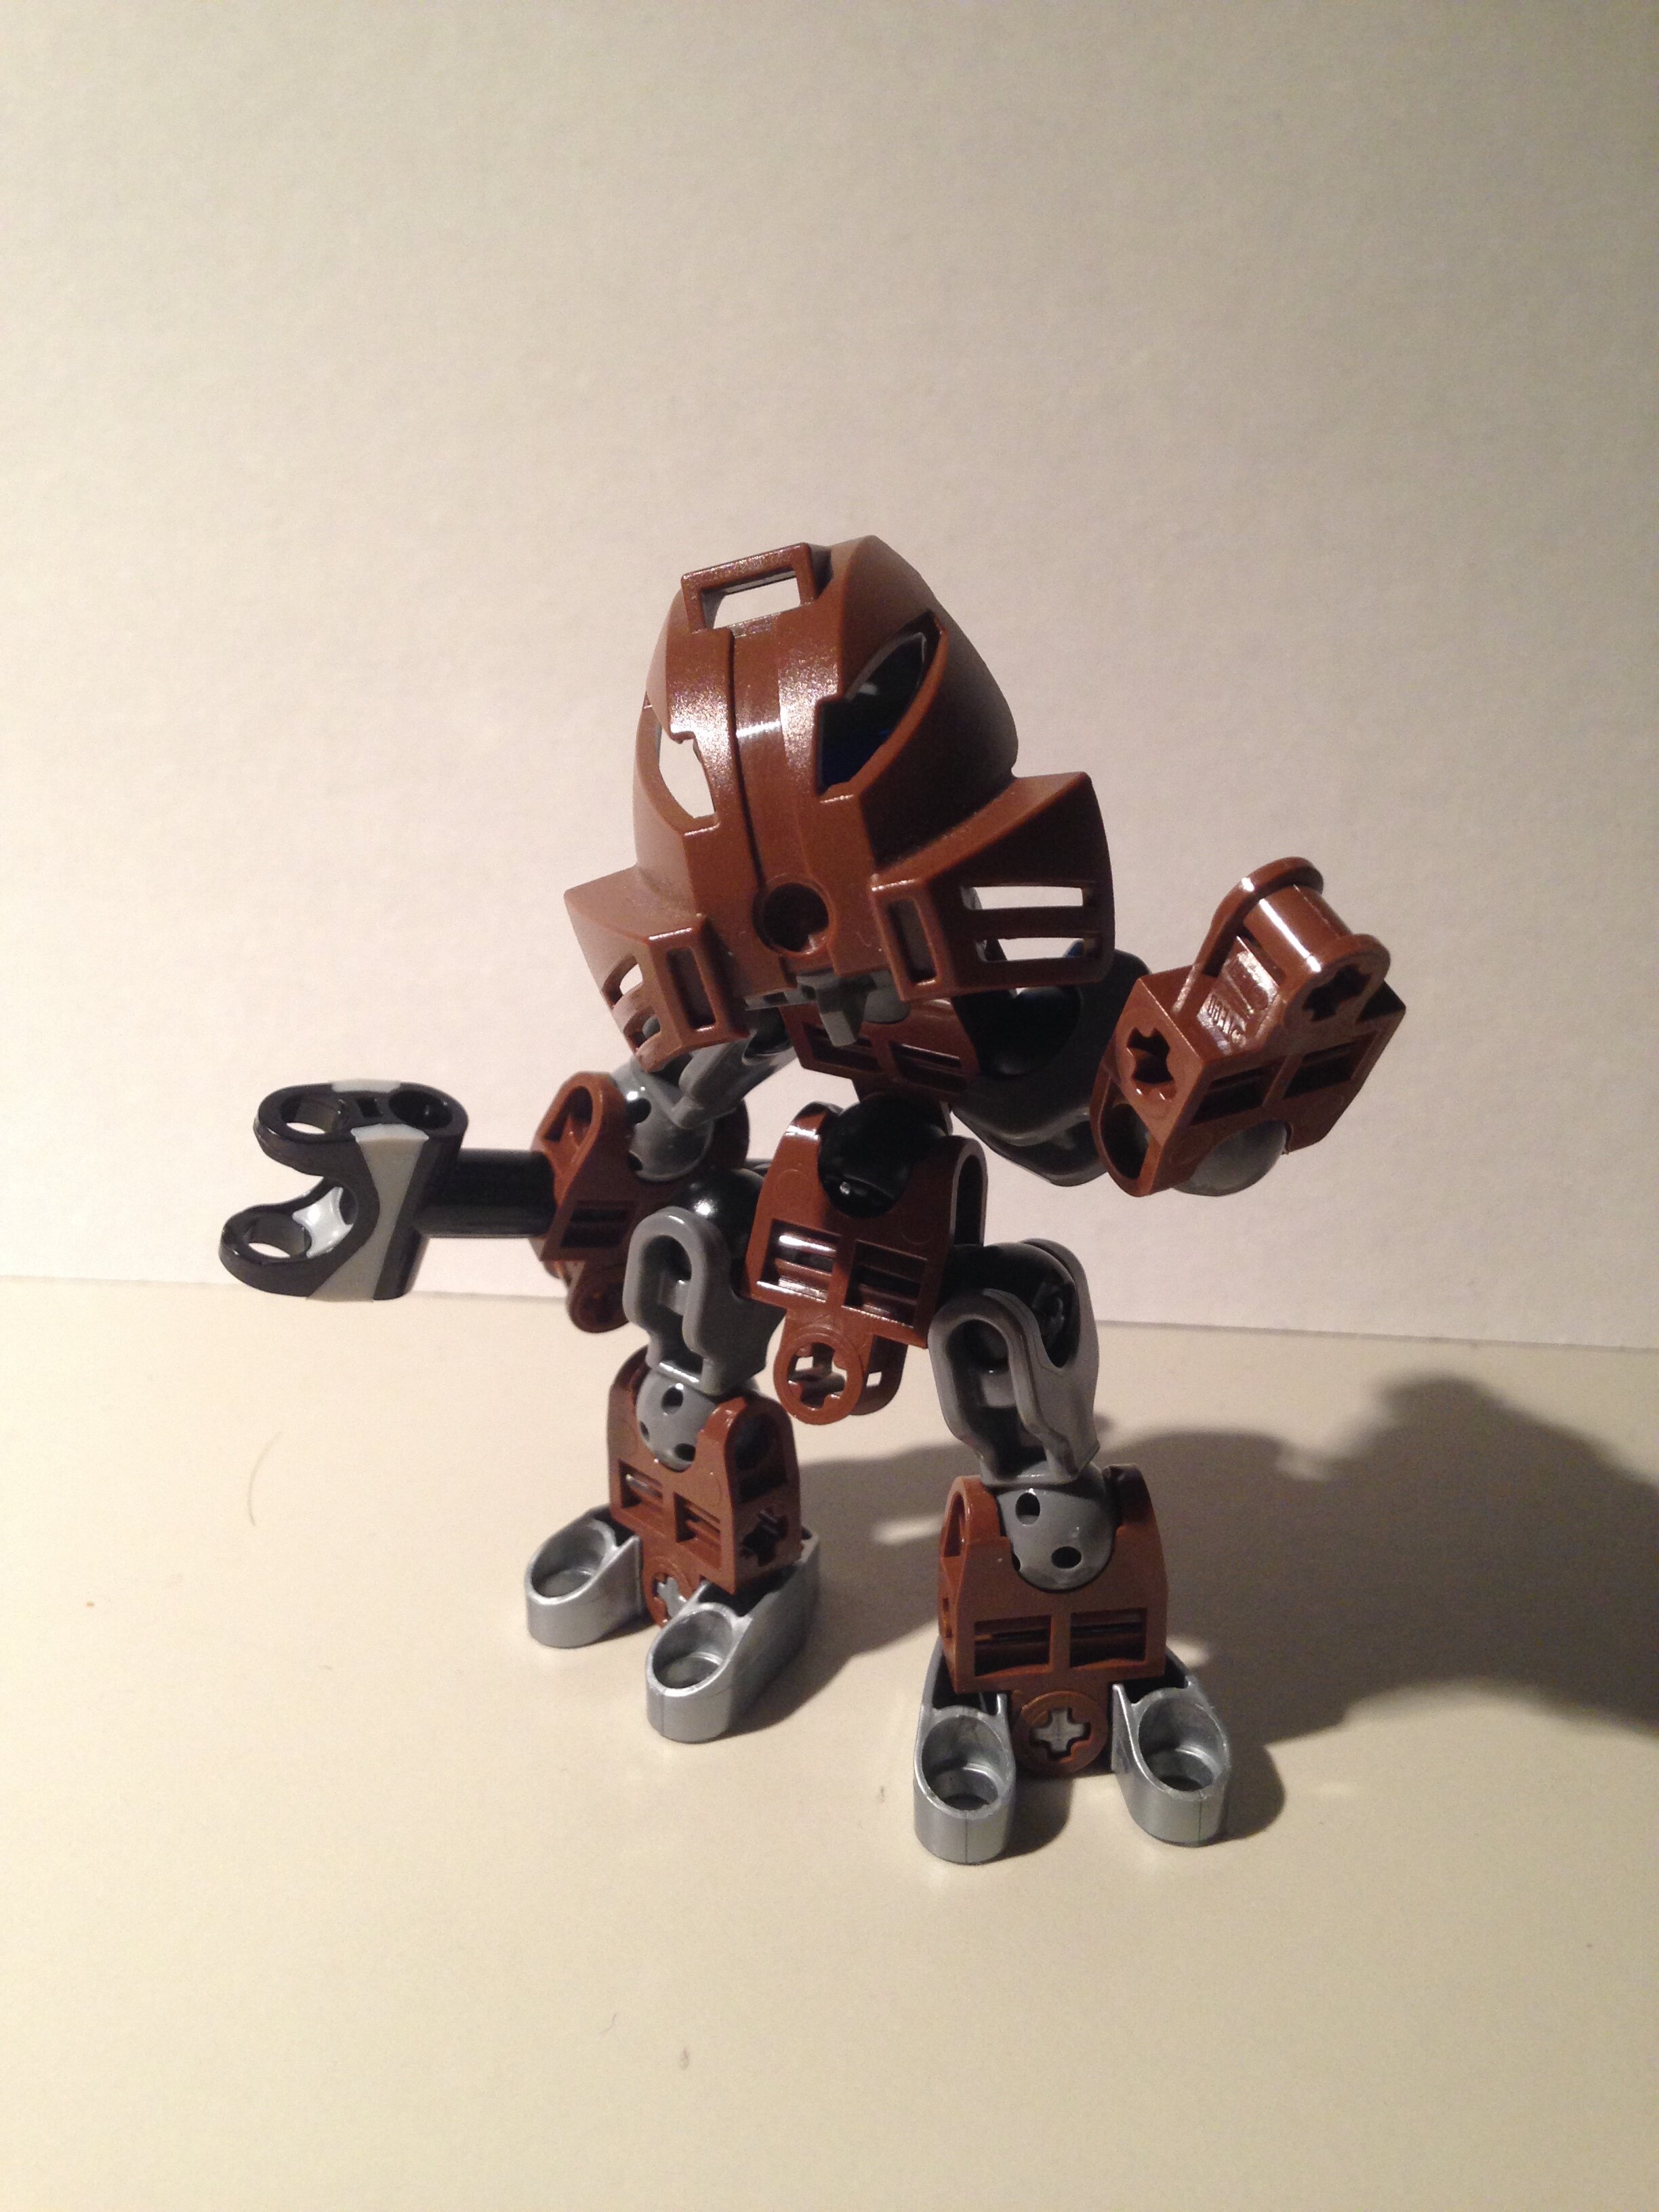
Does anyone have any ideas or instructions for a decent looking custom Toa torso? I need a male and female version, preferably not much larger than a normal set’s in terms of height.
If anyone can help, I would greatly appreciate it. Thank you.
likus you clever boi
Some guy at the lego group is probably out to get me for teaching people how to hijack the system. You can apply this trick for many other things, for instance a roof made of graduation caps or something weird like that.
Well, I have a (not very creative) female torso. It’s rather thin and simple, but its hip and shoulder joints are at the same height as those of Kopaka Master. It’s also a bit wobbly around the waist area and has like no back armor (because of those blue half-pins for attaching weapons); but I do think that it can serve as some kind of inspiration or base to build around.
I would recommend putting some tires on the hip joints to fill out the gaps.
I could’ve edited this into my other post, but this is about a different thing, so yee
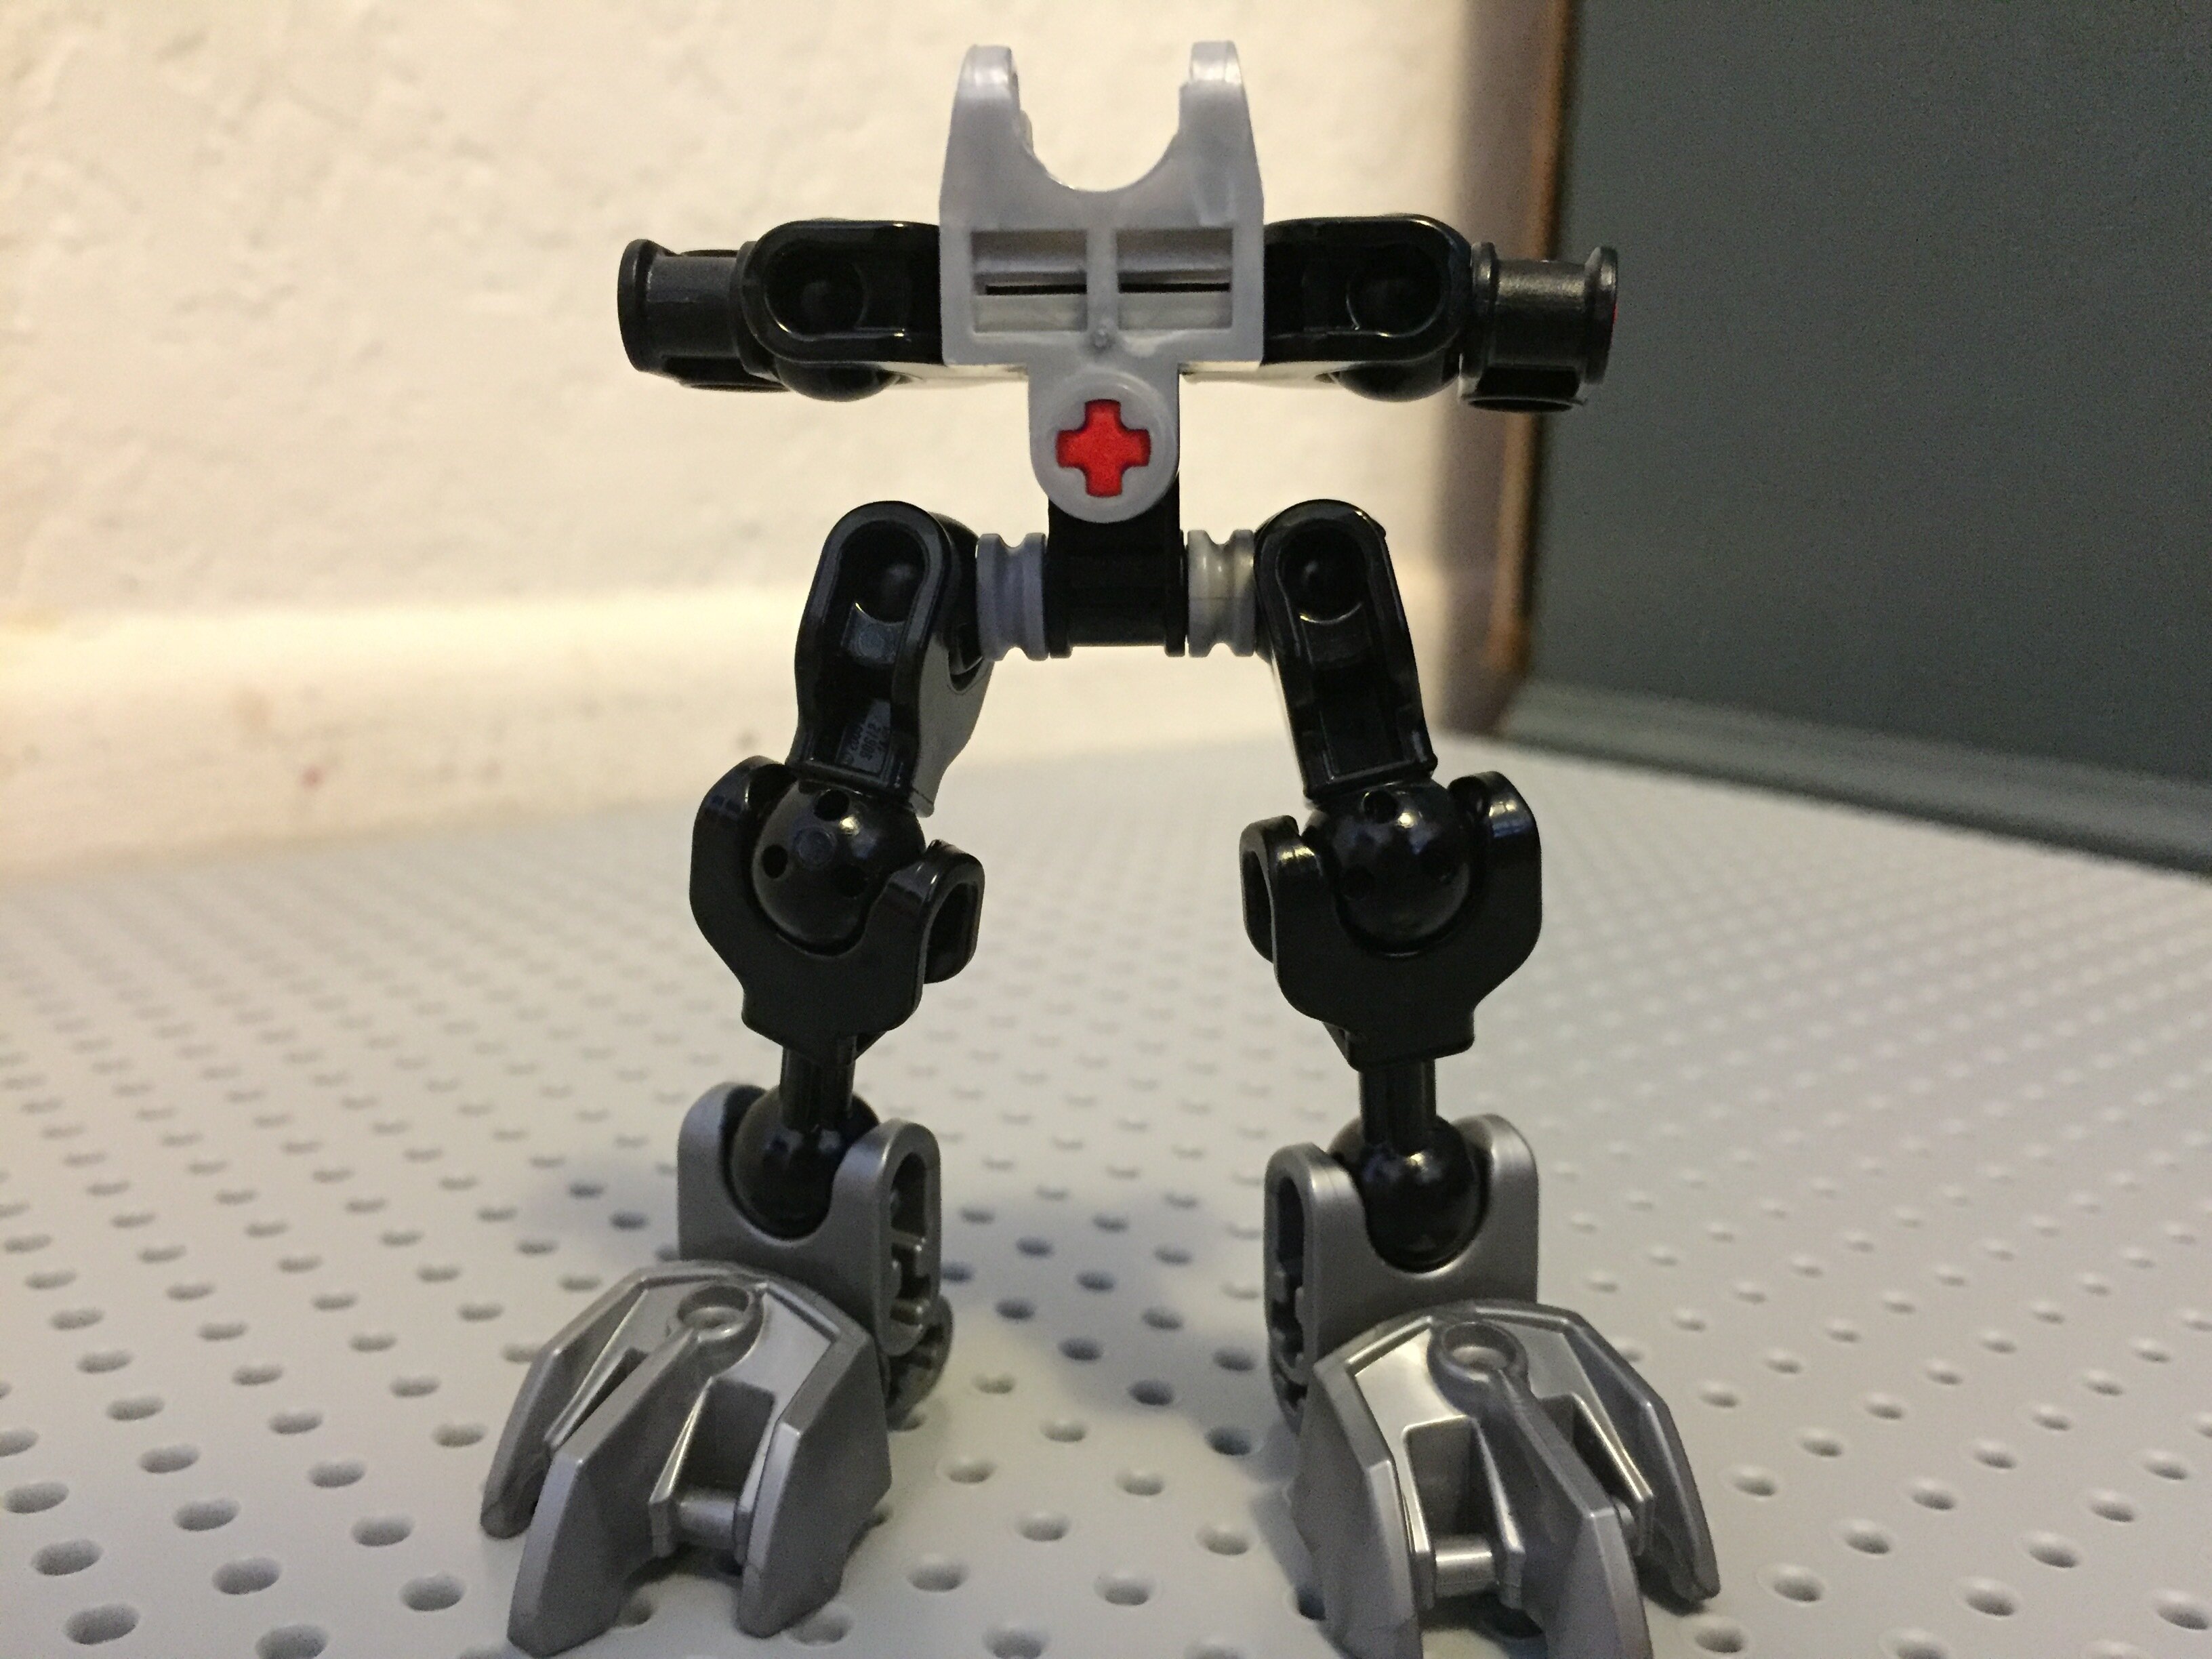
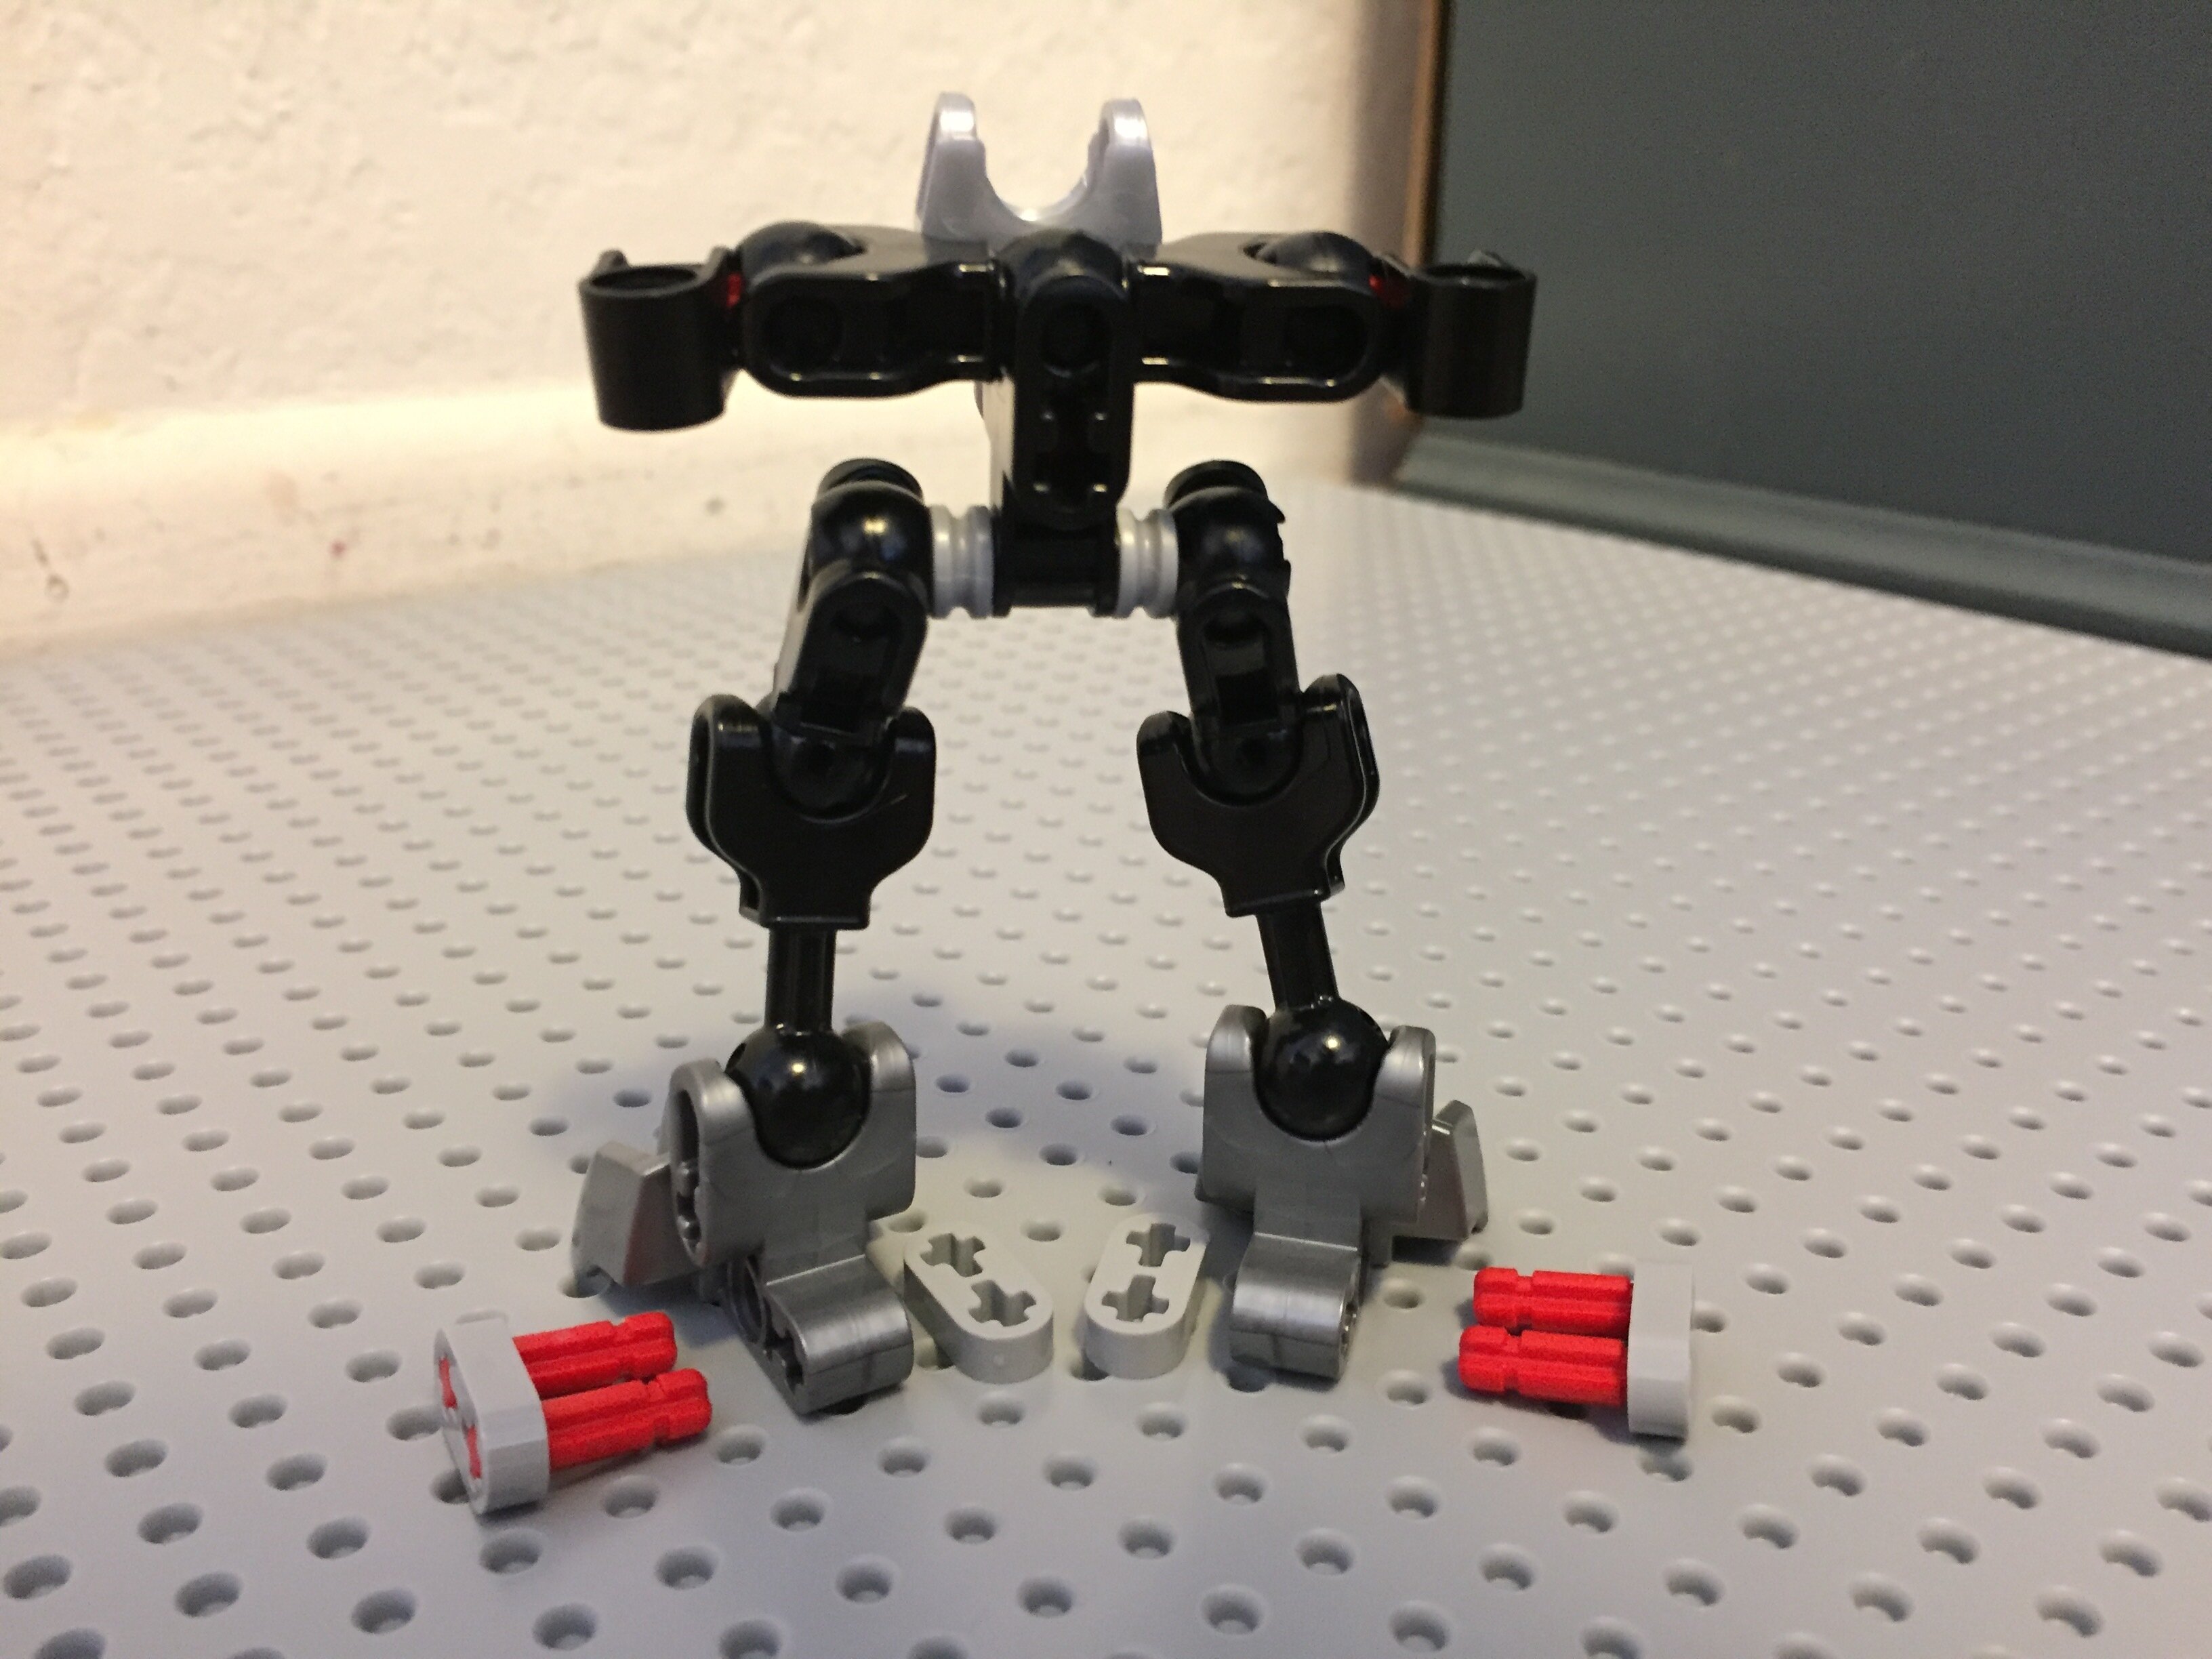
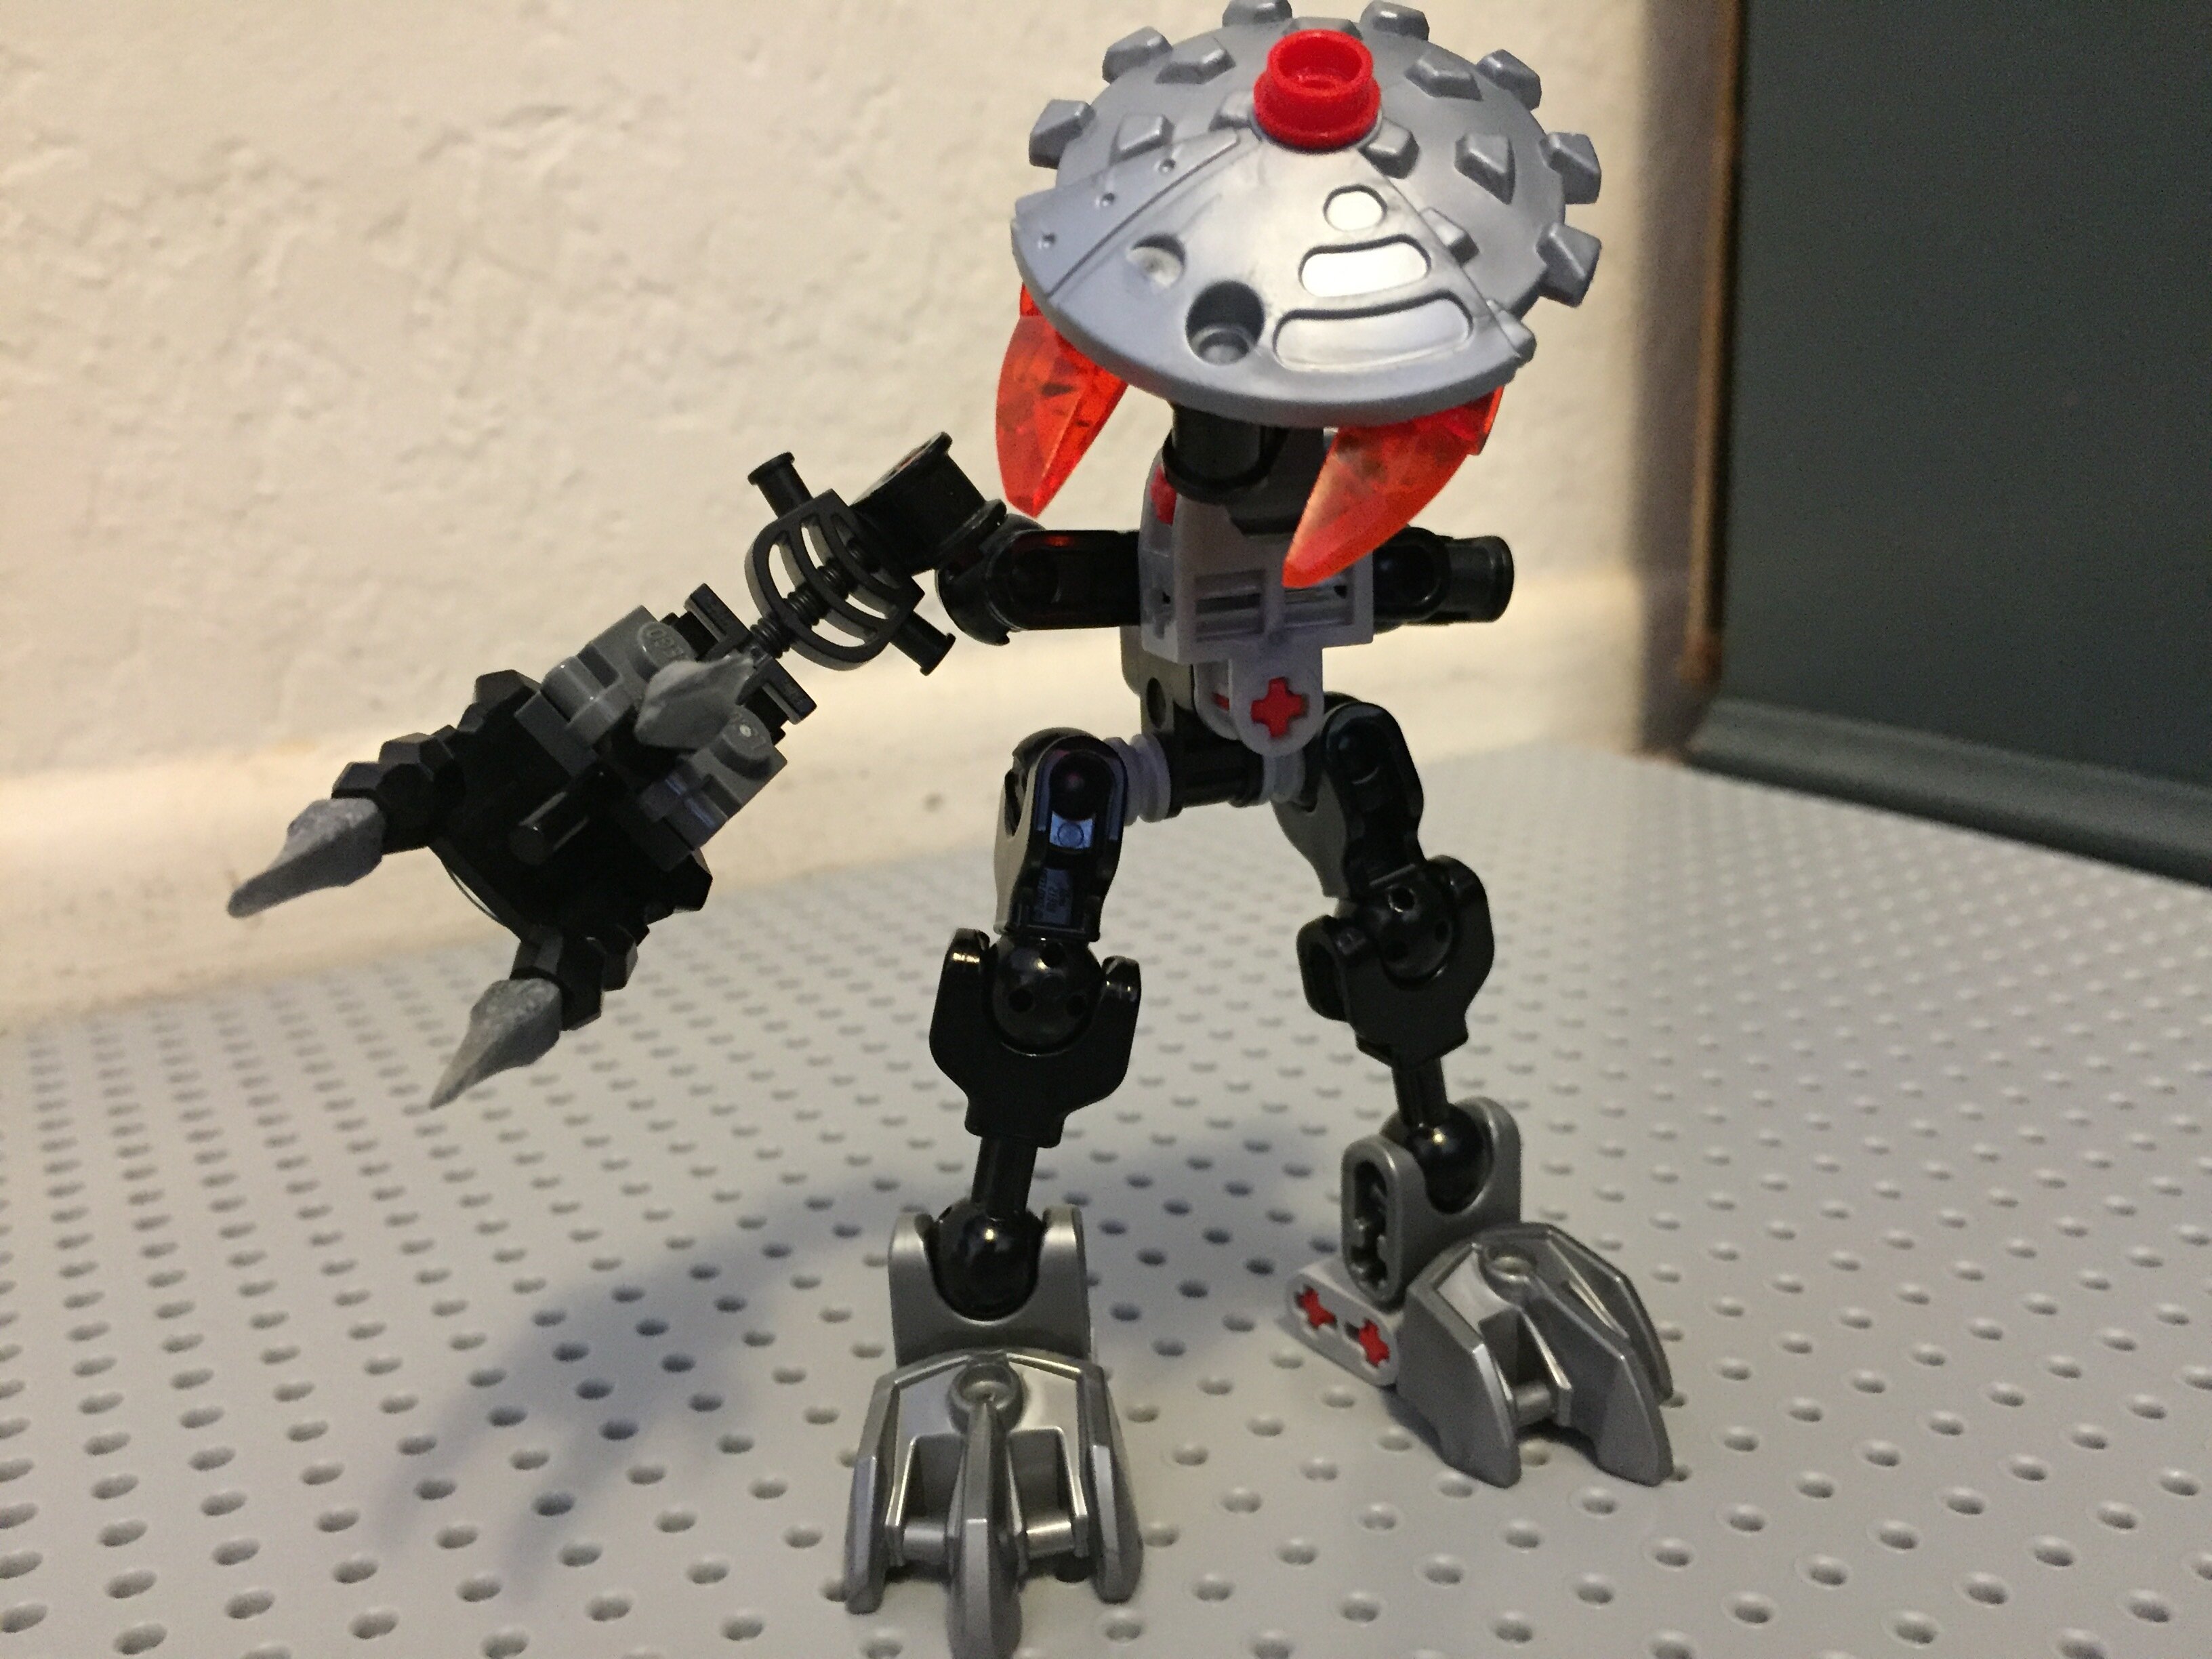
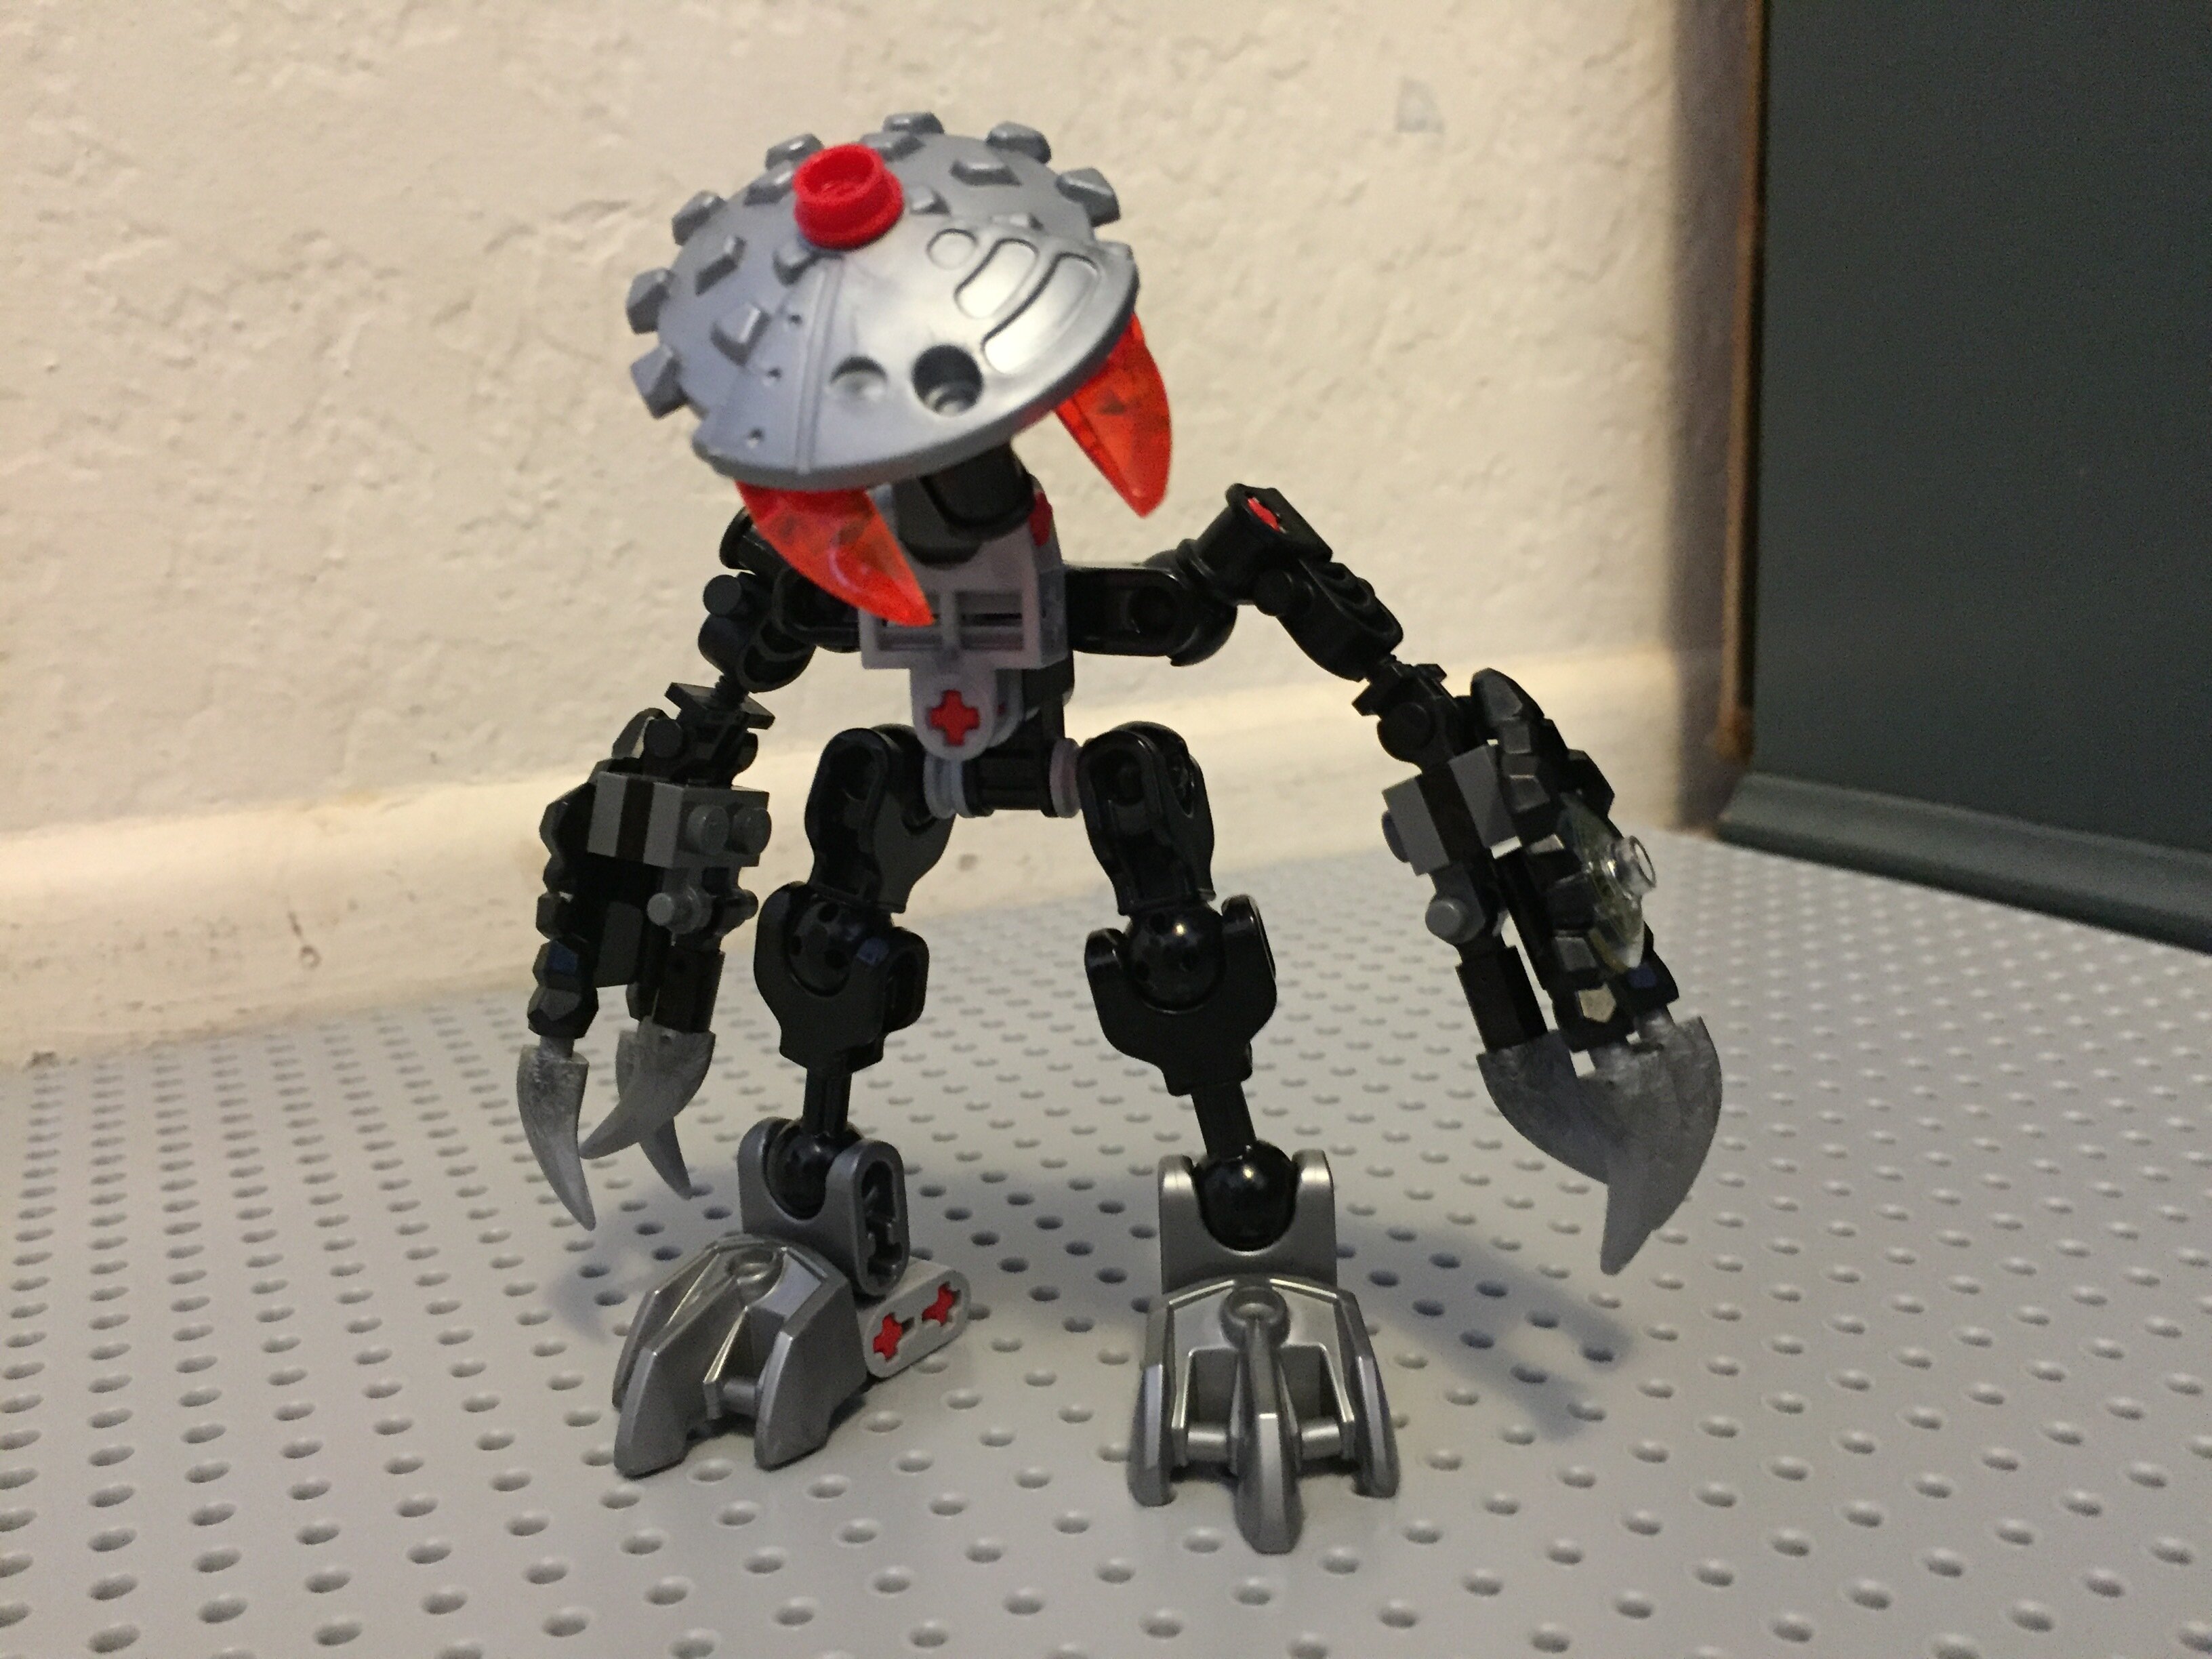
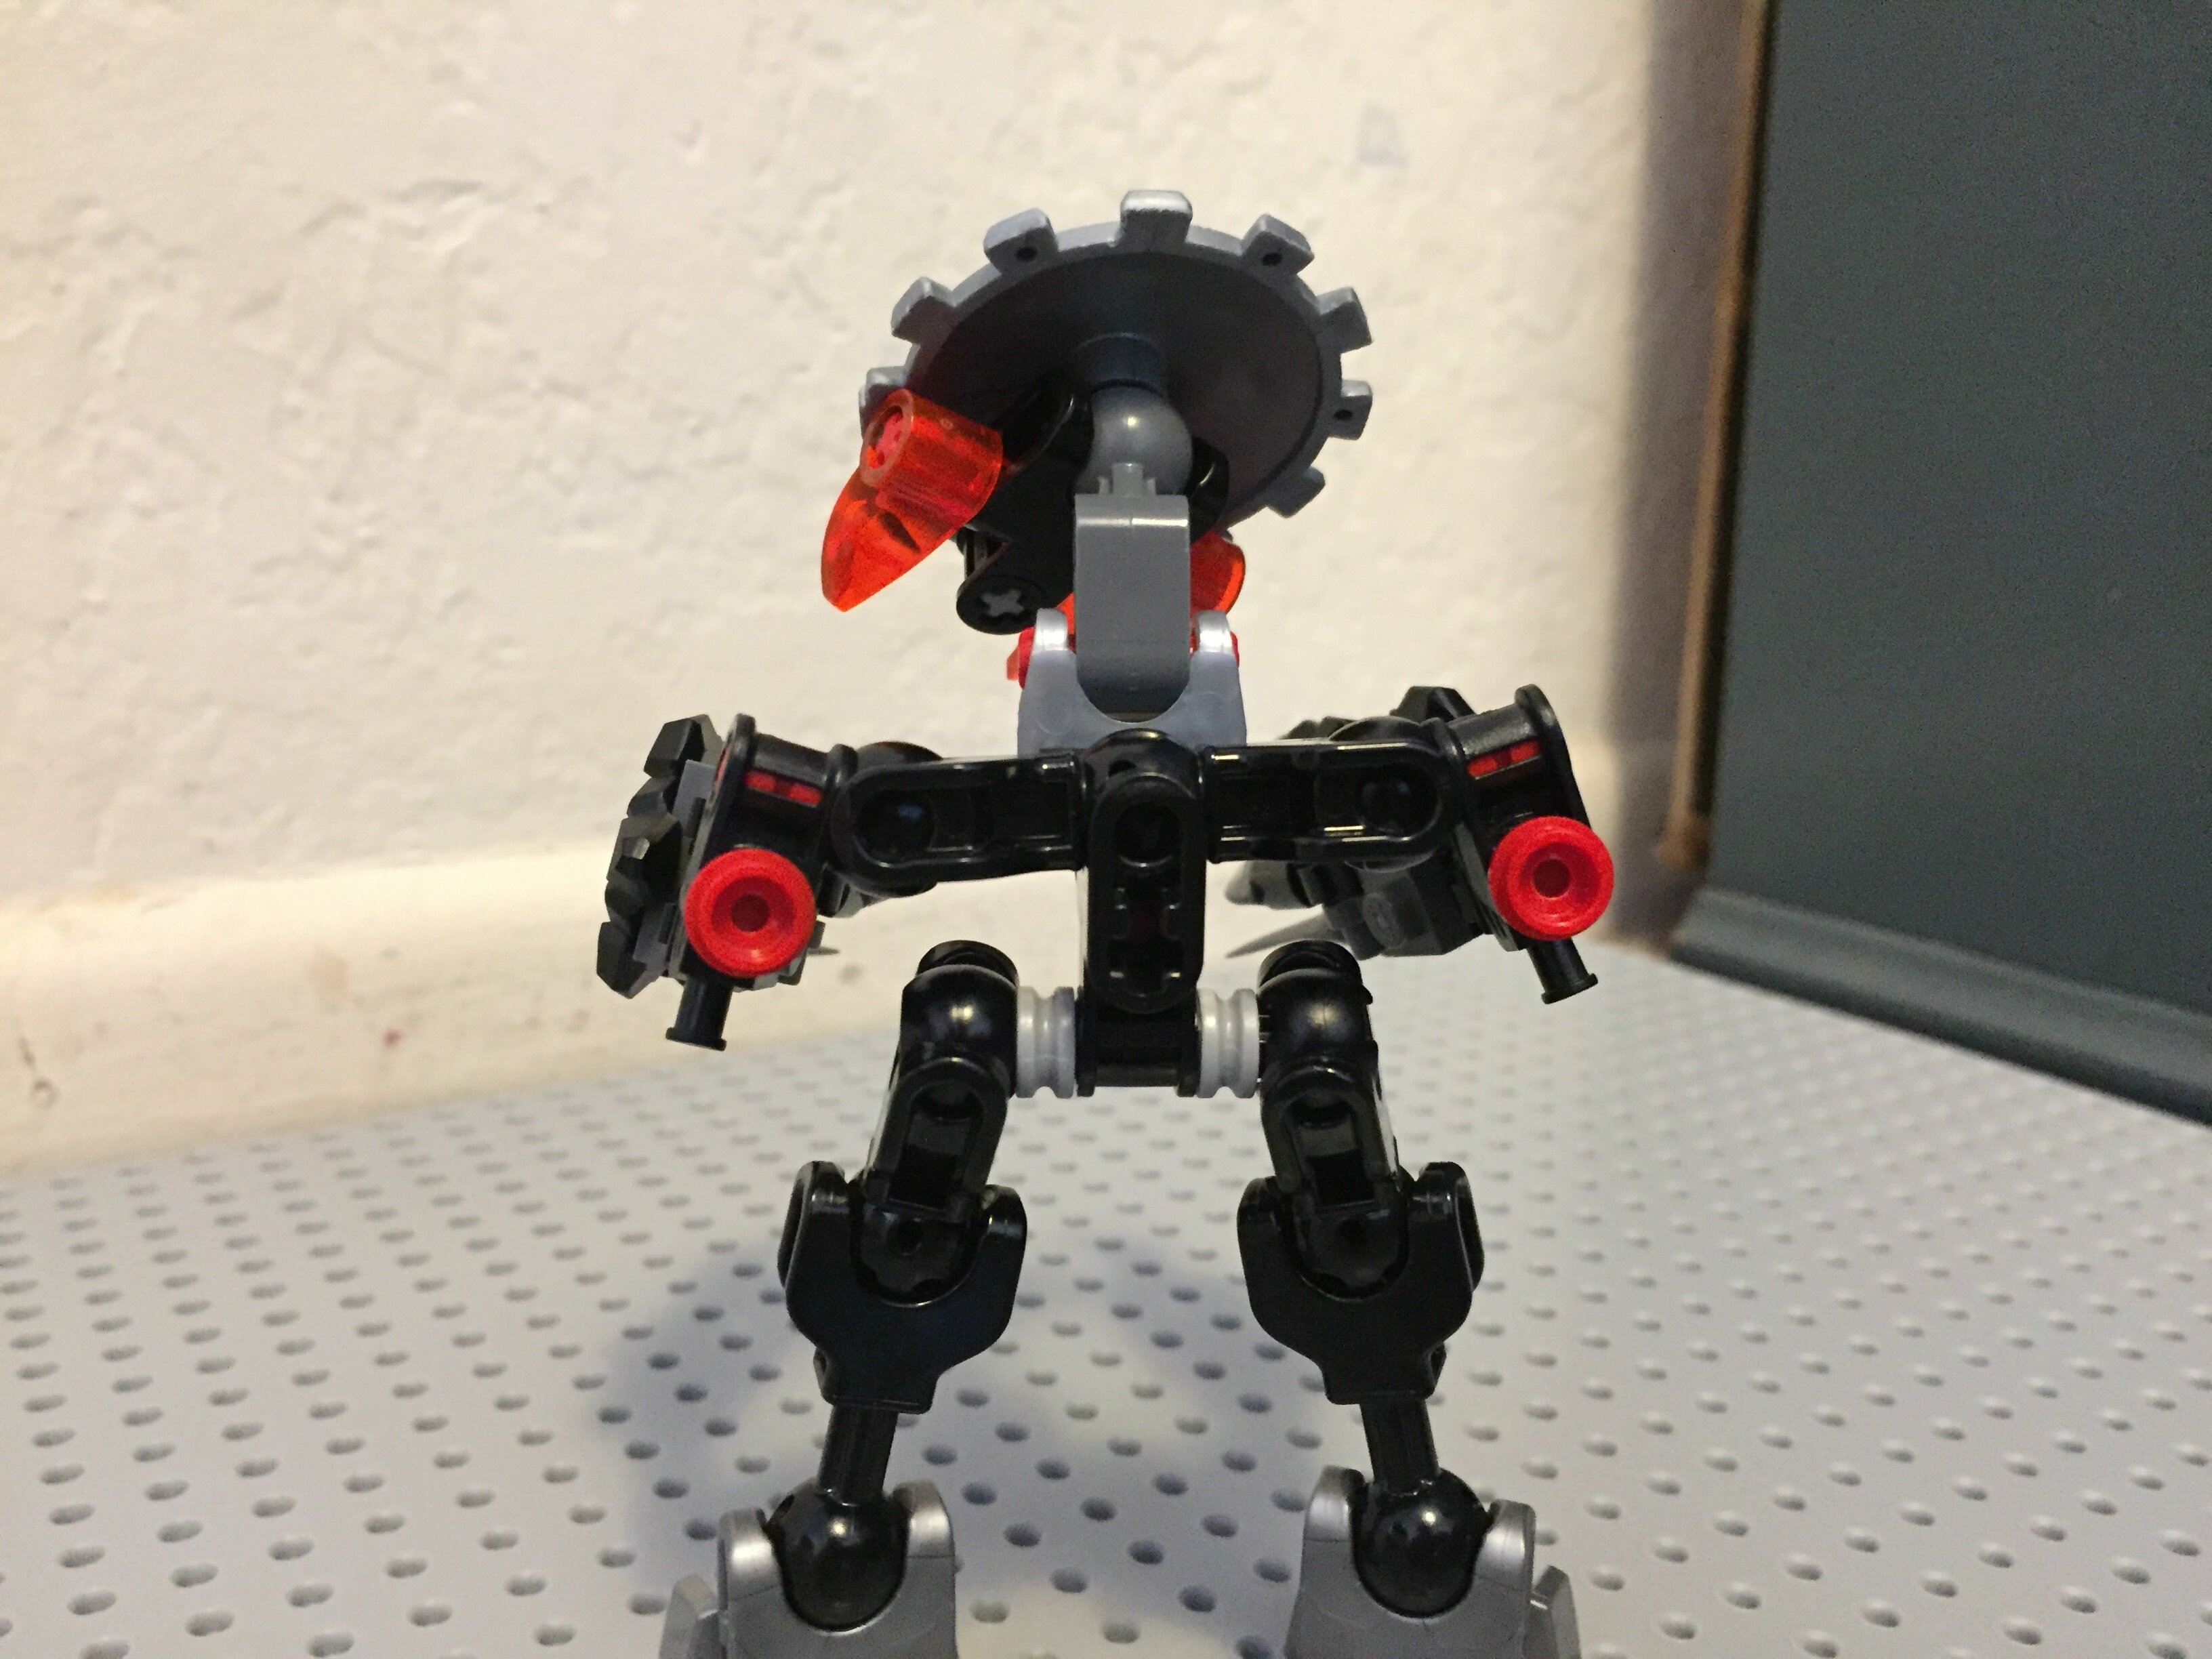
Ever wanted a really small Matoran build, around the same height as a Voyatoran, that uses way too many ball joints and Mata hands and also has hip articulation and a hunchback? Well, then this might be what you’ve been looking for:
This obviously is the version for heads that have a socket. And my least favorite because of the hunchback that’s just fixed there. I’m sure someone (or even I) can come up with improvements.
It even looks like he has some spine bones:
Here’s the version for heads with balljoints, let’s call him Bulsik:
And here next to our favorite hunch-backed Matoran: /s
poor Velika just wants a hug
I’d love to make more right now, but I don’t have any parts left.
Edited for Double Post.
~Chronicler
Bulsik looks really cool yet pretty simple
Just because it was a different thing doesn’t mean you get to double post. Edit it next time.
~Chronicler
Alright, thanks for the clarification.
Anyone got a simple design for a small skeleton?
I’ve wondered about this for a long time now, and haven’t found an answer myself yet.
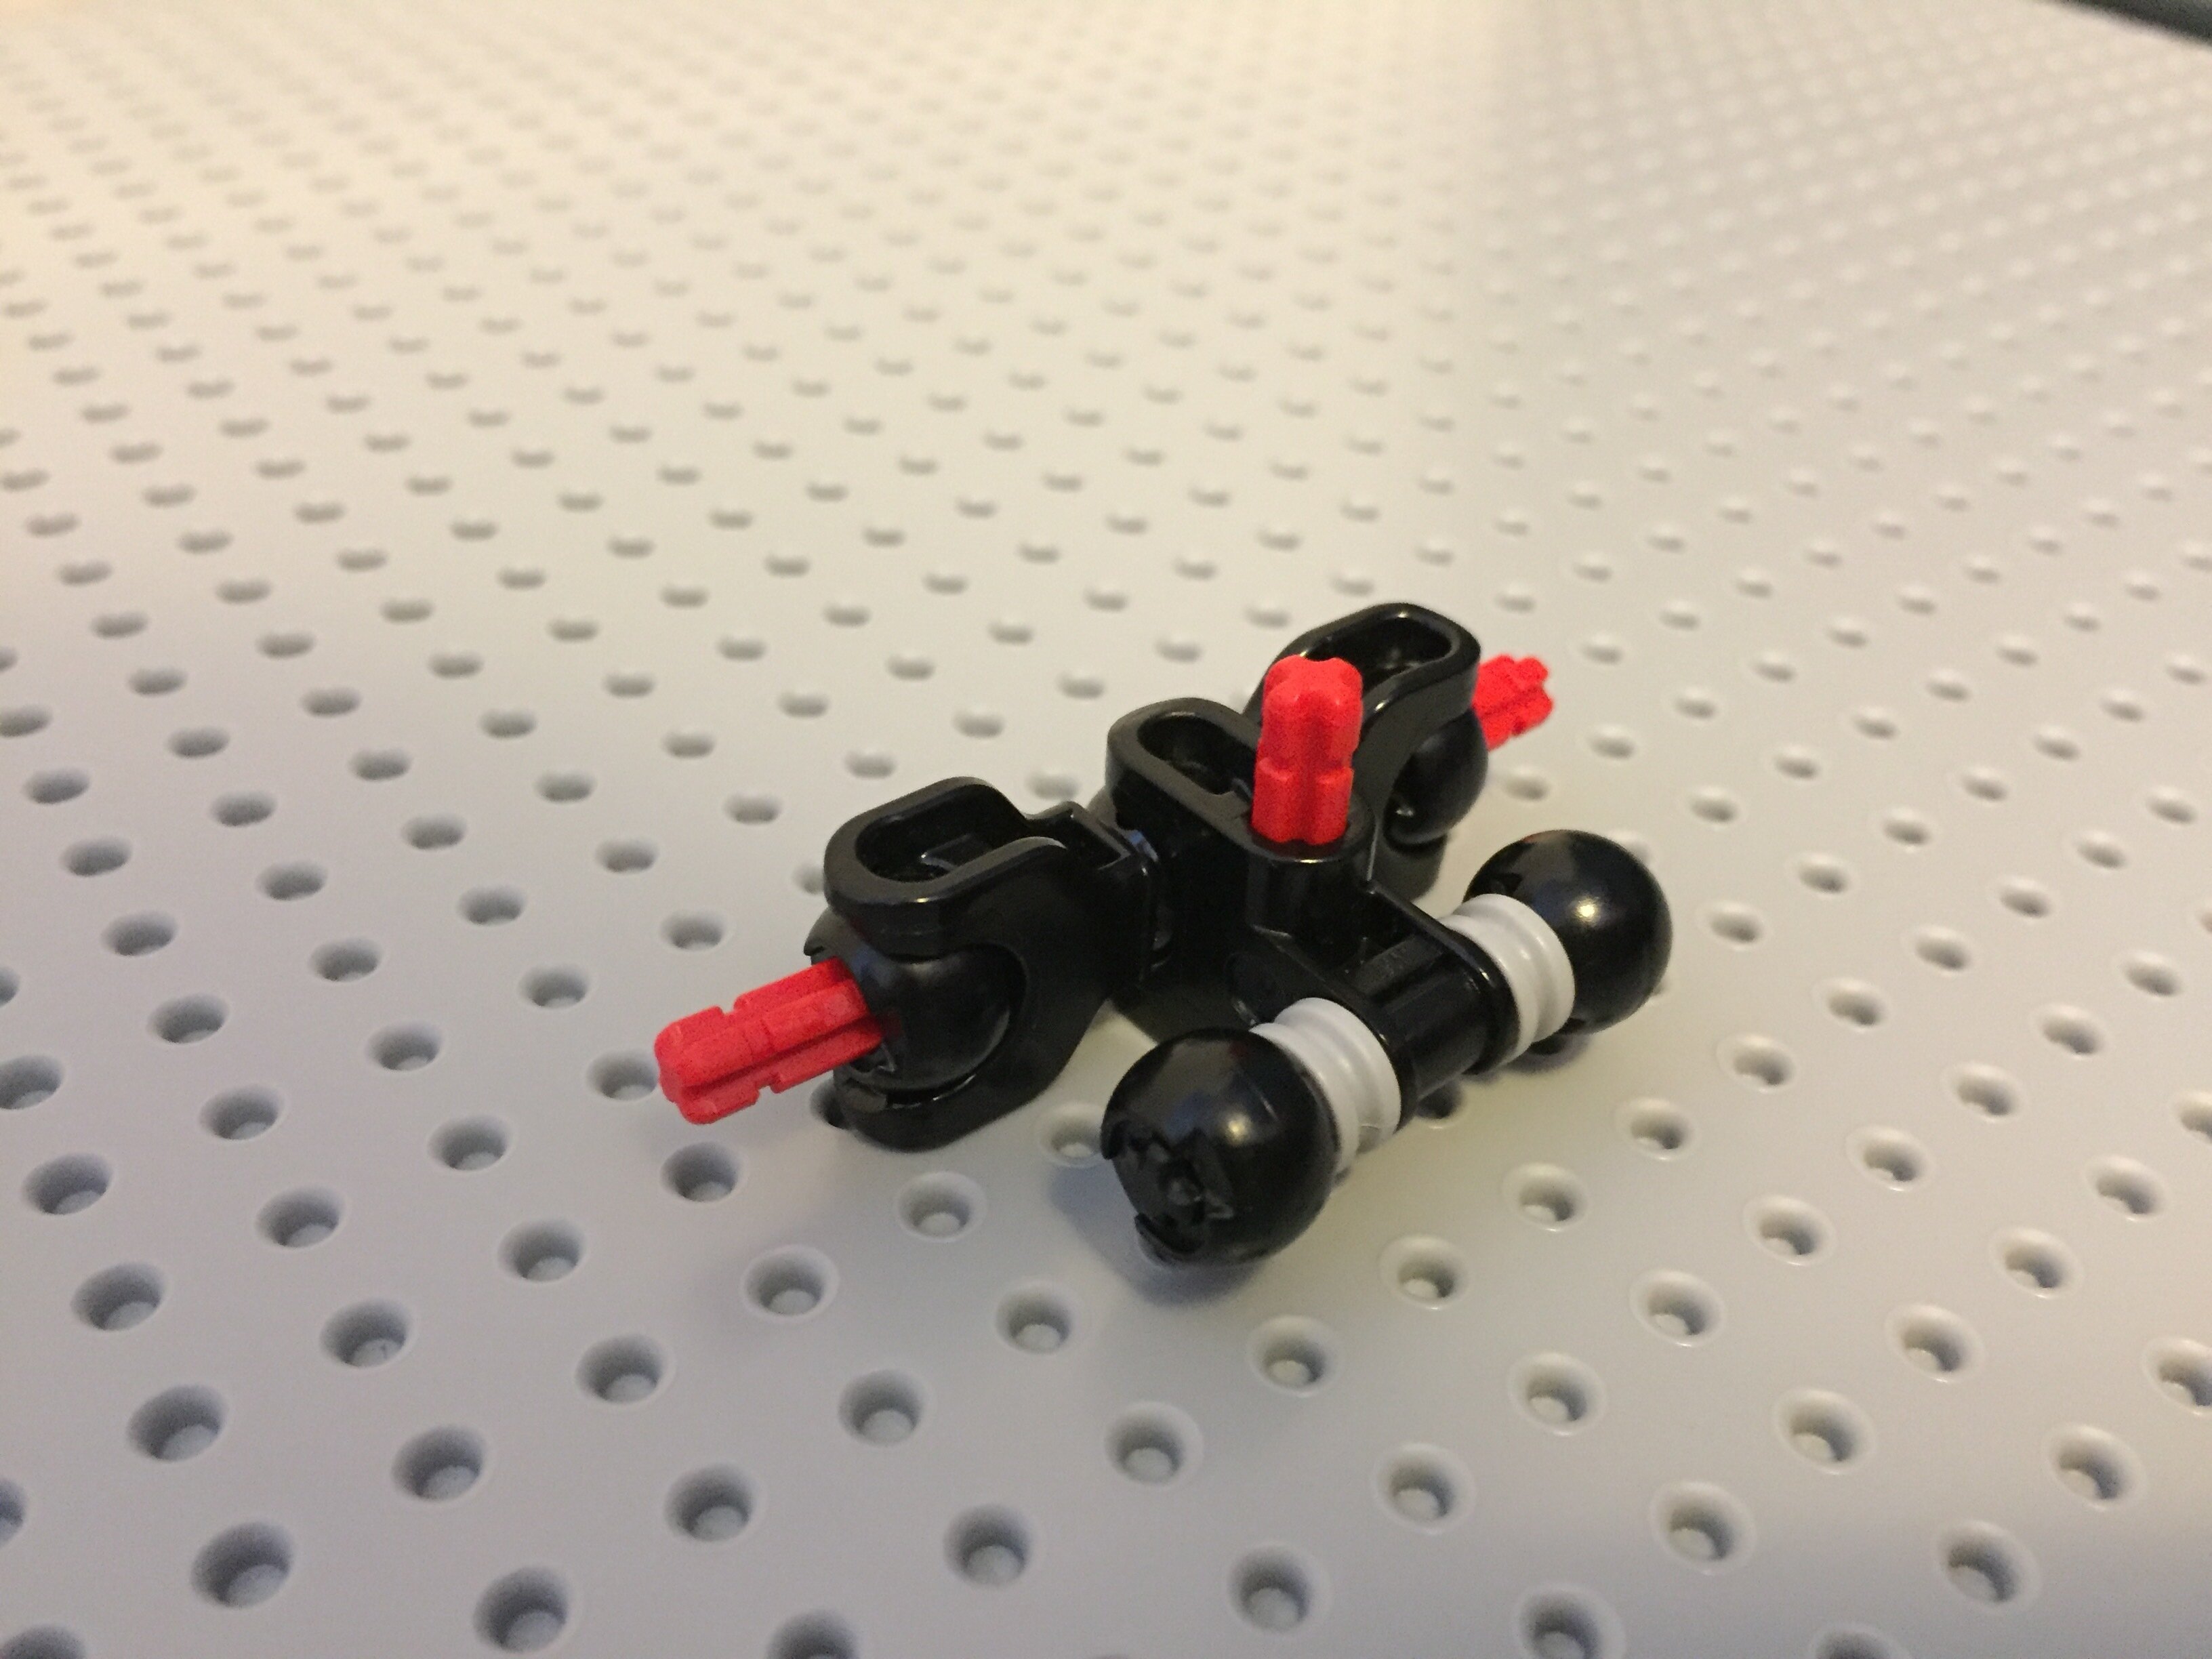
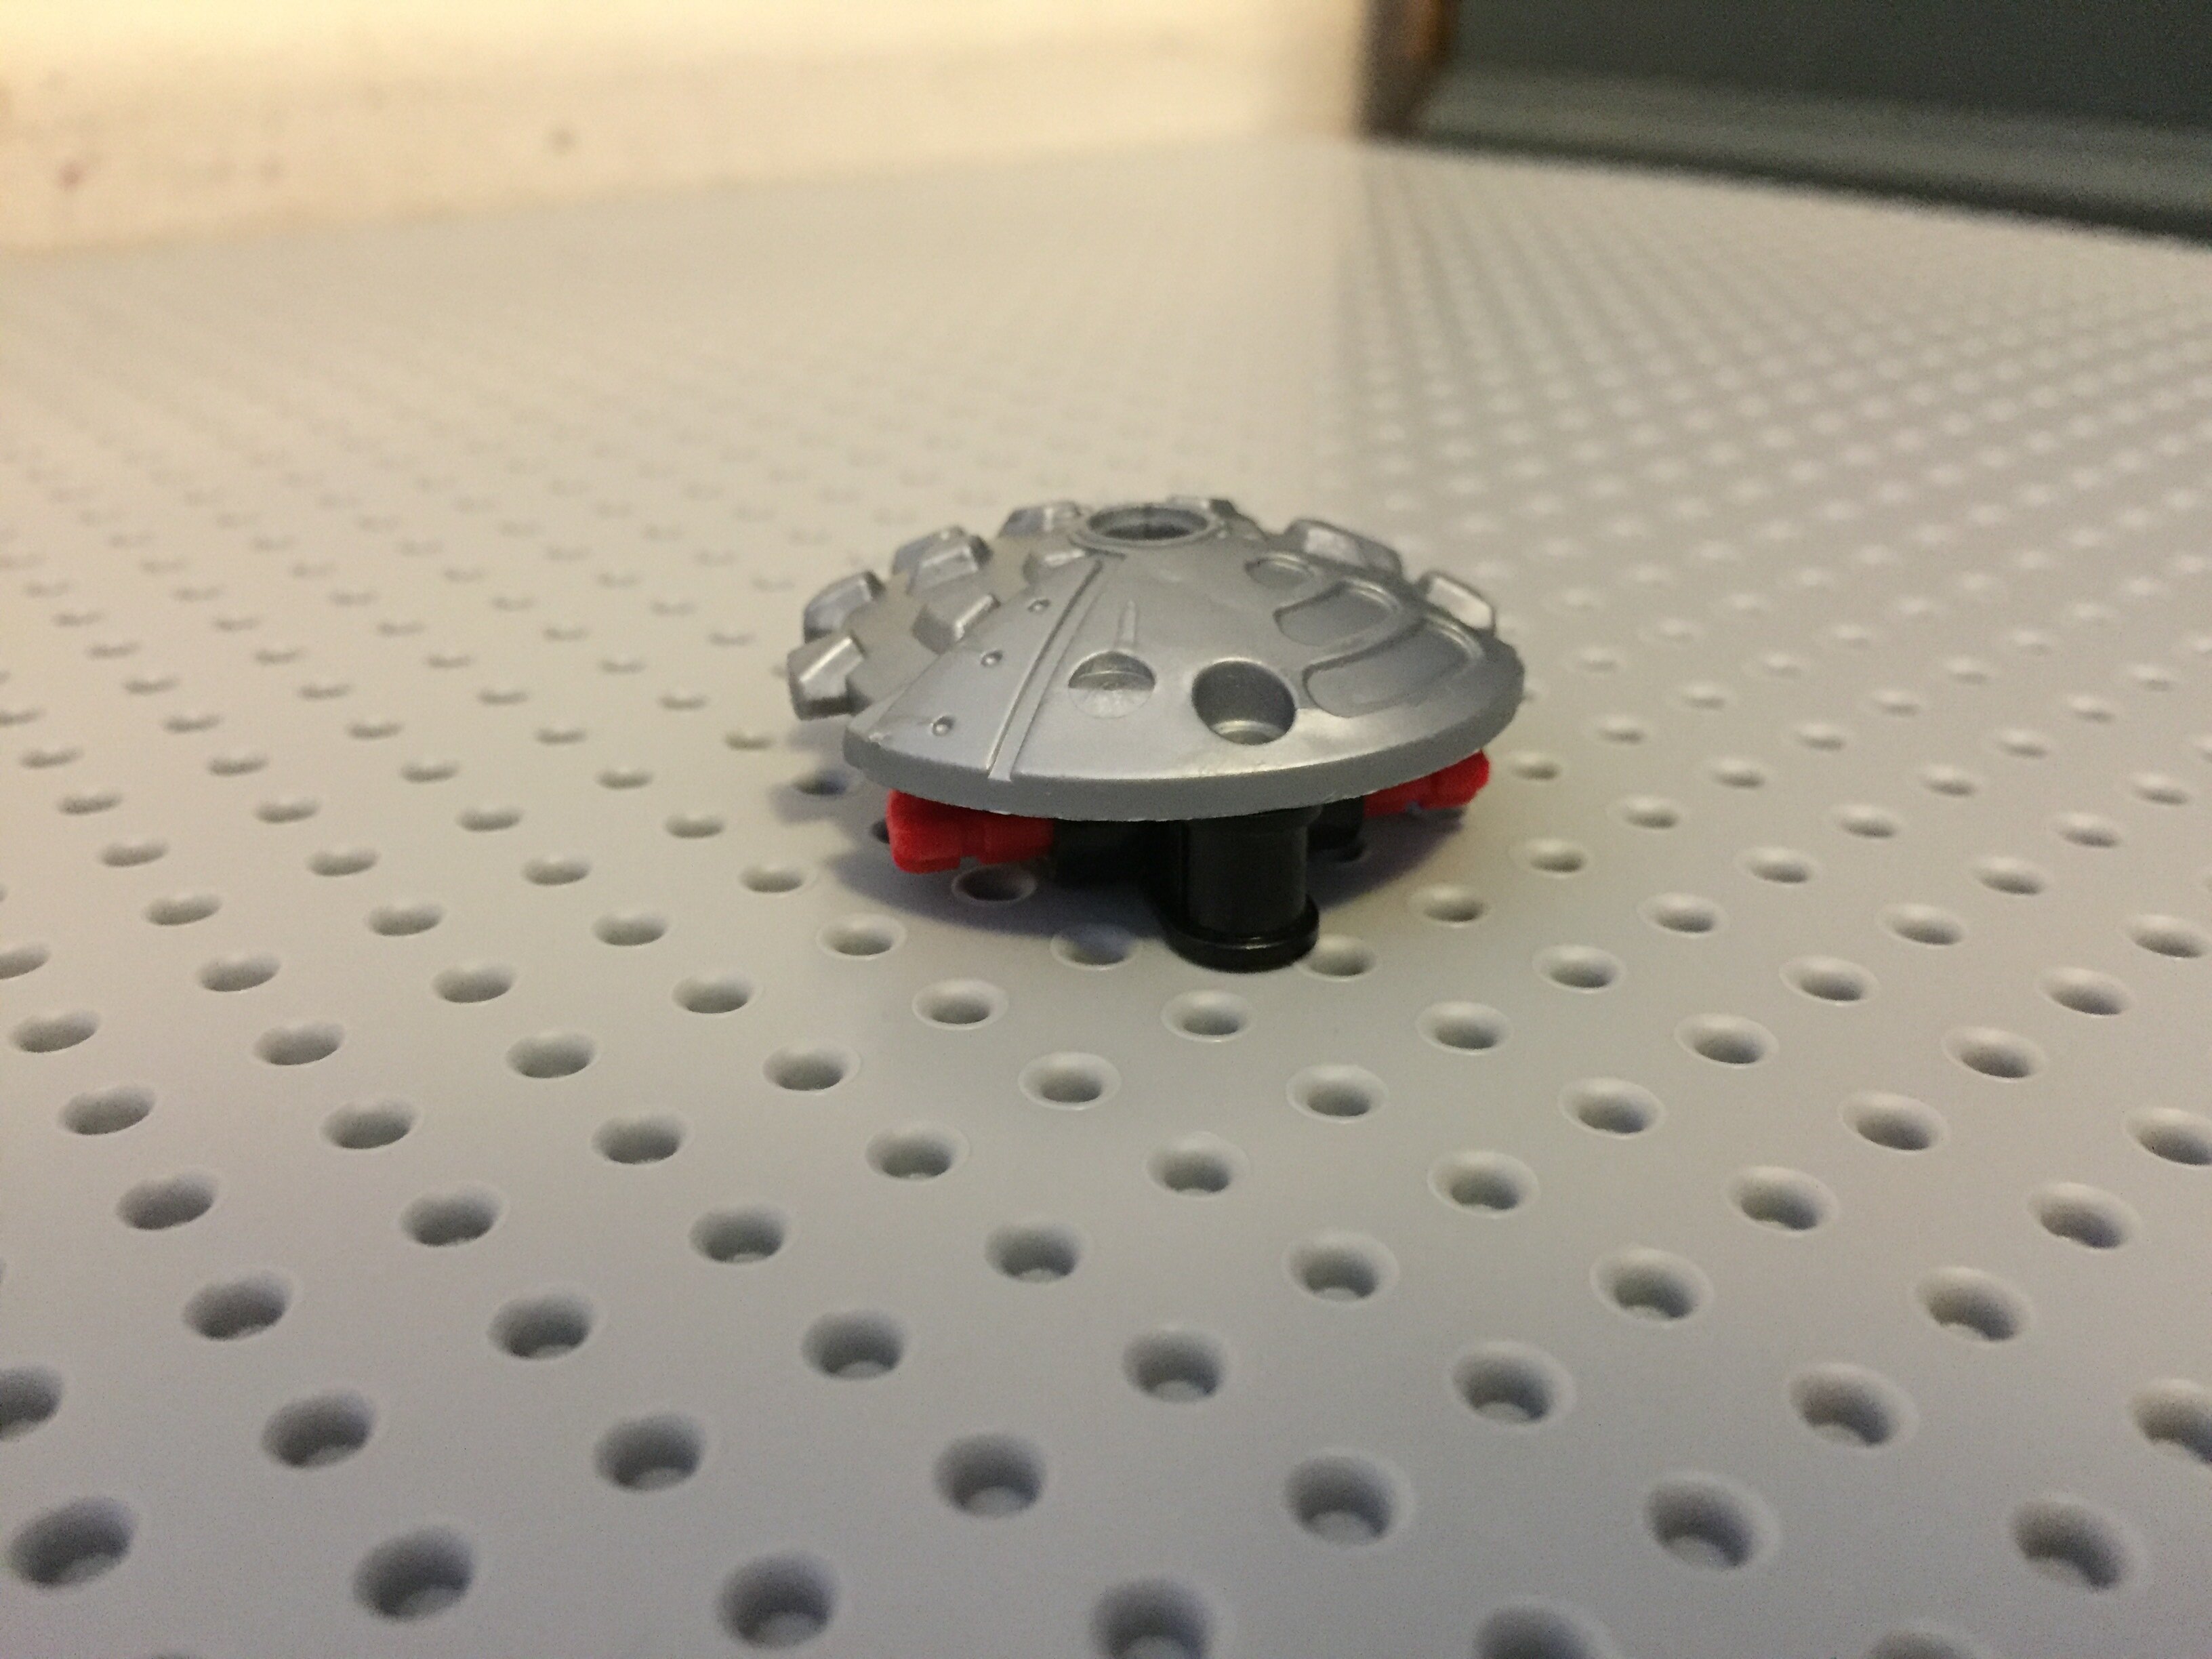
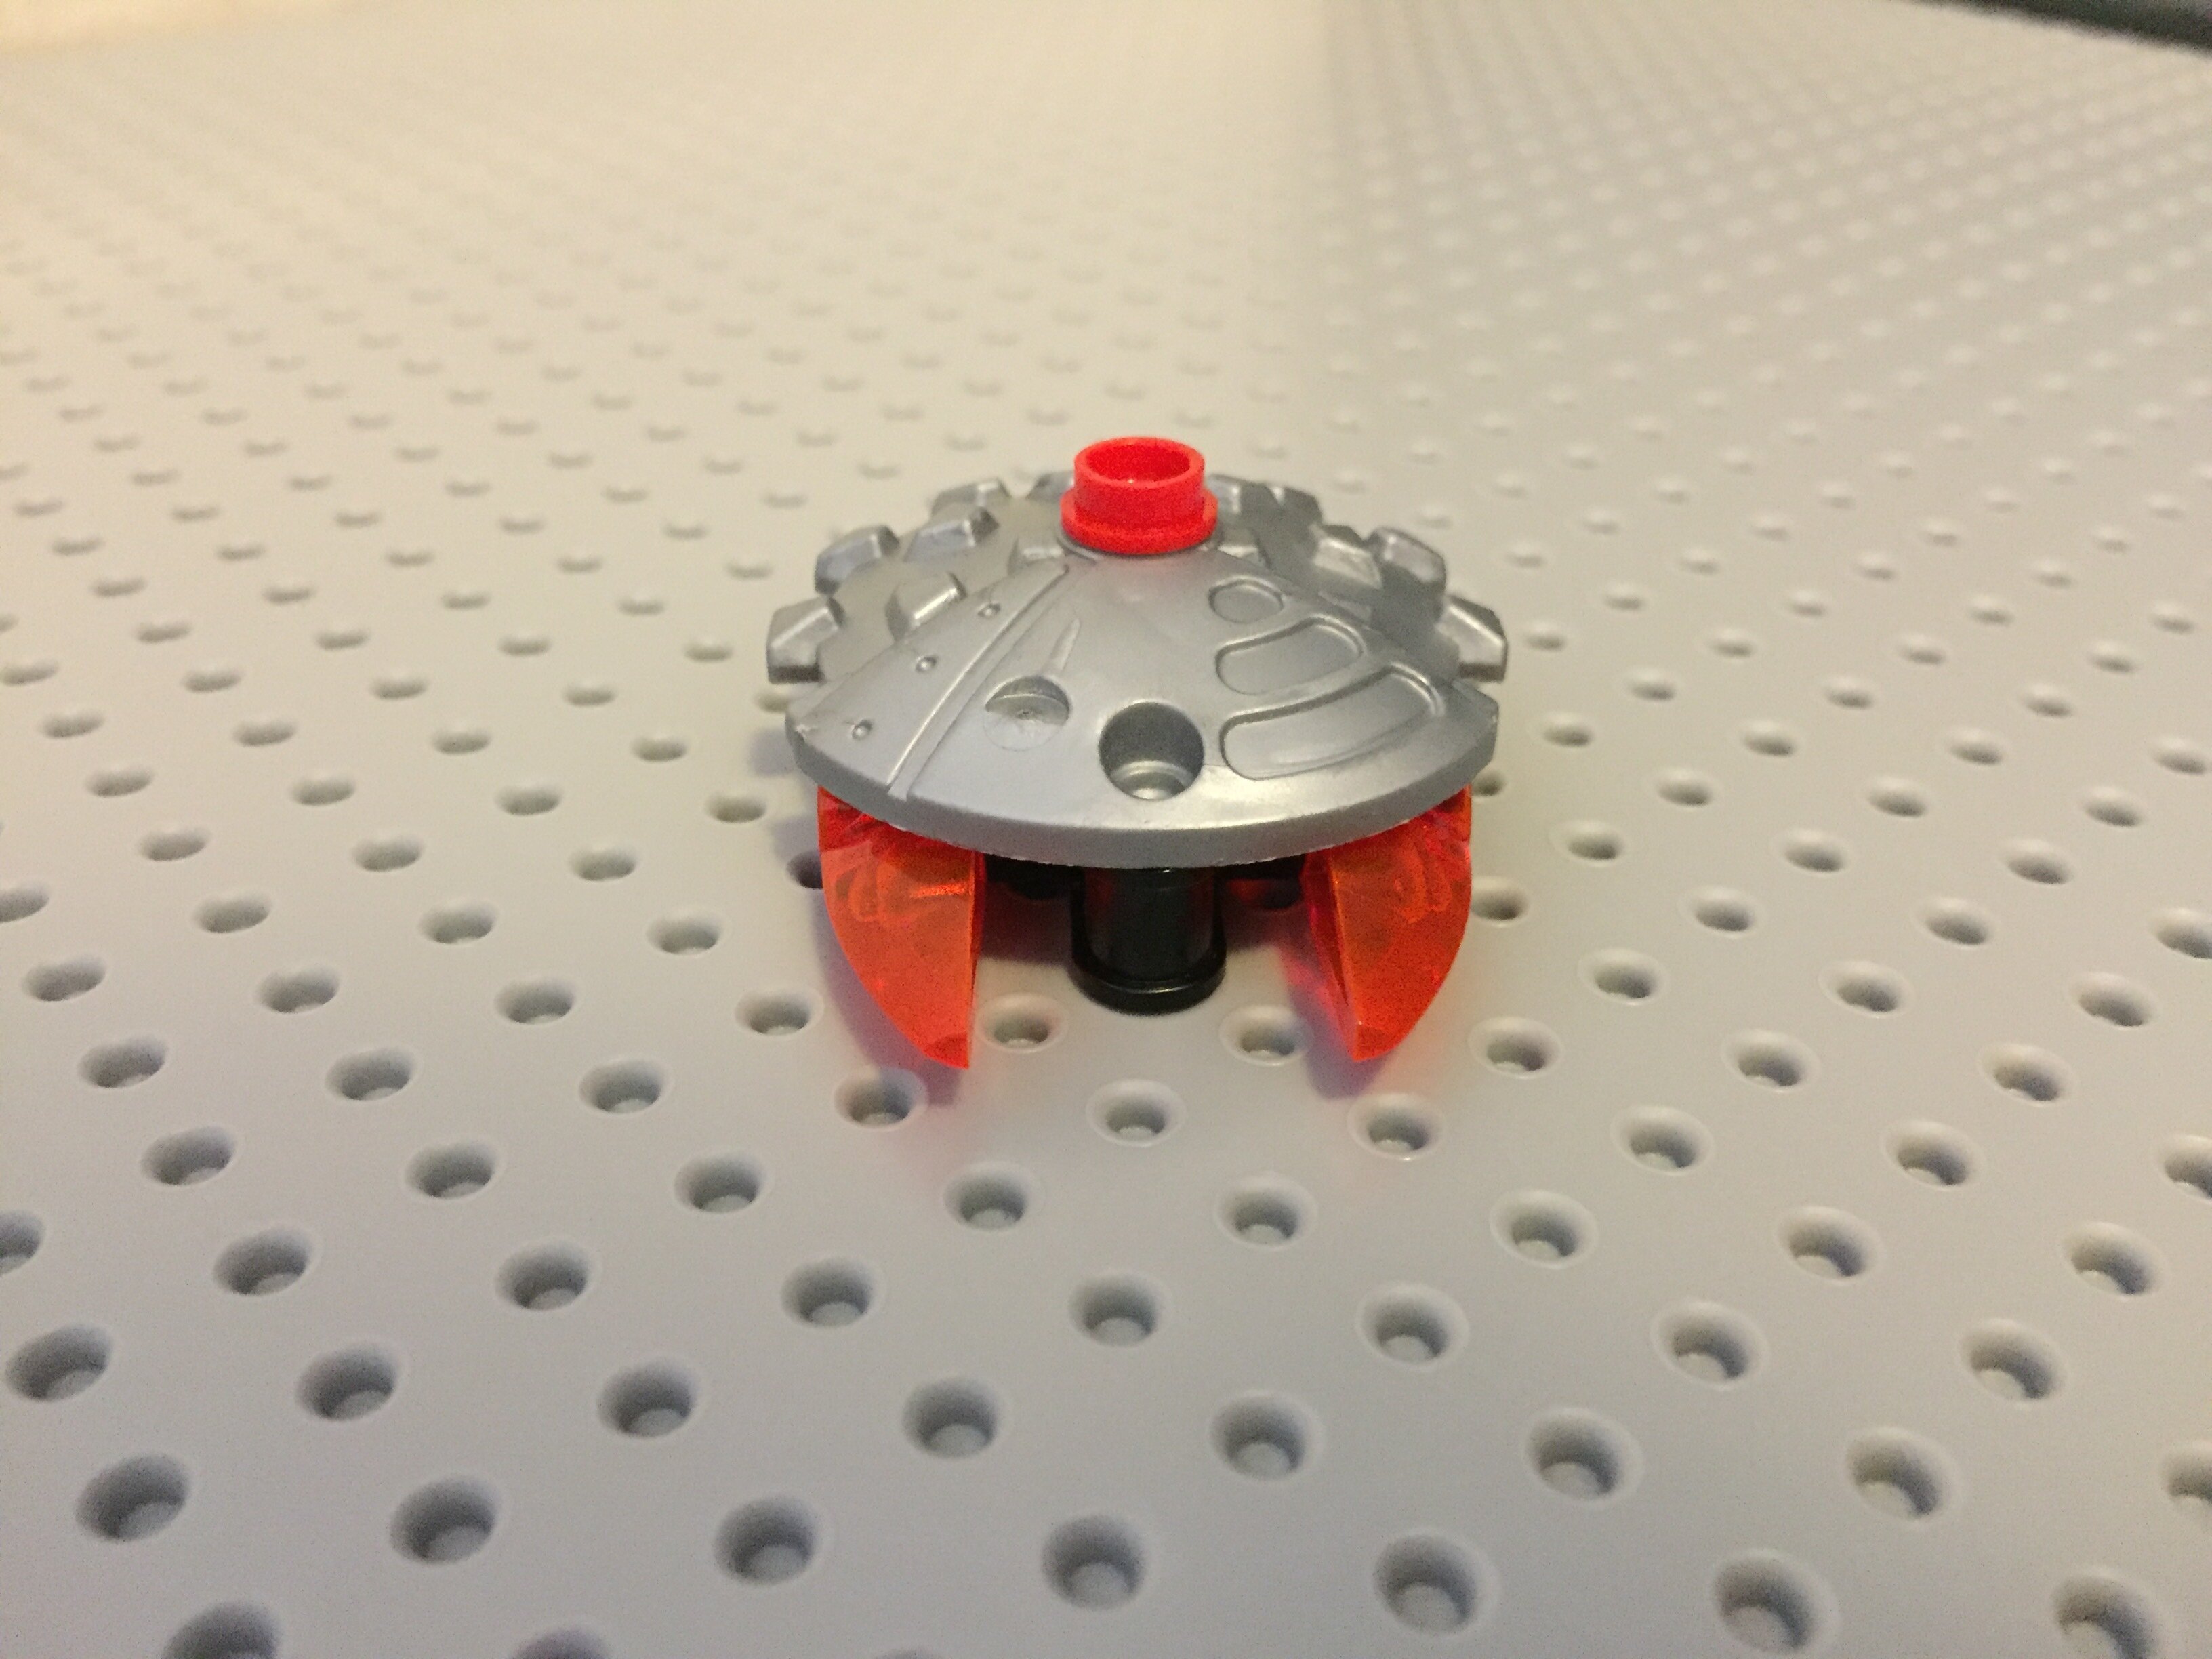
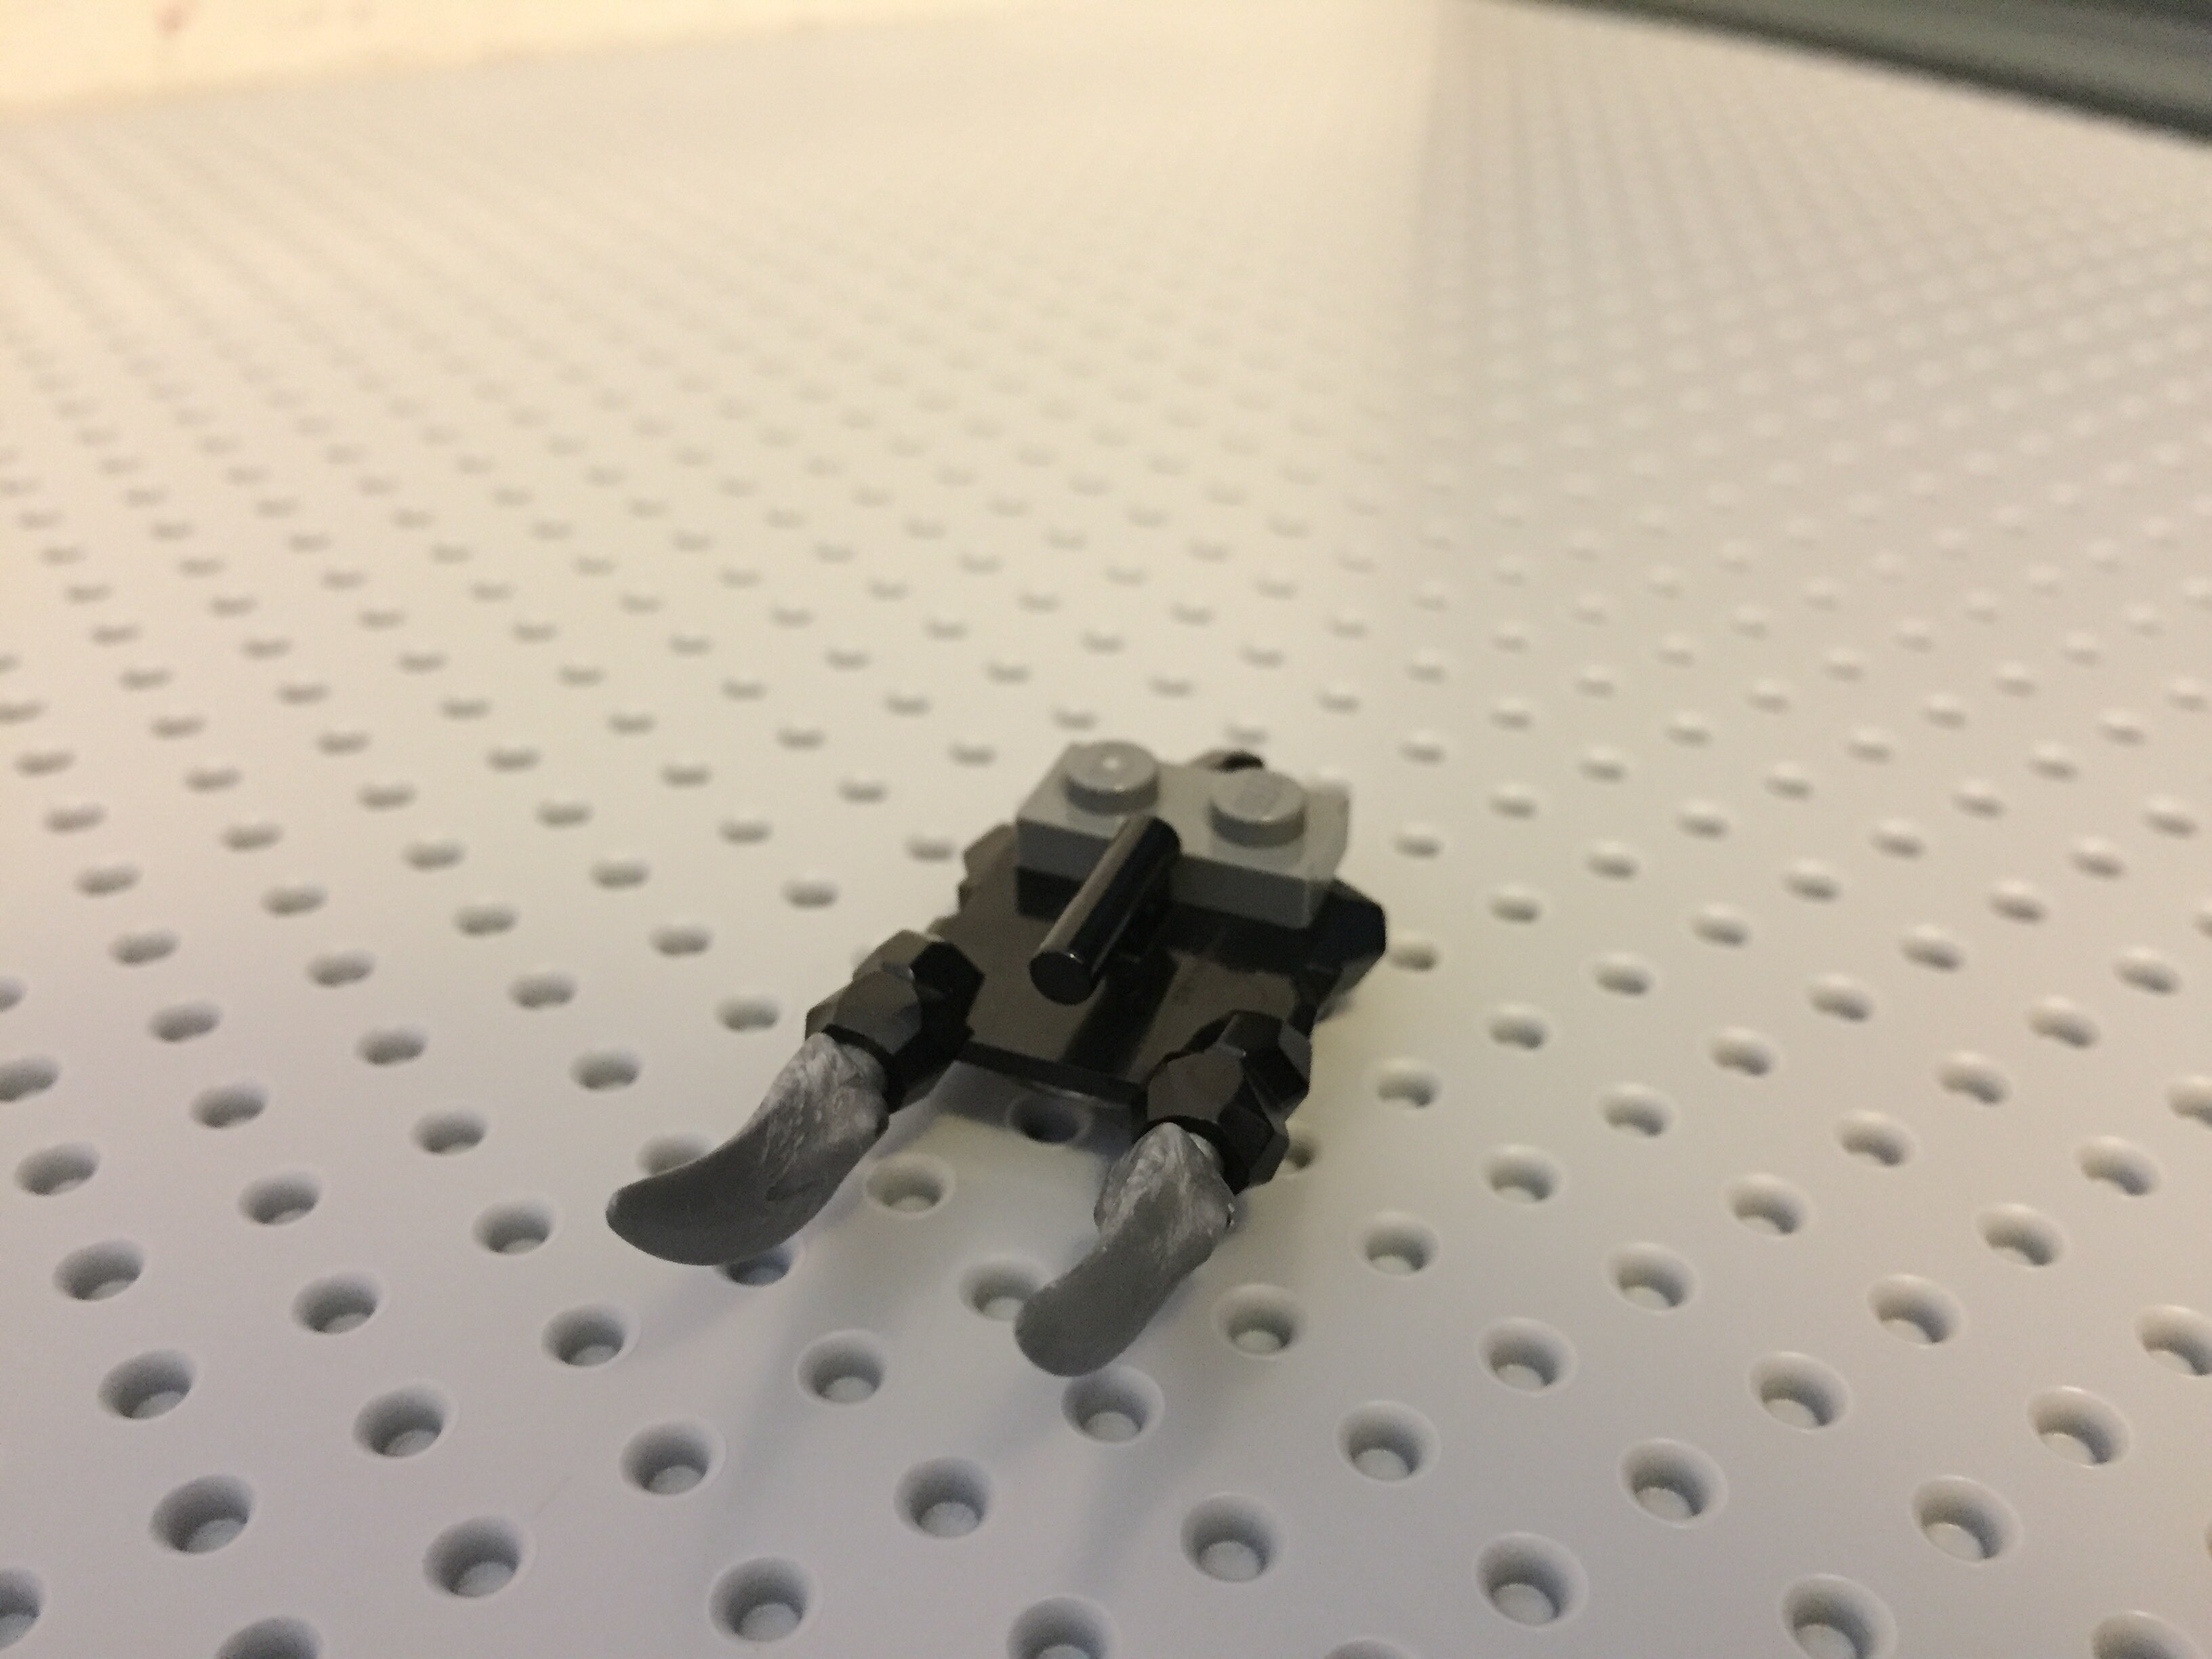
Has anyone figured out what you could use these parts for?
@Disty made a chair with them
and this guy called Banjax used some in a waist once
/
https://www.flickr.com/photos/80764700@N03/8572101705/in/dateposted/
Cheers @Ghosty! ![]()
@Gilahu They’re cumbersome to use because of the awkward connection points, but they make a good texture when you stack them together. I used them on my Dentist’s Chair MOC, but they also make really cool walls/floors/walkways.


This was requested by @Sealman133 so I went ahead.
Here are the pieces you’ll need. V
1.
2.
3.
4.
5.
6.
7.
8.
9.
Now time for the head. 
10.
11.
12.
13.
Now attache the like so. And make sure to be very careful!
14.
Time for the hands. Yes this is the most important part. Please, go away. Ouch.
15.
16.
17.
18.
19.
20.
Now attache the the arm. And do the same thing for the other arm.
21.
22.
23.
Now for a lil’ behind the scene comic.
Renu: Well if it’s for the people I’ll do it, and tell me it’s not going to hurt.
Me: It’s not going to hurt, much.
Renu: Ouch! I thought you said it wouldn’t hurt!
Me: You told me to say that! And we have already started.
Me: So you should stick the rest over the way.
Renu: (Sigh) Make it quick please.
Renu: Well that hurt like a #$^%#!
Me: Hey watch your language.
Renu: Your no better.
Haha nice
I’m not dabbing! I just couldn’t look at myself be taken apart.
@CarumSarene
For the bionicle head moc vid (which I can’t quote any of it for some reason!)
Hmm… that’s an interesting way, I tend to use a https://rebrickable.com/parts/47326pat03/technic-axle-connector-2-x-3-with-ball-■■■■■■■■■■■■■■■■■■■■■■■■■■■■■■■■■■■■■■■■■■■■■■■■■■■■■■■■■■■/
but it gives the neck a bit of an extension that can be a bit strange looking dependent on the build
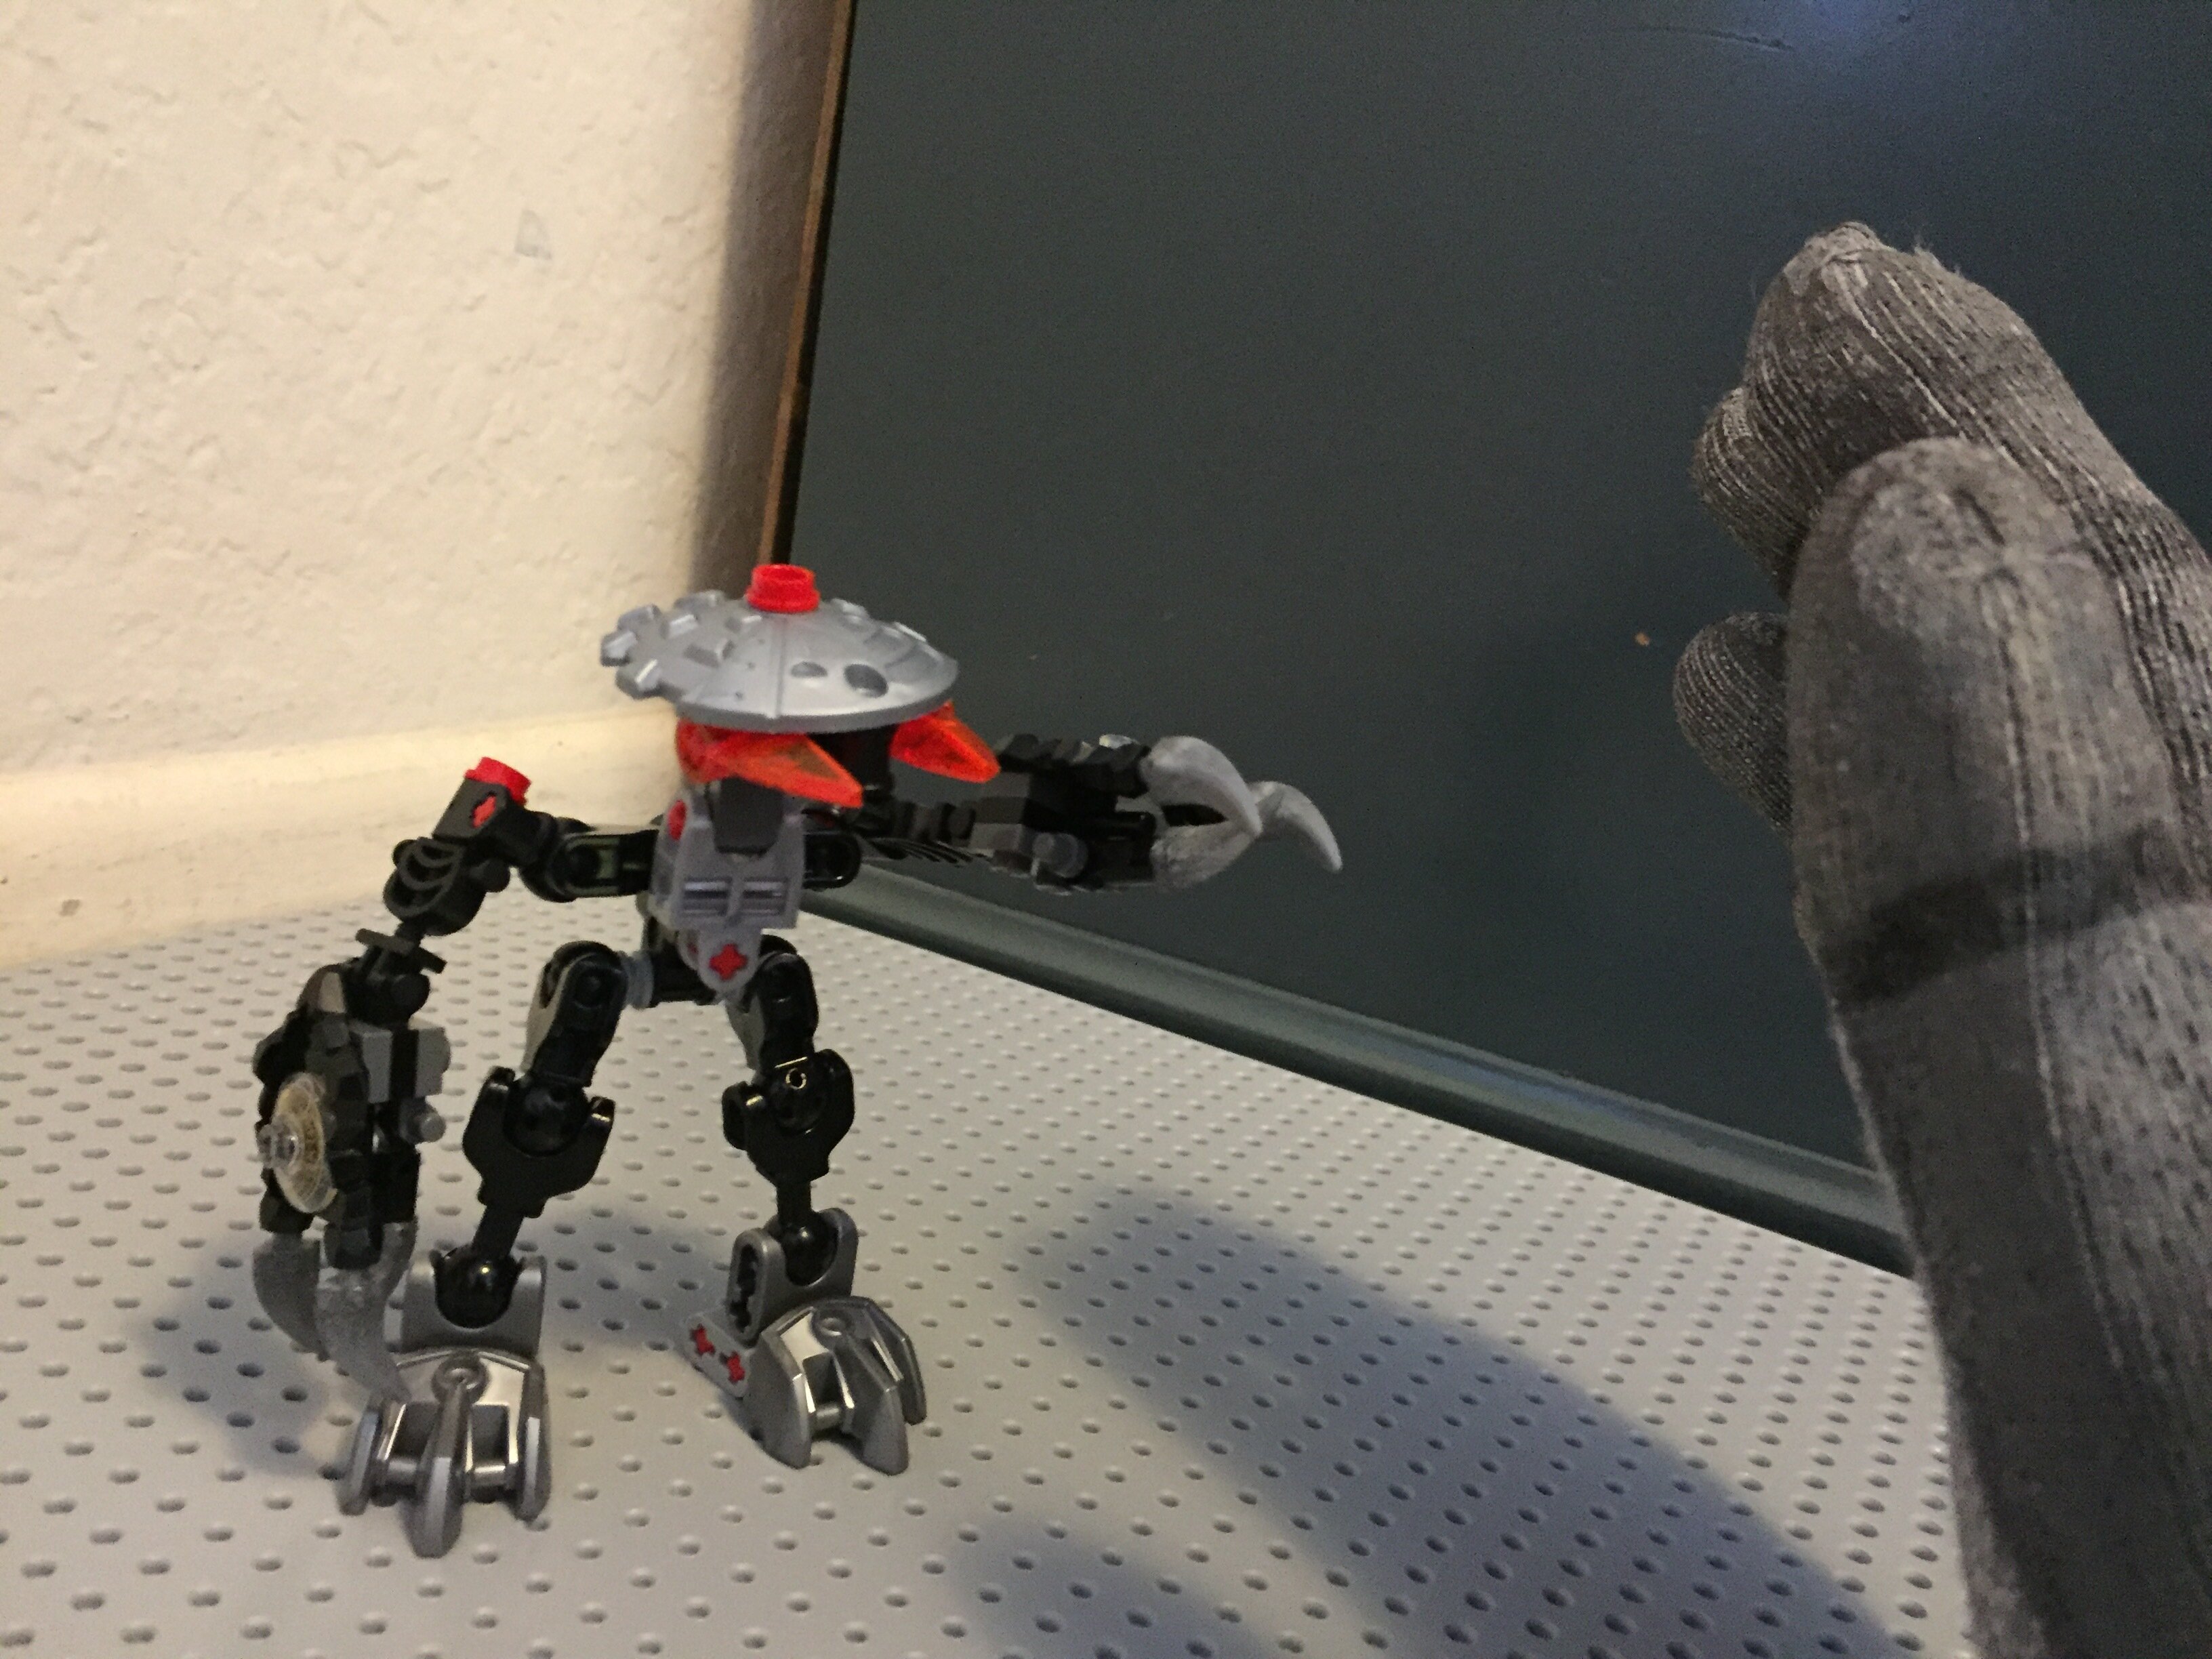
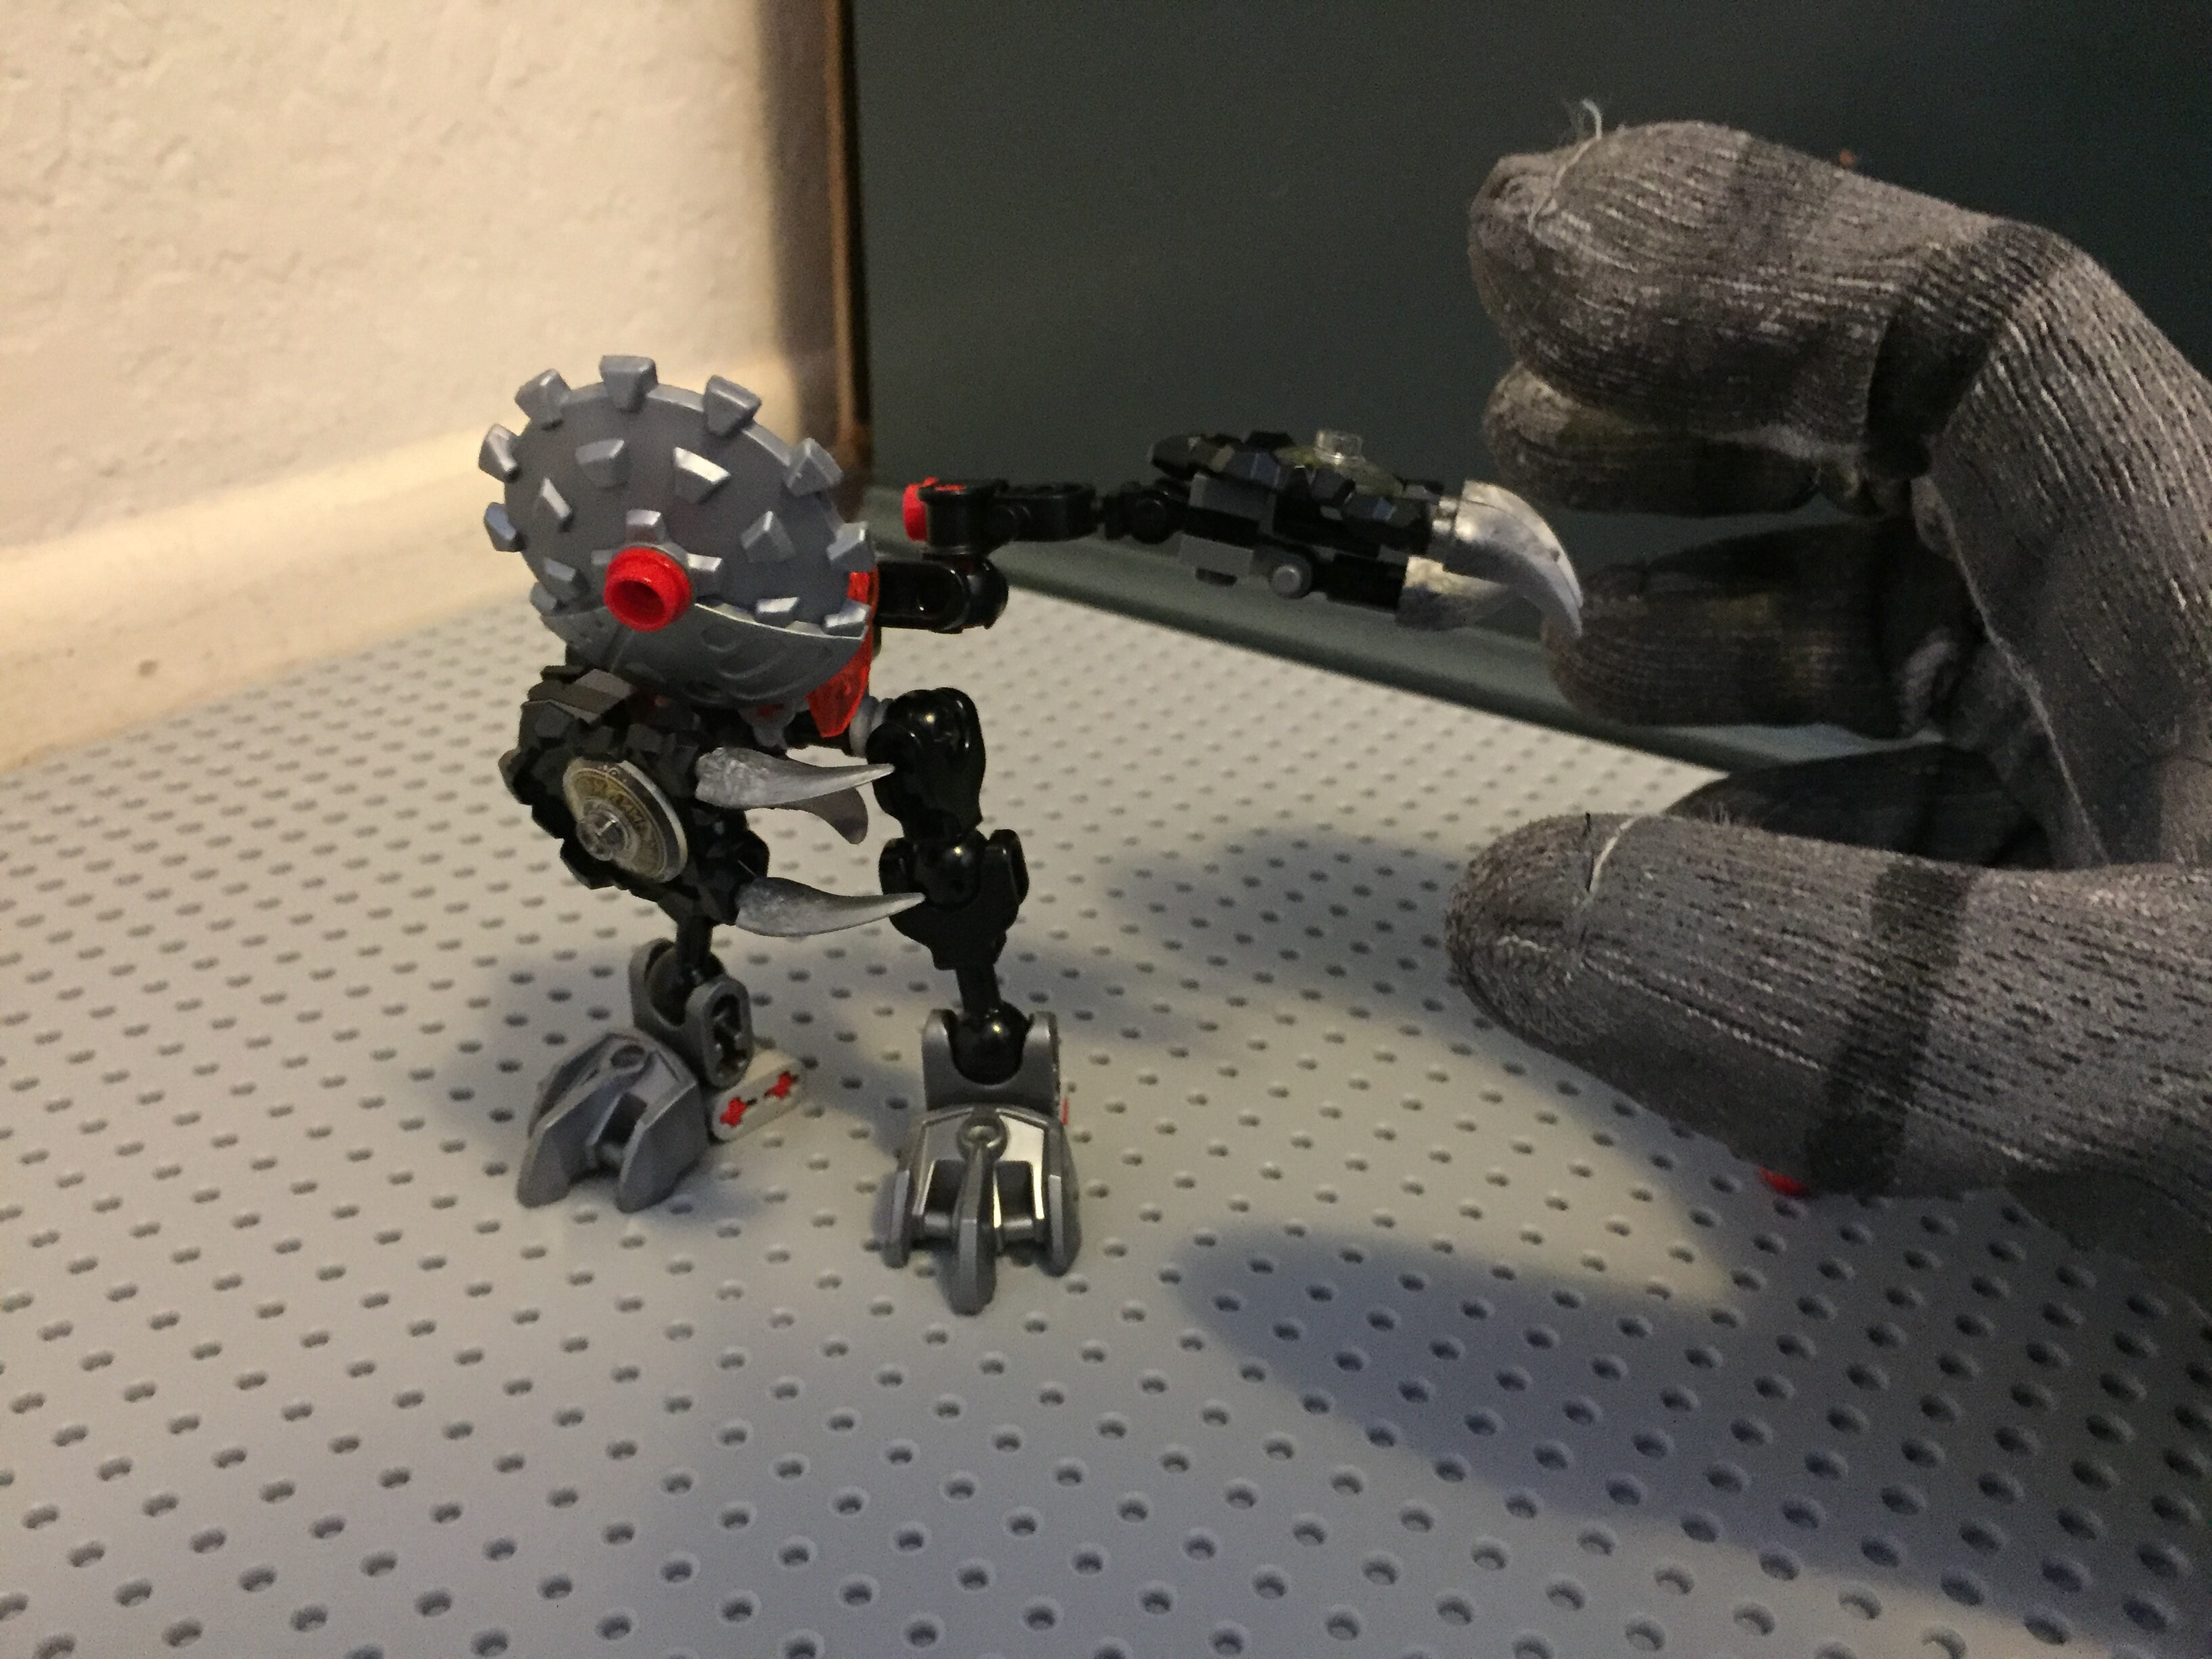
@King_Ved Love the build! No idea what that hand peice is though… Also due to his build and head type he could actually be considered a mini mayhem… Man why is that head type everywhere?
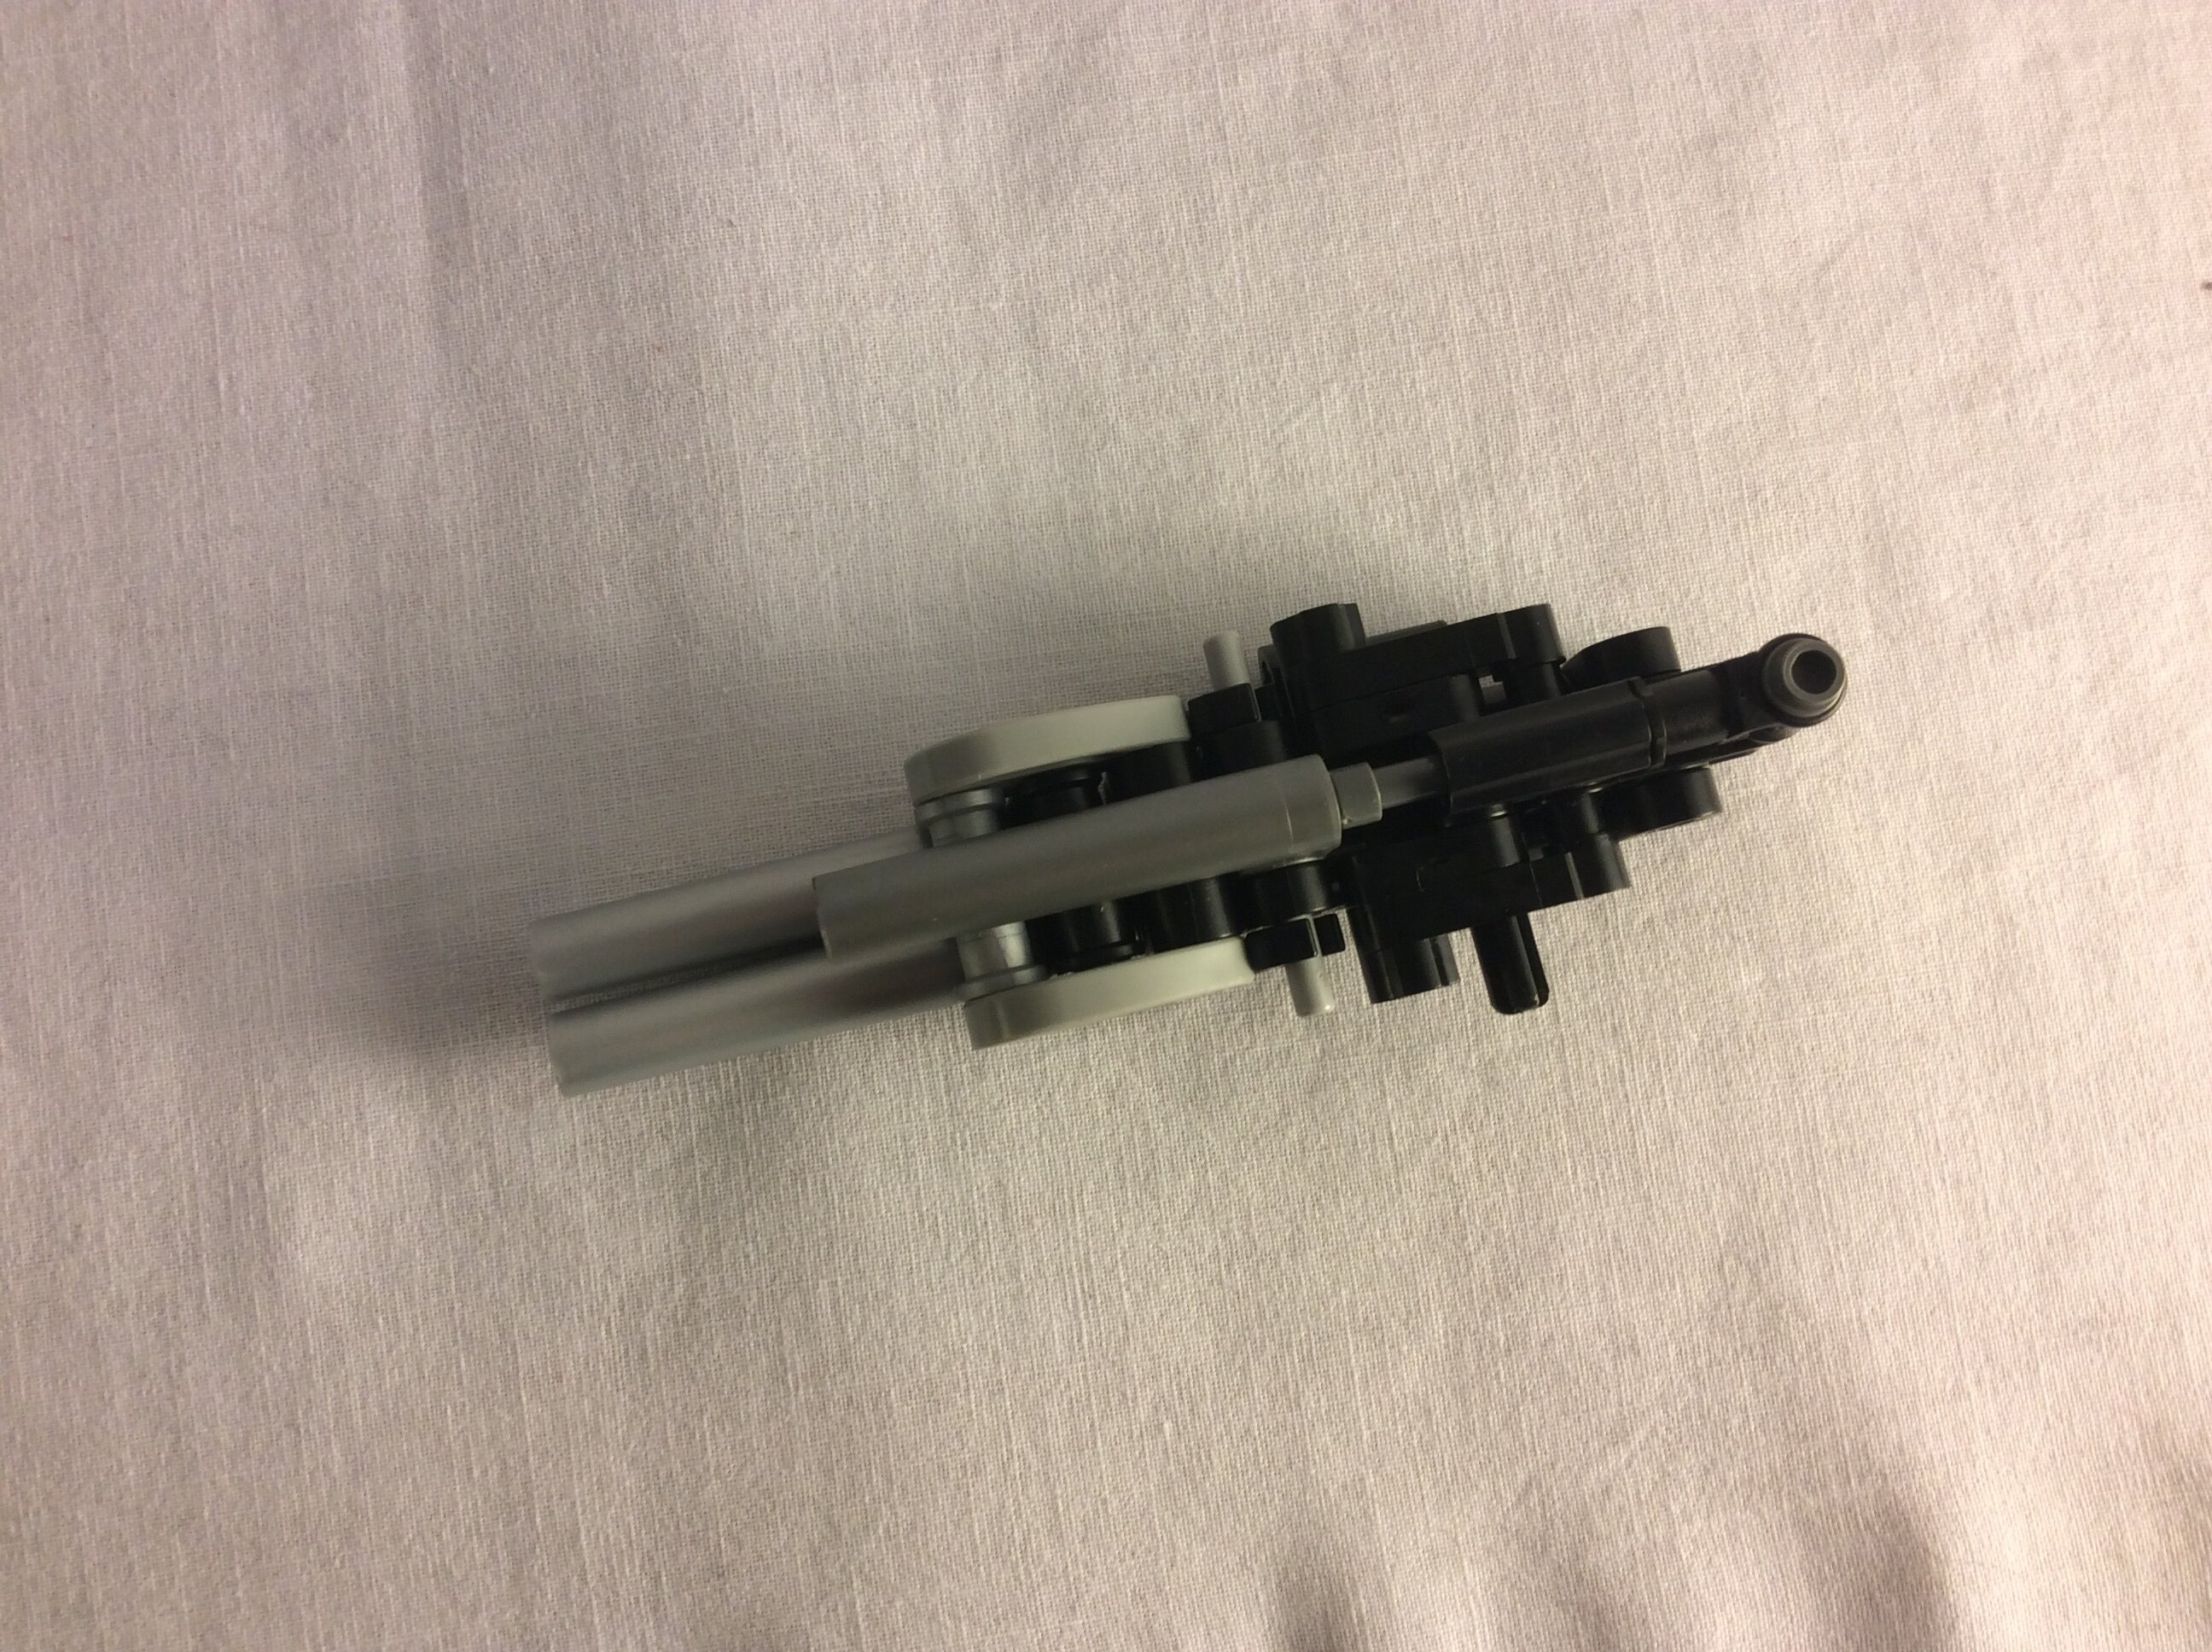
@streak1 Ok now then that shotgun is awesome! I actually made it but unfortunately didn’t have a Lego… kendo stick(?) in the same size as the one you used (along with some different coloured parts) luckily I actually found a way to make it work with the shorter one!
pic
Also if I’ve already replied to something before and this gets fixed, sry to whoever does it, couldn’t find the previous replies then!
Yay thousandth post. Also, should I post a tuToriel on how to make Pyrrhus’ custom torso design, or one on how to make my most used torso, which is super flexible btw?