I download several custom parts packs but most of them don’t have a built in installer and i can’t find any easy guides to find the folder for custom parts
does anyone know where you do this ?
it would be somewhere here but i dont want to mess it up
C:\Program Files\Studio 2.0
2 Likes
btw please don’t waste likes instead of helping ?
1 Like
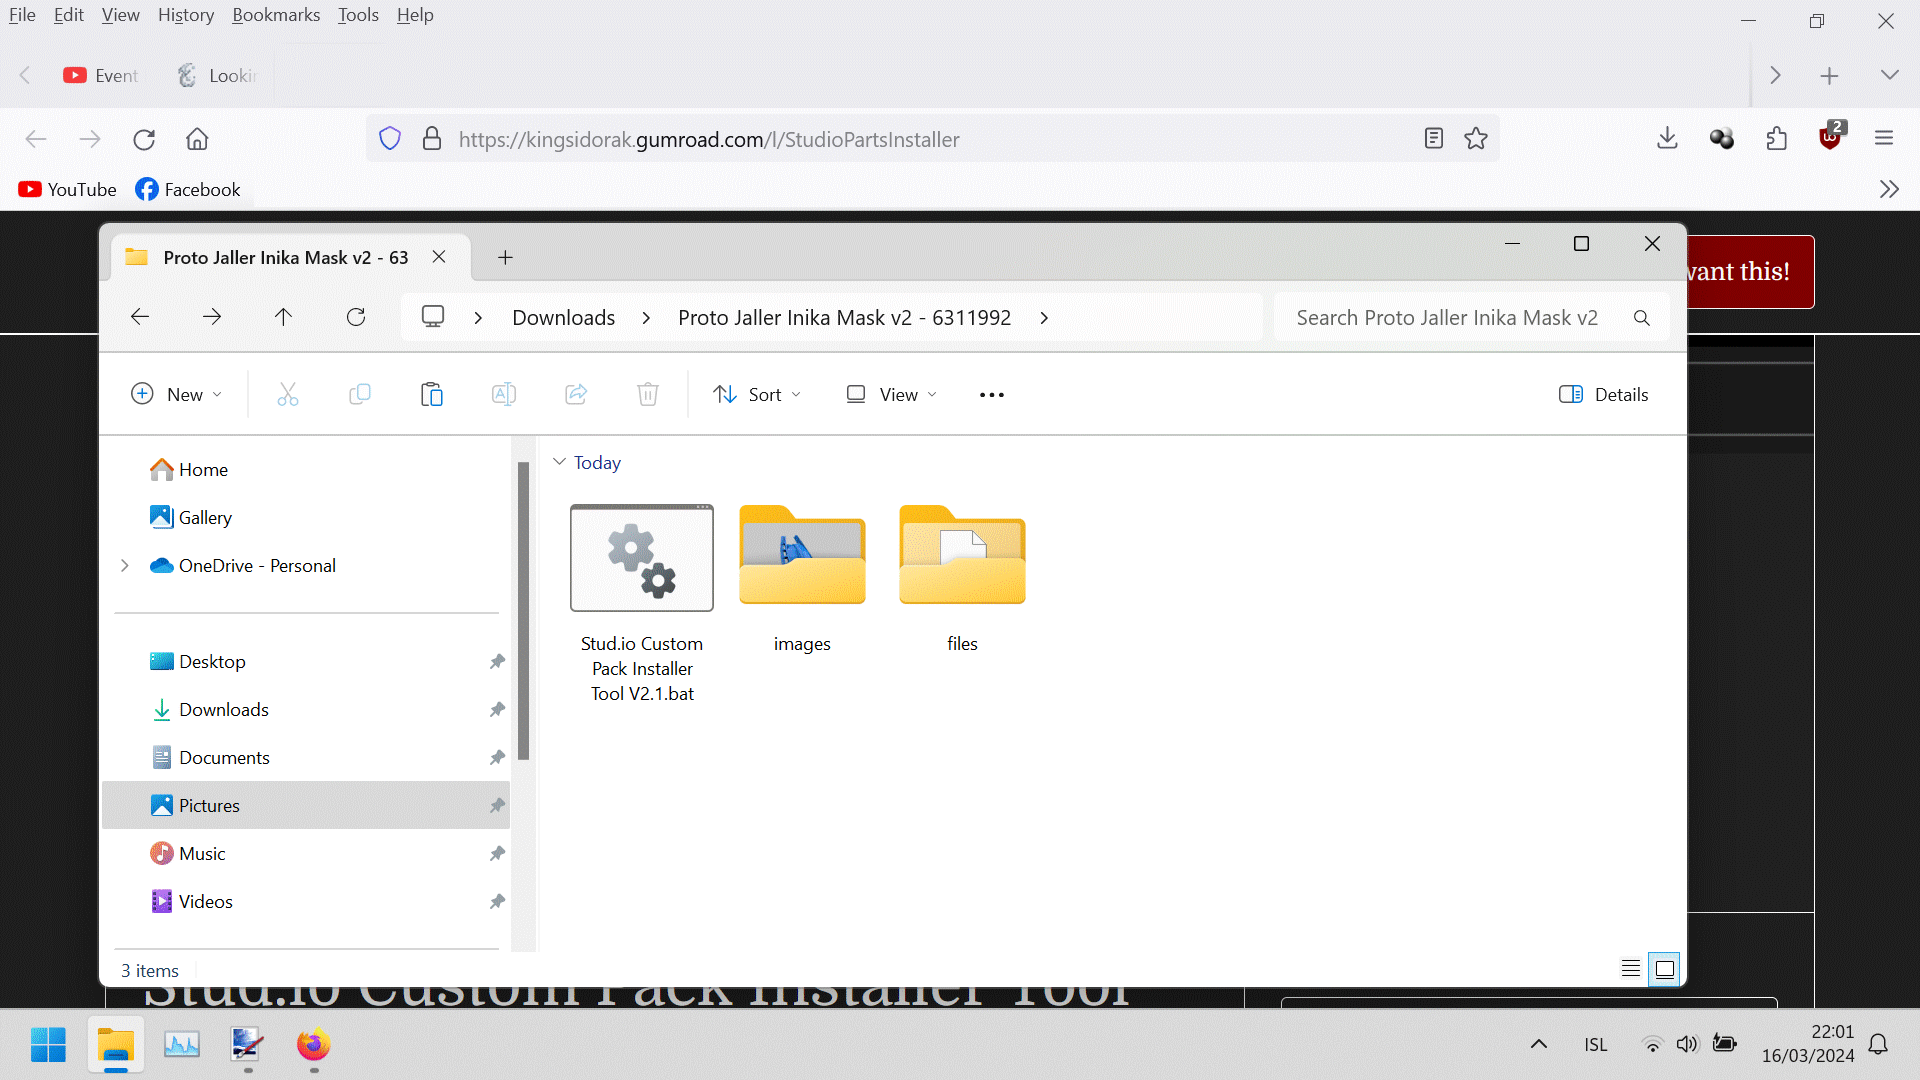
KingSidorak’s Part Installer.
This should work. It’s a part installer for Studio 2.0 part packs that many people on this site use in their packs. It should include instructions for using it, and it is free. It’s also included in all of KingSidorak’s part packs, so you can just copy it from one of those if necessary.
Edit: I didn’t realize that this was such a handy link!
I tested this way
but the instructions just aren’t clear enough. The prototype jaller mask and prototype matoro sword did not have installers included
1 Like
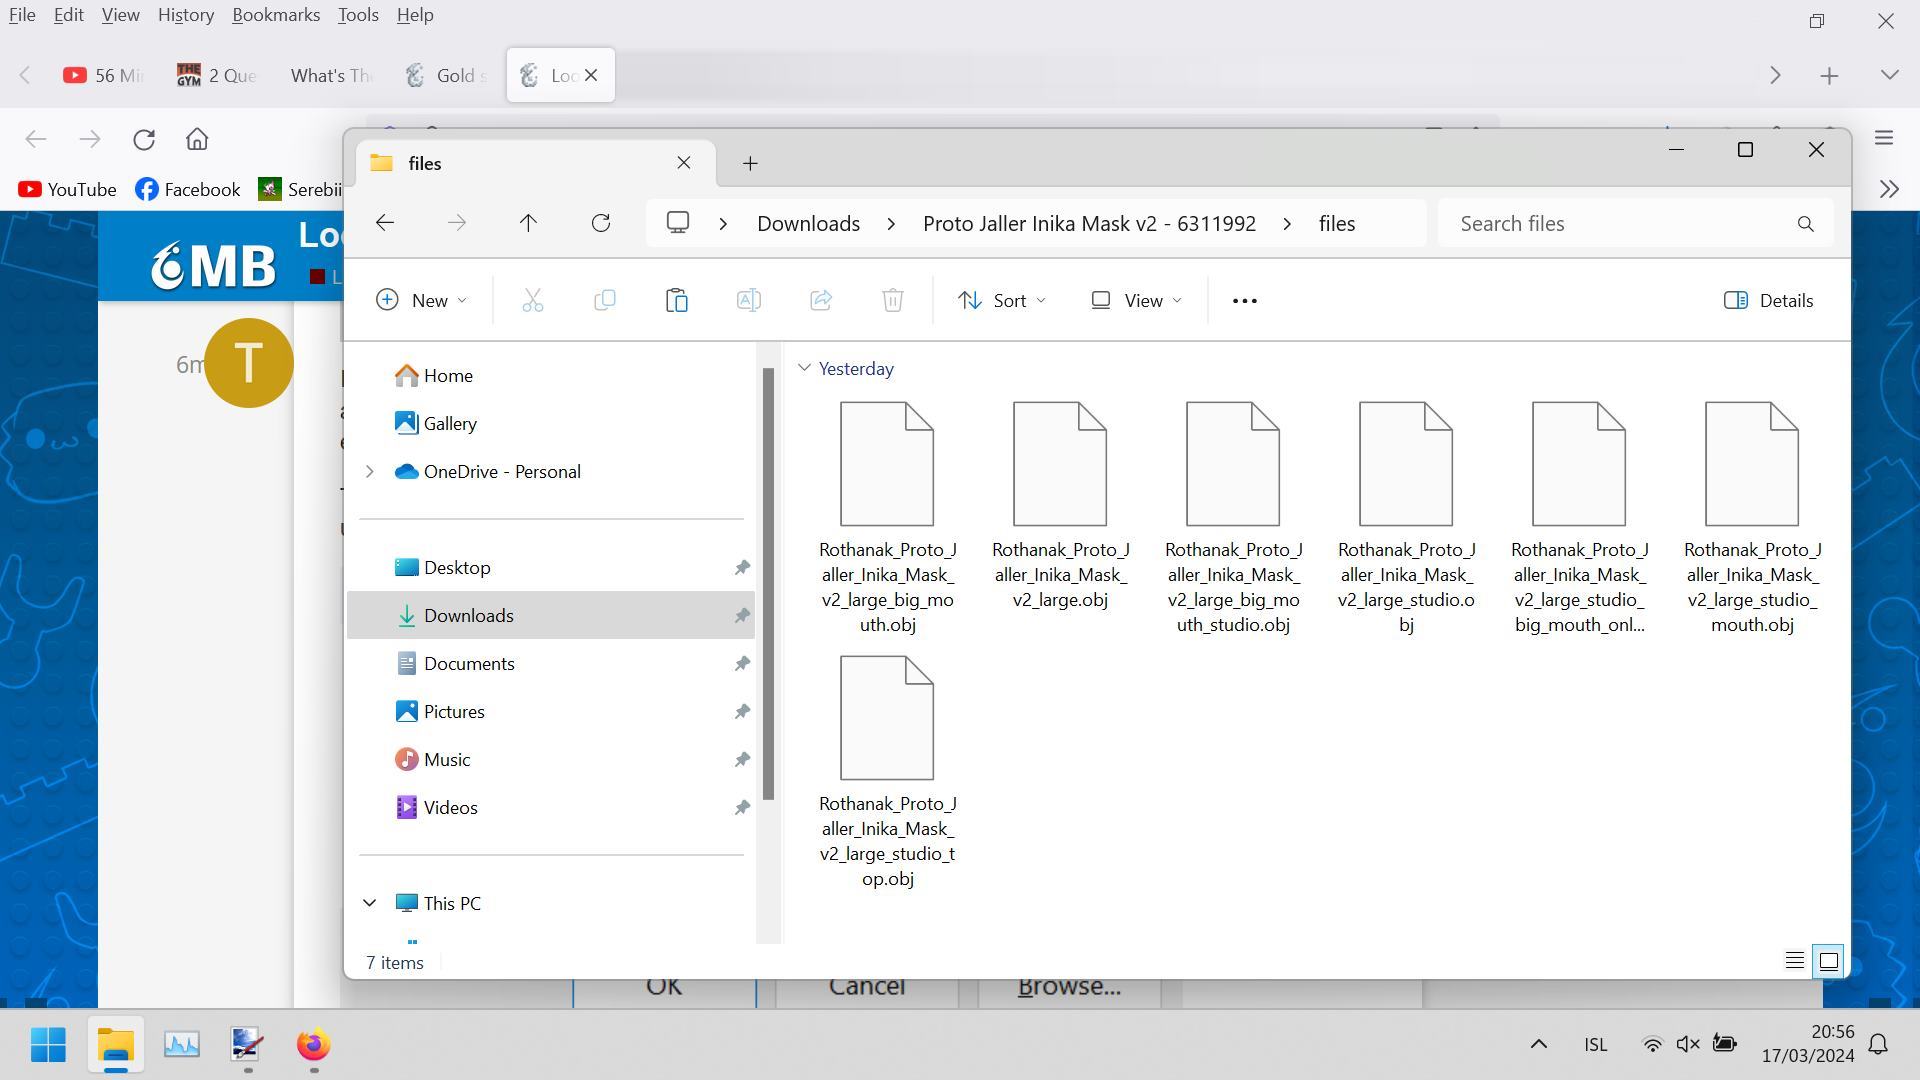
If you open the “files” folder in the final screenshot above, there should be three files per part: a .dat file, and .conn file, and a .col file. These are the part file, connectivity file, and collider file, respectively, for each part. Each part must be manually added to its respective folder in stud.io’s CustomParts folder.
To access the CustomParts folder, hit Win+R, and then type this exact command in the box that pops up:
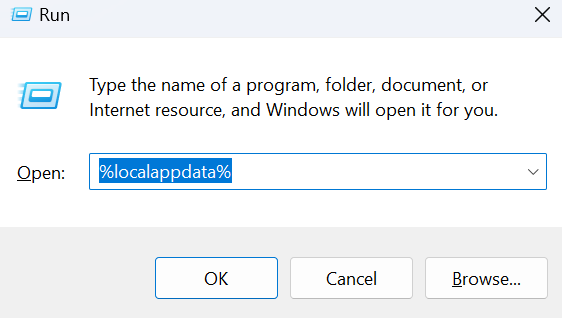
Then, hit OK.
This will open a folder in your File Explorer, and there will be a subfolder within in named “Stud.io”. Open this folder, and the CustomParts folder will be inside it. Then, within this folder, you will find three folders named “collider”, “connectivity”, and “parts”.
Finally, you need to transfer your downloaded files into these folders; move the .dat files into the “parts” folder, move the .col files into the “collider” folder, and move the .conn files into the “connectivity” folder.
Now next time you open stud.io, the parts will appear in your Custom Parts palette.
3 Likes
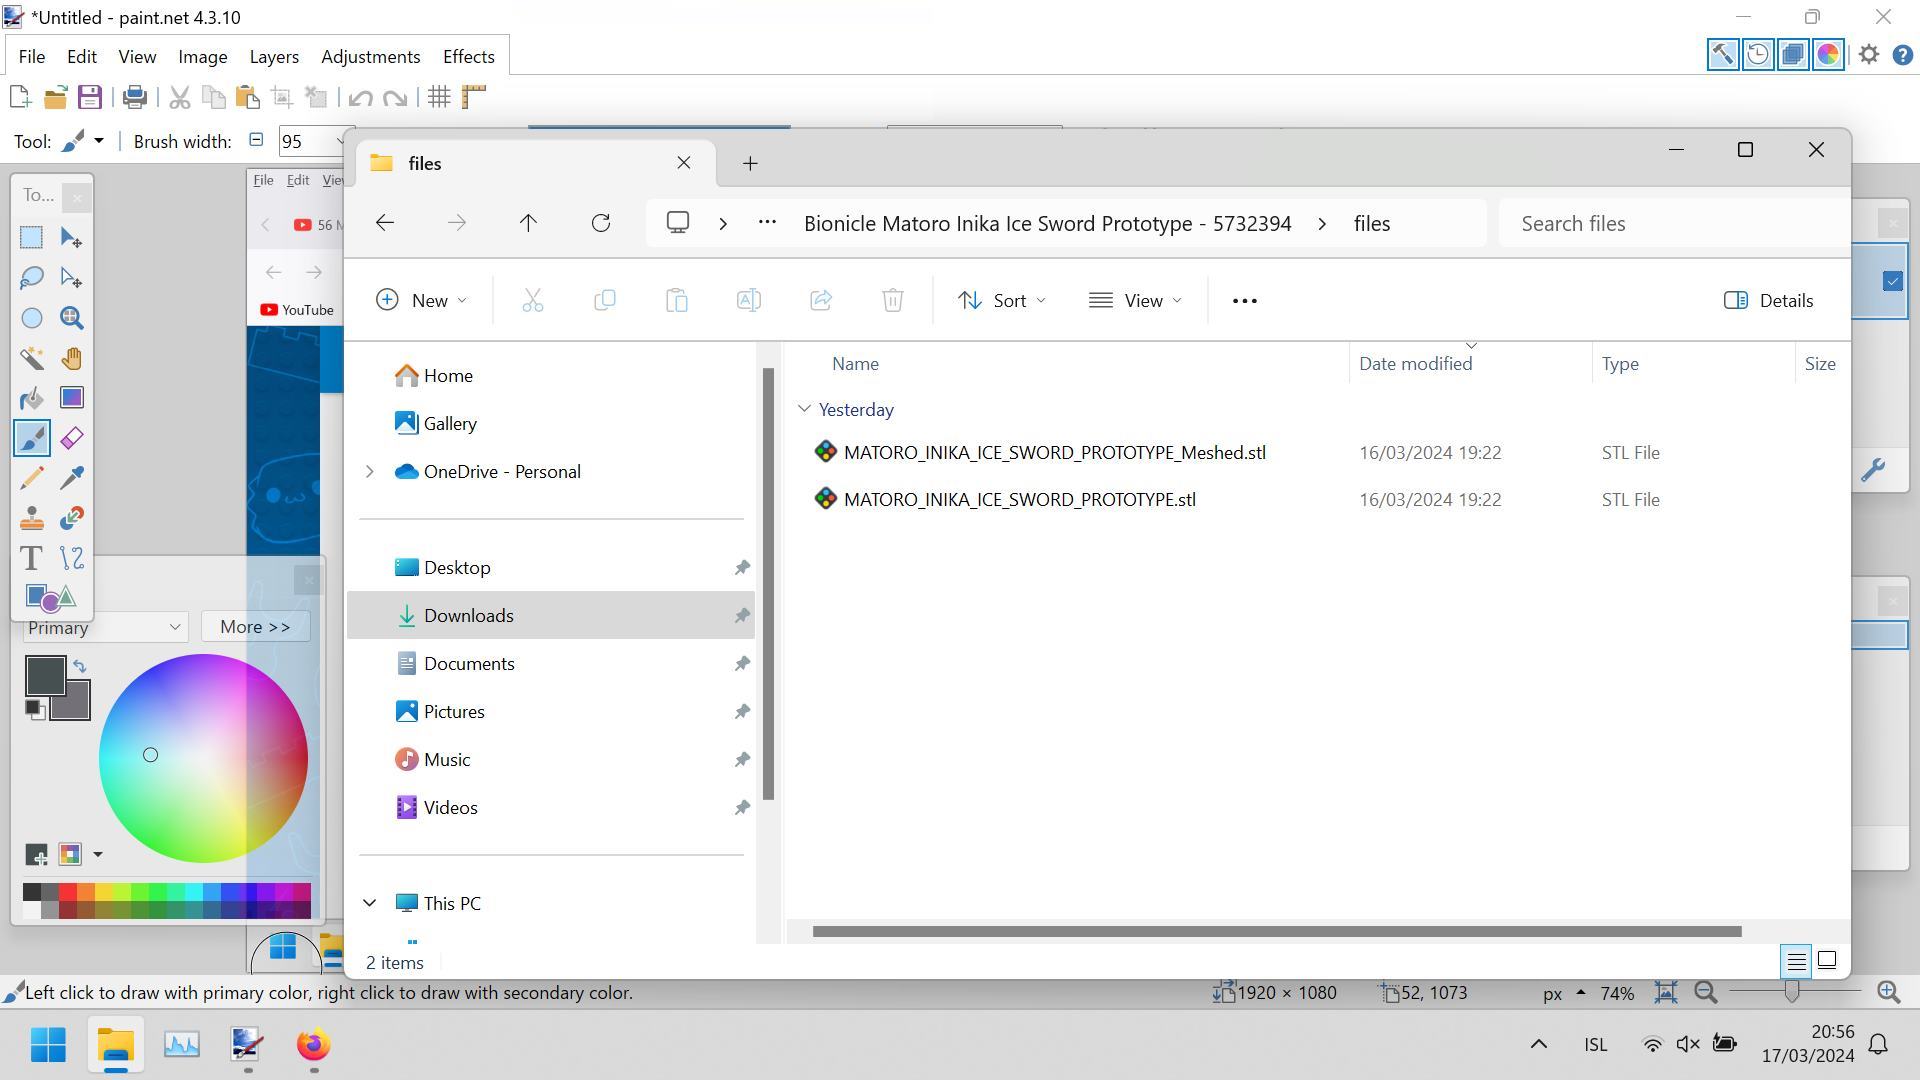
I don’t see any collider, collector and parts with a .dat at the end
1 Like
Ah, I see.
These are just 3d models, not stud.io parts; you’ll have to add the connectivity and import them into stud.io yourself using PartDesigner.
2 Likes
And i’m not a good programmer at all. At best i can make minor amateur details in Paint.NET in my spare time.
My dad even once tried to teach me how to use Ubuntu but that as a Windows 10/11 user Ubuntu uses so many obscure commands that i gave up.
1 Like
PartDesigner doesn’t require any kind of programming skills. It’s a companion app for stud.io specifically designed to let you add custom parts:
https://www.bricklink.com/v3/studio/partdesigner.page
For this case here, all you’d have to do is import the model file, drag-and-drop a single connectivity feature (and position it more specifically with the fine control options), and then hit the Export button. When you export a part from PartDesigner into stud.io, the program automatically puts the files in the right folders.
2 Likes
I downloaded it and it completely failed. It says it cant find the folder related to Studio and Parts Designer keeps crashing and unresponsive.
Even when i do manage to find any of the folders inside the app it turns unresponsive with the windows 11 error PartsDesigner keeps crashing with the wait for the program to respond or close options
What a mess
1 Like
It should ask you to choose a folder. Select the folder that stud.io is installed in.
When exactly is this happening? Are you able to open the app at all? PartDesigner is notorious for taking a ridiculously long time to open.
1 Like
Not sure where it to be. It it to be some where but where?
1 Like
I think you should select that folder in the image; just click the “Select Folder” button at the bottom.
If that doesn’t work, try selecting the Program Files folder.
1 Like
I’m just giving up those parts arent that important.
1 Like