There’s a upcoming contest that I’m entering in my local area which involves around with film/photography etc.
In addition to that, I’ve decided to take the time to work on something interesting and new.
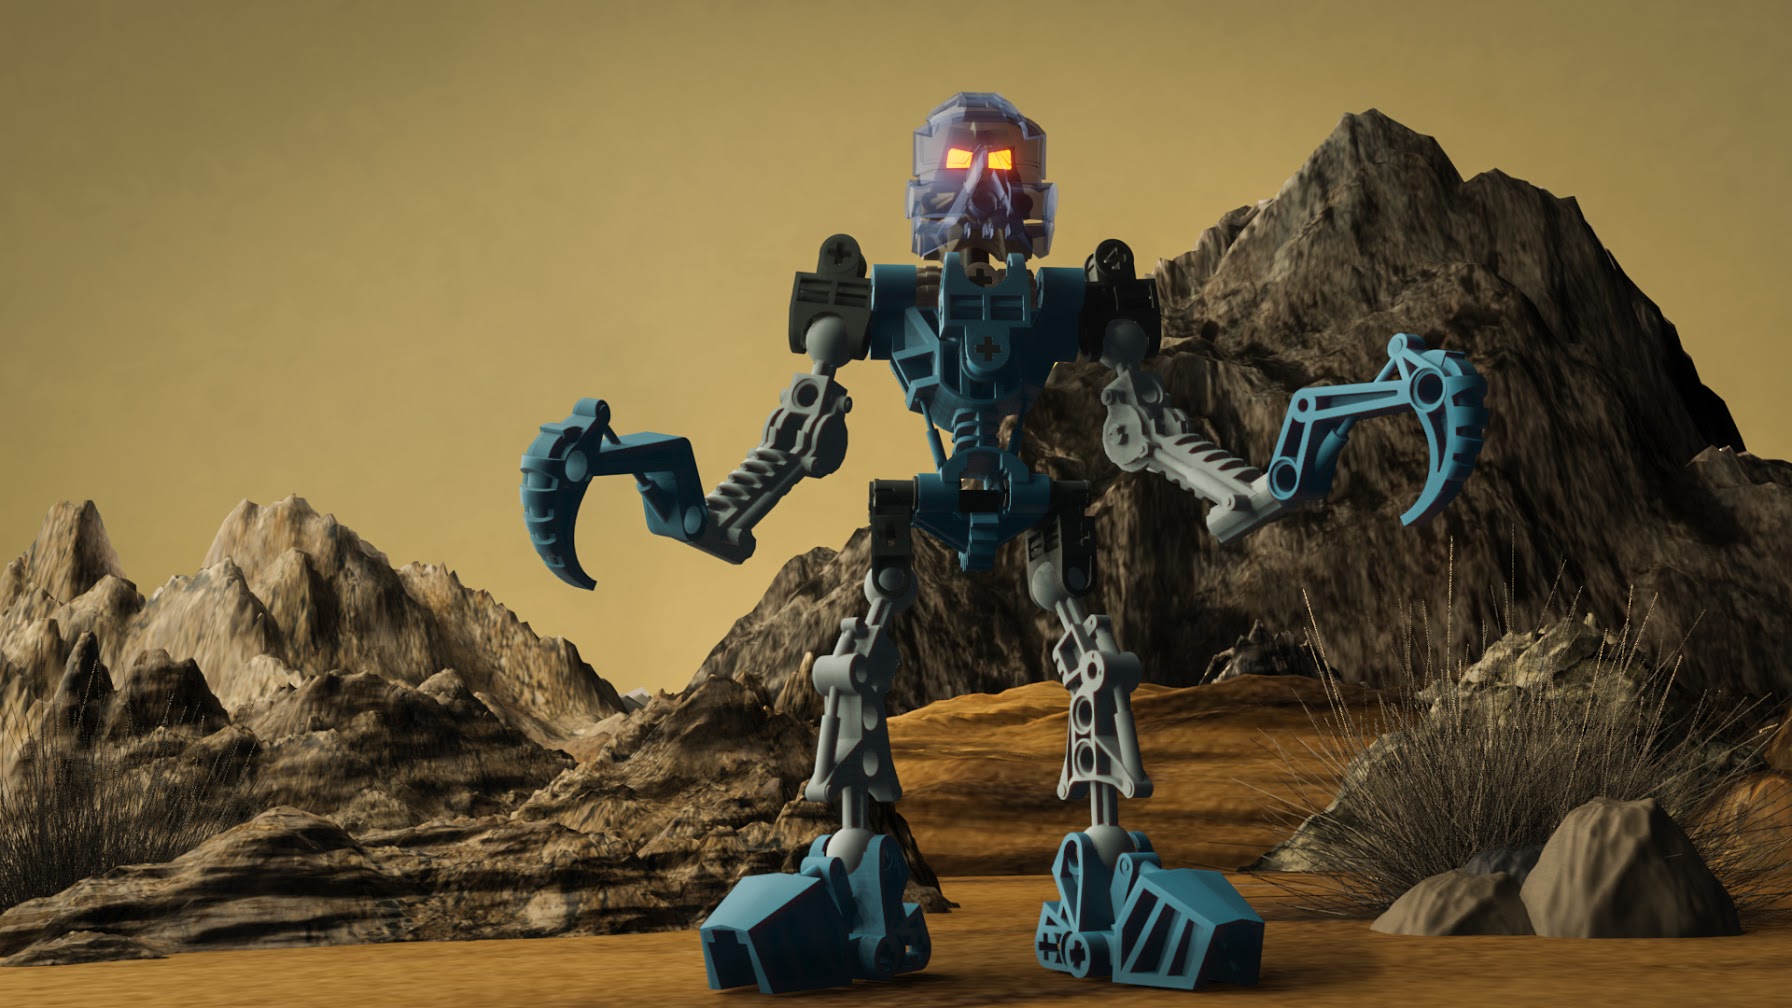
So I went ahead and made the original Gali model in the Bricklinks Stud.io program, than imported into blender, with tons of details going on (especially the textures) Lastly, I finished up the touches in Photoshop. The results turned out okay, but it’s weird concept that I had in mind.
What are your thoughts? I appreciate
the feedback.
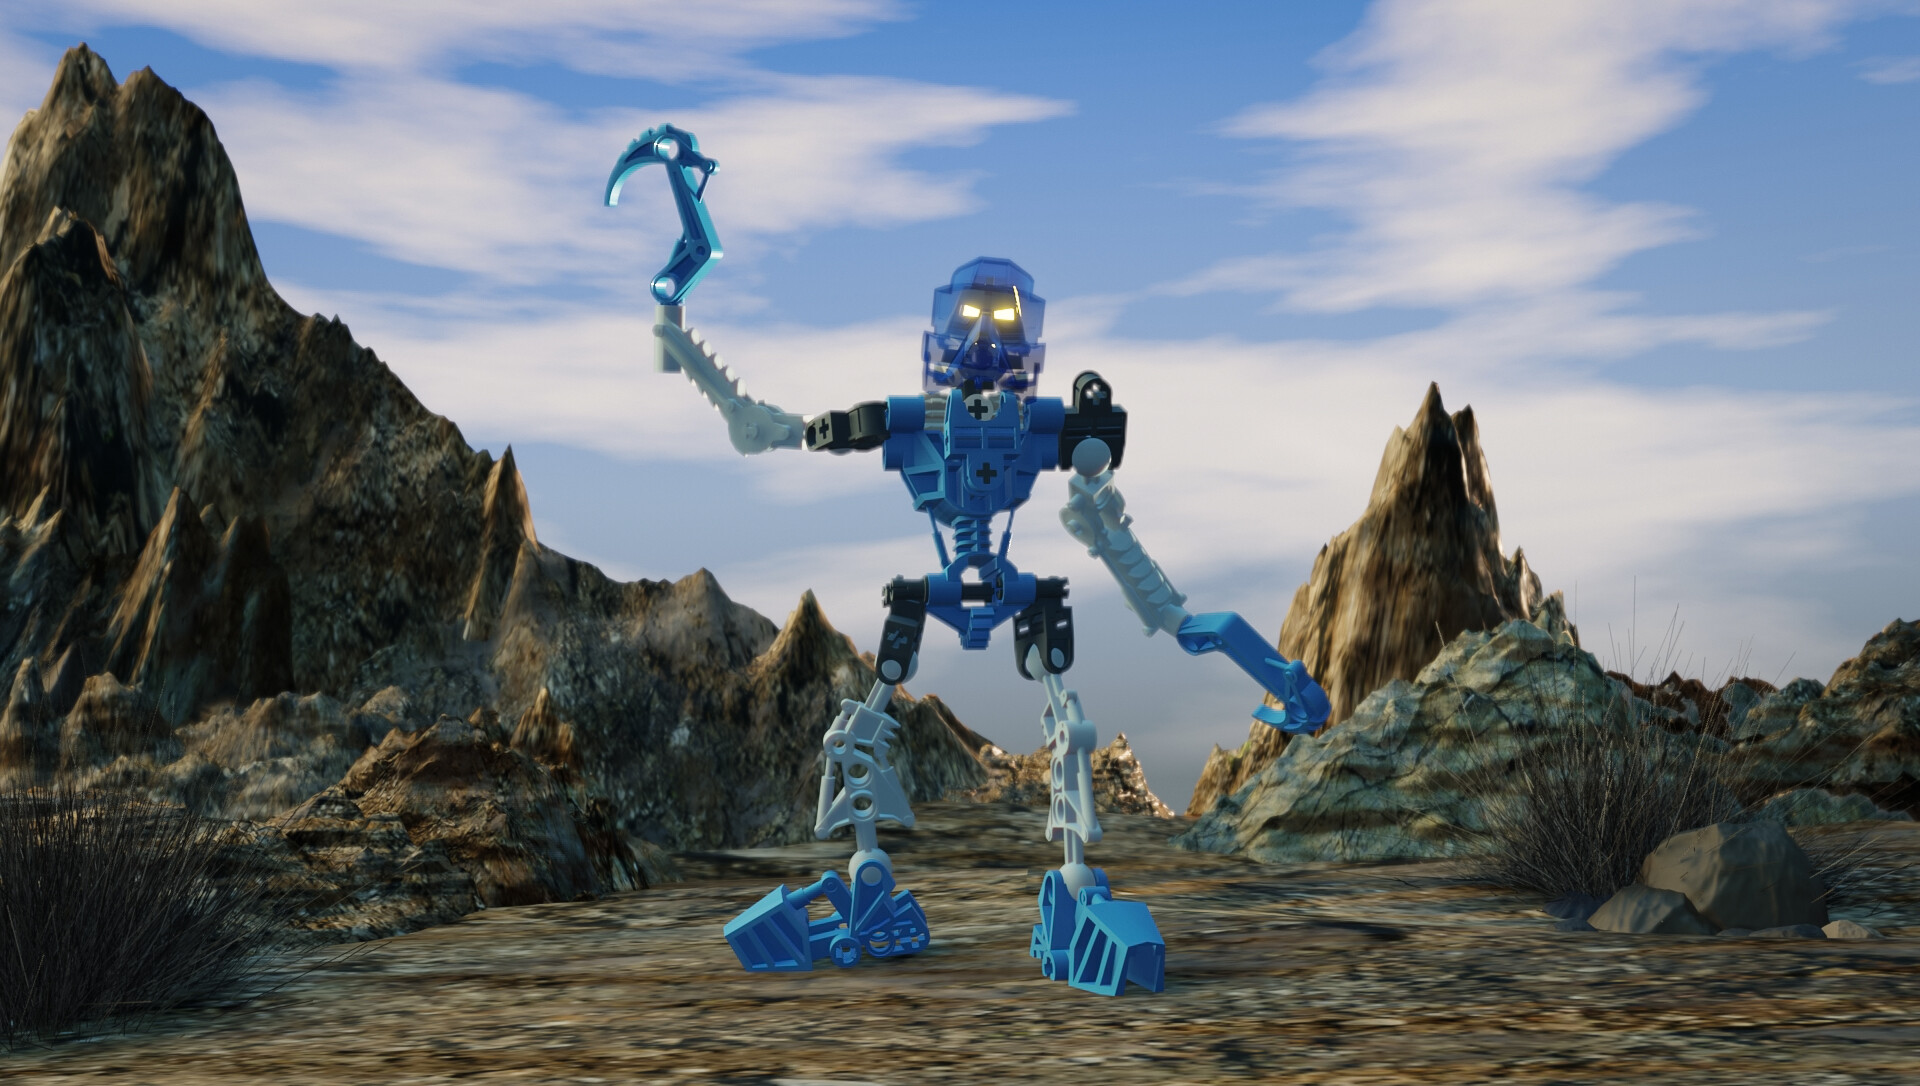
Looks good so far-I think Gali needs more “grounding”-she looks kinda slapped there at the moment. Perhaps have her looking off in a direction or at the camera, add some weathering to her and maybe some pebbles in the bottom left? Idk much about how technical this is and I’m sure this is a lot of work. Perhaps also unify the colours so have the sky mottled with some blue to match her?
The only thing I can suggest is to try and add some detail into the sky, maybe some clouds or very faint and distant stars. It’s just a gradient right now and doesn’t really look like a sky.
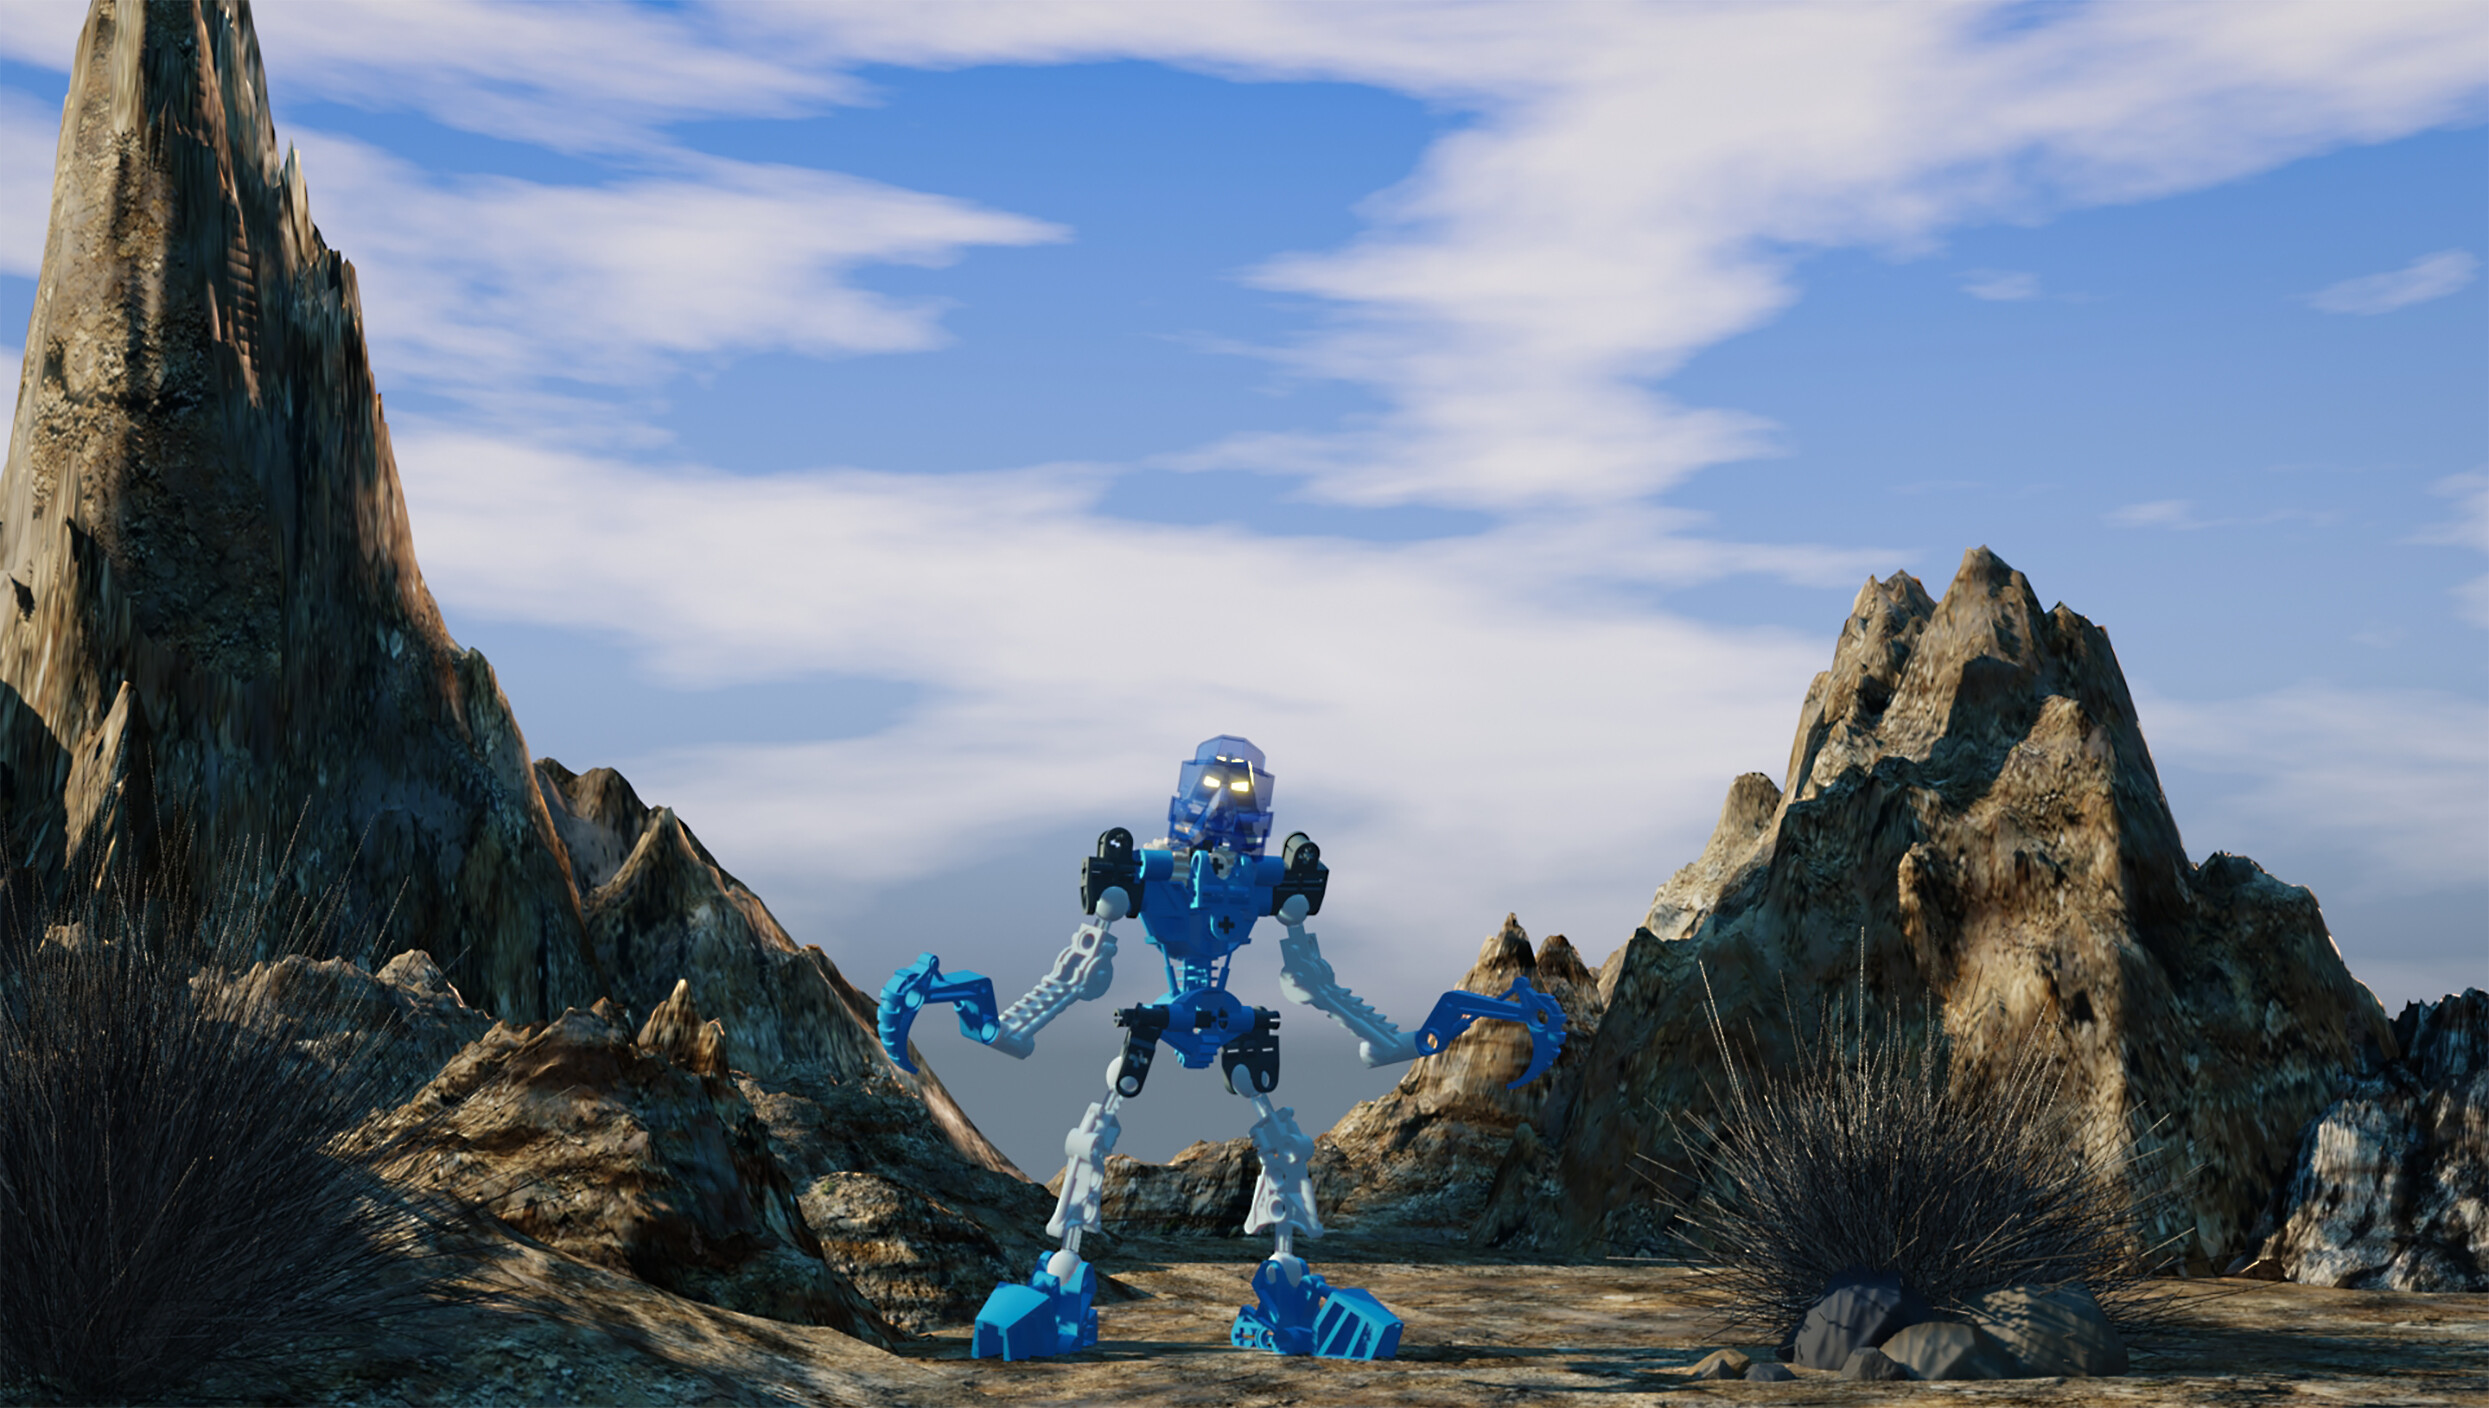
Here’s an update of the final image that I rendered in Blender. I think it’s better than the other ones I’ve done previously before, and thanks again for the positive feedback, I appreciate the support!