When did makuta overlord have a trans hed?
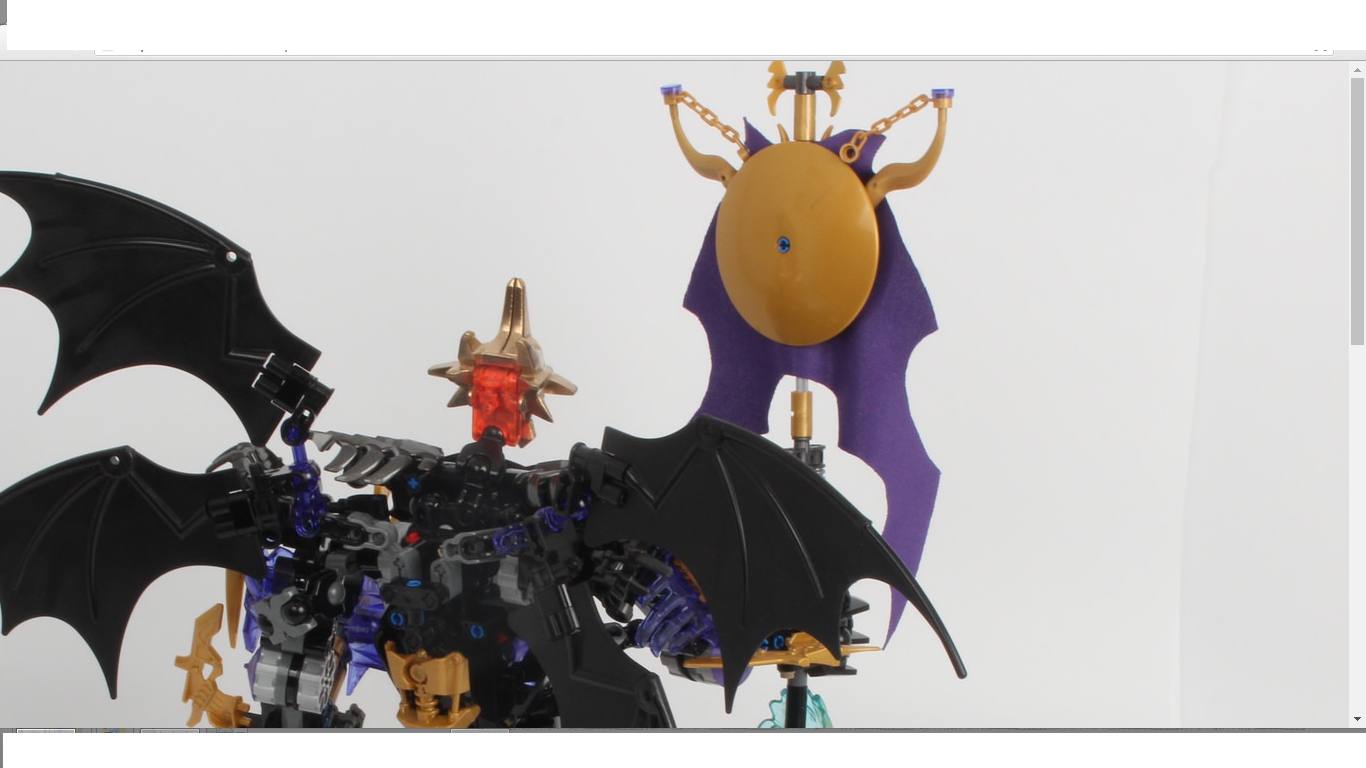
XD! Thats not me in the video! I just got that off Youtube!
1 Like
Oh…That makes a lot more sense XD. Sorry about that.
No apologies needed!
1 Like
I still believe the “Export BOM” fuction to be quicker though, but both ways work.
1 Like
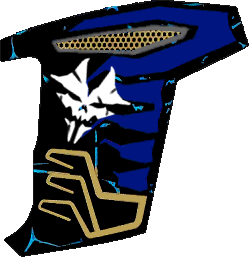
It might just be the picture but the onua chest sticker looks more bluish than purple.
3 Likes
I was gonna say:
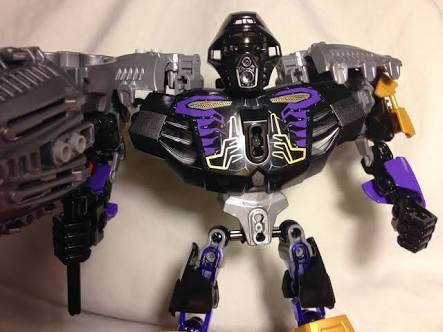
(Not my image)
Not only that, but the ‘veiny’ lines in the sticker are an aqua or something. Also, it lacks the extra gold on Onua’s chest piece
4 Likes
These will still have to be scaled before printing.
Chest print
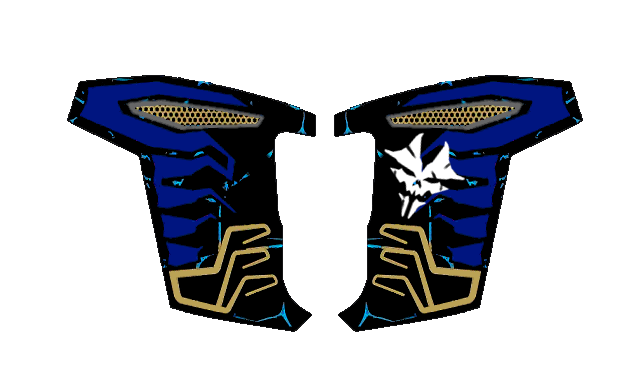
Here are all the stickers needed from Black Panther Pursuit set. I added cut lines but not at the angles used on the Overlord model (I am not sure what angle they cut it to).
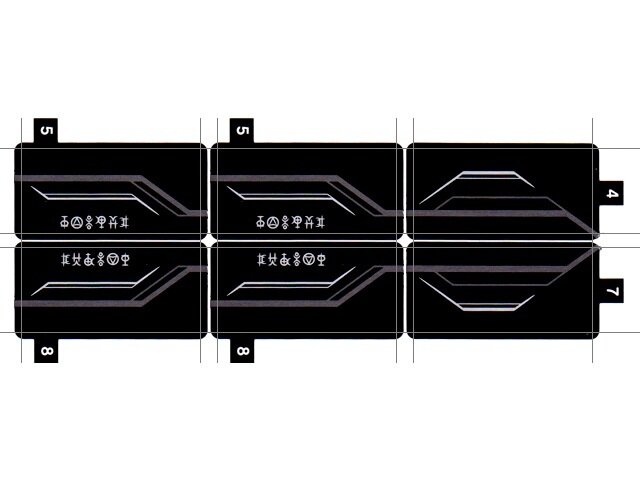

Staff sticker is approximately 2.25 inches in diameter.

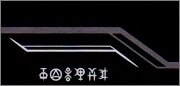
Right side chest print is approximately 1.3125 x 1.3125 inches.
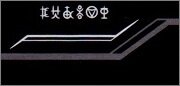
Left side chest print is approximately 1.3125 x 1.3125 inches.
BPP sticker A is approximately 0.5625 x 1.1875 inches.
BPP sticker B is approximately 0.5625 x 1.1875 inches.
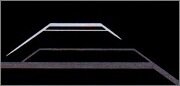
BPP sticker C is approximately 0.5625 x 1.1875 inches.
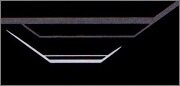
BPP sticker D is approximately 0.5625 x 1.1875 inches.
4 Likes
Hmmm, I’m not sure how to scale it the right way.
2 Likes
This may help, but I am not sure because I don’t know the actual measurement of the sticker off hand. Edit: I added some measurements to the “stickers” so you and everyone else can try the way shown in the link if you like.
I’ll see if can figure anything out.
Scaling down: doesn’t work well

Thanks, but if all your stickers are to scale they may be more useful right now as I haven’t quite figured out how to do that yet. I don’t mean to steal your thunder and hope there isn’t any hard feelings.
It’s fine, but mine aren’t particularly to scale. but yours visually are more accurate.
I’ll be working on the capes.
Fun Fact: I’ve used Windows Movie Maker and Paint since the age of 10 and have mastered them.
(Narcissism Intensifies)
2 Likes
Sounds good. If I may, I have a few suggestions.
I think you should make the shape look more like one of these blades (credit to Metroidwave for pointing this out).
https://img.rebrickable.com/img/pieces/elements/6016238.jpg
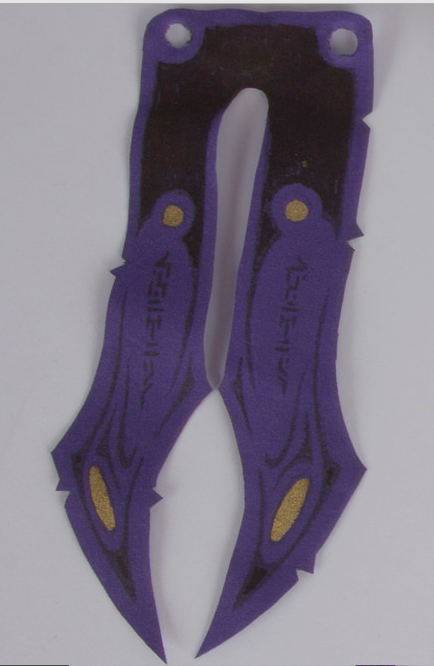
I think the top of the staff cloth should be connected without the gap.

I can see you have a lot of skill; starting at ten is very impressive.
1 Like
praise be to @toothdominoes

2 Likes
Just got some parts in! Few more coming tomorrow, and also stickers and other elements also coming tomorrow. SO by tomorrow I will be 90% complete. I will definitely post photos. Review will come later once it is 100% complete.
EDIT:
Now what could that be for?

EDIT AGAIN: You guys are not making the stickers easy! I believe I have figured it out. Can someone please post something so I don’t have to keep doing these edits. I need to start a new post for pictures of the finished model.
2 Likes
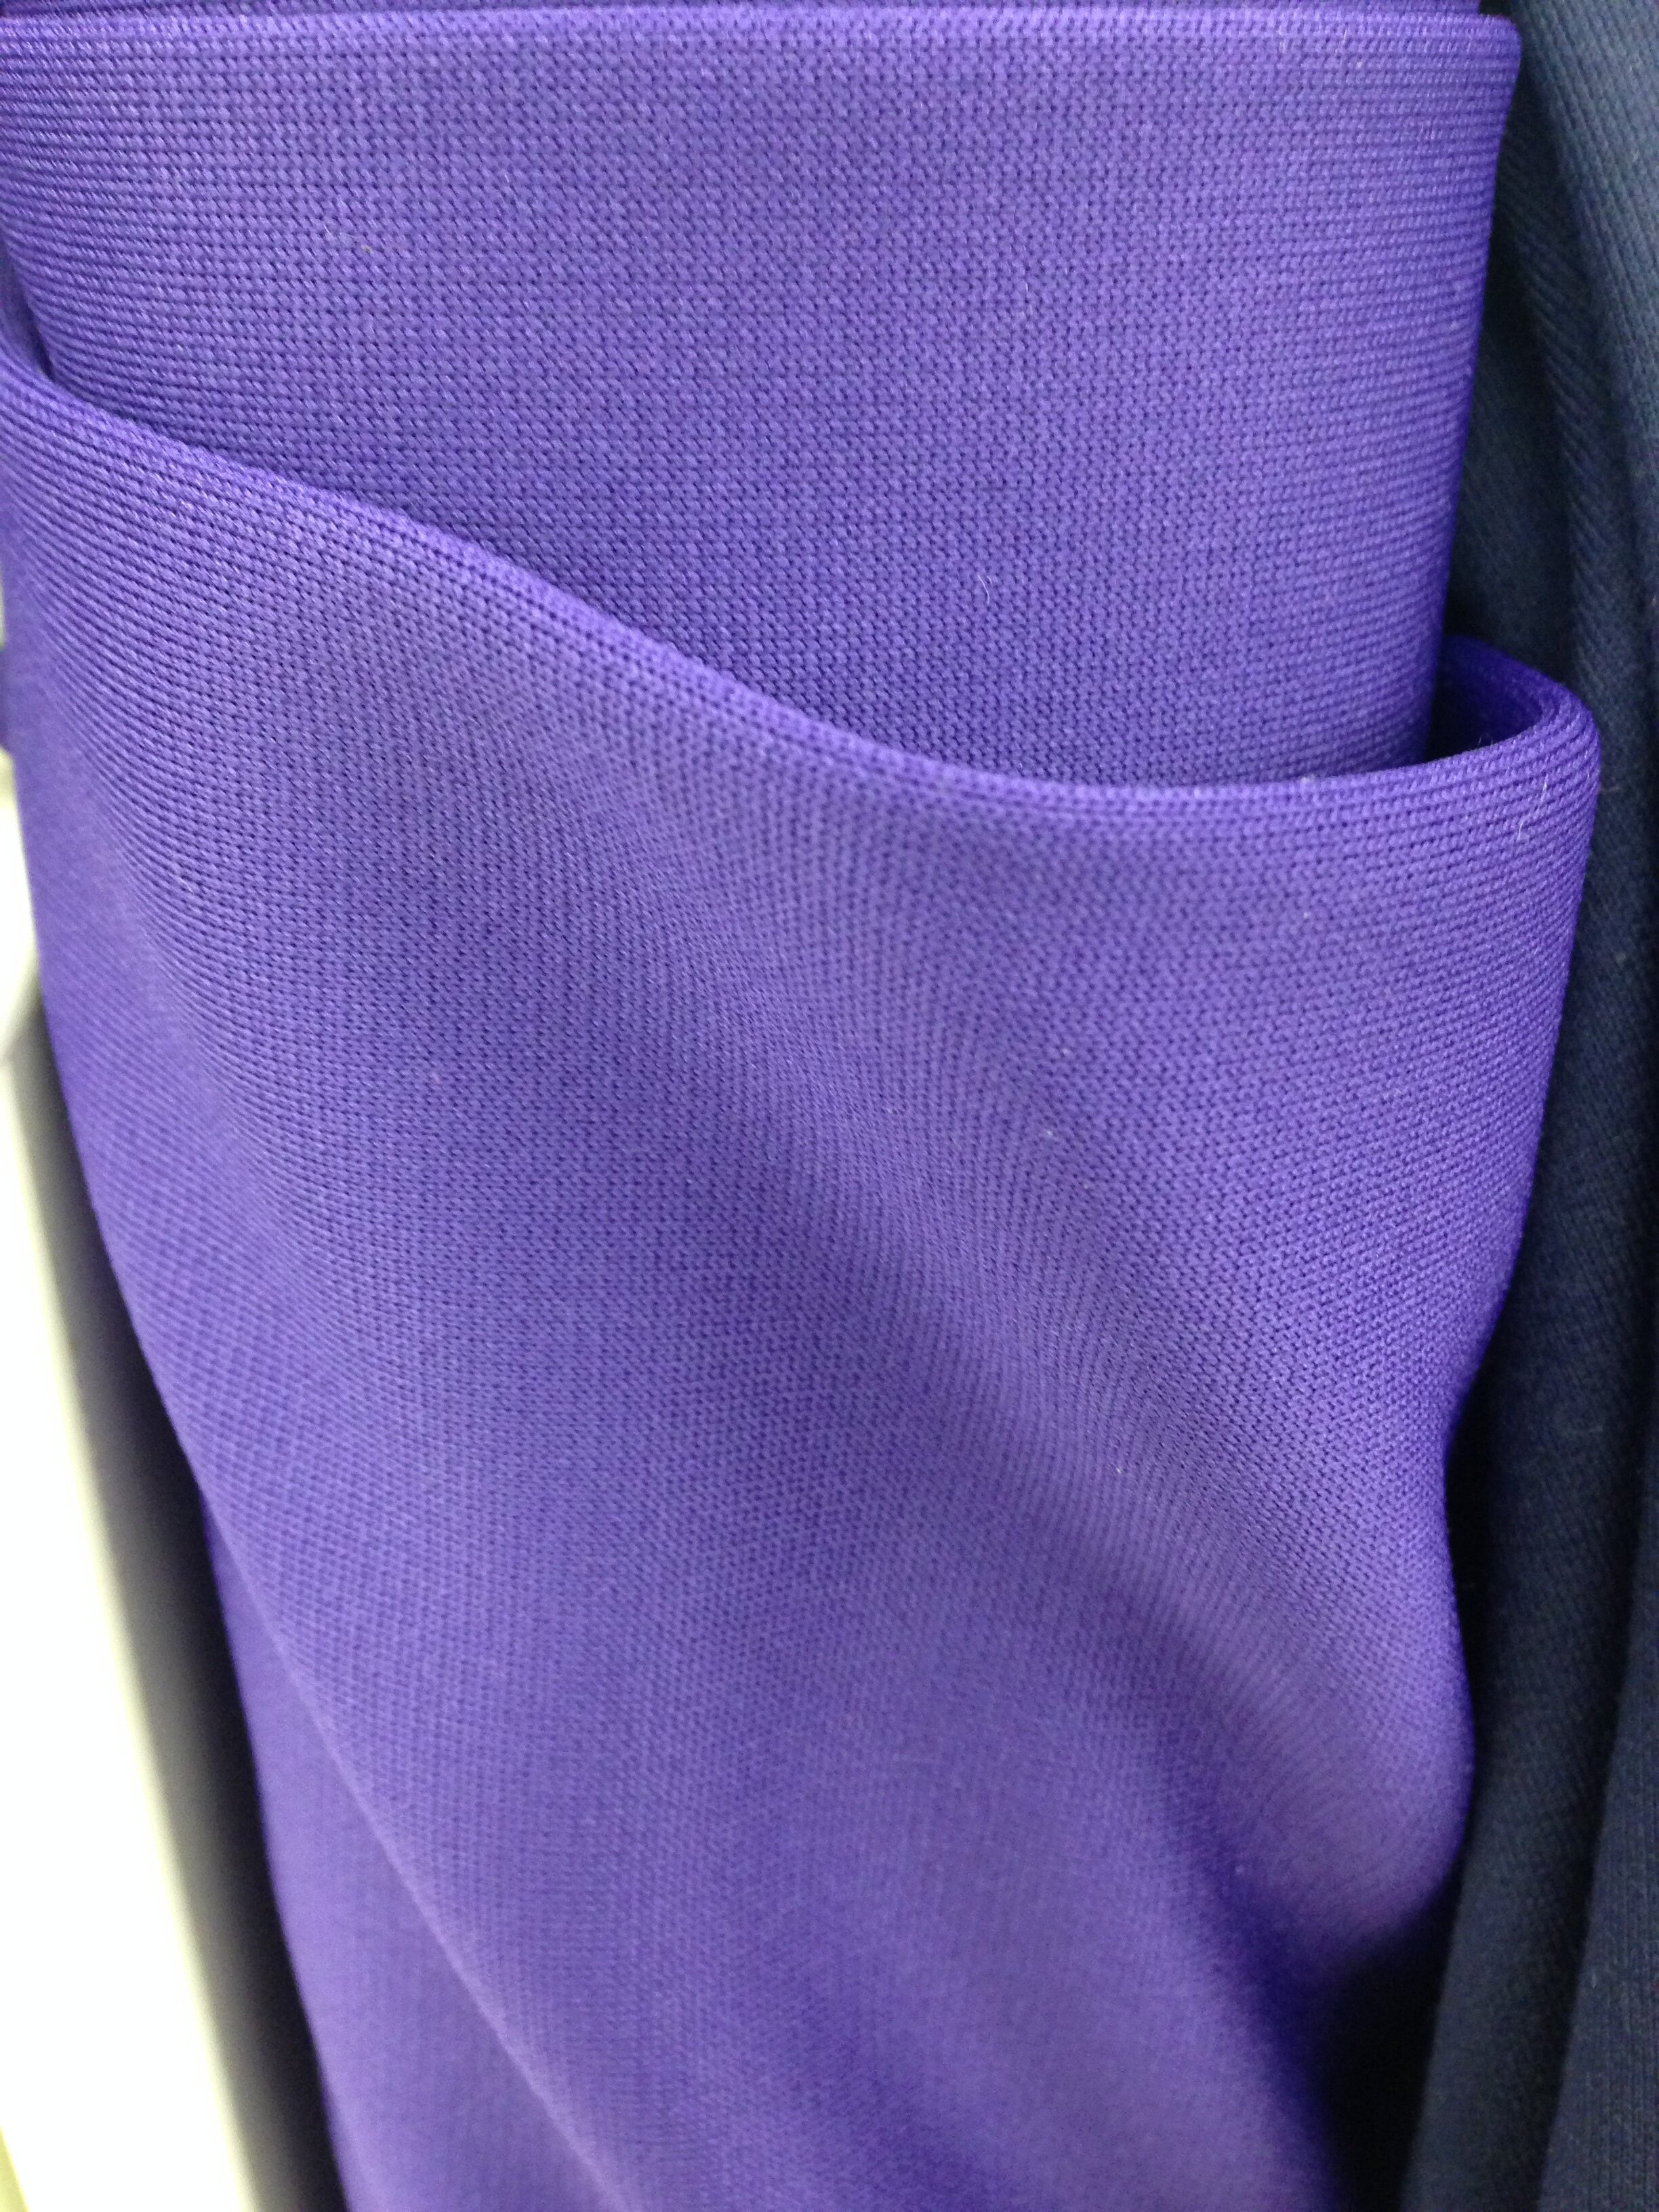
Where did you find the cloth?
Yeah, this was my first time making decals so I am not quite sure how to scale the stickers without using the method in the link I posted above. I have the stickers all scaled to where I think they should be in a document but have no way to share said document. Any suggestions?
1 Like
Sorry for the late reply. I was going to reply once I got all my parts in the mail but that has not happened yet. I got the cloth from my local cloth store “Joan Fabrics”.
When I get the final pieces I WILL upload photos.
2 Likes
Hmm, might have to stop by the one by me to see if they have any like that (it looks perfect).
Sounds good, looking forward to seeing them.
1 Like