Photos of the printed parts will be uploaded when I get the printer to work.Since I couldn’t test the printed part please tell me if you find anything to fix.
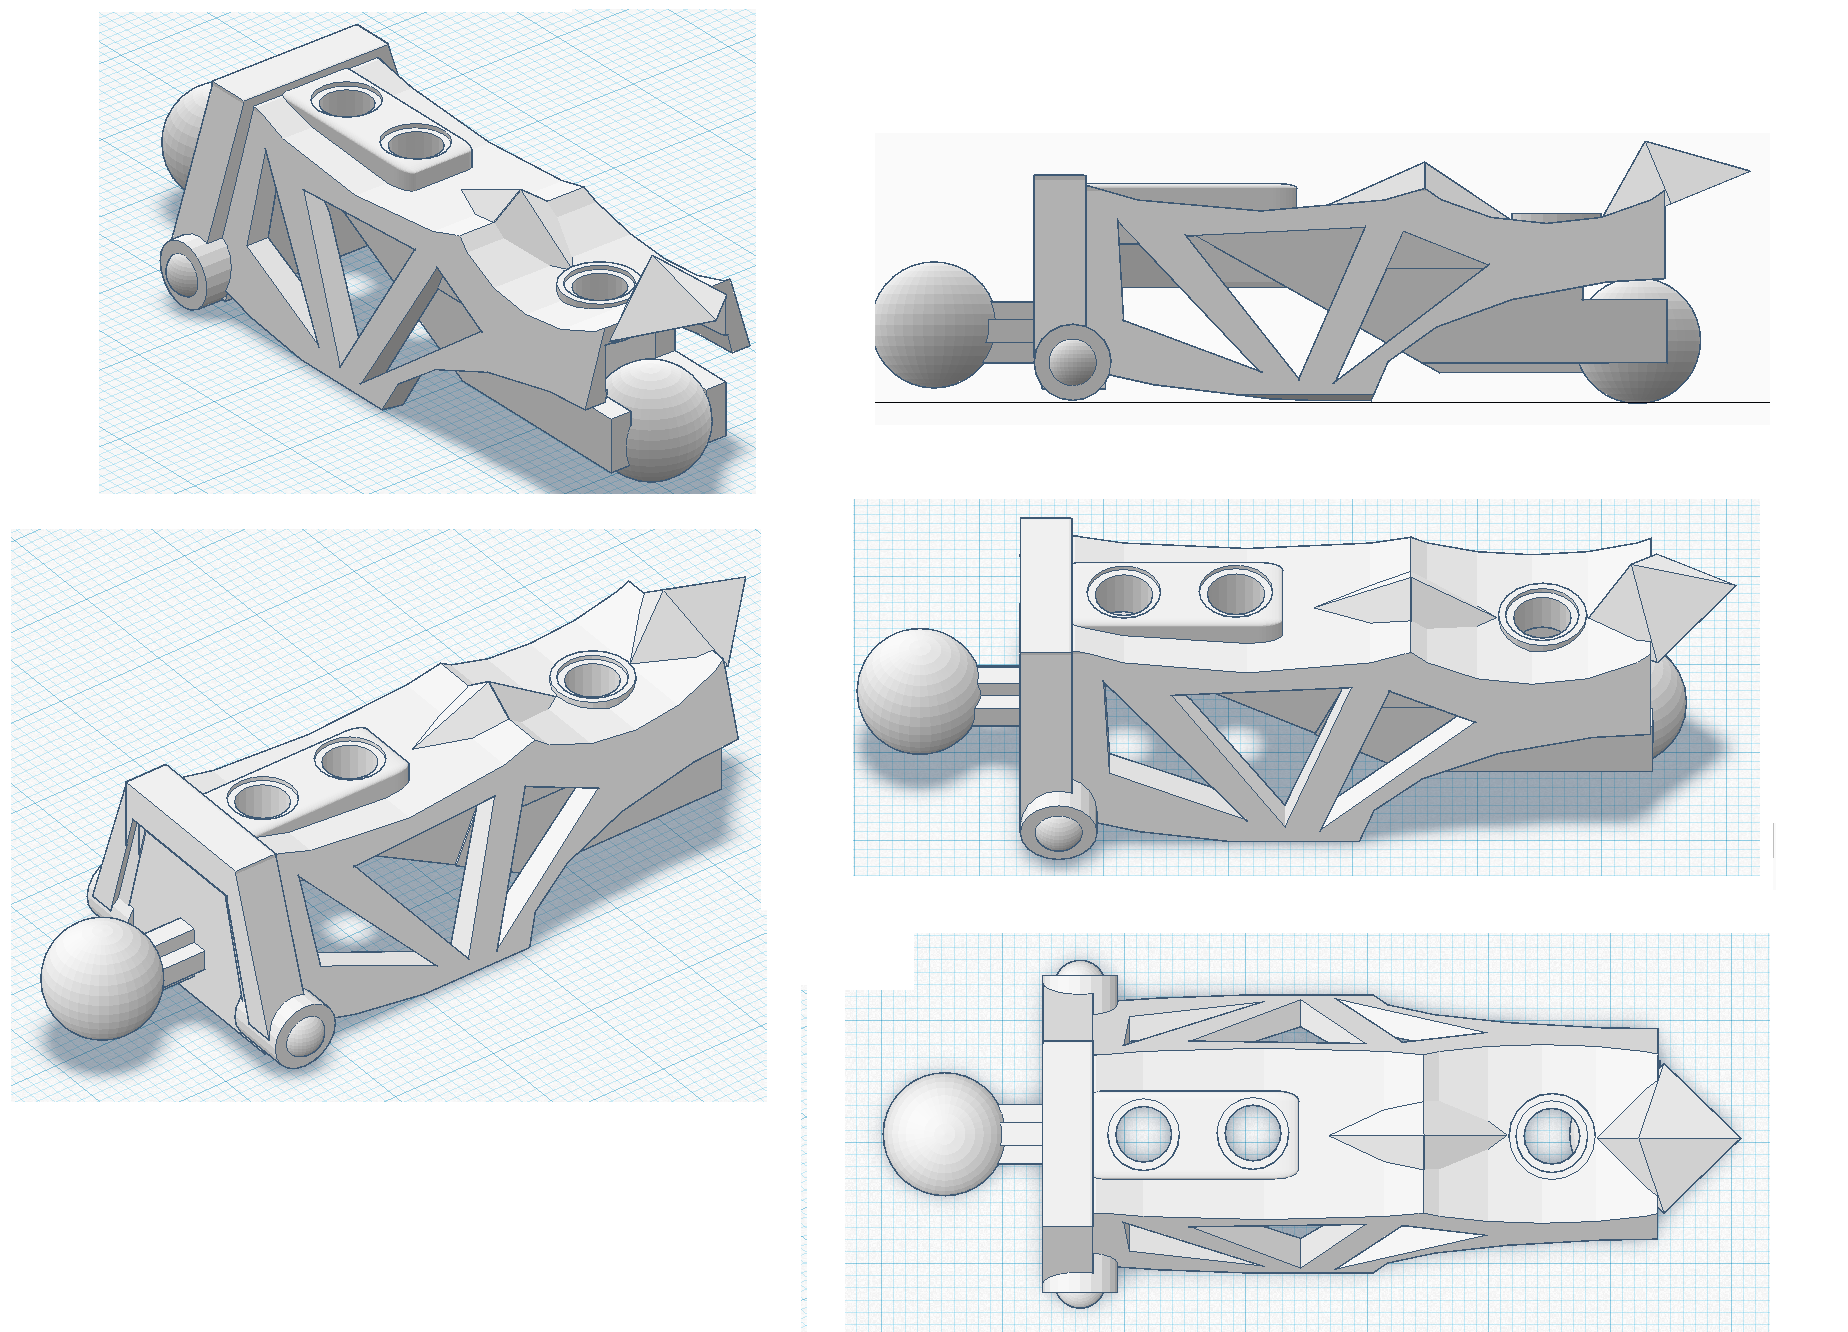
Made with Tinkercad, original design by Vrahno, modelled by me
Get the file here
Edit:
the spacing between the pin holes on the bottom has been shortened
Edit 2:
made the balljoints larger after measuring again and added a model that should be easier to print on FDM printers
Edit 3:
I think I’ve solved the problems of the thick version and I made the pin holes a little larger
Edit 4:
Solved minor problem of the thick version and added a chamfer on the bottom of the pin holes that should allow an easier removal
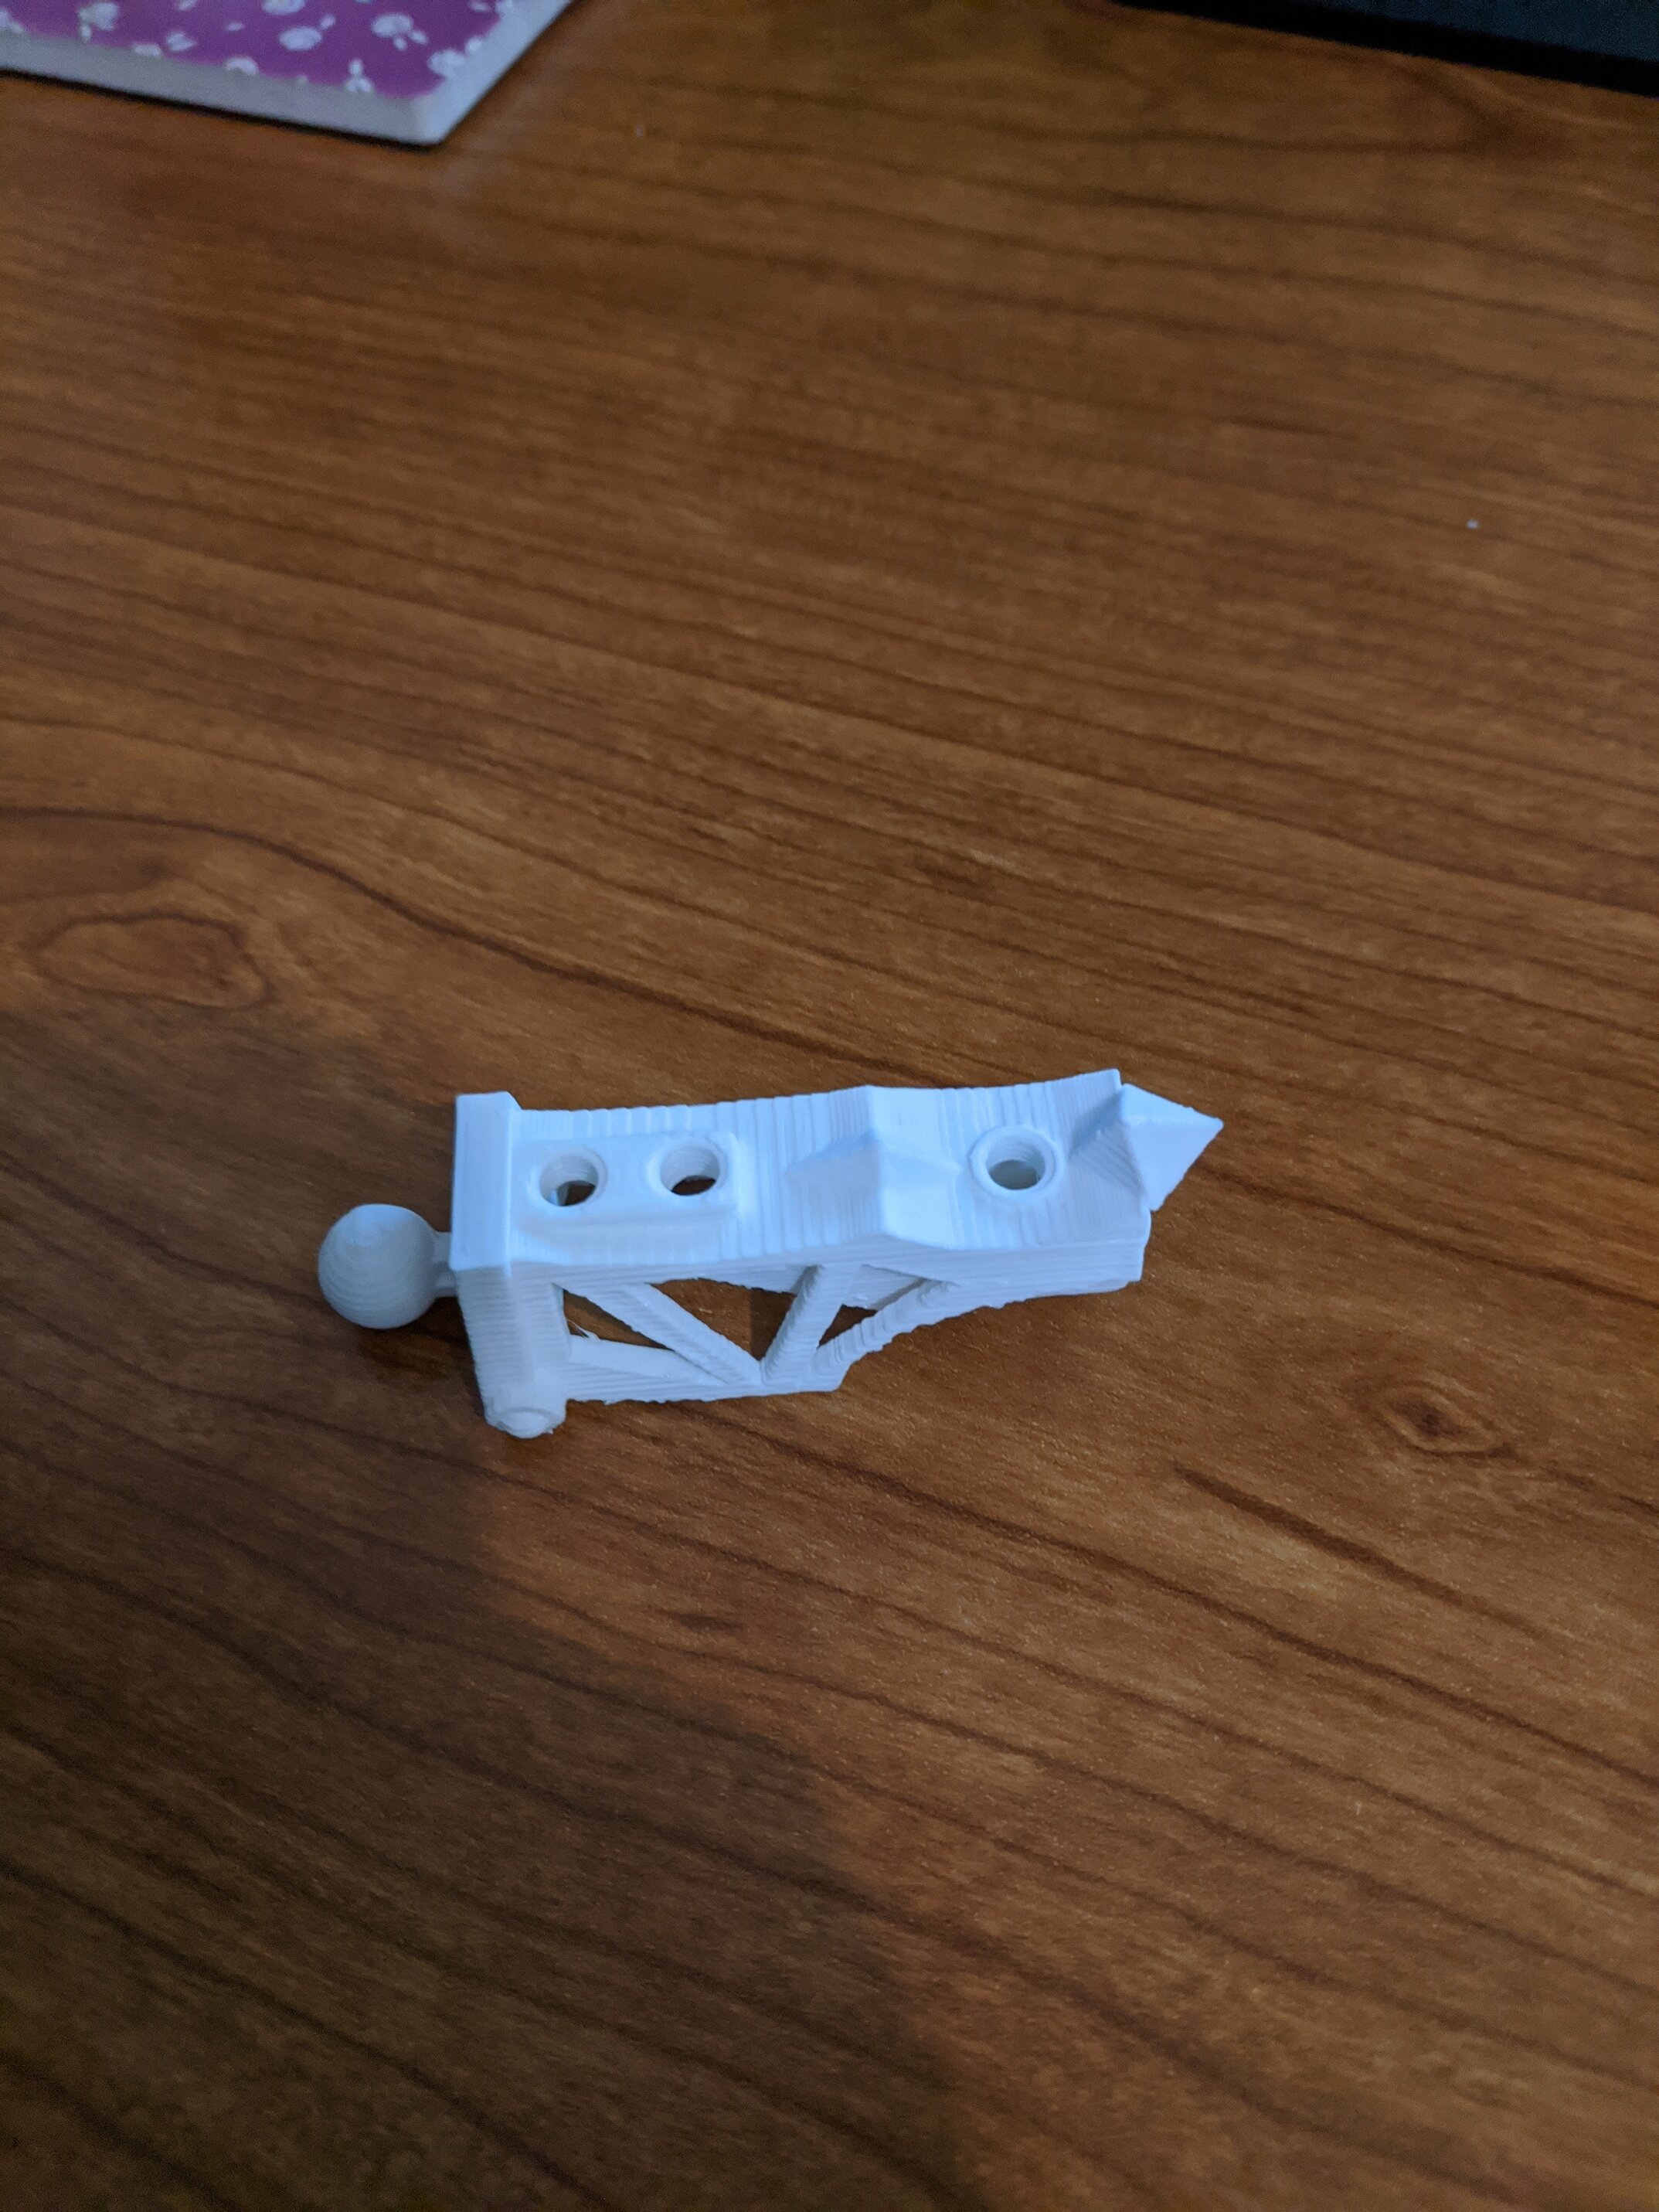
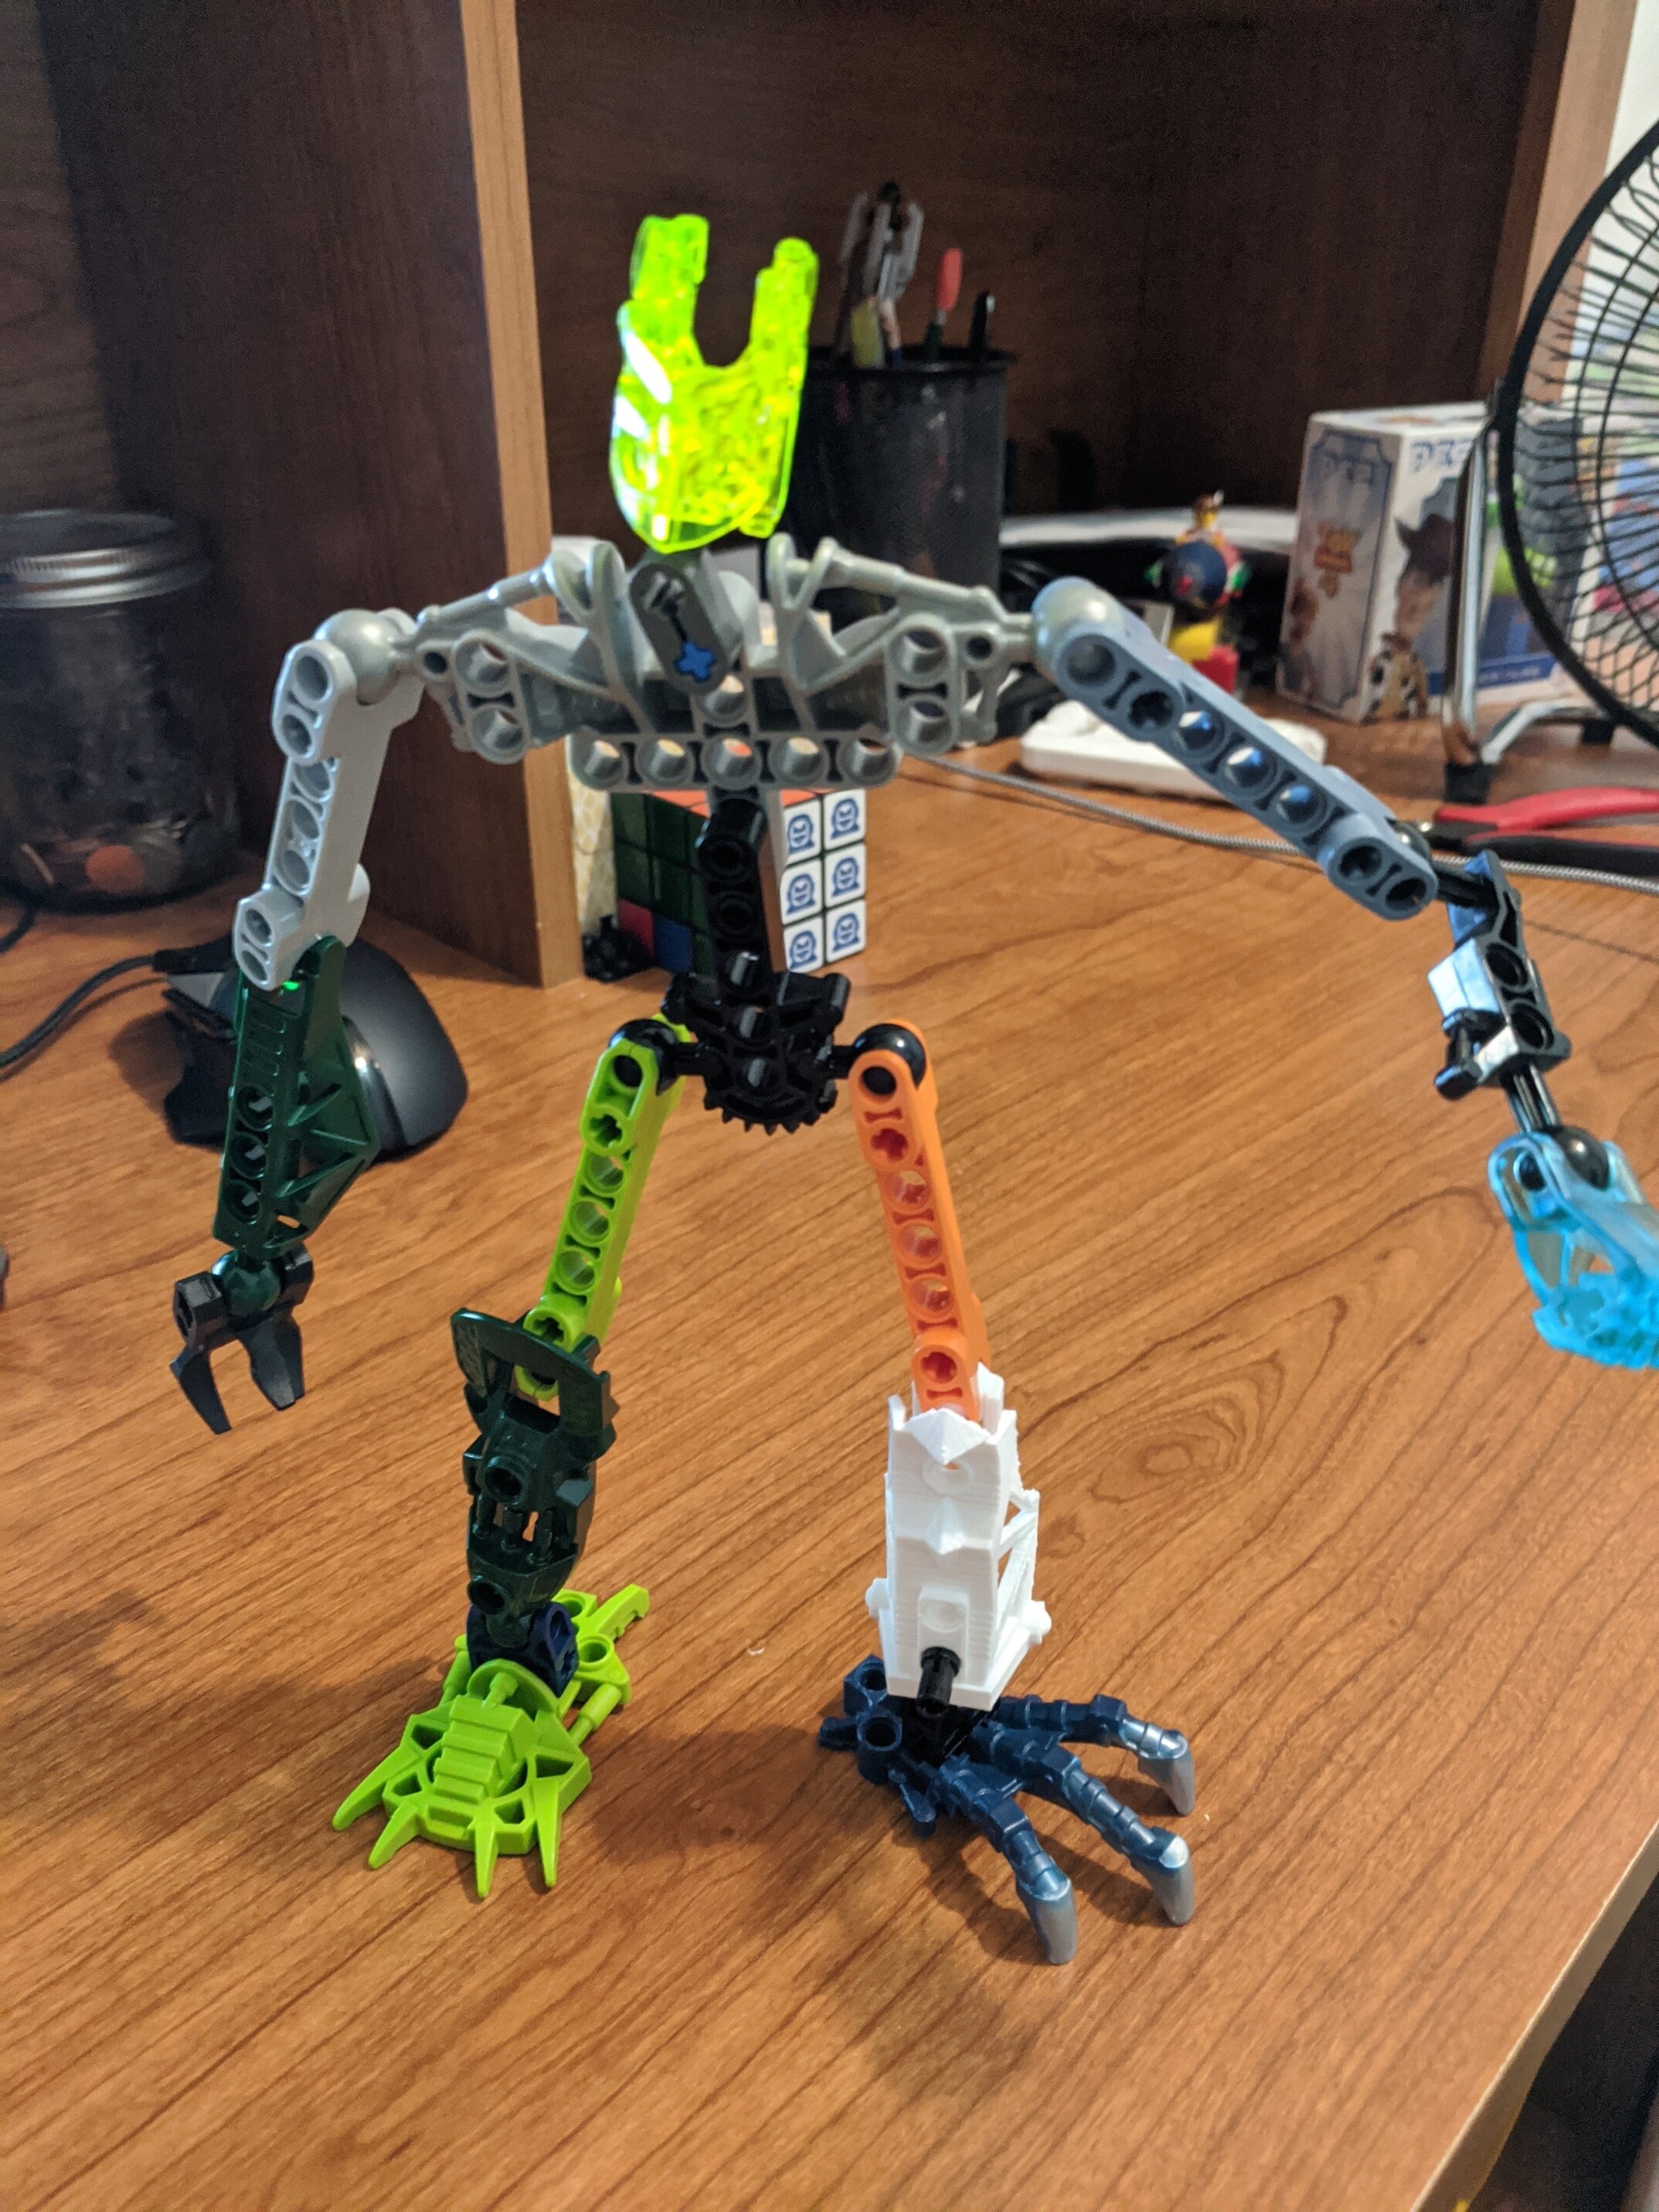
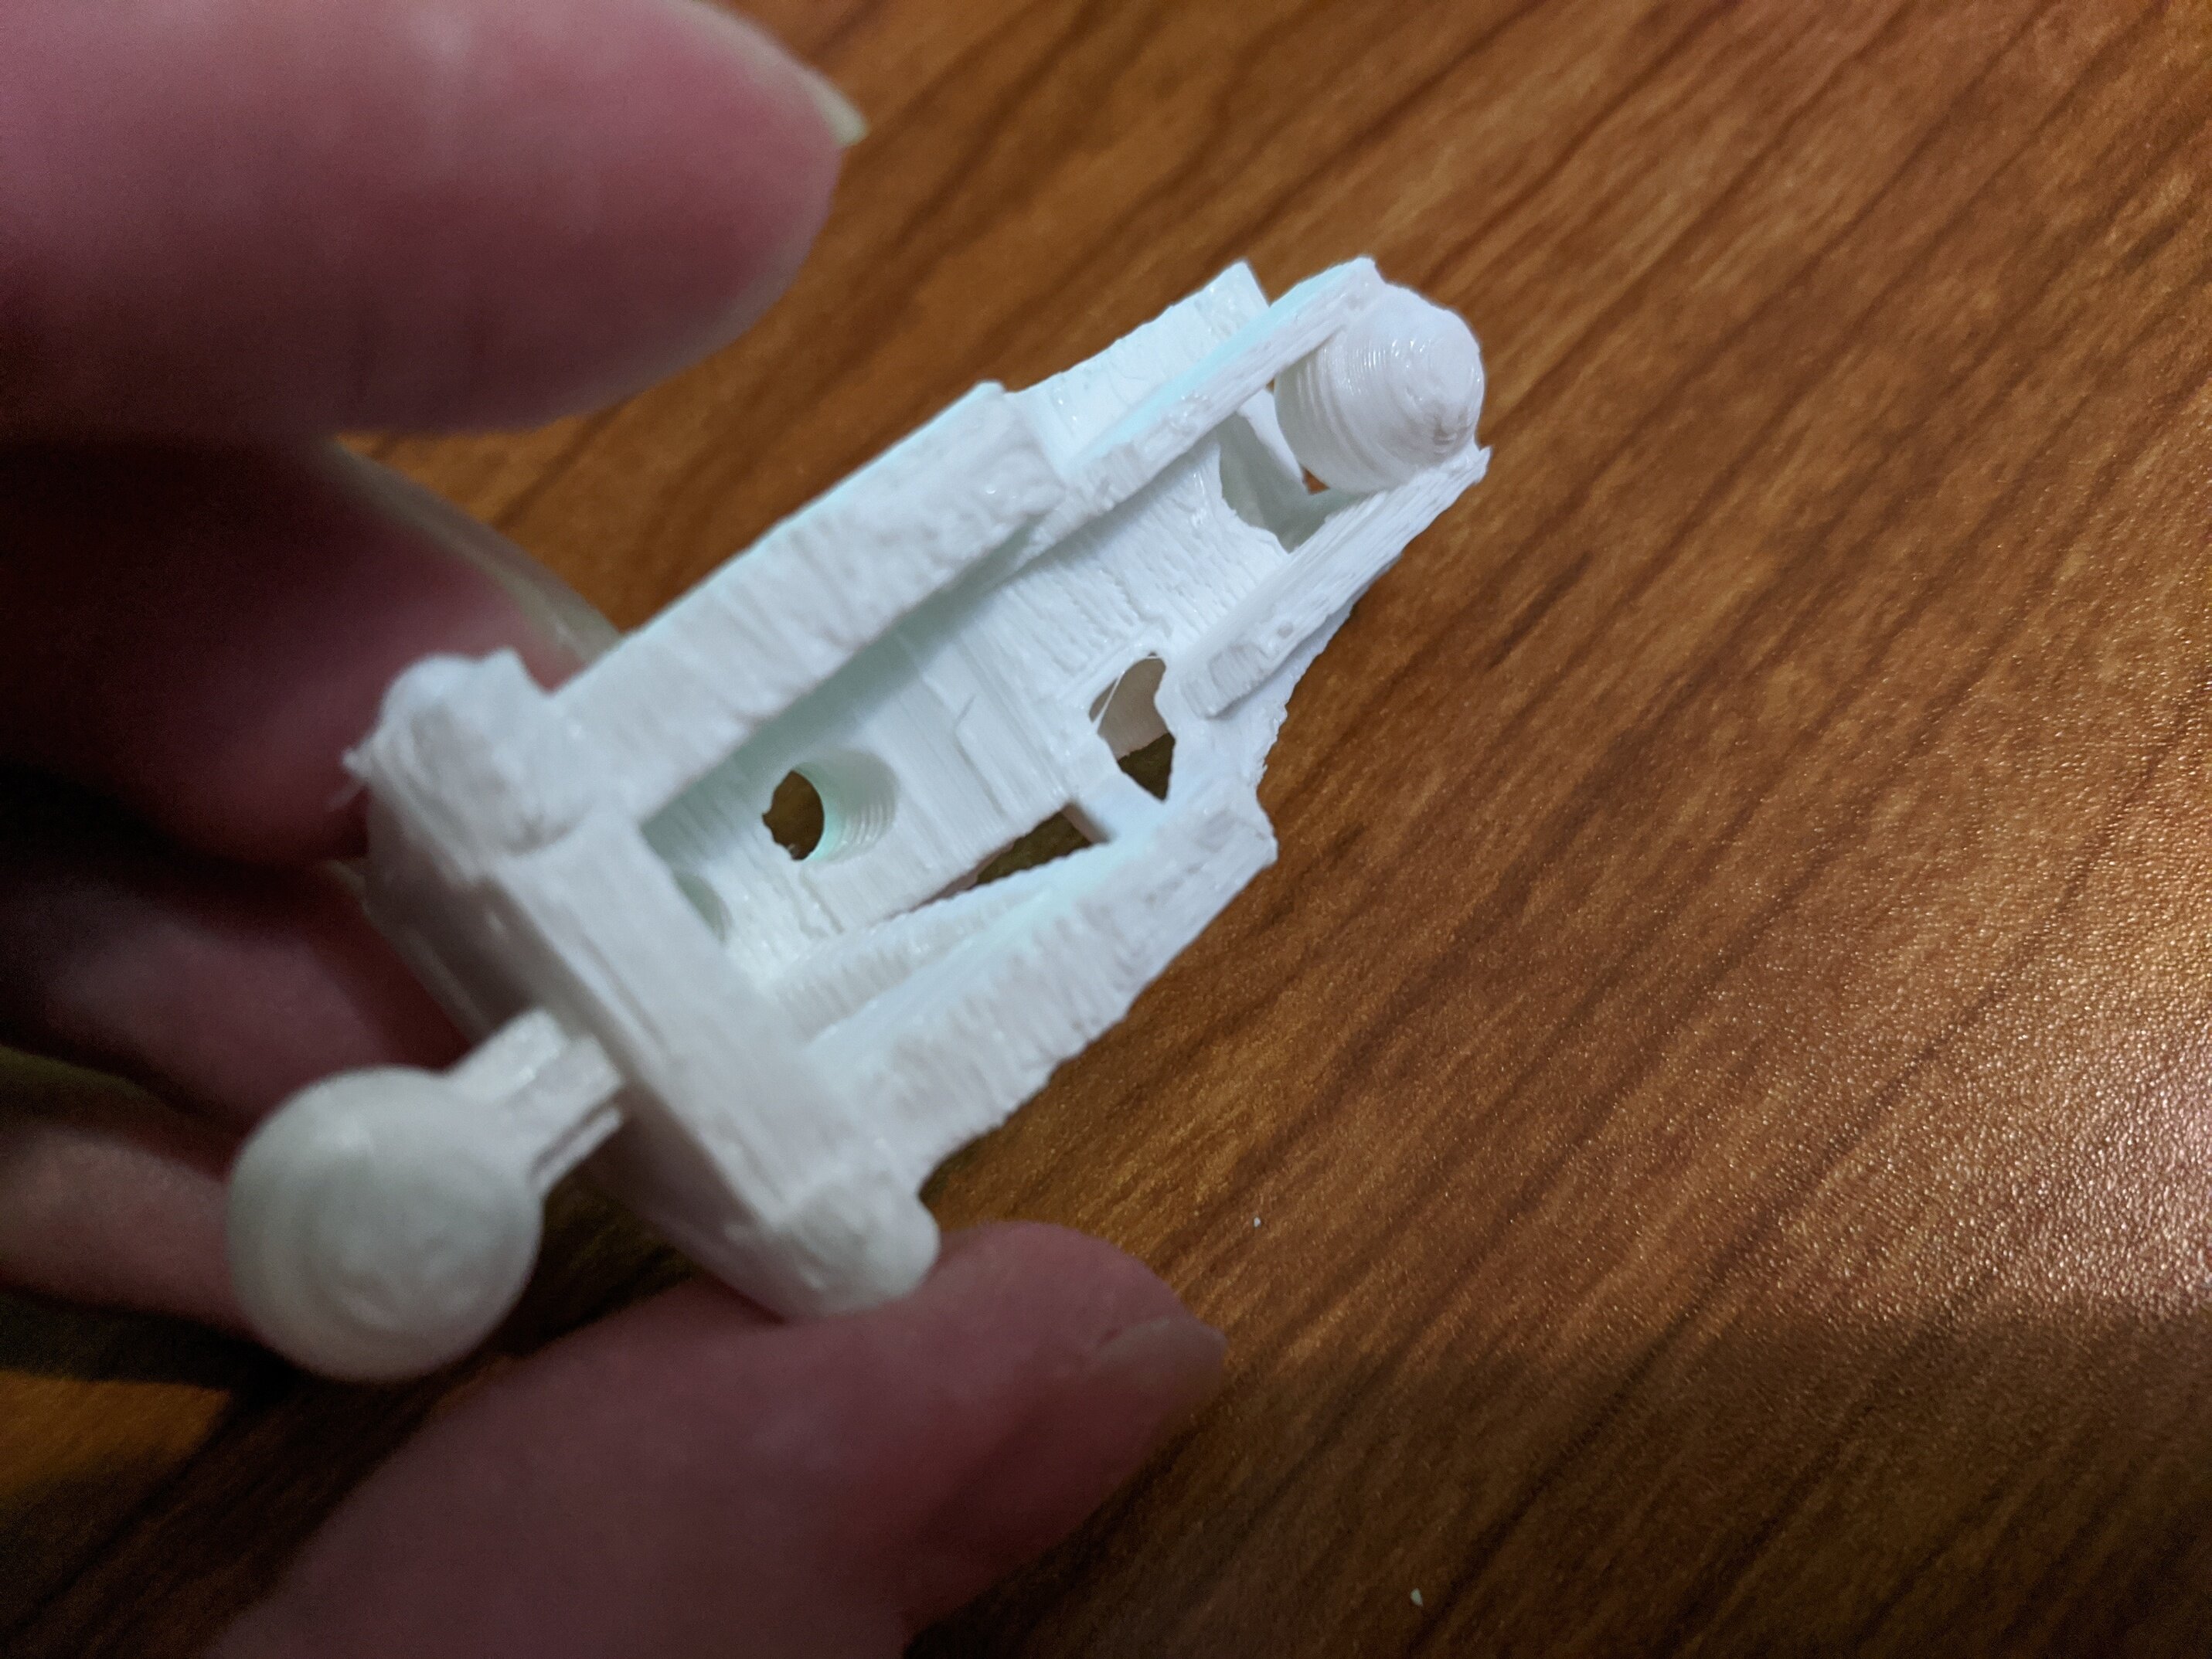
haven’t gotten the chance to try it on anything yet (i’ll try and throw together an inika frame for it) but I can say that it didn’t turn out great for me, I didn’t tweak the settings at all, so it printed shin up, and it took me 30 mins to get rid of all the support, and it’s still not all gone. with how hollow the part is, it made getting the support out nearly impossible, perhaps if you could close up the back a bit this wouldn’t be such an issue?
also the flair on the side didn’t turn out great just because of how thin it is, maybe beef it up a bit?
I like the look of the part, just not great for fdm printing
i’ll try to do some more cleanup and check the ball joints later
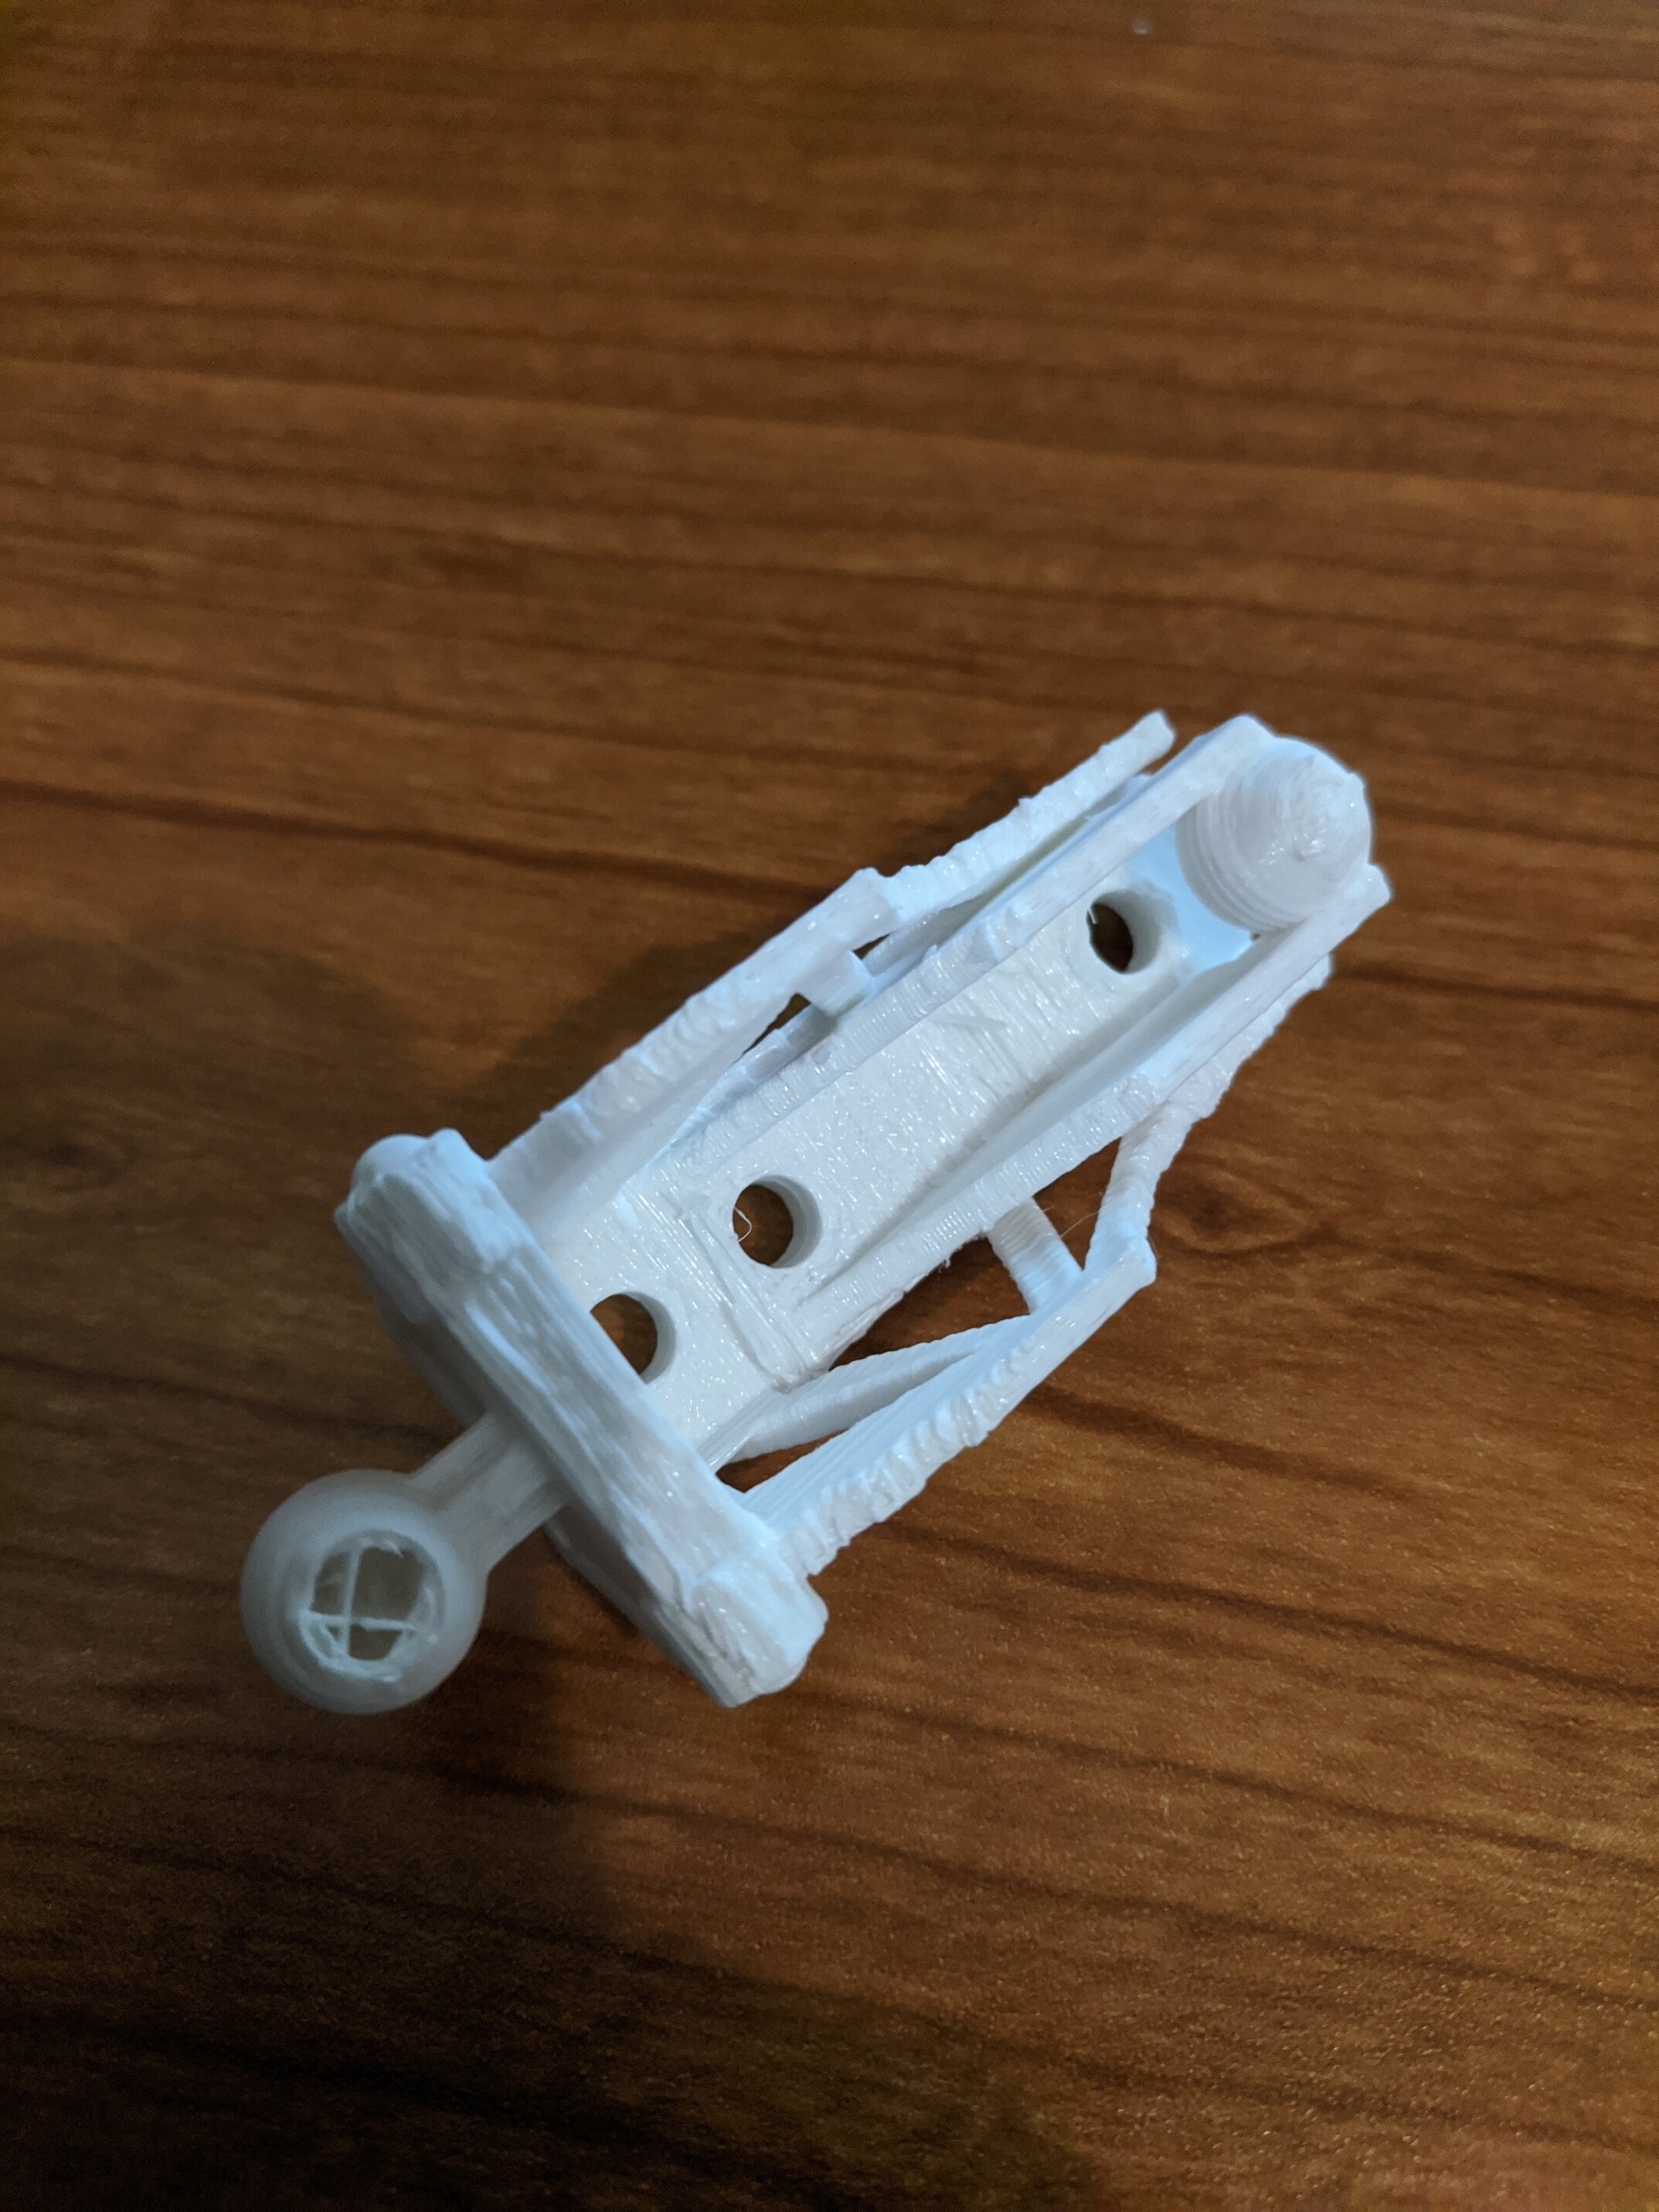
I fixed the size of the balljoints after measuring again (they were 0.2 mm to small) and I added a second model that should be easier to print on FDM printers.
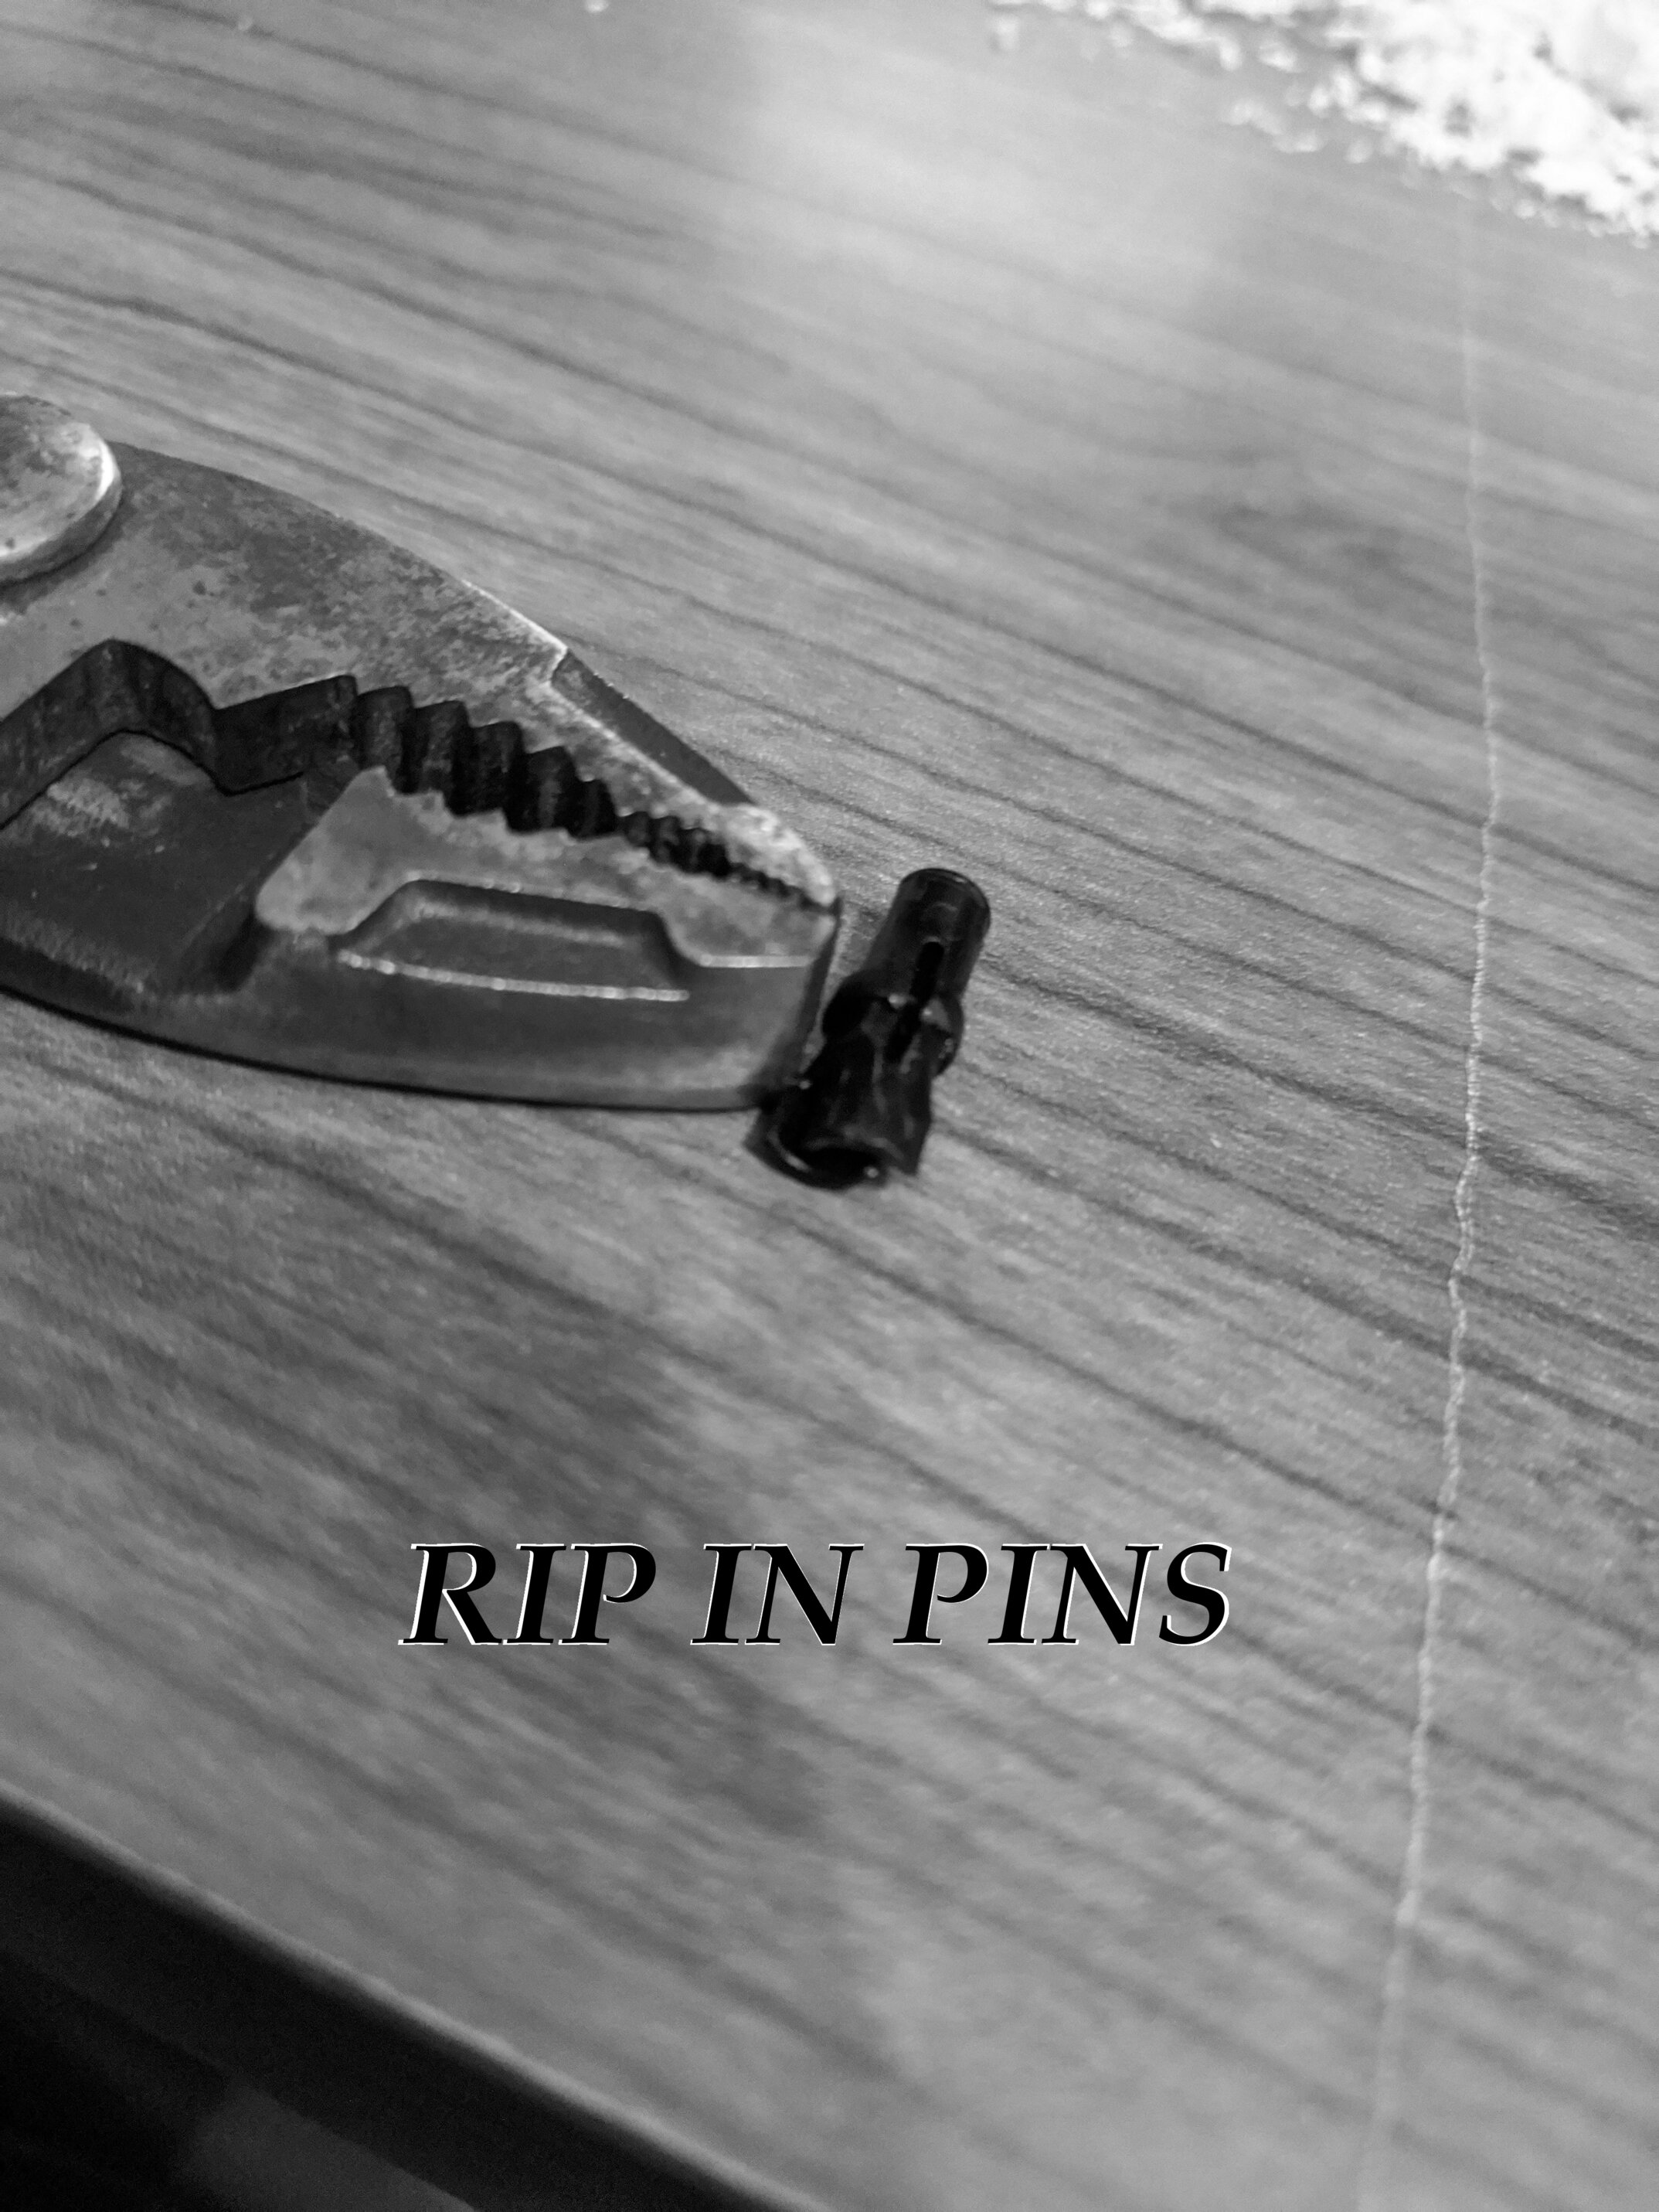
printed off both models, and the _2 model was the best so far, it worked much better than the first, the ball joints were great. The Thick model didn’t fare well at all, the ball joints were too small, and the pin sockets were too small to fit anything. On both the first and second model, it might be a good idea to adjust the pin holes as well, I didn’t realize it with the first print, but the socket was so tight it actually bent my pin out of shape. If you can adjust the tolerances on the pin holes, and keep the ball size from the _2 model, this should work great!
Everything looked great on the regular model, once again, the thick boi had an issue, there’s this weird gap on one side right where the ball joint connects to the back of the leg
I’m sorry for making you waste this much material.
I fixed the hole on the thick version and I added chamfers on the bottom of the holes so when you insert a pin it should be easier to remove.
I don’t think I can make the holes larger because then they would be to loose so maybe try them with an axle and see if you can rotate it, if it doesn’t rotate then consider sanding the hole so that you do not waste more material on prints that you can’t use.
Again thanks for the help and I hope that this time the model is good
just checking the models out in the slicer, i can see that the thick model still has a gap there, so i’m not going to print that one just yet
and don’t worry about me wasting material, this little project has wasted nothing compared to what I usually go through