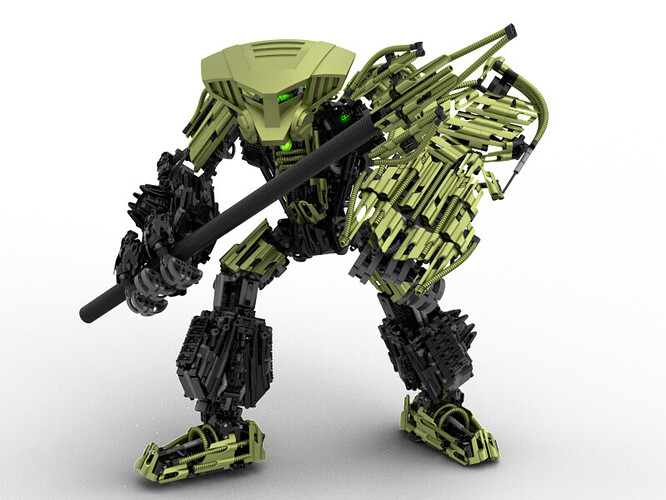
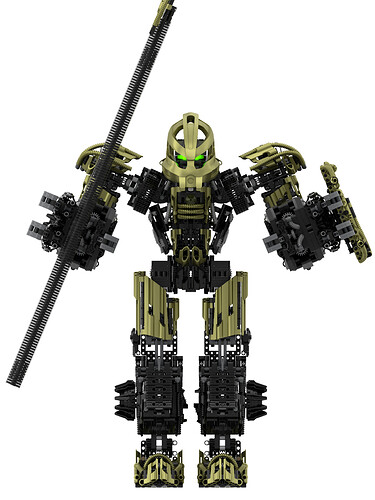
It would definitely be cool to have the mask as a single piece, even if it doesn’t look any different. The current version relies on press-fitting the 1L liftarms in place, and then trying different pin combinations before the optimal mask-holding strength is achieved.
This has taken entirely too long, but I finally made the final push for completing the instructions. The .pdf instructions, as well as the stud.io model, can be accessed by clicking the image below:
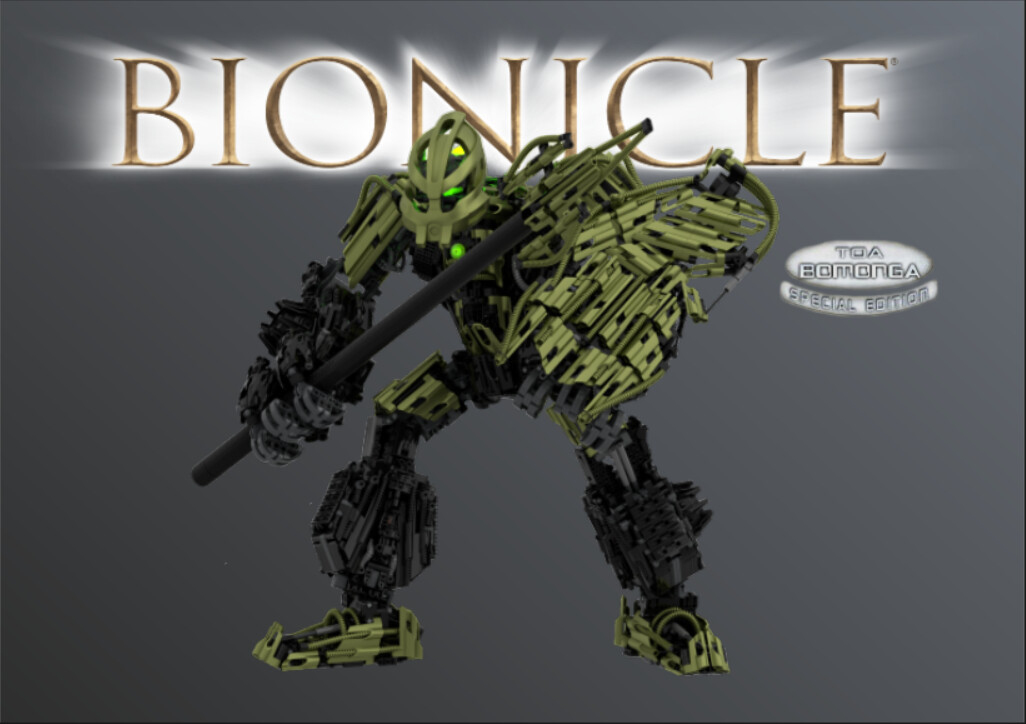
Thanks to @FuzzMuffins for the Toa Bomonga text on the cover page.
Due to some last-minute modifications, the model now contains 4609 pieces, up from the 4600 of the version I initially shared.
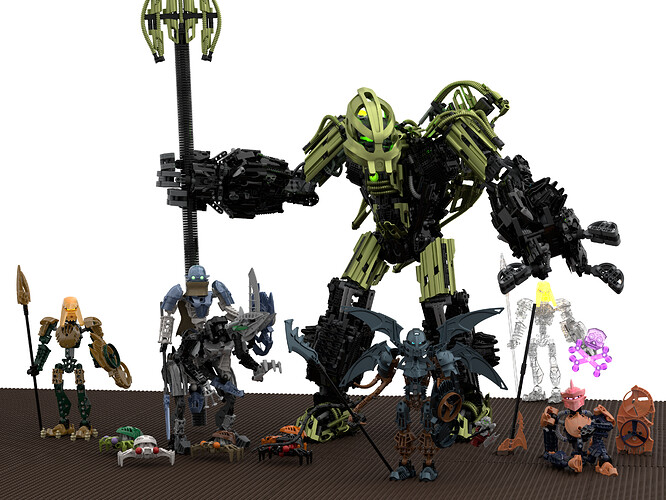
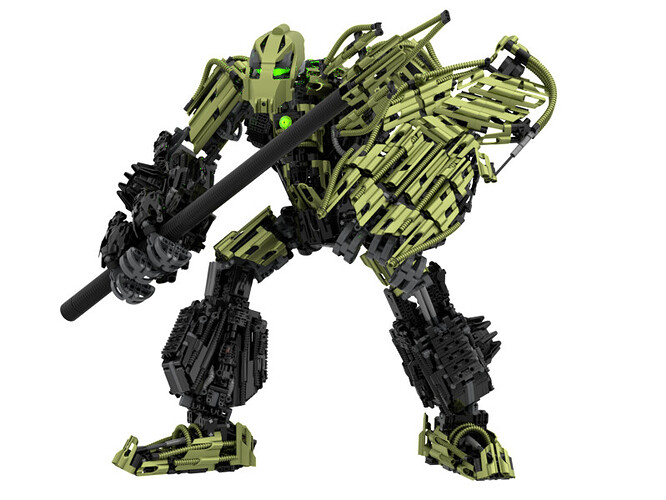
Also, I’m finally happy with the custom metallic green I made, so I rerendered the mask power demo with the better colour:
For the mask, couldn’t you use the head of the toa terrain crawler?
It’s a bit small:
I had forgotten about that piece until halfway through the design, at which point I was in too deep to start at a smaller scale.
at least now you’d just have to paint the mask instead of printing it out
Can you make a large version of this mask for those who would want that mask on him Perp3tual's Bomonga's Mask of Growth by Rothanak - Thingiverse
Titan of Earth
UCS Bomonga isn’t real and can’t hurt you…
So, did anyone actually tried to build this masterpiece irl?
I’m kinda thinking about doing it myself, but first I need to buy like 4k pieces and my major fear is that it won’t be able to sustain its own weight (and 4k pieces ain’t cheap).
That’s definitely a valid concern; I’d hate for you to buy all those parts only for Bomonga to not be able to stand because I underdesigned his joints. It might be a good idea to just buy the parts for the joints themselves and get a feel for their strength first; I’ve never actually tested any of this with real parts.
In the event that you buy some (or all) of the parts and something isn’t up to scratch, I’ll do my best to work with you to figure out something that works.
I should also note that I’m currently in the middle of redesigning some of the joints, but I have no timeline on when, or even if, that will be completed. The redesign is focussing on replacing the axle-based joints; the knees, elbows, hips, and shoulders currently put a lot of torque and shear on regular Technic axles, and I’d like to replace them with balljoint-reinforced turntables.
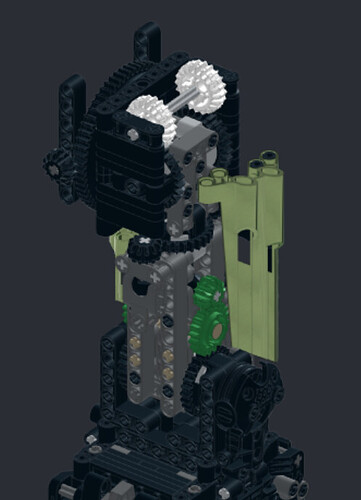
Here’s some progress pictures of what I’m going for:
I figure I should probably give an update here. While my last post suggested that the joint upgrade might still be a while out, I ended up getting sucked in over the last couple of weeks and the upgrades are actually mostly complete. I’m going to hold off on in-depth pictures until I’ve cleaned up the build, but I’ll give a brief summary. Most importantly, the thighs and the upper arms have been completely rebuilt from the original version:
(Also note the new shaping on the shoulder armour)
As mentioned in my previous post, there were two things I wanted to address:
- Convert as many joints as possible to turntables
- Strengthen the joints with ball joints
The focus was on the knees, hips, elbows, and shoulders, but I was pleasantly surprised to also figure out an entirely new ankle. The only remaining axle-based joints are the “nodding” motion of the neck and the fingers (obviously); everything else is turntables. The new joint strengths, as well as comparisons to the originals, are as follows
Shoulder:
4 ball joints → 14.933 ball joints
Elbow:
3 ball joints → 12 ball joints + 13.667 pins
Knee:
3 ball joints + 2 pistons → 11.2 ball joints + 2 pistons
Ankle (front/back)
4 ball joints + 4 pistons → 26.6 ball joints
Ankle (side-to-side)
4 ball joints → 14.933 ball joints + 9.333 pins
Now for the bad news:
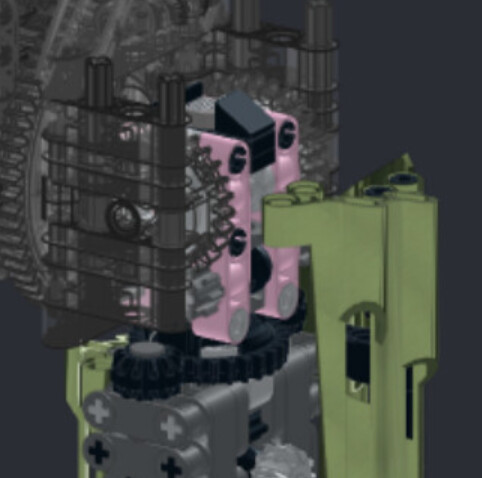
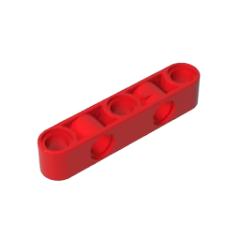
The new hip design relies heavily on a 5L “flip-flop” liftarm, but the piece doesn’t actually exist; there are 7L, 11L, and 15L flip-flop variants, but no 5L.
I currently see three paths forwards from here:
- Work out a new design that only uses existing parts
- Wait for Lego to make a 5L flip-flop liftarm
- Cut 7L flip-flops down to 5L
None of the options are great, but I’m personally hoping that Lego will make the new mold before anyone tries to build this in real life.
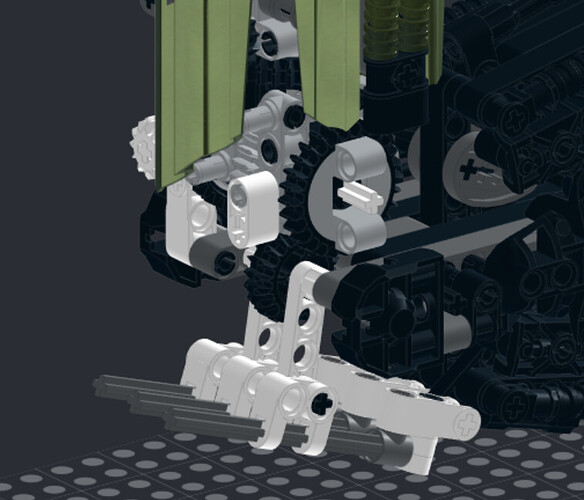
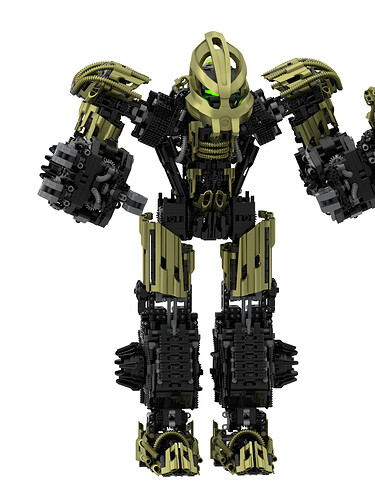
4 months later, another small update. I finished the new hip joint, as well as a new version of the armour on the sides of the torso due to the old version colliding with the new hip:
My concern, though, is that the hips might be too blocky. Thoughts?
Also, I made a version with gray hip joints, which I figure more accurately captures the colour pattern of the original build:
Any colour preferences?
They look perfectly fine to me. You could try adding some hip skirts like on Transformers or some gold accents if they look off.
The problem with these solutions is that I’m trying to match the contest model as accurately as possible, and it has neither of those.
(Also, just out of curiosity, why gold?)
Whoops, that was my mistake. I forgot Bomonga uses metallic green as an accent color. Sorry about that. I wasn’t paying attention while typing my previous reply.
I’m callin upon the power of the community: I have like 97% of the pieces to make this in real life, but I’m in desperate need of 4 metallic green hoses (on bricklink they either do not ship to me or are asking too much for a single hose).
Which version have you been collecting the parts for? The version with instructions, or the updated version that’s been backed up on the Drive?
You’re actually just ahead of me on this; I’ve been working on the full instructions for the new version, it’s just taking a while because it’s likely going to come out to over 1500 pages.
The old version with instructions (since it does have instructions and I already had the parts that you then changed in the newer version)
I’m not sure how you’ve been obtaining the parts, but I’d recommend going for the newer version if possible. The instructions are still in progress, but the stud.io file is at the same Google Drive link as the instructions for the first version.
As both you and @TLROsborne171 pointed out in previous comments, I did find some concerns about joint strength. I had convinced myself that four ball joints per ankle would be enough, but some simple physical tests of ball joint strength proved that an upgrade was necessary. The updated ankle is right around the minimum required strength (with a factor of safety), and it has the equivalent of over 26 ball joints per ankle; the old version isn’t even close.
There were similar concerns with the knees, hips, elbows, and shoulders.
The good news from a part collection perspective is that most of the parts from the original version are still used, and virtually all of the new parts are basic Technic parts; there’s no additional panels, Metallic Green hoses, Bionicle parts, etc. The only potential sticking points are a large quantity of 28 tooth turntables, and 10 of a non-purist part that will have to be ordered on the aftermarket until Lego can catch up:
