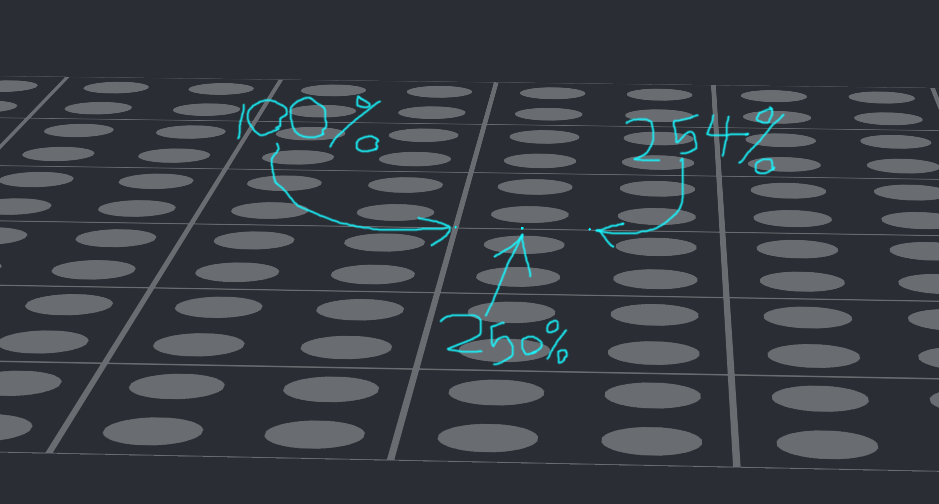
I tried importing a piece at 250% and 254%. They weren’t any bigger.
1 Like
Could you post a screenshot comparing the different sizes (100%, 250%, etc.)? You should be able to import multiple files in the same build area.
1 Like
I’ve had this happen to me before, and I think it was also on a Blender part. My “fix” was to just import it really, really big (~3000%).
1 Like
You said you never used Blender!
1 Like
The .obj file was provided by someone else.
1 Like
Now, I’m stuck on step 5.
1 Like
Step 5.1: Open stud.io
Step 5.2: Open a new model
Step 5.3: Go to the Custom parts palette
Step 5.4: Search for the name of your custom part that you want to colour
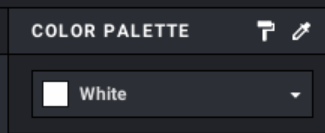
Step 5.5: Insert the custom part into the build area
Step 5.6: Colour the part as you desire using the Color Palette:
Step 5.7: Once the part is coloured, click File > Export As > Export As LDraw in the top left corner:
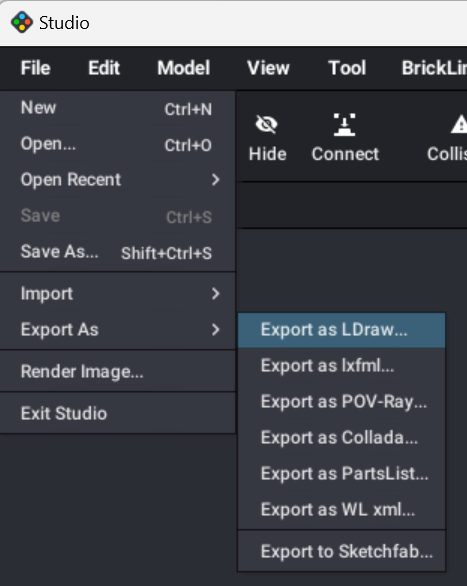
Step 5.8: Save this LDraw file to wherever on your computer you want, then click Save:

You have now completed Step 5.
1 Like
Aligning the parts is difficult.
1 Like
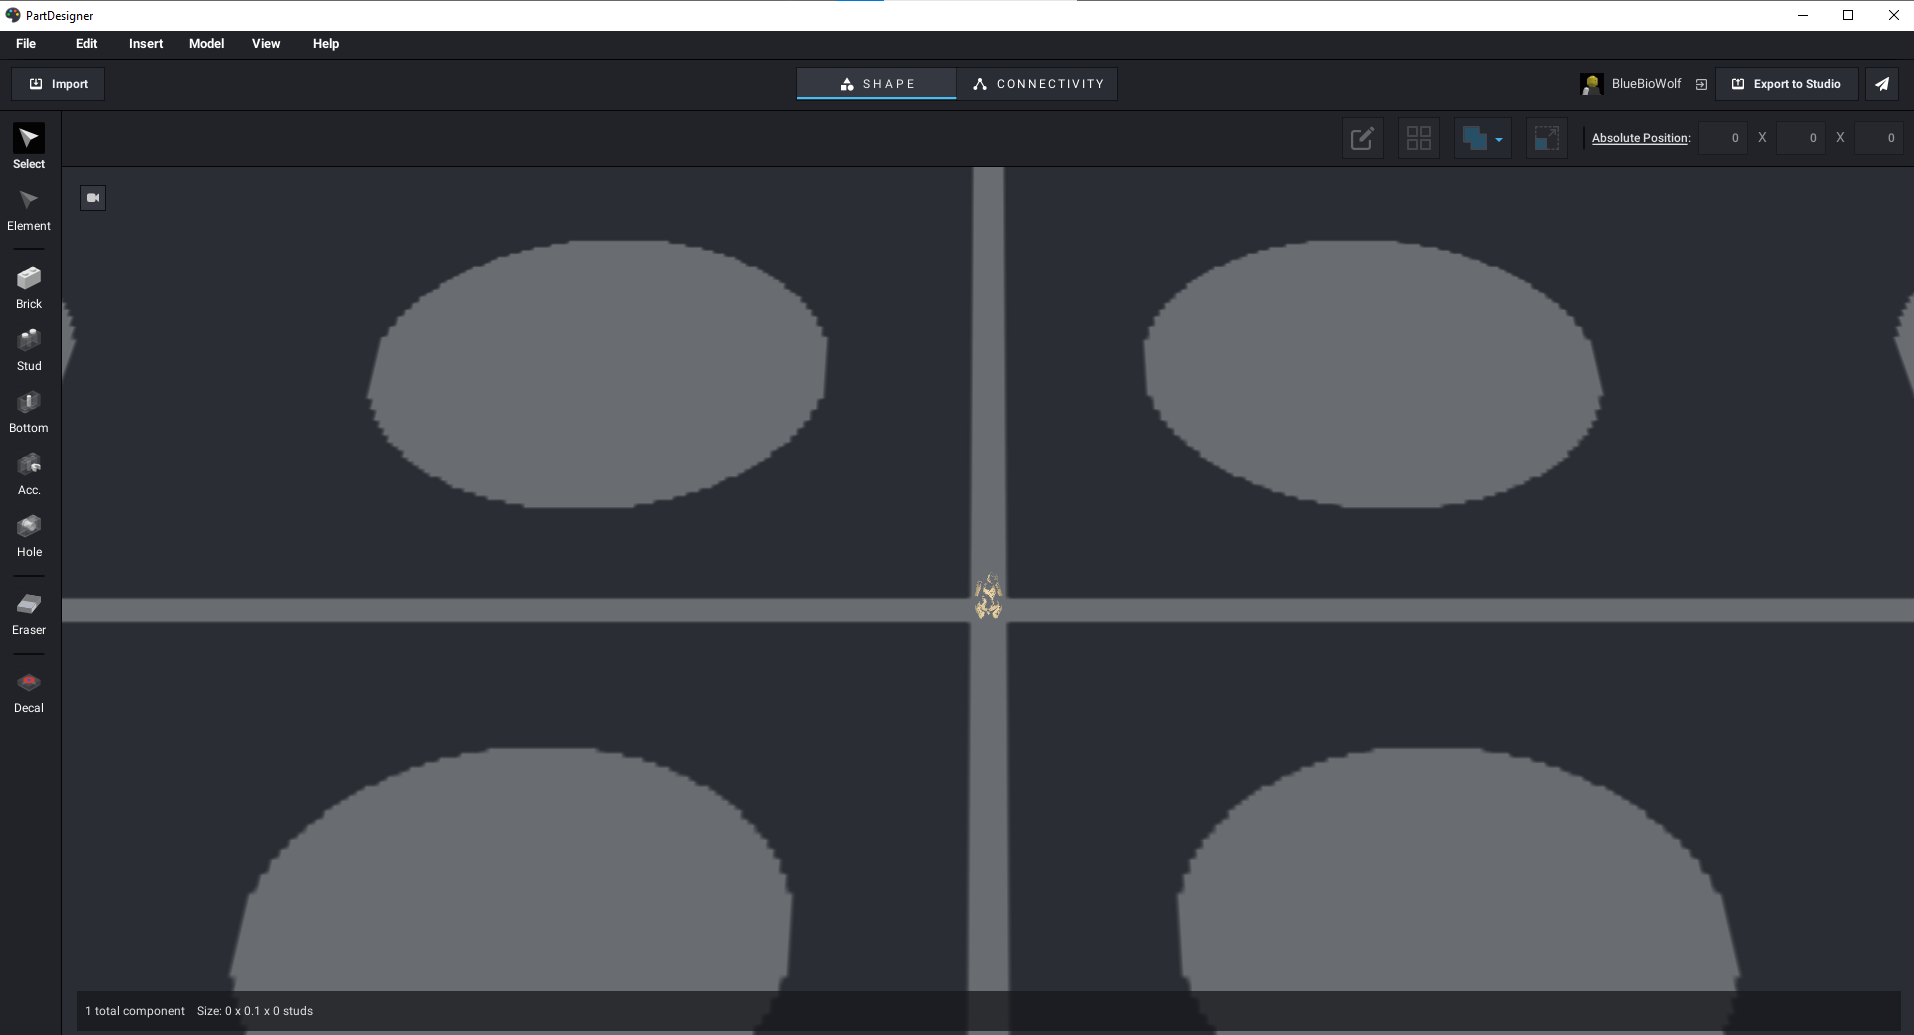
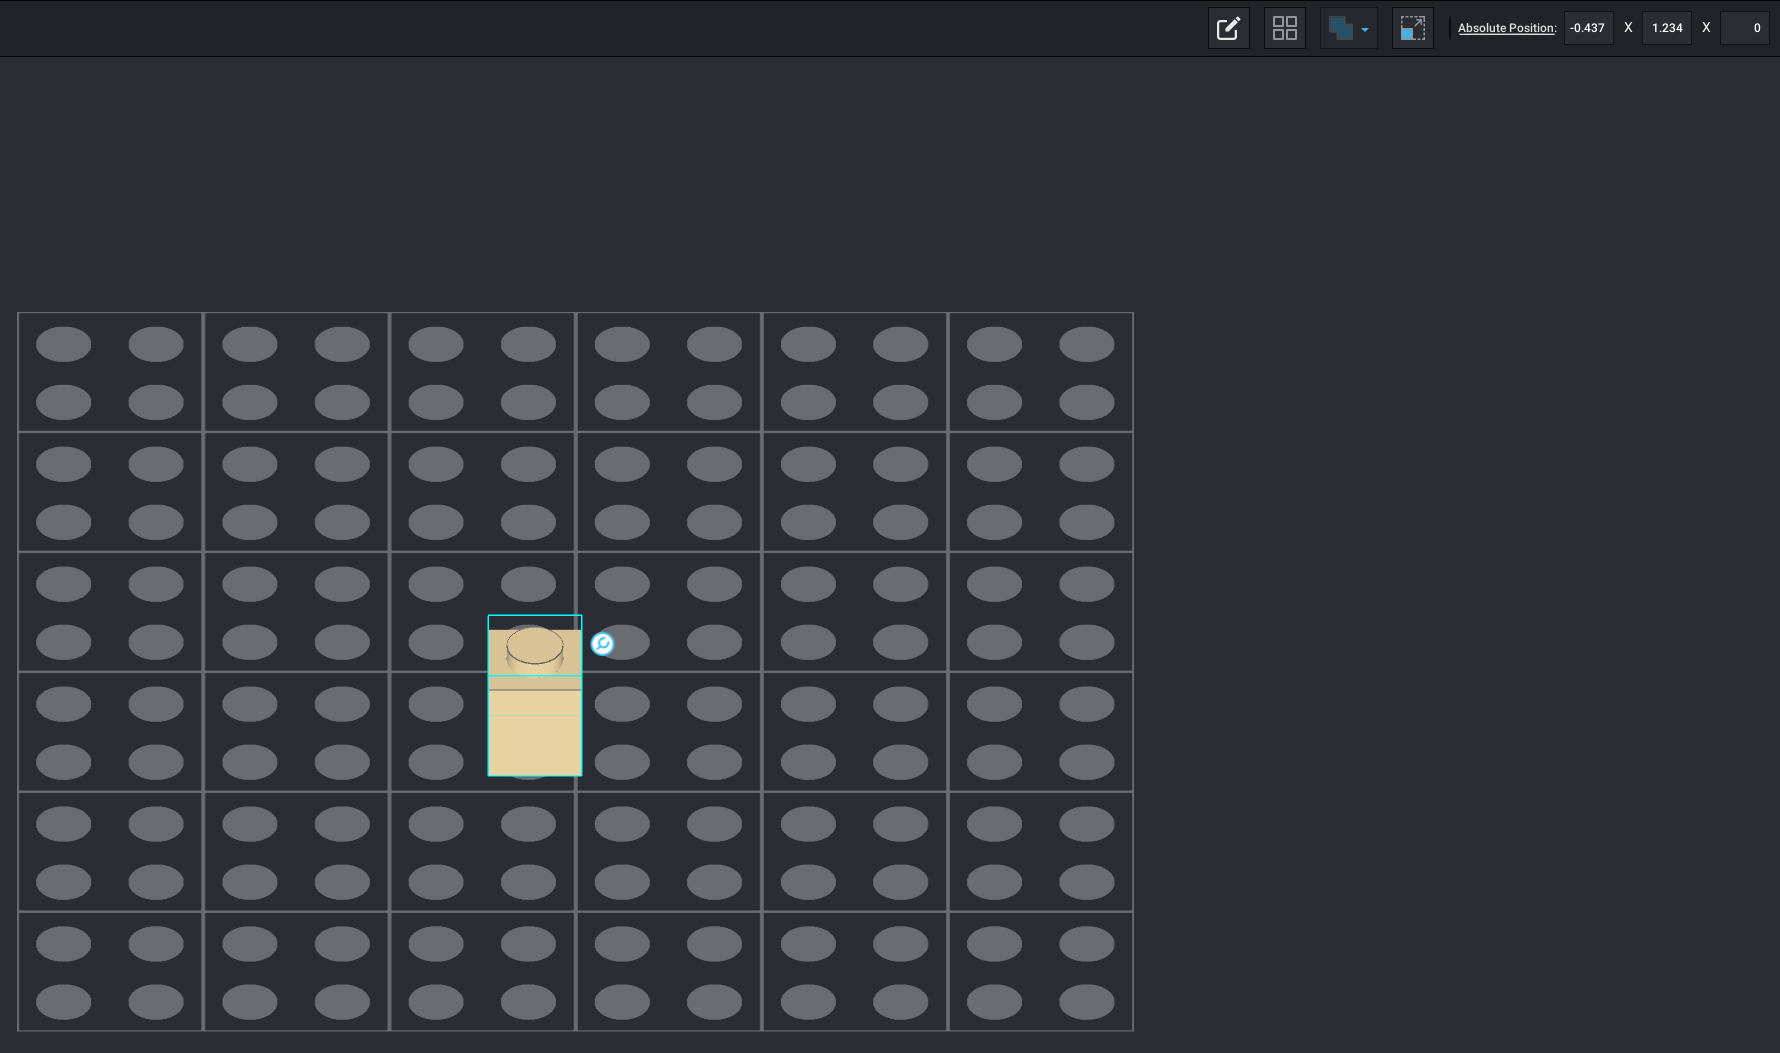
More precise alignment can be done with the coordinates in the top right of PartDesigner:

Just click on the part, and then manually type in its coordinates. This allows you to position parts to within a thousandth of a stud.
1 Like


That’s a cool helmet! I can’t wait to see the finished part!
1 Like
That is the finished part.
3 Likes
Ok. Well, it looks very nice!
1 Like