wait why
1 Like
Not 100% sure, but I think it has to do with slight shape differences. The original hand pieces have sharper corners than the successive models.
2 Likes
A torso design I made ![]()
Please check it out!
C and C is appreciated!
4 Likes
I like the music you put to it. Great work over all
1 Like
This better be for a pouks moc.
")
This image here gives a good insight to how they are made.
if it’s not i will consider you a failure.
10 Likes

that your pieces need to be slightly salted?
12 Likes
it really brings out the flavor
4 Likes
and you were talking about how my cutting of lightsaber rods was evil
5 Likes
because it is, sadist
2 Likes
but you eating pieces is fine?
one man’s meat is another man’s poison
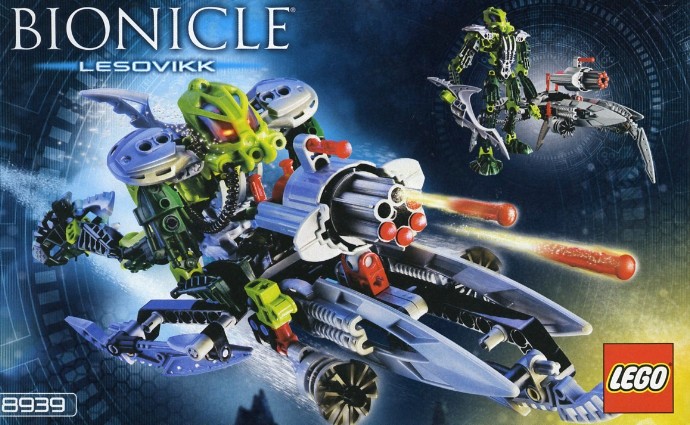
now be a dear and hand me set number 8939 Bionicle Lesovikk special edition
3 Likes

can’t even get one simple request right can you
ah well, tastes like chicken anyway
4 Likes
I have retrieved the desired specimen for the feast, Your Majesty.
4 Likes
Nnoooo @Ghid don’t eat lesovikk! Because you are what you eat. If you eat Lesovikk you will become him and have his lime-green-super-duper-fragile-joints!
3 Likes
in that case @gHID eat it dew it
1 Like
at my age even lime green is more stable
6 Likes
I’m vaguely worried because this arm has 11 points of articulation, 7 if you remove the fingers.
2 Likes
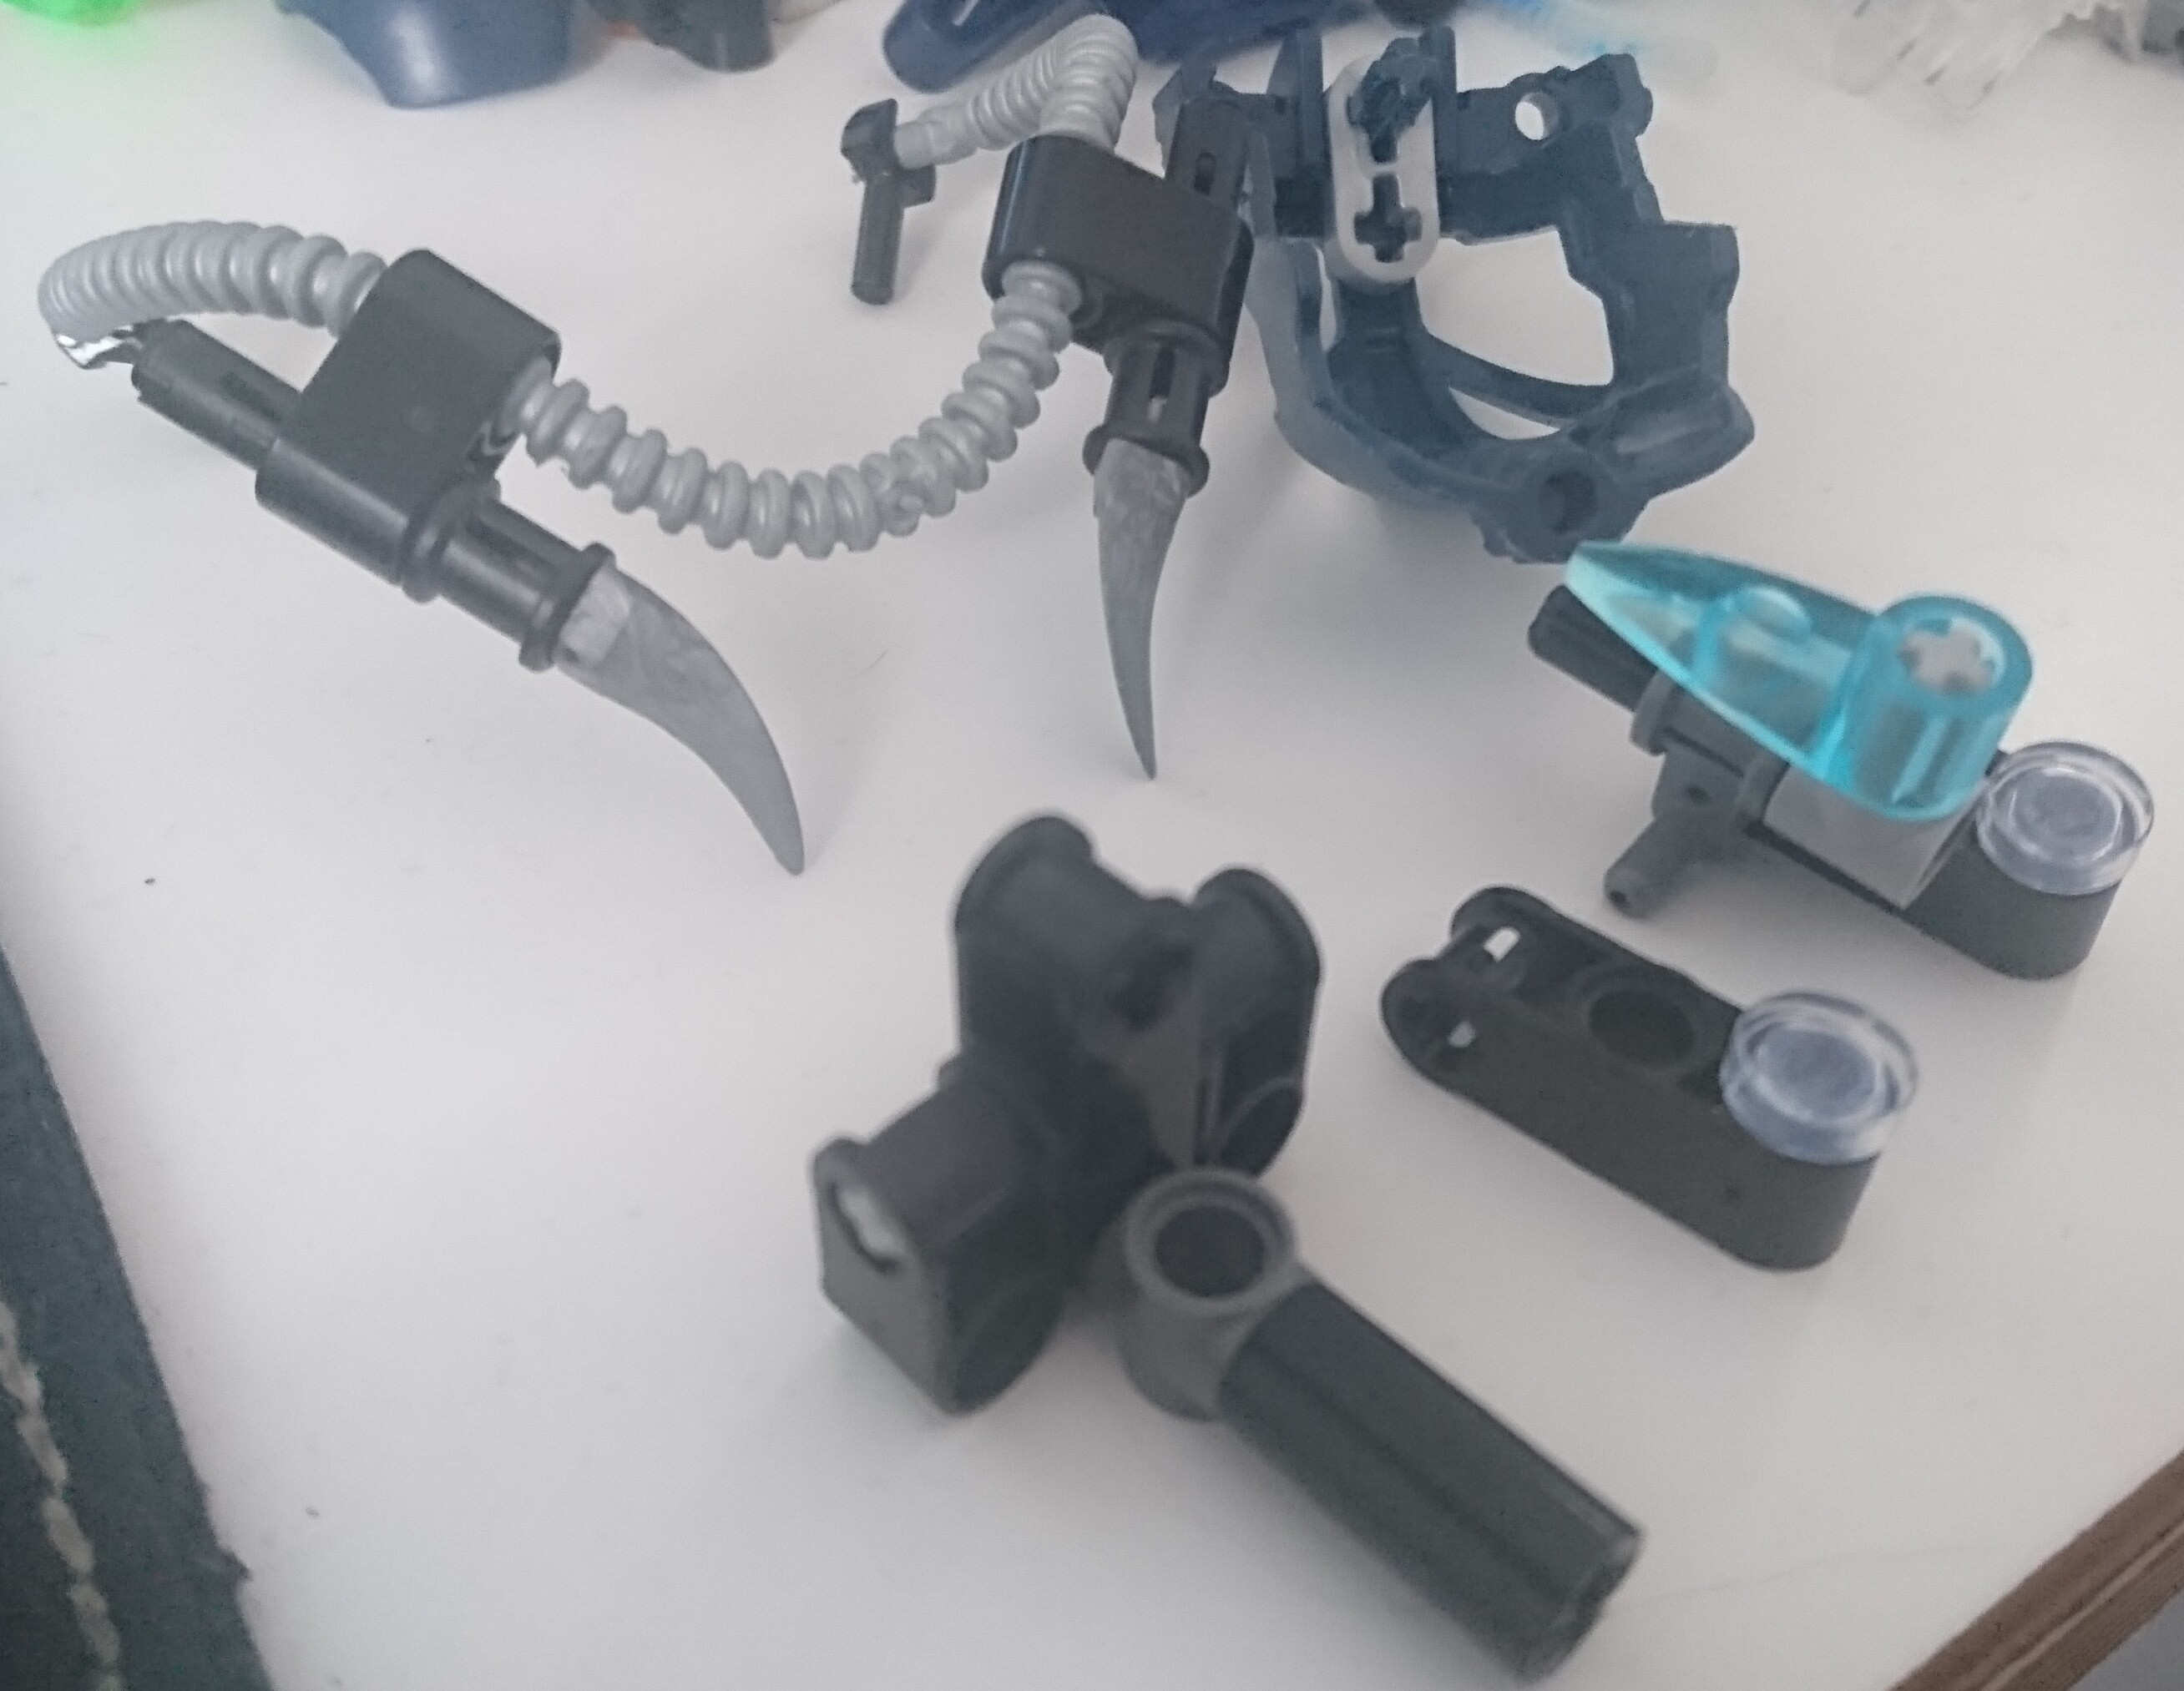
Filling a kanohi Faxon without the visor instructions, as requested by @Winger.
Final result effectively has eyebrows.

Parts you need below. There’s some room for modifications.
- In this design the intended neckjoint wouild be a balljoint on a pinaxle, but you can easily replace the dark bley axle and pin connector hub w/ 2 axles on the bottom assembly with a 3L axle and a T-shape axle connector.
- Eye color is easily changed, and the ribbed flex tube can be ditched for a hair design or something.
Connect the eye assembly to the bottom assembly.

Connect the eyebrows assembly to the connectors on the back. Adjust the ribbed hose over the eyes and keep it symmetrical.

Slide the mask on, but be careful. You’ll have to adjust the eyebrows to proper angles so they won’t get caught inside the mask. You’ll also have to push the 1x2 liftarms a bit inwards to get clearance, as the ribbed tube pushes them outwards.

Slide the exo-force hands into the pins with studs. It’s a loose-ish fit, but it’ll hold.
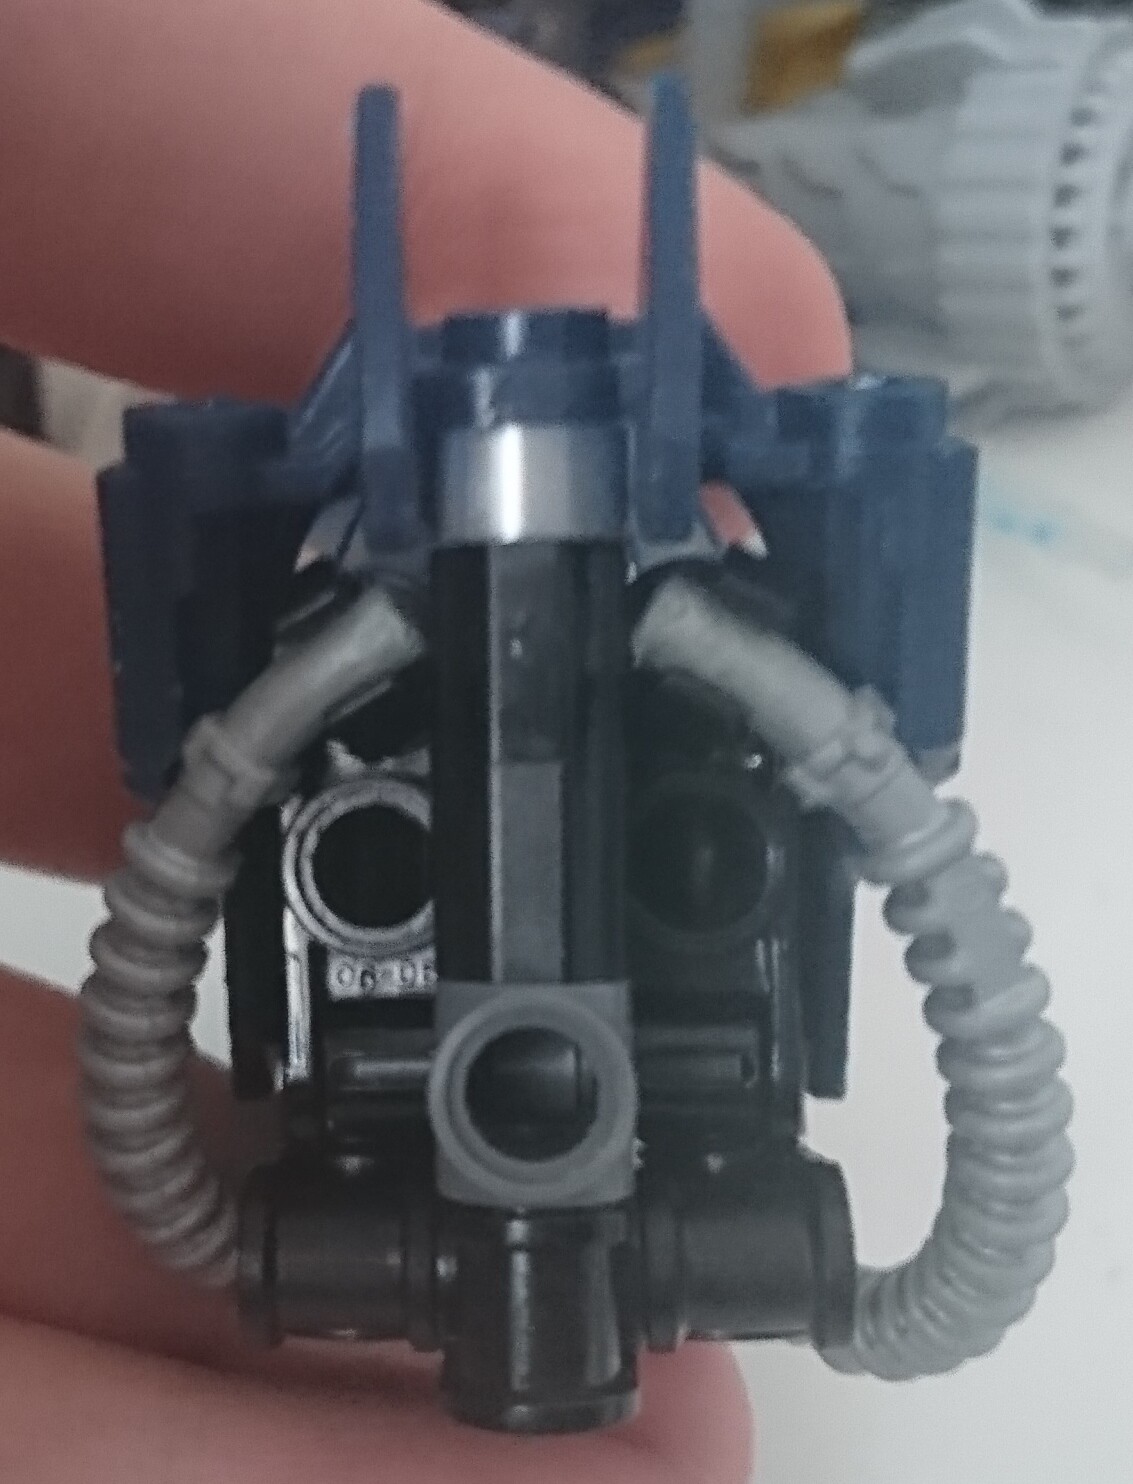
Adjust the ribbed tube if need be (ie. if you want it more visible through the forehead holes), and you’re done.
18 Likes