After Reading Crunchy’s post on the “tips to Start Bio-MOCing” I thought I’d write up a guide to MOCing Photography. I think my MOCs photos speak for themselves. Its something I’ve been working at for a few years now, and while it’s still a work in progress, I’m mostly satisfied with my MOC’s photographs. I present:
Dave's Guide to professional(ish) MOC photography for poor people!
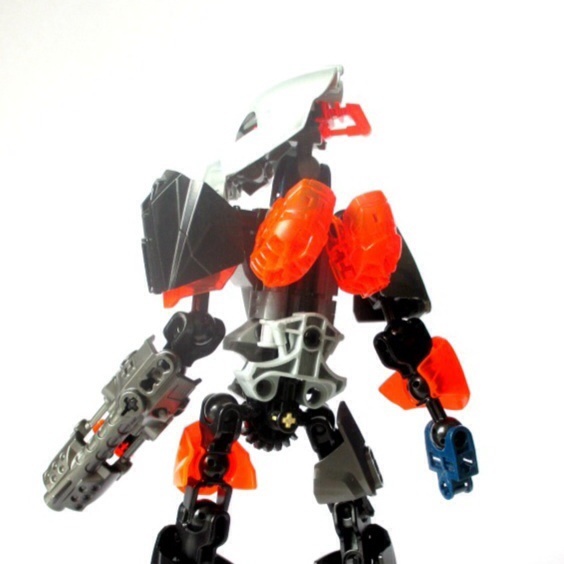
Getting top notch looking photography isn’t as hard as you might think. With a few purchases you could potentially get MOC photographs that look like this. 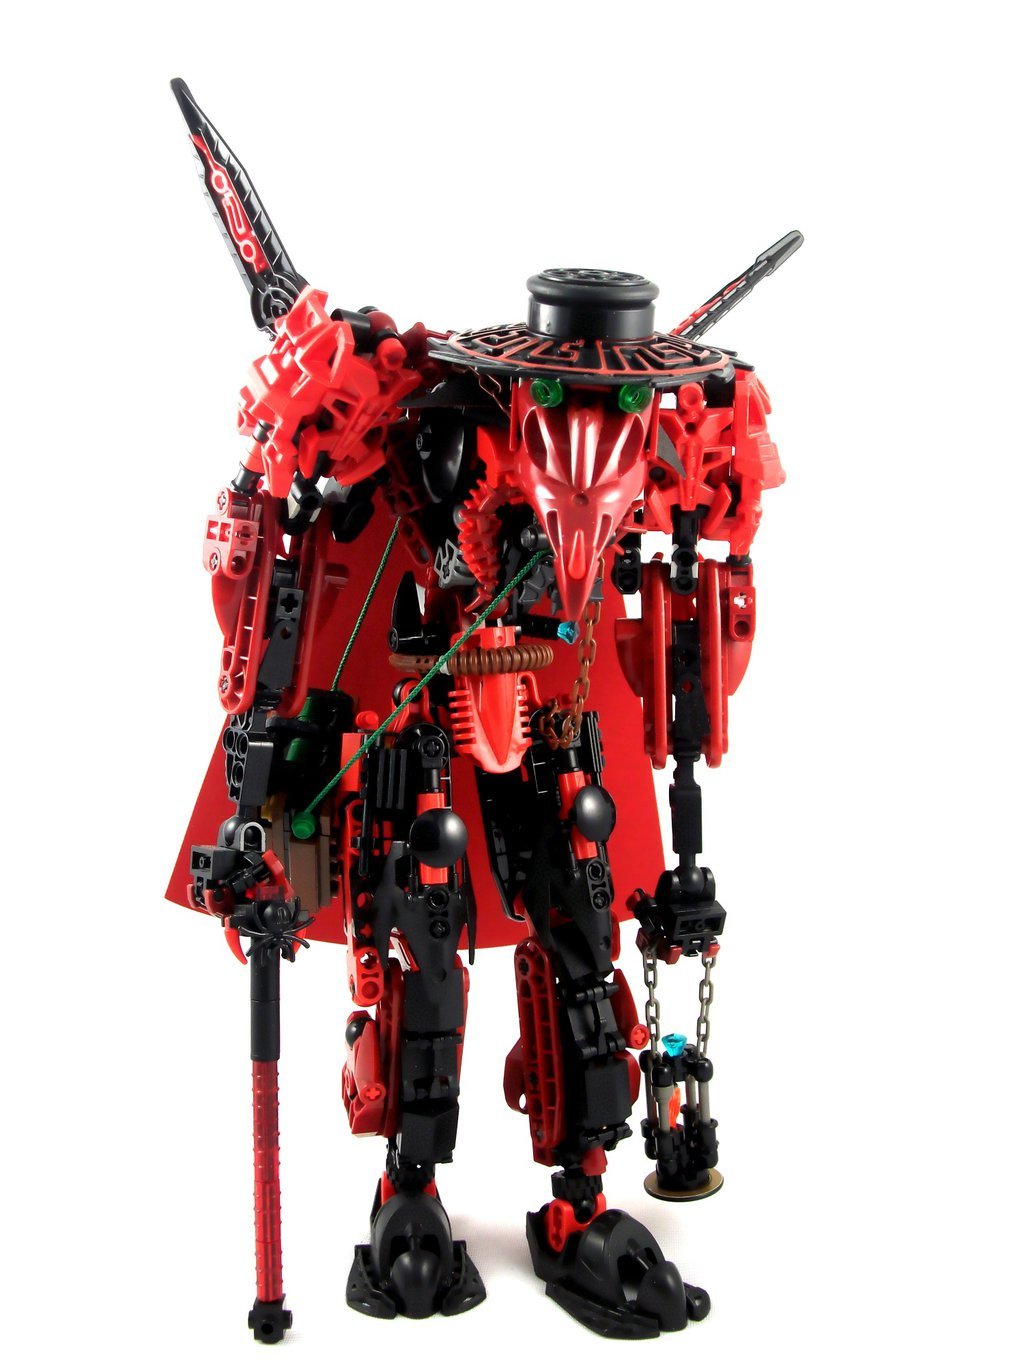
I’ll start off by showing off my Photography set up. 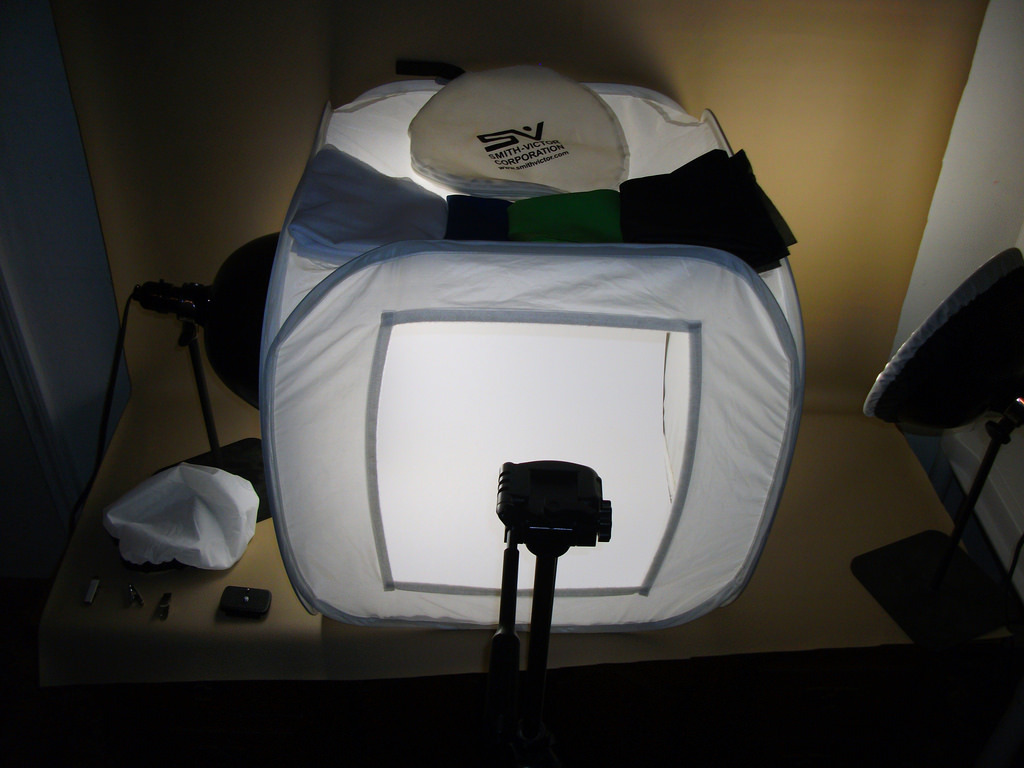
Everything shown here is what I use to take all my MOC phtoographs except my Camera because well Durr, I gotta take the picture and its not like I have another camera to take a picture of my camera. ![]()
Now I lucked out and got a pretty nice professional set up. The light tent, background inserts, lamps, and light defusers for the lamps are all part of a set. I got it from my Step-Dad who’s old job wasn’t using it anymore. It sat forgotten about in storage so I “liberated it” This gear is what I’ve been using to take my MOC photos since 2011.
Even though my “set up” is actually somewhat professional grade, there’s really easy ways to replicate the functionality of such a kit without spending the $100 it costs to go buy your own.
Lighting
The first key aspect of MOC photography is lighting. If you've got crap lighting in your room or house, I bet some of you rely on good ol mother nature to supply it on those sunny days. Well you don't have to wait till nice weather to get adequate lighting. Two simple desk lamps like [this one][2], will do the trick. Just make sure you use Compact Fluorescent, or LED lightbulbs that produce a nice neutral white light, otherwise all your photographs are going to have weird hues to them that'll throw the colors of the parts off. With two desk lamps with bright white lightbulbs in them on either side of the MOC should give you all the light you need for your MOC photos. If at some point you need something more substantial then you can always upgrade as you get more serious about these endeavors.Backdrop
The most critical aspect of MOC photography is the background. In my experience this is the one area that everyone screws up. Even if the lighting is good, taking a photo of your MOC on your computer desk or the floor of your room still makes you look like you're just starting out, not taking things seriously enough, and its just plain ol distracting. A nice clean well-lit background is the quickest way to have your photography be less of a distraction so that everyone can focus on what *really* matters, the MOC. Plus it makes you look much more like a "Professional."Light tent
There are two simple approaches I'm using here. The first is a DIY Light Tent. These work just as well, you can customize the size a bit depending on the cardboard box you use, and they're only as expensive as the supplies you used to make them cost, plus the afternoon you'll spend making it. I actually still need to make myself an XL one of these for my Big MOCs.■■■■■■■■■■■■■■■■■■■■■■■■■■■■■■ surface
The second approach to a clean background is so simple, you'll probably kick yourself for not thinking of it sooner, get out an unused **solid color** bed sheet from the linen closet, iron it to get it as wrinkle free as possible, and tack it to the wall draping it down the surface of your shooting area(floor, table, etc). Make sure the sheet is taught so that you have as clean a background as you can get with this method. A few wrinkles won't kill your photos, but it helps to get as clean a backdrop as you can. Point the lights on either side at the MOC with some of it hitting the background, and you can get photos like this. [](https://www.flickr.com/photos/thirdeye88/8996790035/in/photolist-eH1Uez-eH7Zh1-ca3jJQ-eH81ES-bxSA3y-akkTKM-c14pPN) I'm still using a similar method today for my large MOCs, though the material I'm using is different. I went to a linen store and bought some tan faux leather and tacked that up to the wall behind my shooting area. This is what you see behind my light tent. Those photographs look like this. [](https://www.flickr.com/photos/thirdeye88/14383442197/) The tan pleather didn't quite have the effect I was hoping for when I bought it, and came out dingier looking than I had anticipated. I do plan on changing material or getting professional phtography back drops on rollers at some point.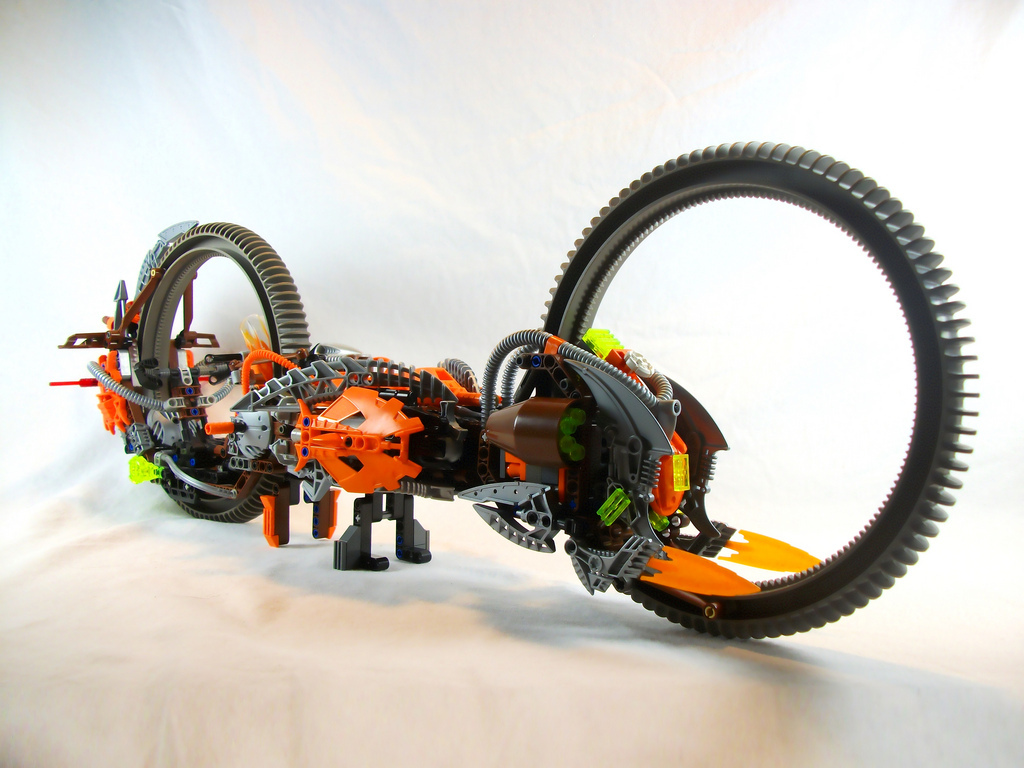

An alternative to a sheet you can use if you stick to smaller humanoid MOCs is using posterboards. I’m literally using the back of a movie poster I got from a comic convention in my light tent as my white surface because its much easier to deal with than the frabric inserts. Big sheets of poster board or card stock or just regular paper are your best friend in this method. Though they’re fragile, prone to tearing and getting dirty, but the trade off is no wrinkles if you take care of the material.
Colors are important
If you have the option of using different inserts for your light box or backdrop, be sure to get a couple different colors so that you can swap them out depending on the MOC's color scheme. A white MOC against a white backdrop is going to have disastrous results. The main color inserts I use in my light tent is-
White
-
Black
-
Blue
-
Greenscreen(only a couple times when I had help with photoshopping)
Currently no photo available
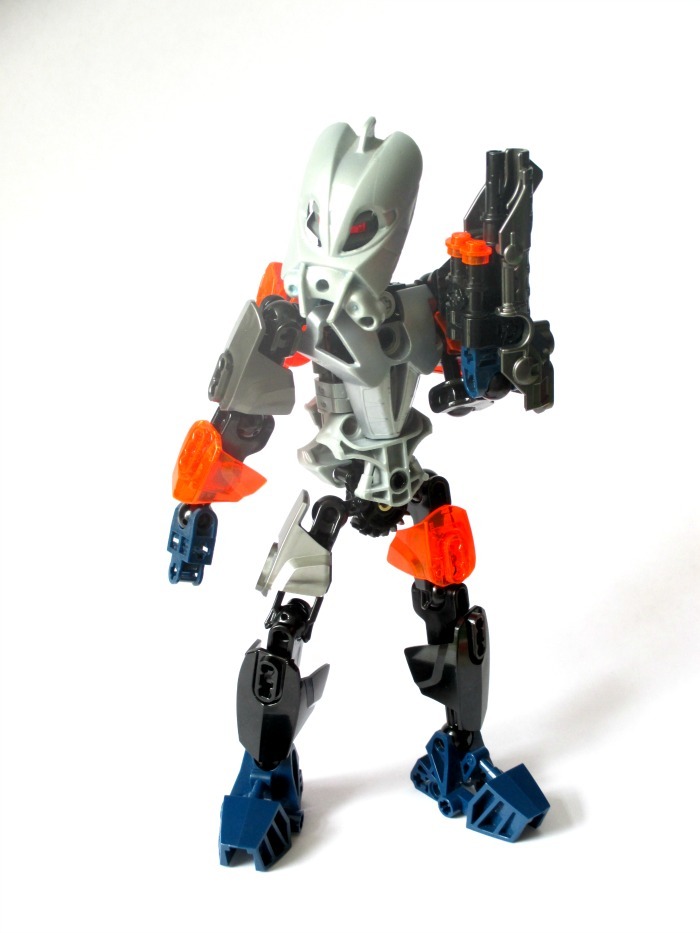
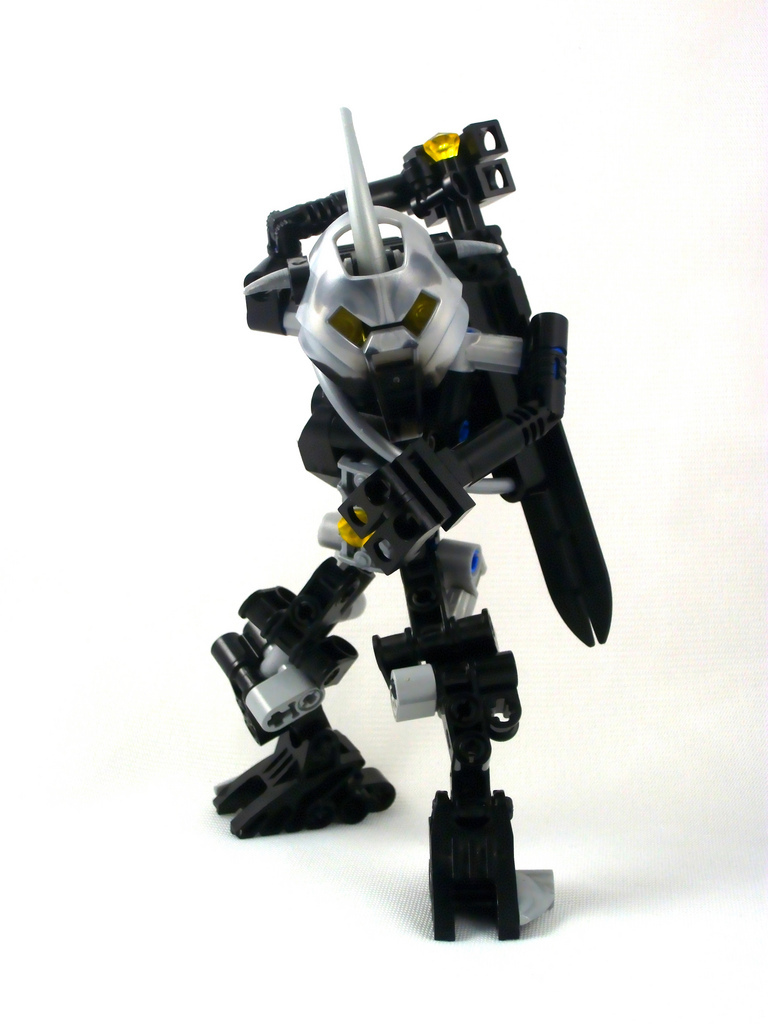
I find blue to be the best go to when you have multiple colors on your MOC(except if there’s blue on it of course). In the case of Phil here, I had both light gray which would have been too light against a white backdrop, and black which would have been too dark against a black backdrop, so Blue was a nice neutral choice for him.
While I currently don’t have any, non lego colors are great as well. A shade of grey that isn’t Lego’s dark gray or light grey is a nice neutral tone that your MOCs can sit against. I initially got the Tan backdrop because I thought it would distinguish itself from any MOC colors, but once I got the lights on it and took some photos, I found out the hard way what I got was a kind of dingy off white. So beware the glare. LOL
Keep it stable
Another thing that ***absolutely*** helps your photography is a Tripod. There are different kinds for various situations. There's small table top tripods, and there's larger more "all purpose" ones. Then various specialty types. I have a more generic all purpose one, again I lucked out and found mine abandoned at the Beach one day. No one came back to claim it, so it became mine. >:) Tripods range in price and for MOC photography nothing special is needed. You can probably find a good deal on one if you try ebay or vendors at Amazon. [One like mine][5] goes for about $30-40. Again, reverting to the poor-man's solution, you can set your camera on a stack of books or other solid objects to get a steady platform to take your photos. What ever you can do to not be holding your camera when you take the photos helps. I strongly recommend investing in a tripod though. They're great for being able to set your camera at a set angle, then moving the MOC on the shooting range so that each subsequent photo has the same angle and composition more or less. Tripods are all about consistency and stability, which is good to have when photographing a MOC.Irony
Ironically, I find the camera itself is the least important aspect of MOC photography. Any modern point and shoot camera has a high enough megapixle count to capture decent images. My camera is a 12 Megapixle Fujifilm point and shoot I got for Christmas in 2010. It was about $80 and came with a memory card and all the other gadgets needed for a camera. Hell, even smart phones are starting to have high enough megapixel counts to take decent photos of MOCs, though I do recommend you use an actual camera since they have more settings you can adjust. Whether you have a fancy pants DSLR camera and take artsy fartsy pics of your MOCs doing cool things, or a bargain brand point and shoot and do your best to make [simple comics][6], you can get pretty good standard MOC photos I've found. I do know of a few people that get decent photographs from their smartphones to. What ever device you have that takes decent photos will suffice so it seems.Stock Images? That won't do(Photo editing).
A lot of people think "photoshop" when you say "image editor" but that's not the only option. Then when you say "free image editor" most people think of Gimp. I personally use a program called [Paint.Net][7] for all my "photoshoping' needs. As someone who has had limited experiences with Photoshop back in High school, I found the interface to be more relatable to Photoshop CS2's(which is what we had). Its also open sourced so people have made tons of plugins for it which you can download in an additional plugins pack. These plugins give the program quite a lot of additional tools and neat features to utilize. I still don't know what most of them do. LOL Its very bare bones as far as photo editing goes, but its 100% free so considering that, its quite good.Adjustments
Basic photo editing is just adjusting the levels a bit so that the images pop a little more. This can be as simple as increasing the brightness and contrast, and increasing the saturation just a smidge. I also resize my MOC photo images since my camera takes them at 4000X3000 which is huge, so I resize the smaller photos to half that. I typically do one large 'main image" then smaller detailed images. Keeping everything halved it ends up being more like putting legos together, and math really helps figuring out the canvas sizes and boarders between the images. Here's an example of what a photo looks like before and after a little post production editing.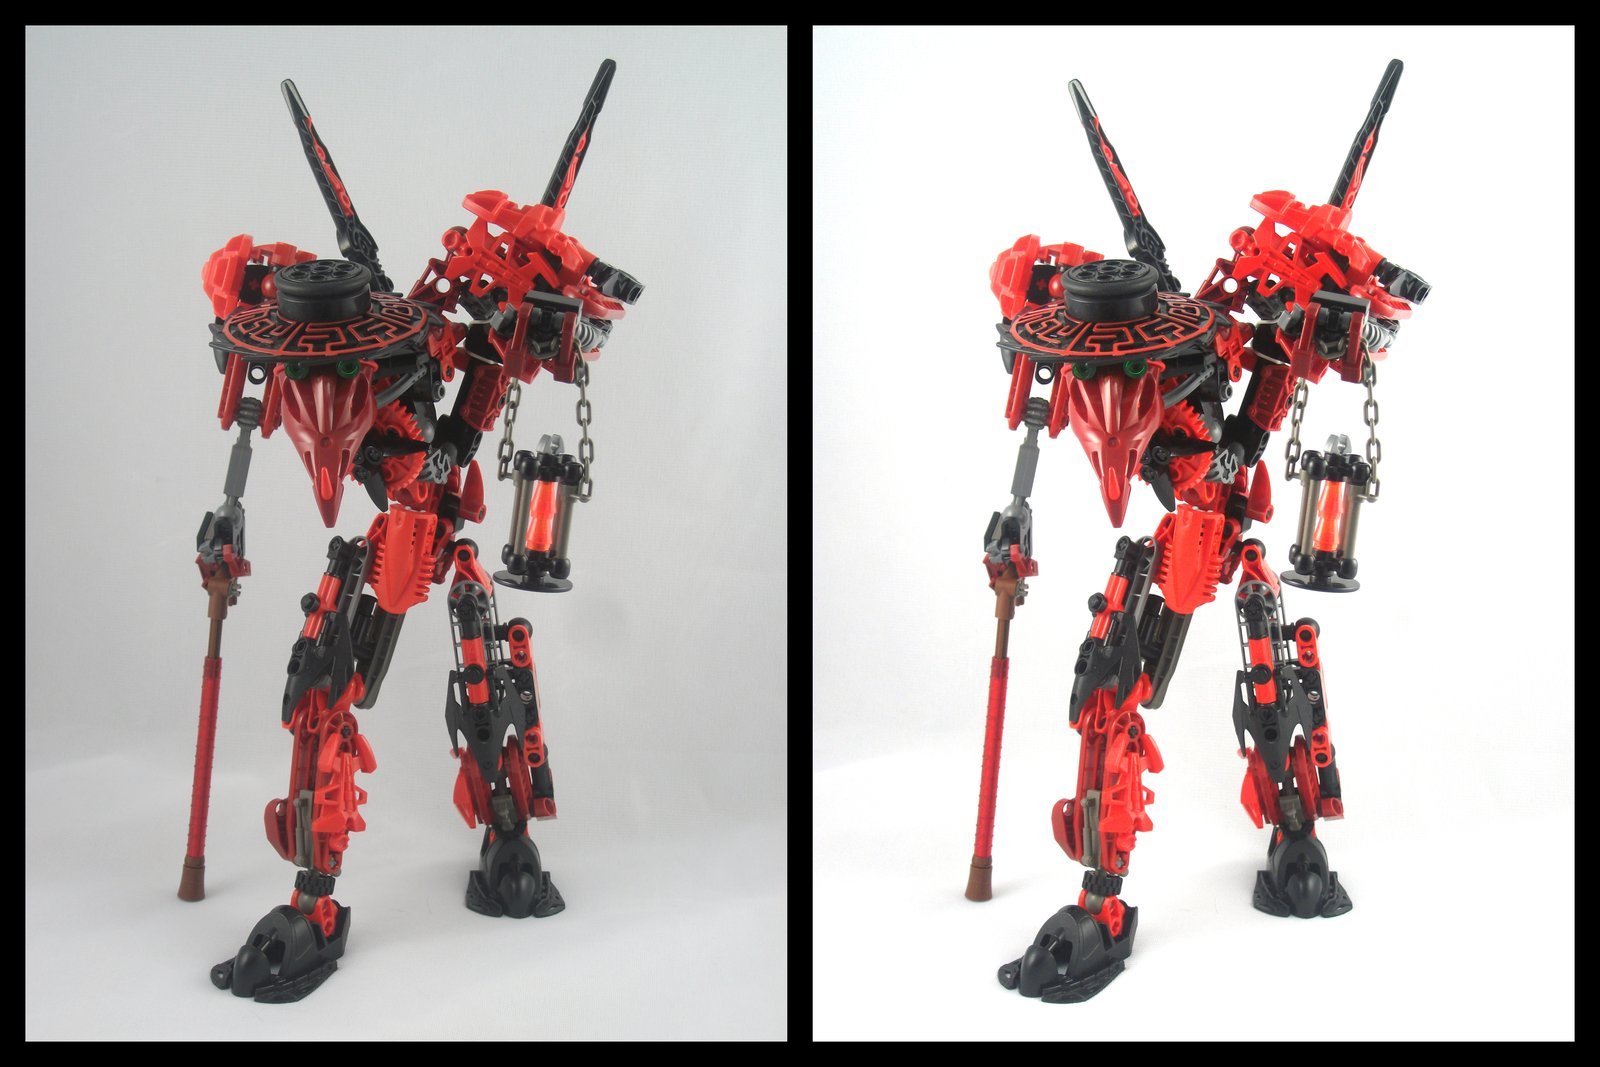
It also helps though if you know how to adjust the settings on your camera so you don’t have to do so much photo editing. Adjusting the brightness contrast can be the difference of the photo coming out dim, everything being nicely balanced, or your whites being totally washed out. I’ve learned this the hard way unfortunately ^^;
If you follow me on Deviantart then you know that when I post my MOCs there I take all the photos and arrange them into collages and make a big presentation of it all. All of this is done using Paint.net.
Conclusion
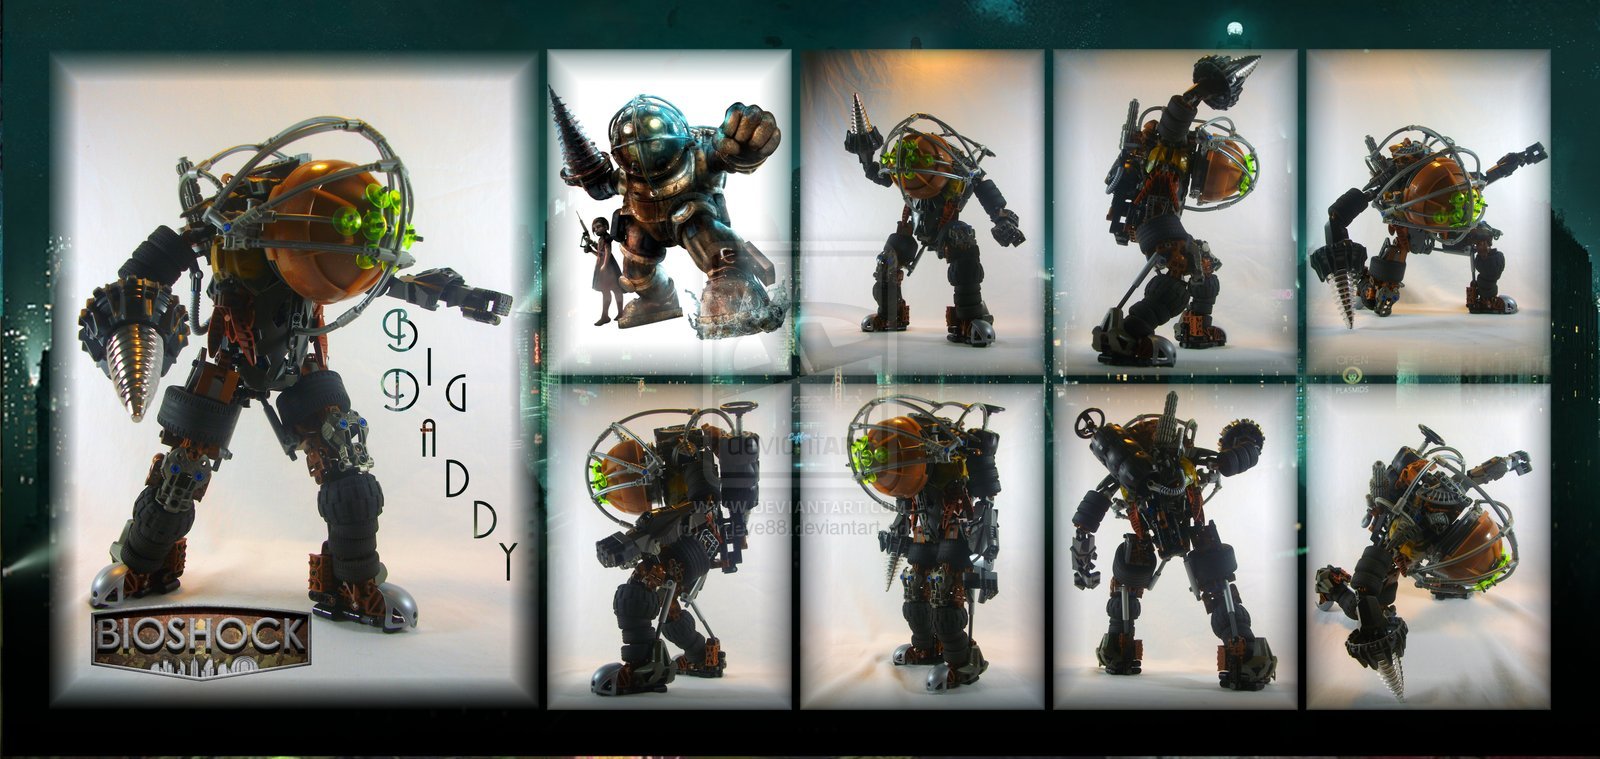
Presentation is *just* as important as the MOC itself in MOCing. If you've made an amazing MOC, but take crap pictures of it, what good is that to anyone else? One thing to consider when taking your photos, you're taking a 3 dimensional object and representing it in a 2 dimensional format, so take multiple pictures of the MOC so that we viewers can have a better understanding of the MOC occupying physical space. This is much more prevalent in Constraction MOCing because Bionicle and HF have such weird shapes to them. It can be very difficult to understand what's going on with a certain part or connection if you've only got one angle to go off of. And besides, you worked hard on all of the MOC, not just the front right? So why only show off the front of the MOC when sometimes the back is just as cool? I personally always thought Mototaur looked cooler from behind myself. XDWhile this wasn’t a step by step tutorial, I hope this guide helps you on your way to better MOC photography. Thank you for reading. ![]()


 G’awwww thank you.