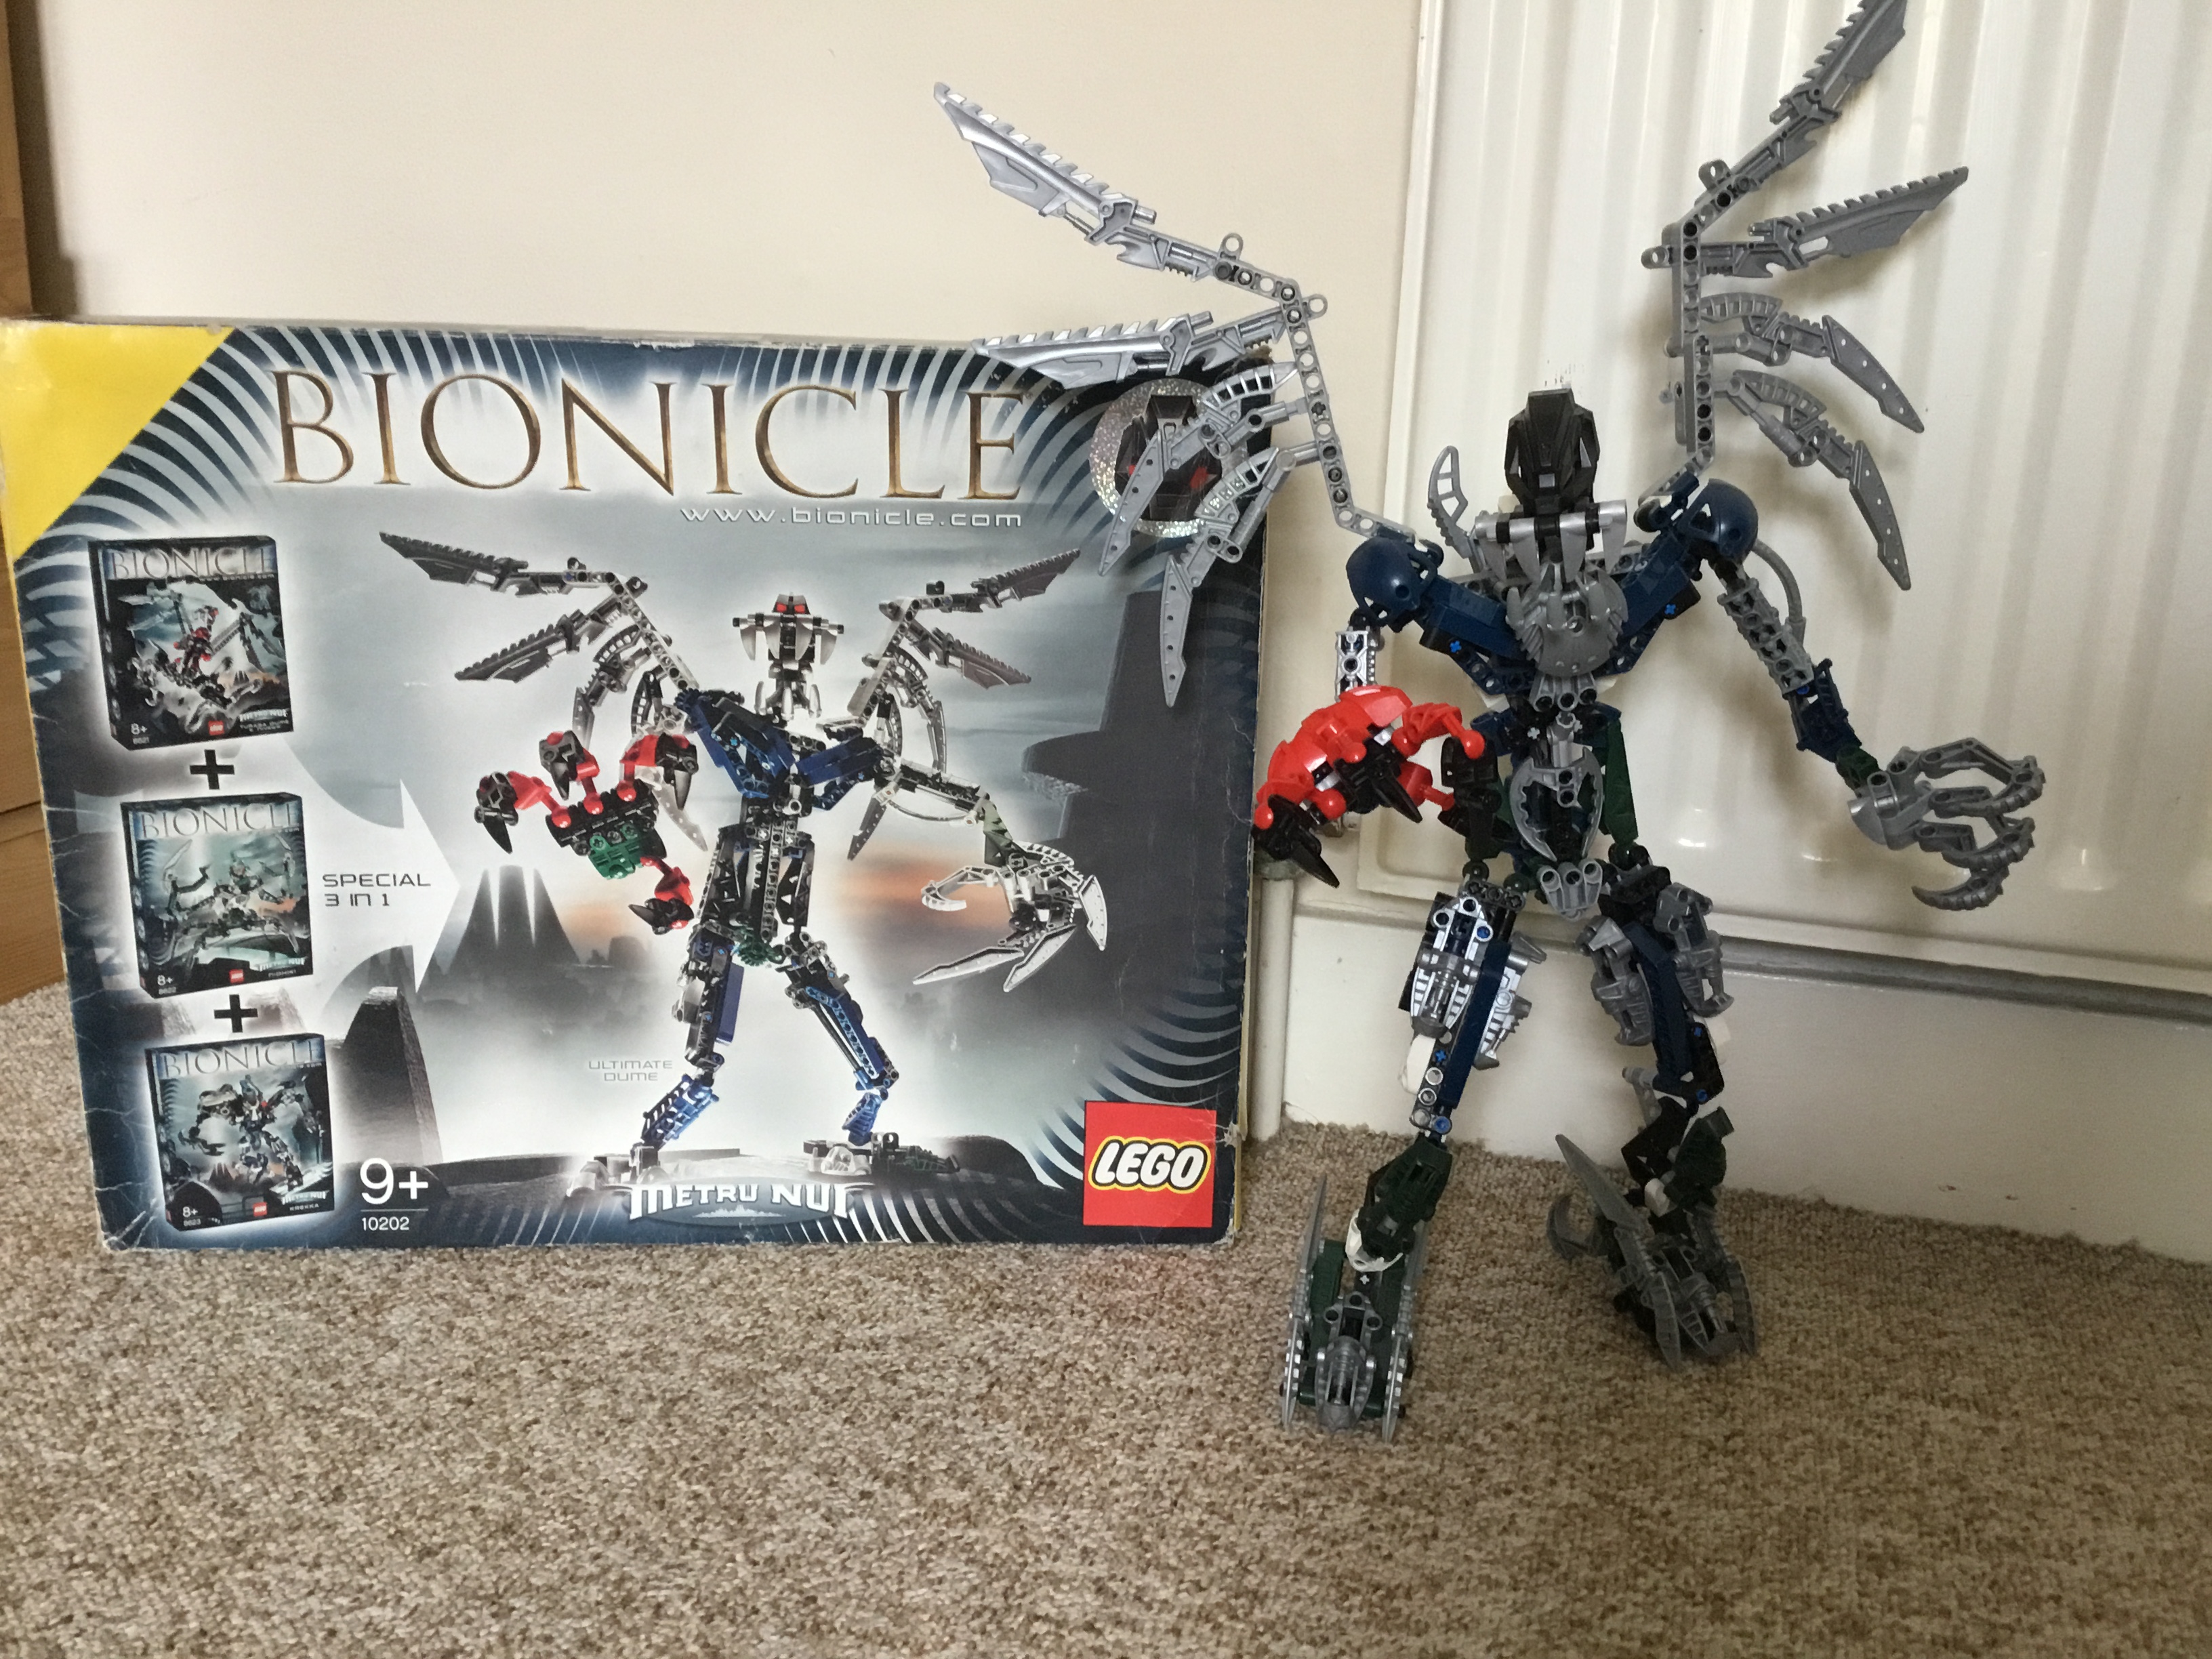
I don’t have a duplicate set to compare it to, but I do have the box.
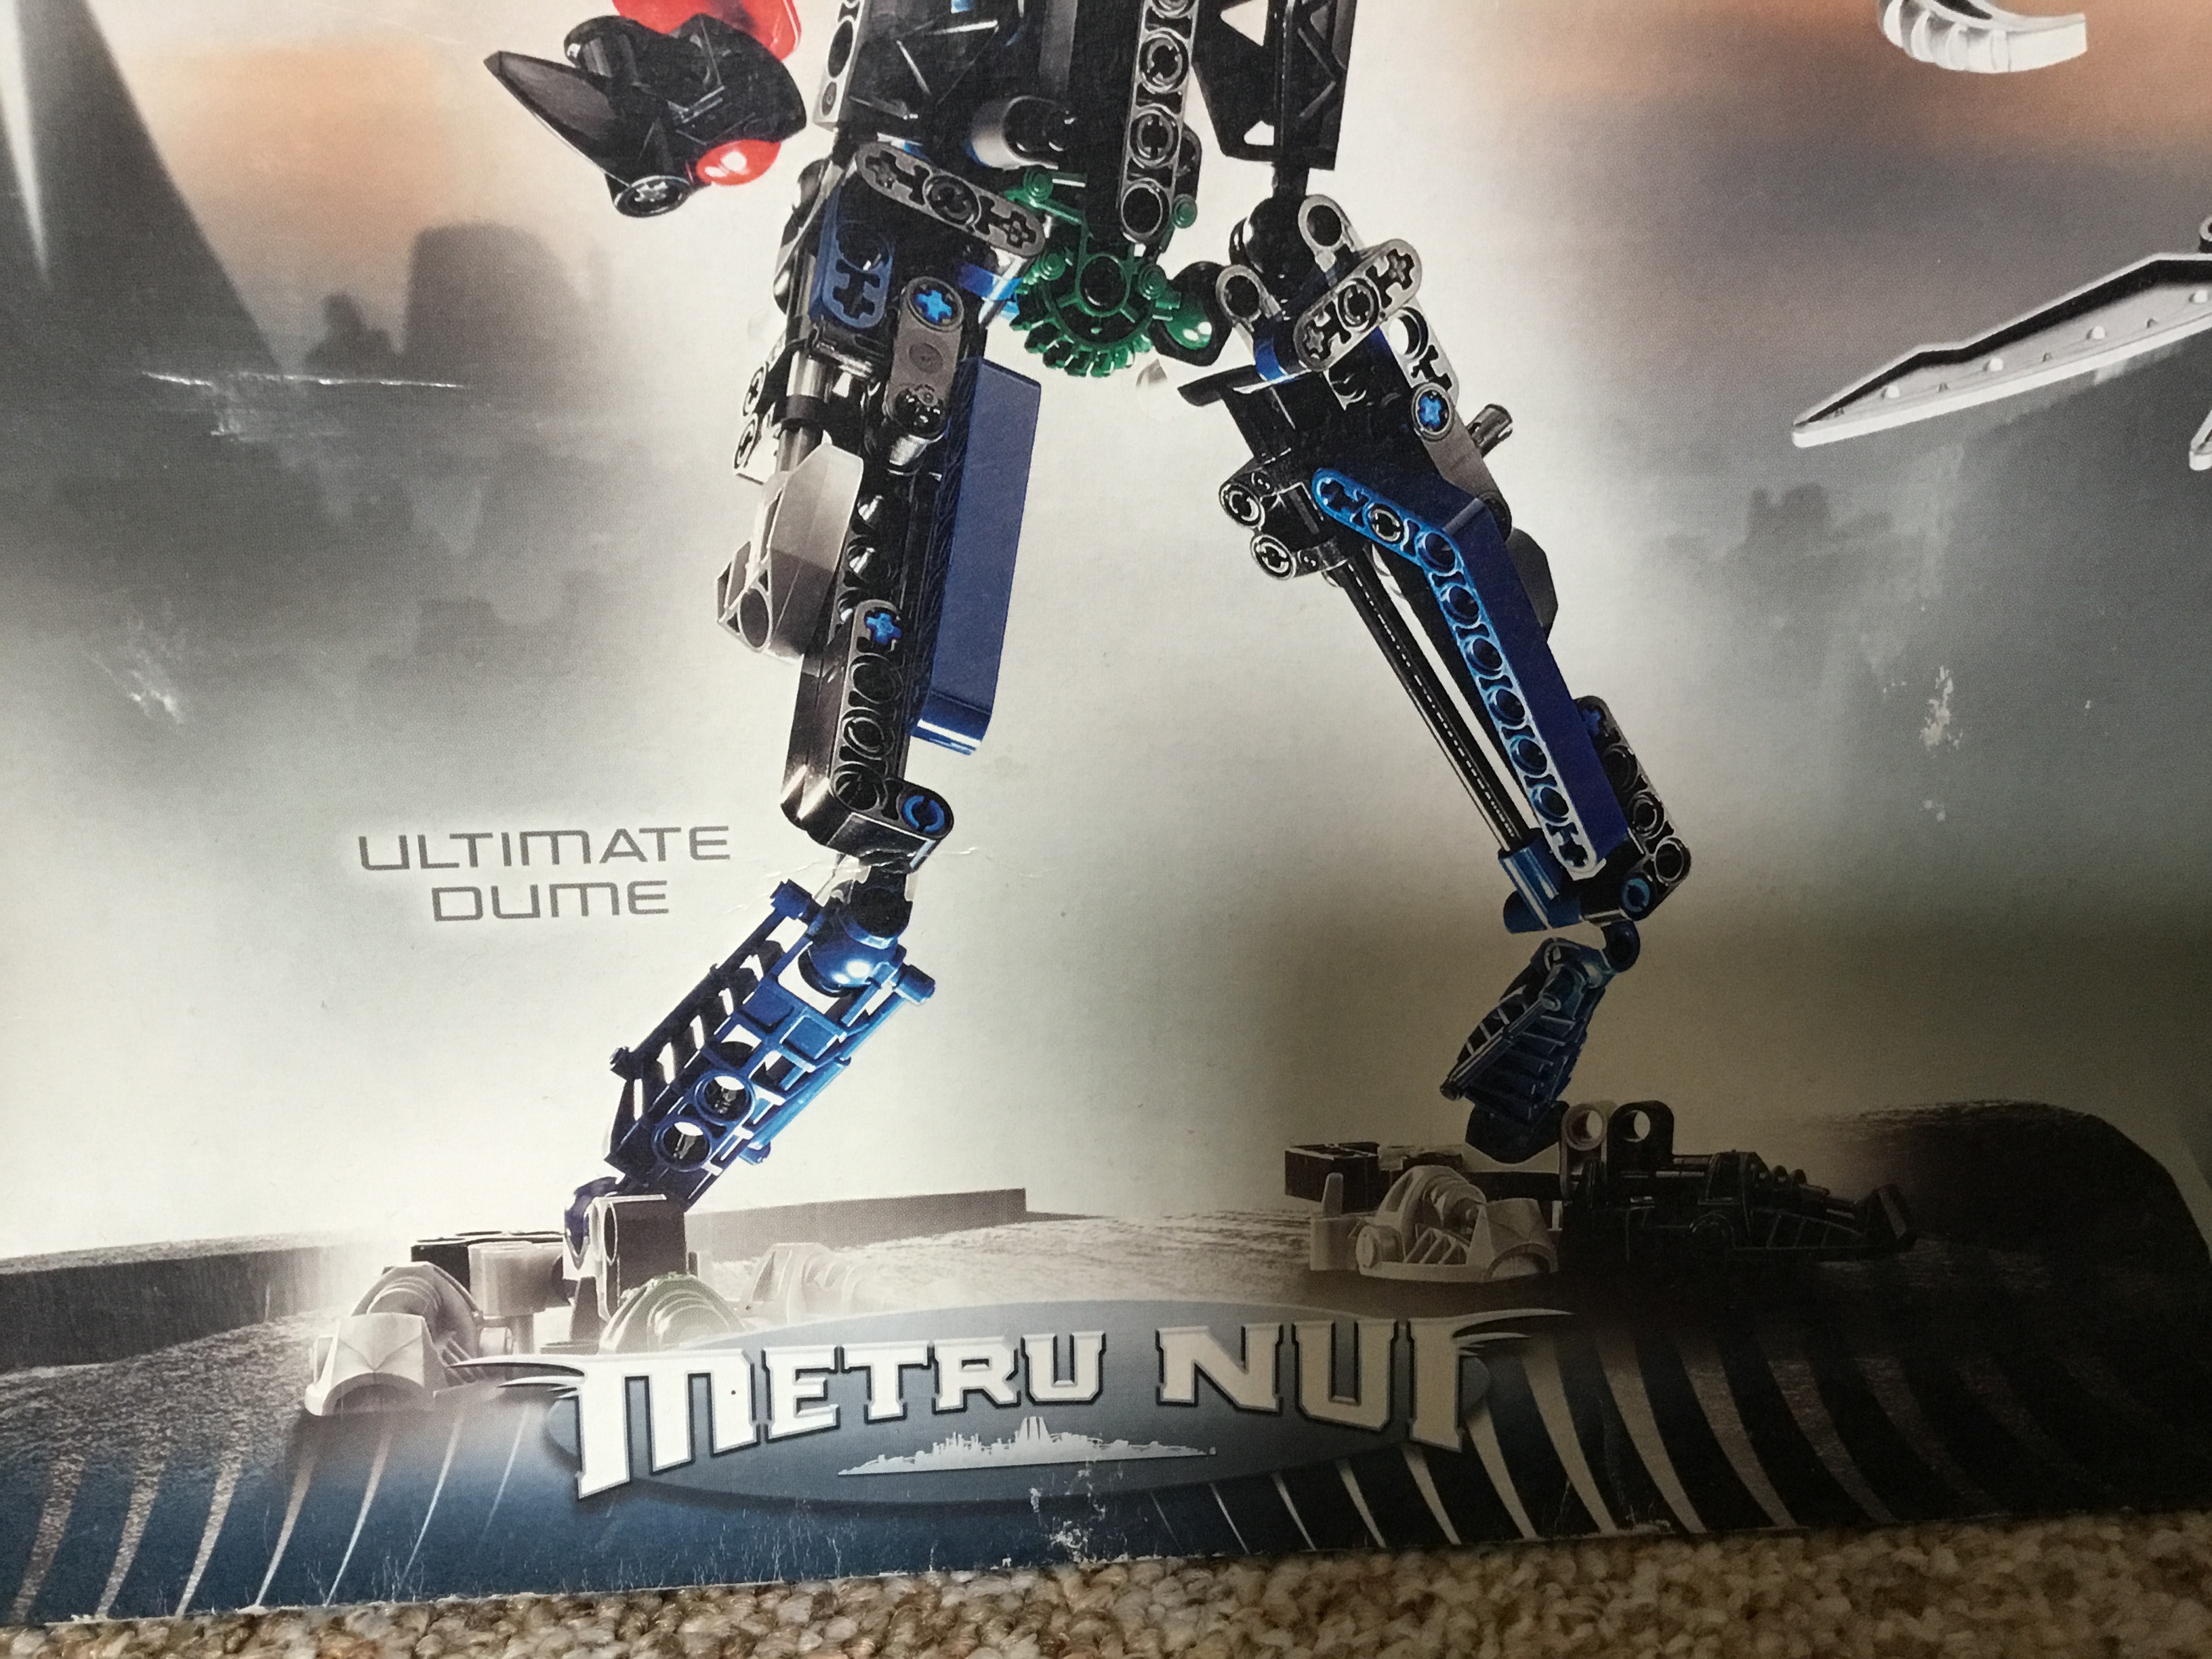
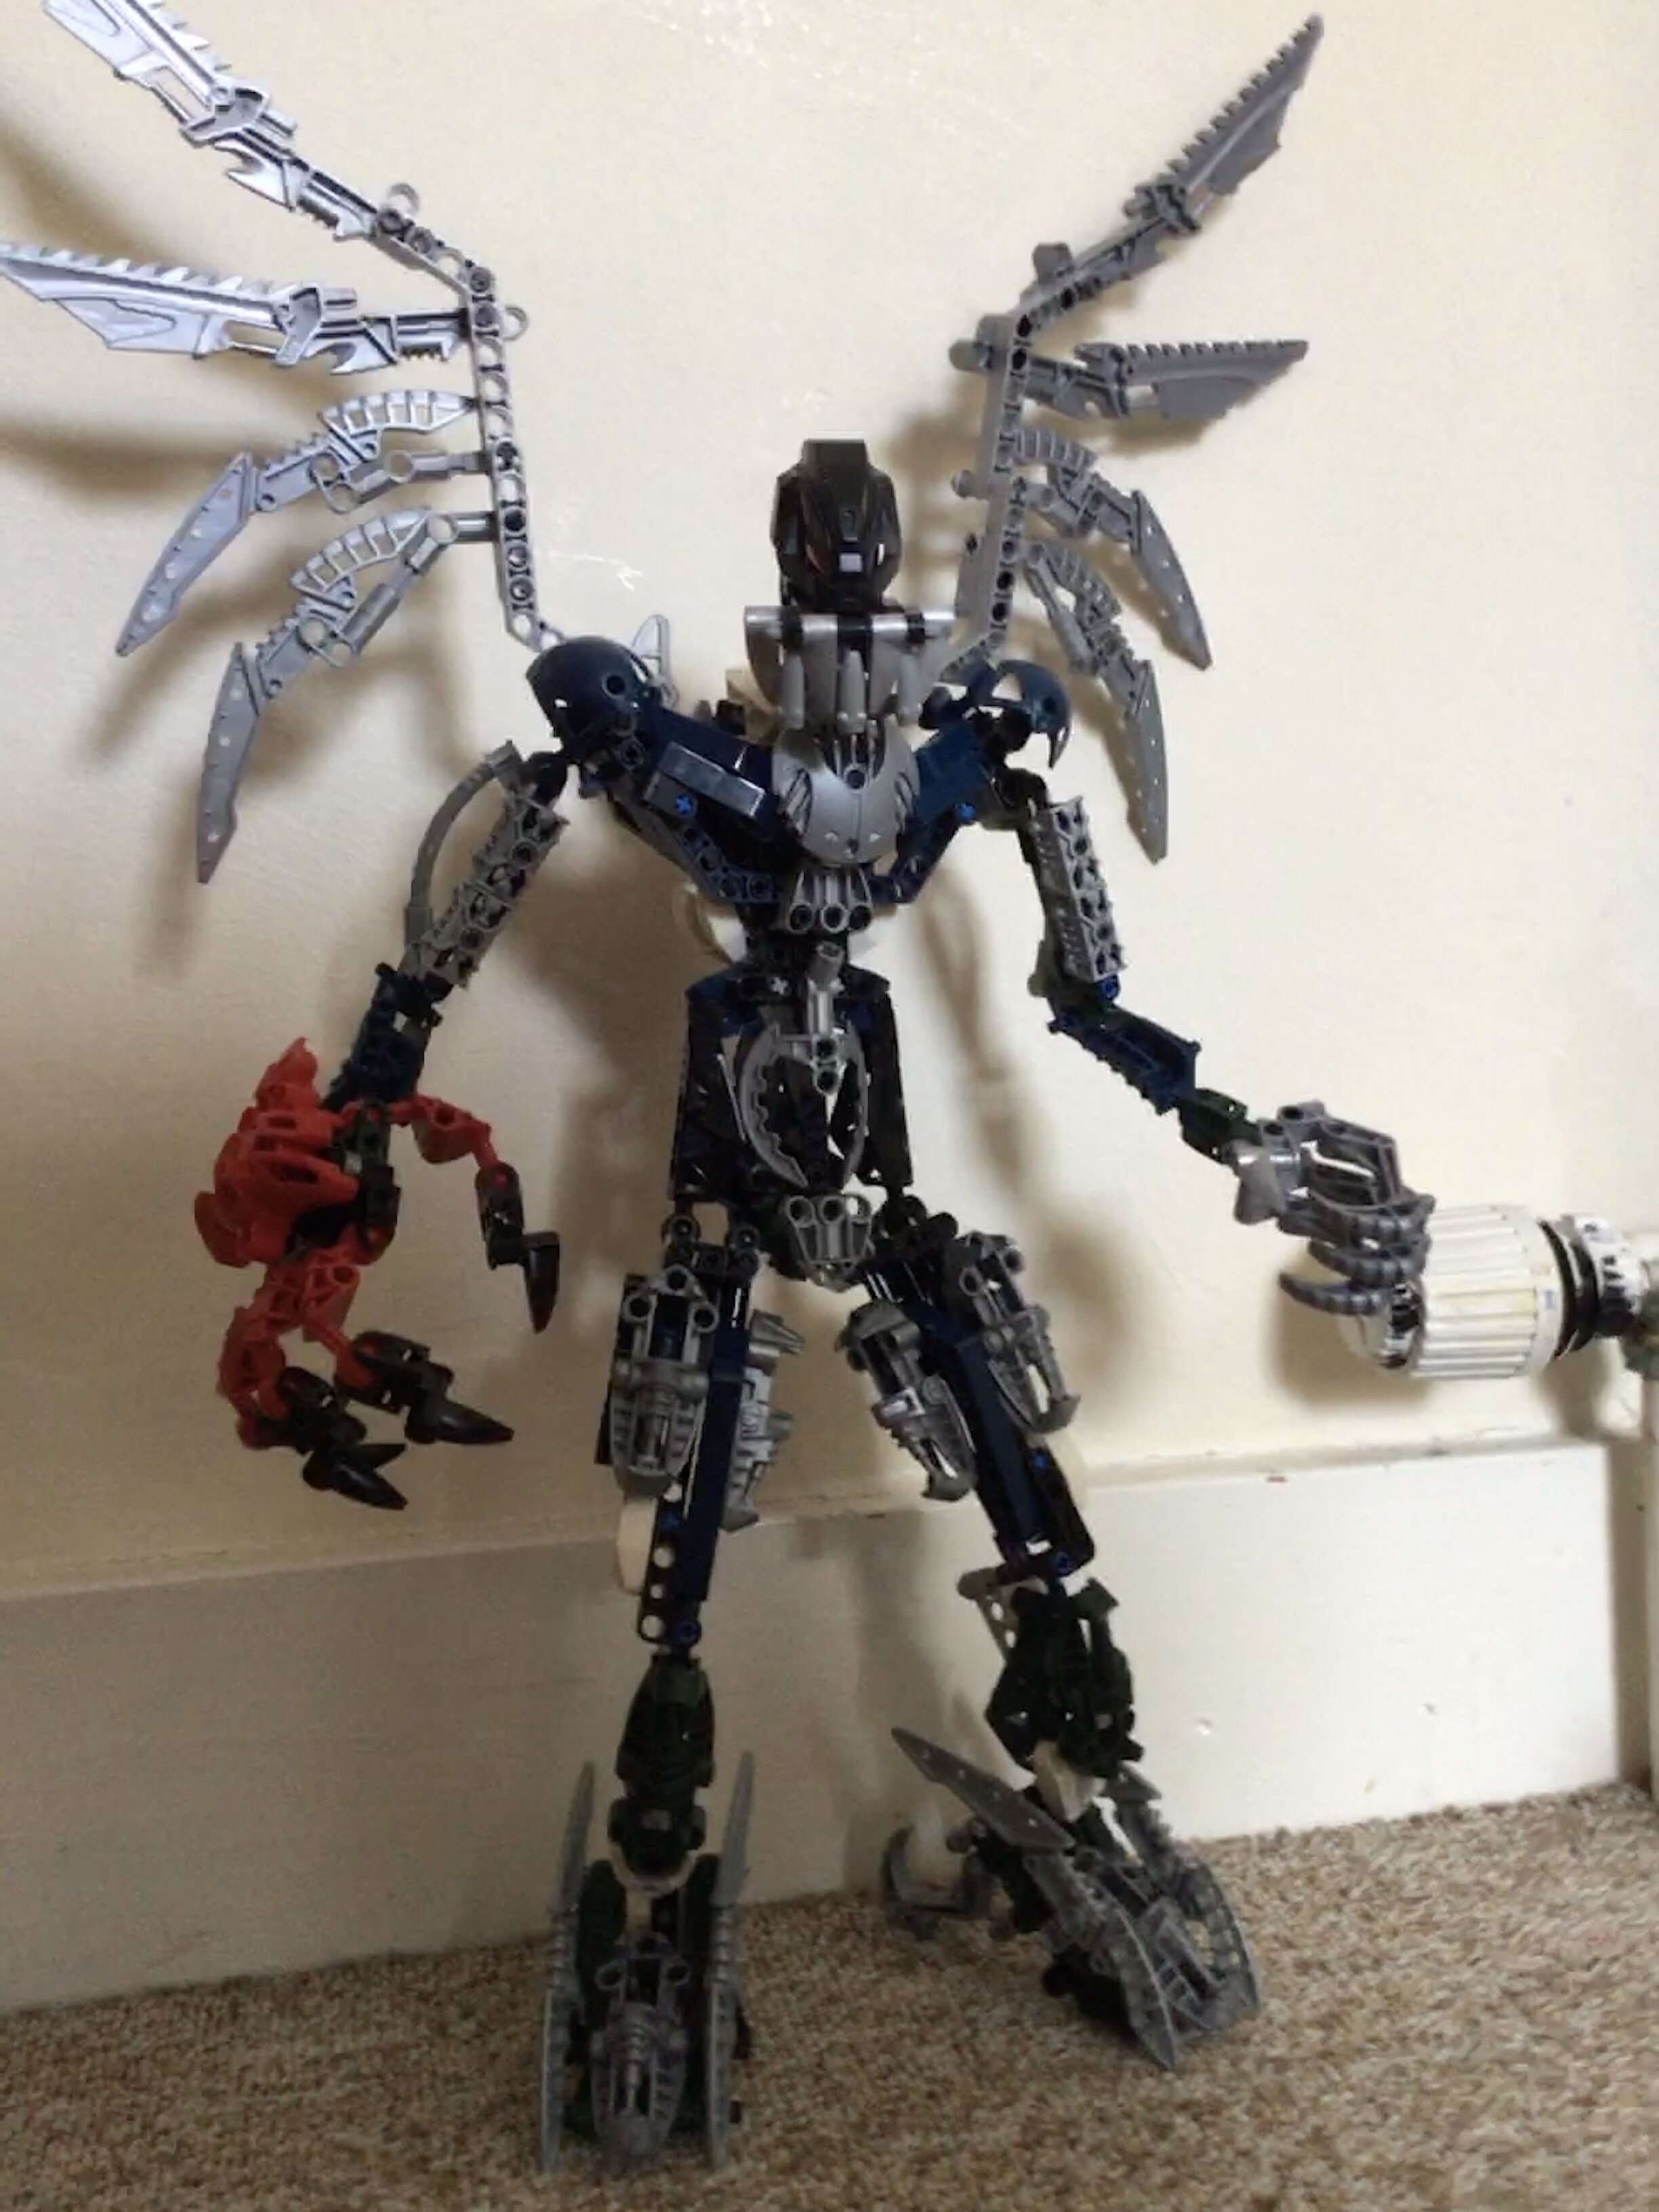
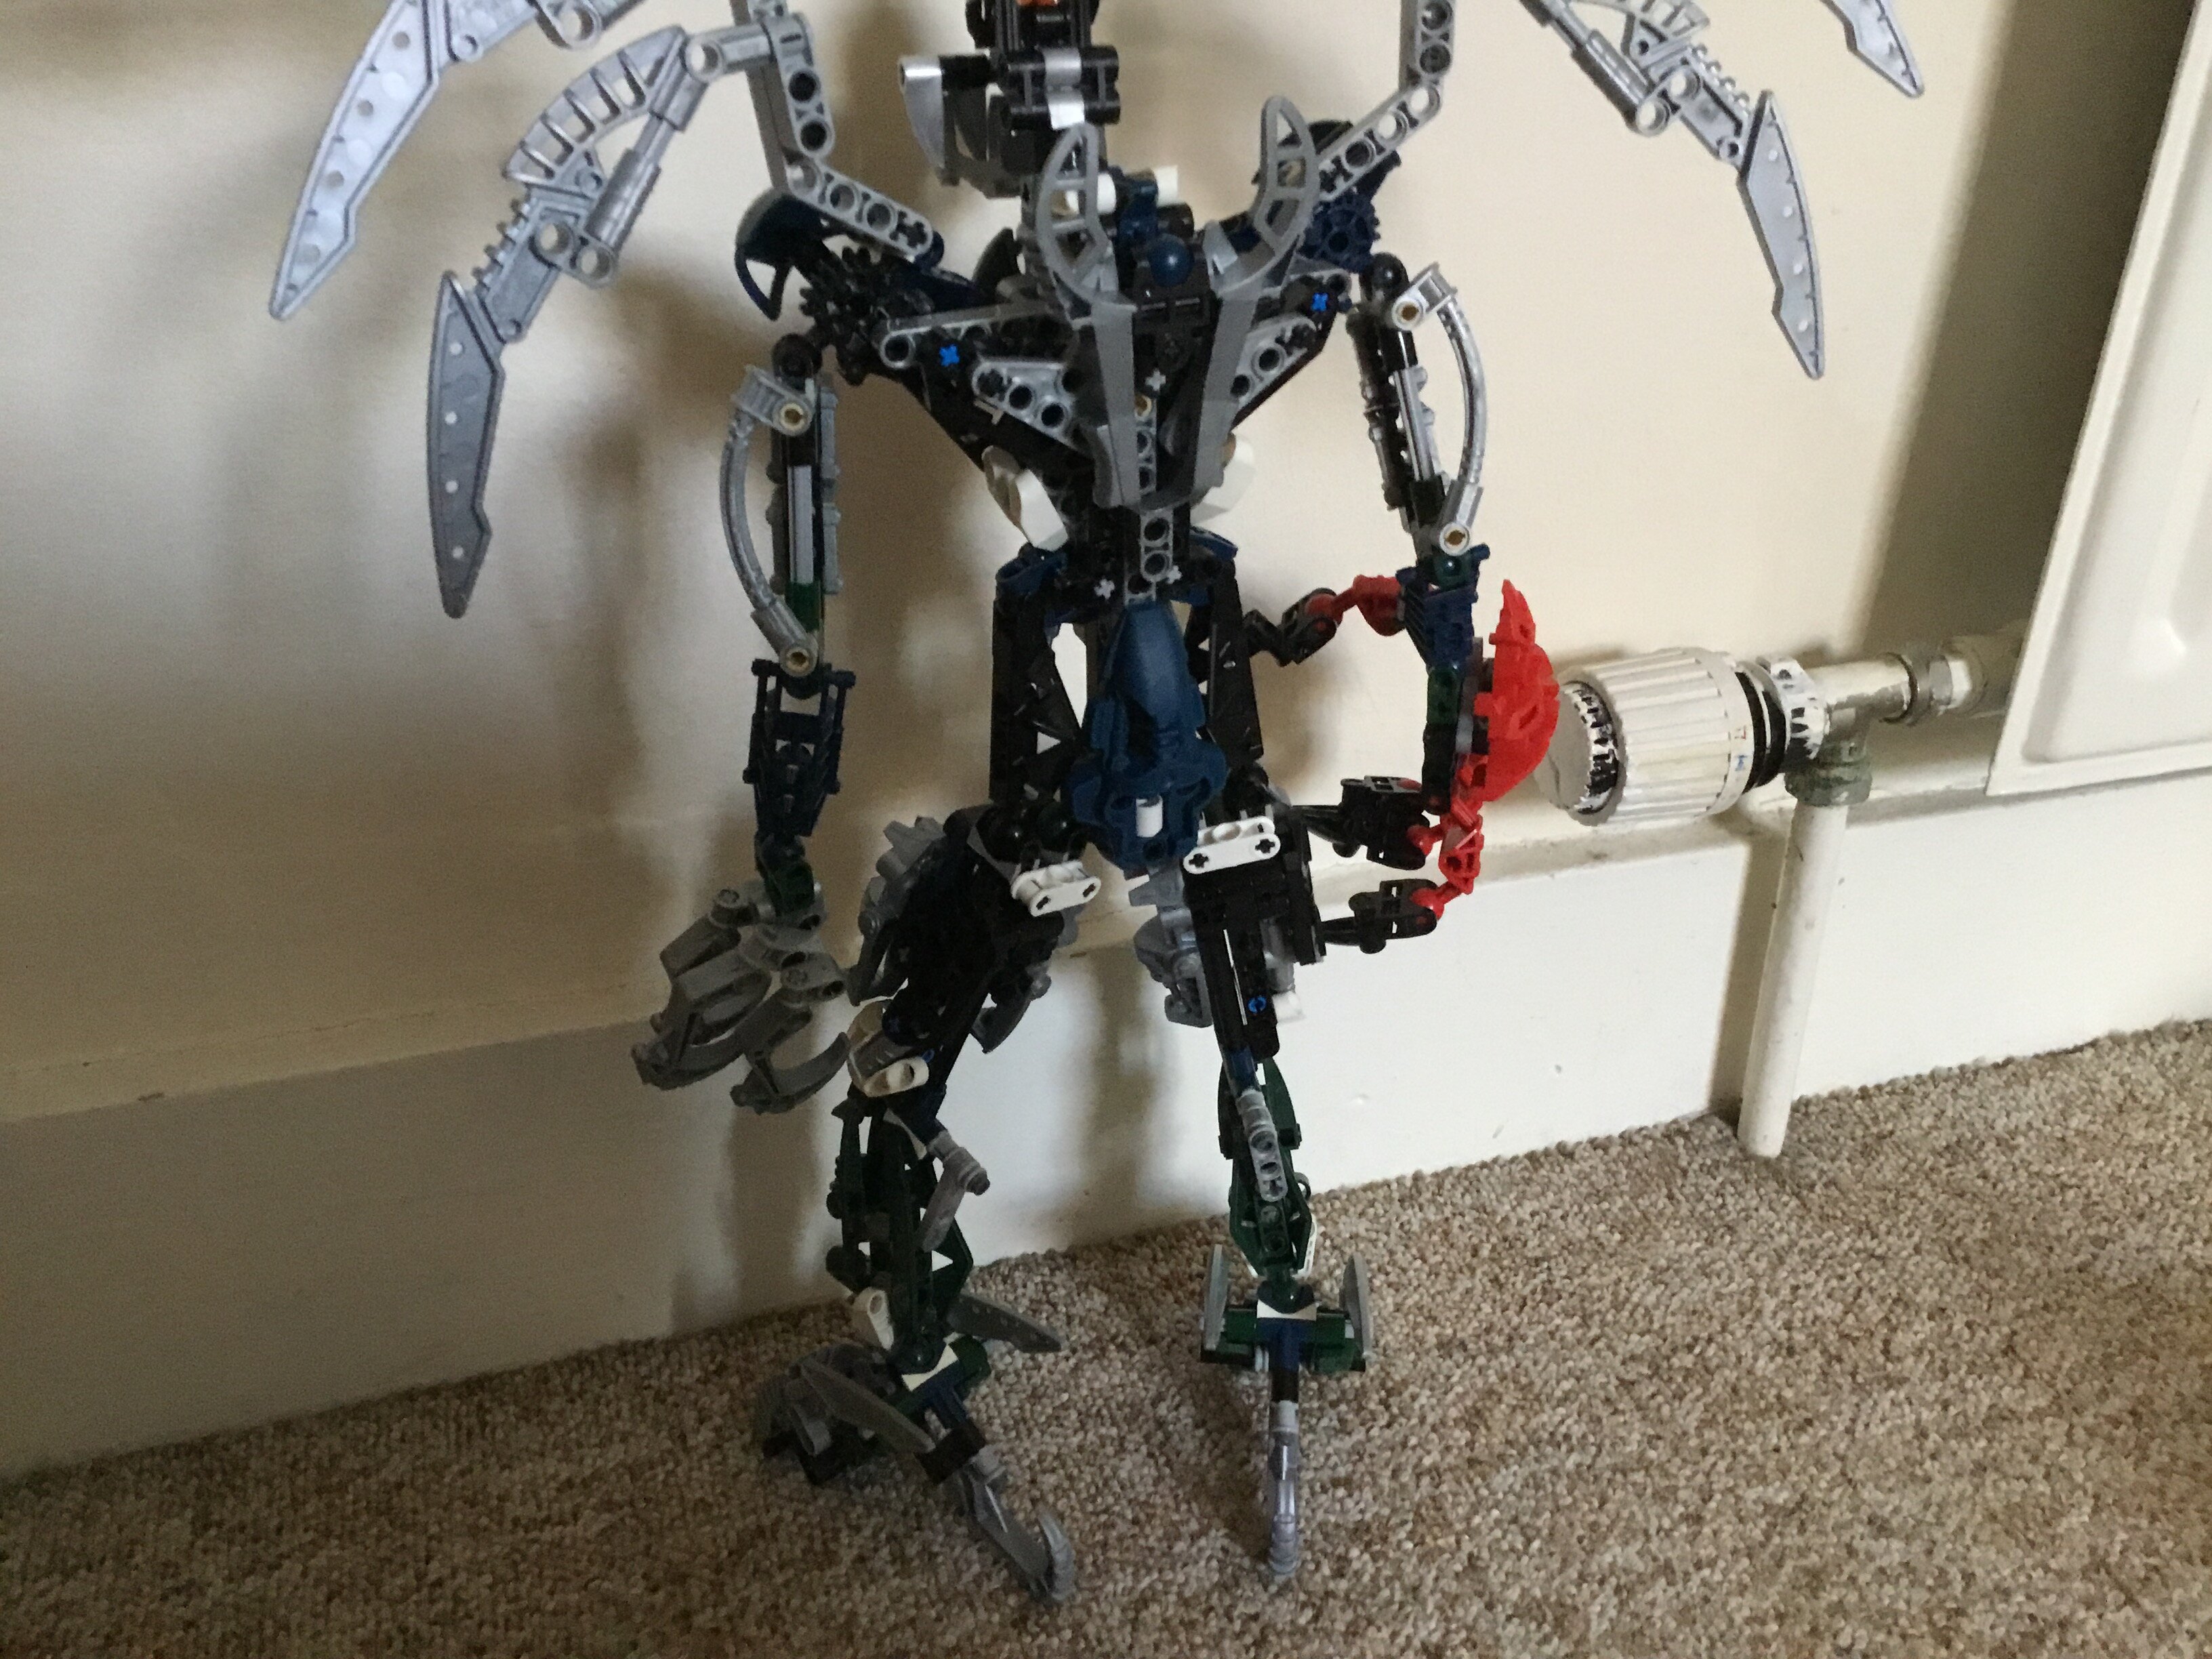
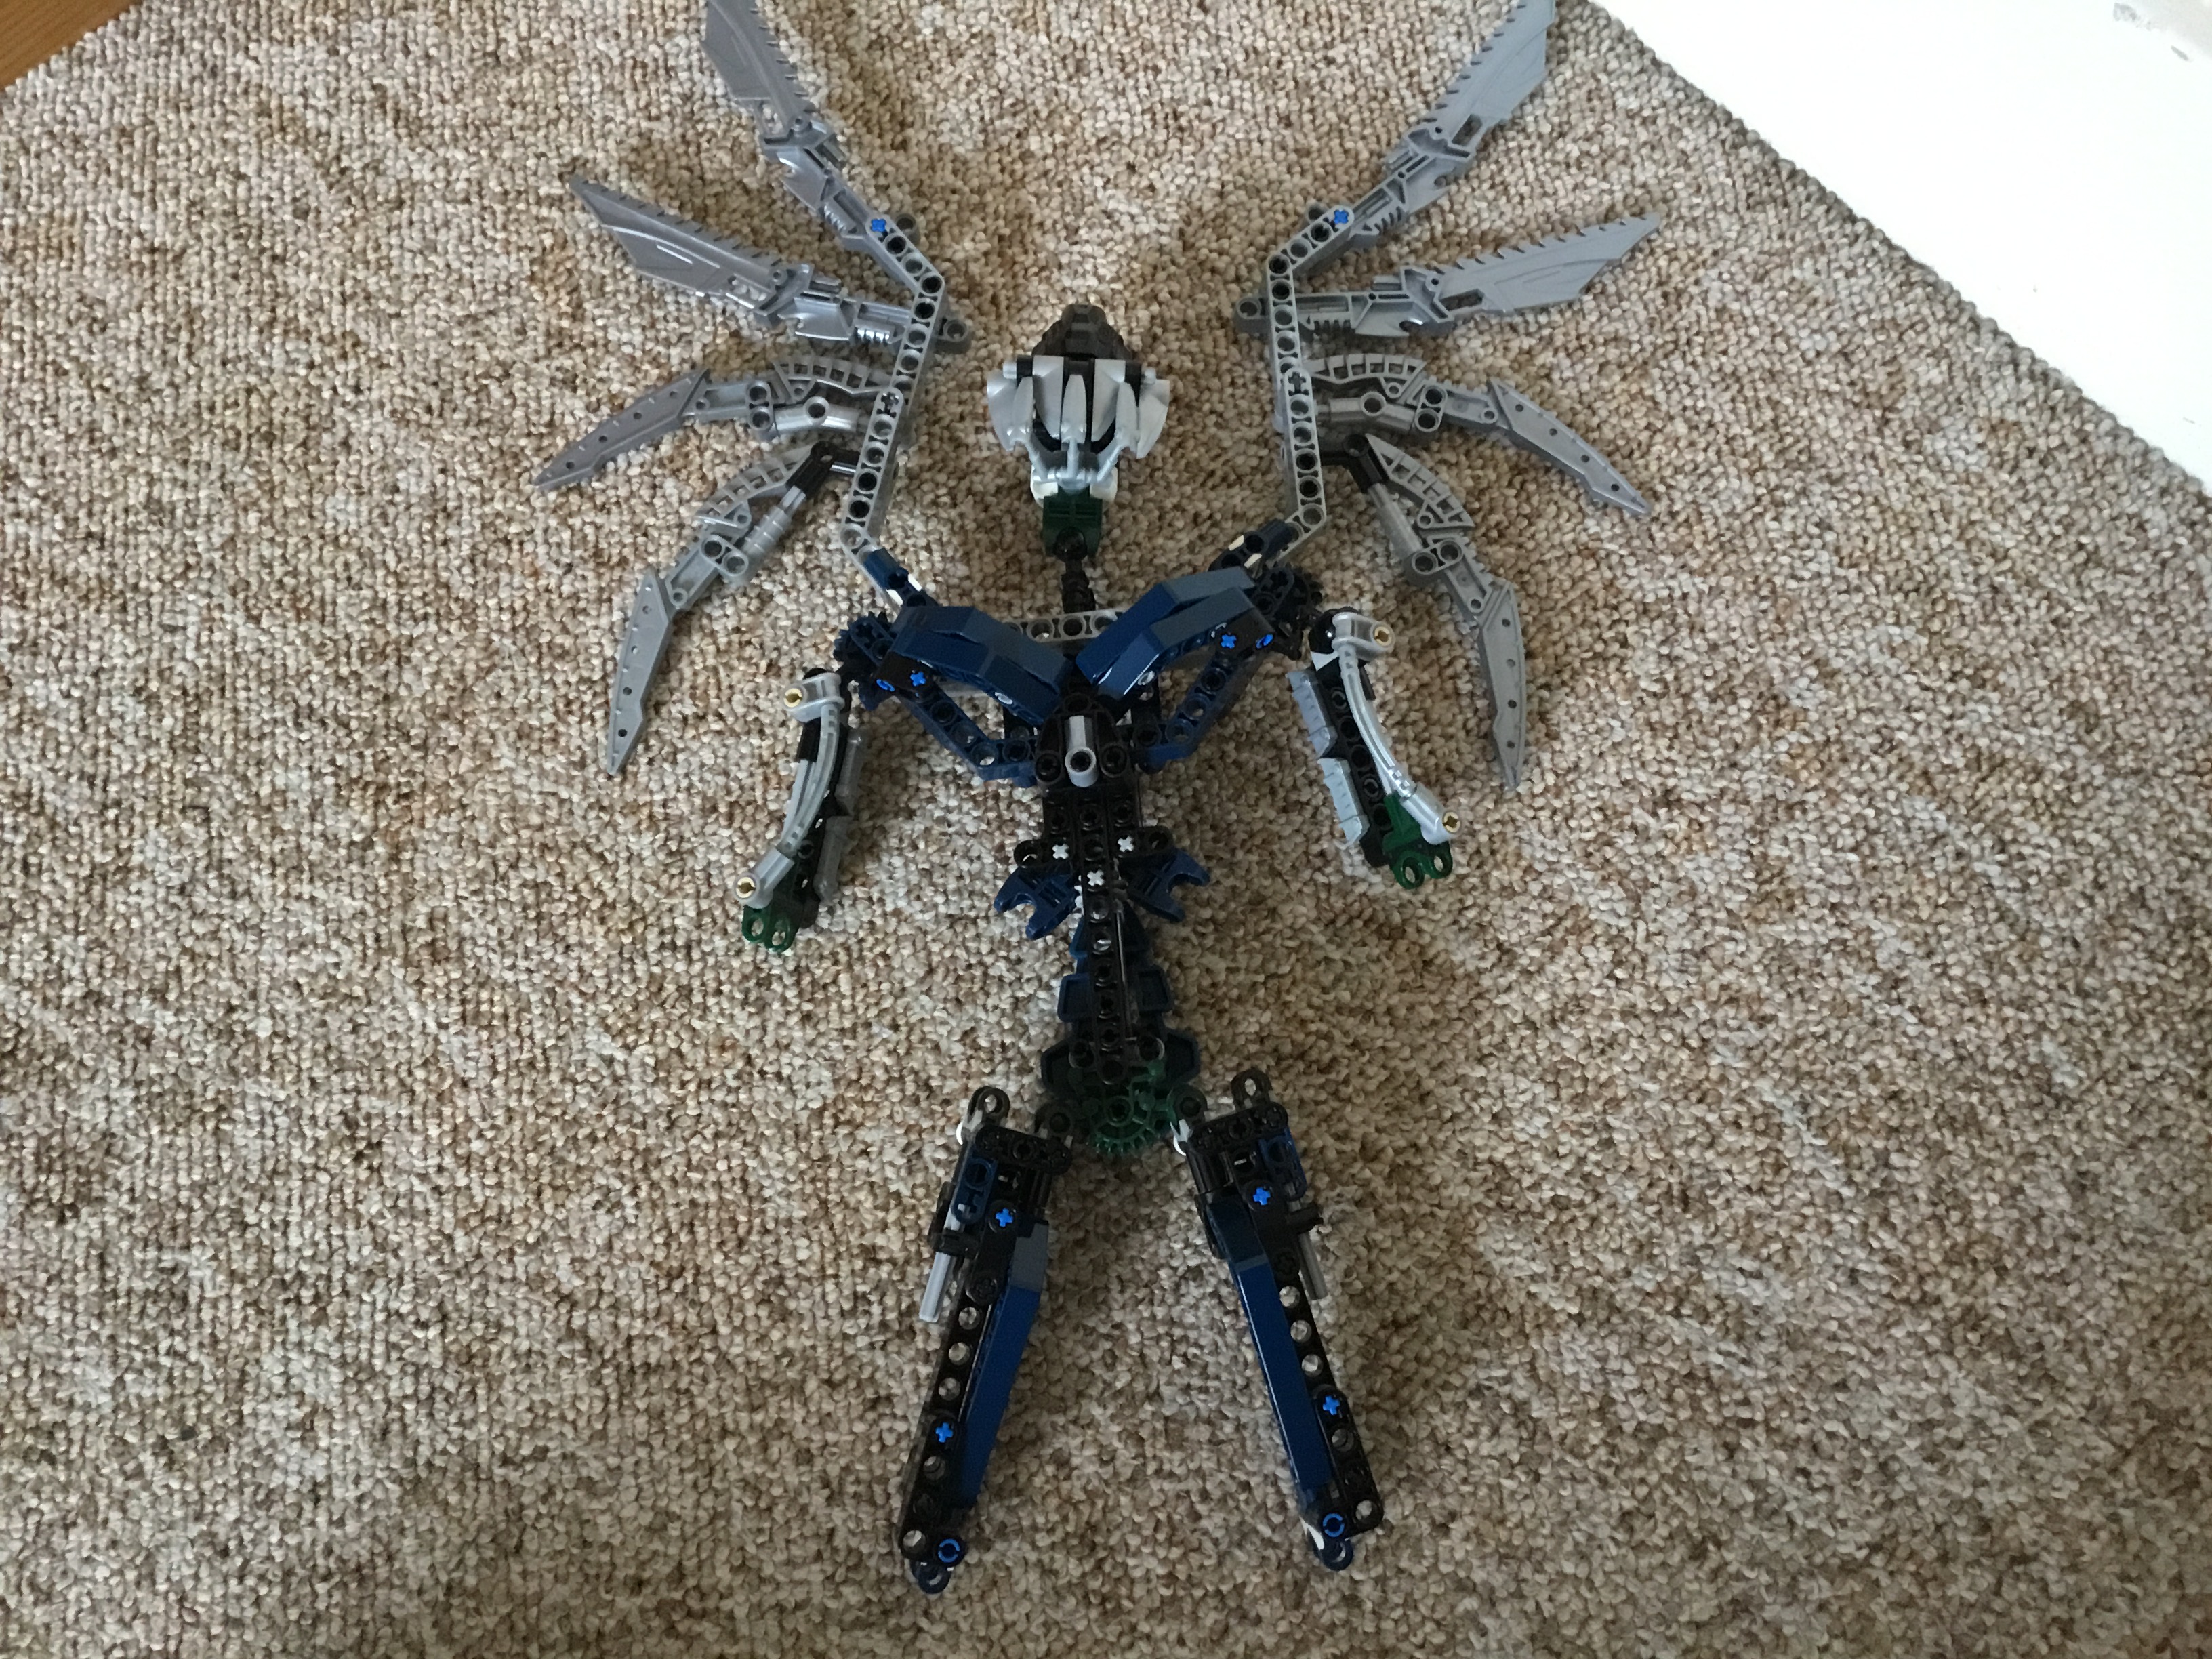
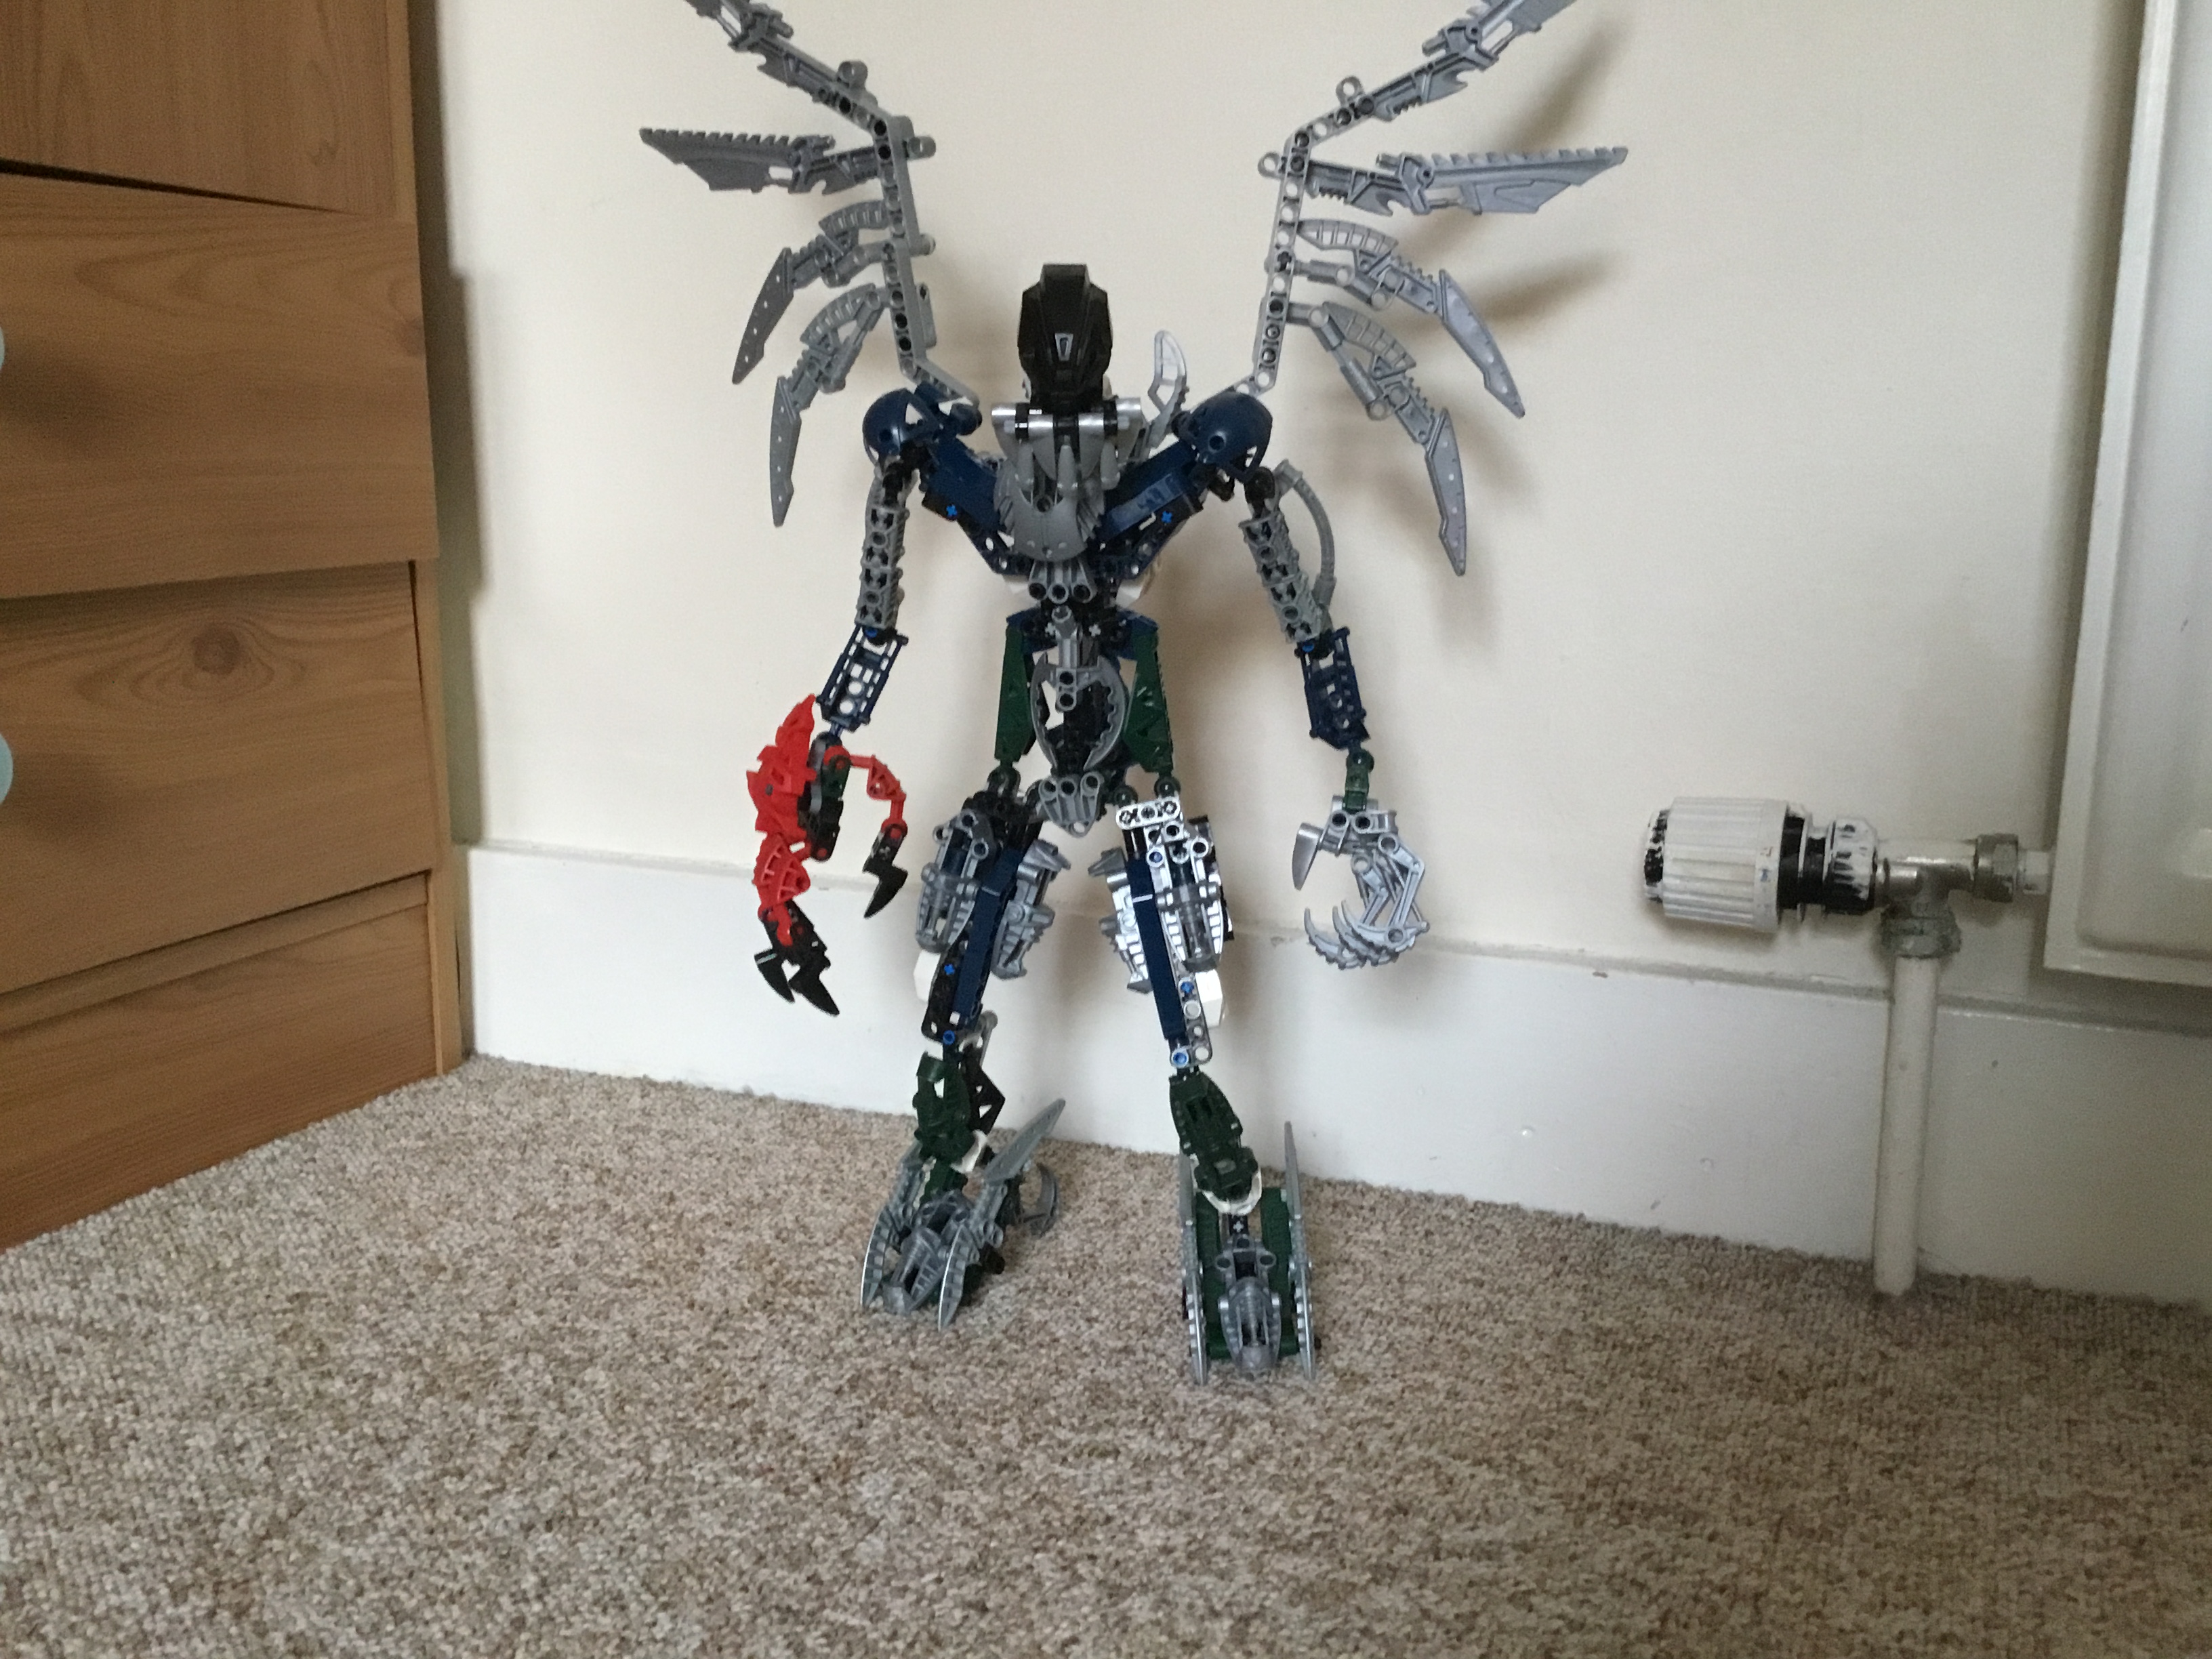
The legs are dreadfully gappy and thin, with the shins being ridiculously short and the feet super flat and odd-looking.
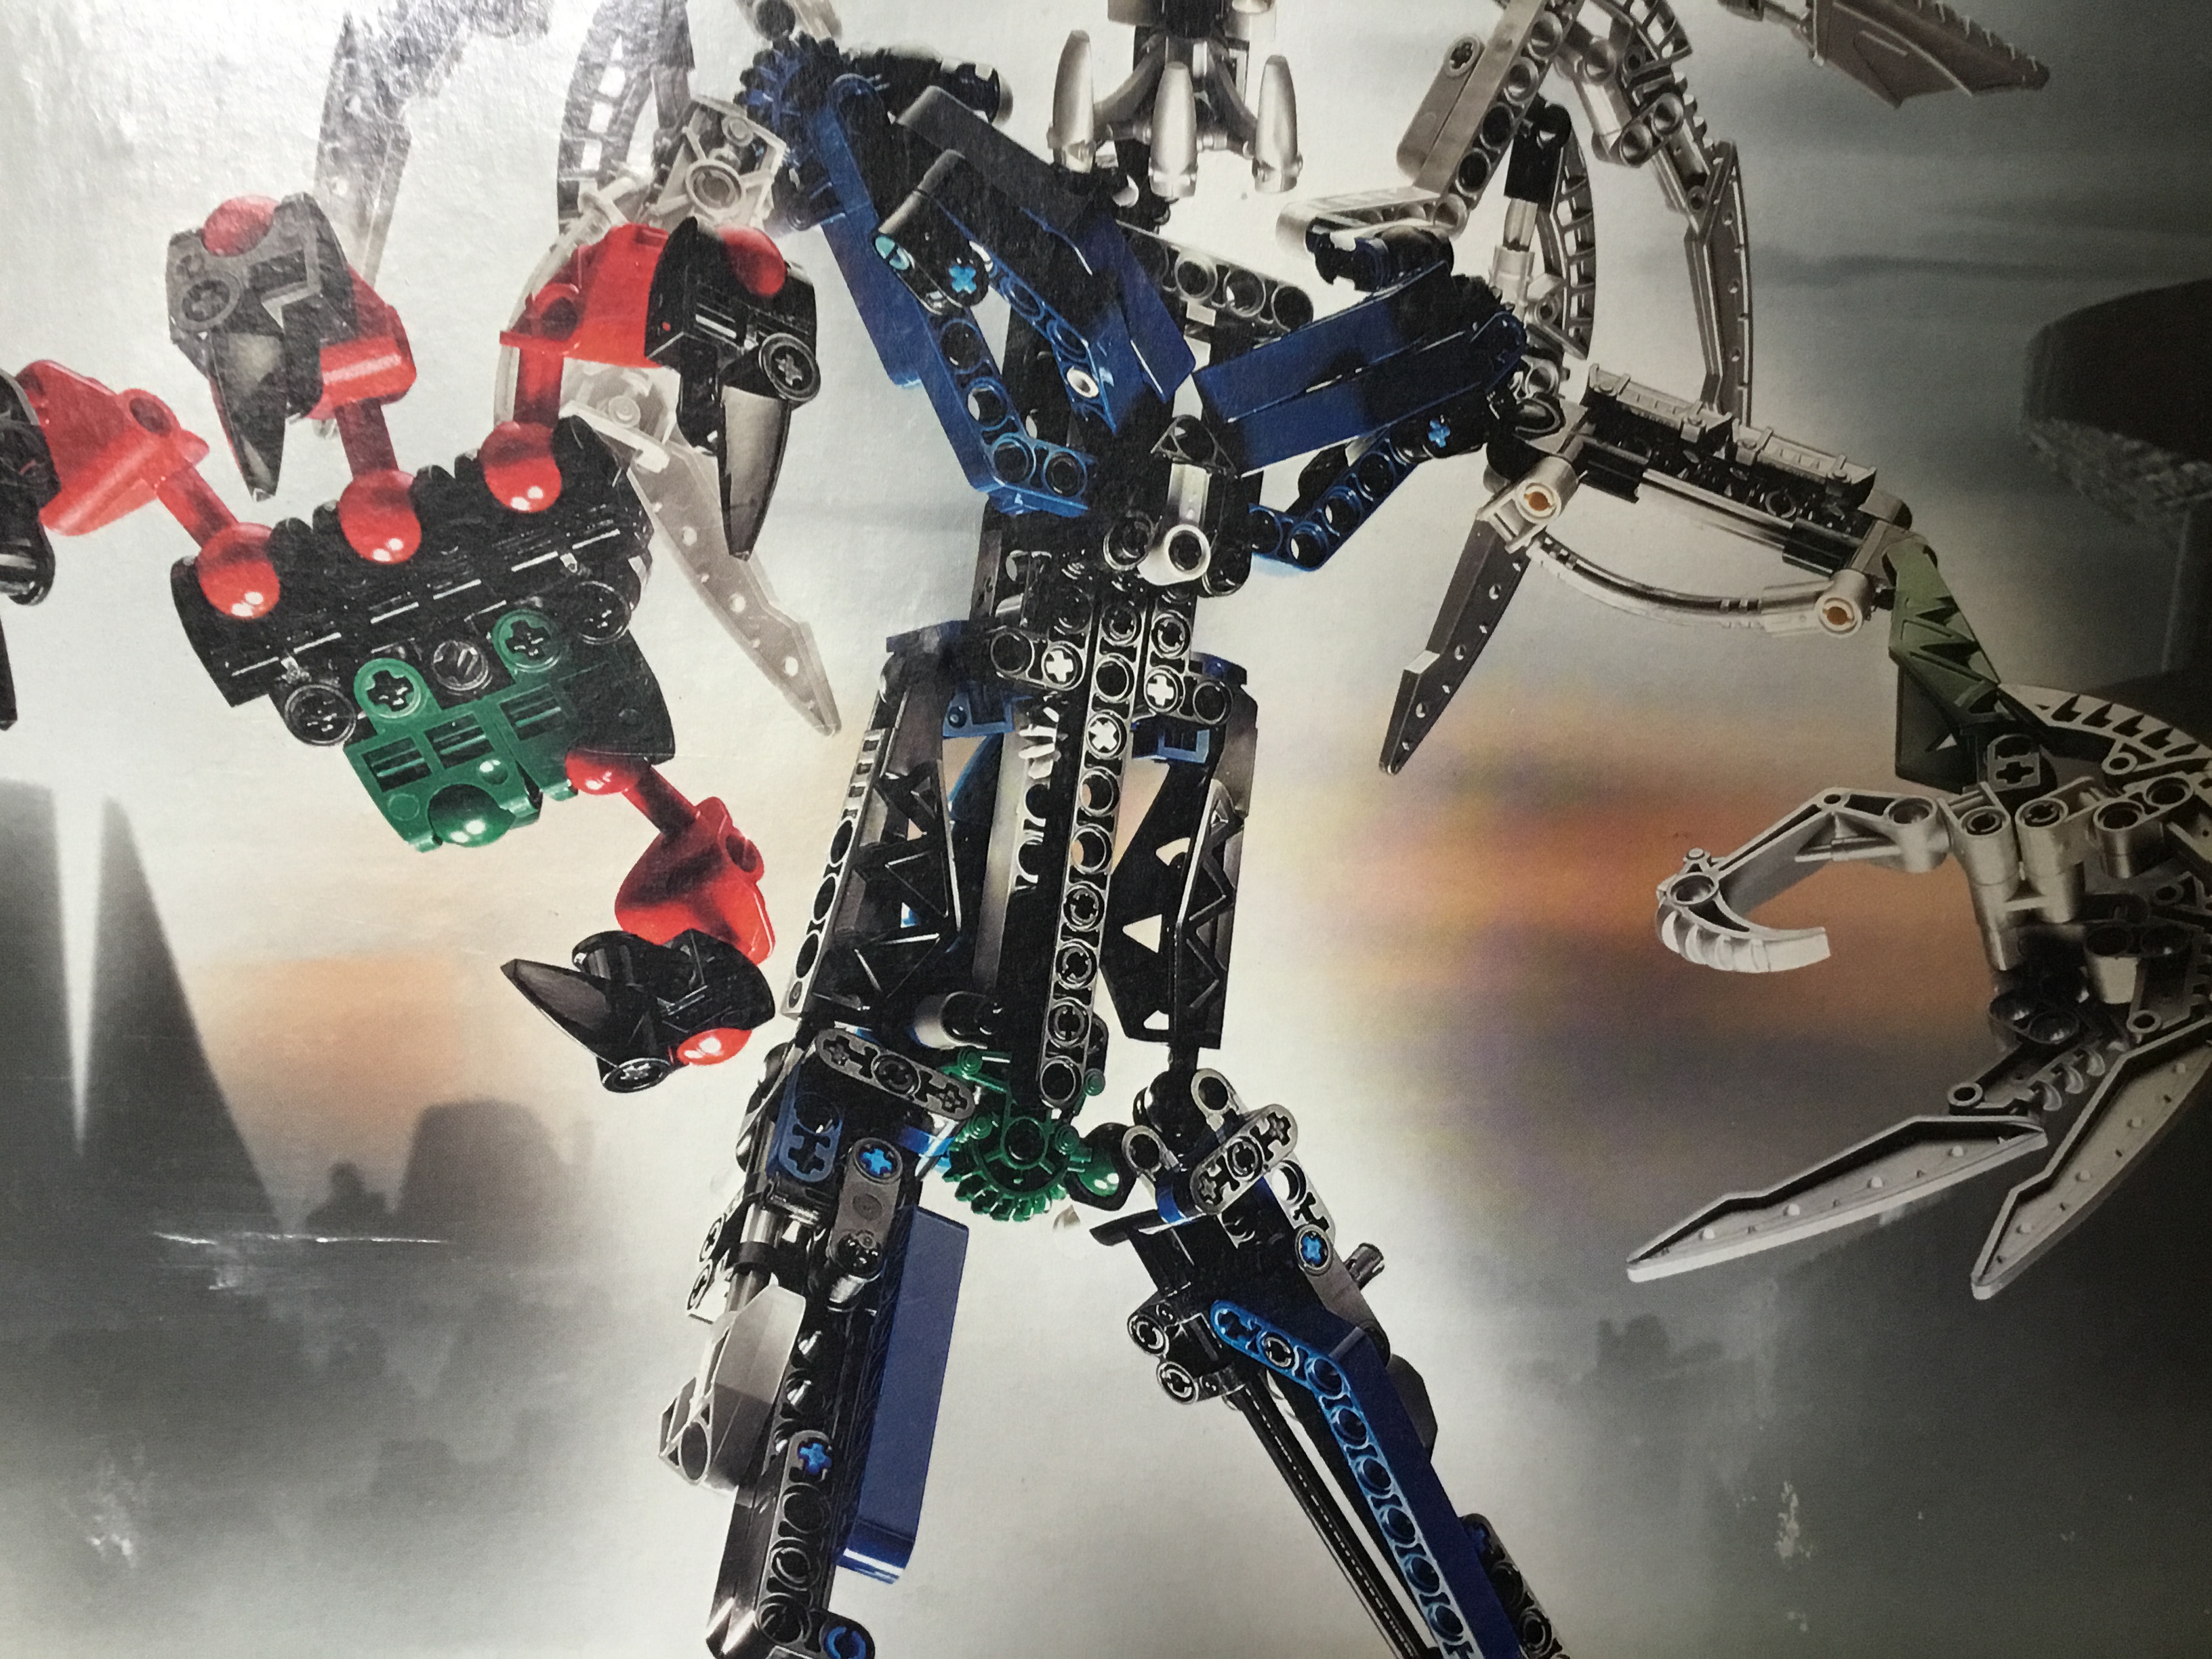
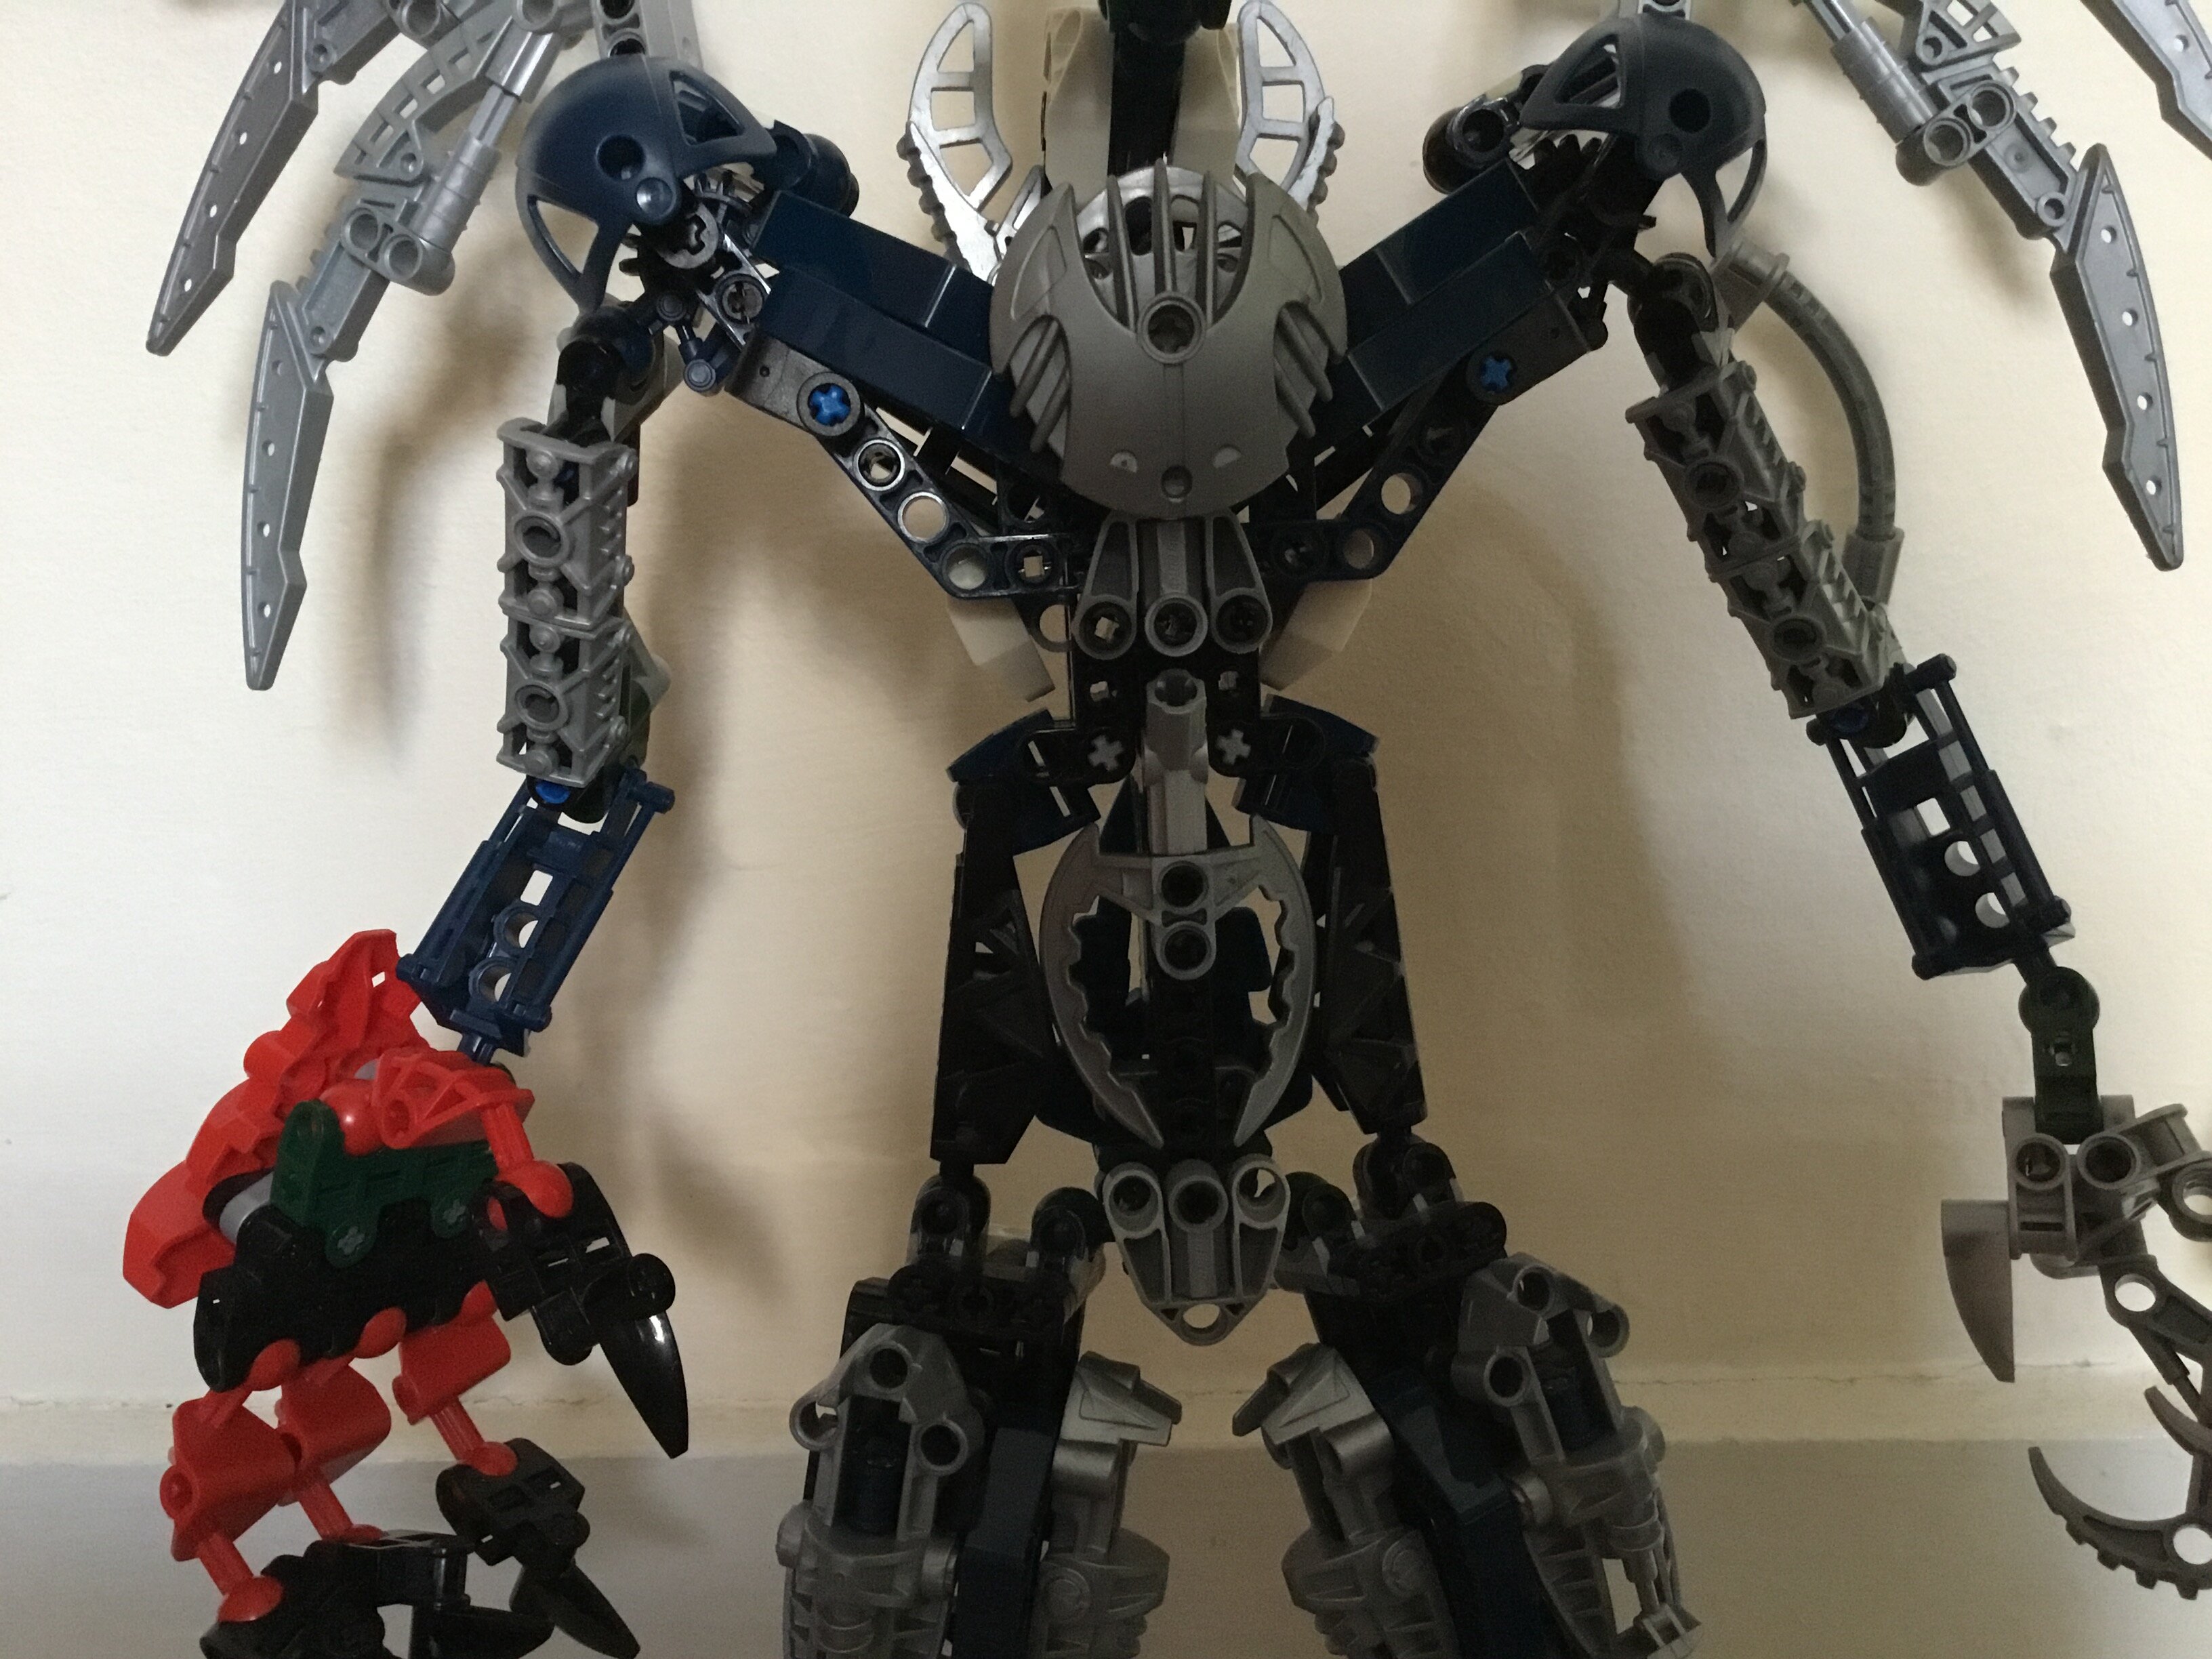
The torso is also full of very noticeable gaps, especially in the chest and stomach. There’s also a lot of bare Technic with practically no covering.
@TheChronicler
Instructions:
Before we begin, there are several essential items you should have on hand before attempting to build this model:
- Ultimate Dume himself
- All the pieces of Nidhiki, Krekka, Dume and Nivawk not used in the official model (I always keep my combiner spares in a separate bag for if I ever want to rebuild the original sets)
- Ultimate Dume Kraahkan - unlike the original set, the mask for my revamp is not an optional piece - the head is constructed around it and won’t work without it. If you don’t own this piece, you can just put the original head on. If so, you will have to substitute the black connector piece on the back of the upper jaw with a spare grey one, as the original black one is used in the feet.
With that out of the way, we can begin.
I: Preparation
You’re going to first need to get the original Ultimate Dume set ready for his modifications. We’re going to ‘strip him down’ by removing several pieces.
First, remove and disassemble everything below the knee. You will need the pieces used in the feet later.
Next, remove all the weapon pieces from his left hand. All these pieces can also be saved for later.
You can now remove all four Rahkshi leg pieces from him, including the ones in his abdomen. Again, save them for later. Make sure to keep the hands assembled.
Finally, remove and disassemble these triangular assemblies on his thighs. Once more, save the parts for later.
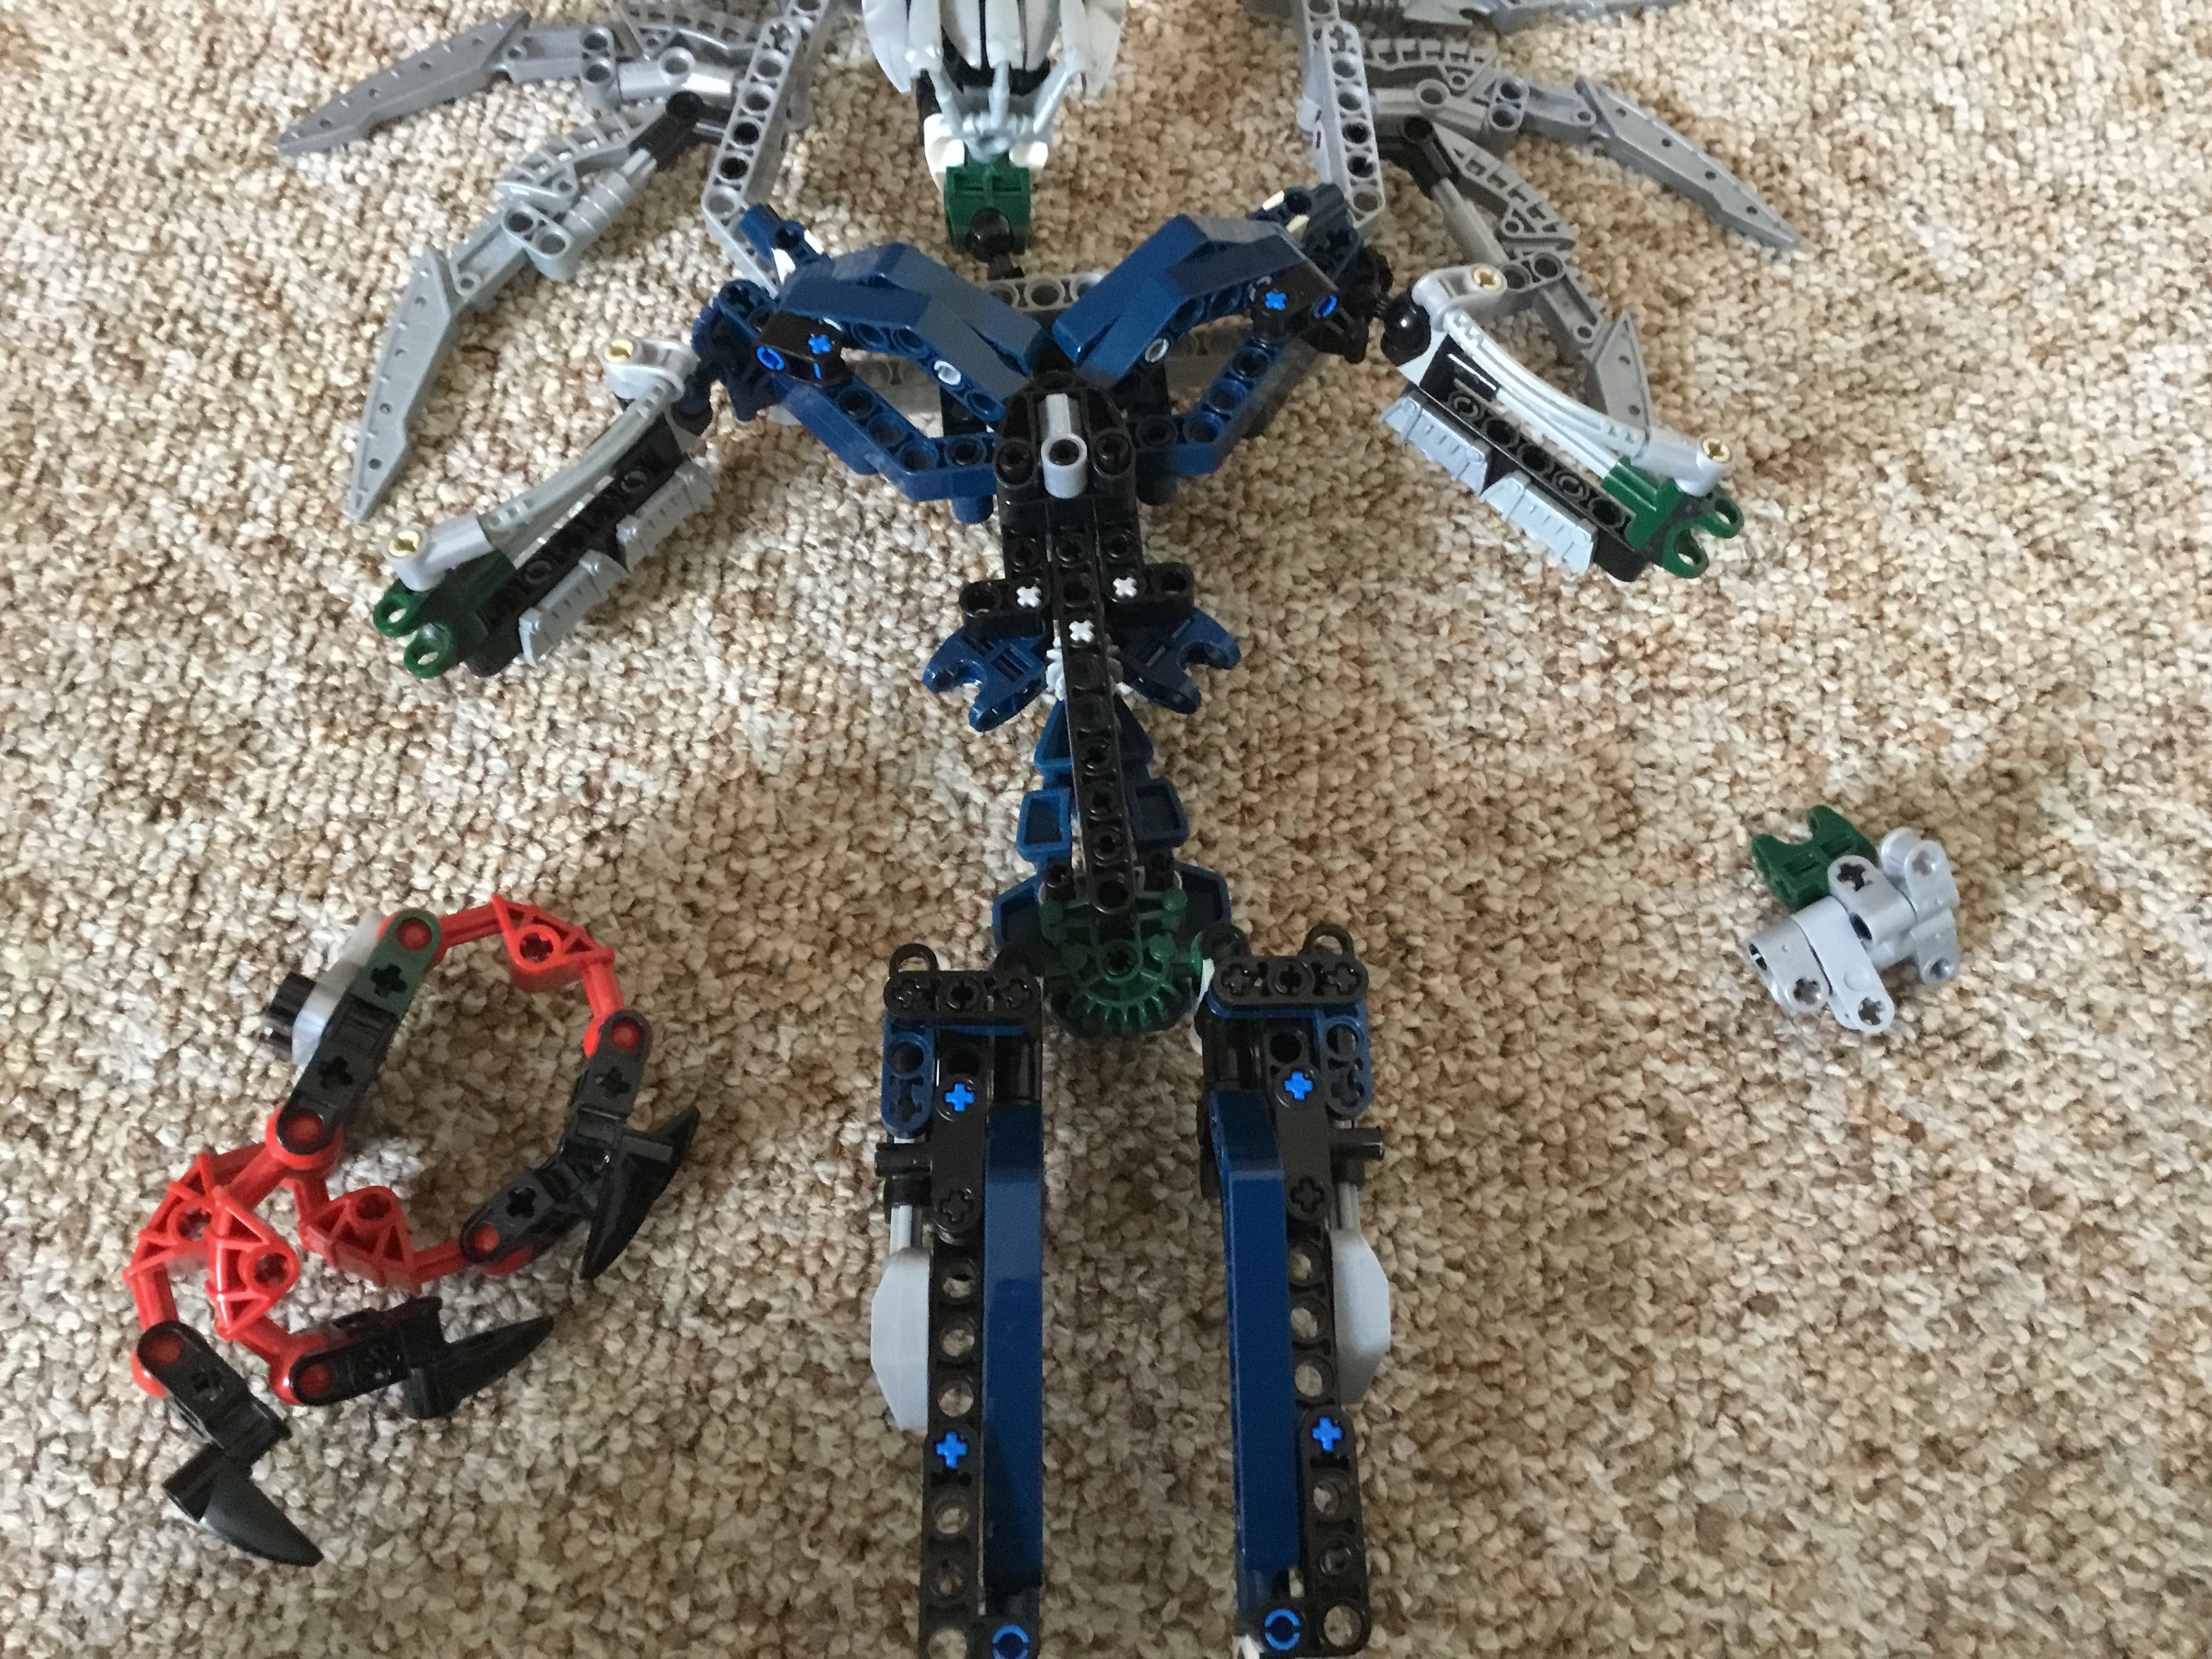
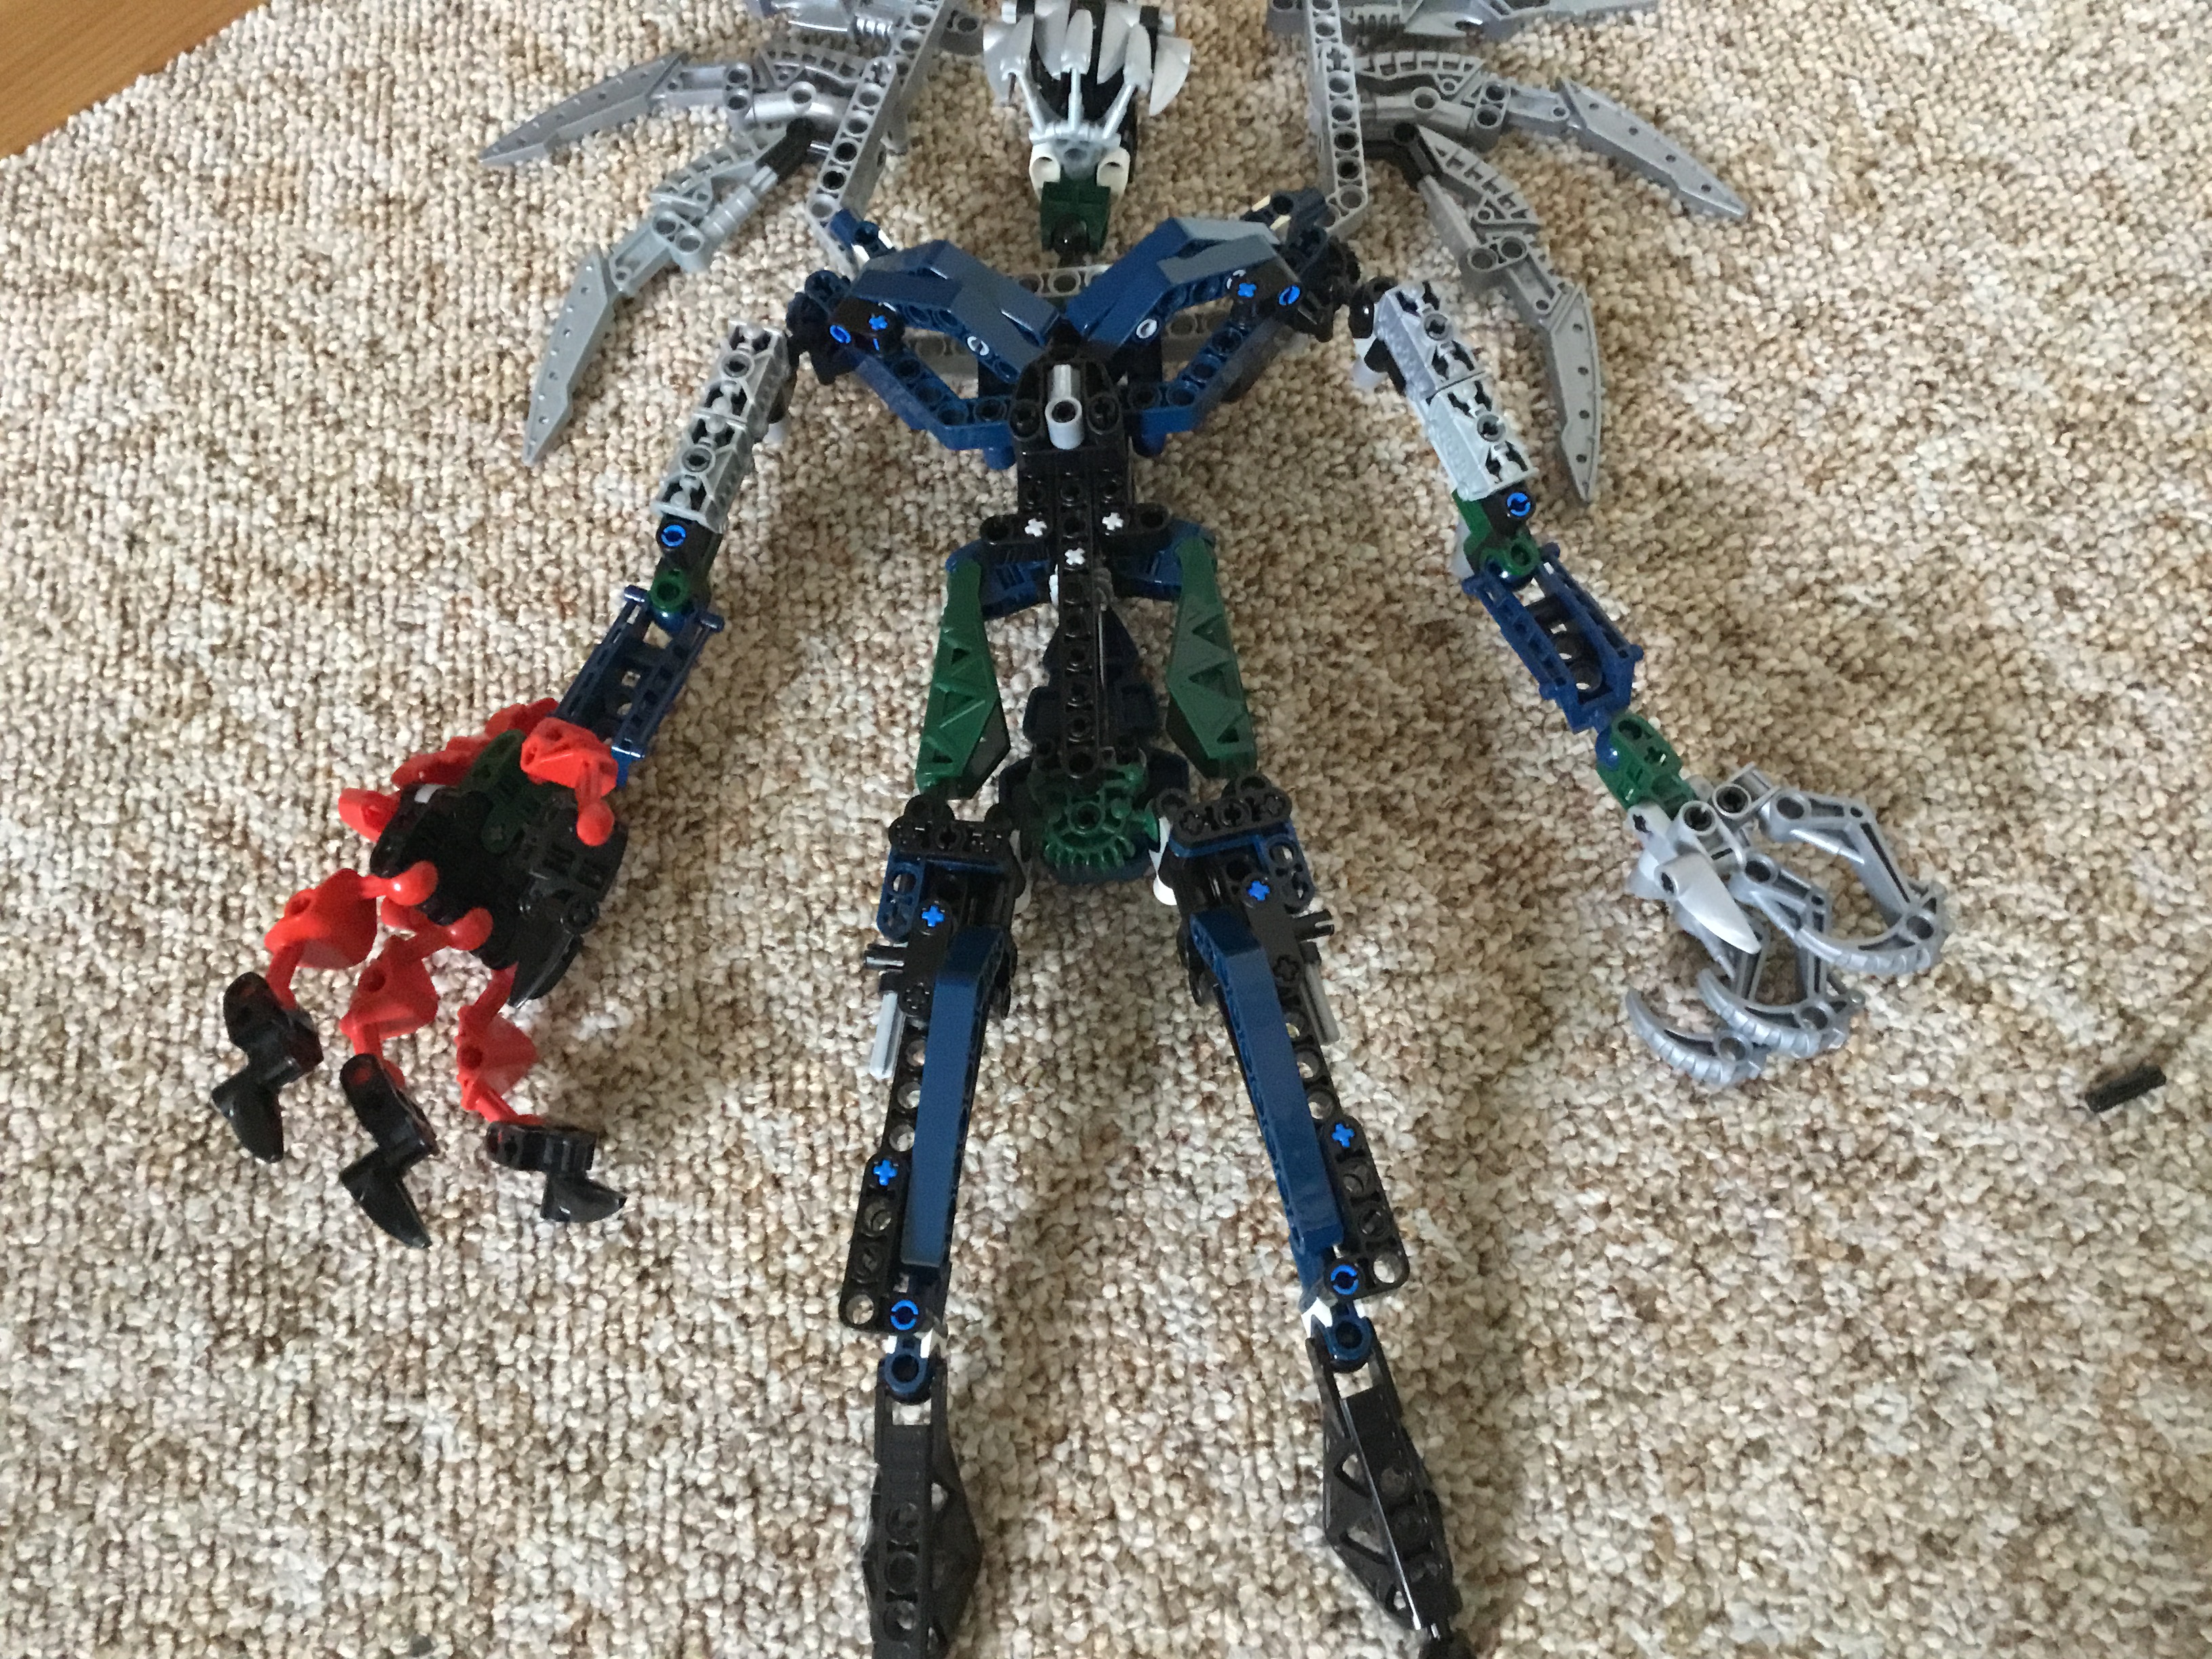
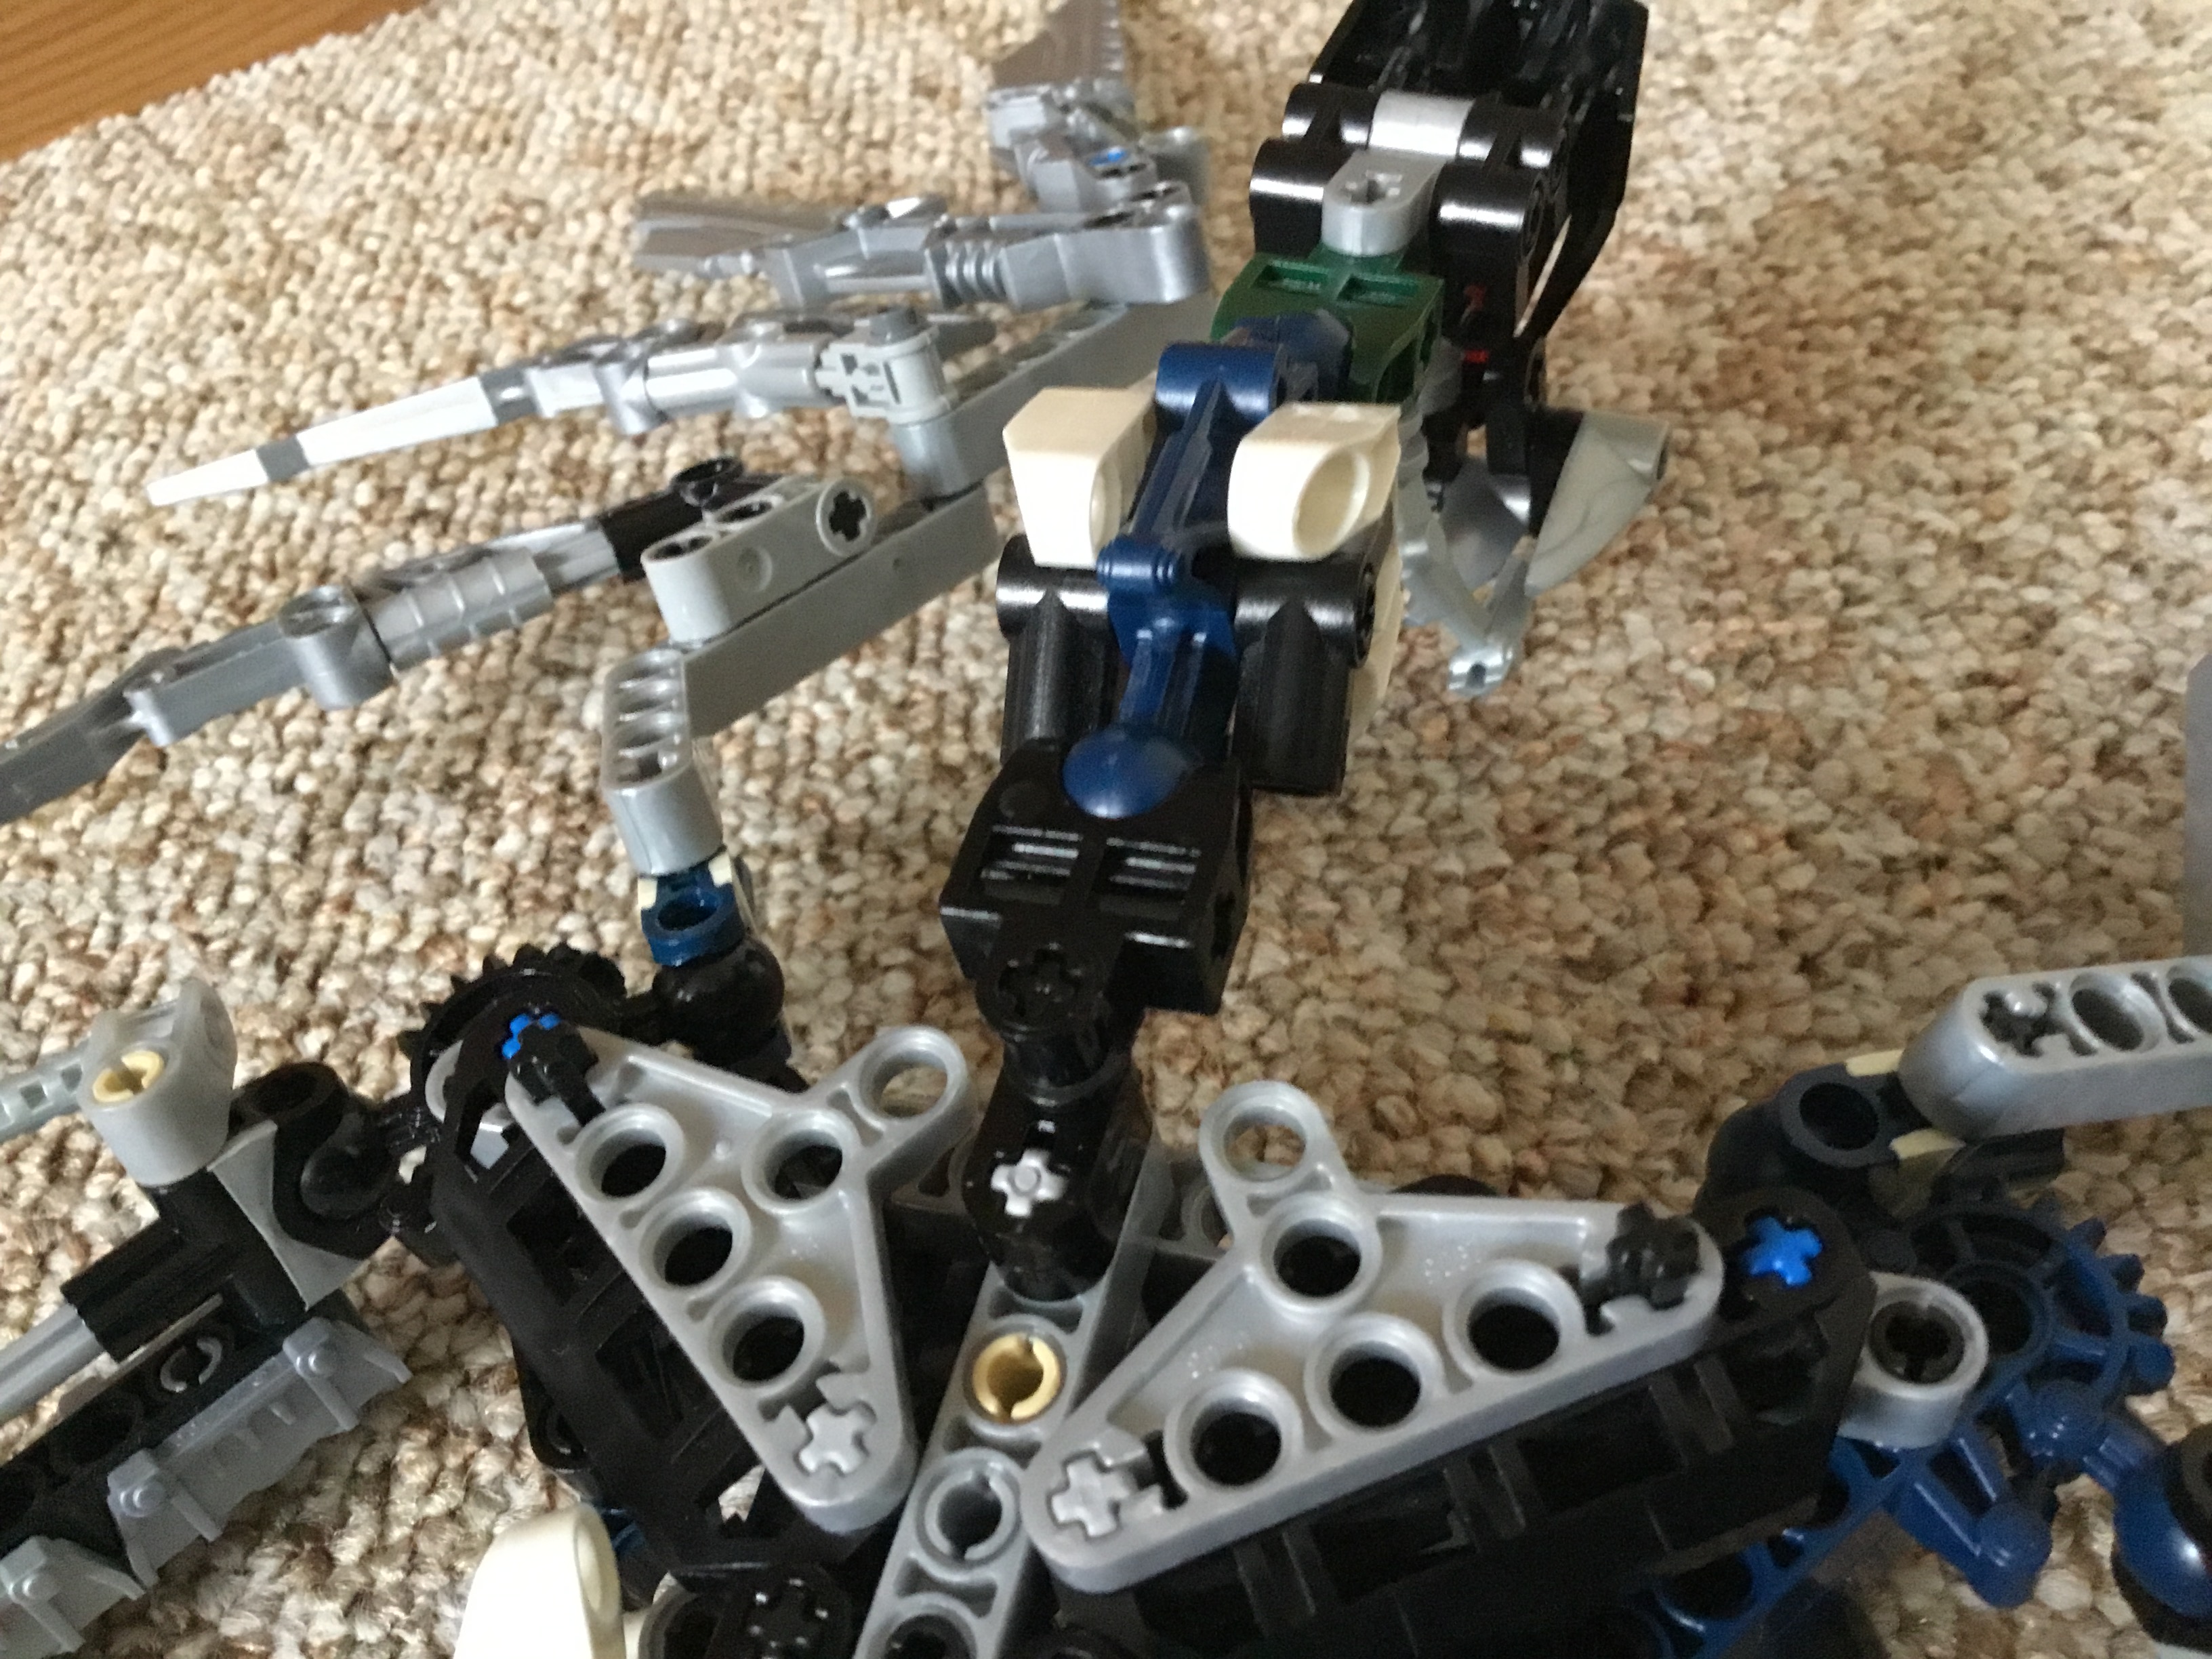
If you did everything correctly, he should now look like this. With his body stripped, we can begin the modifications.
II: Arms

To begin with, simply turn the biceps around. This fixes most of the frontal gappiness and I don’t know why it wasn’t like this to begin with.
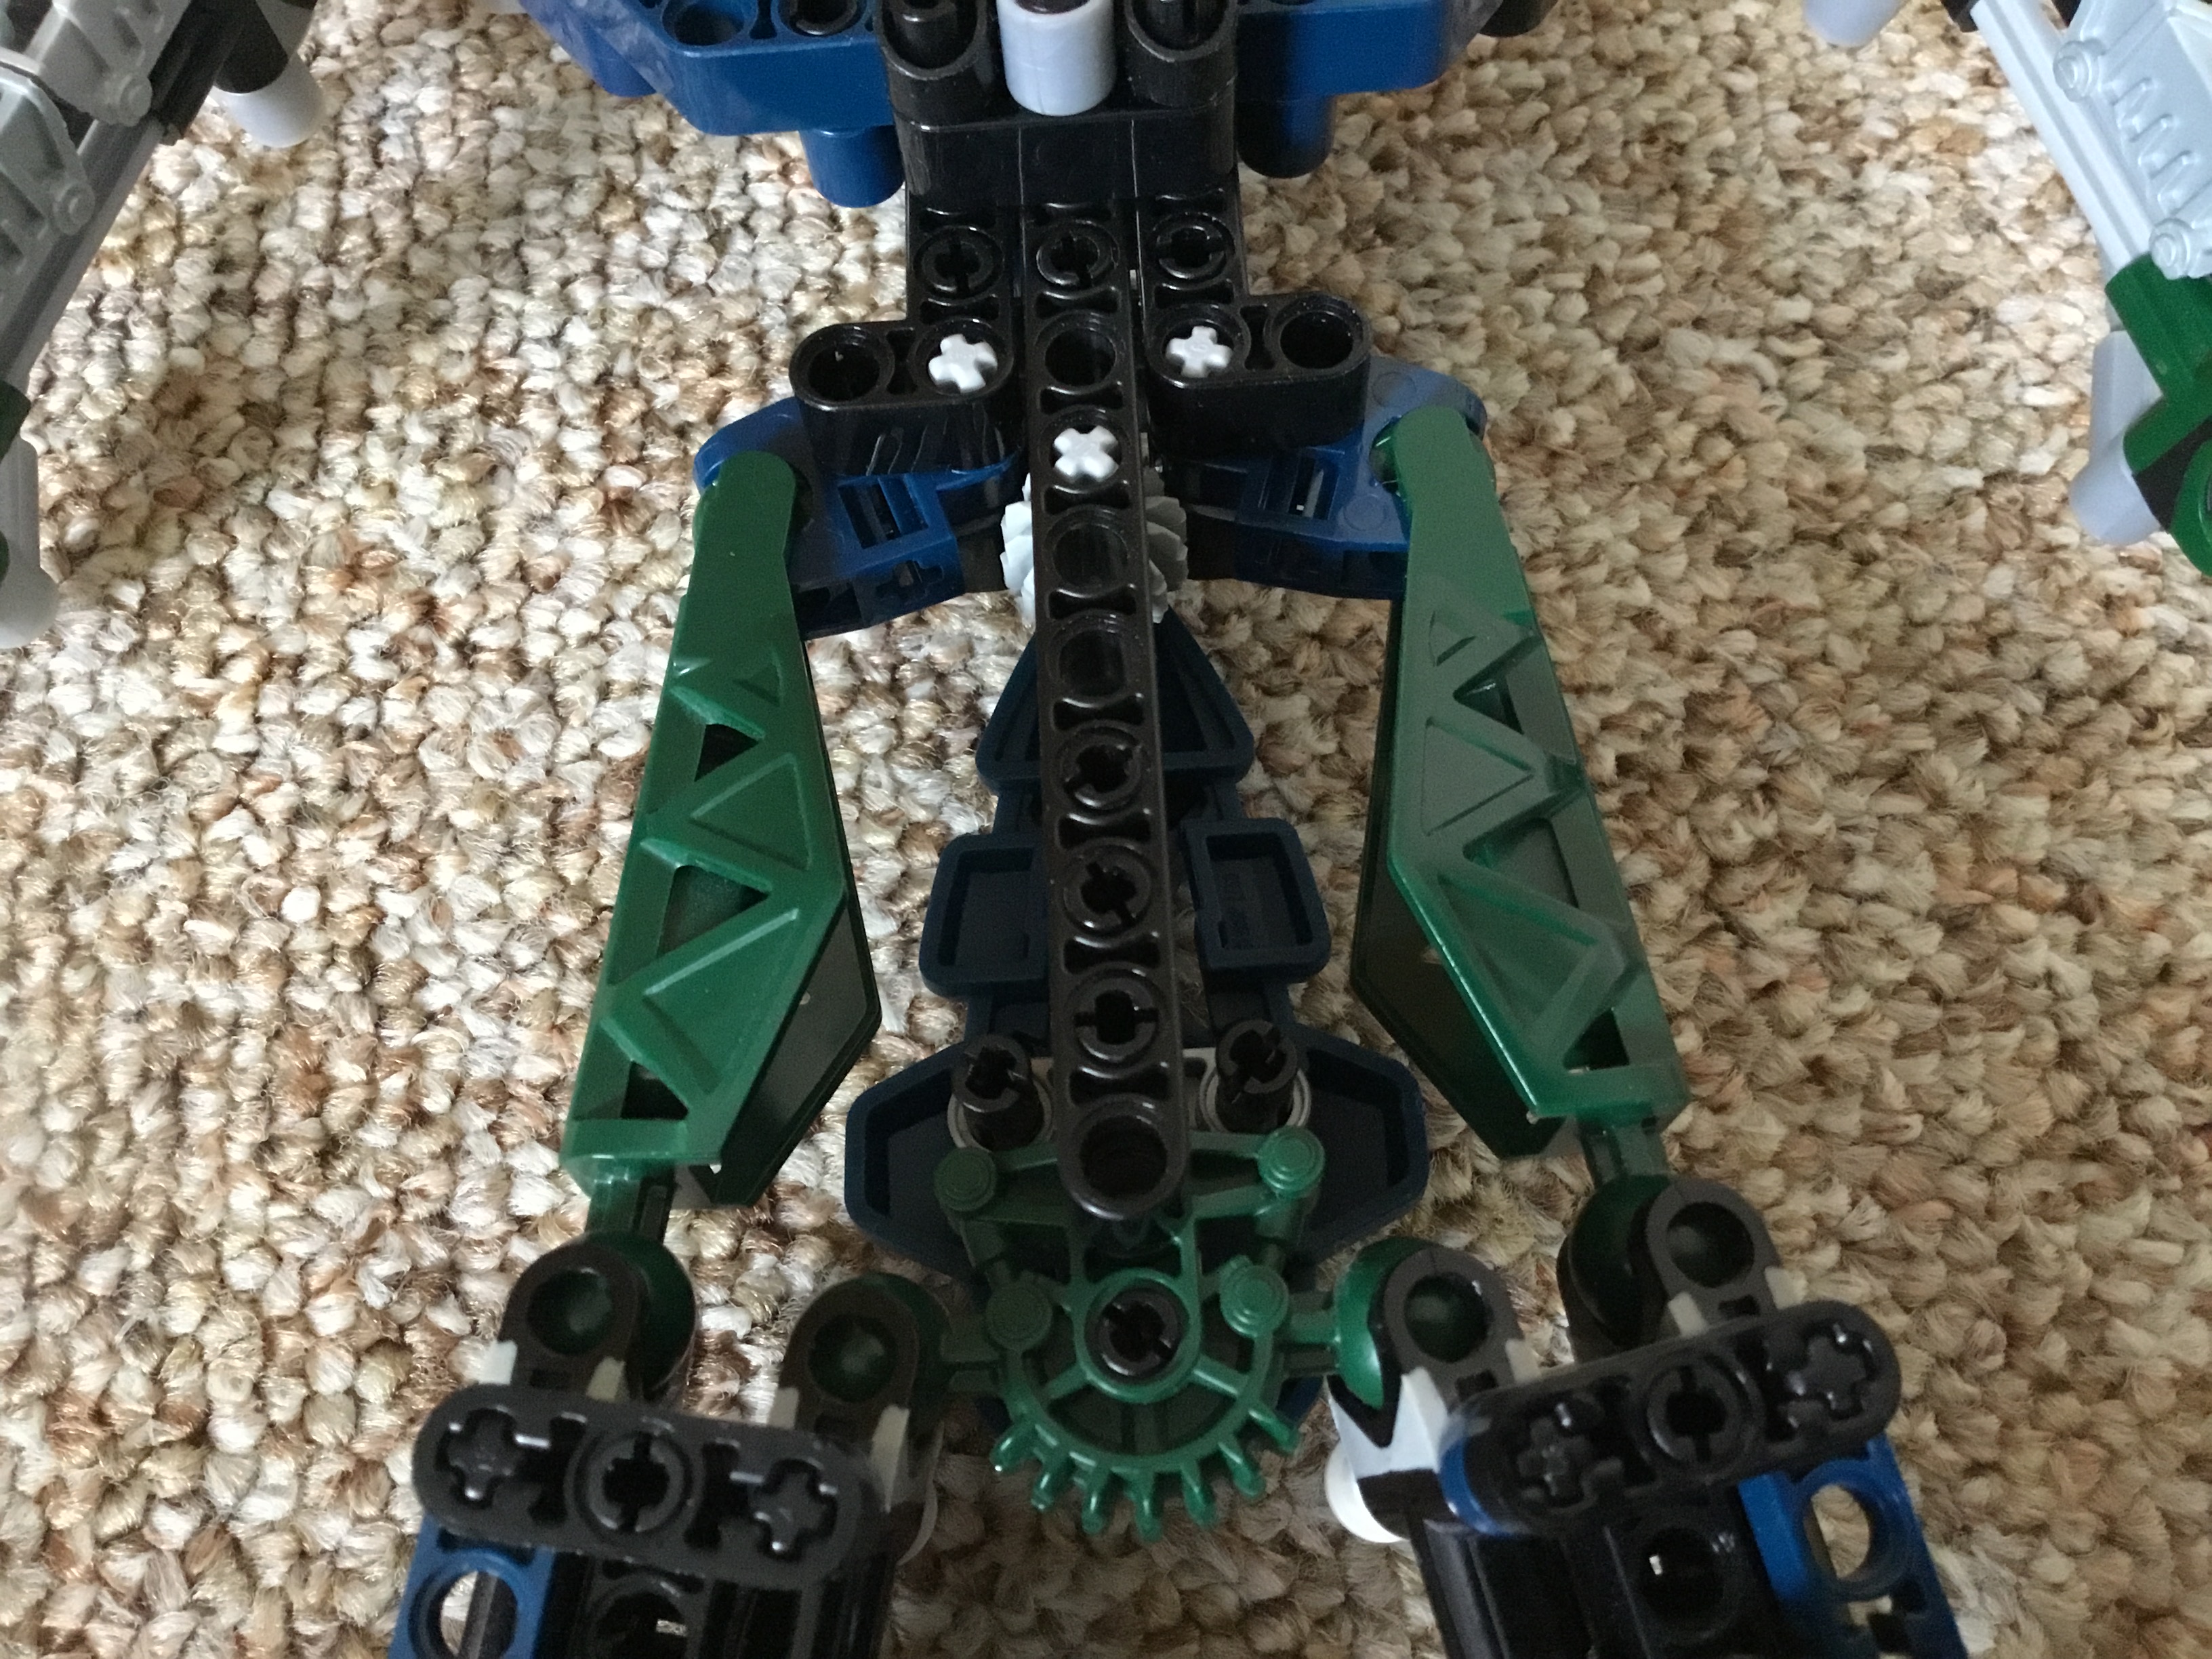
Next, add the green legs to his waist where the black ones used to be. This may seem fairly pointless, but it really helps with the colour distribution.
Then put the black legs where the Metru legs used to be. This lengthens the shins and makes them more proportionate.
In turn, attach the Metru legs to the biceps, thereby shortening them and also making them more proportionate.
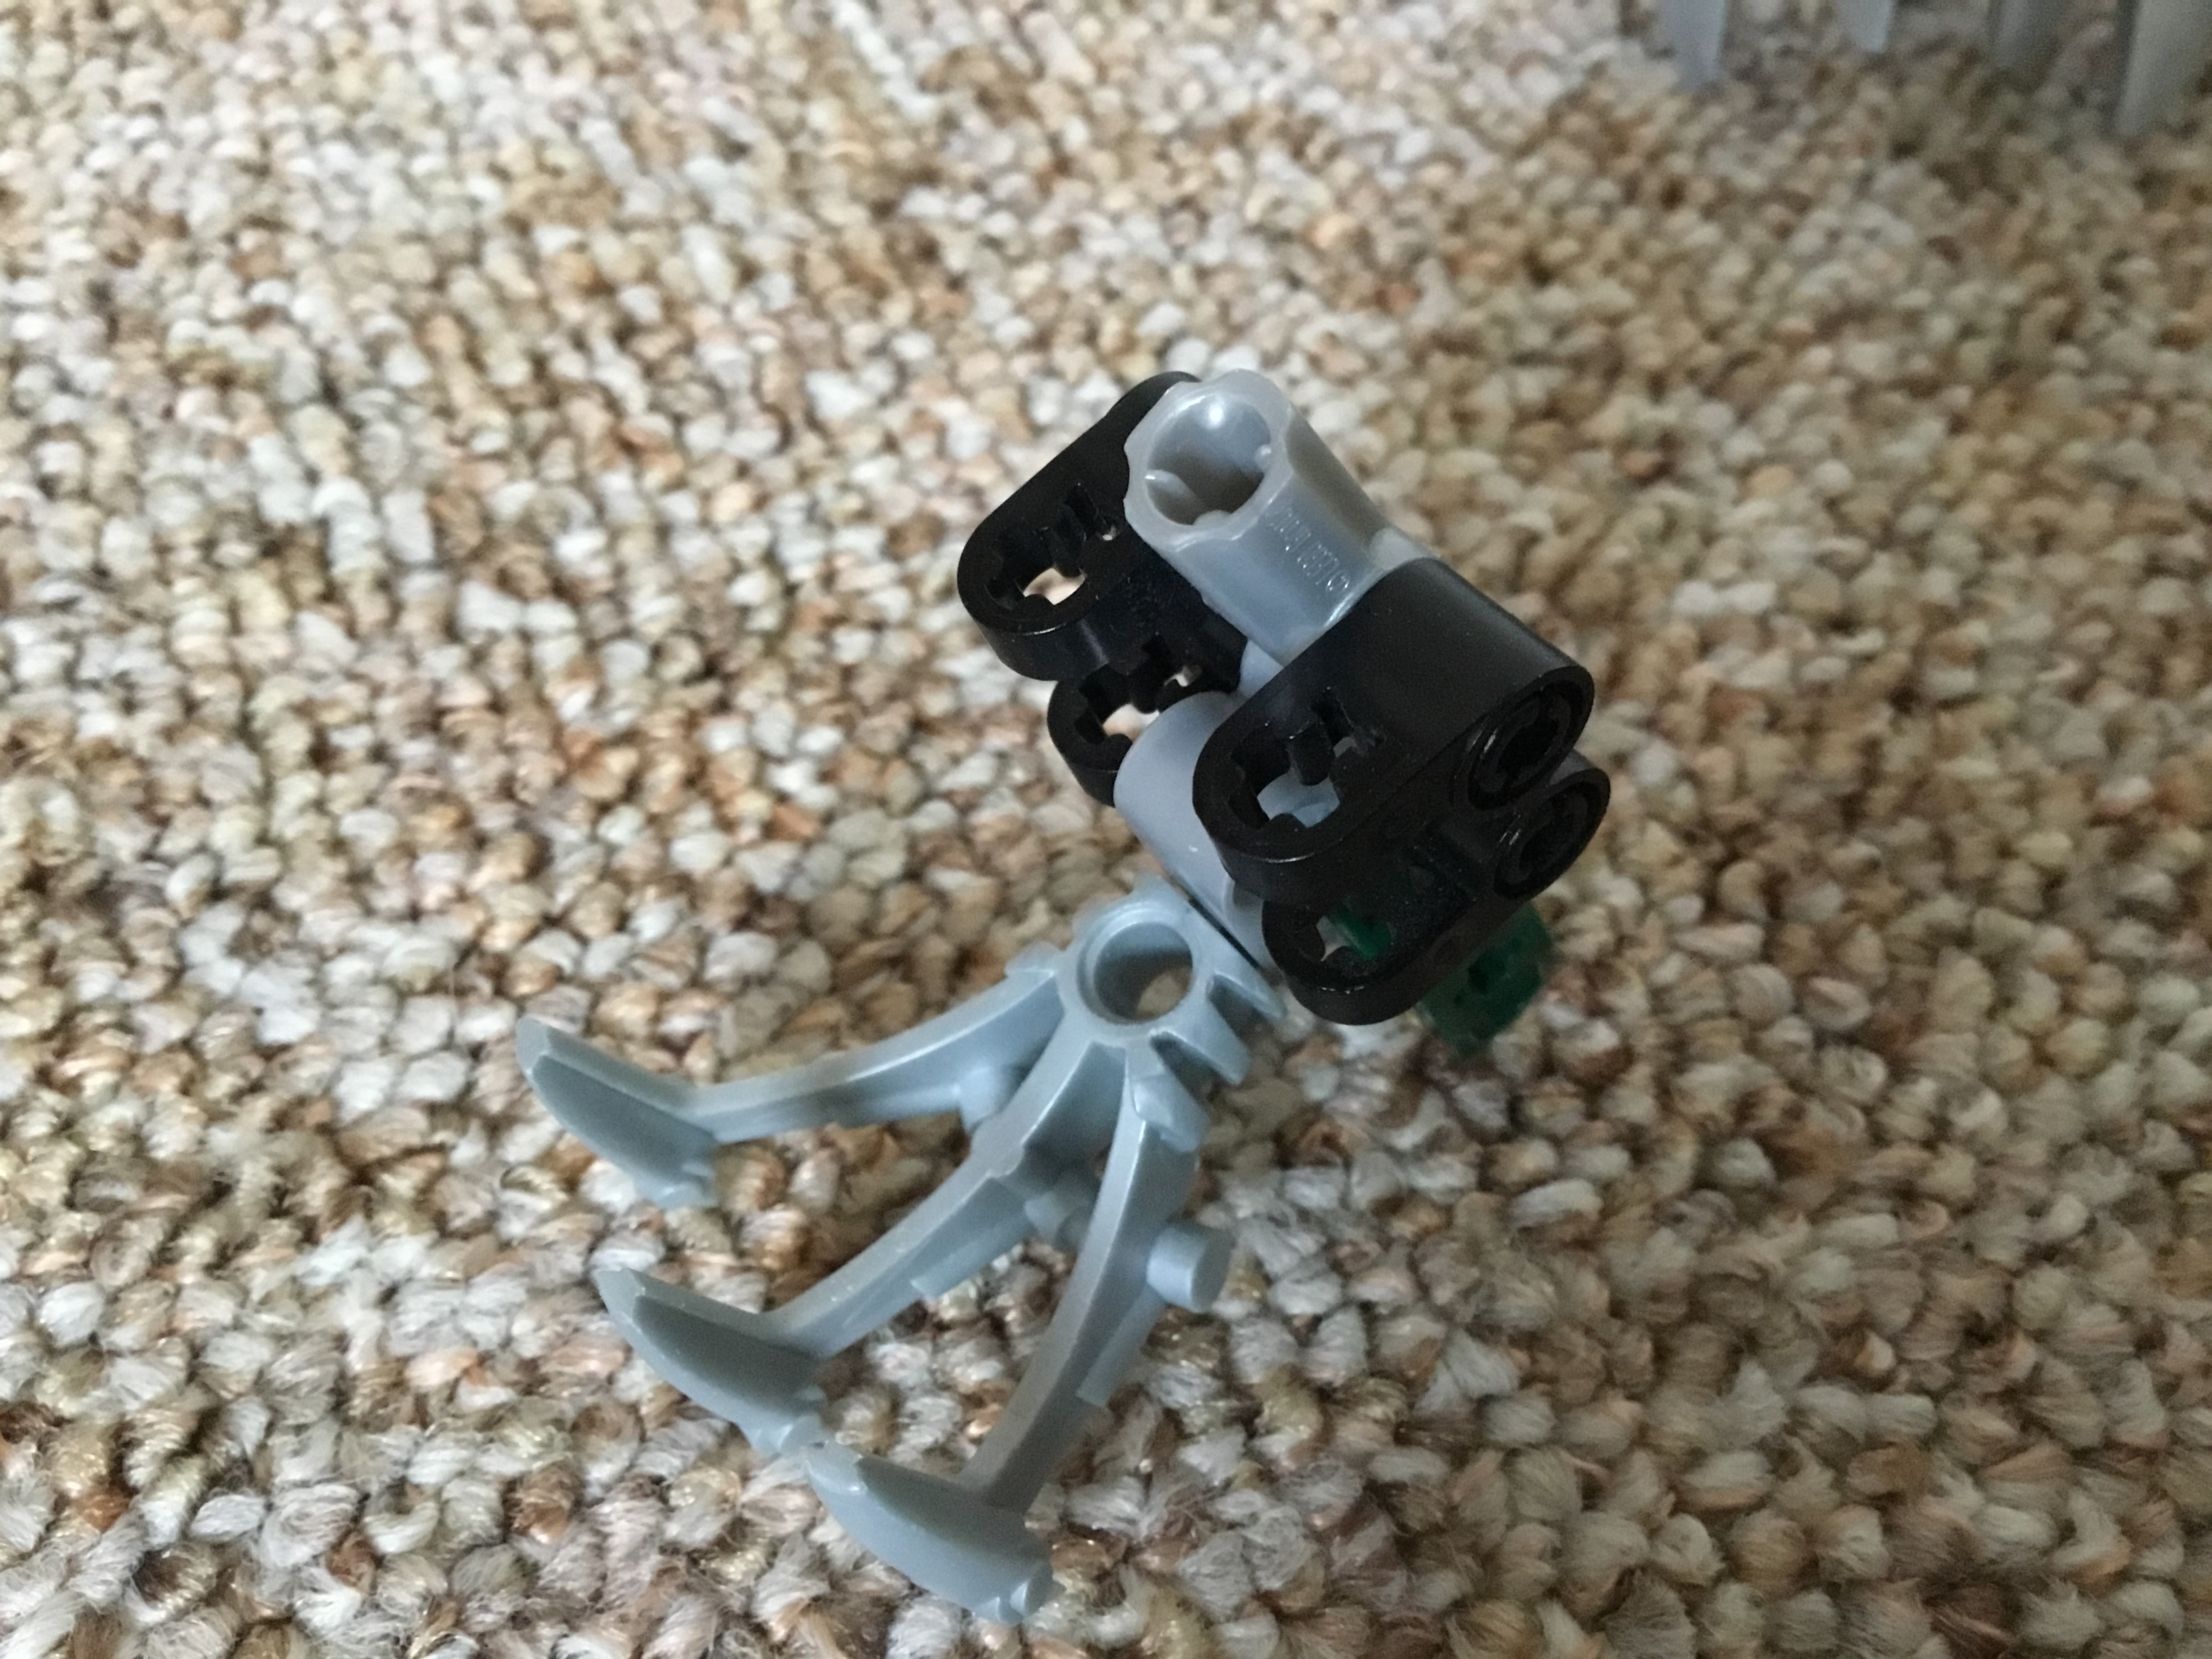
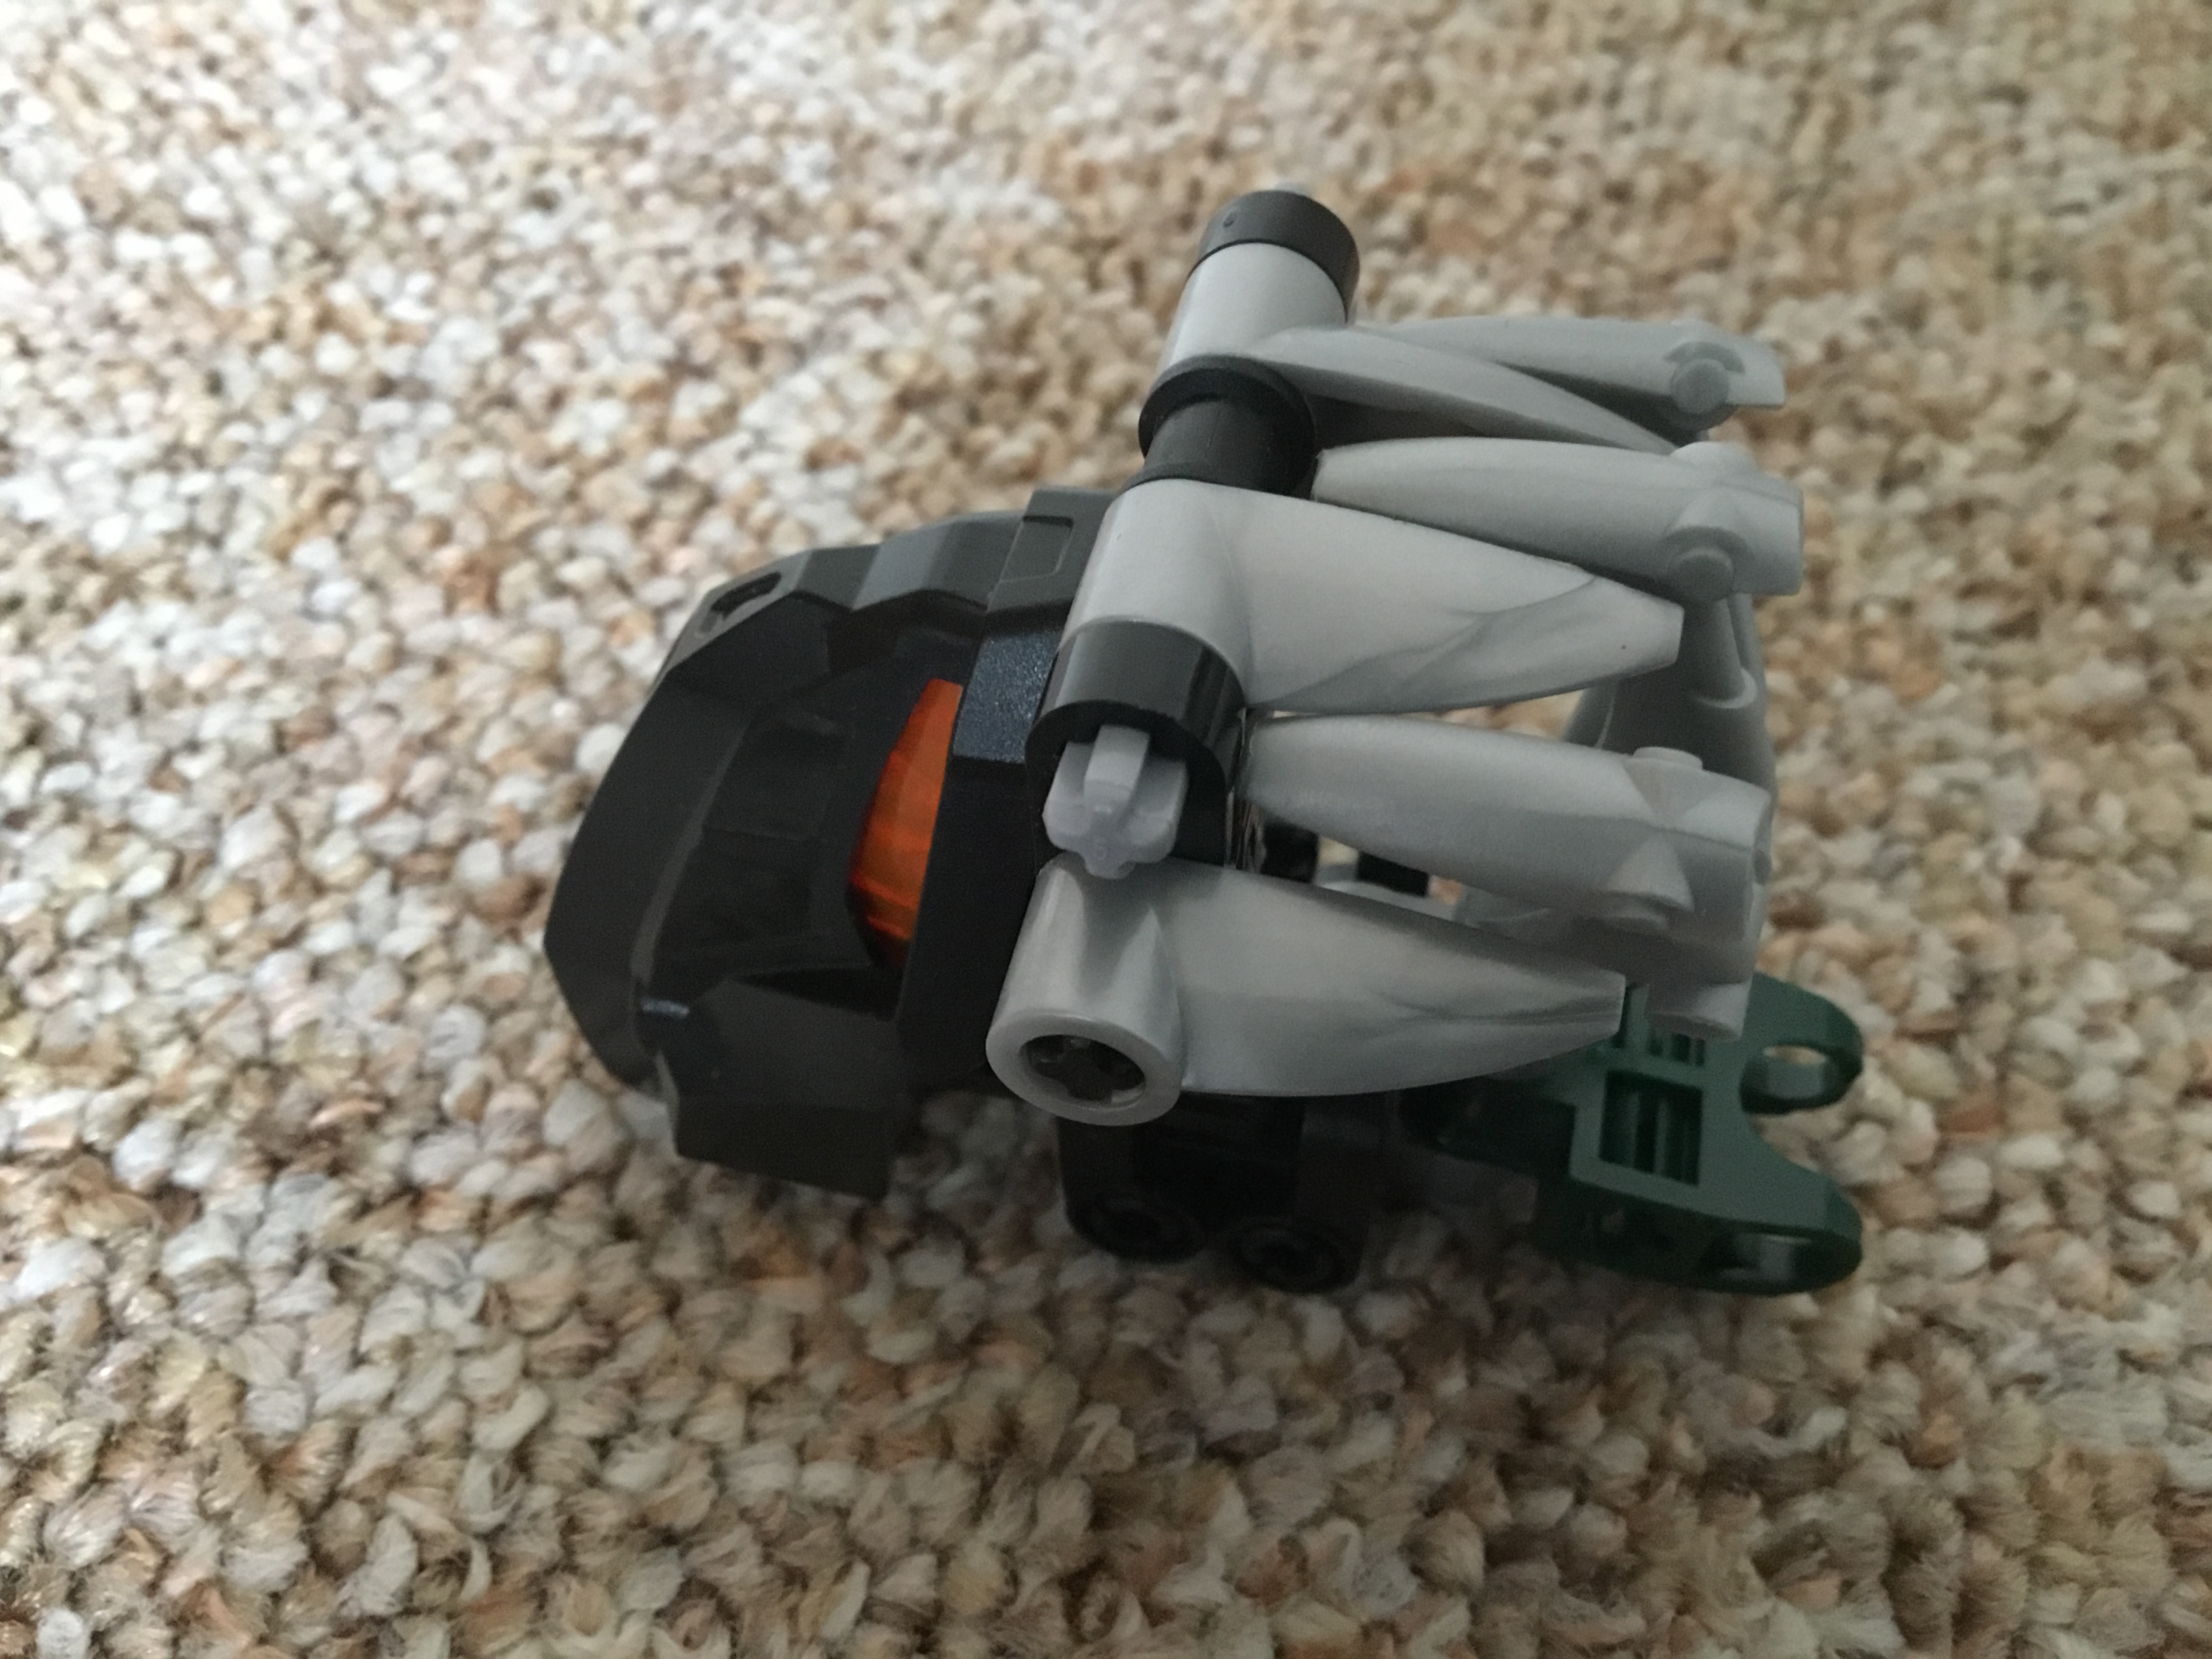
We can now start on the hands. For the left hand, place a single black axle where the thumb used to be. From there, three hooks and a Bohrok eye can replace the previous lanky fingers.
For the shadow hand, you’ll need to split it into two halves. Pay close attention to which parts are in which half.
You’ll also need to remove the black axles from the half with the thumb before proceeding. Save these for later.
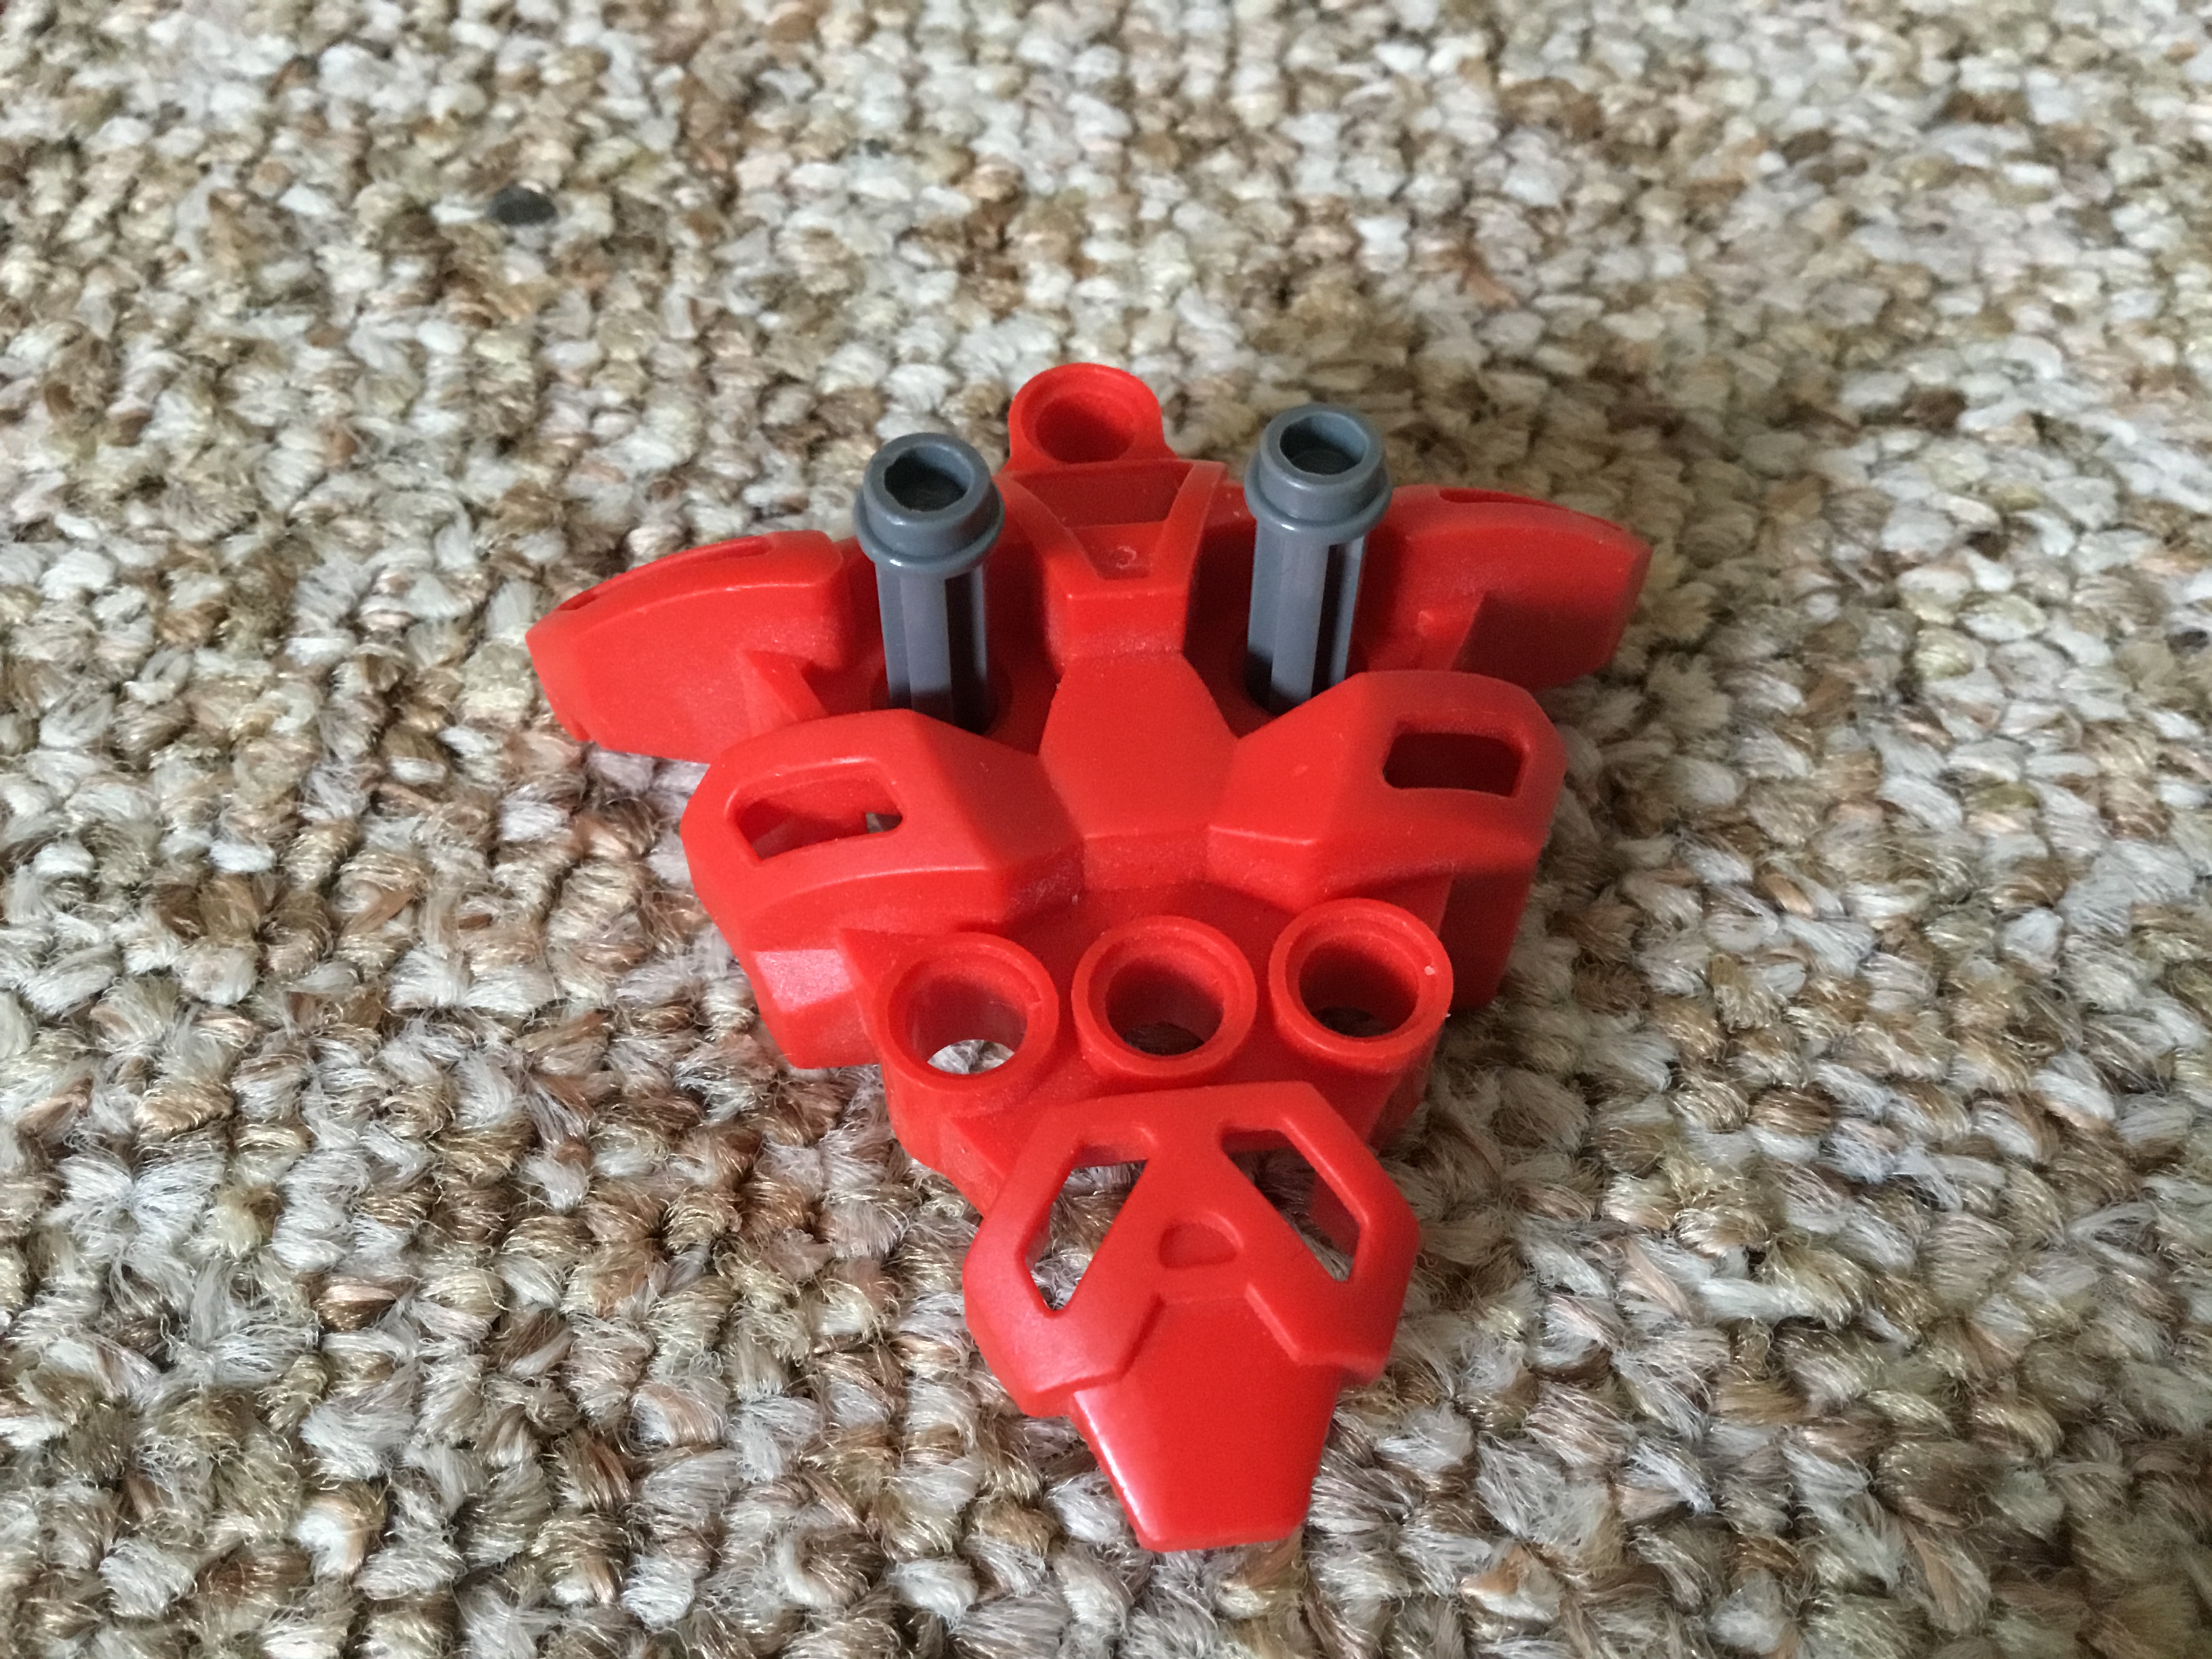
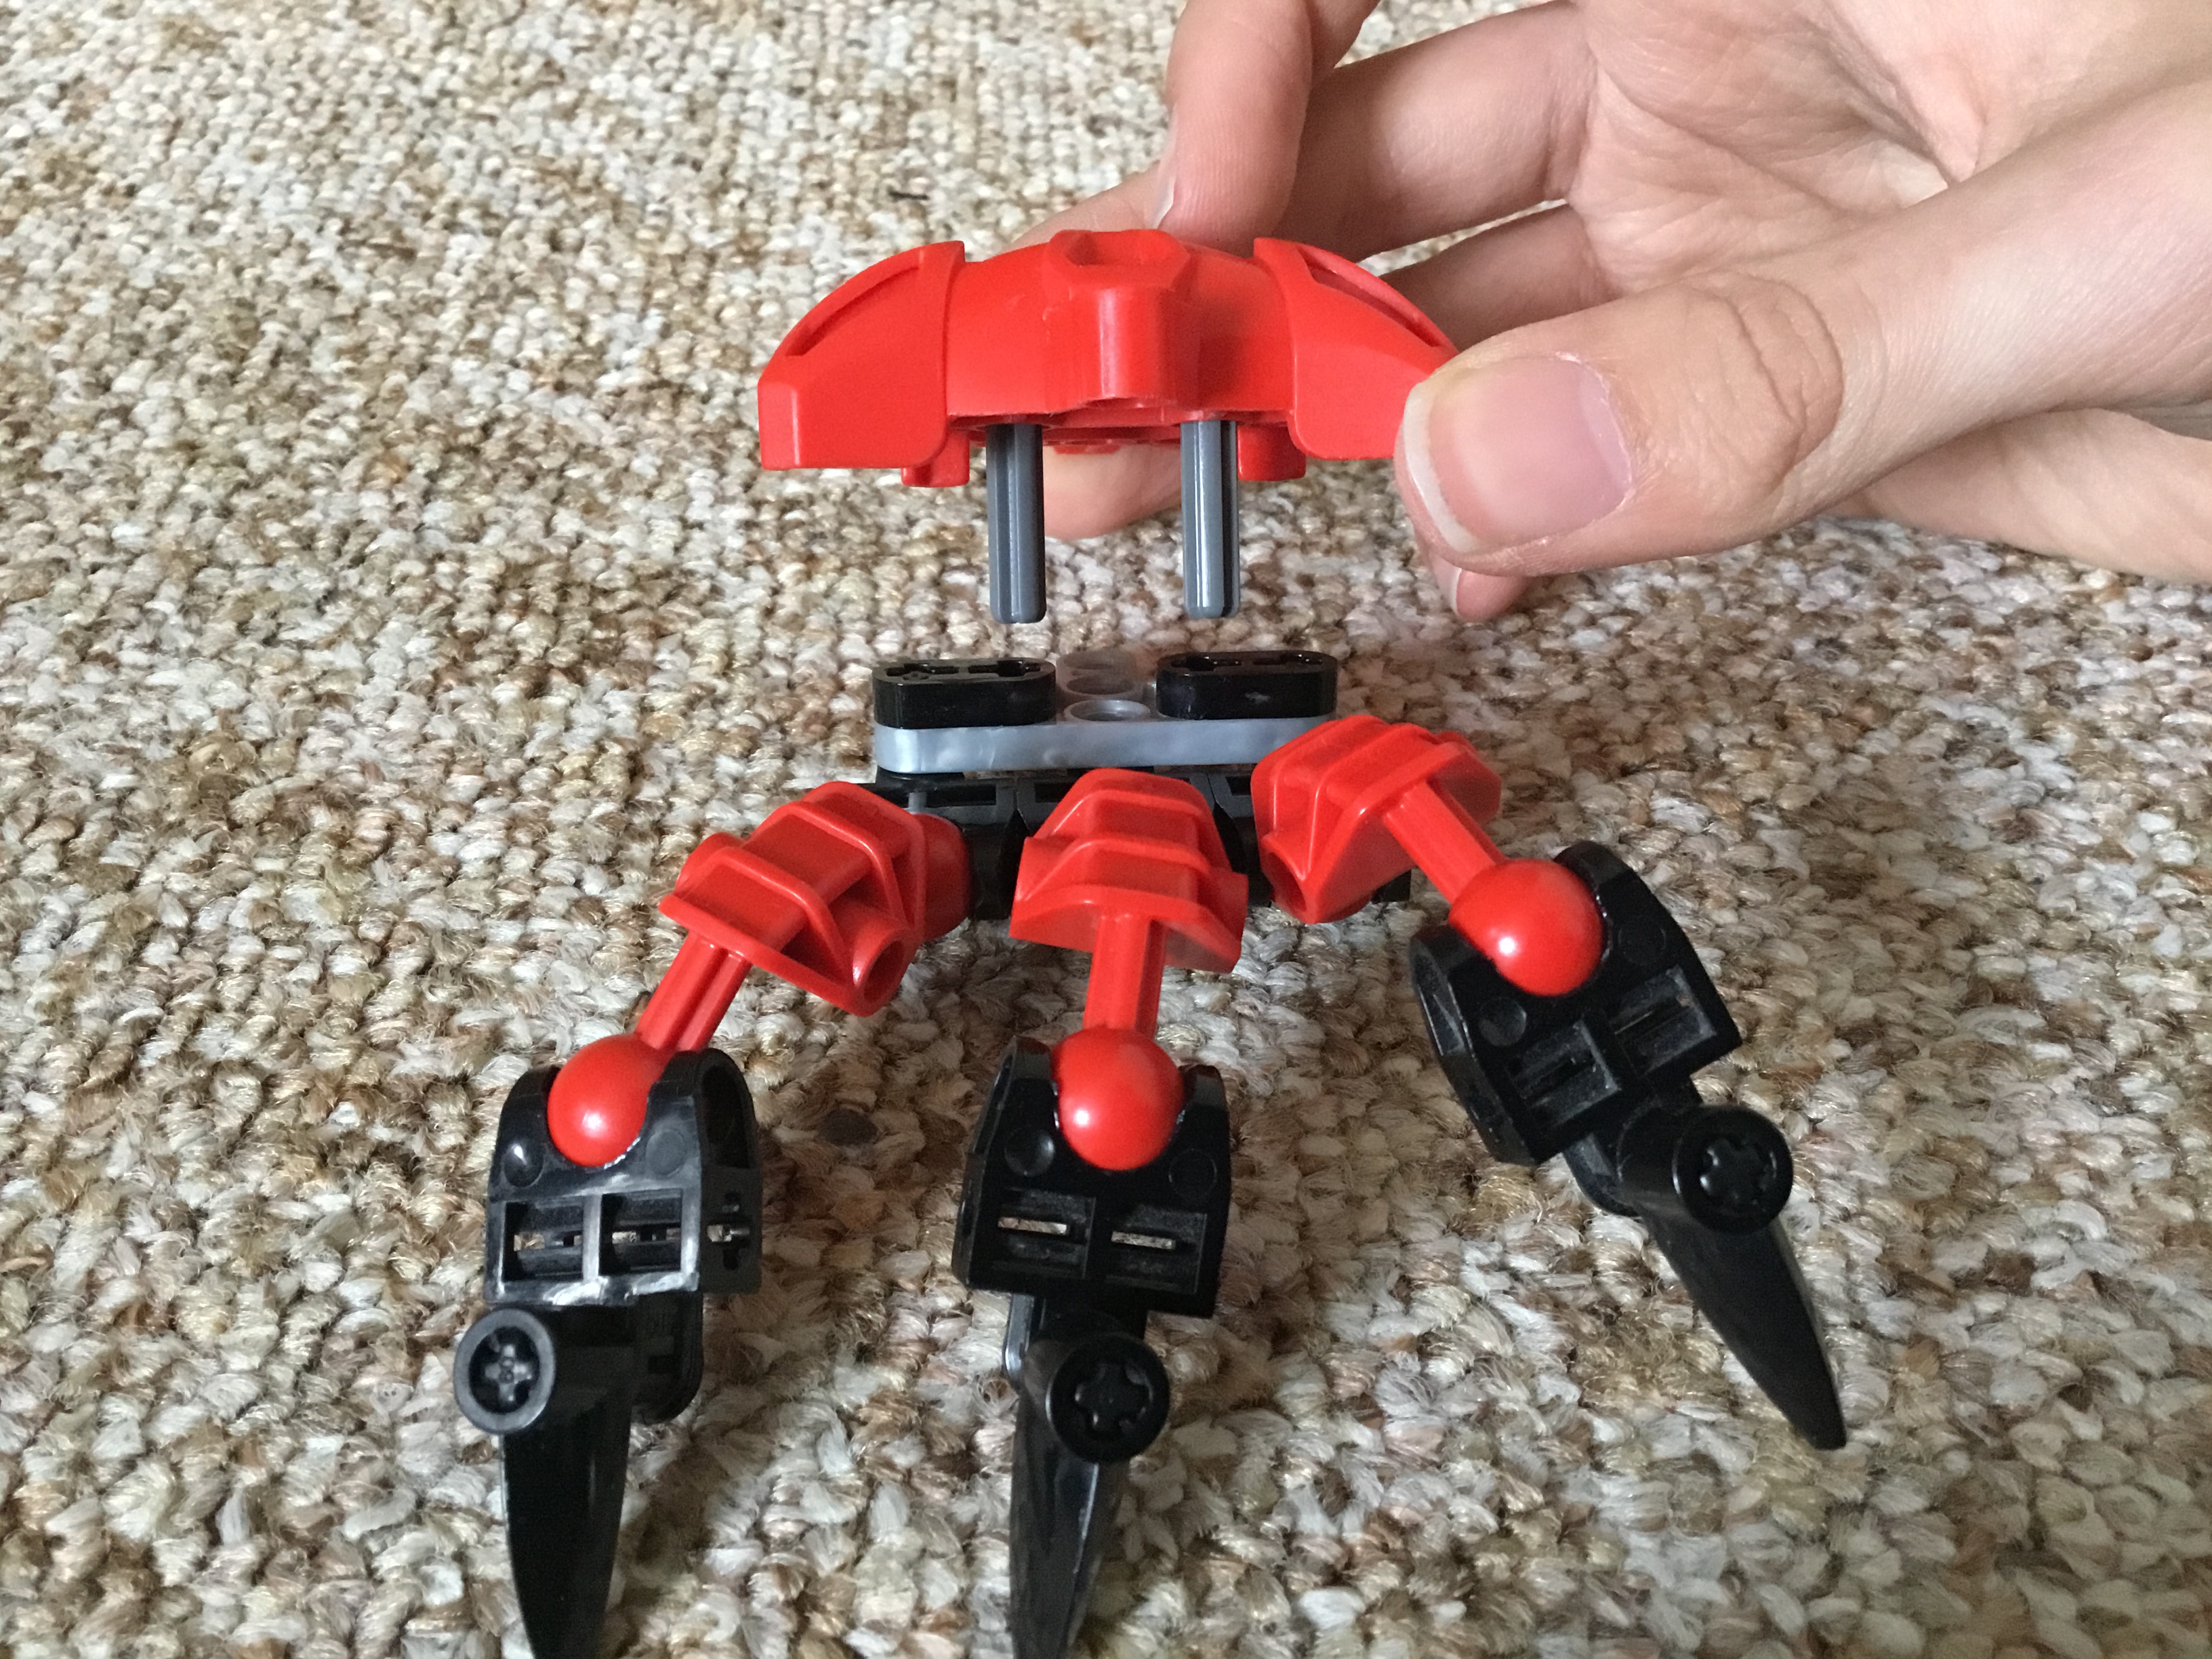
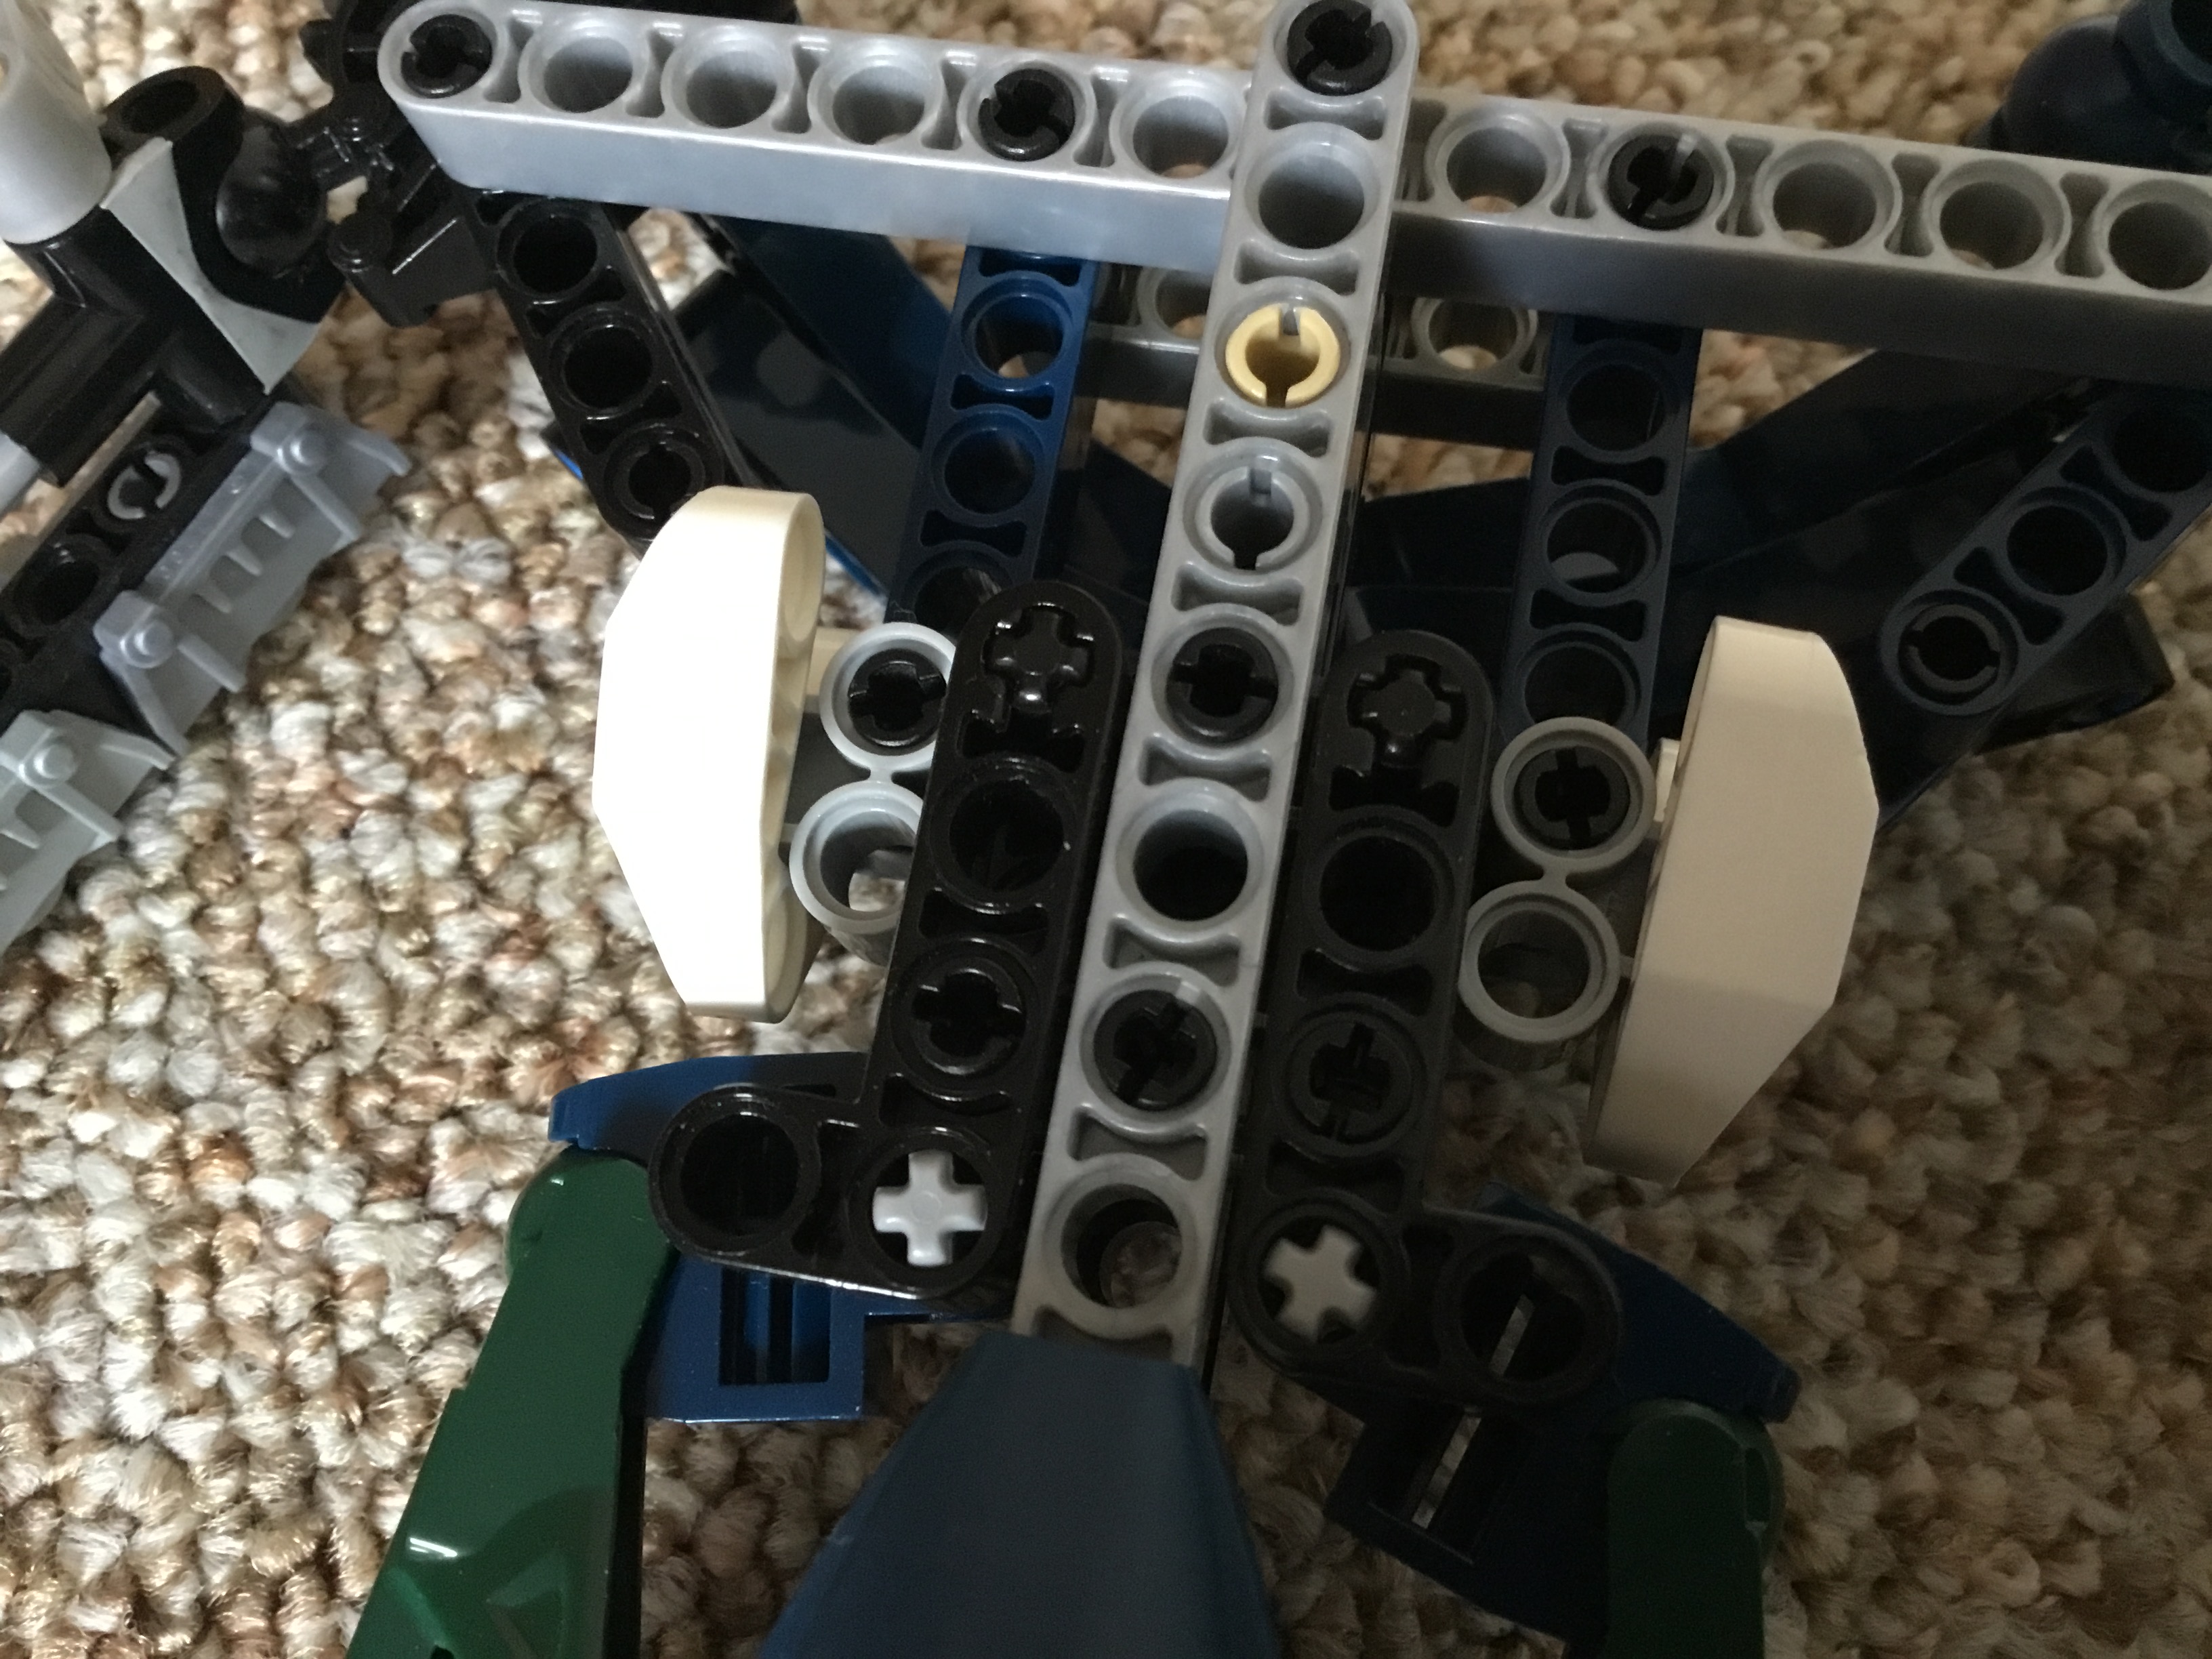
Meanwhile, place two axles with studs through the chest of Dume’s torso.
Line up the two axles with the two holes in the black pieces on the larger part of the hand and attach them together.
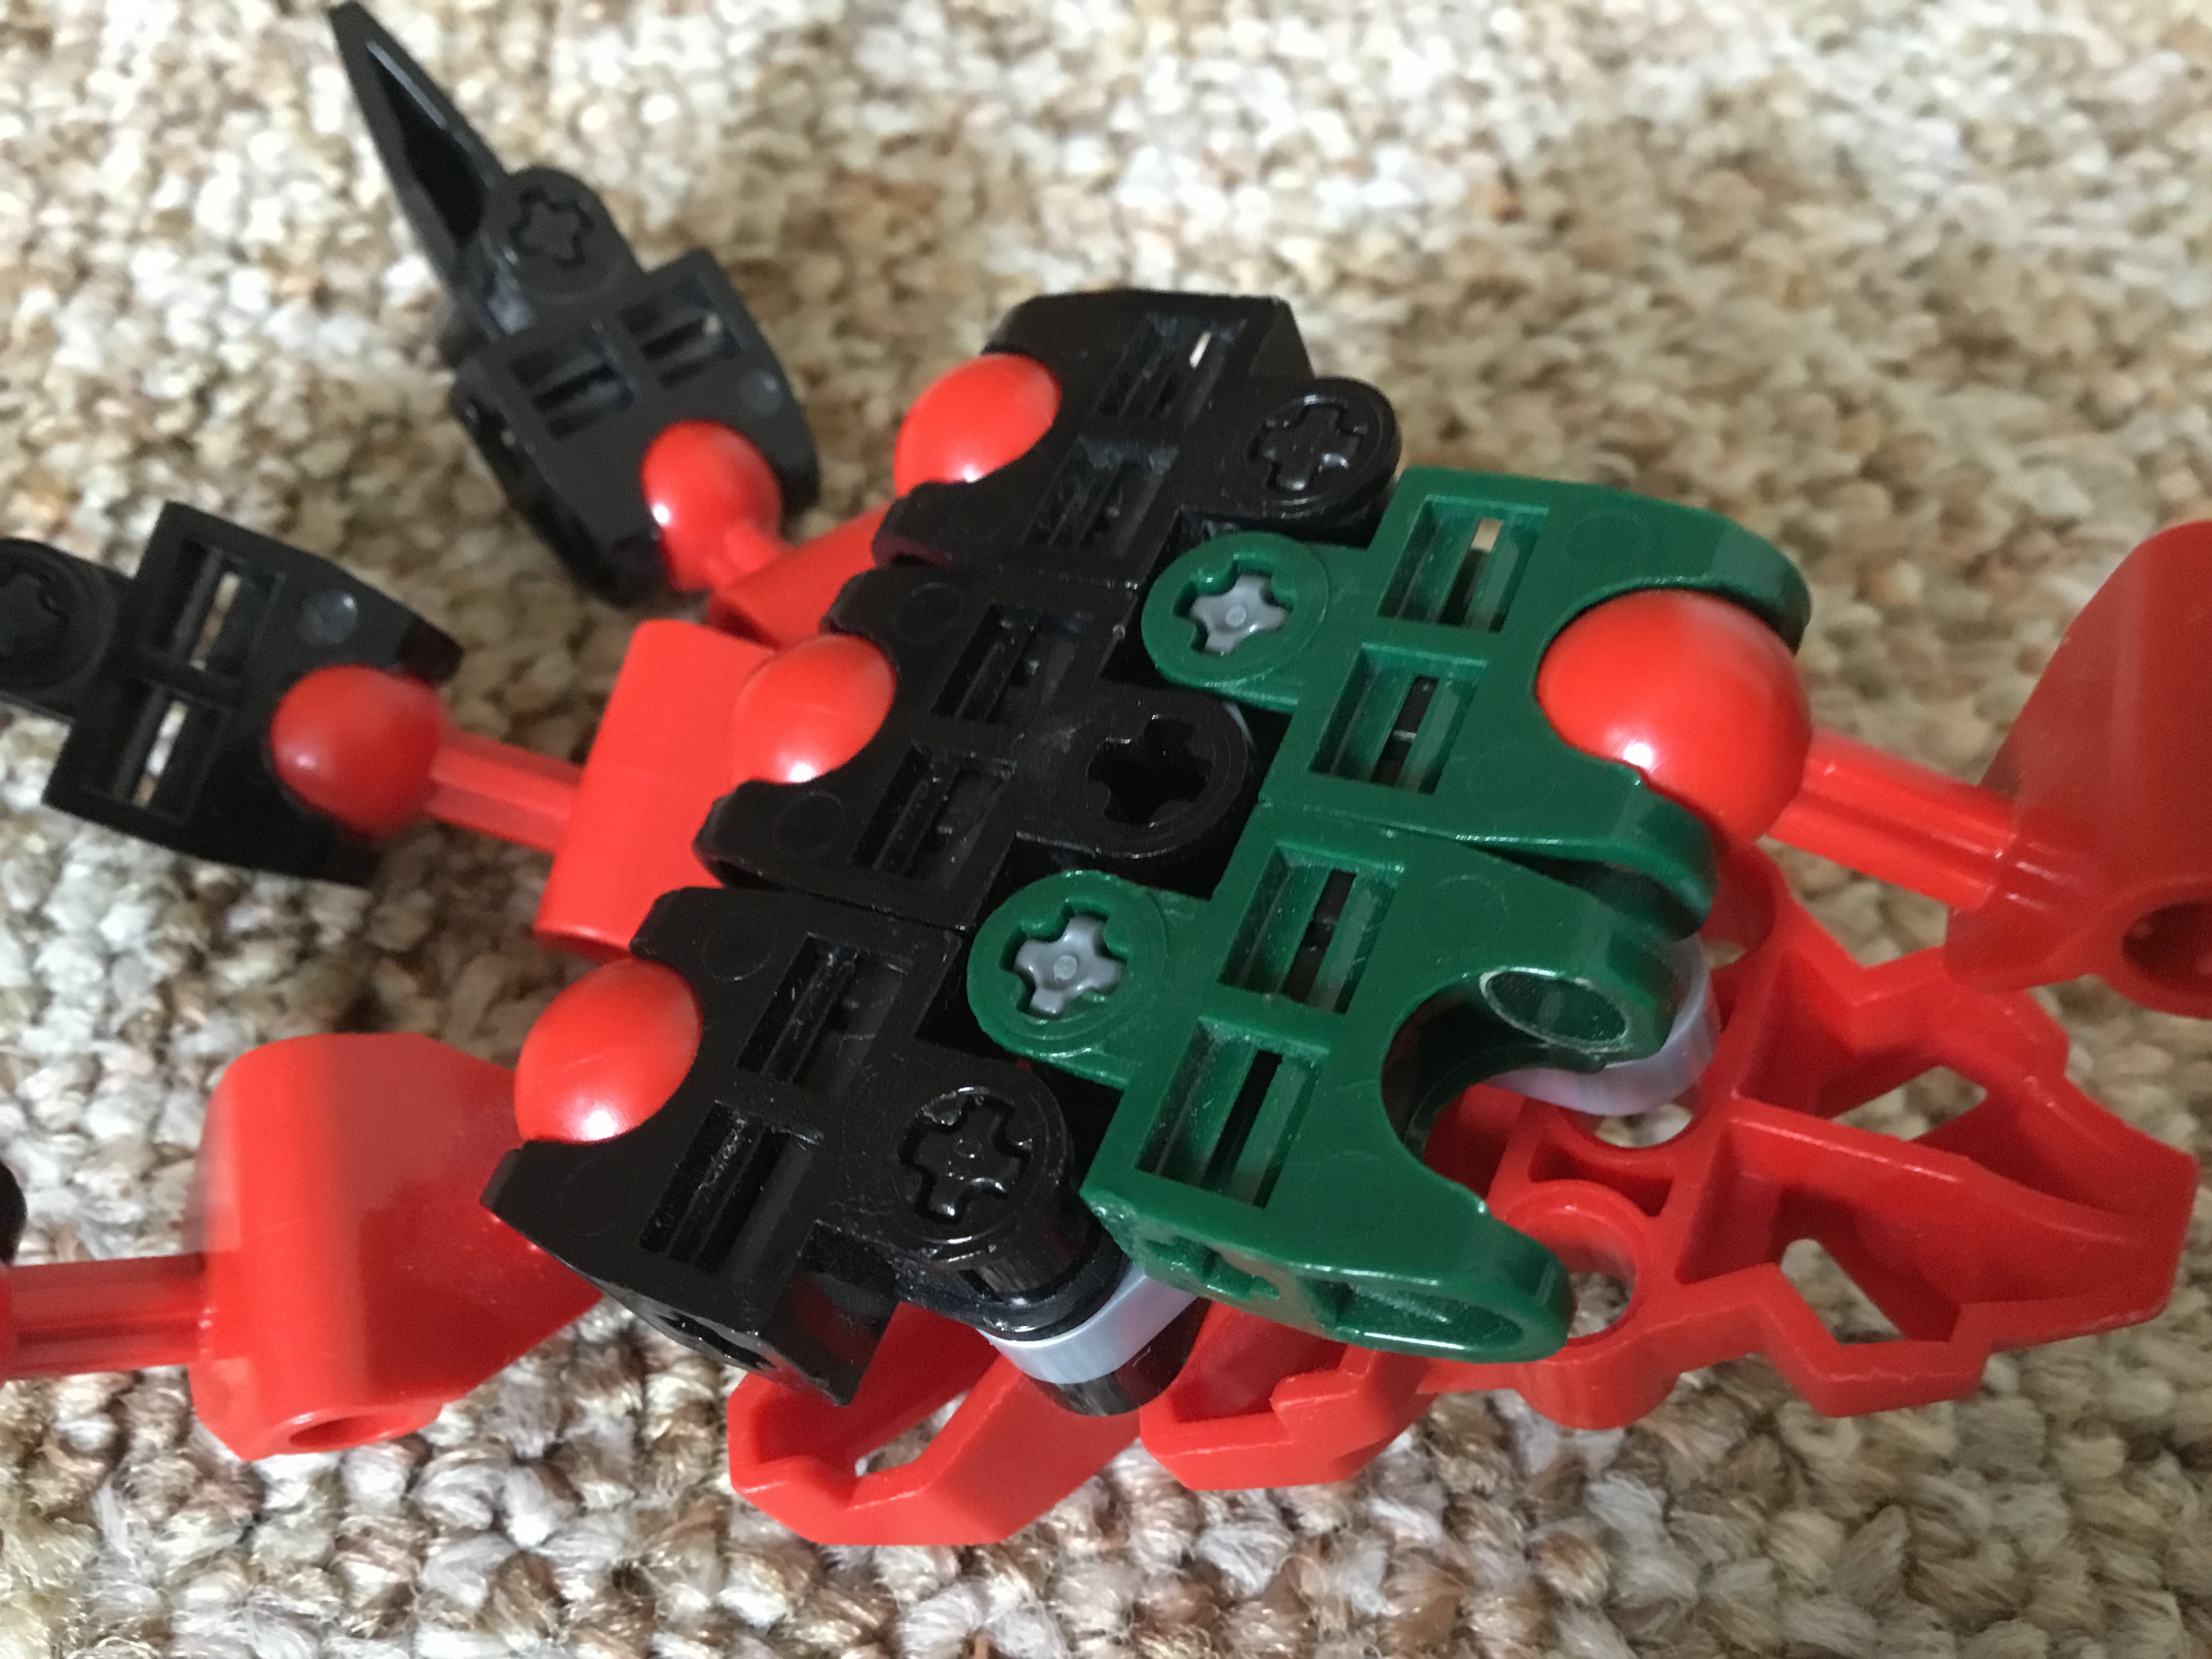
Finally, reattach the other half to the exposed axles.
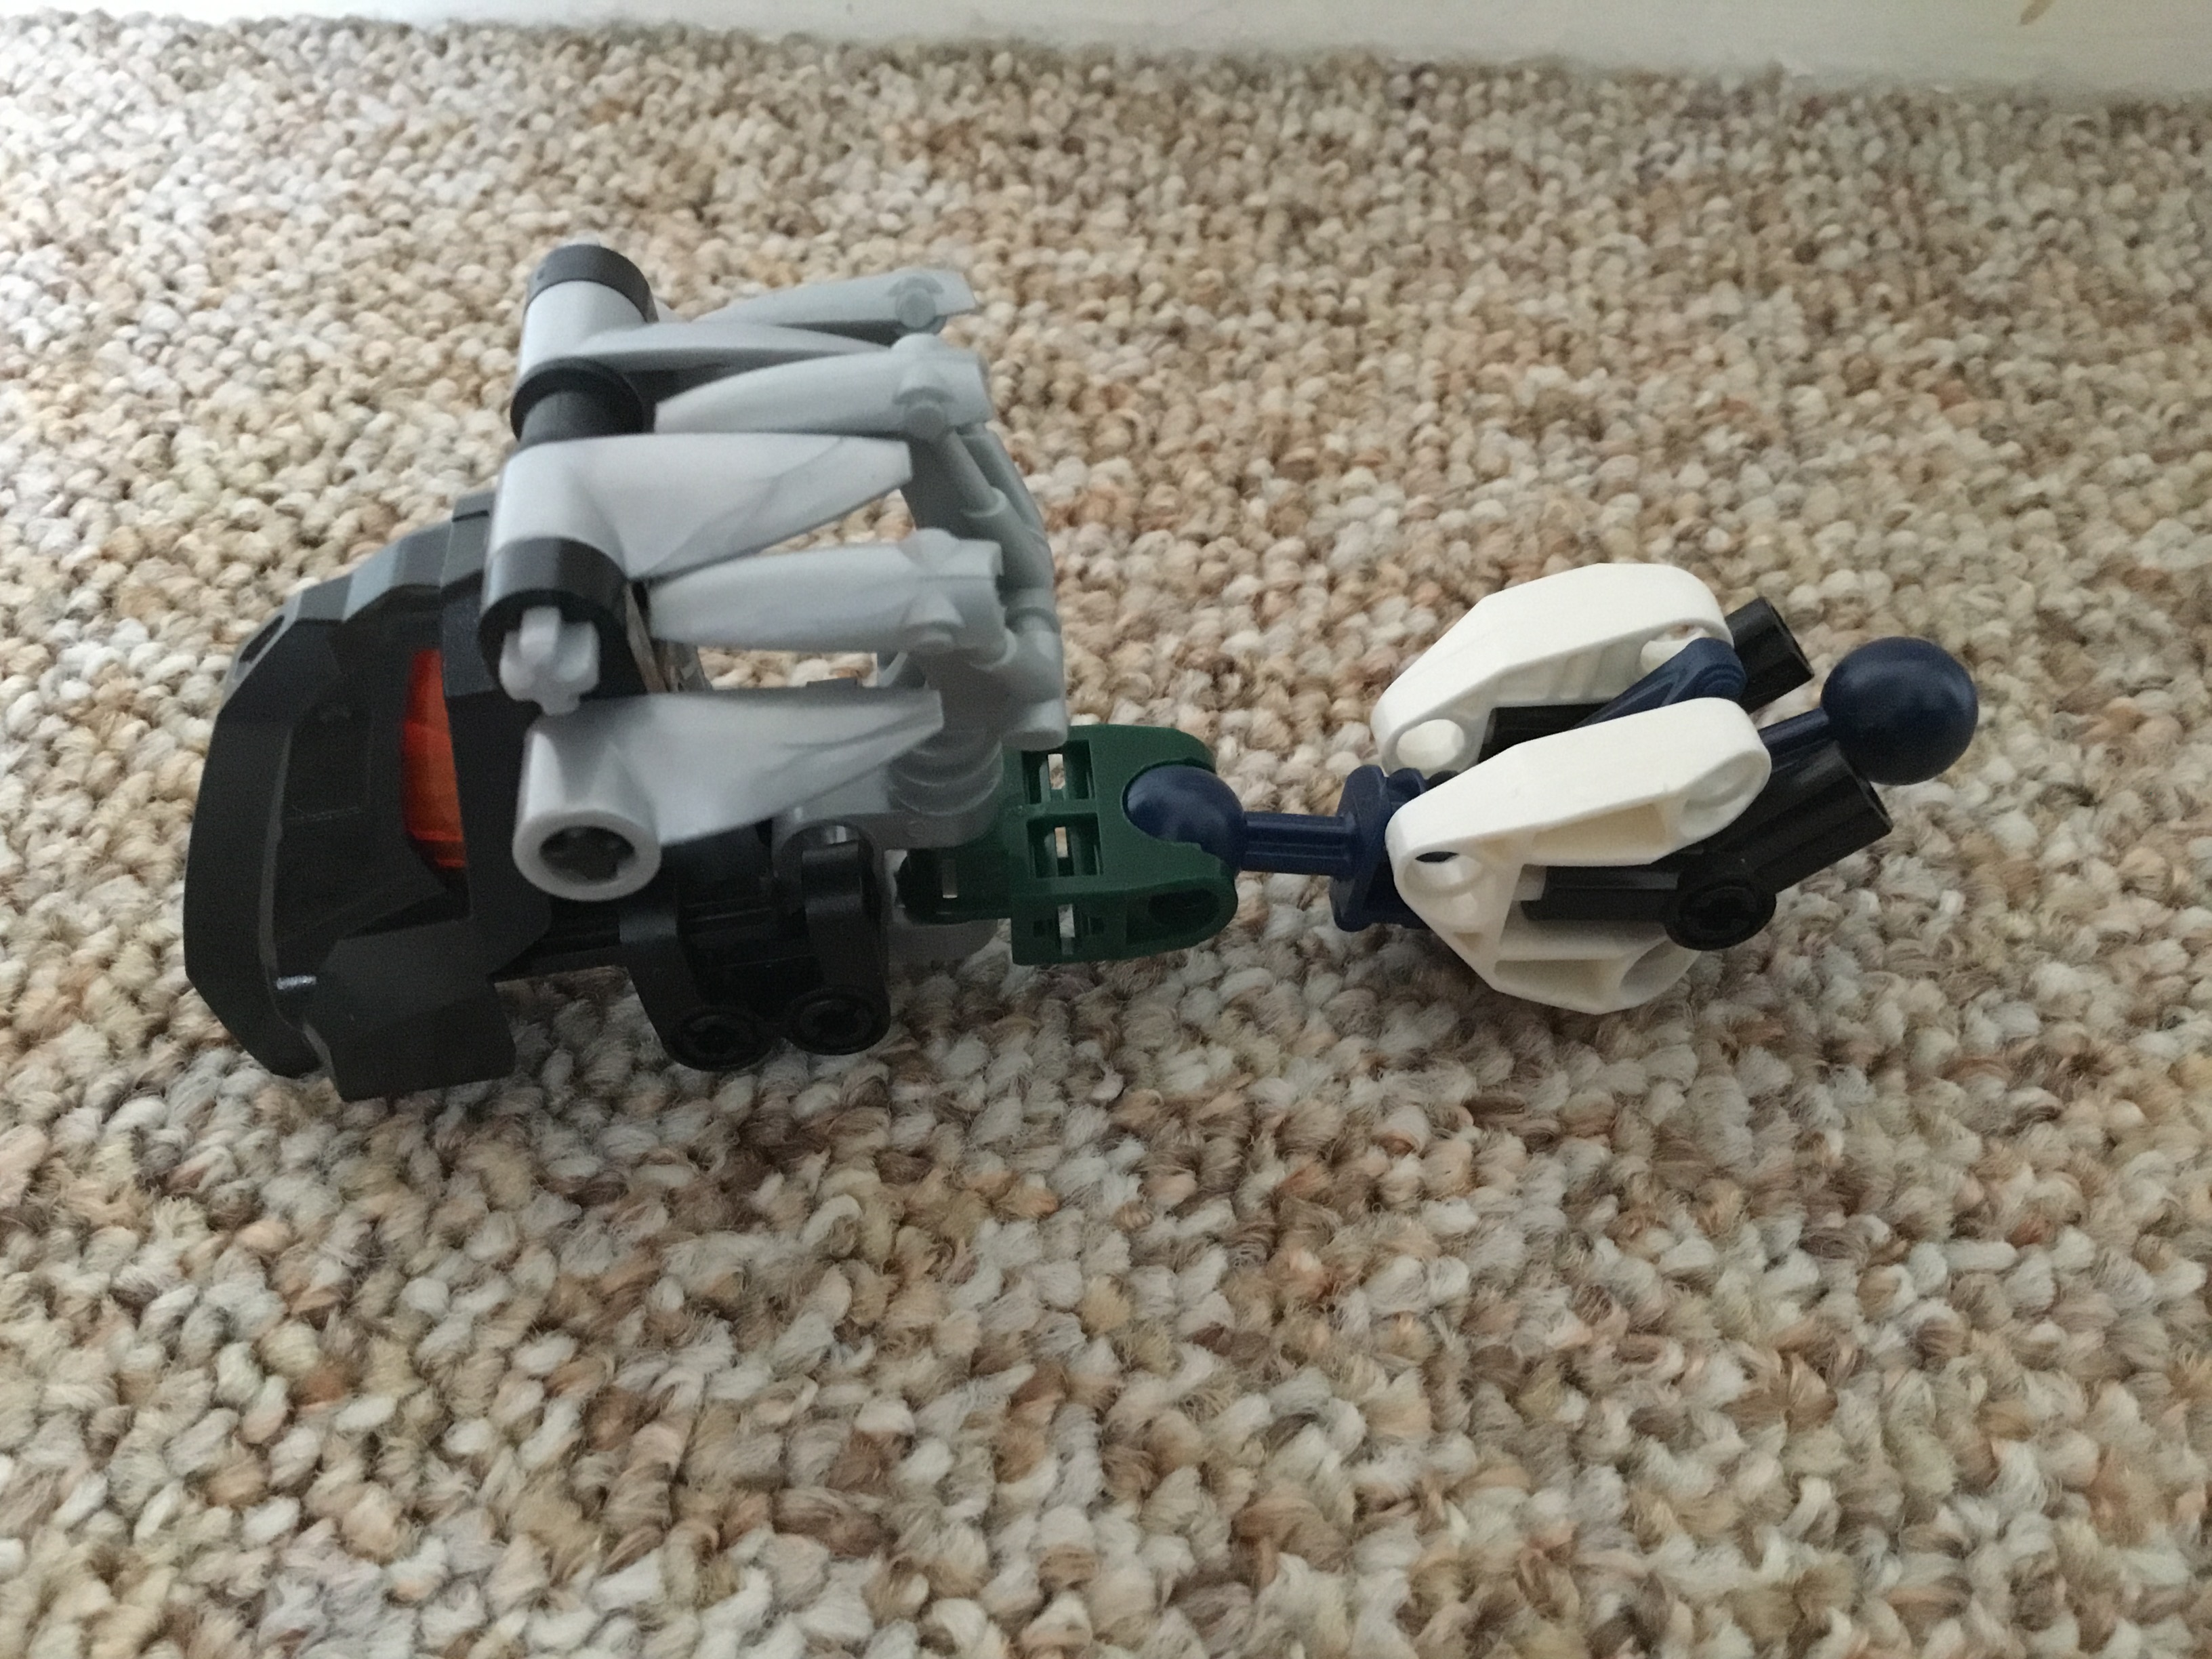
Attach the hands to the arms and we can begin the next part.
III: Back
Firstly, turn him over and remove the head and neck from the model. This pulls out rather easily. Keep them assembled for later.
Next, remove the Rahkshi foot from his waist. This small silver assembly should come along with it. Also set the section to one side.

With these parts removed, you can pull off the vertical silver beam on his back. Again, keep this small assembly built.
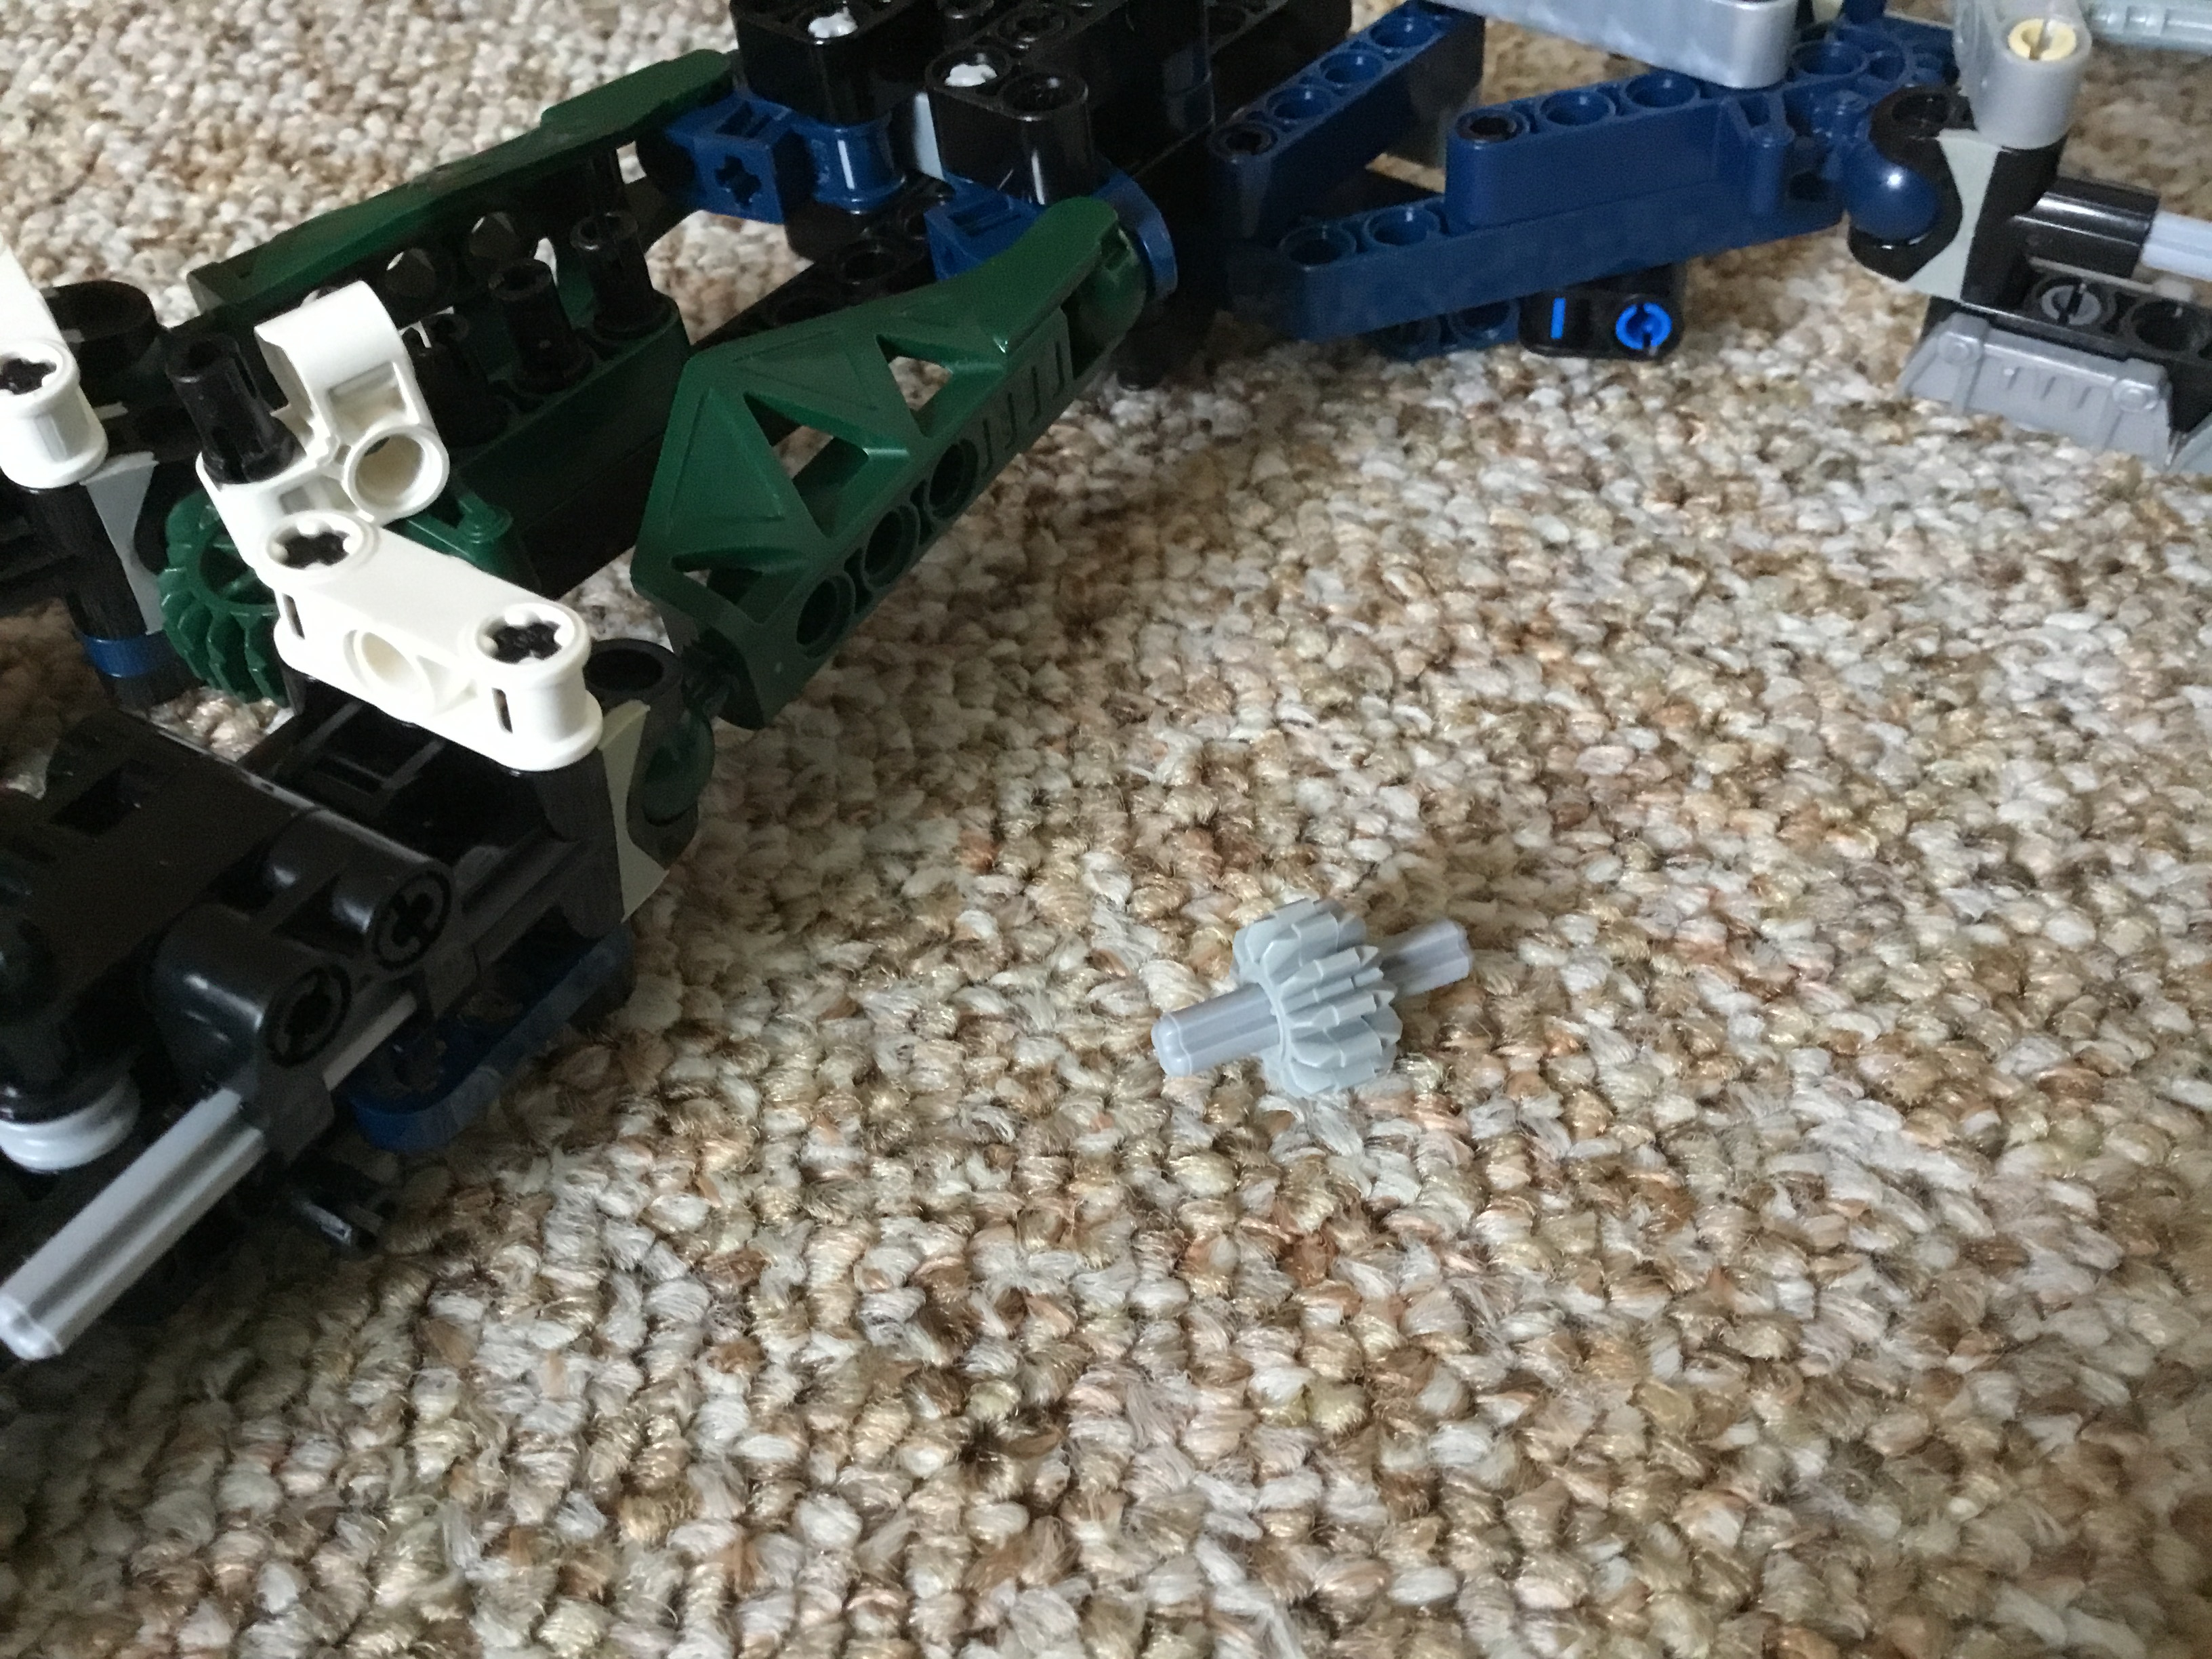
You can now remove the pointless gear and axle from inside his stomach. These parts can be discarded; they will not be needed later.
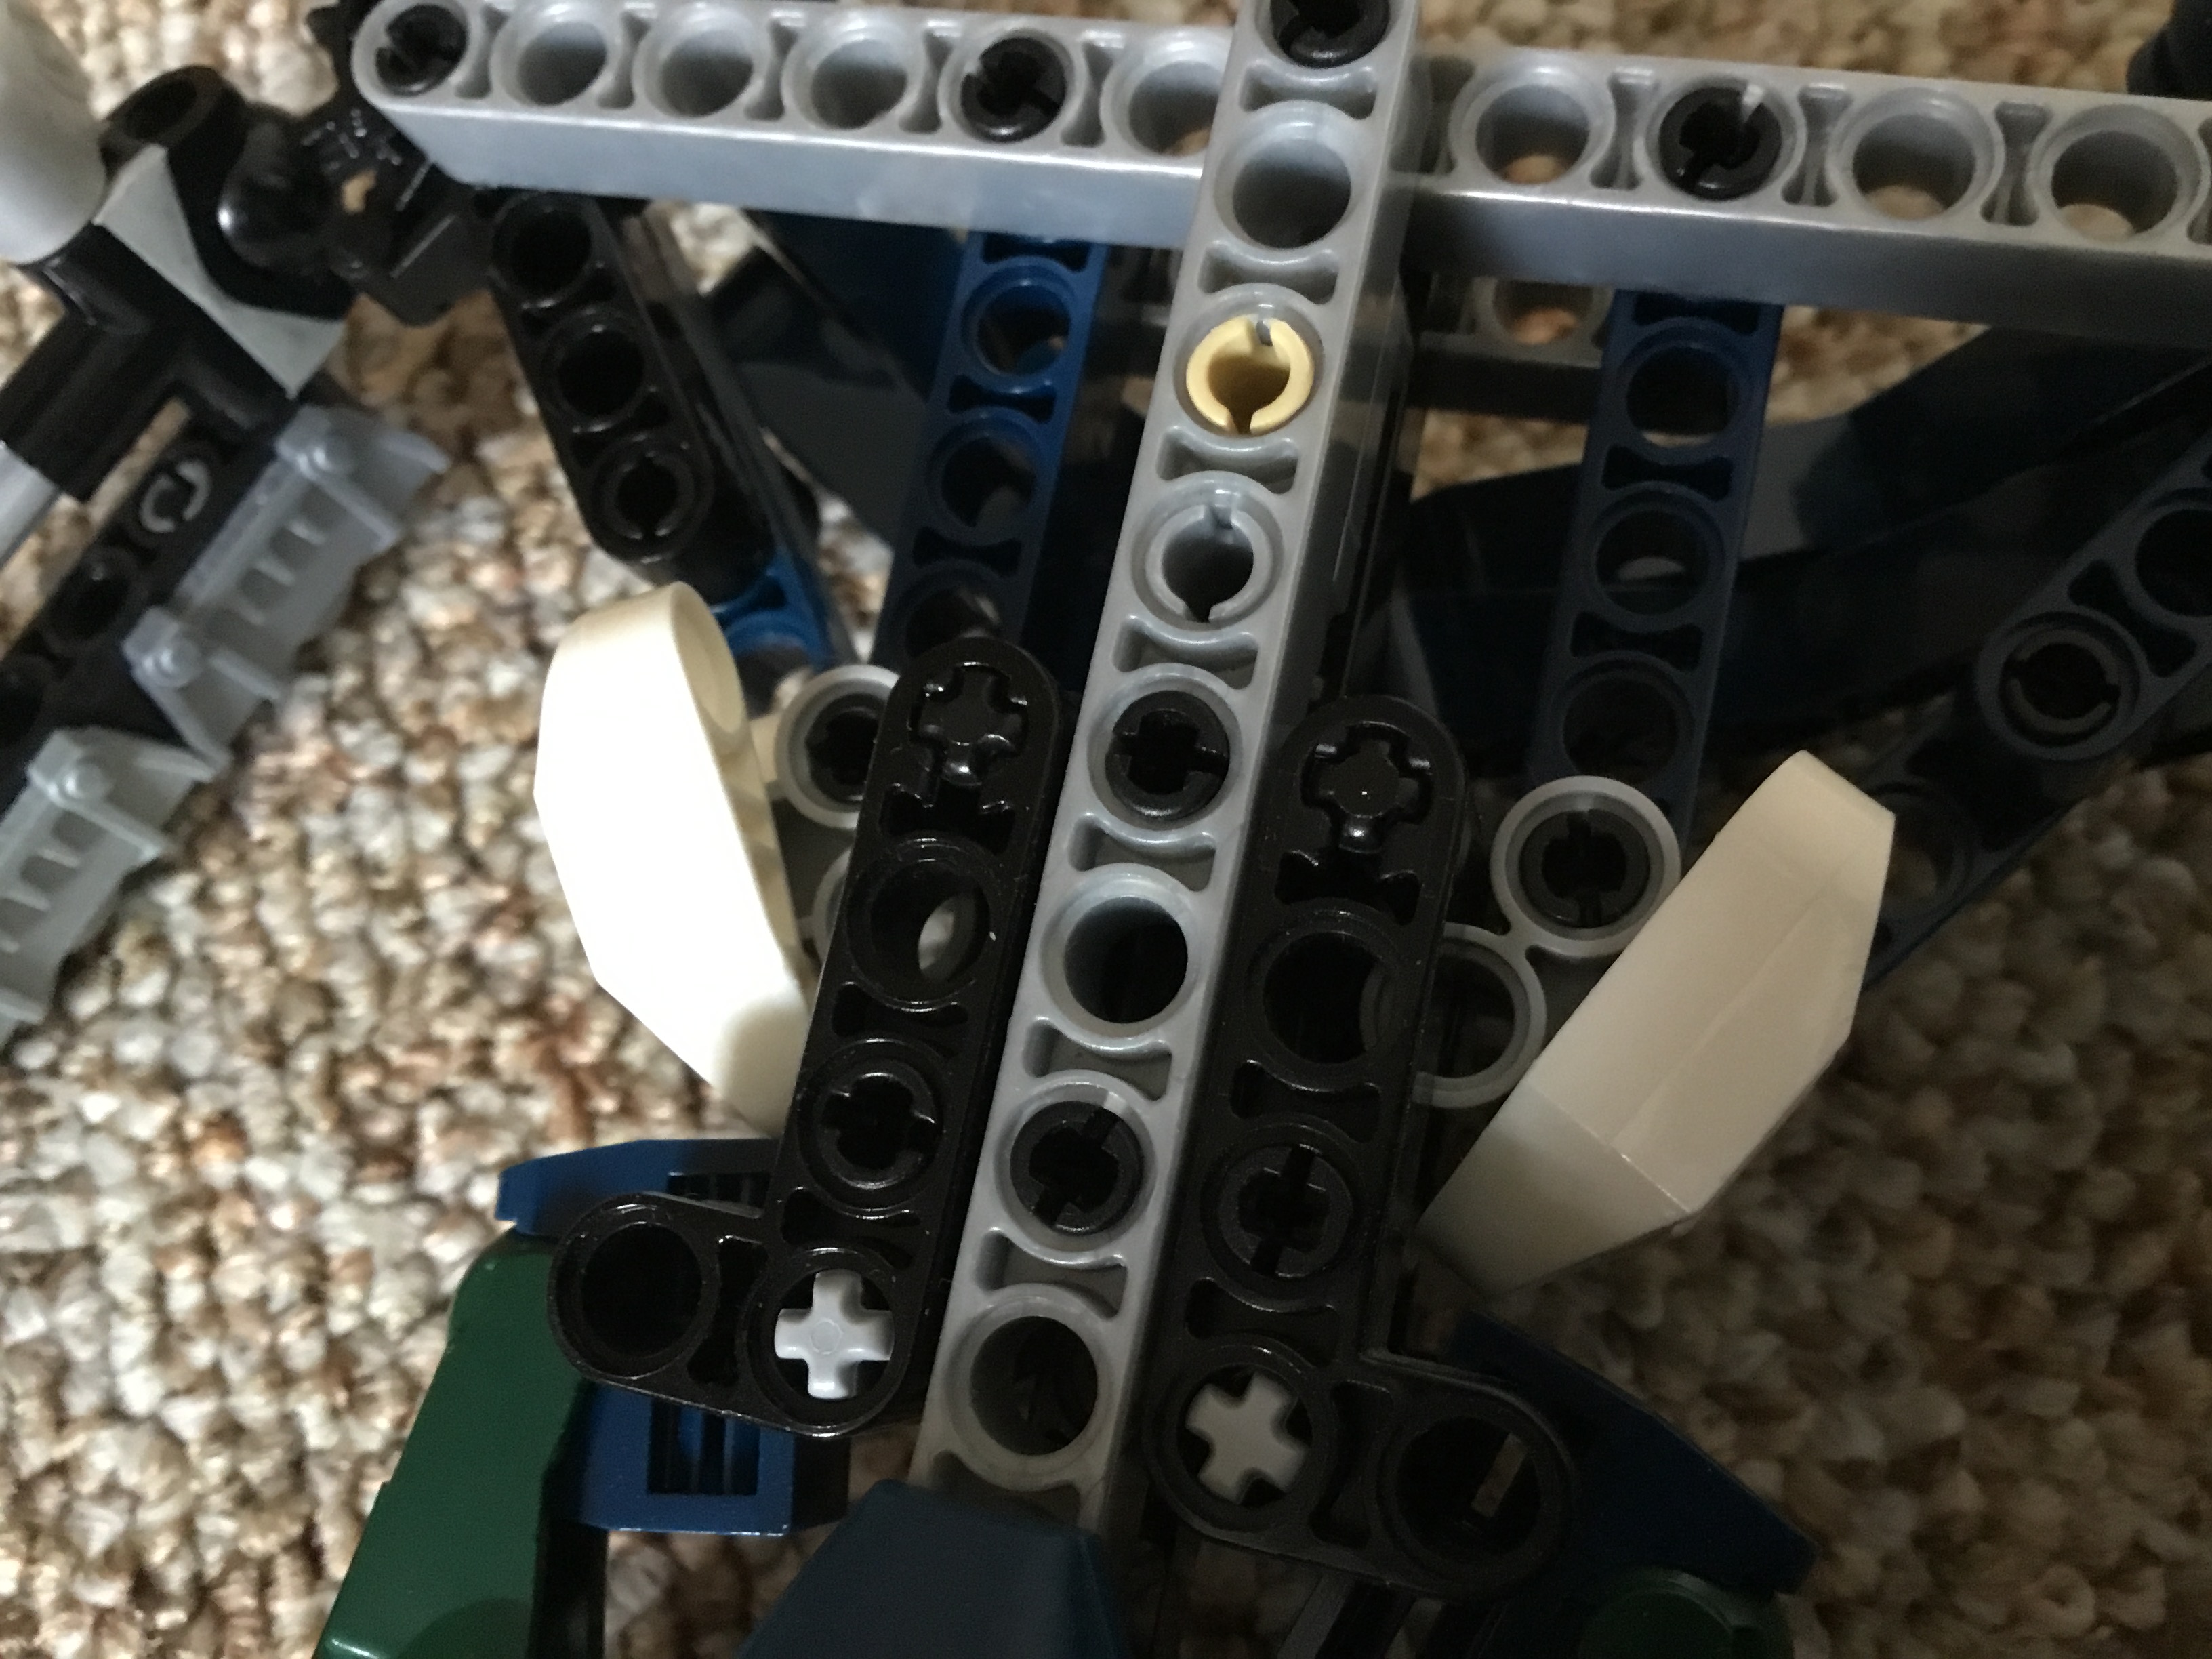
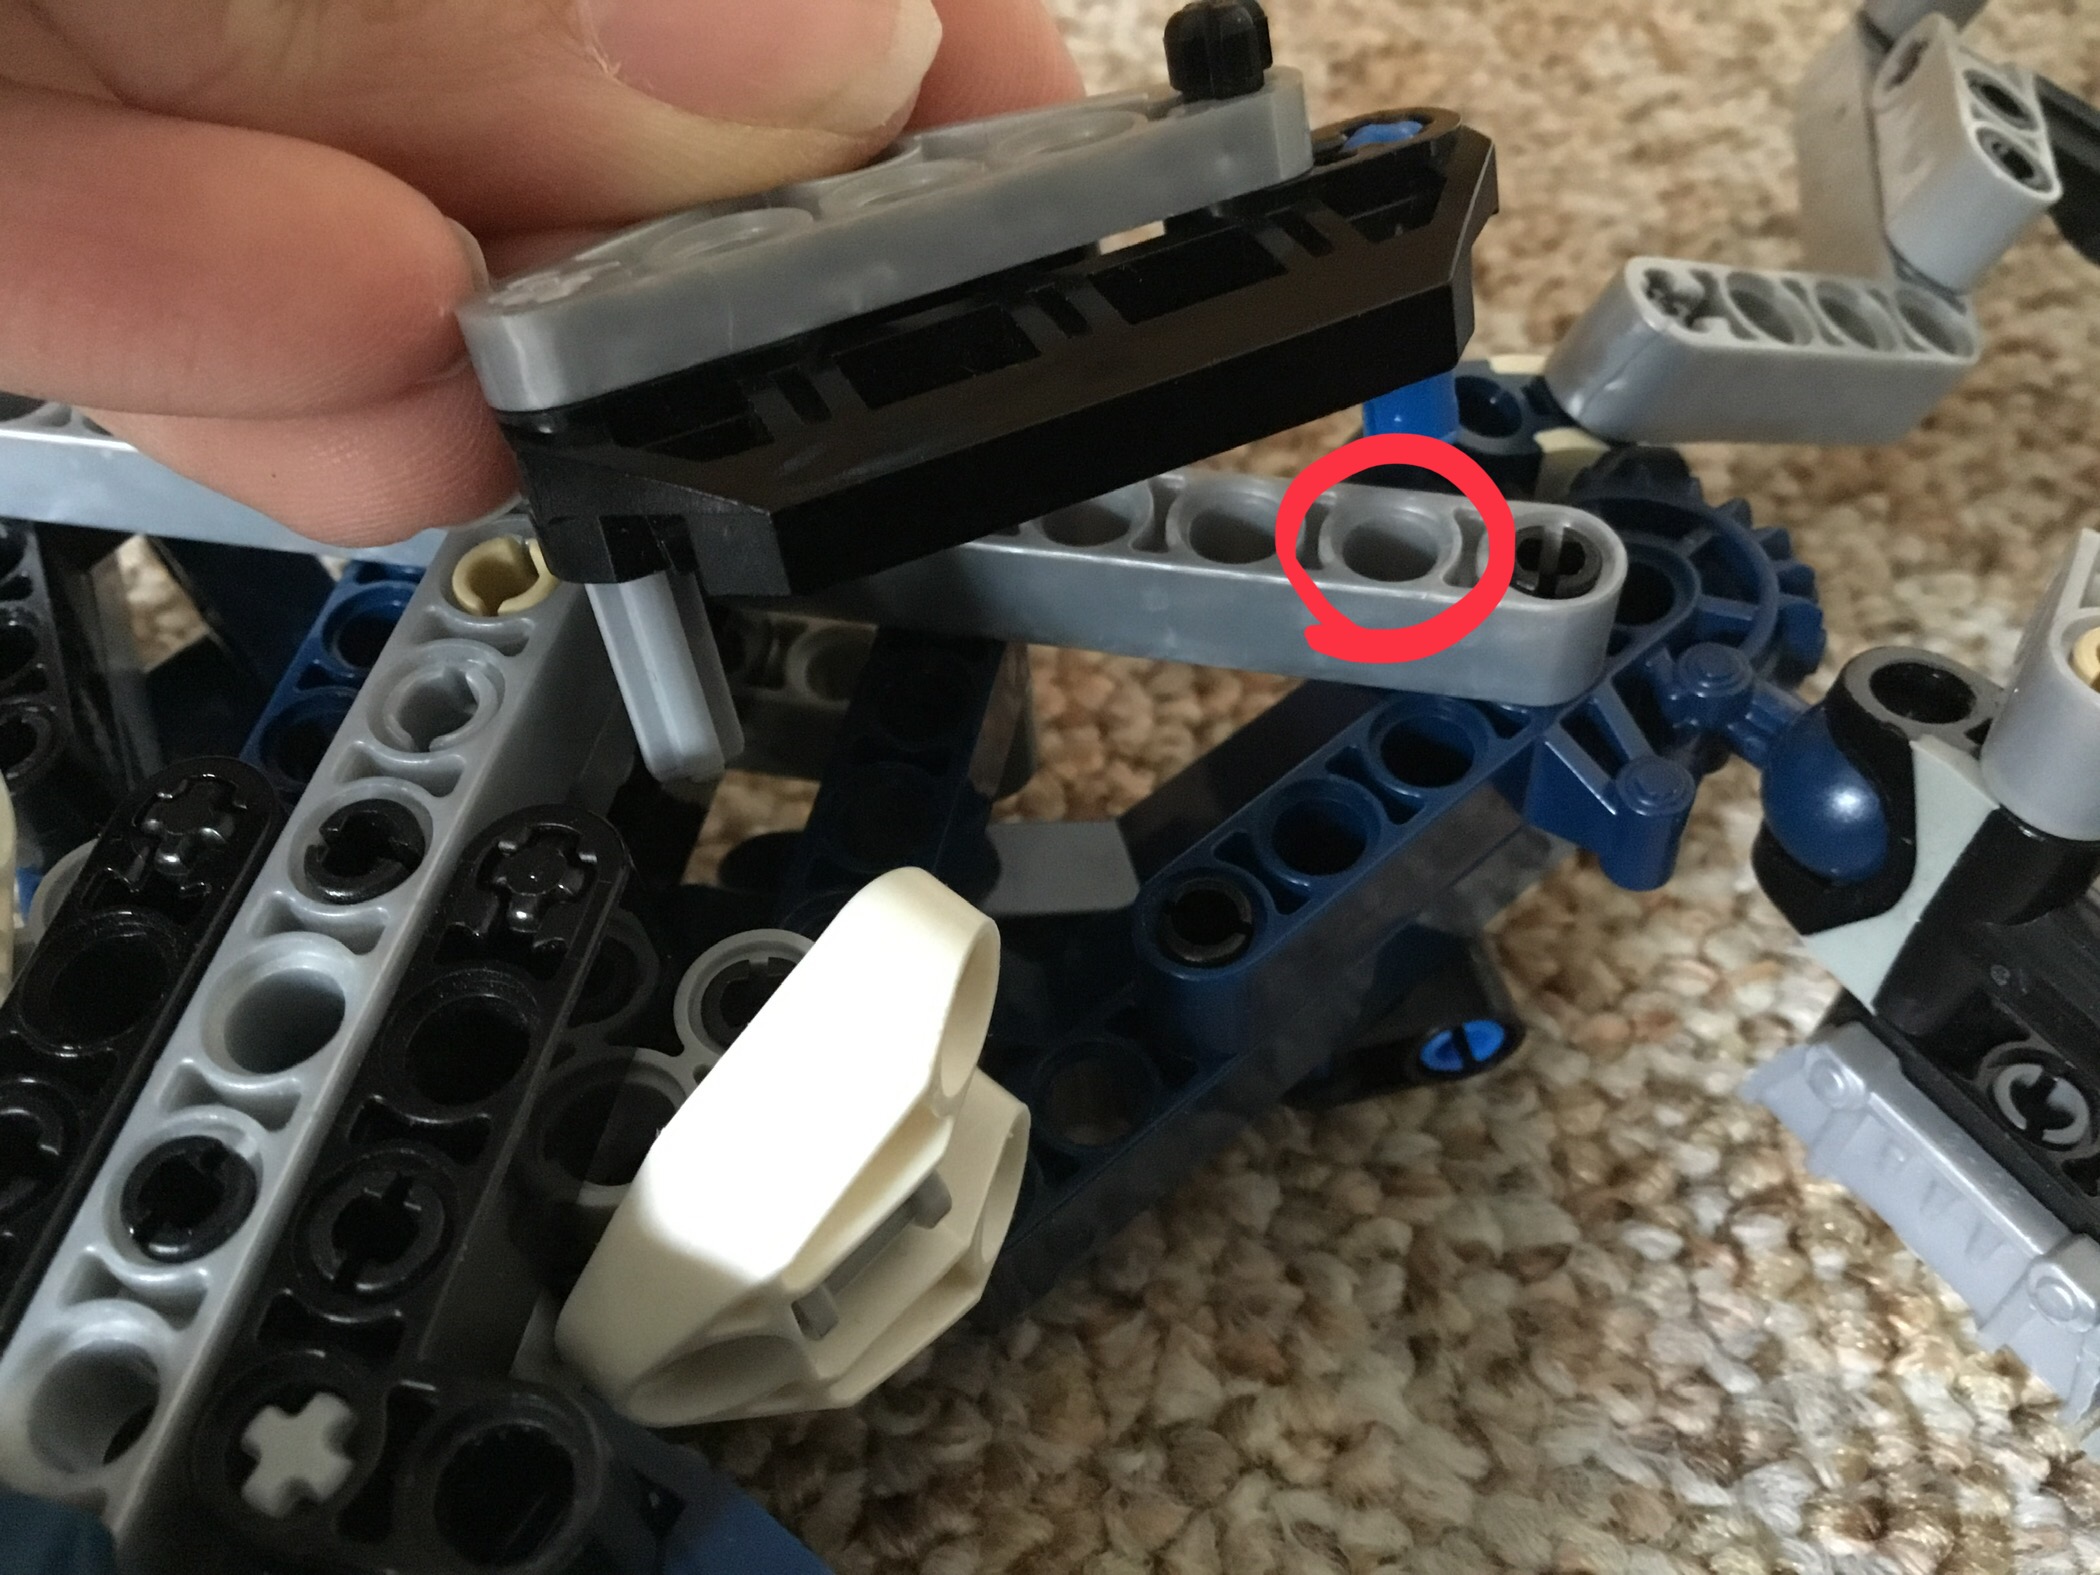
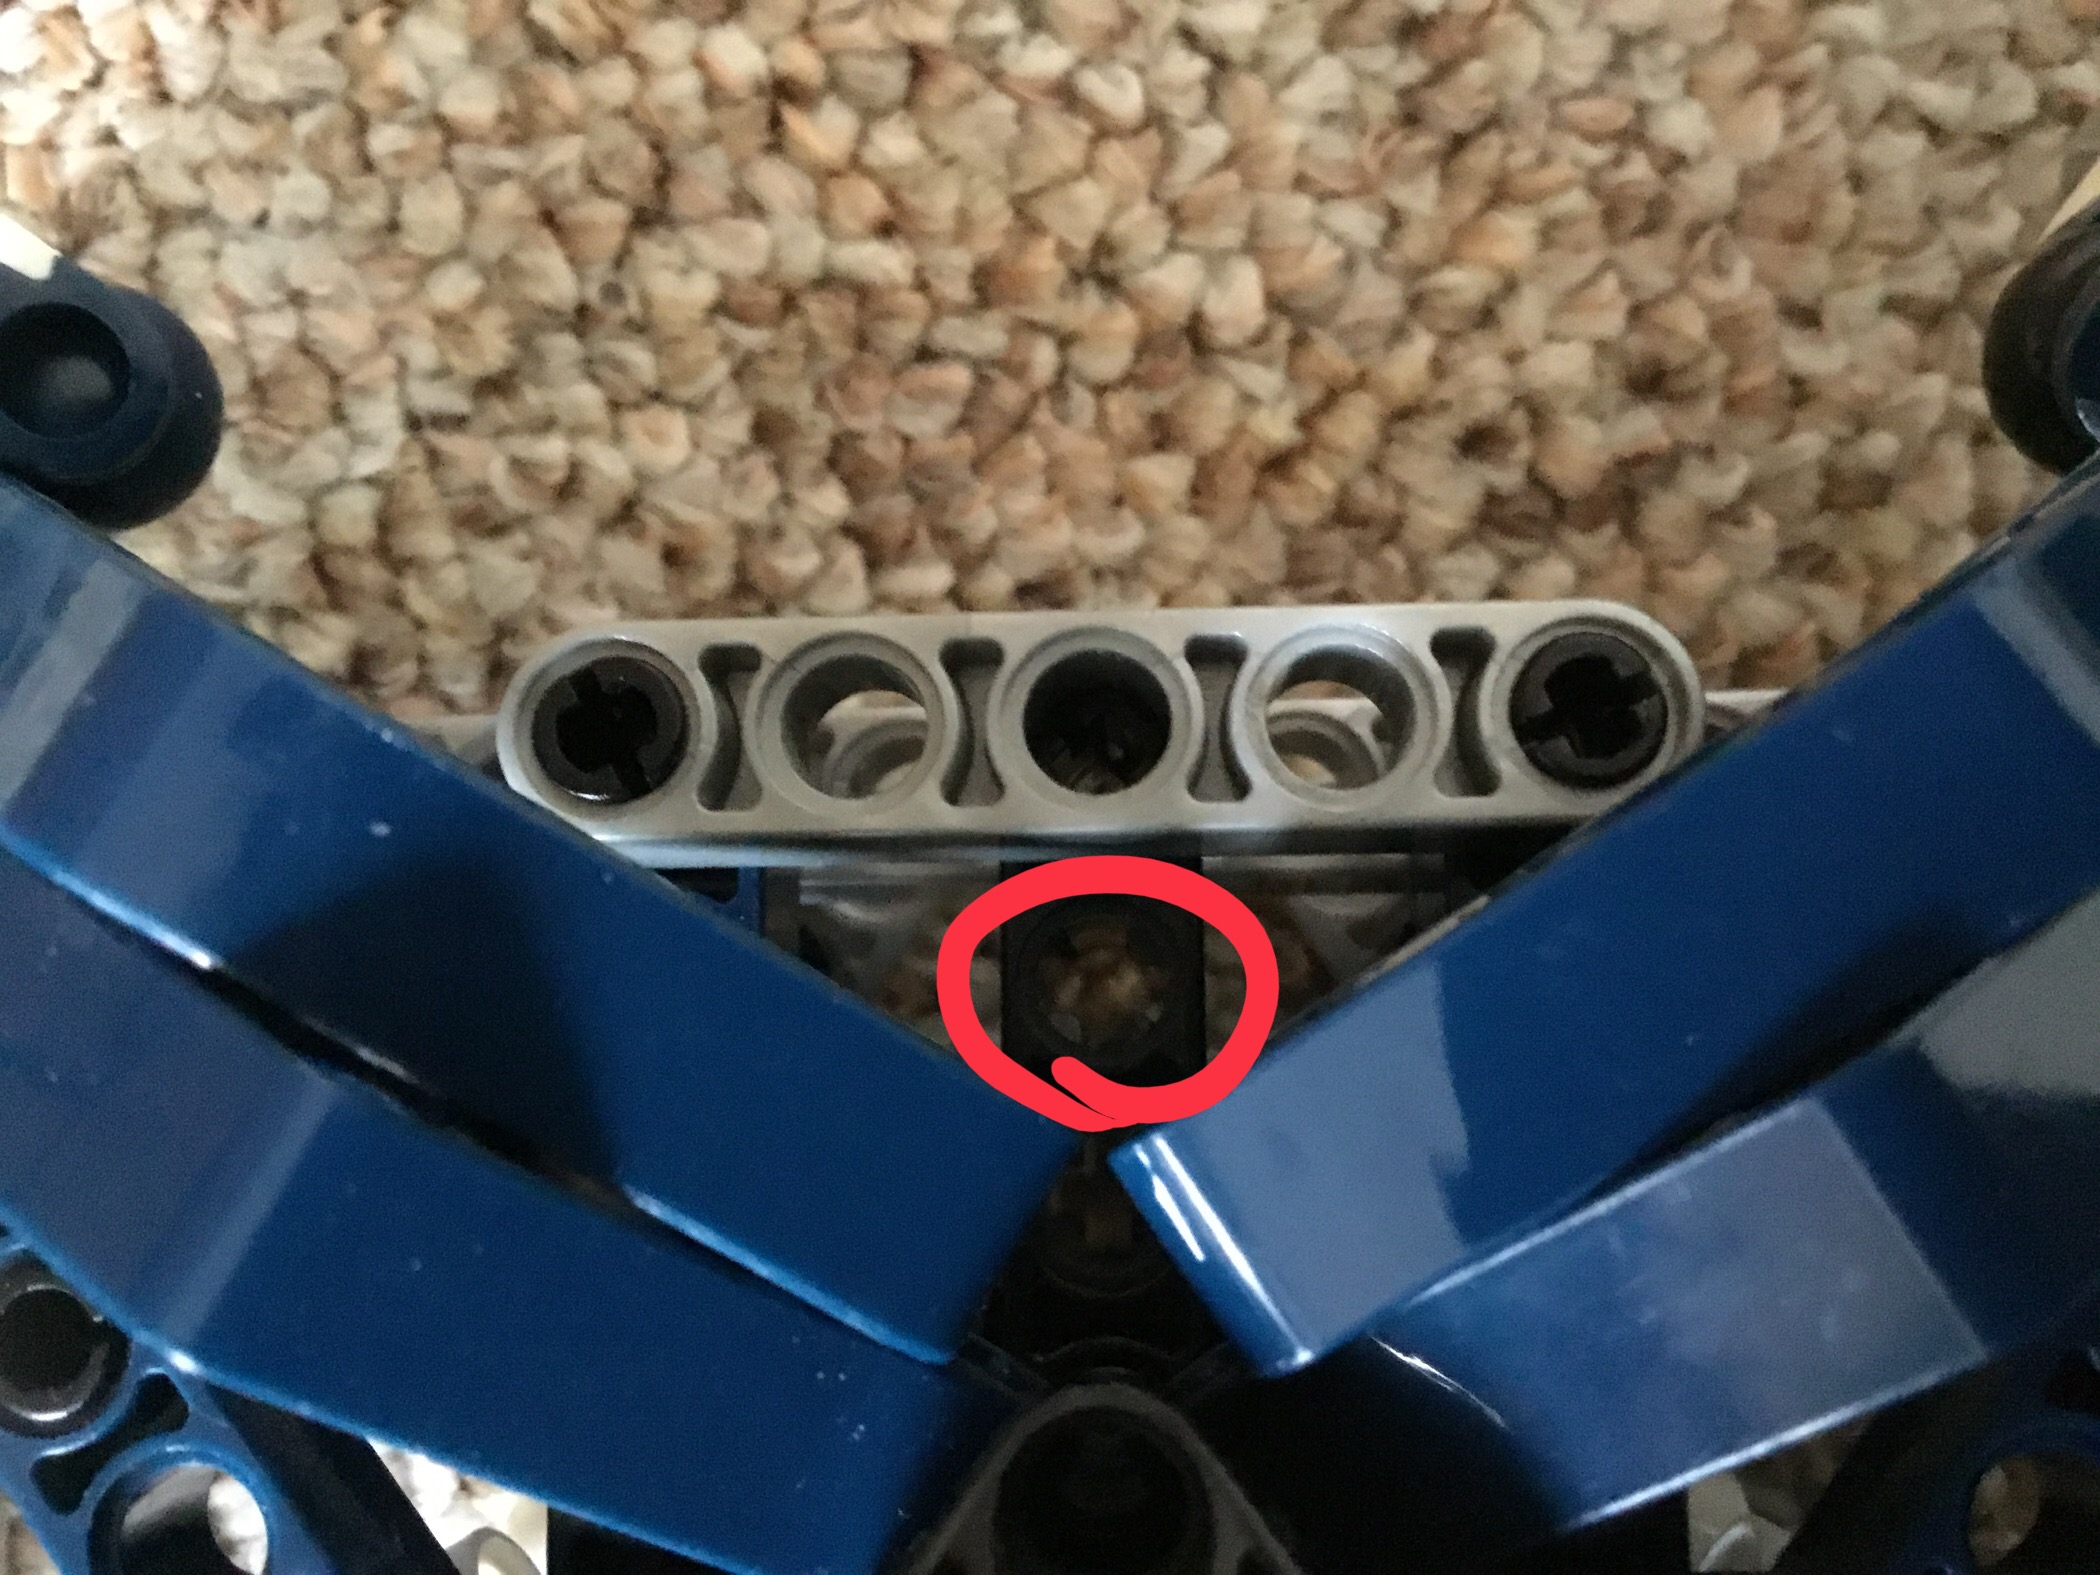
You should now remove the large horizontal beam across his shoulders. This will give you access to his inner neck area.
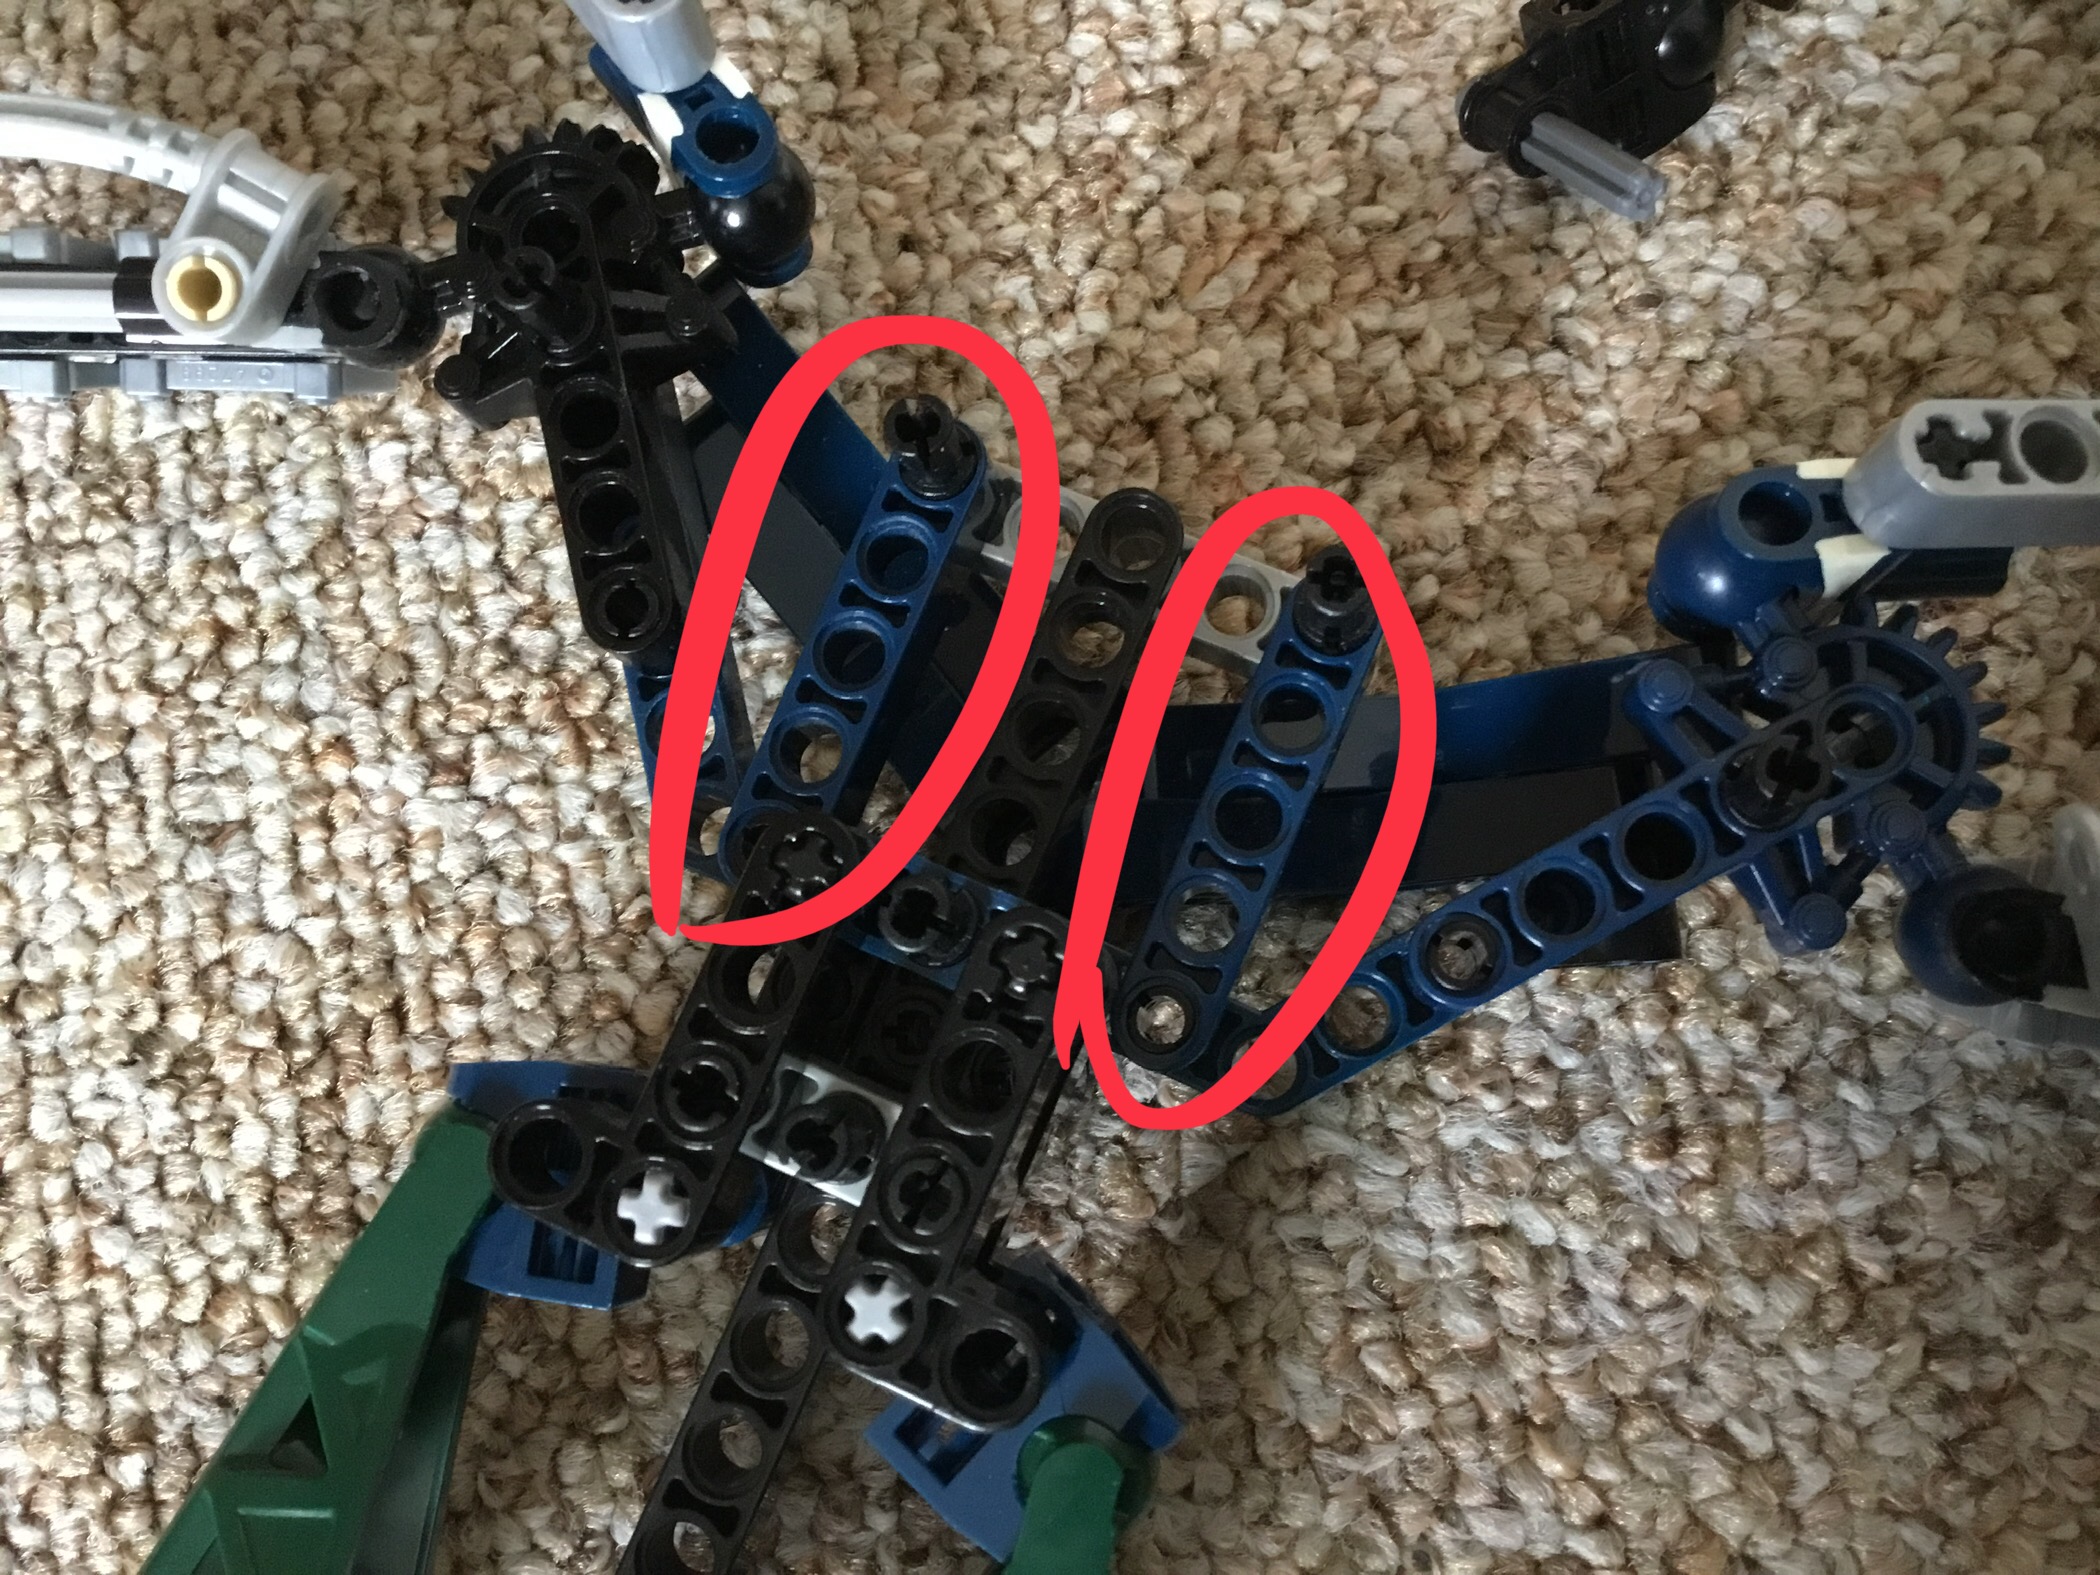
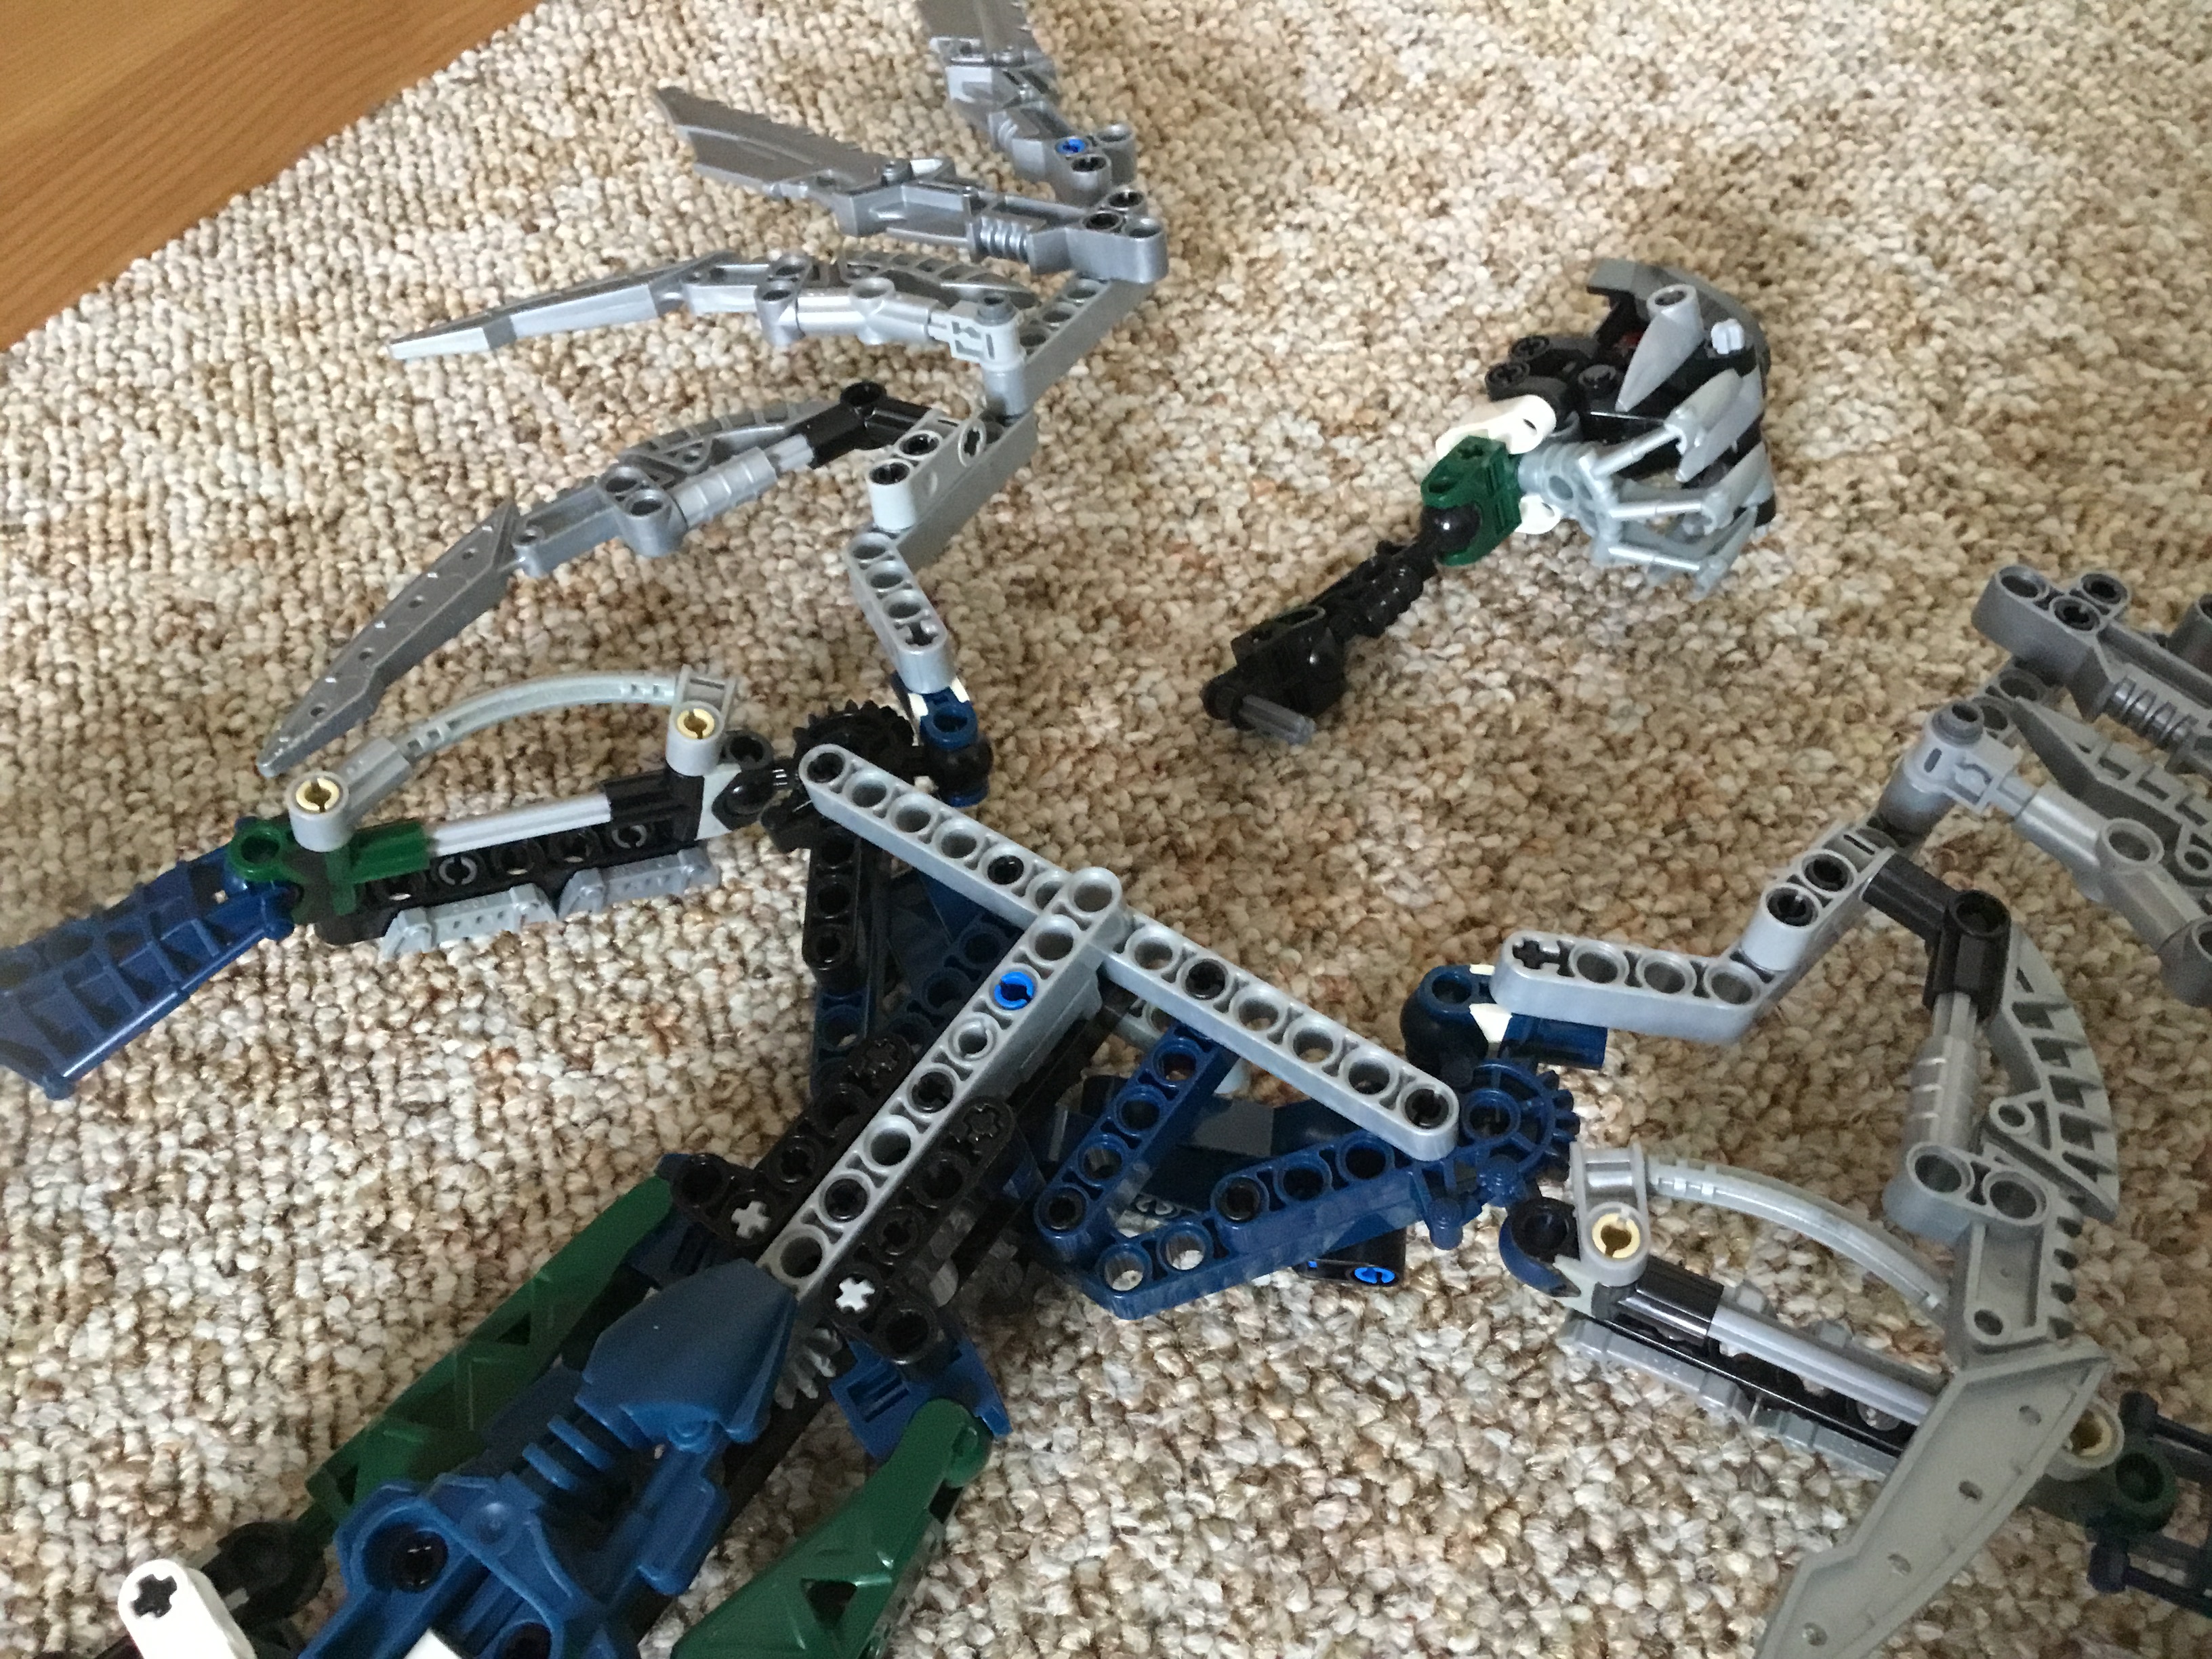
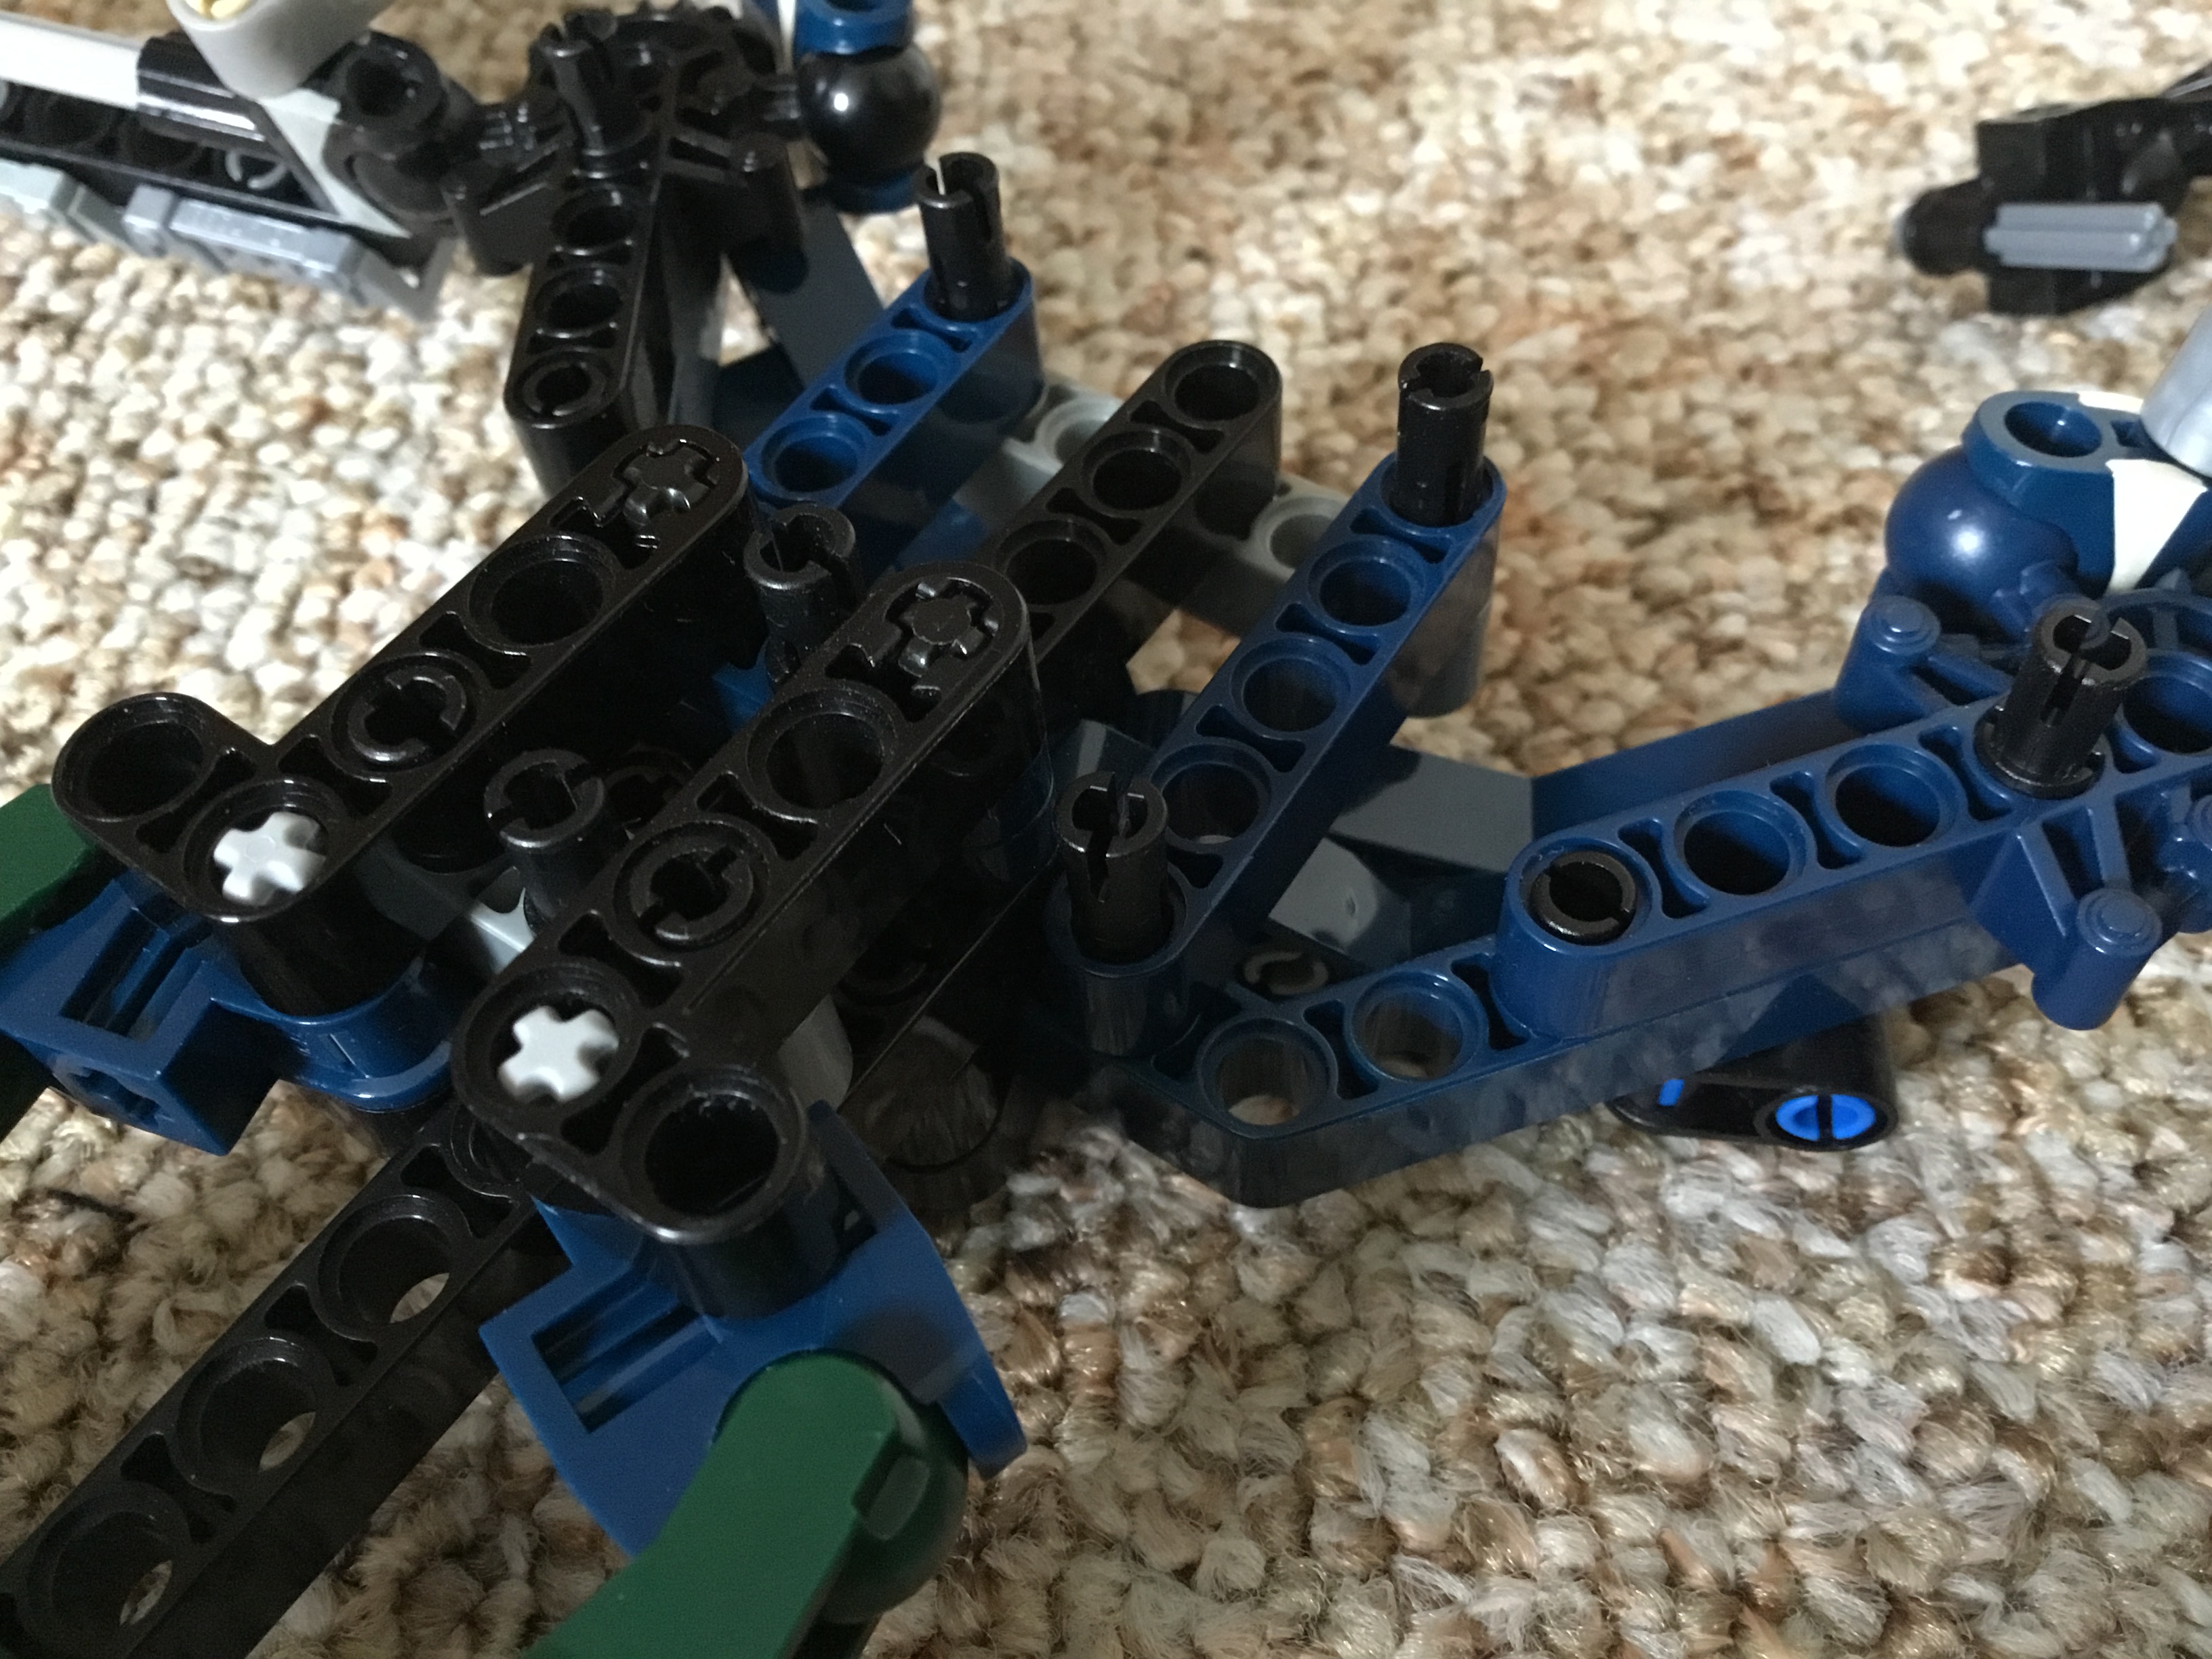
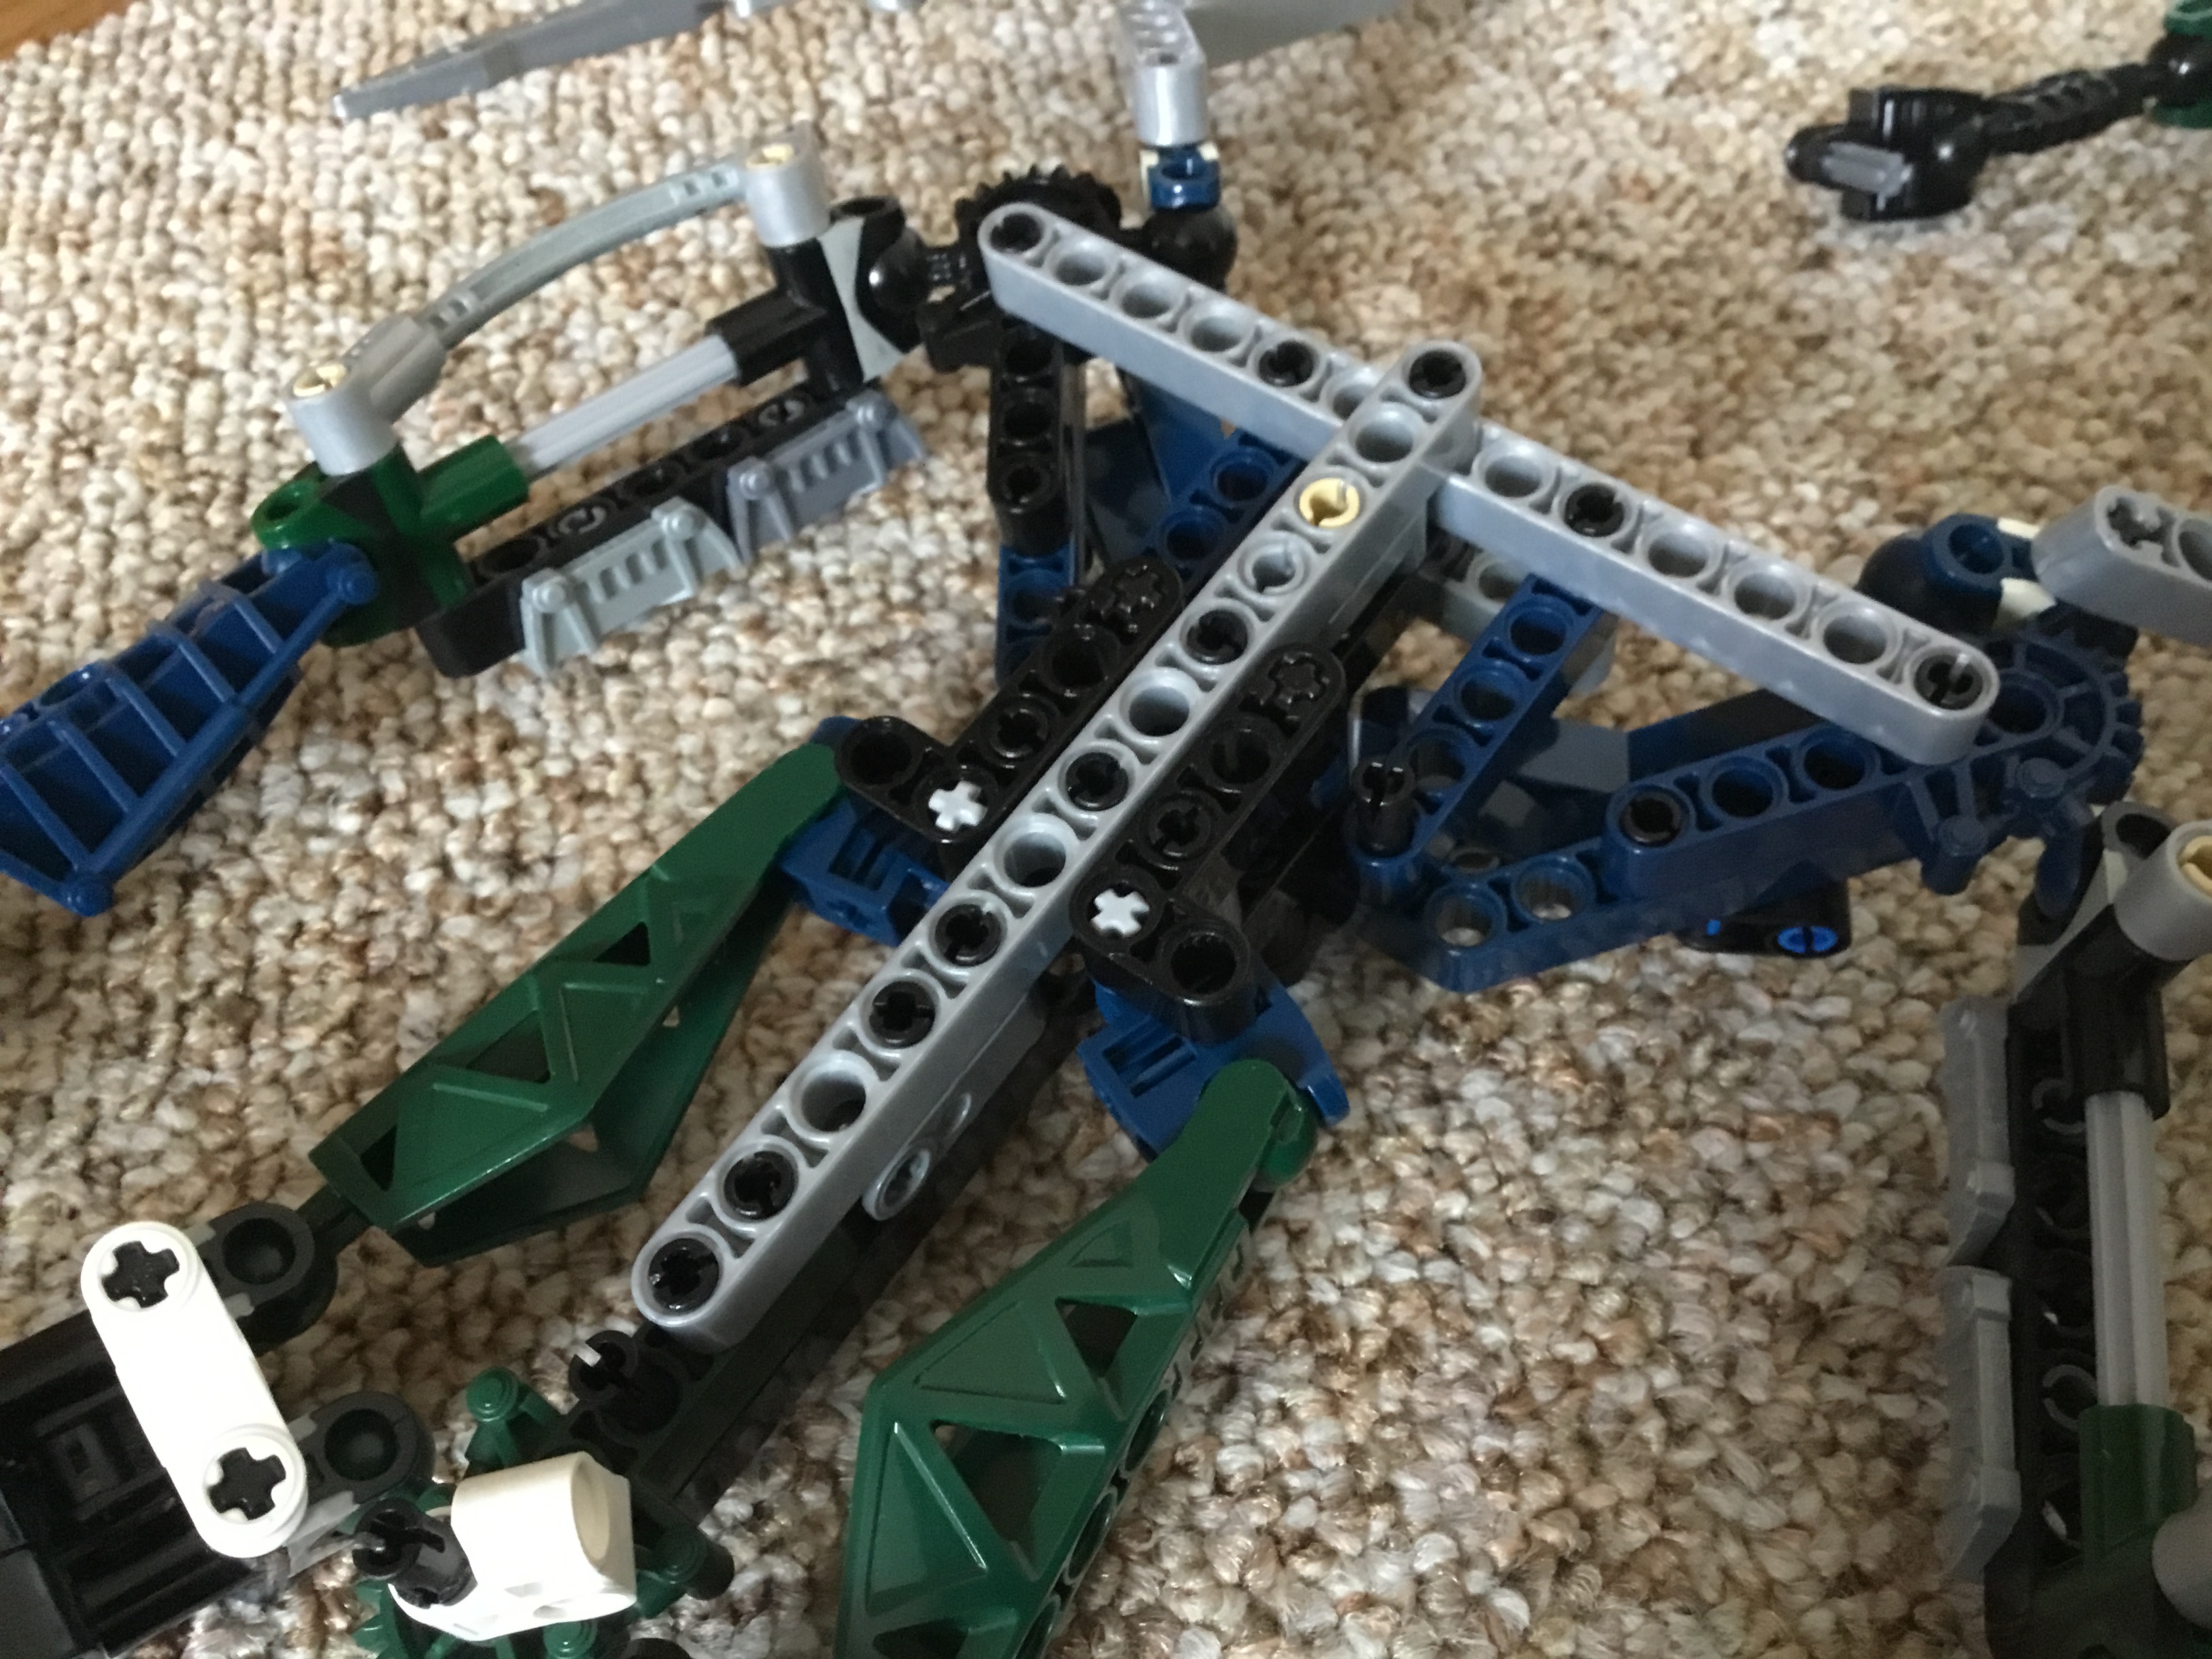
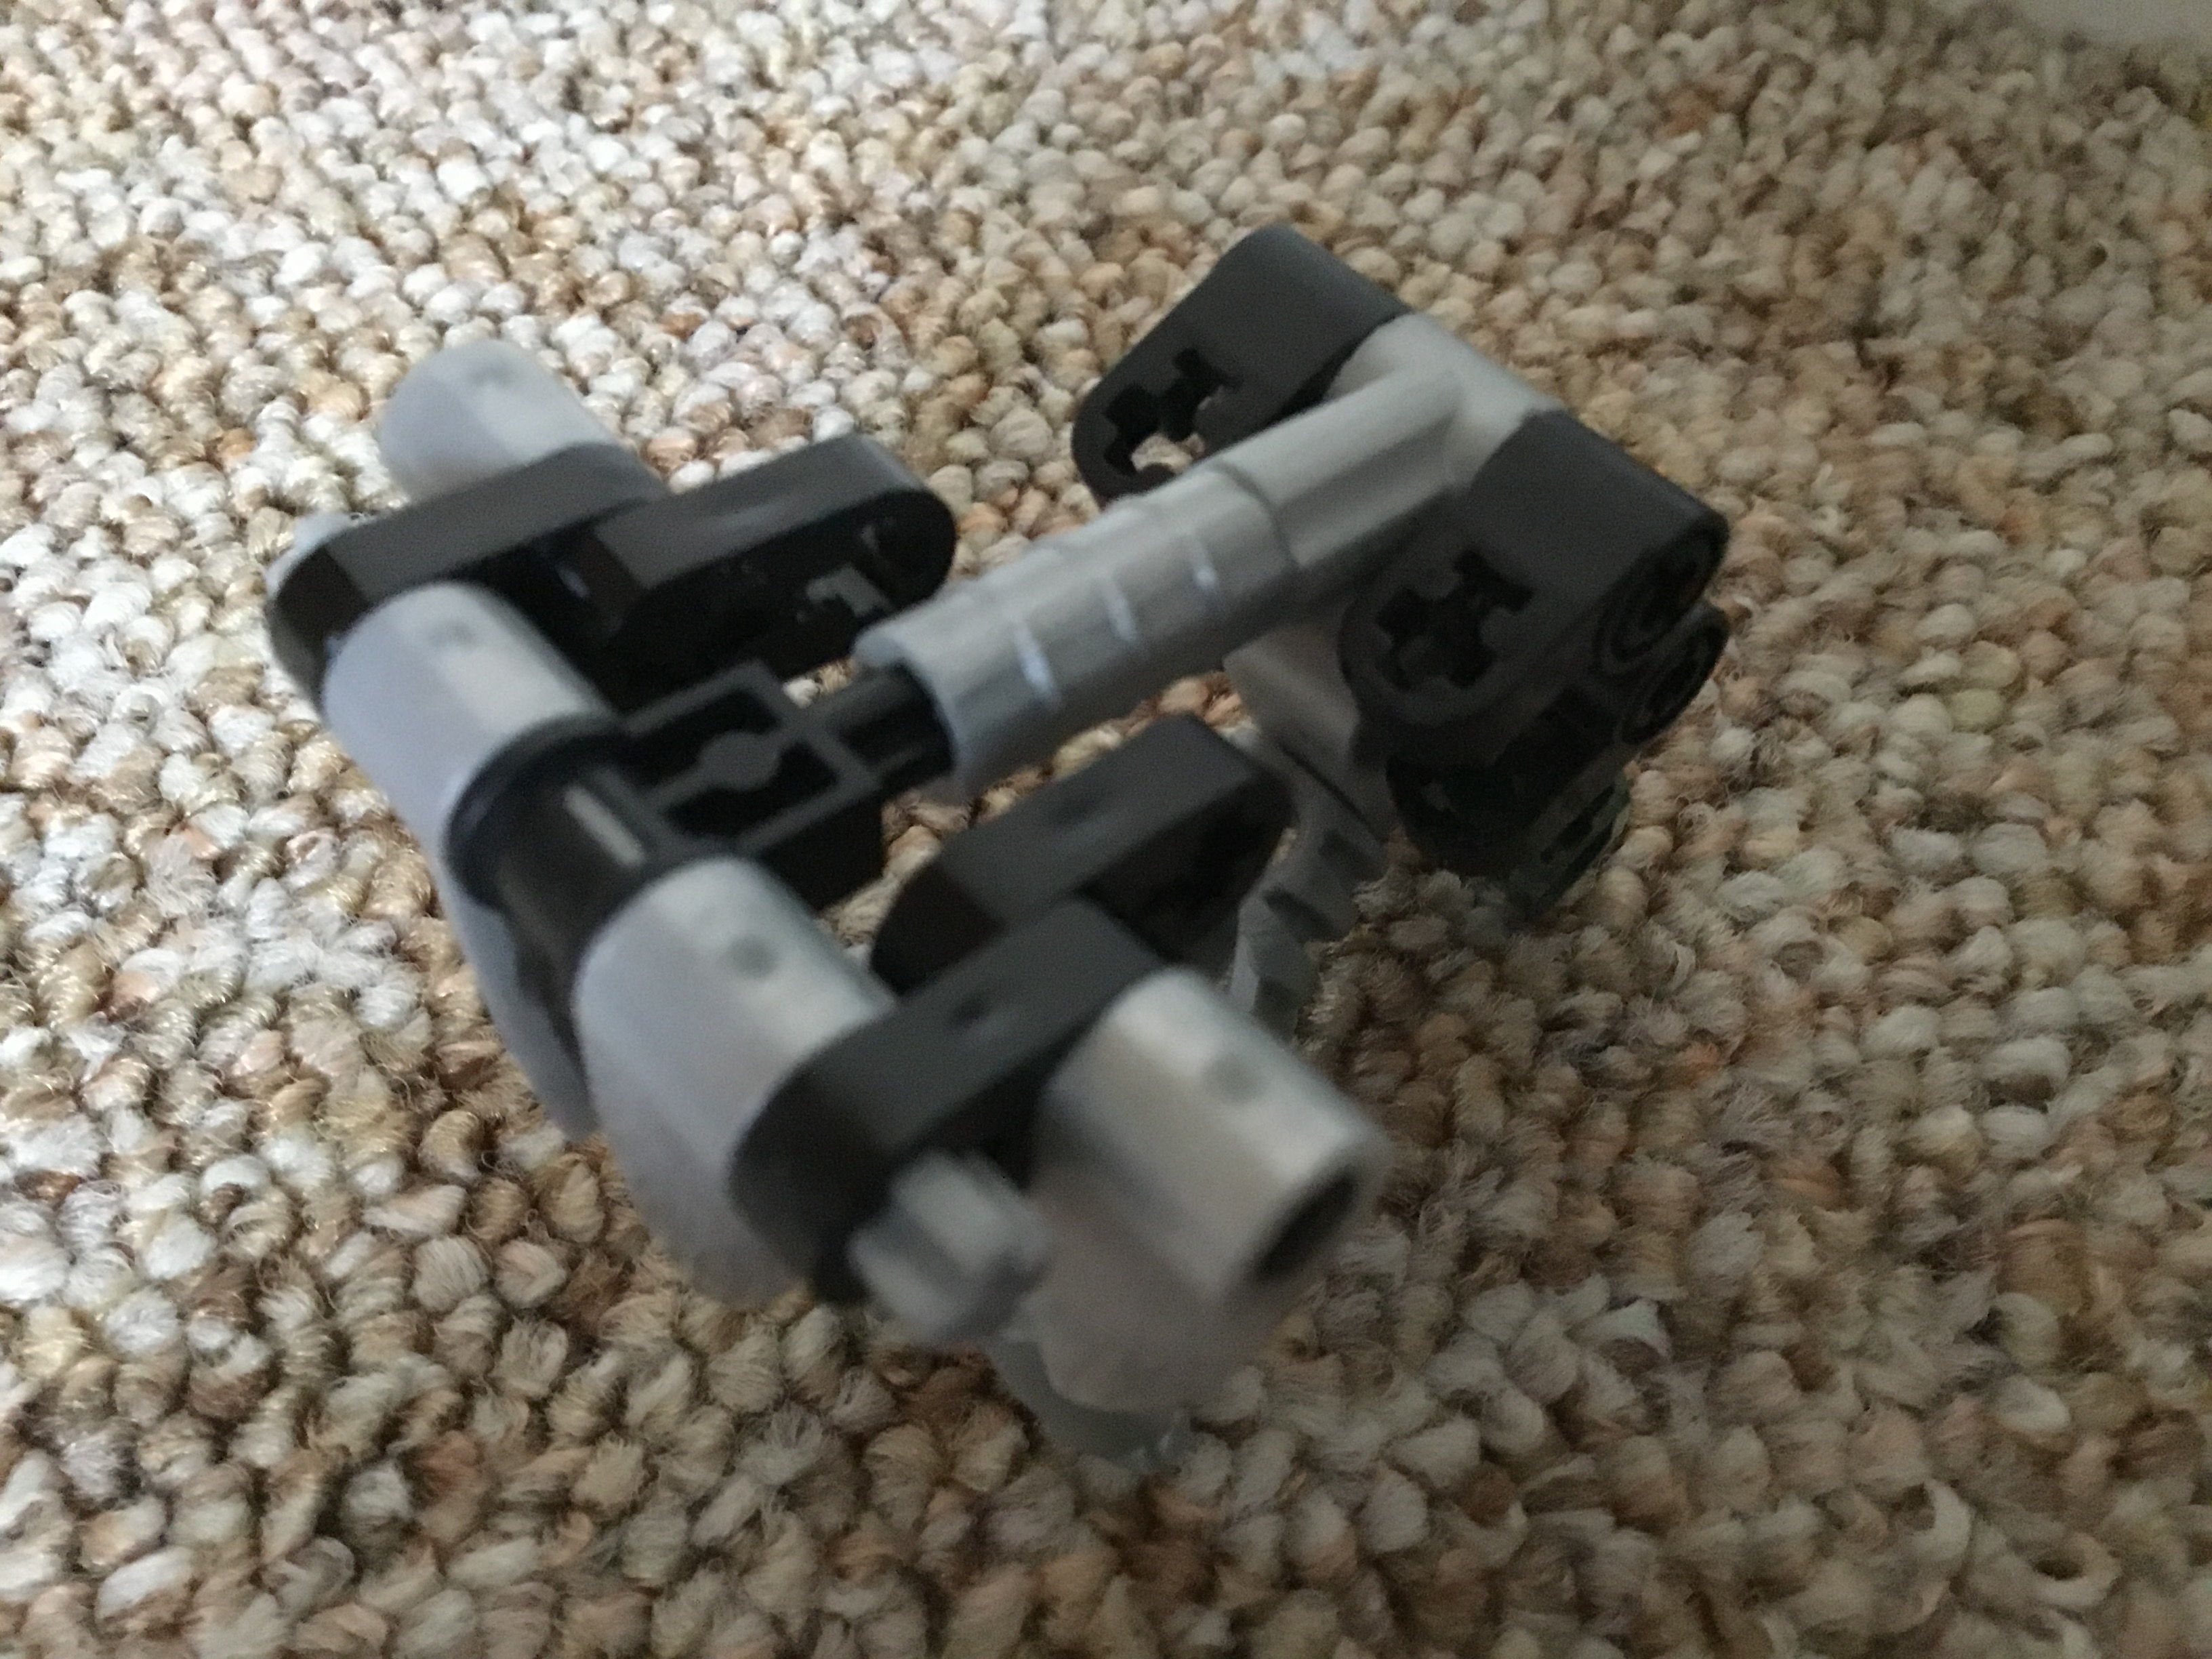
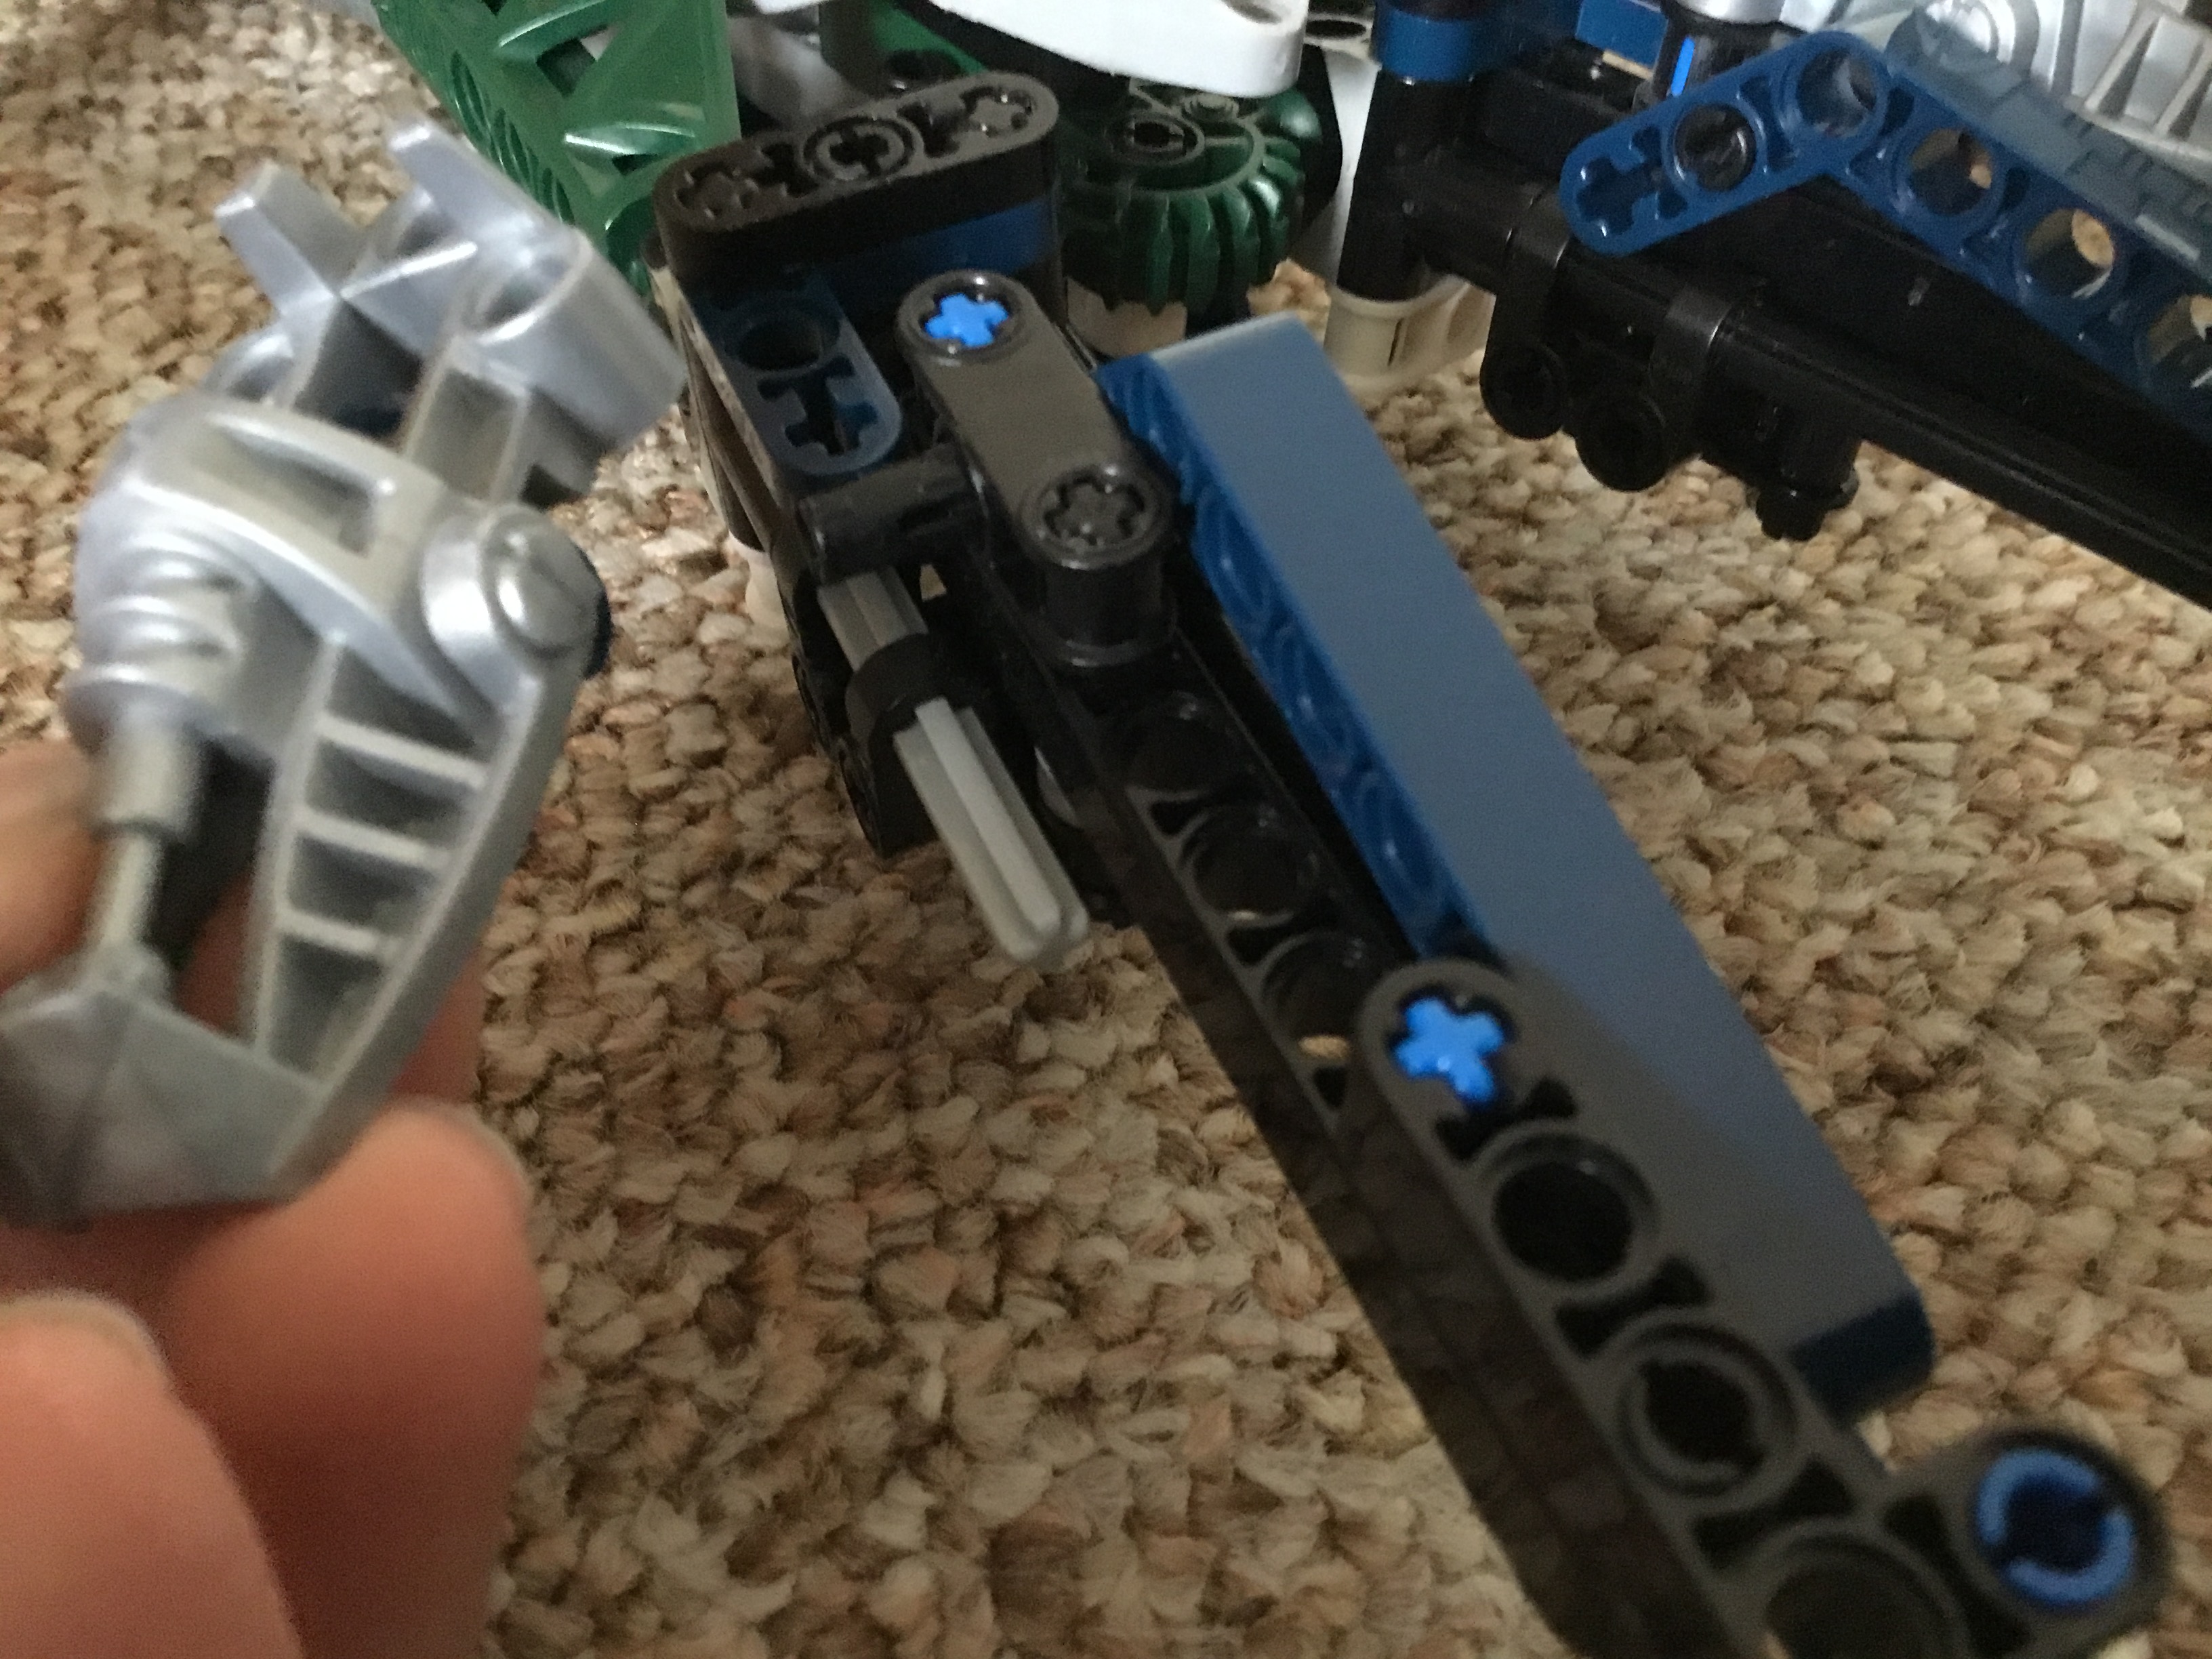
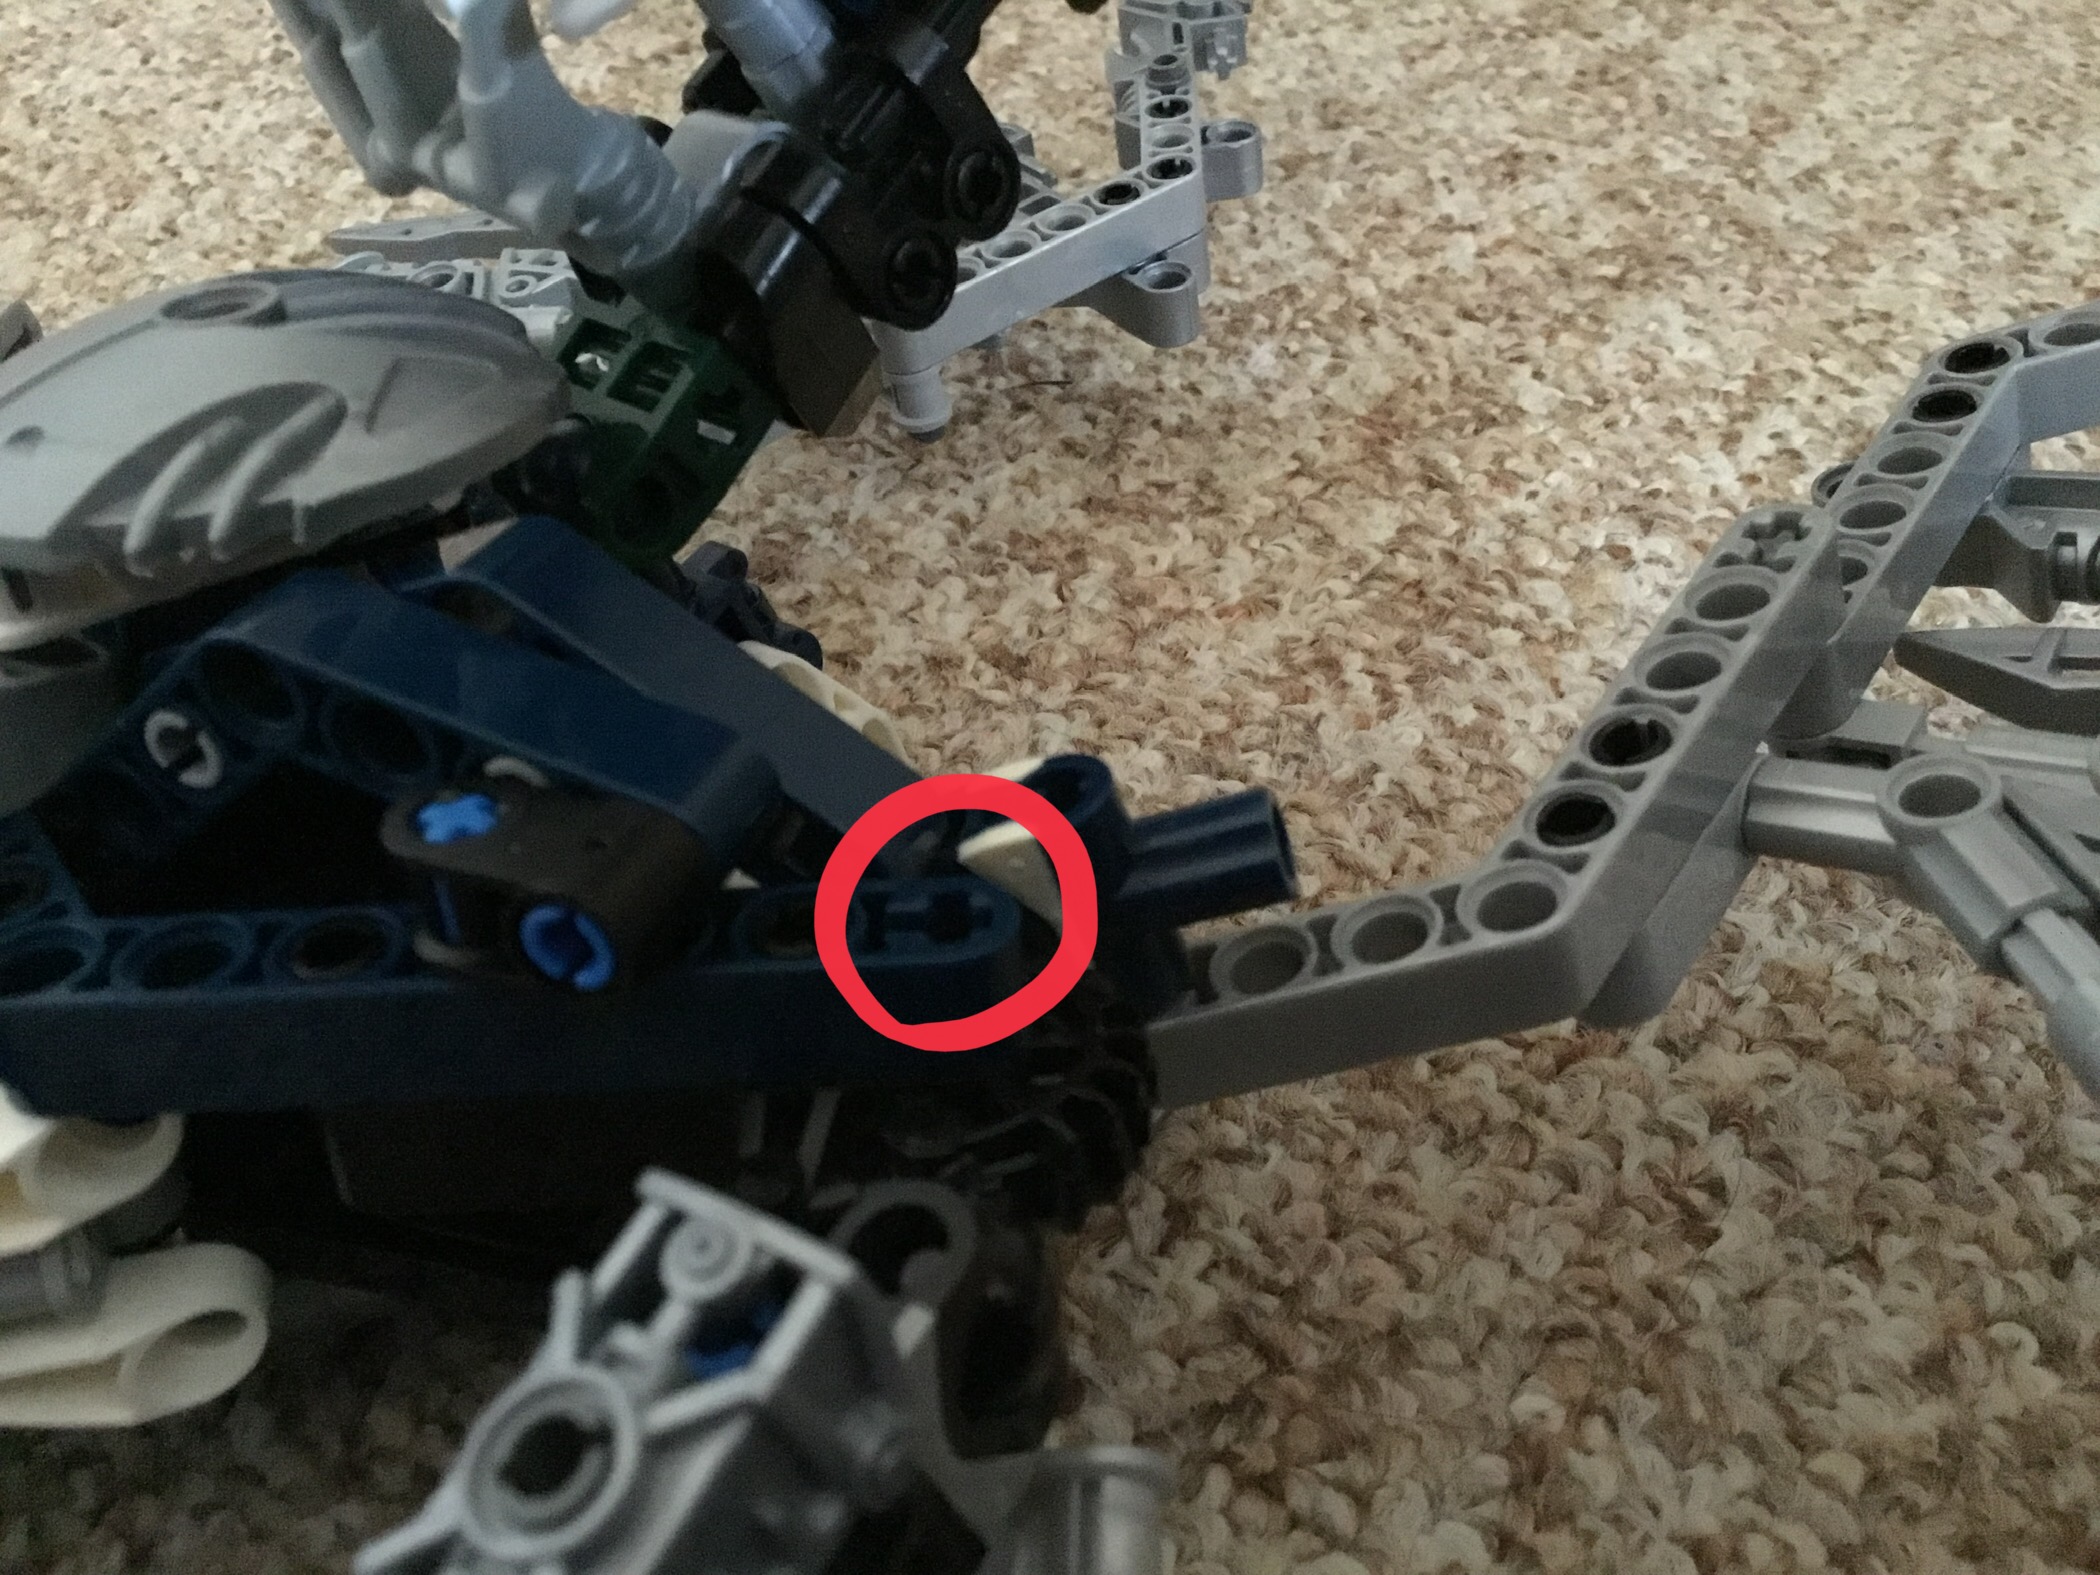
This next part is rather tricky. You should remove the circled blue beams and the longer pins attached to them.
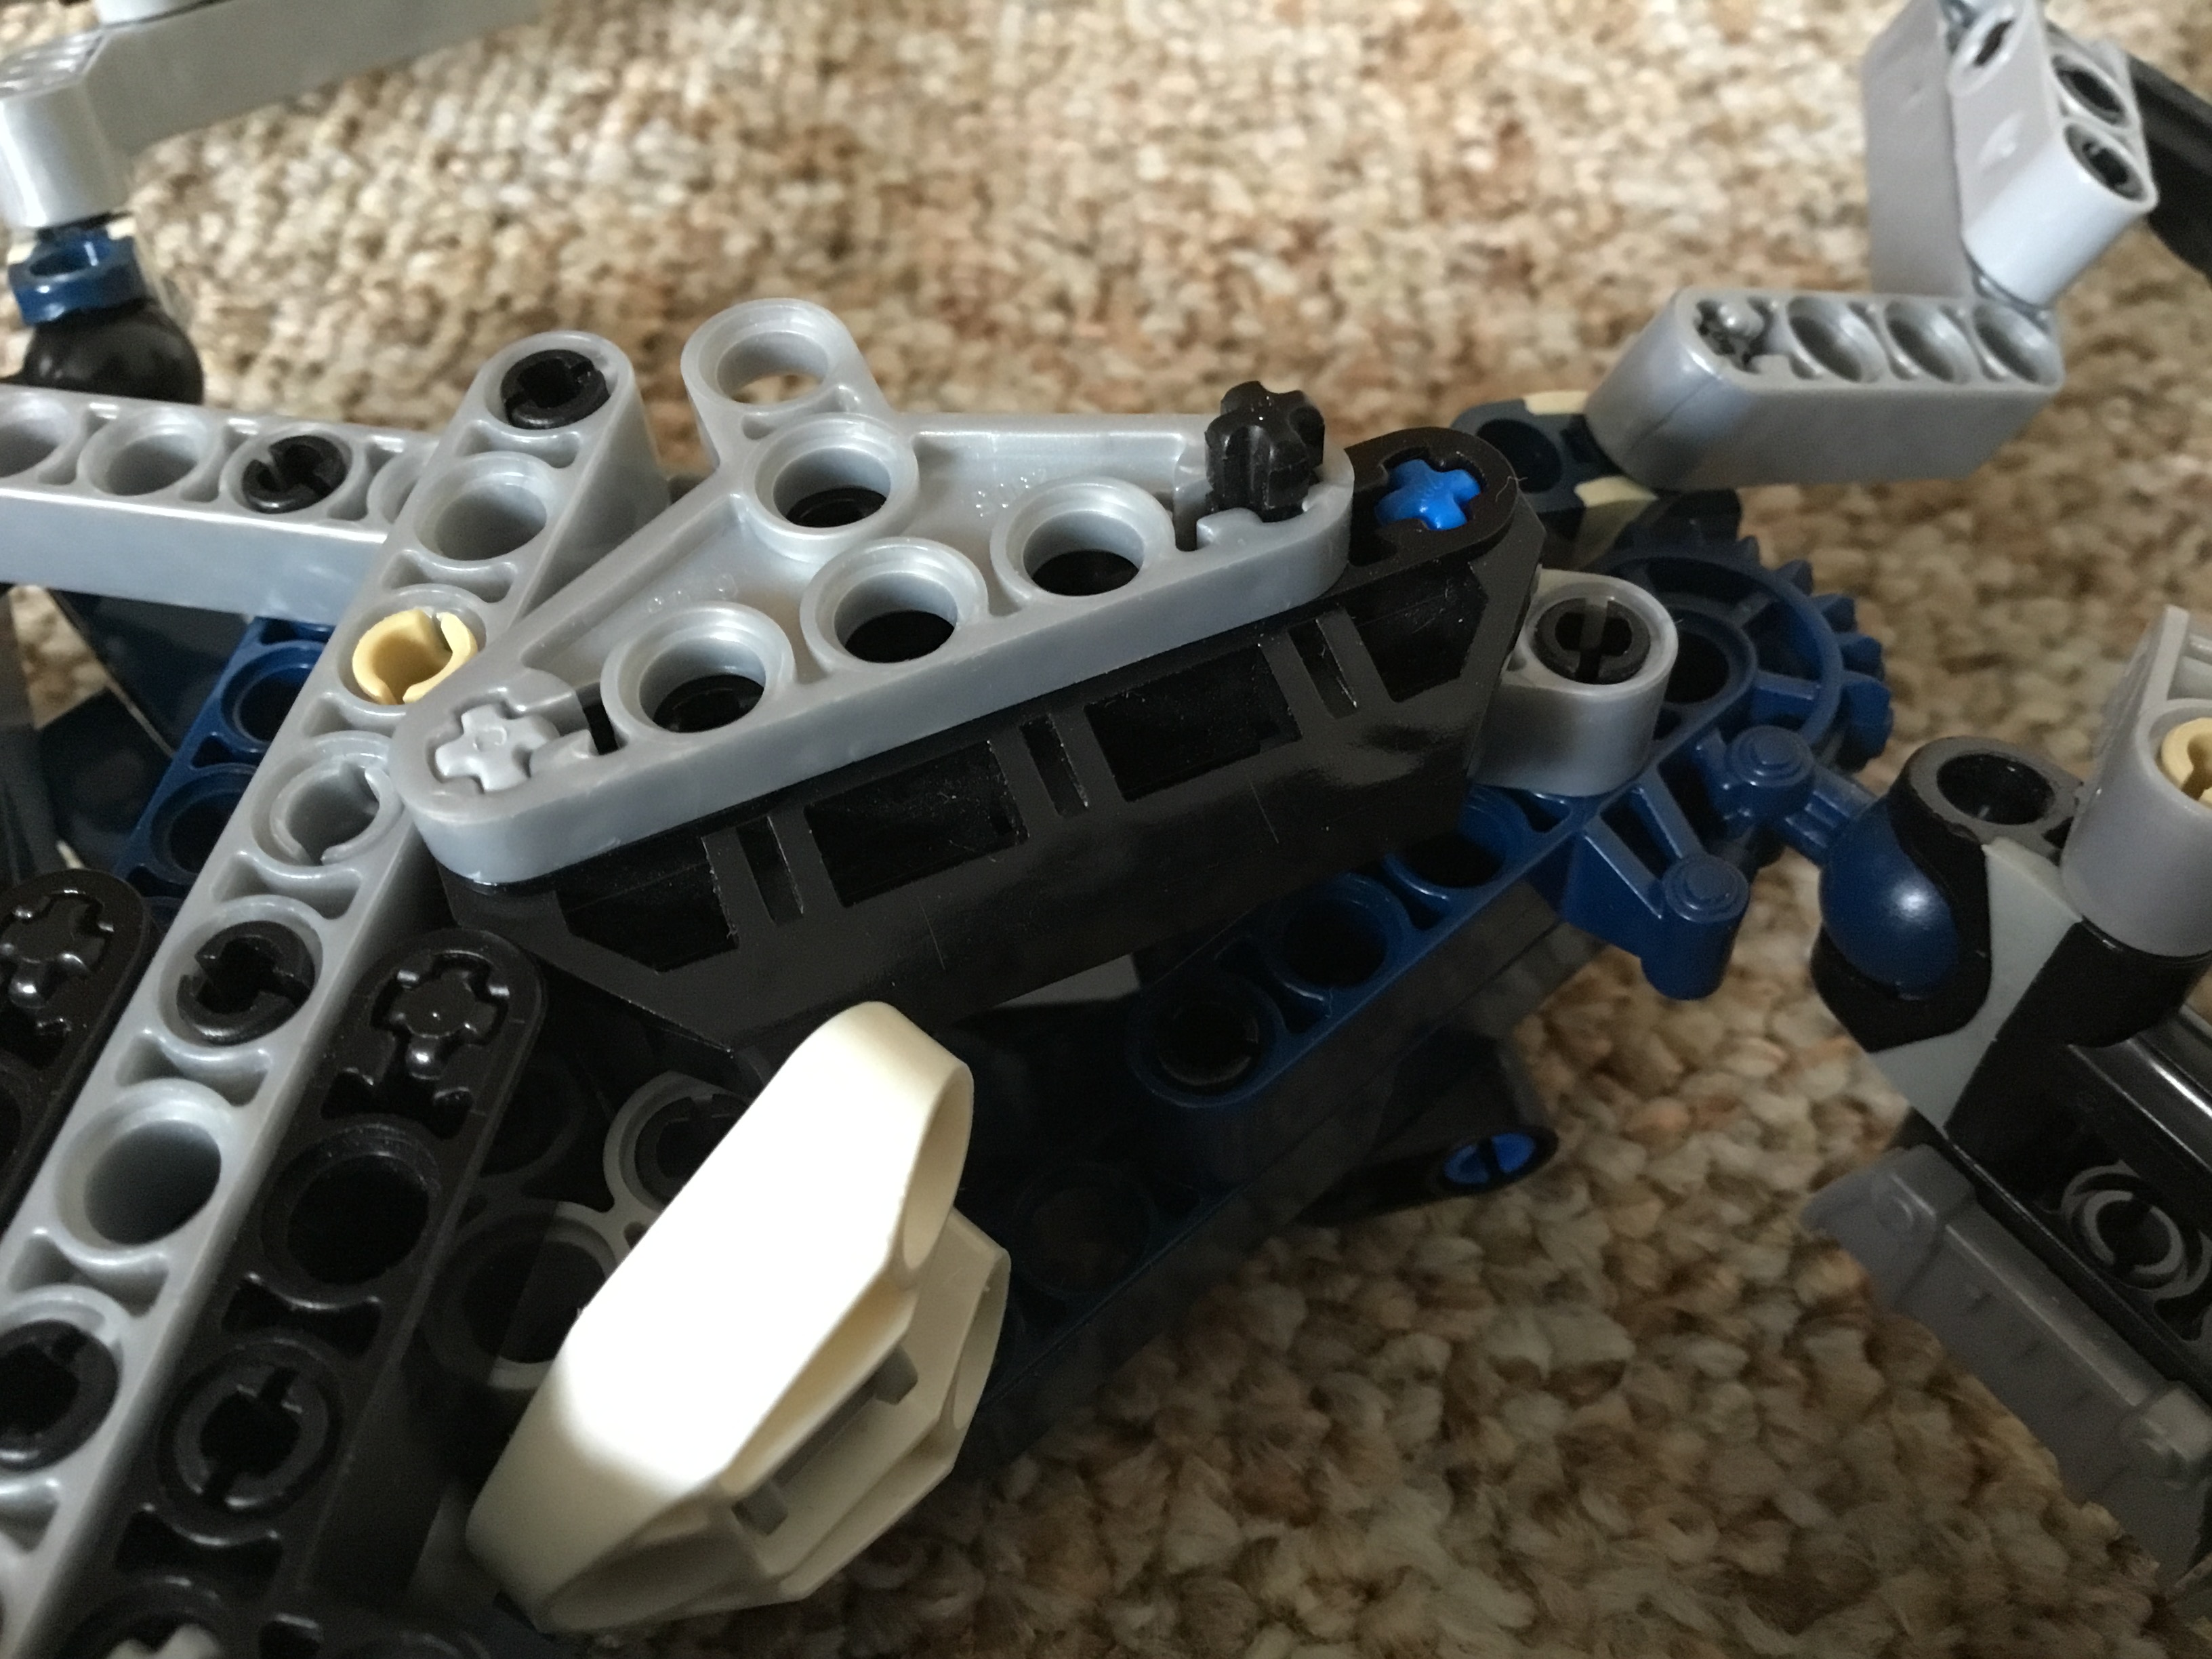
The assemblies look something like this.
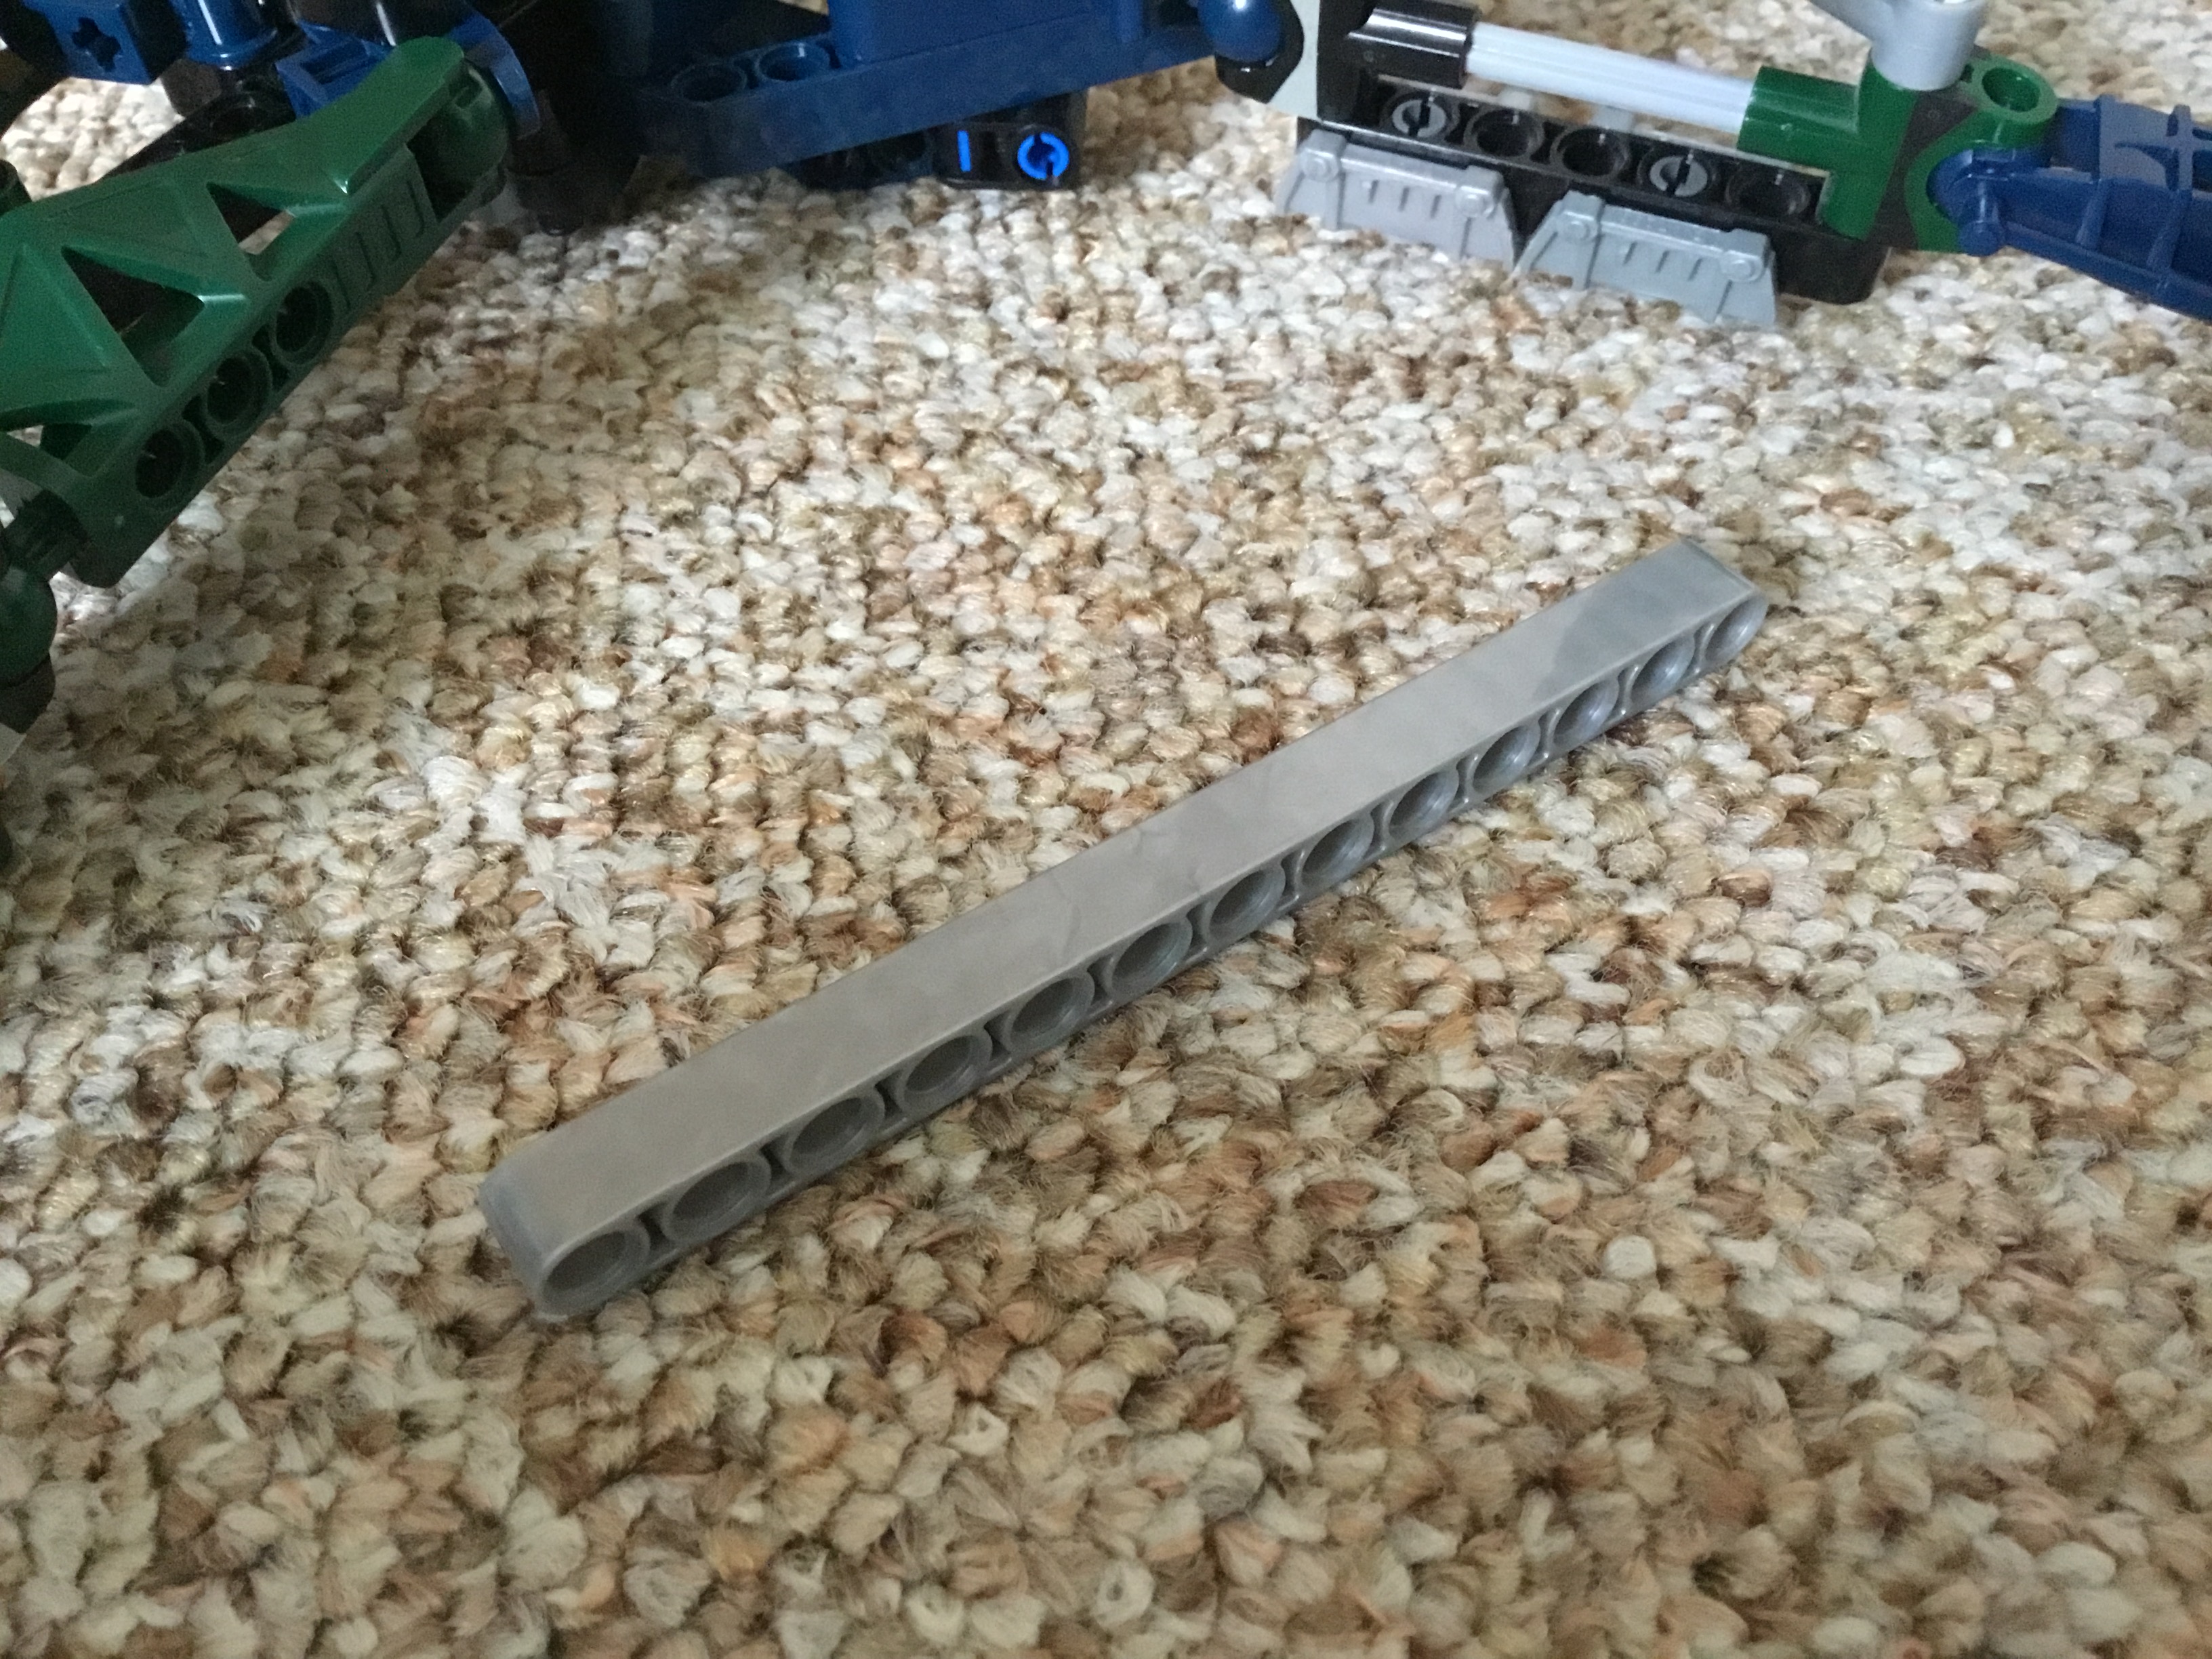
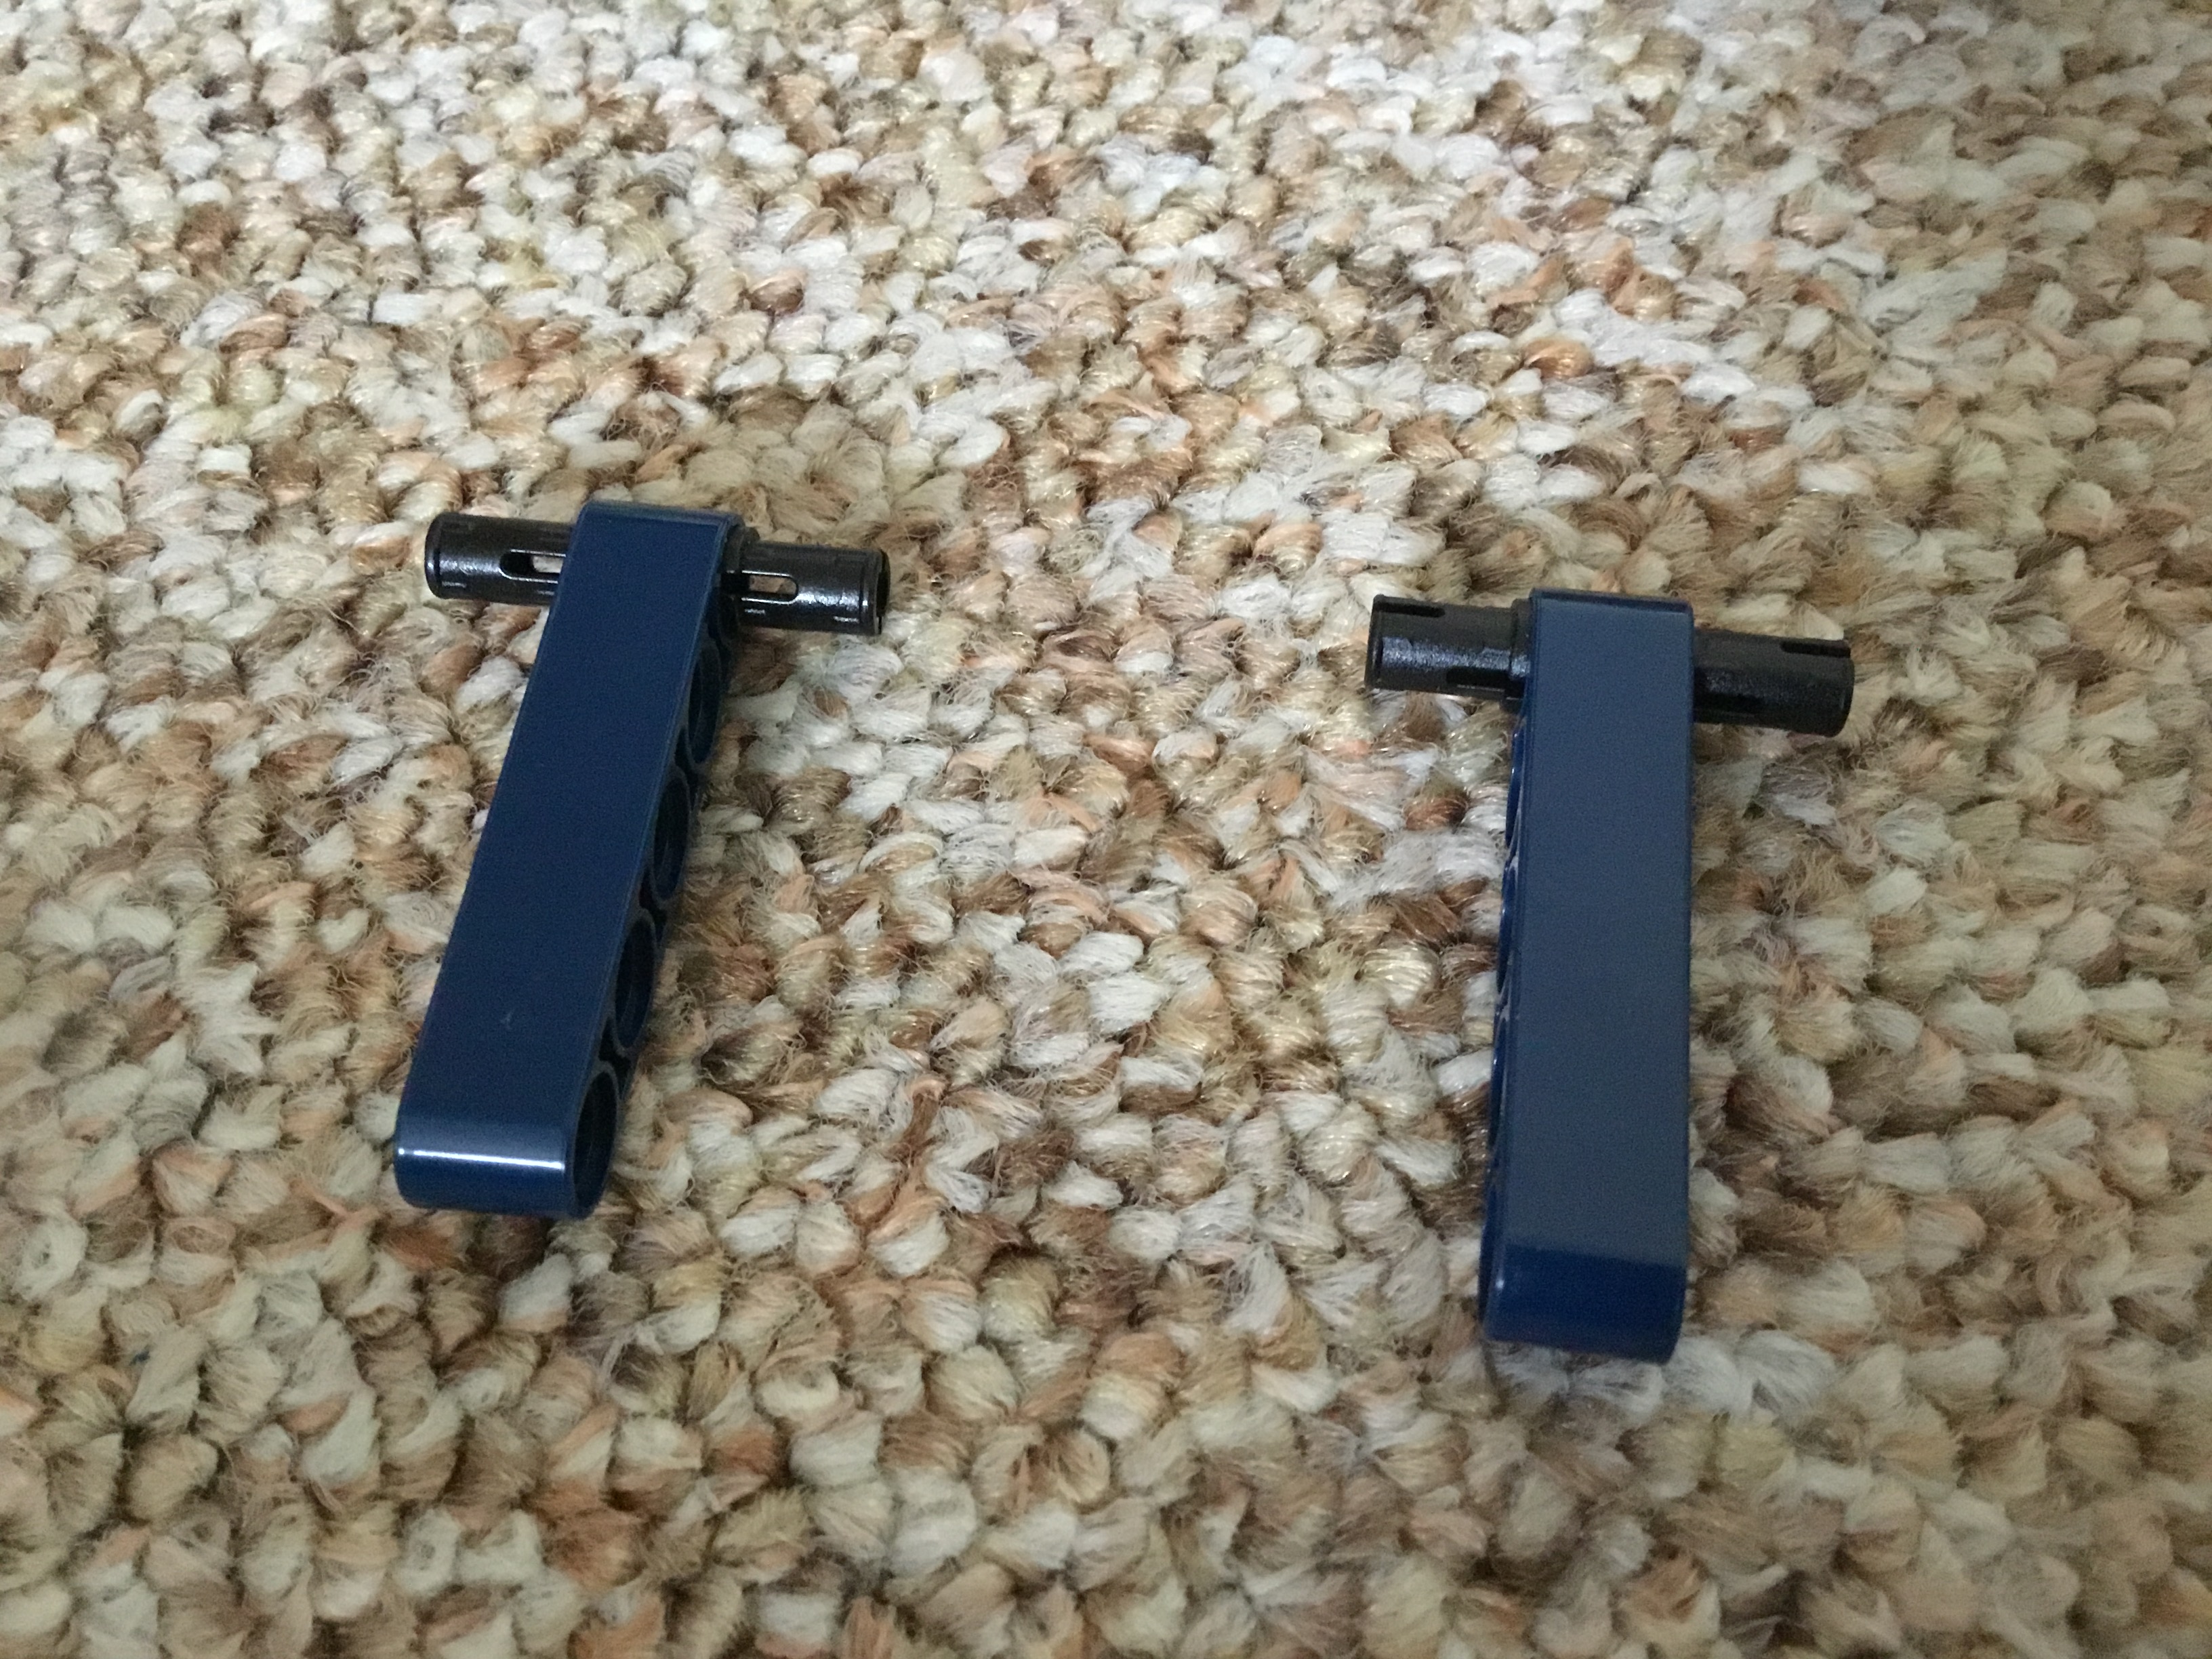
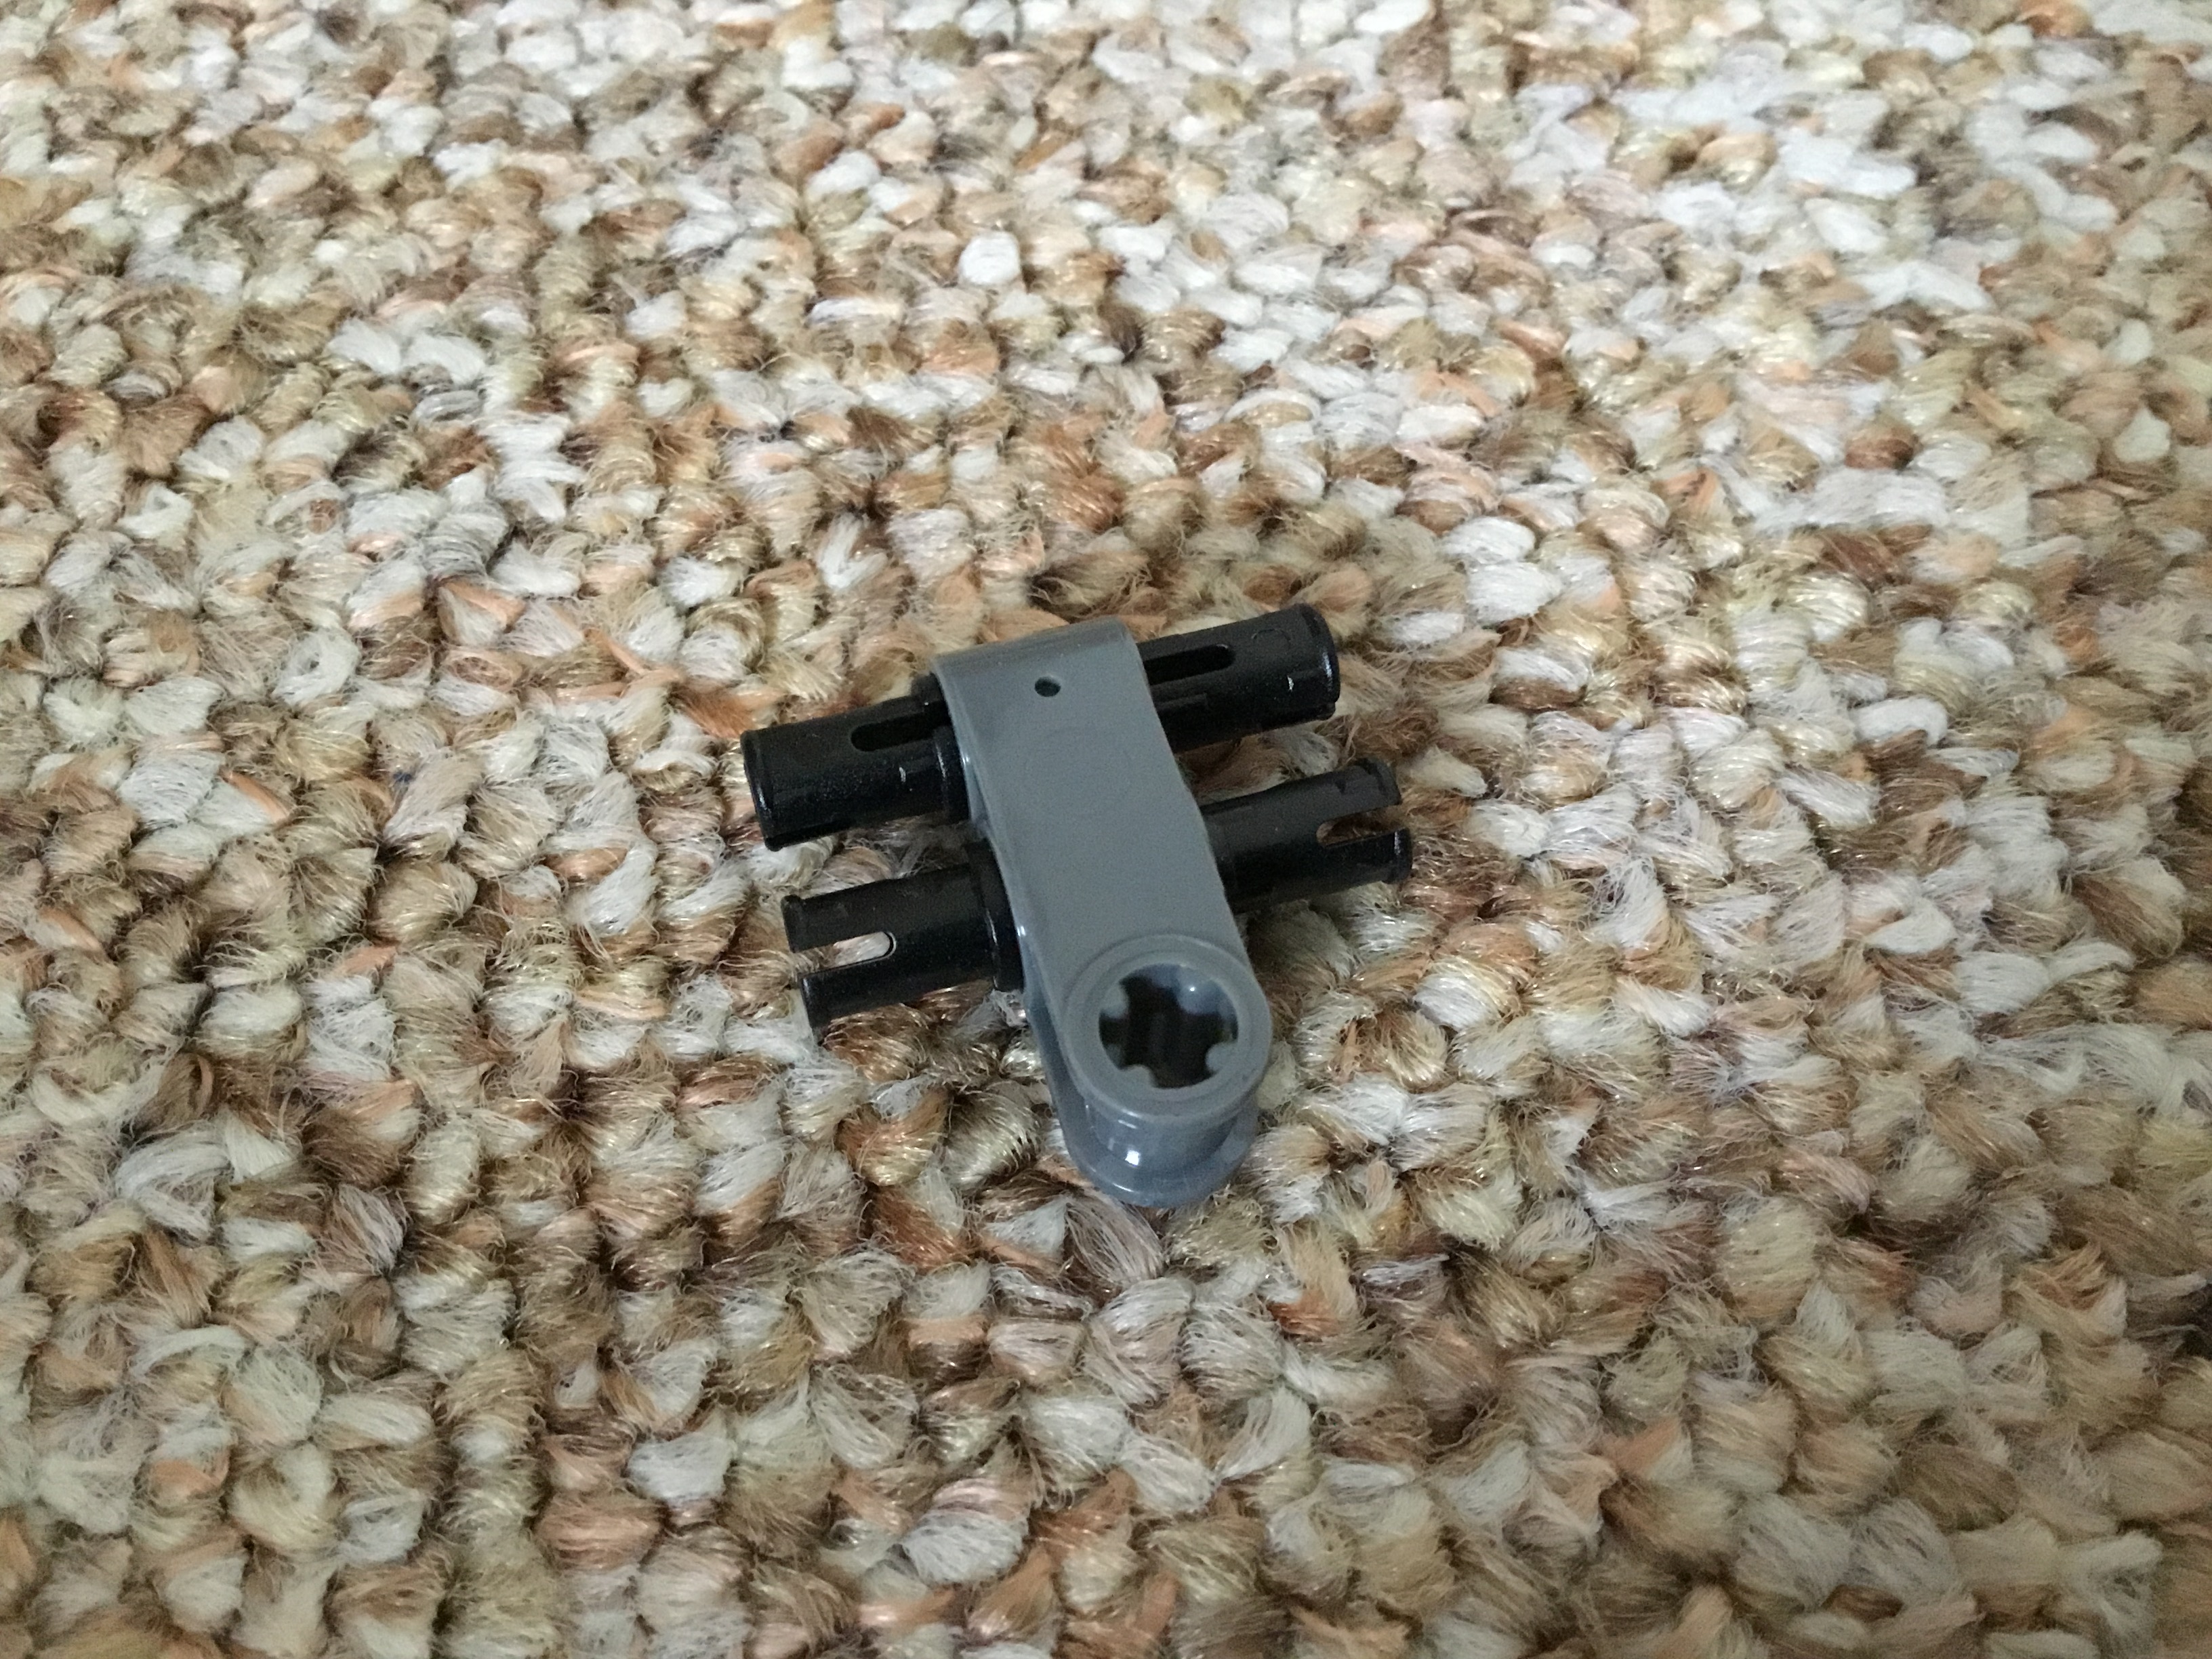
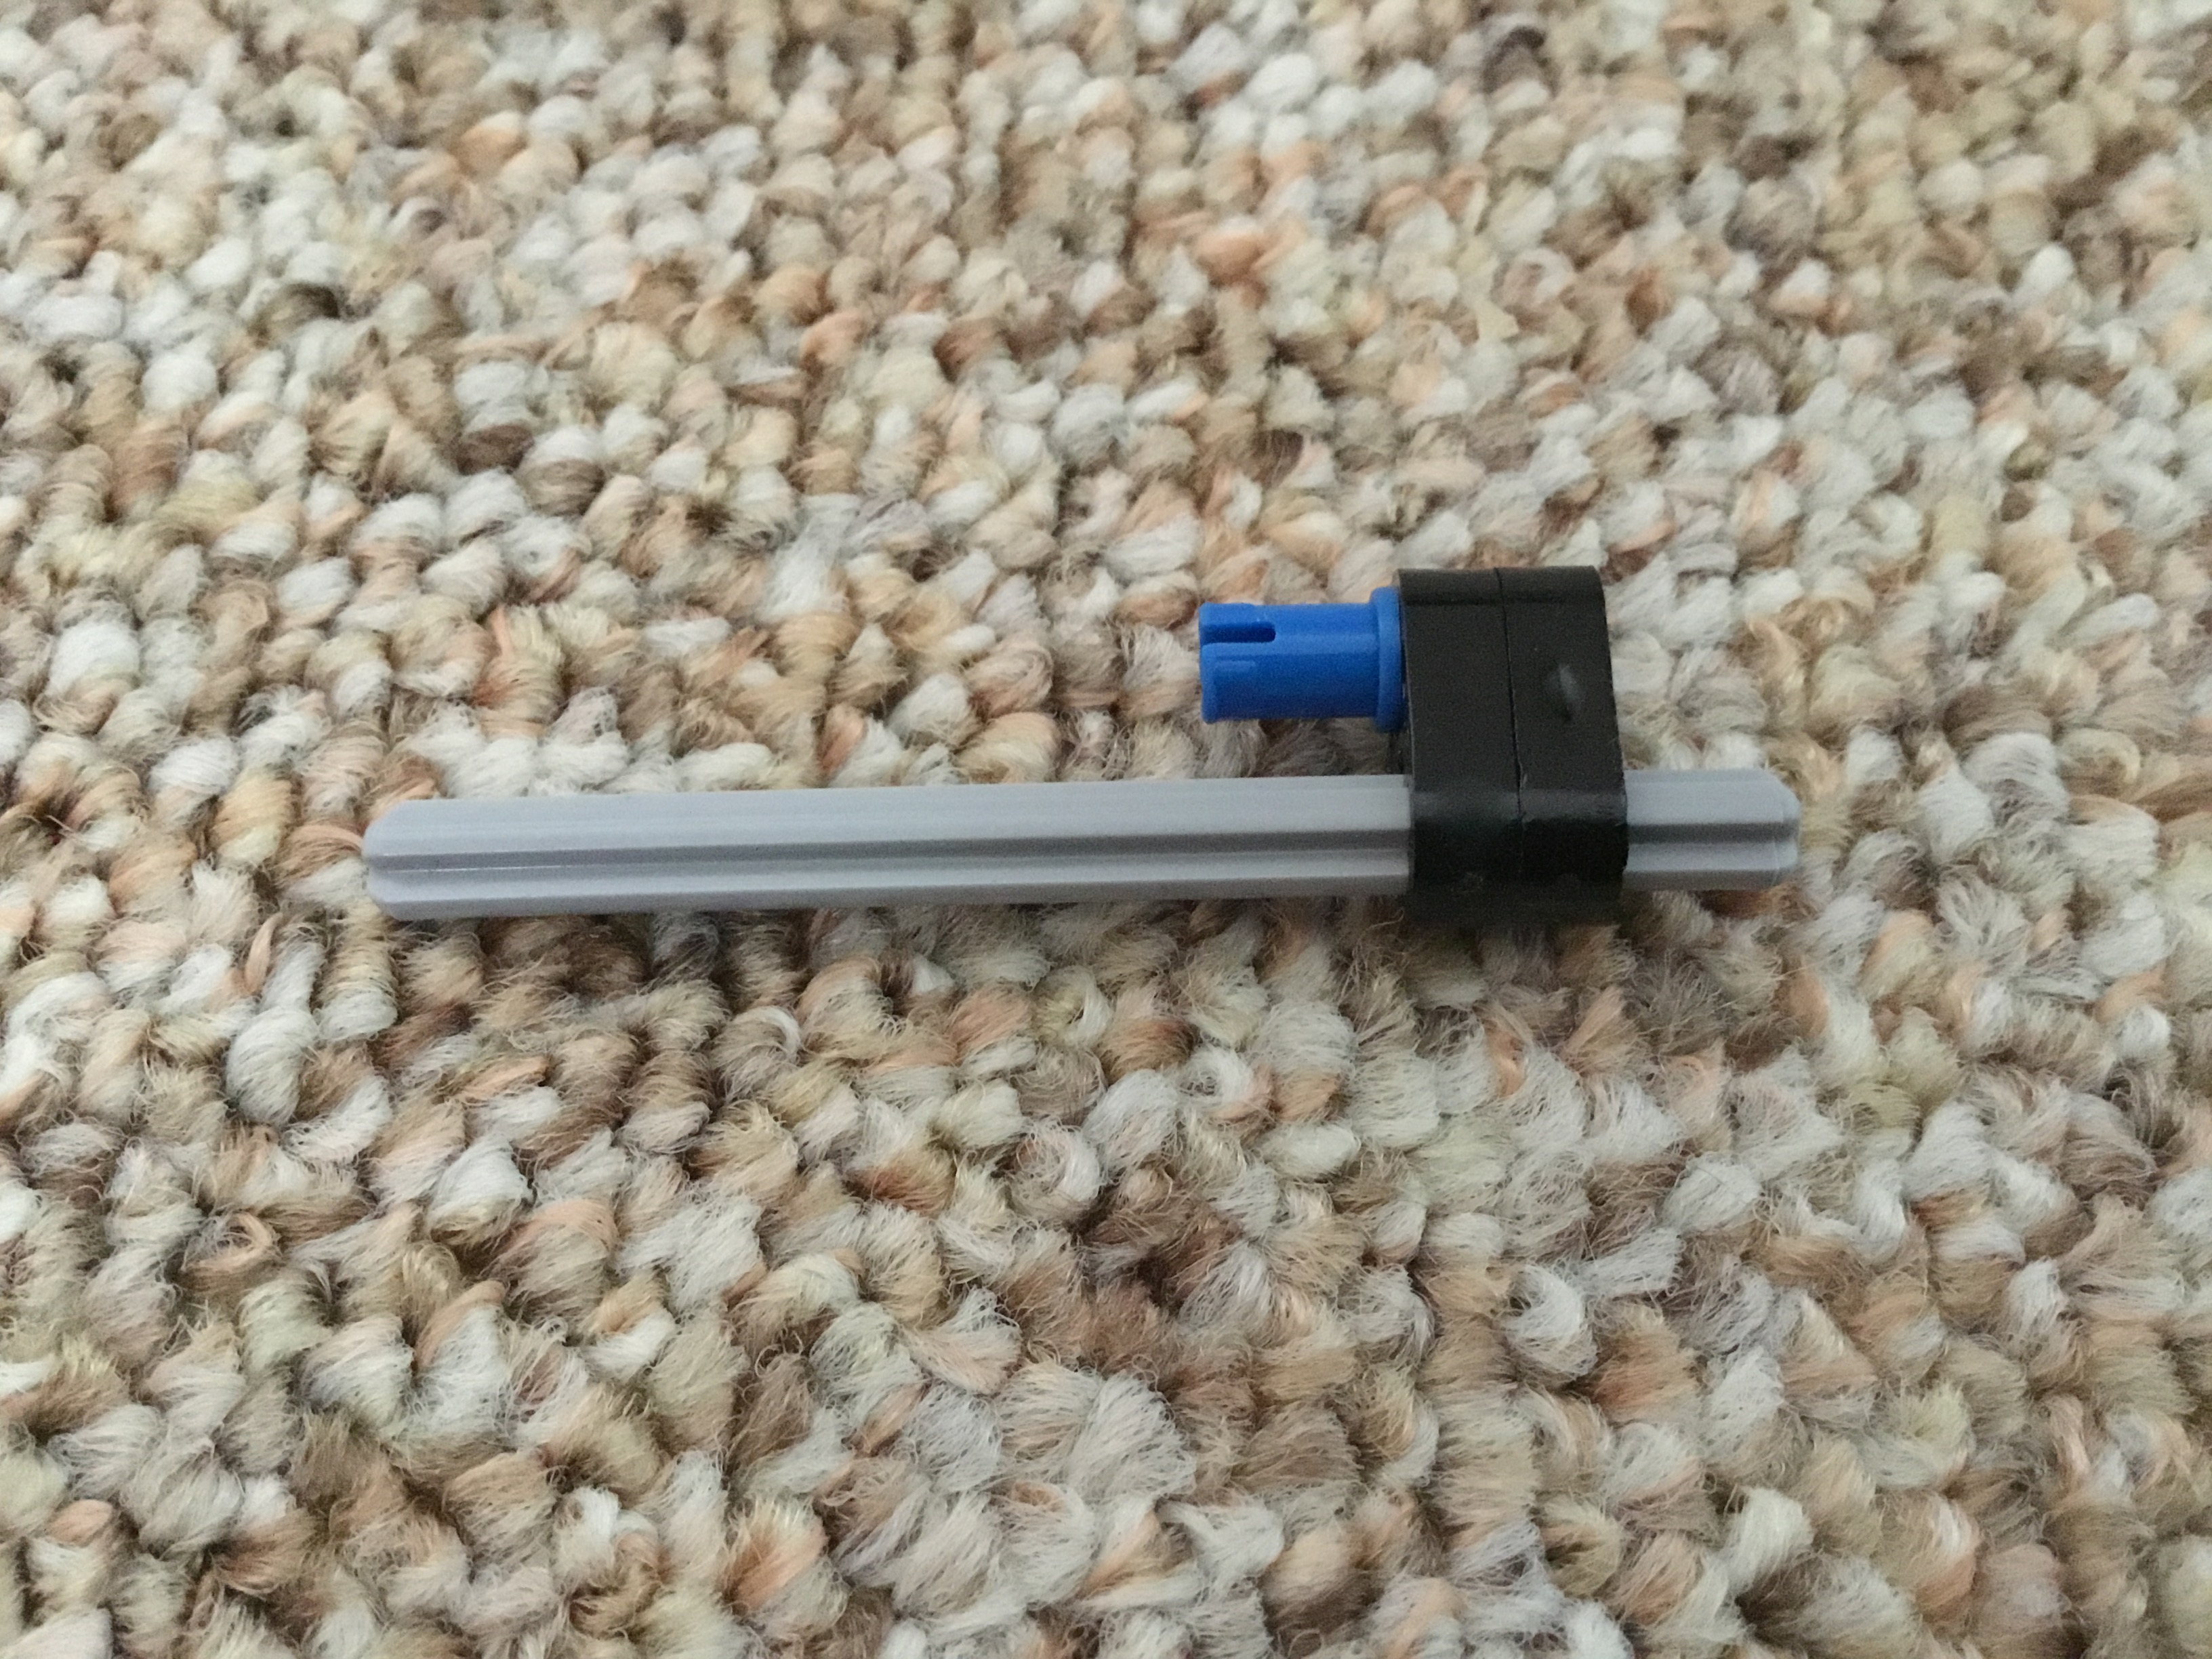
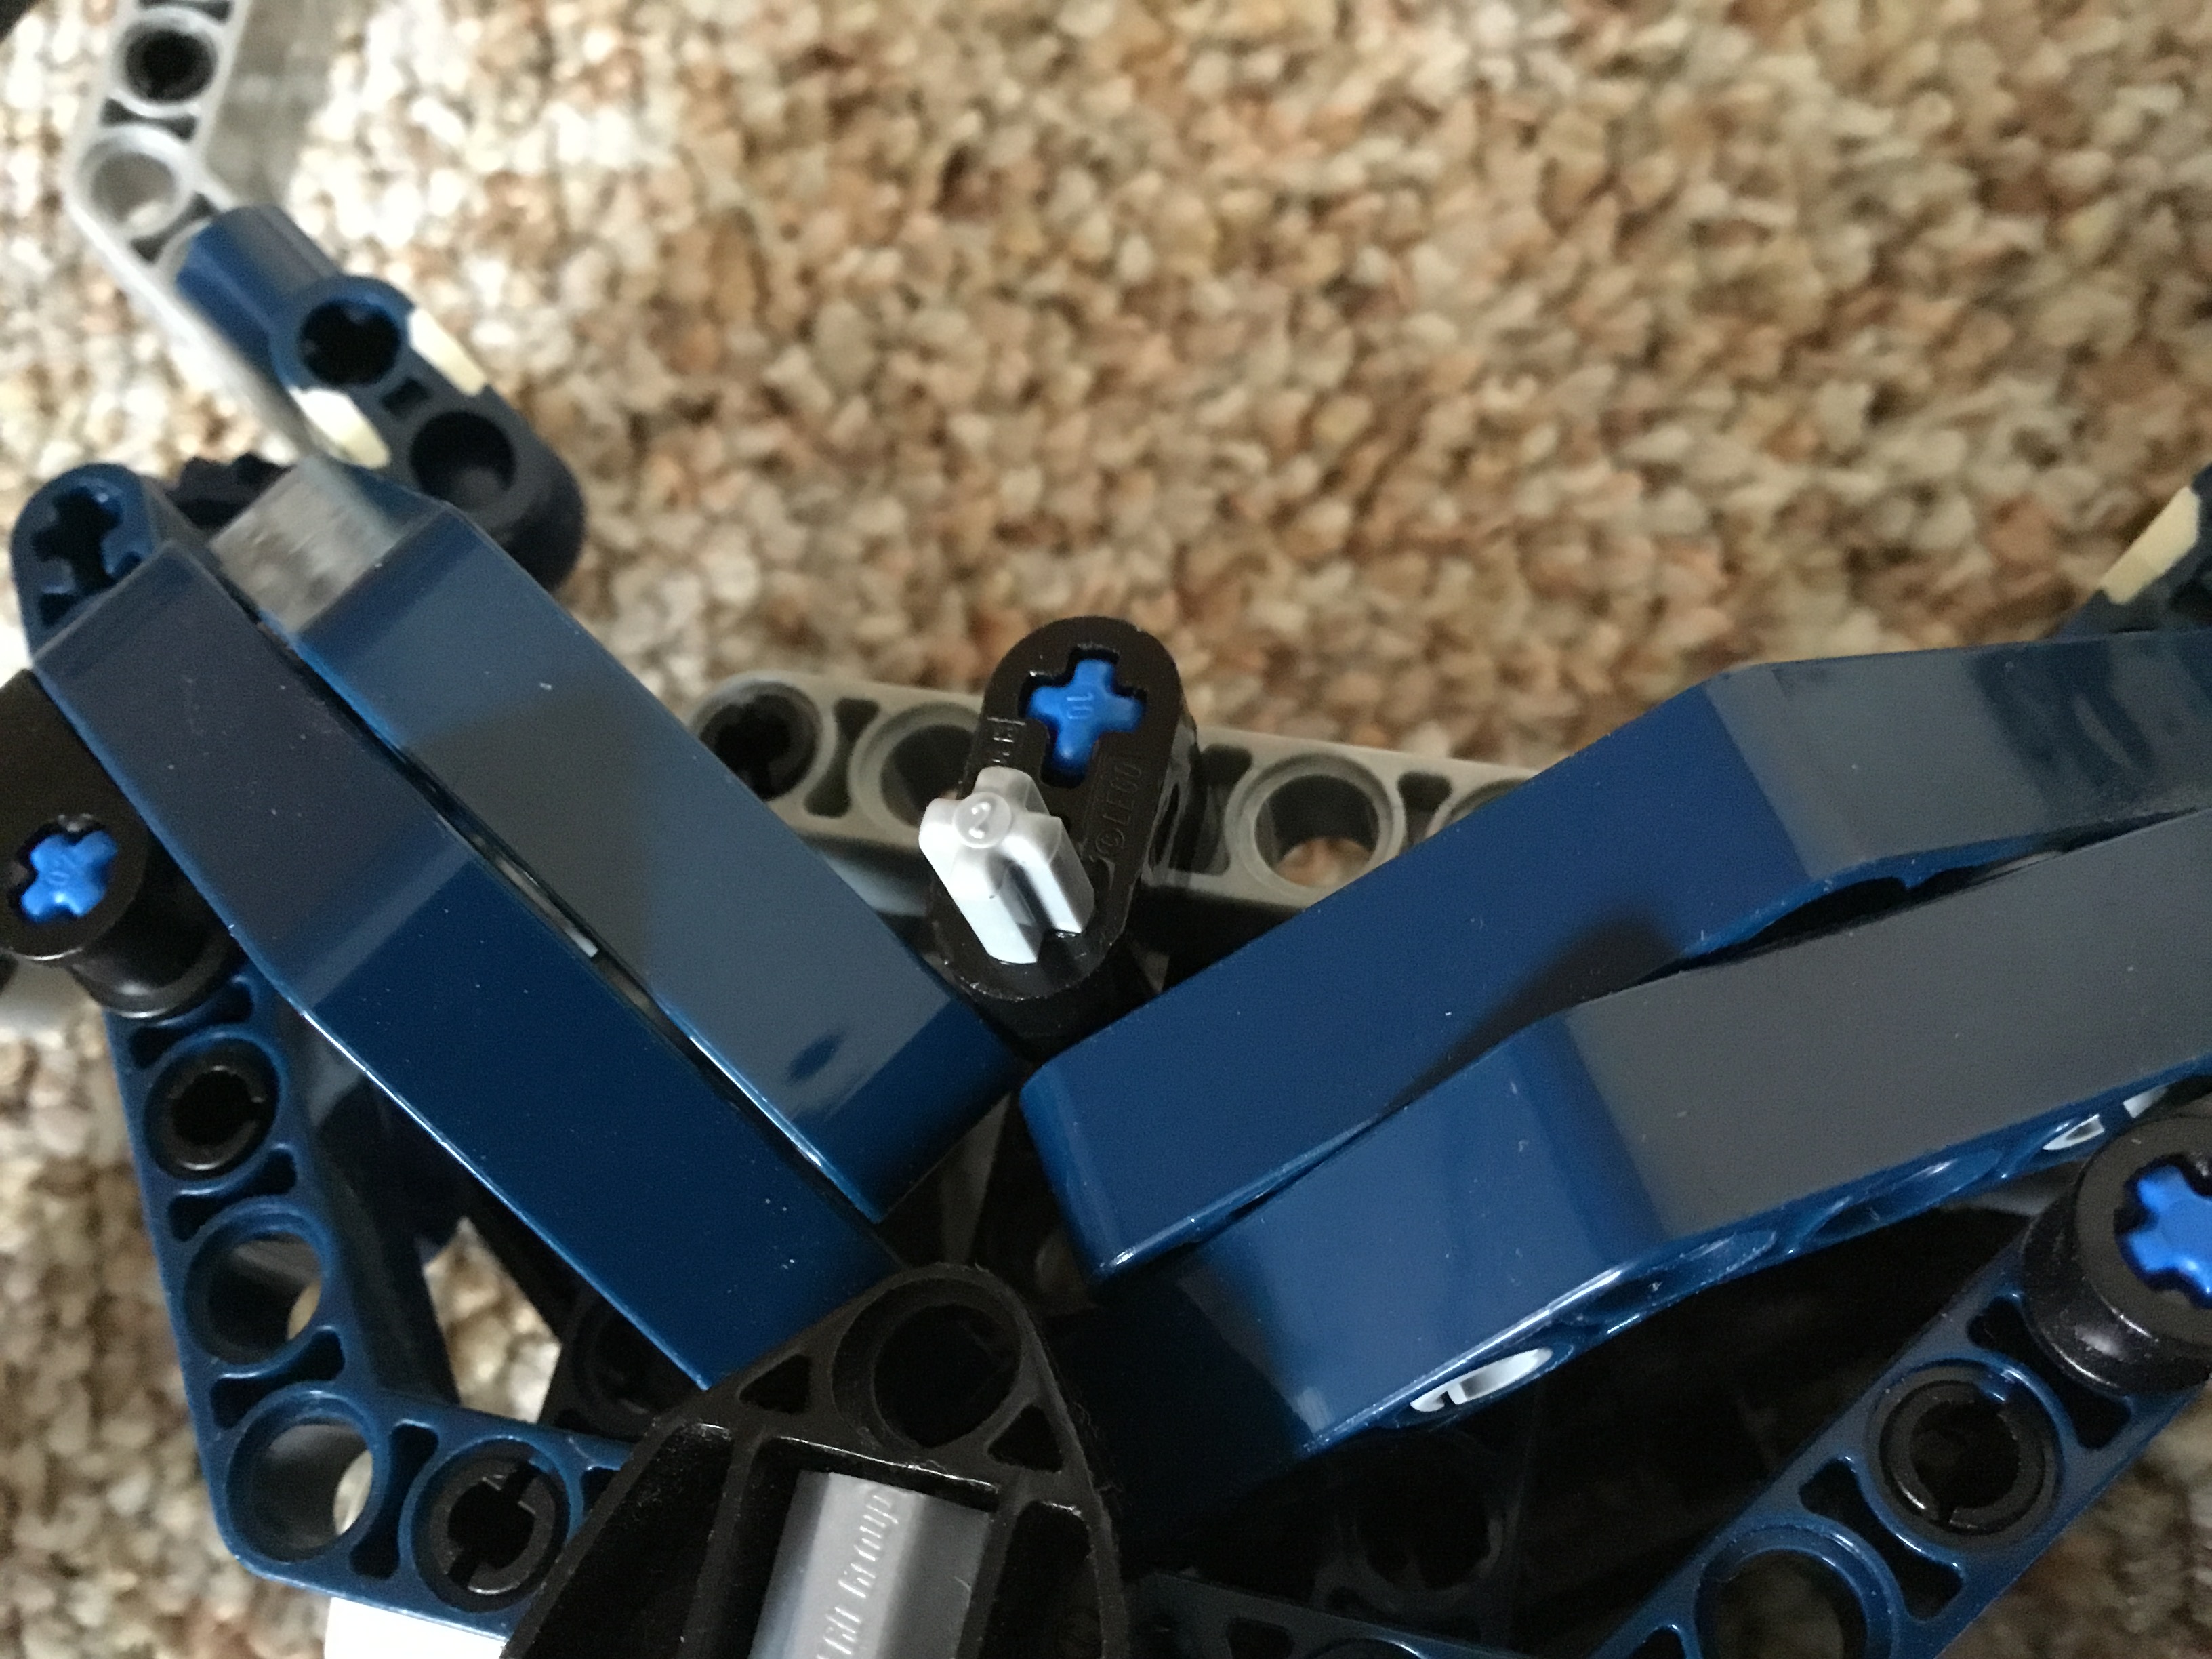
Once they’re removed you should replace these two pins with the longer 3L versions.
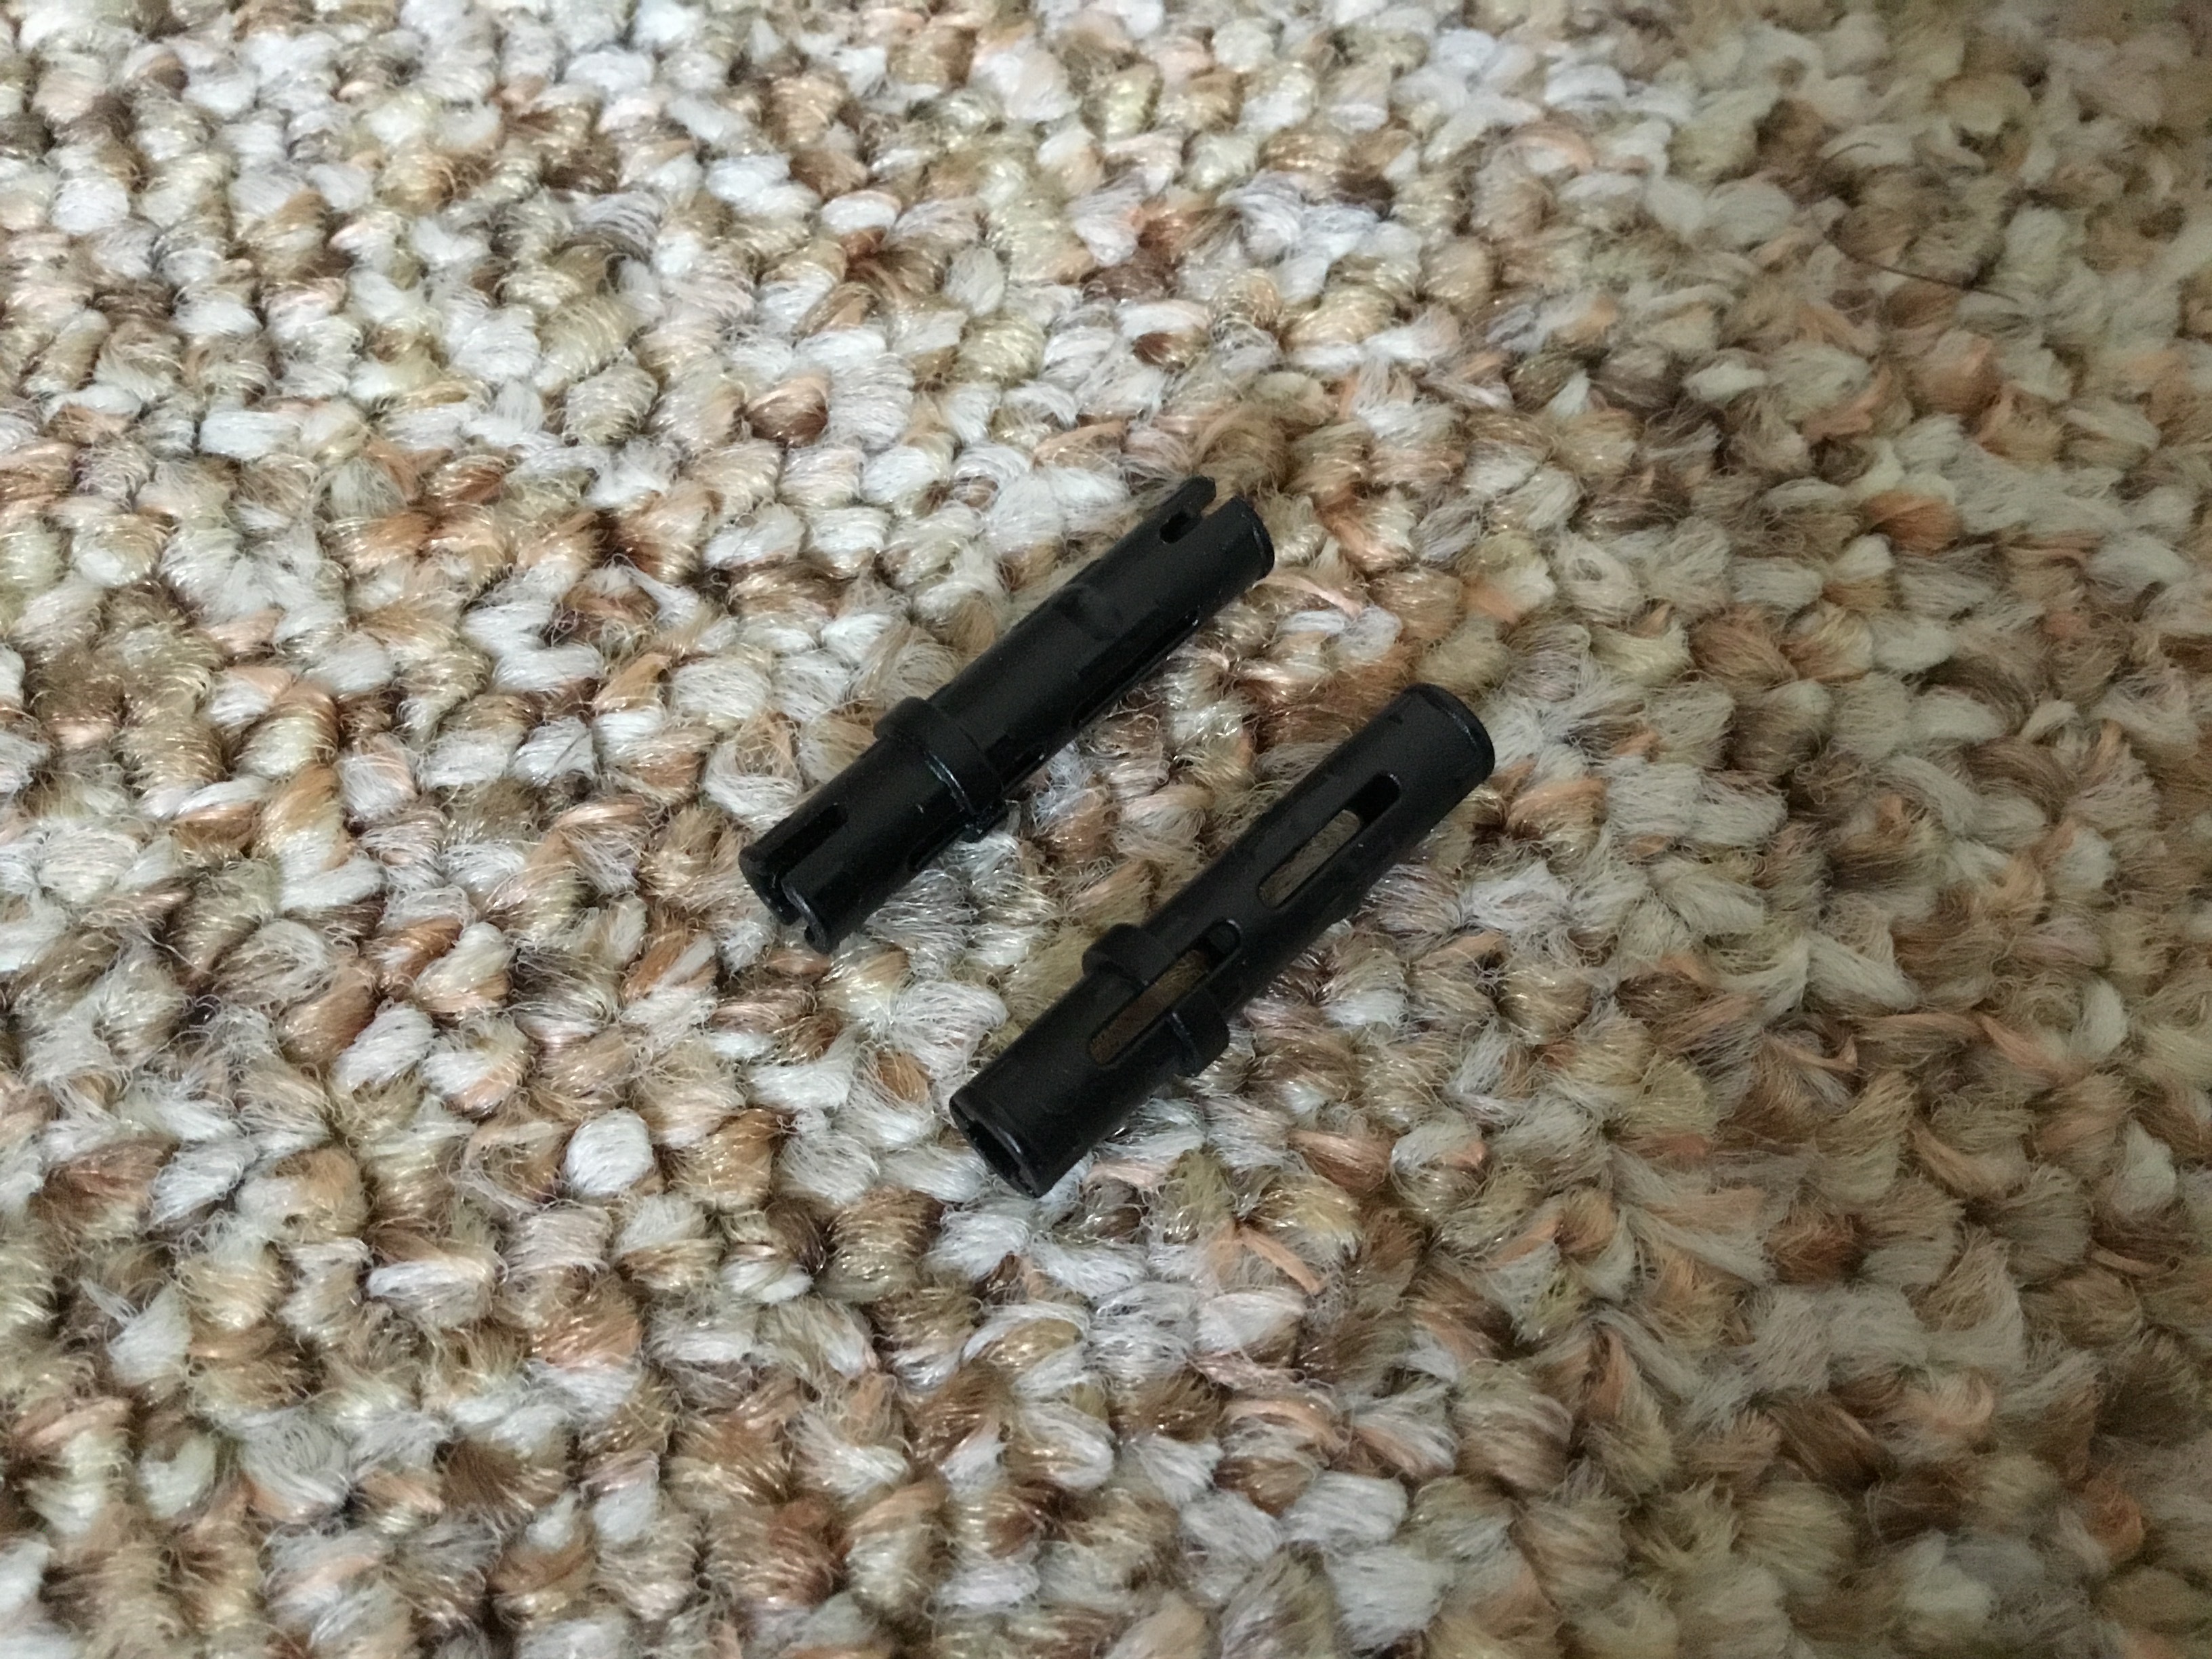
You know, these ones? Once they’re switched out you can reattach the blue beams from earlier.
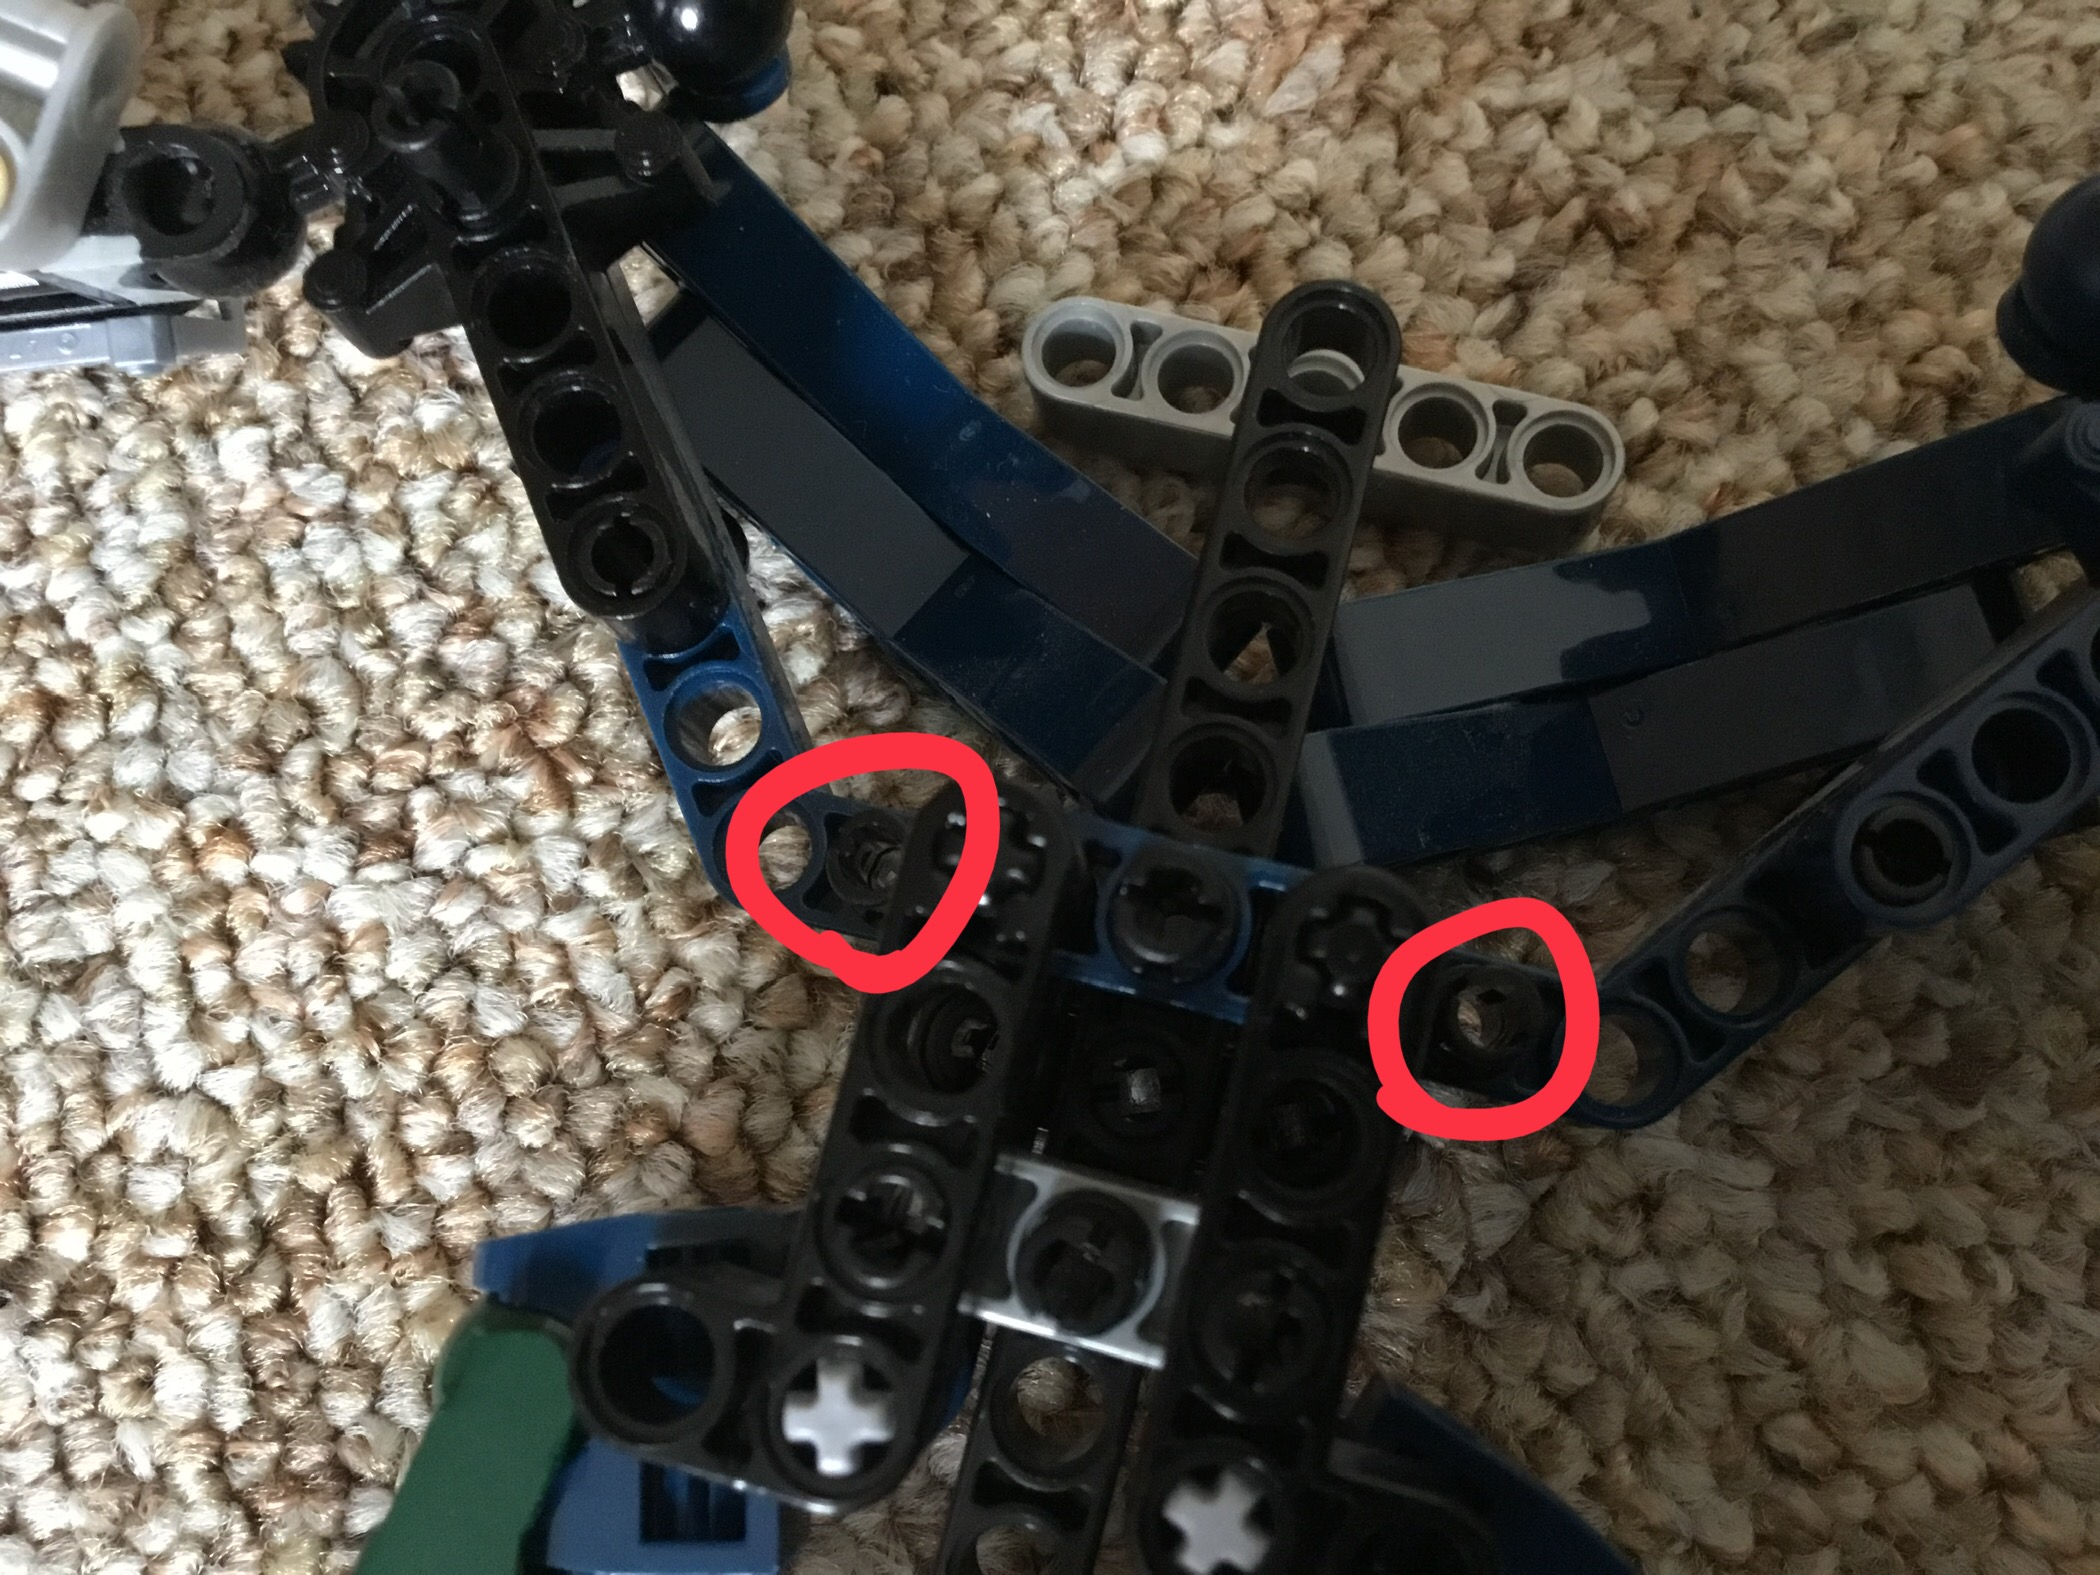
If you did it right, there should be two small pins sticking out his back now.
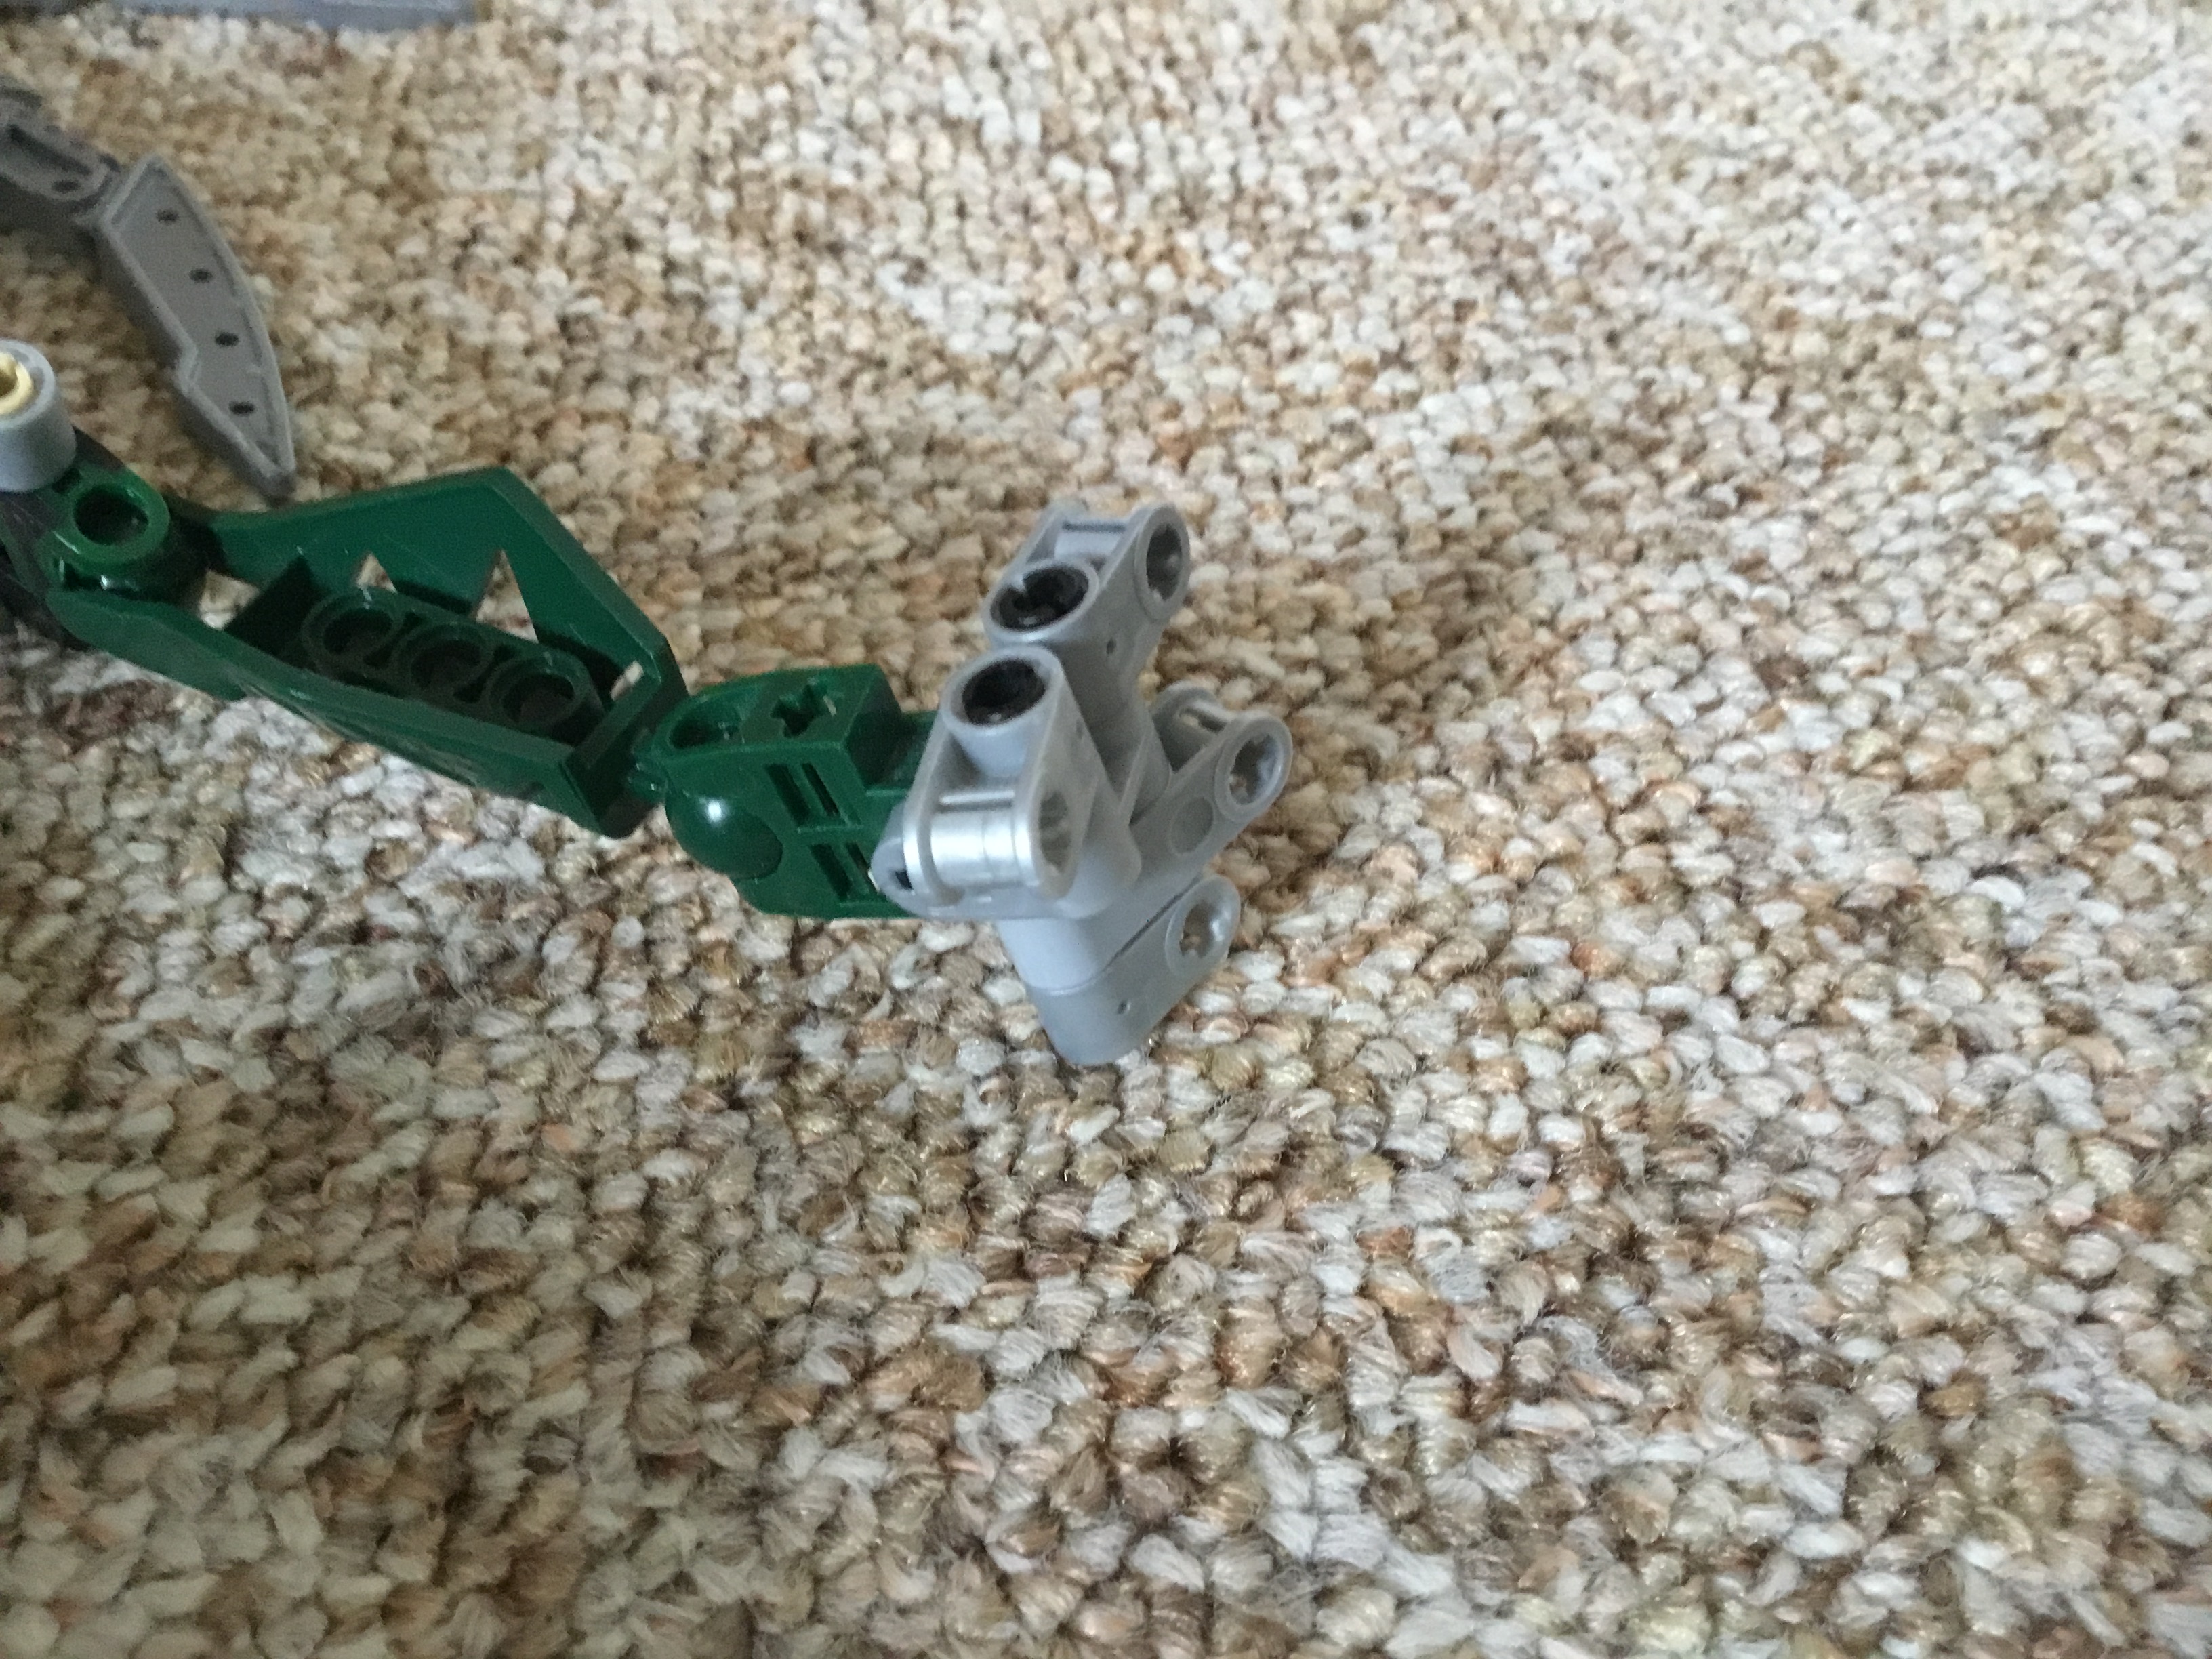
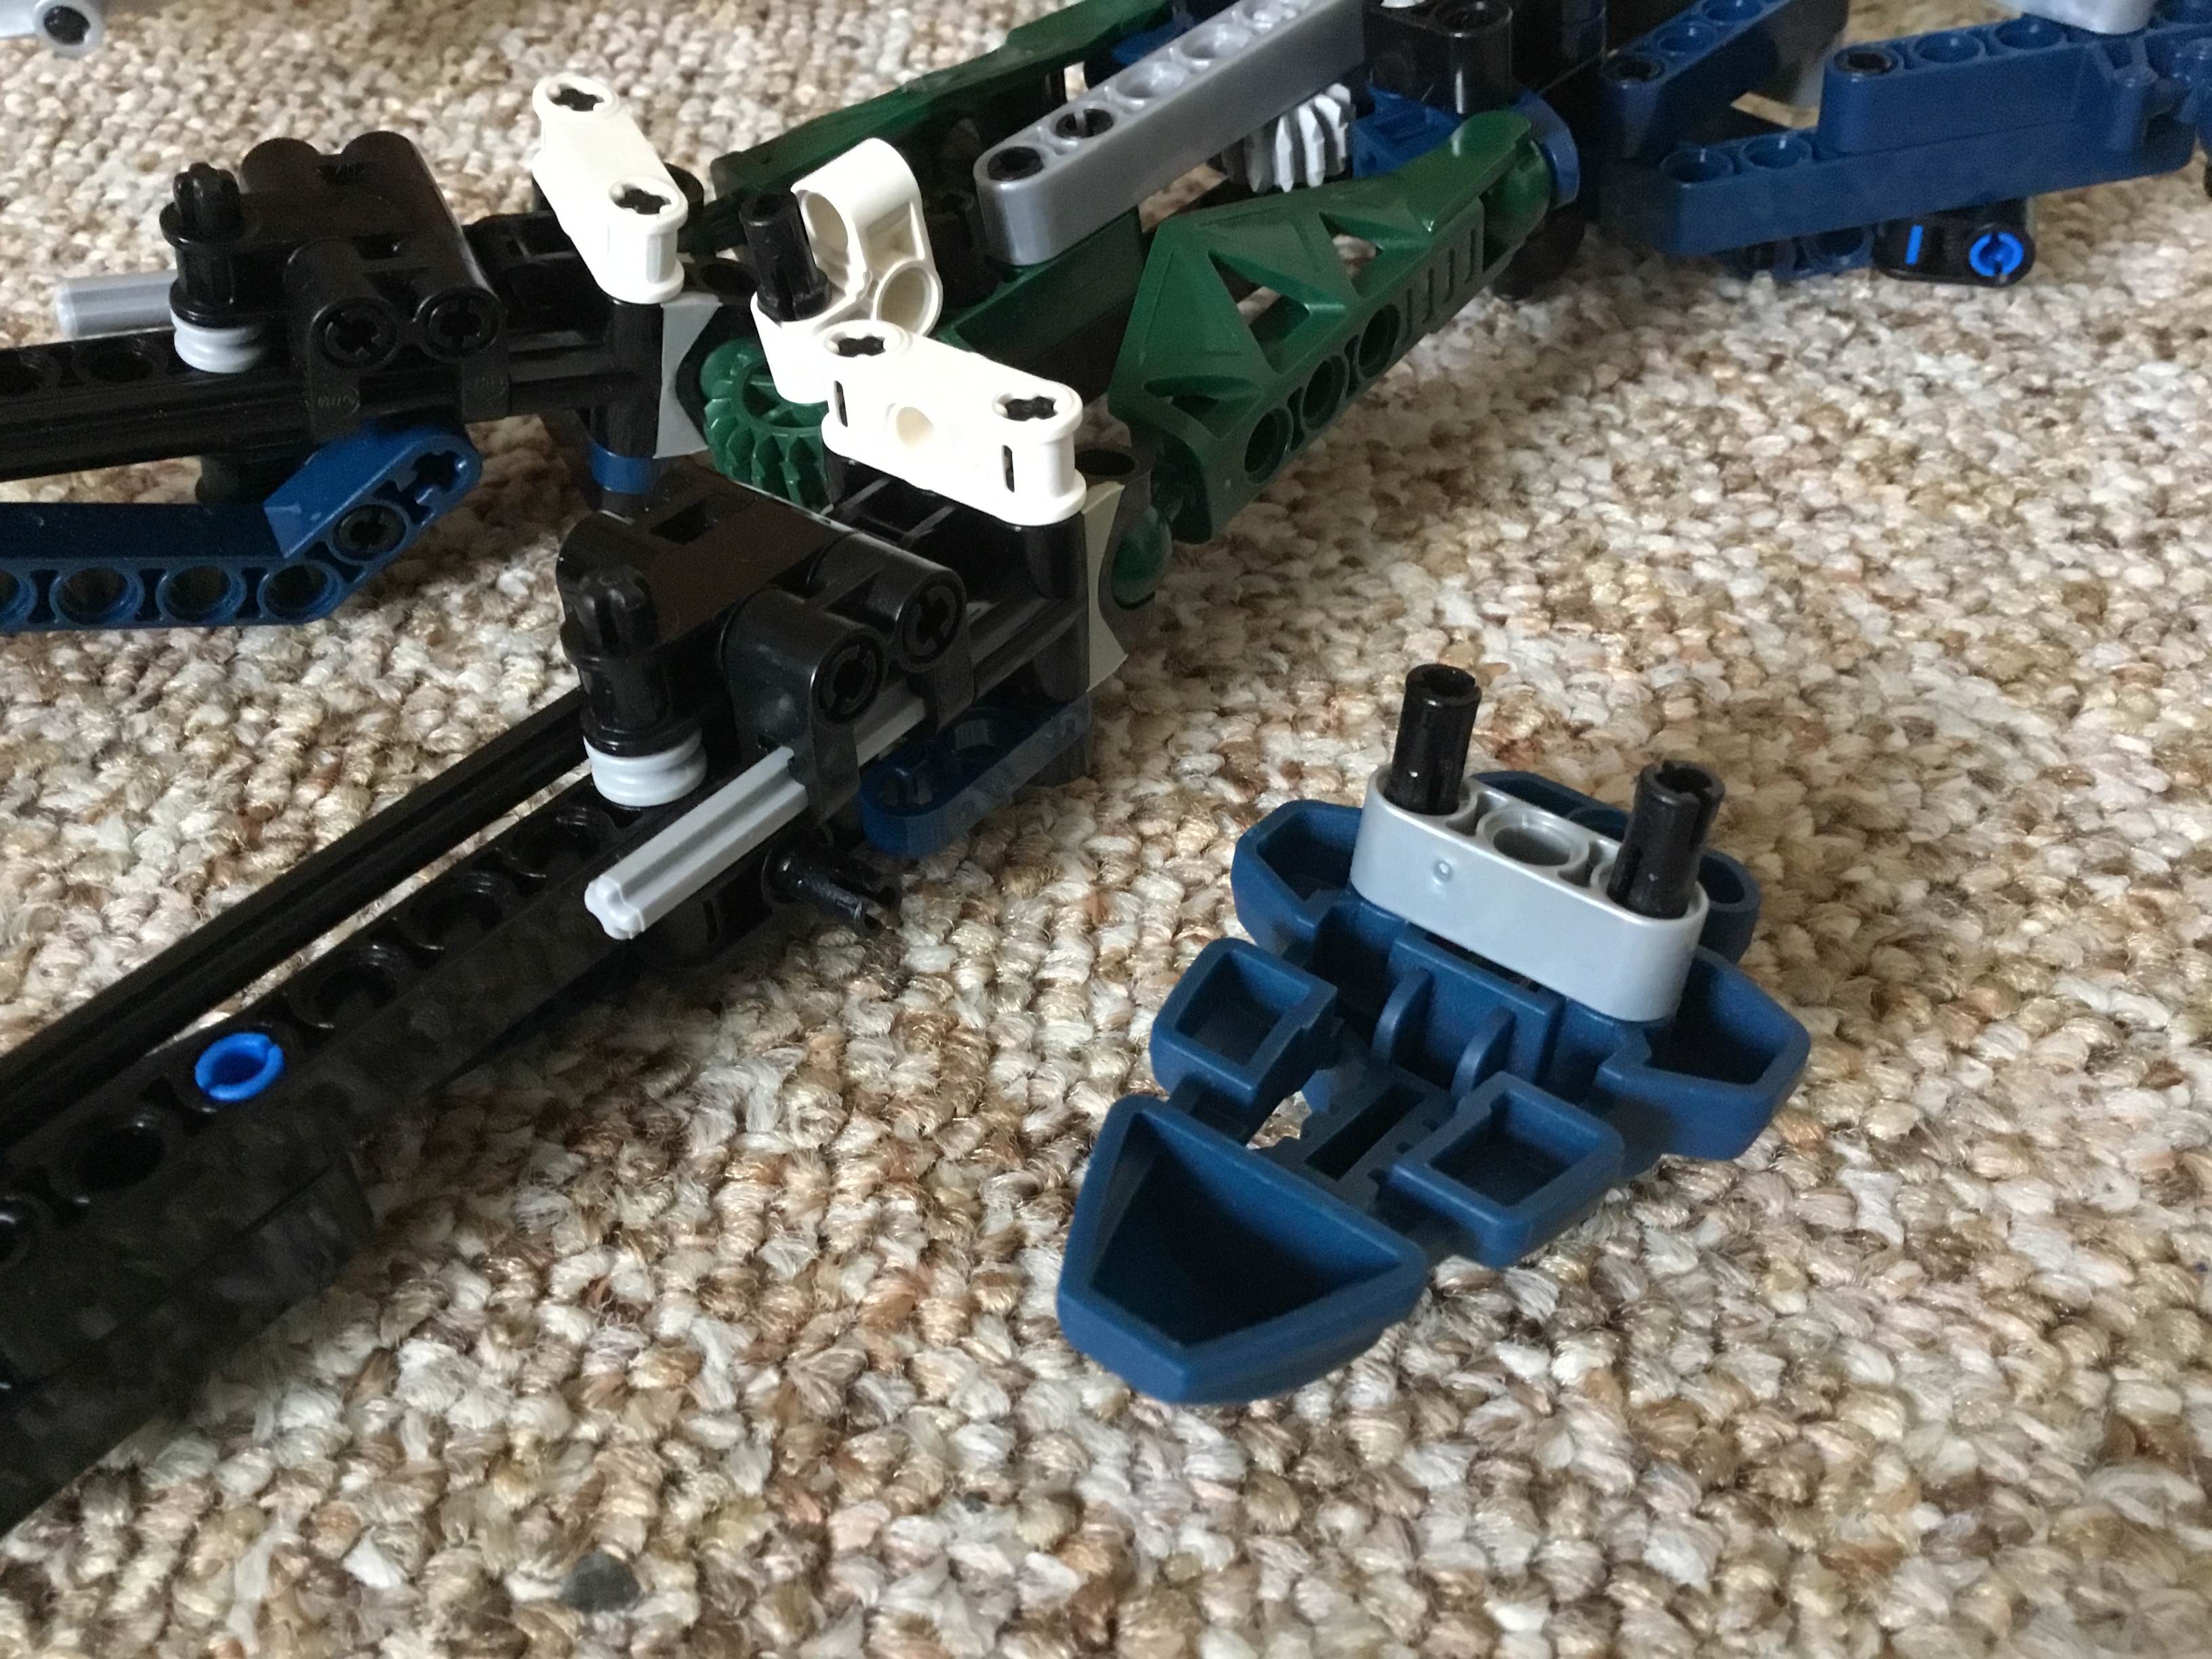
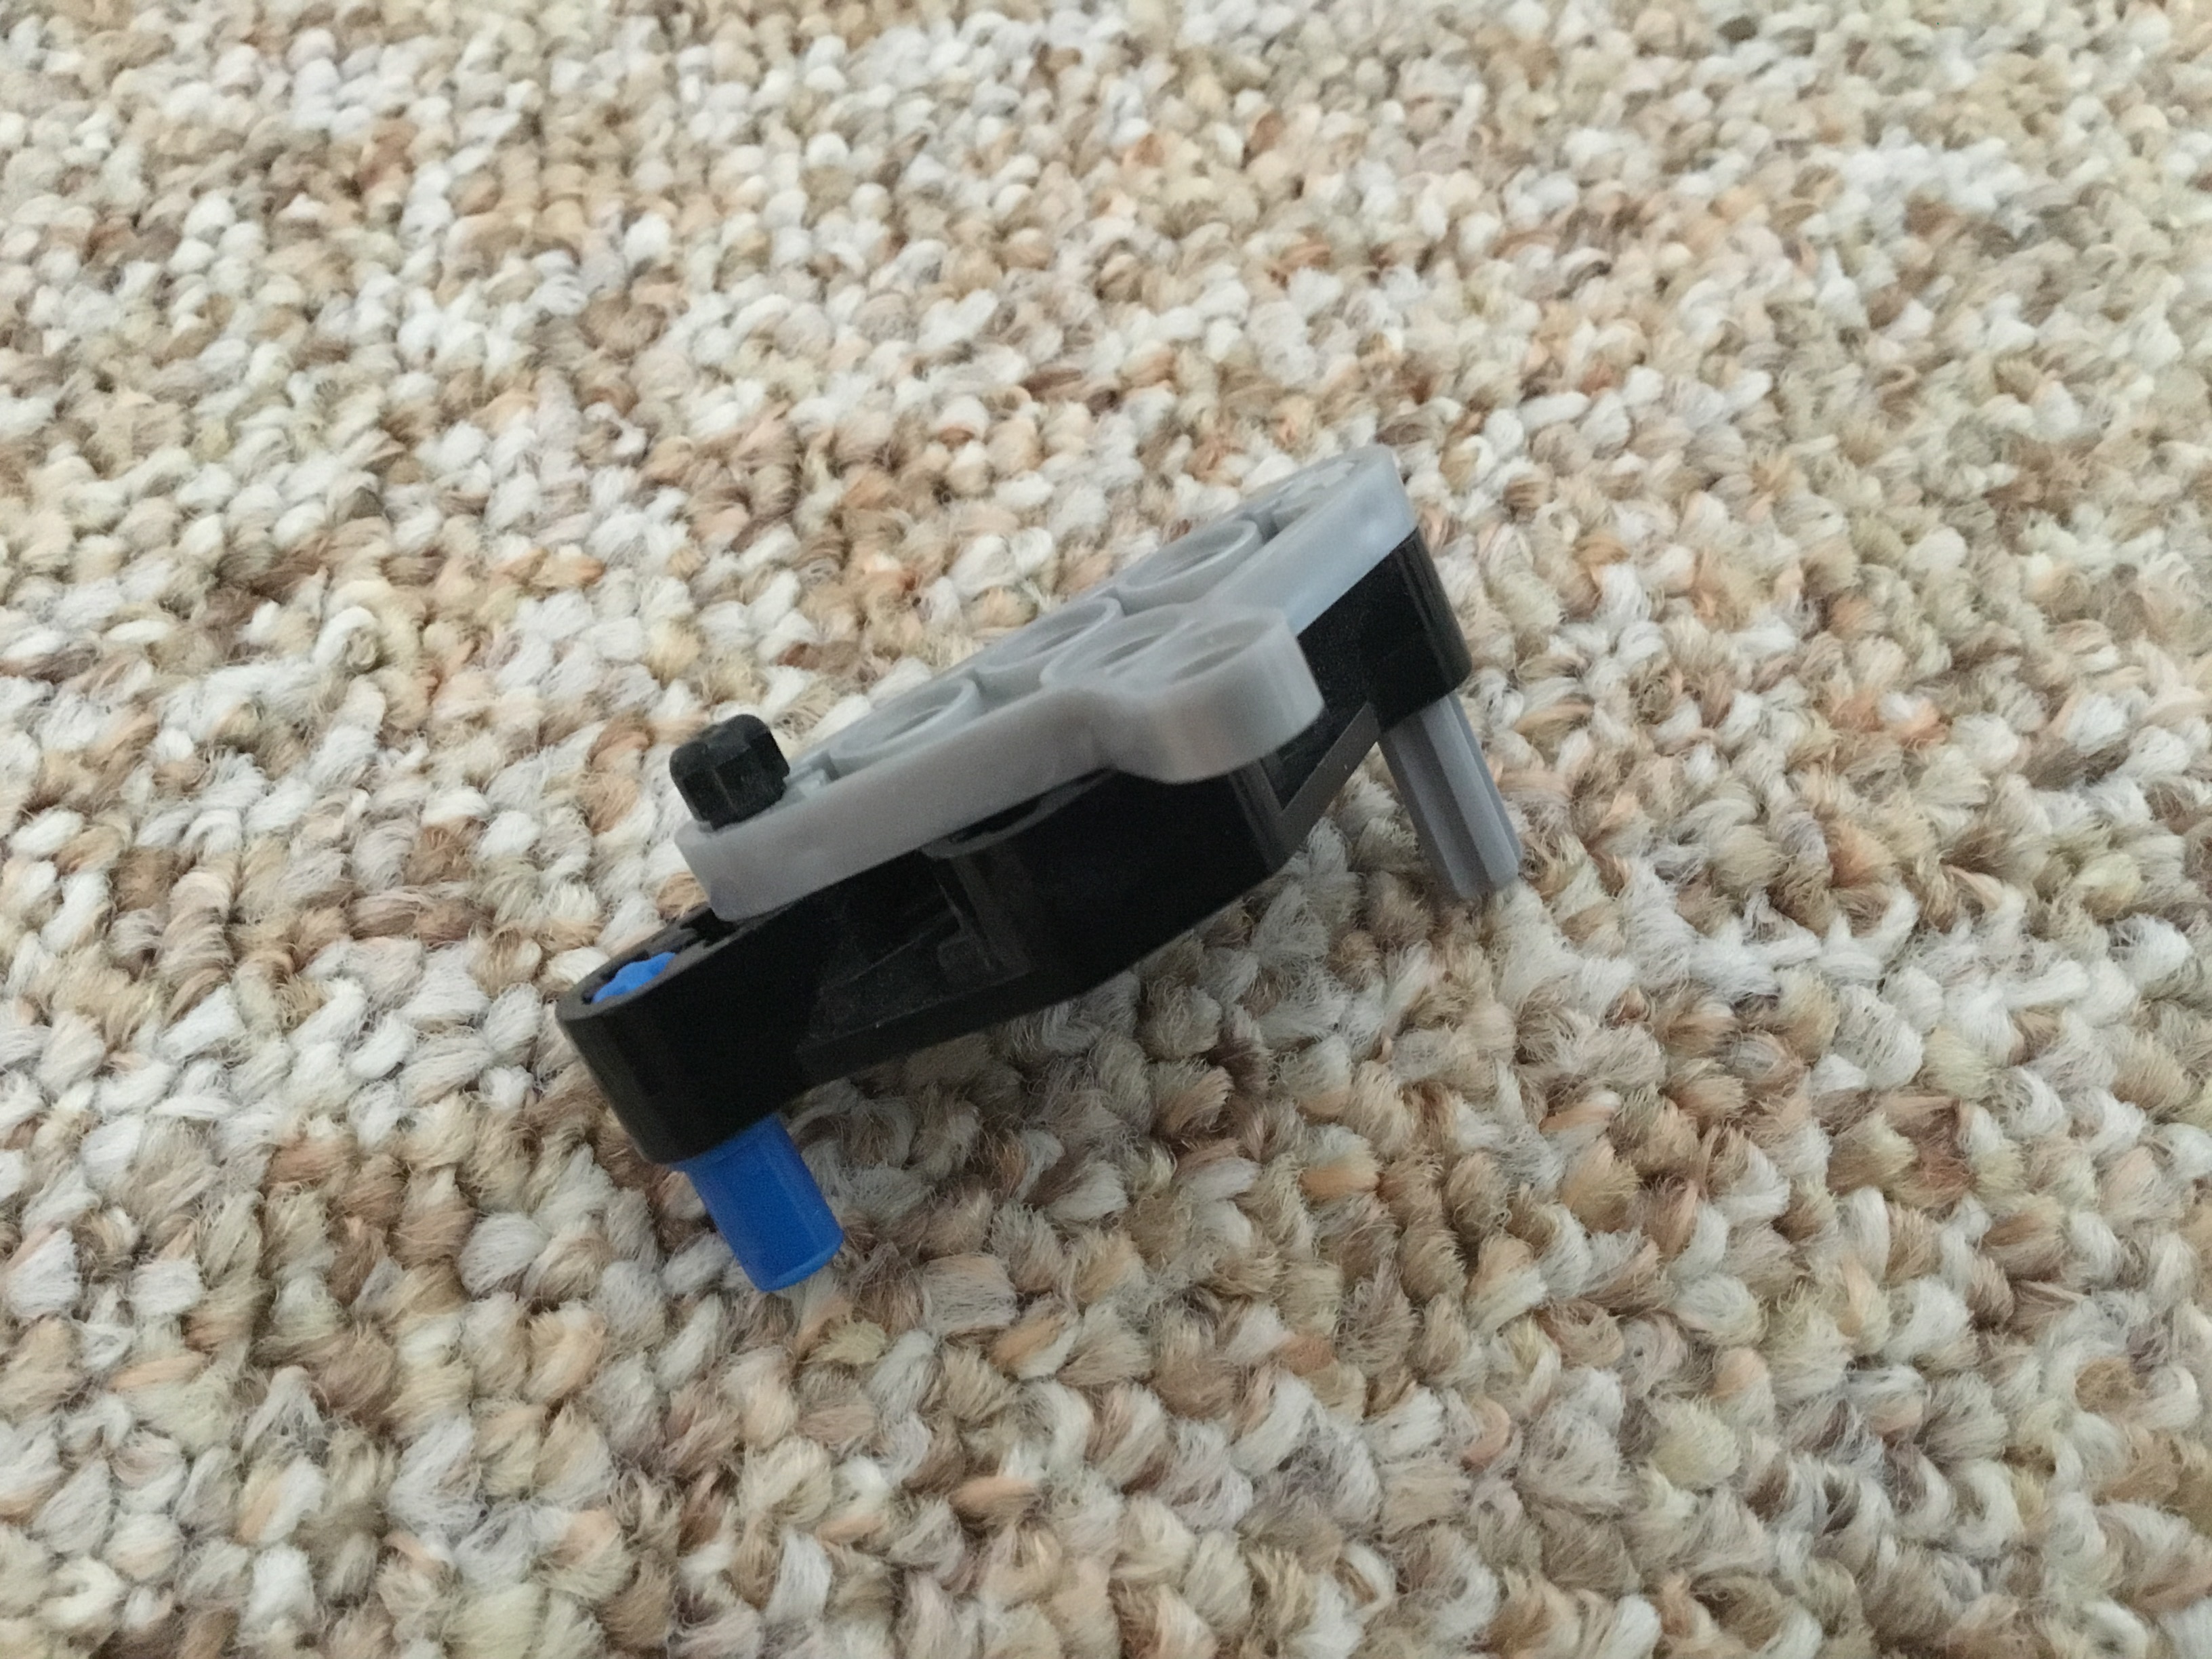
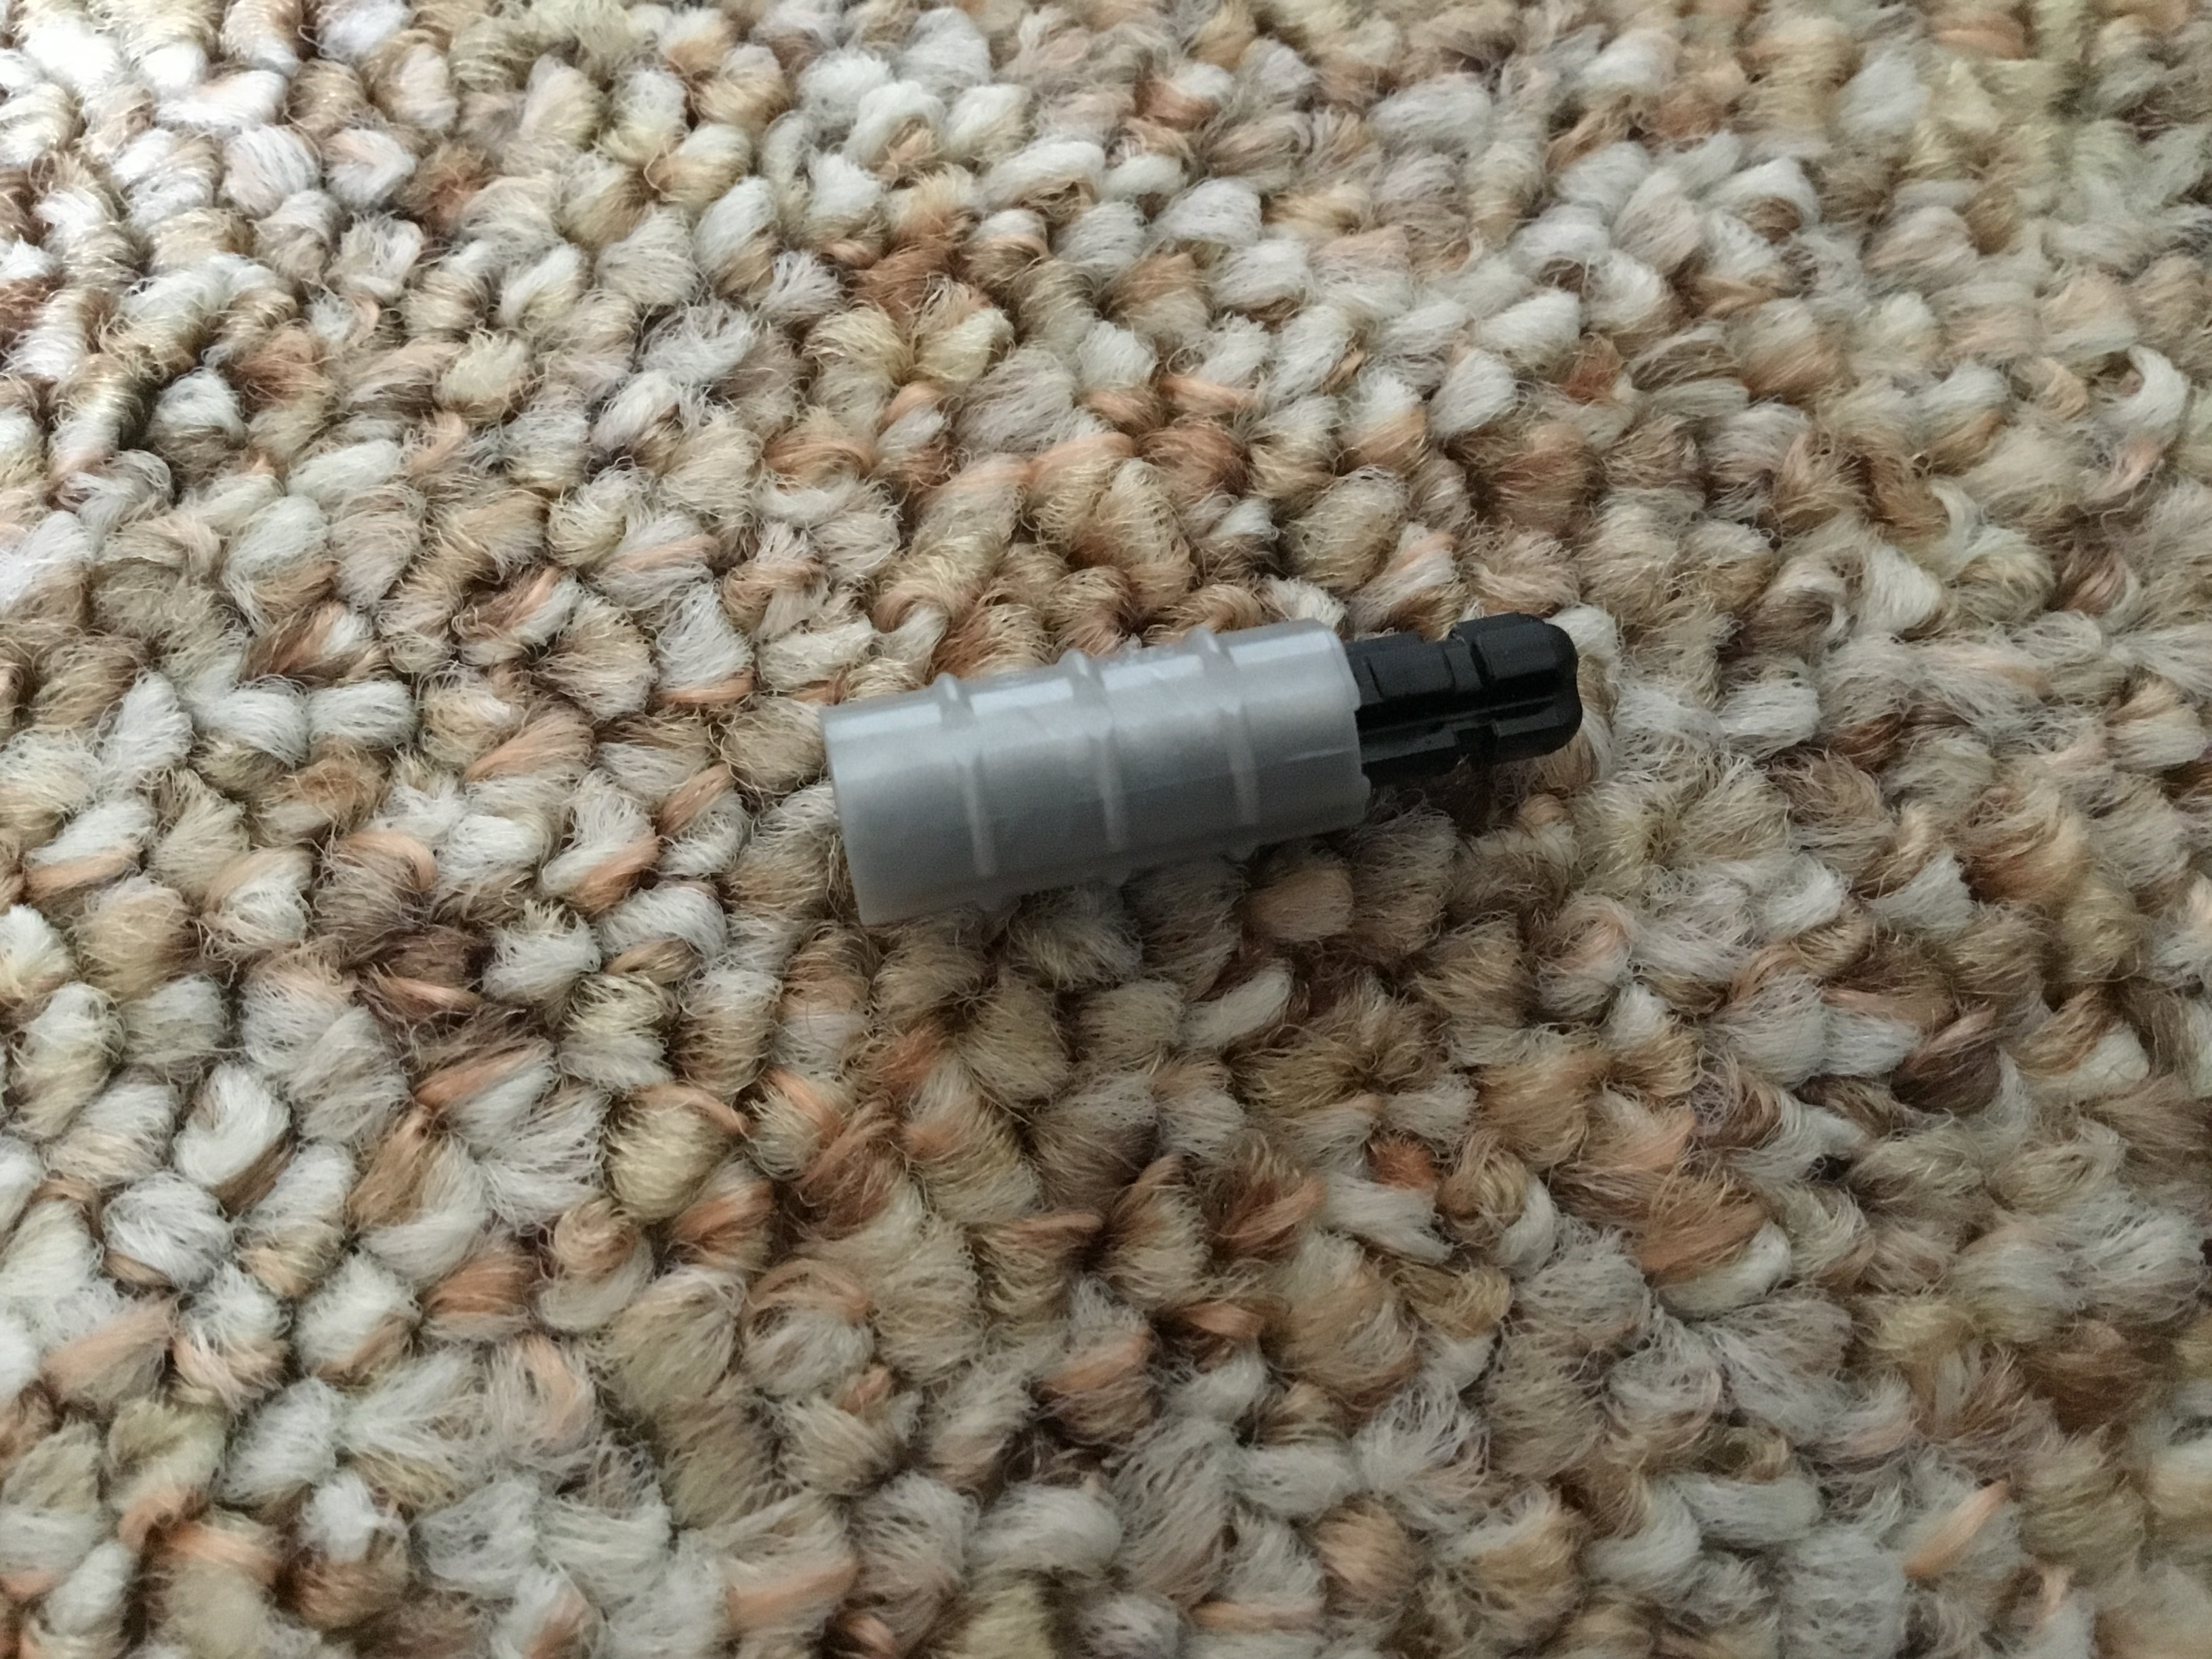
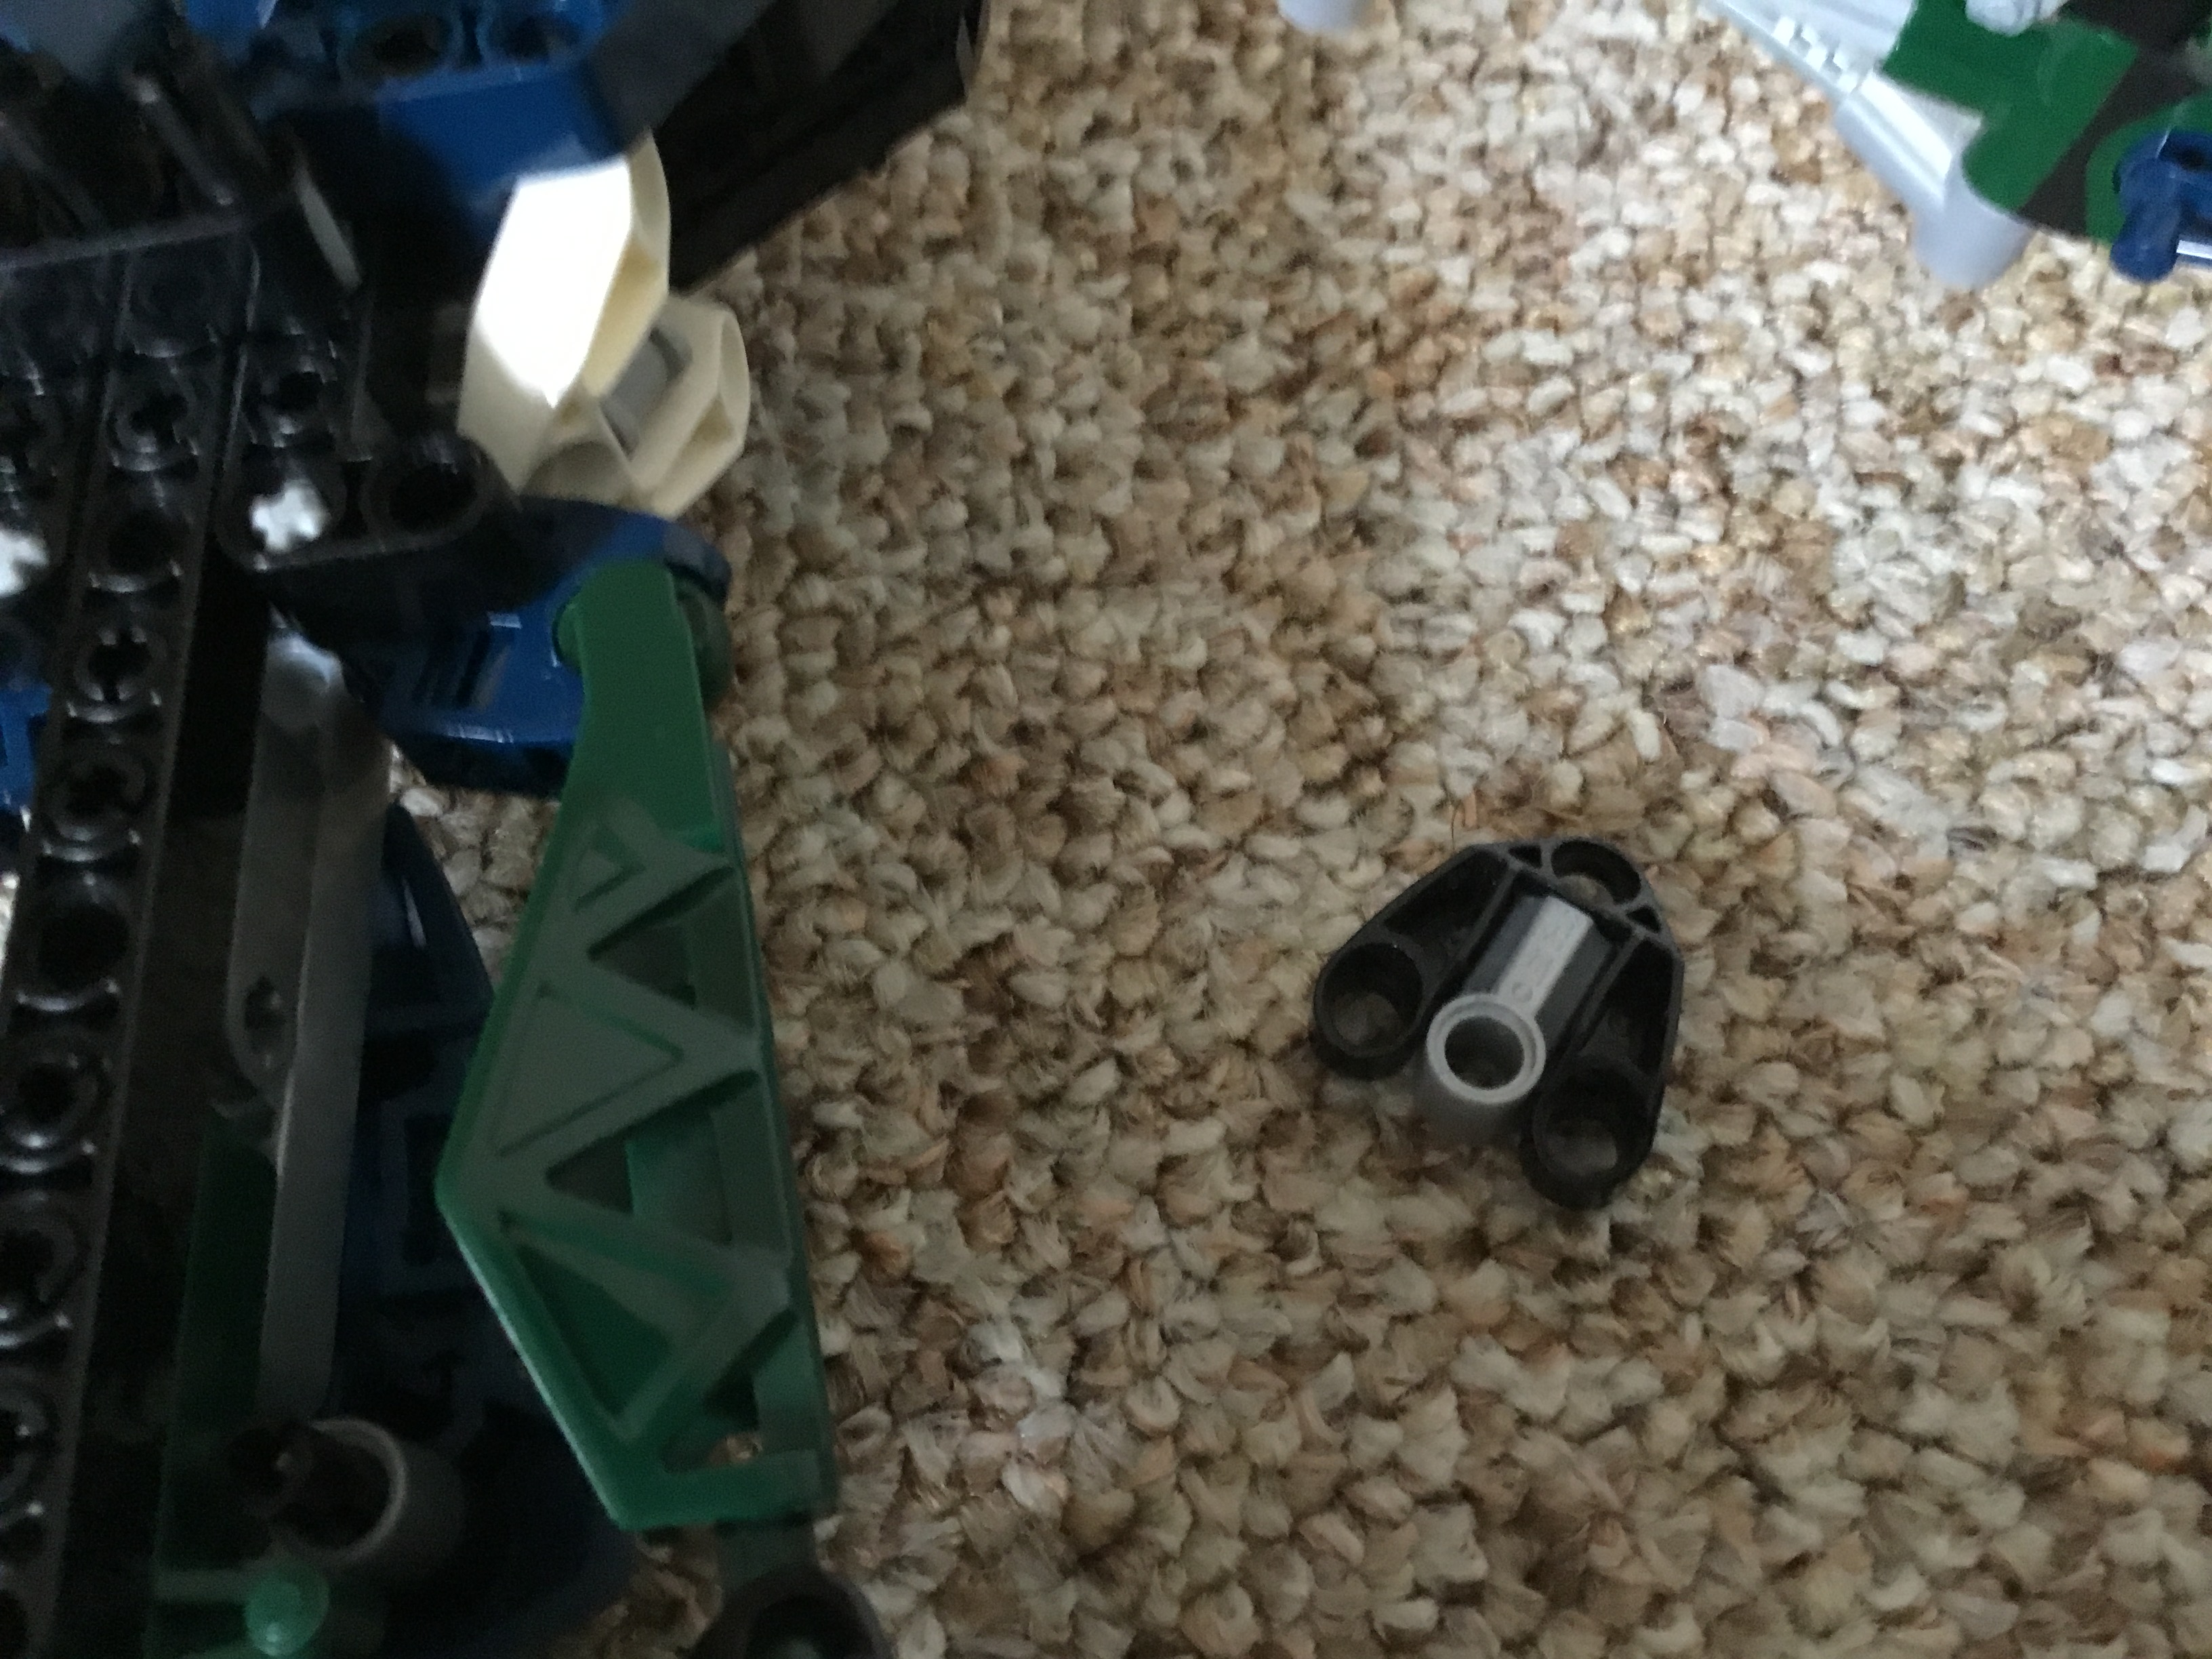
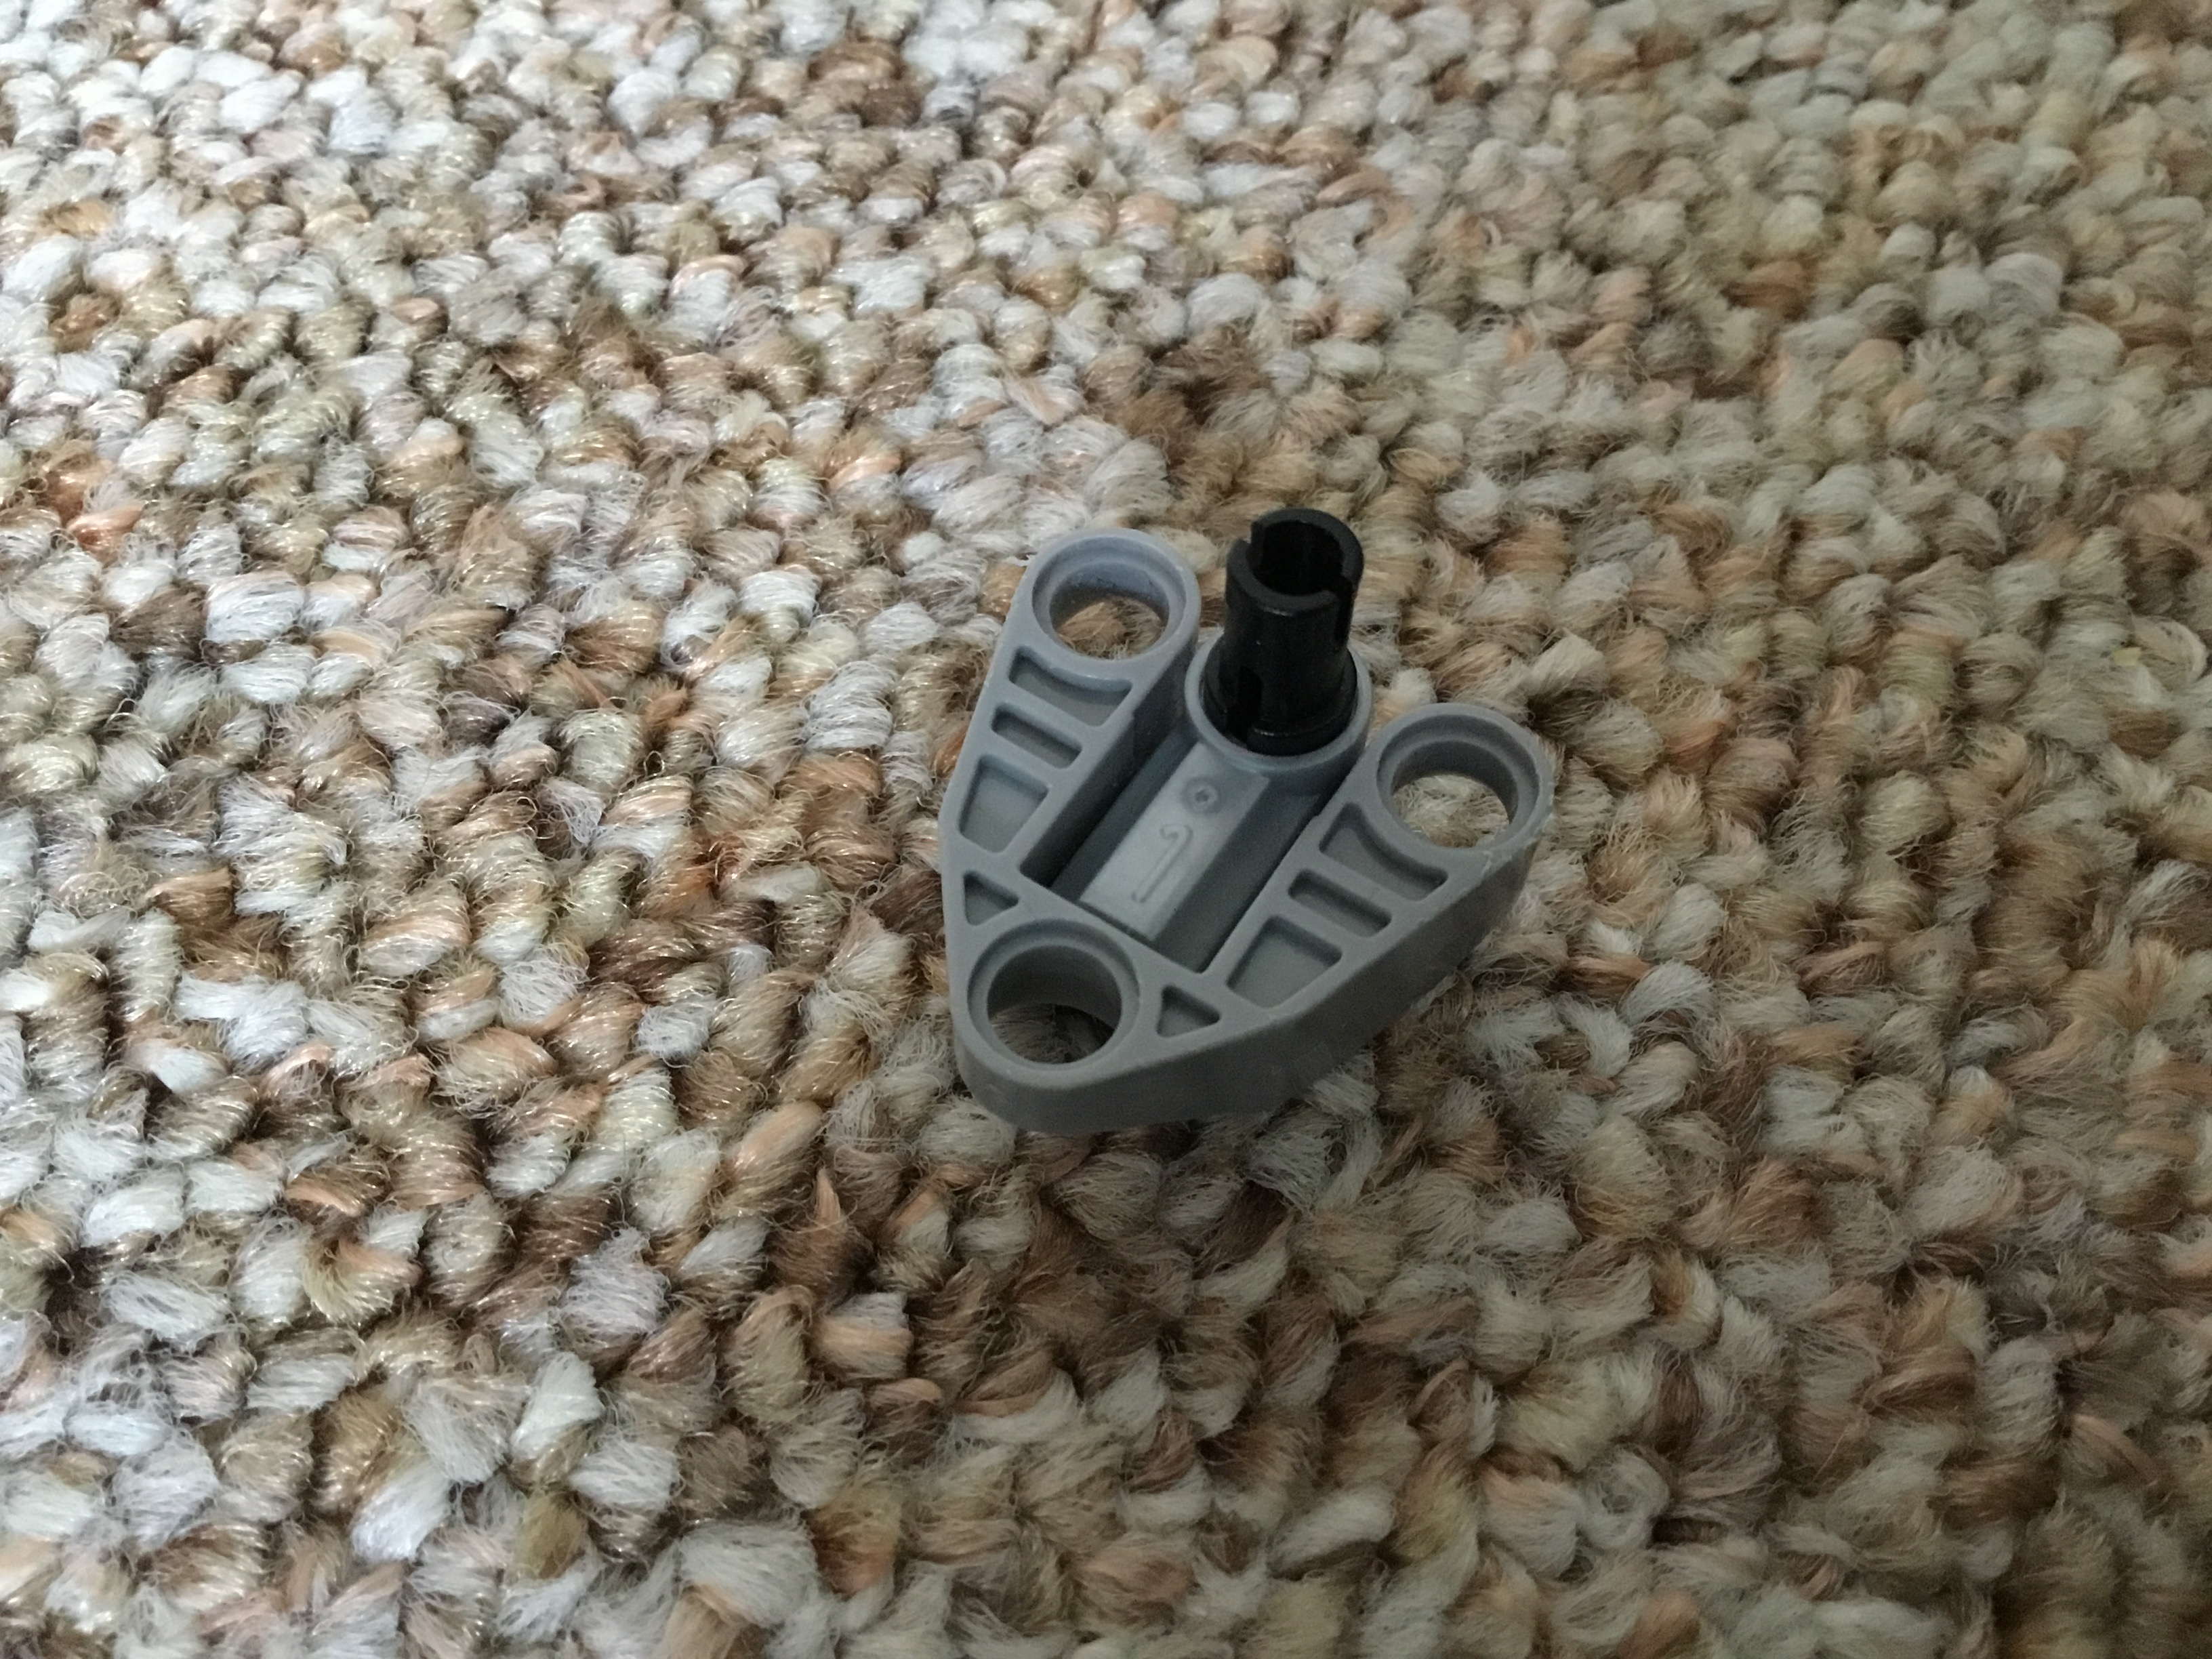
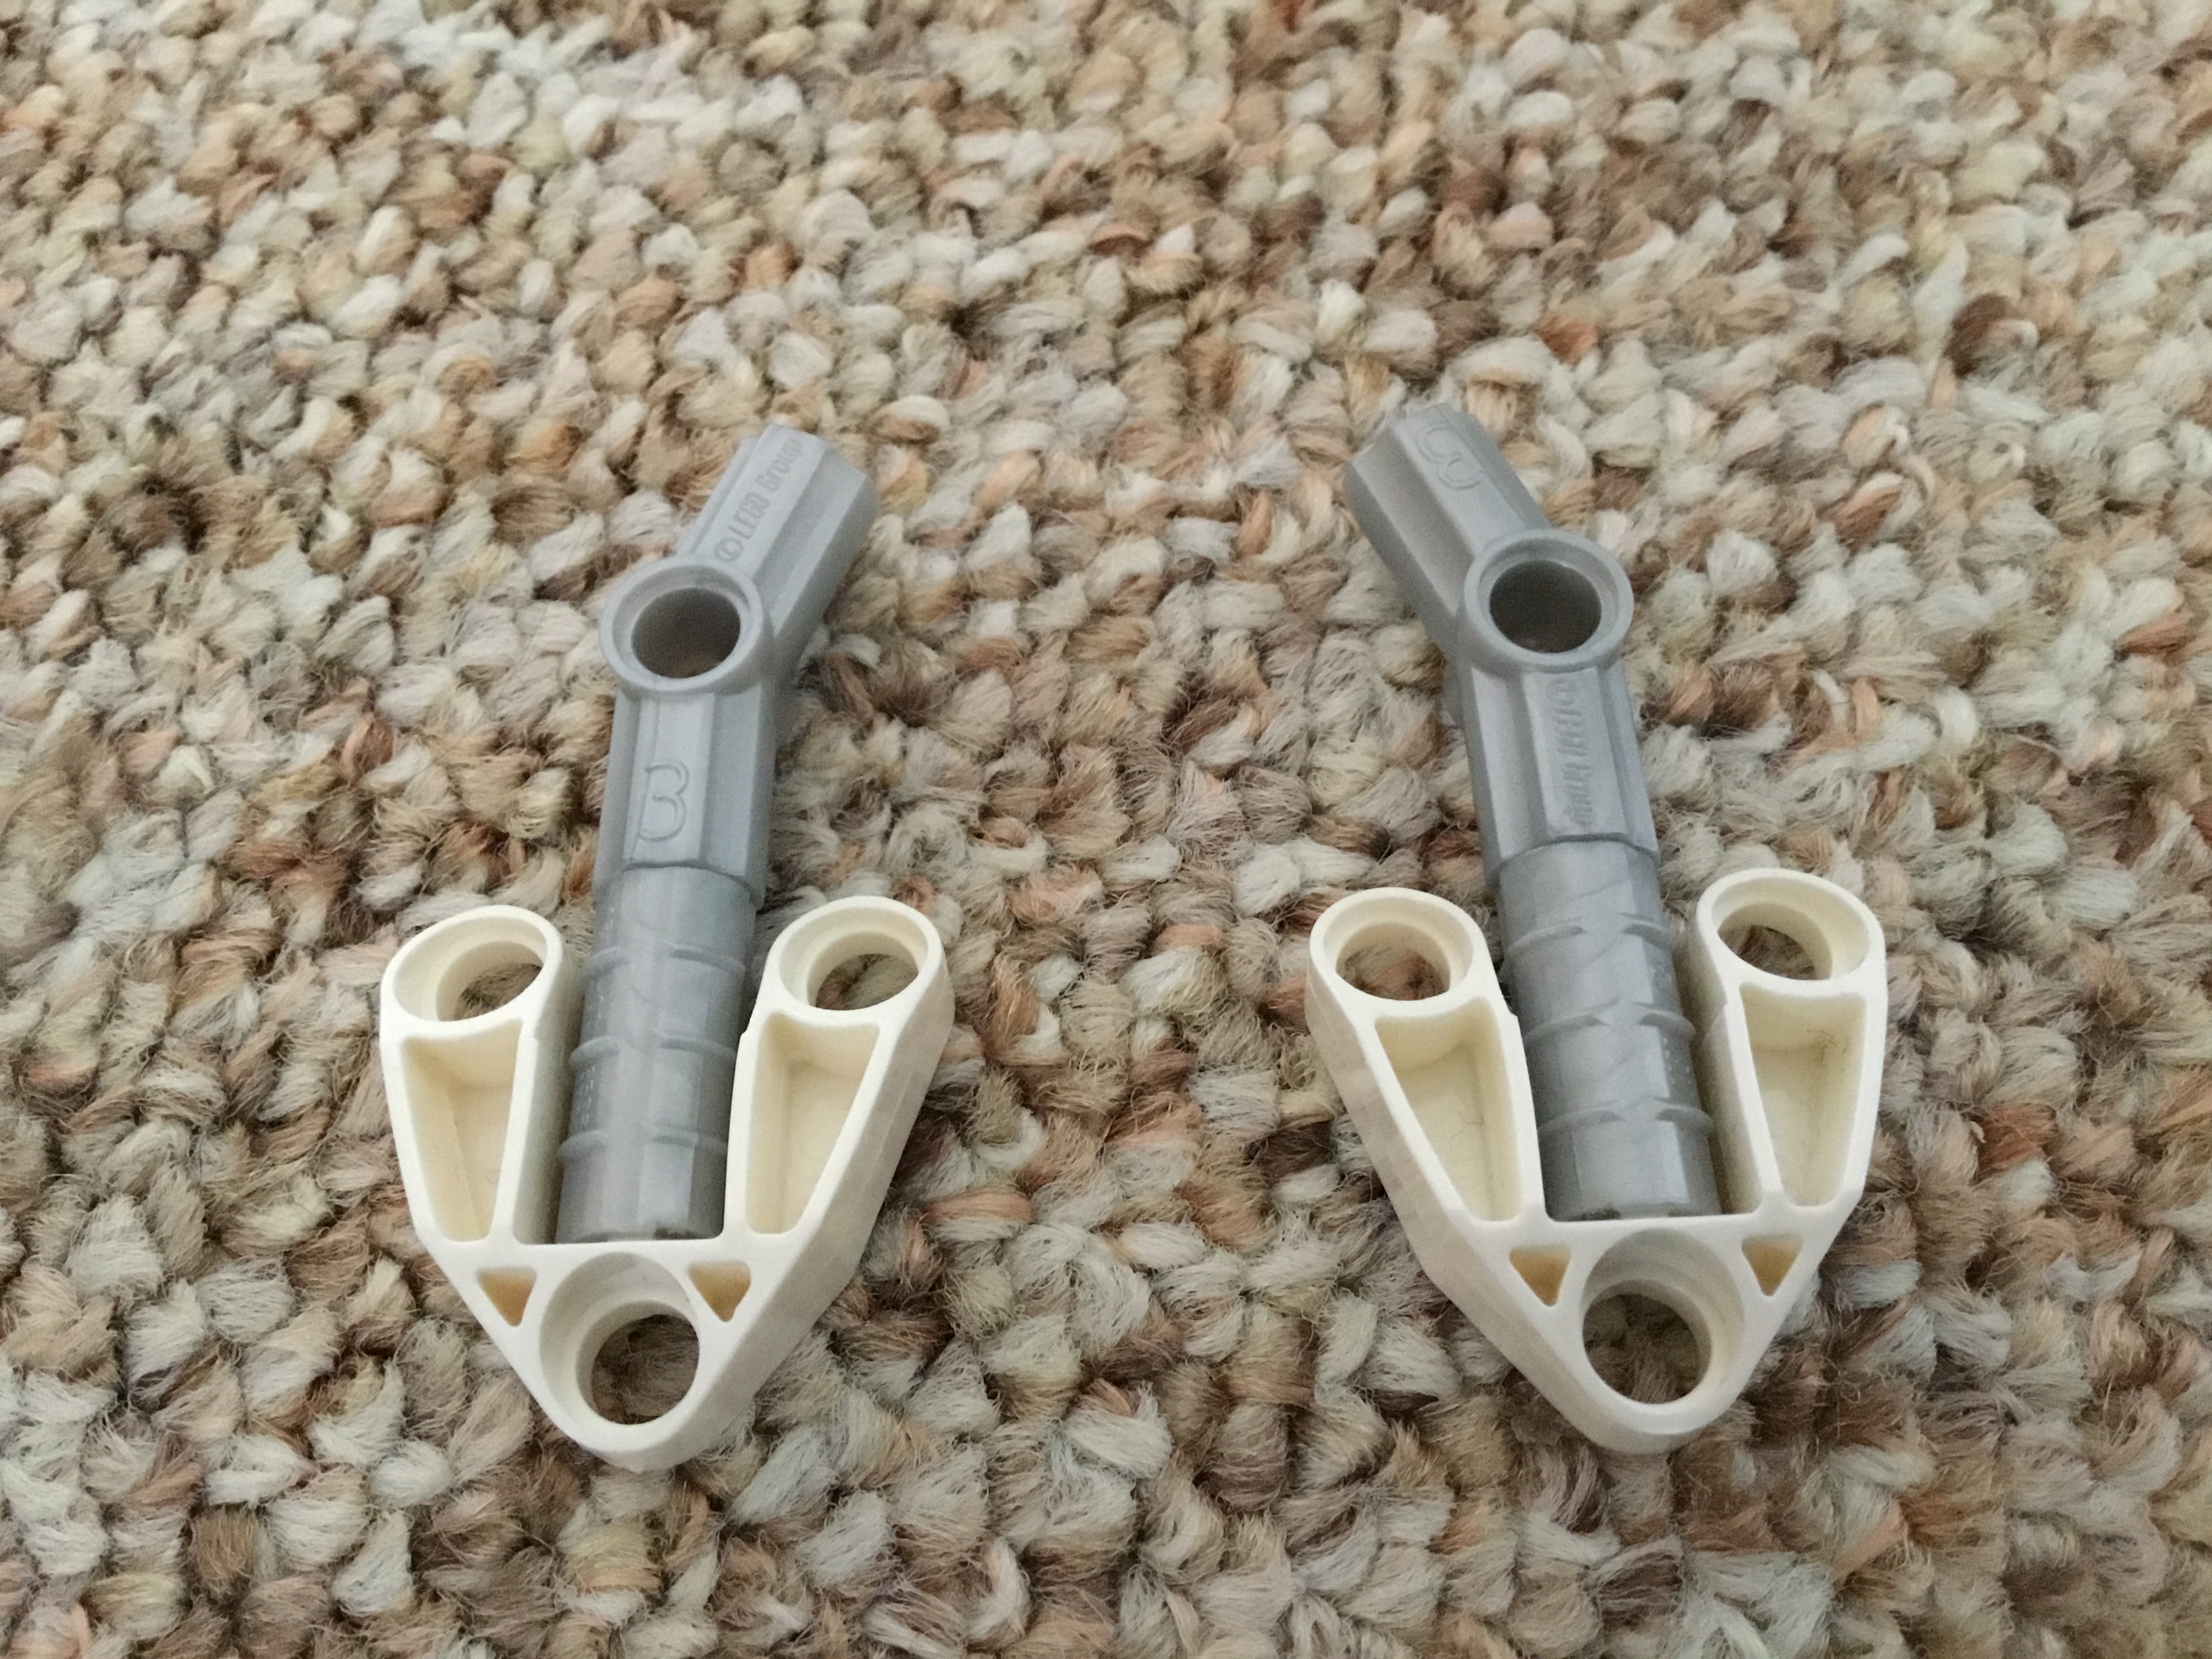
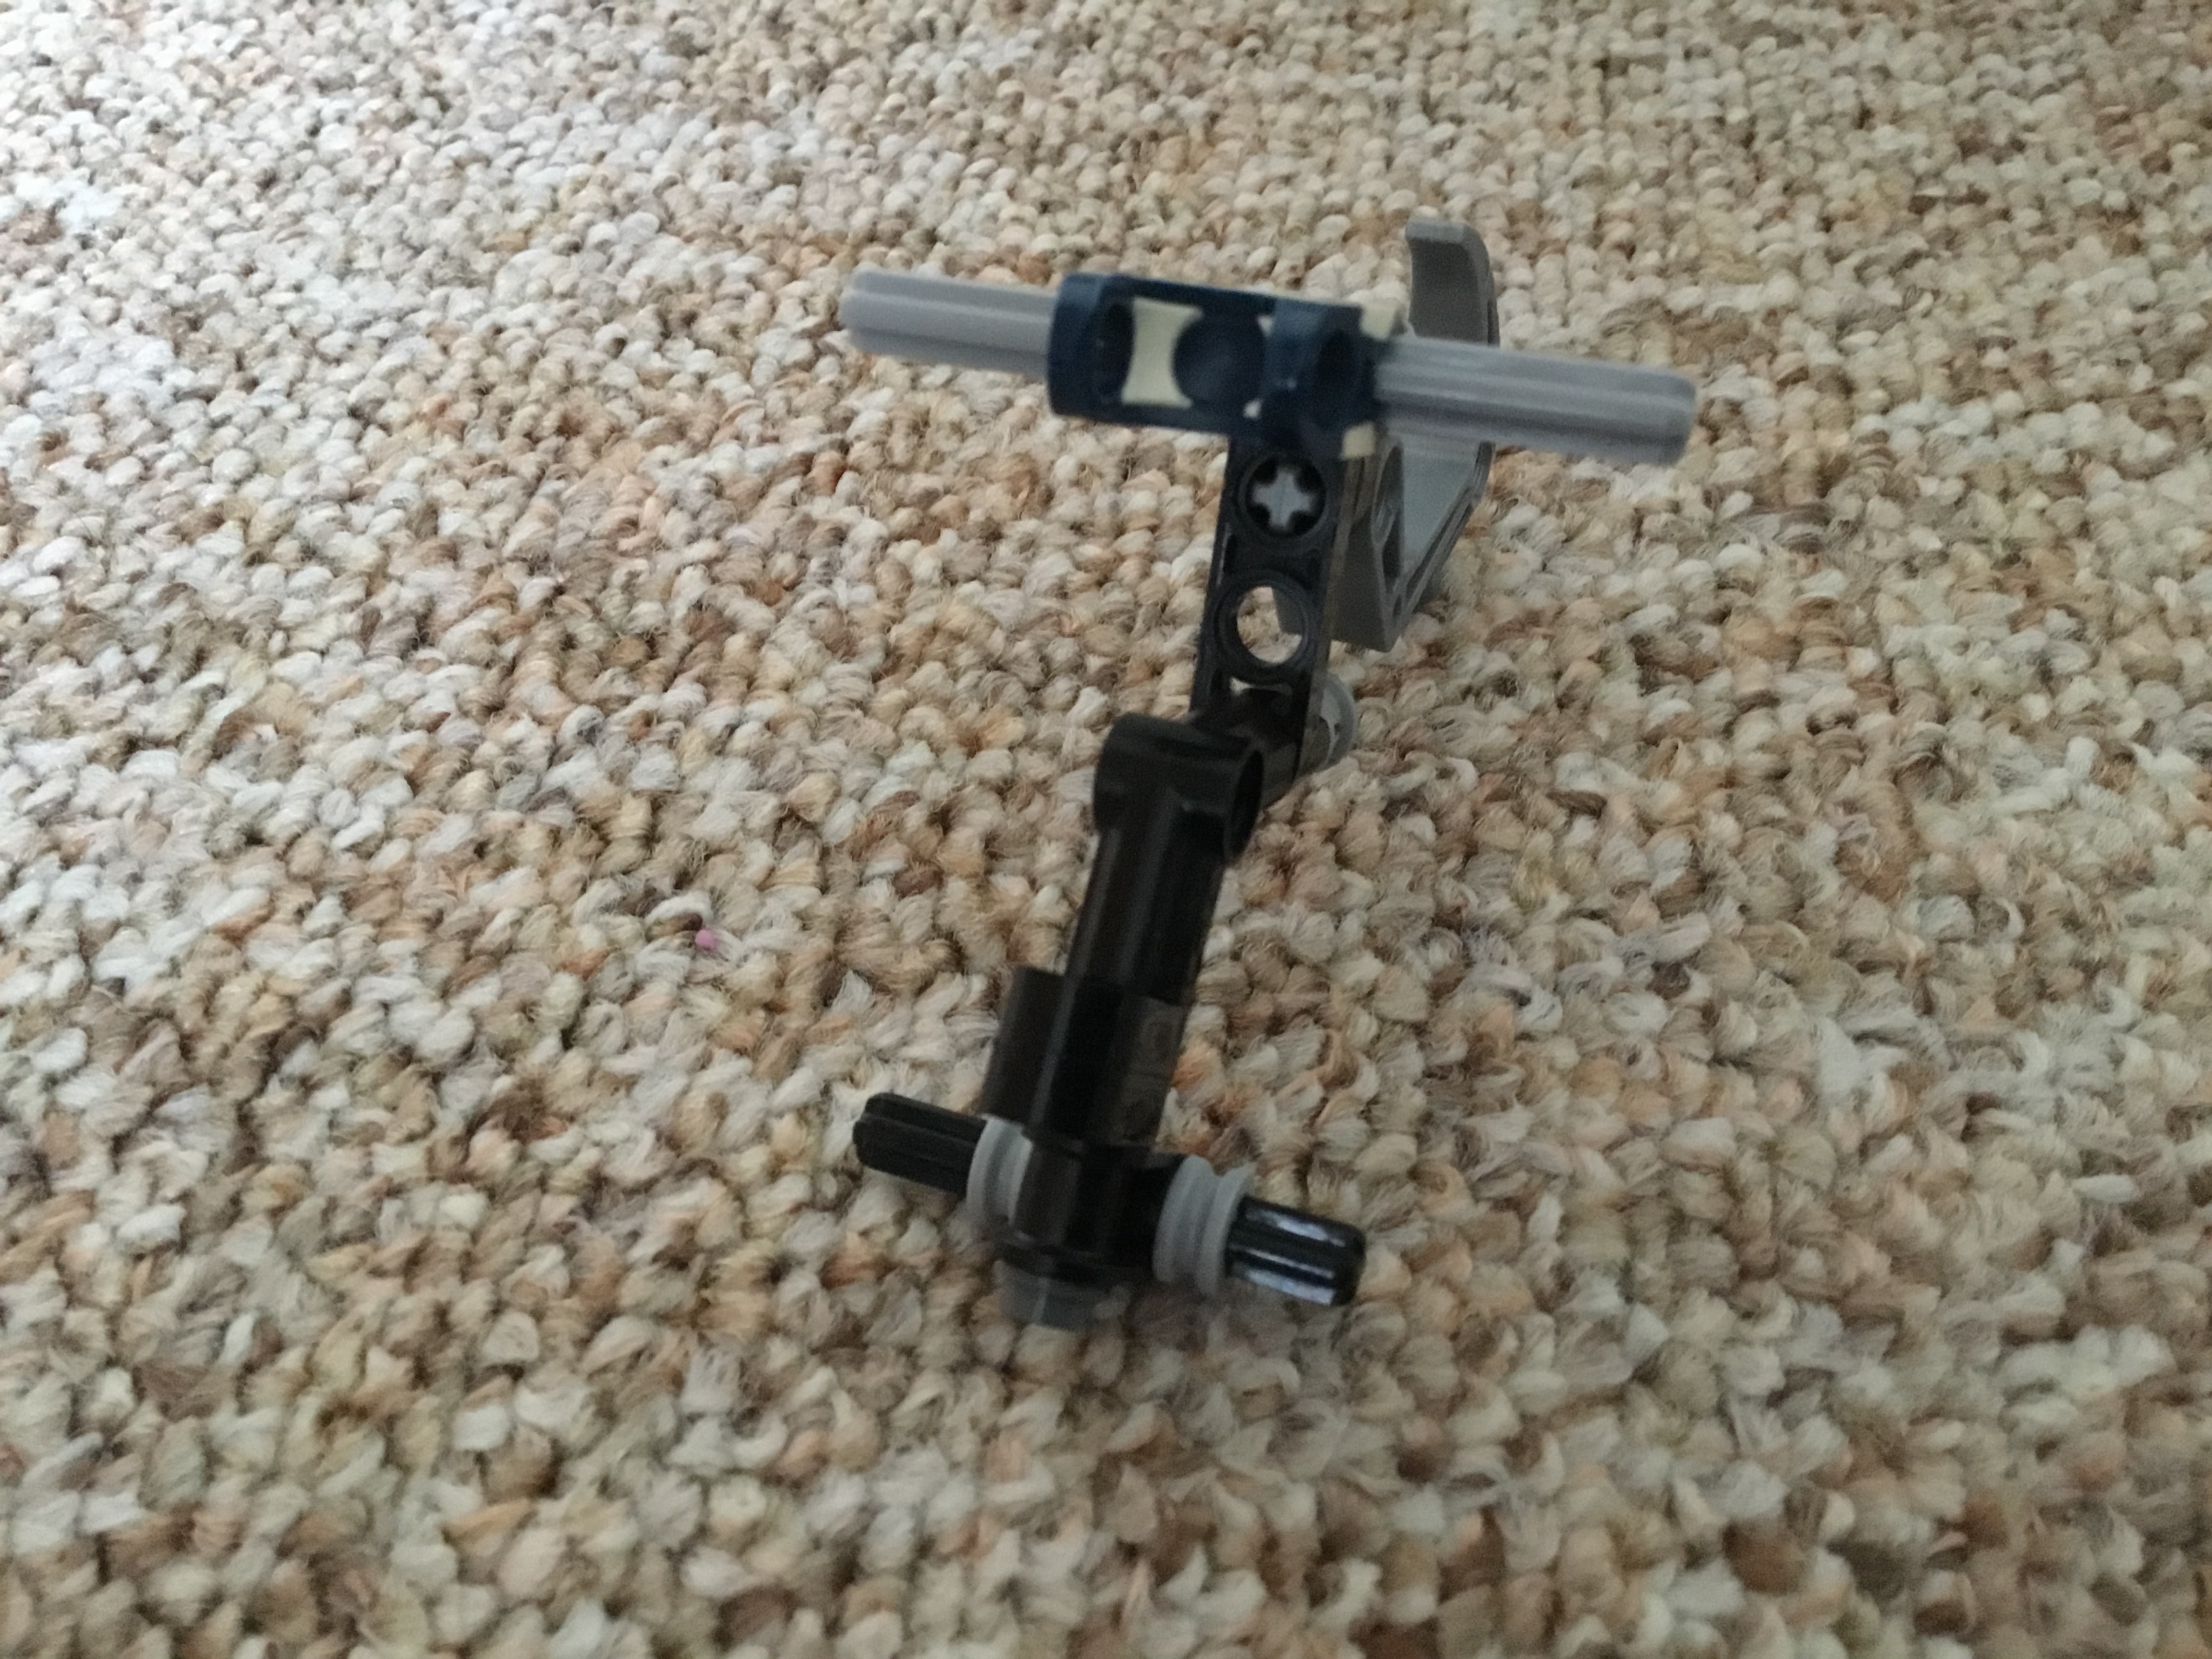
You’re now going to build this small assembly. The dark grey piece should be the silver one found in Nivawk, I just couldn’t find my own.

Use it to fill in the space where the gear used to be.
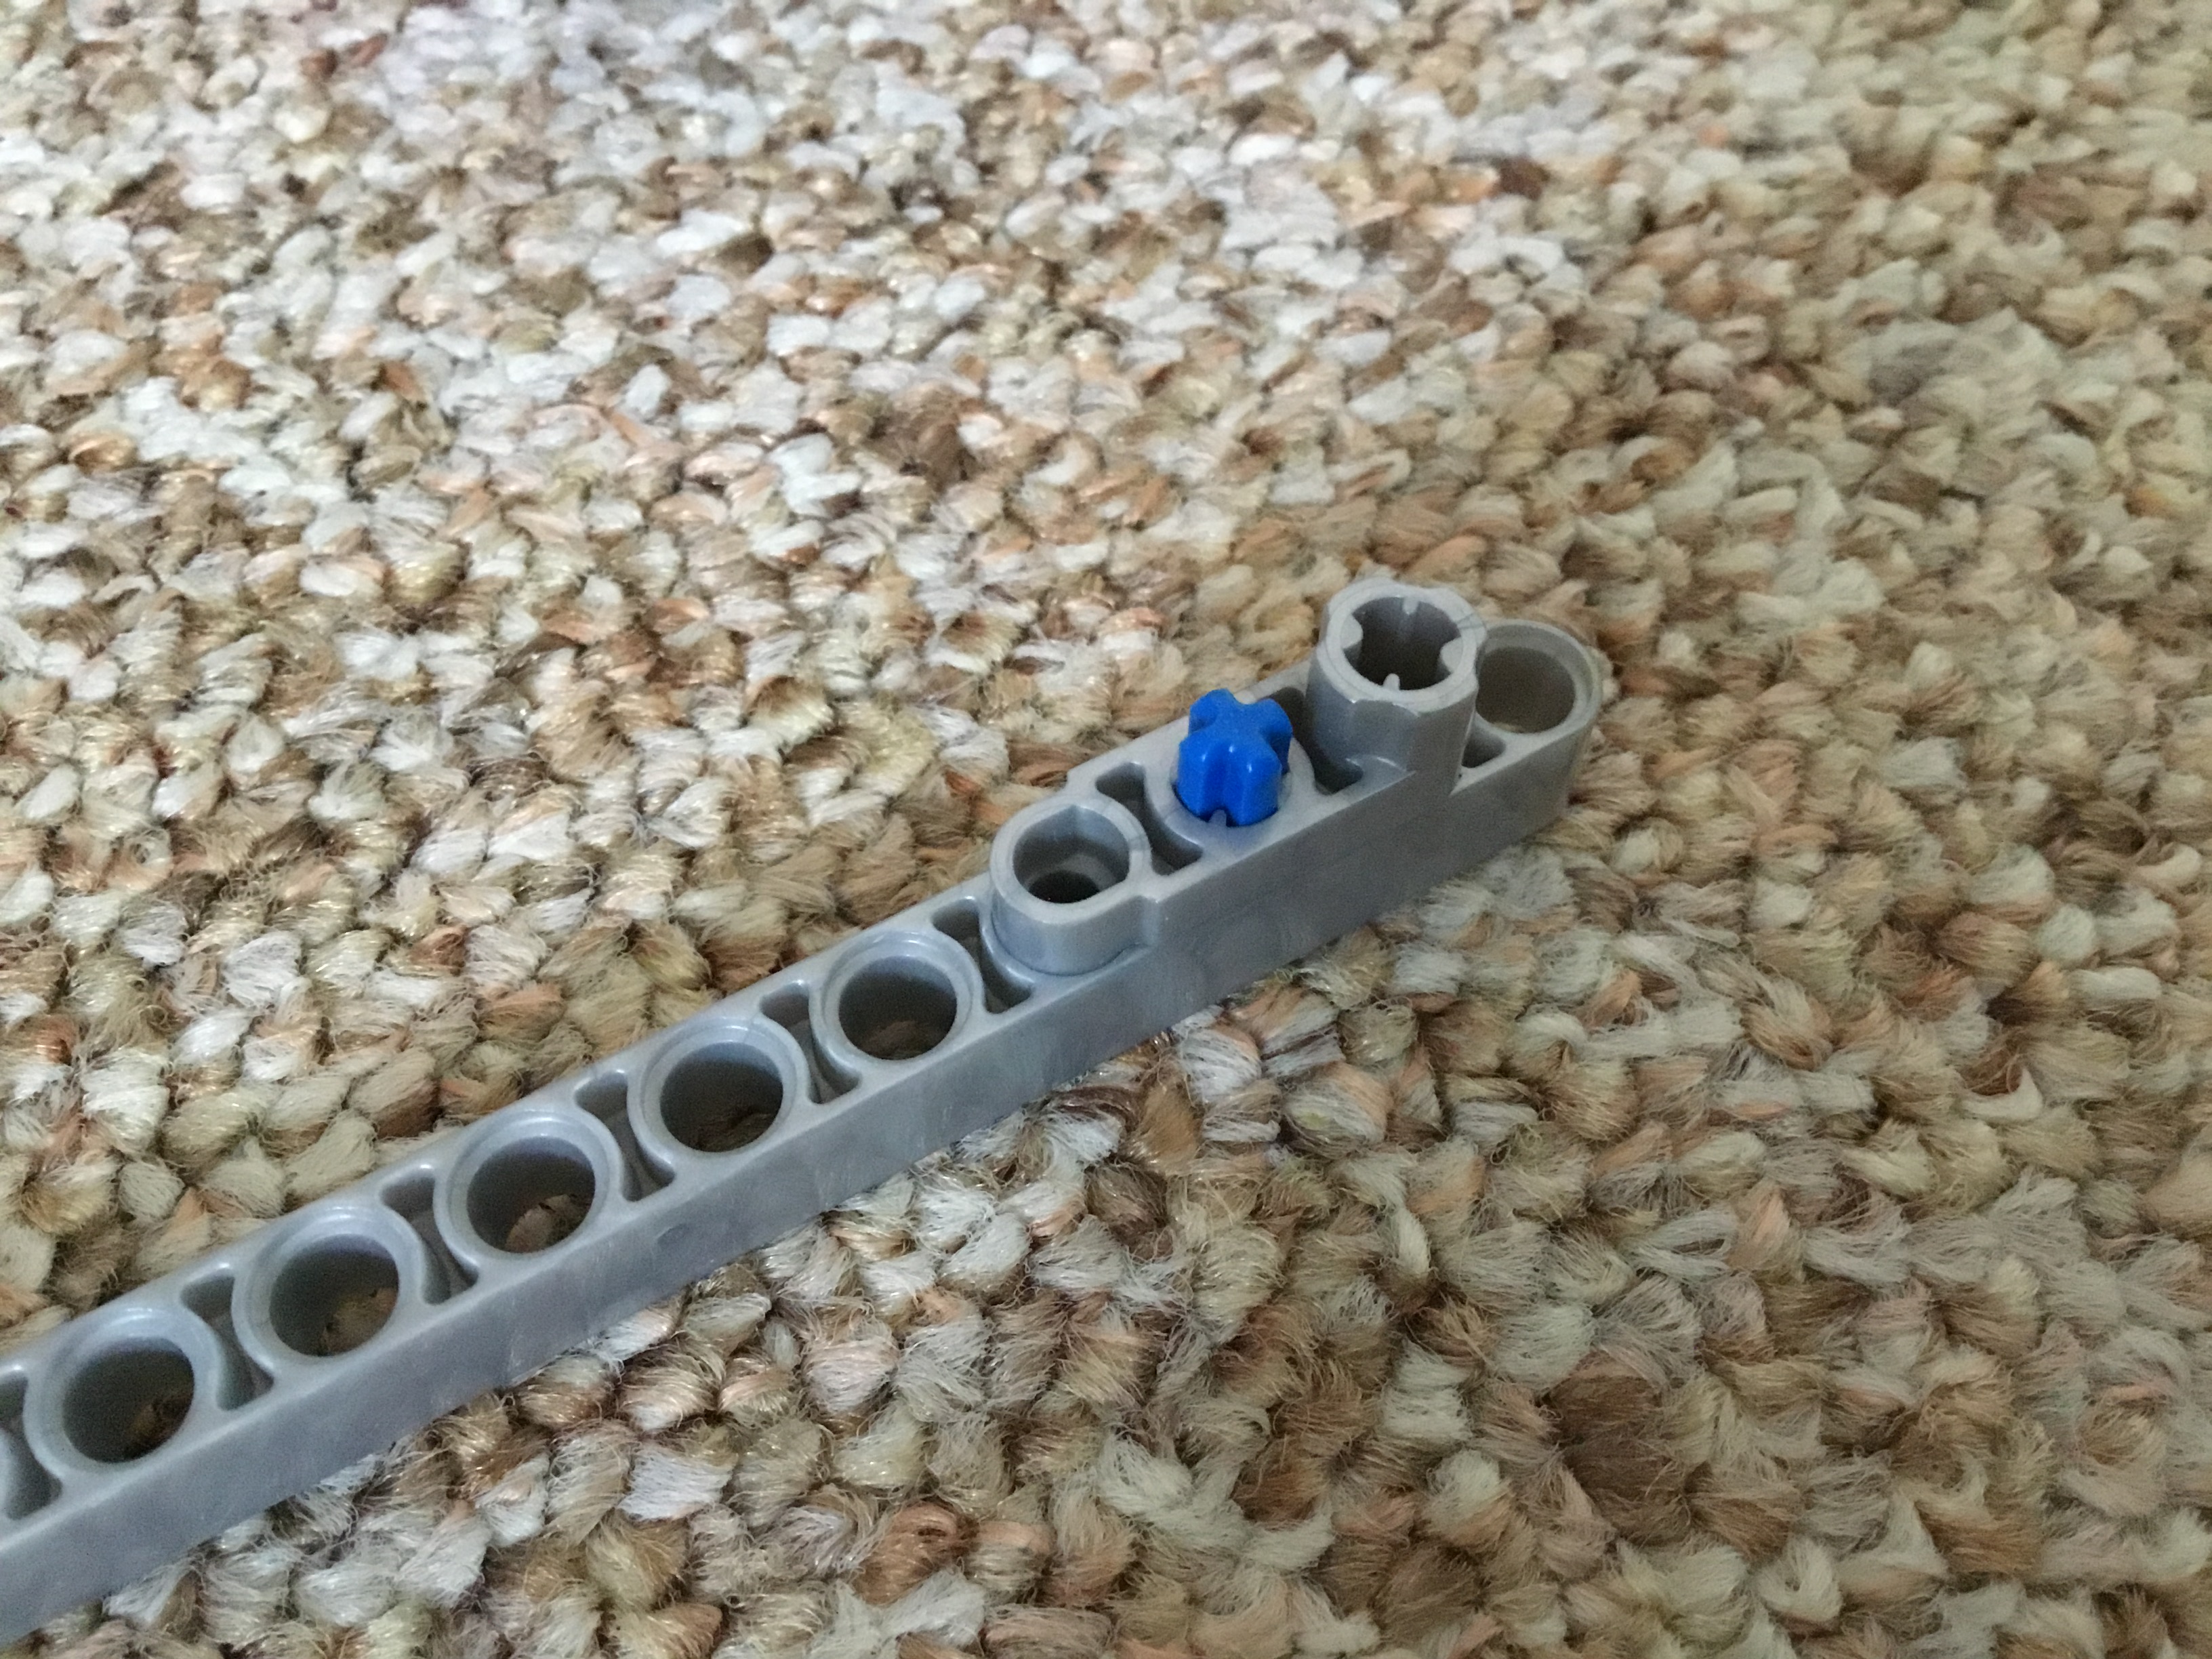
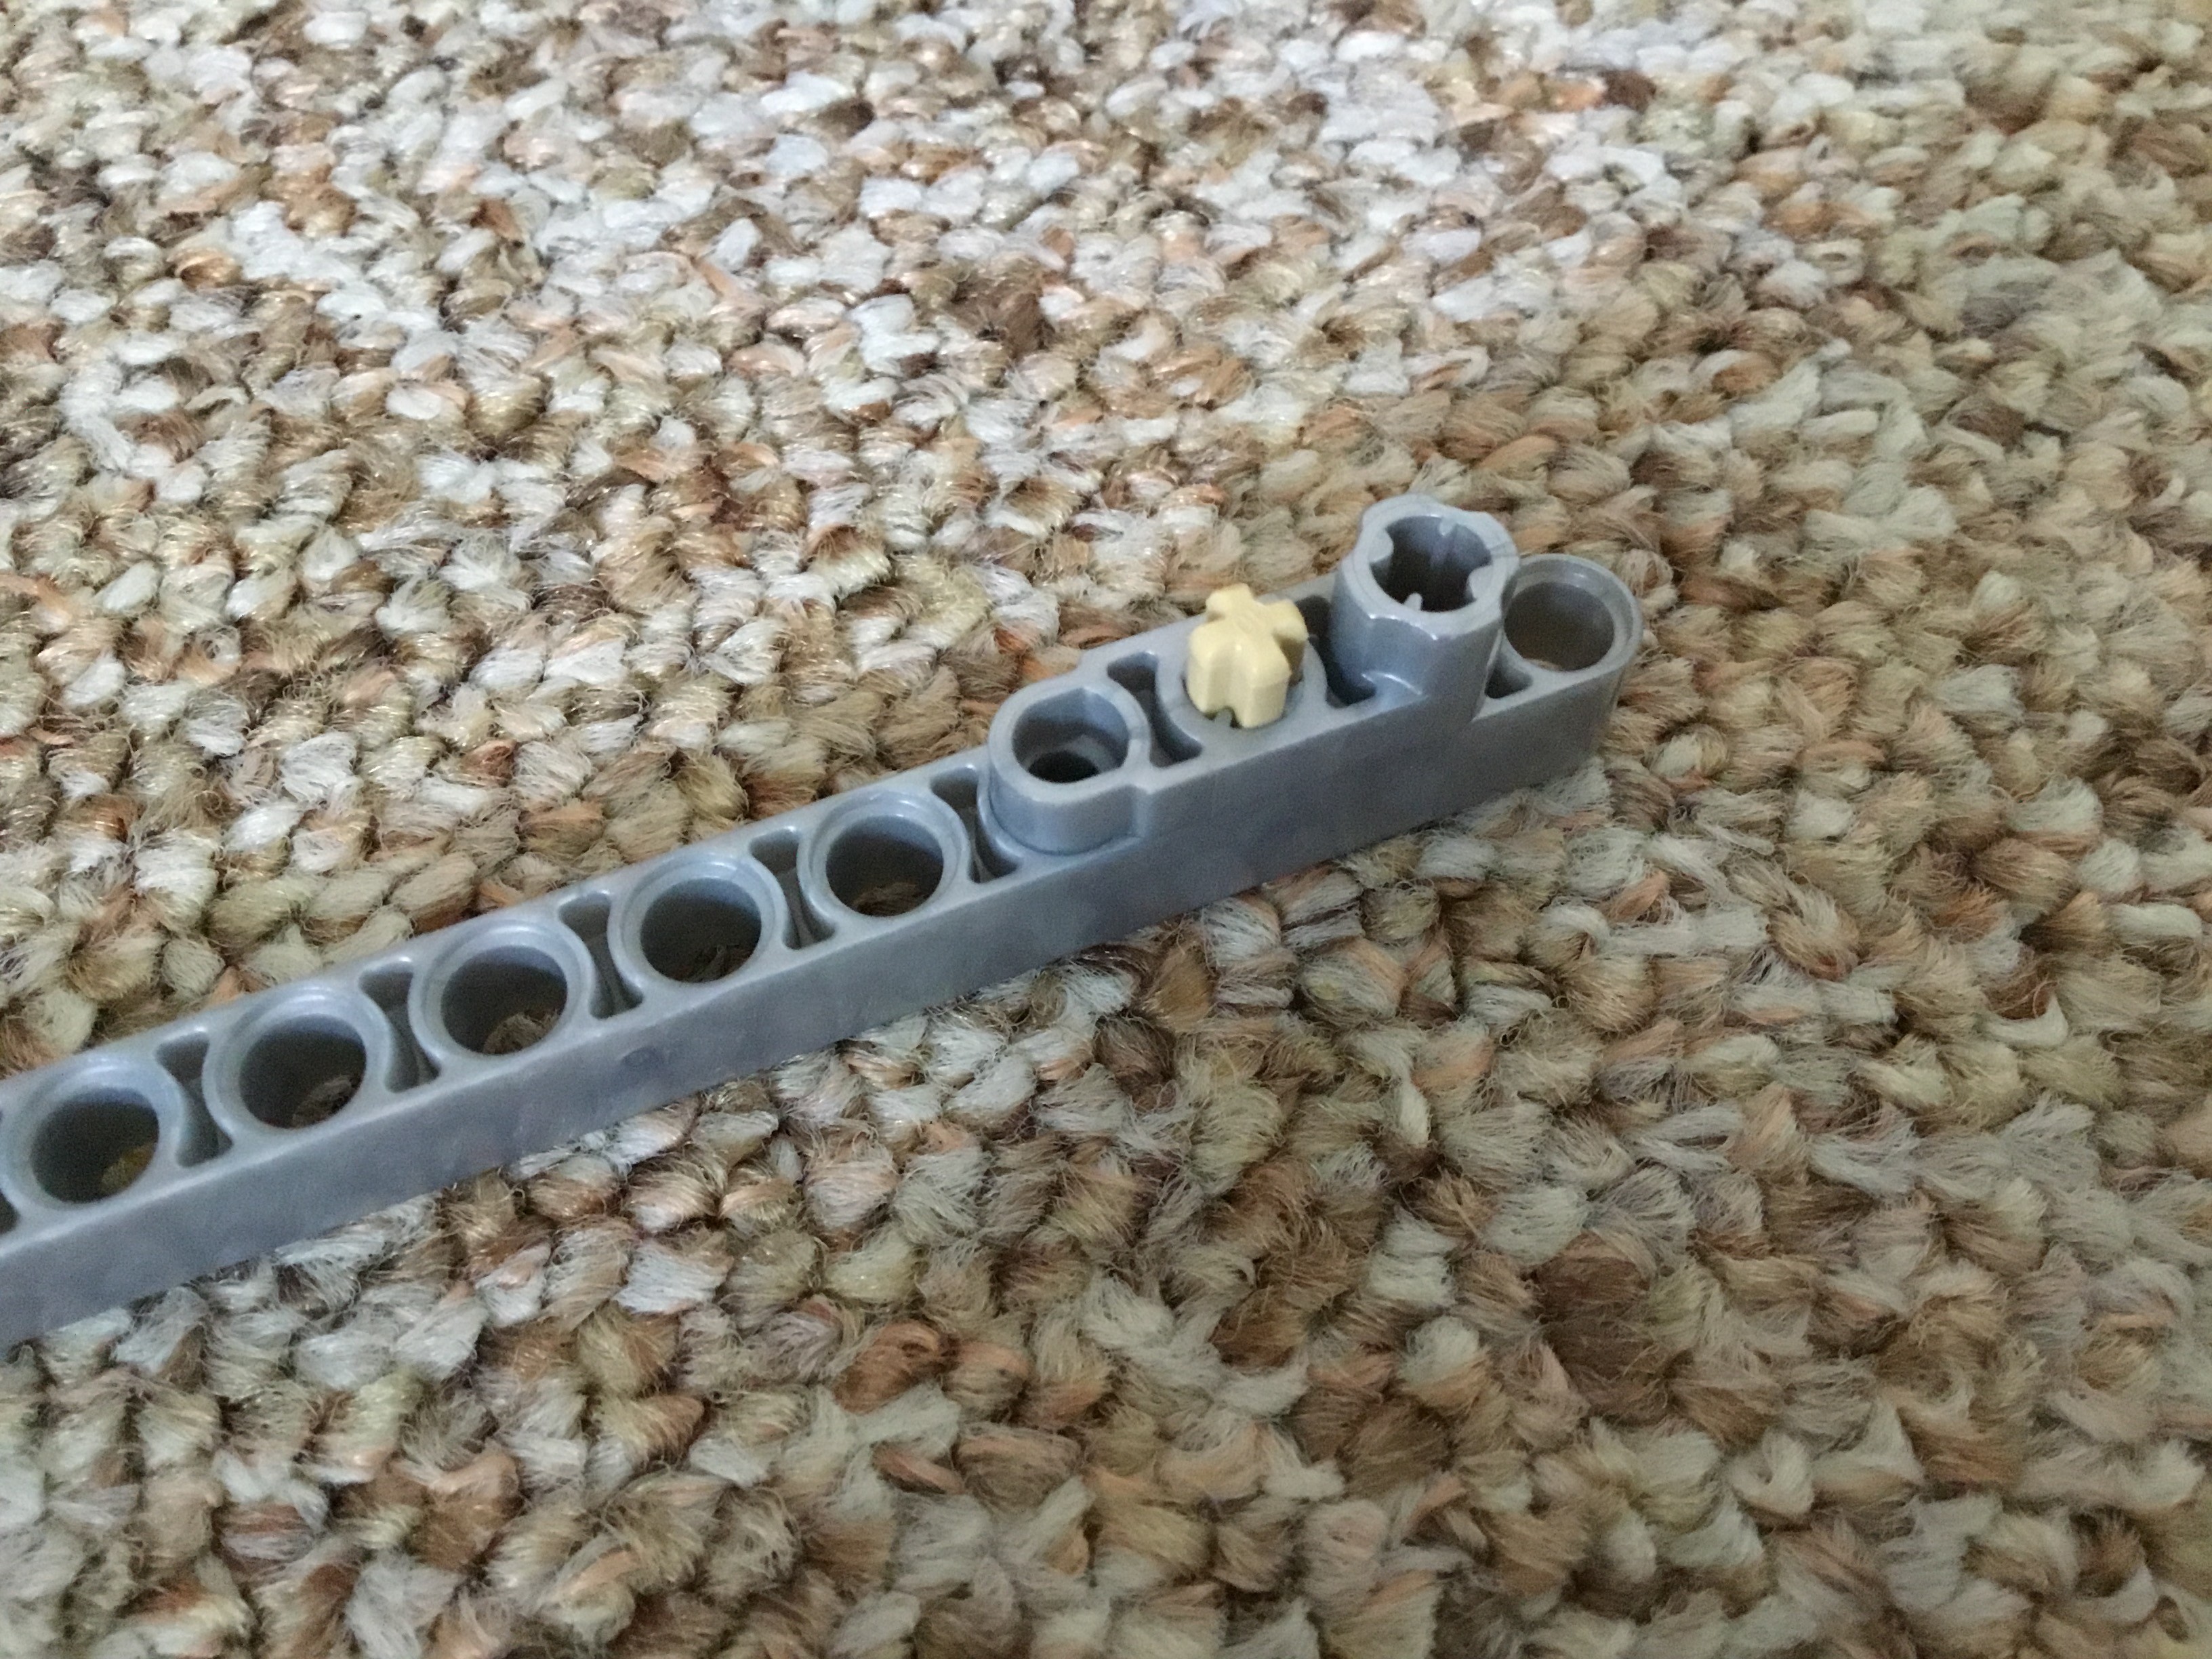
Next, replace the blue pin in the vertical beam with a tan one. We’ll need the blue one later.

Put another 3L pin at the very top of the back. Make sure the long side is sticking outwards.
Then, reattach both beams.
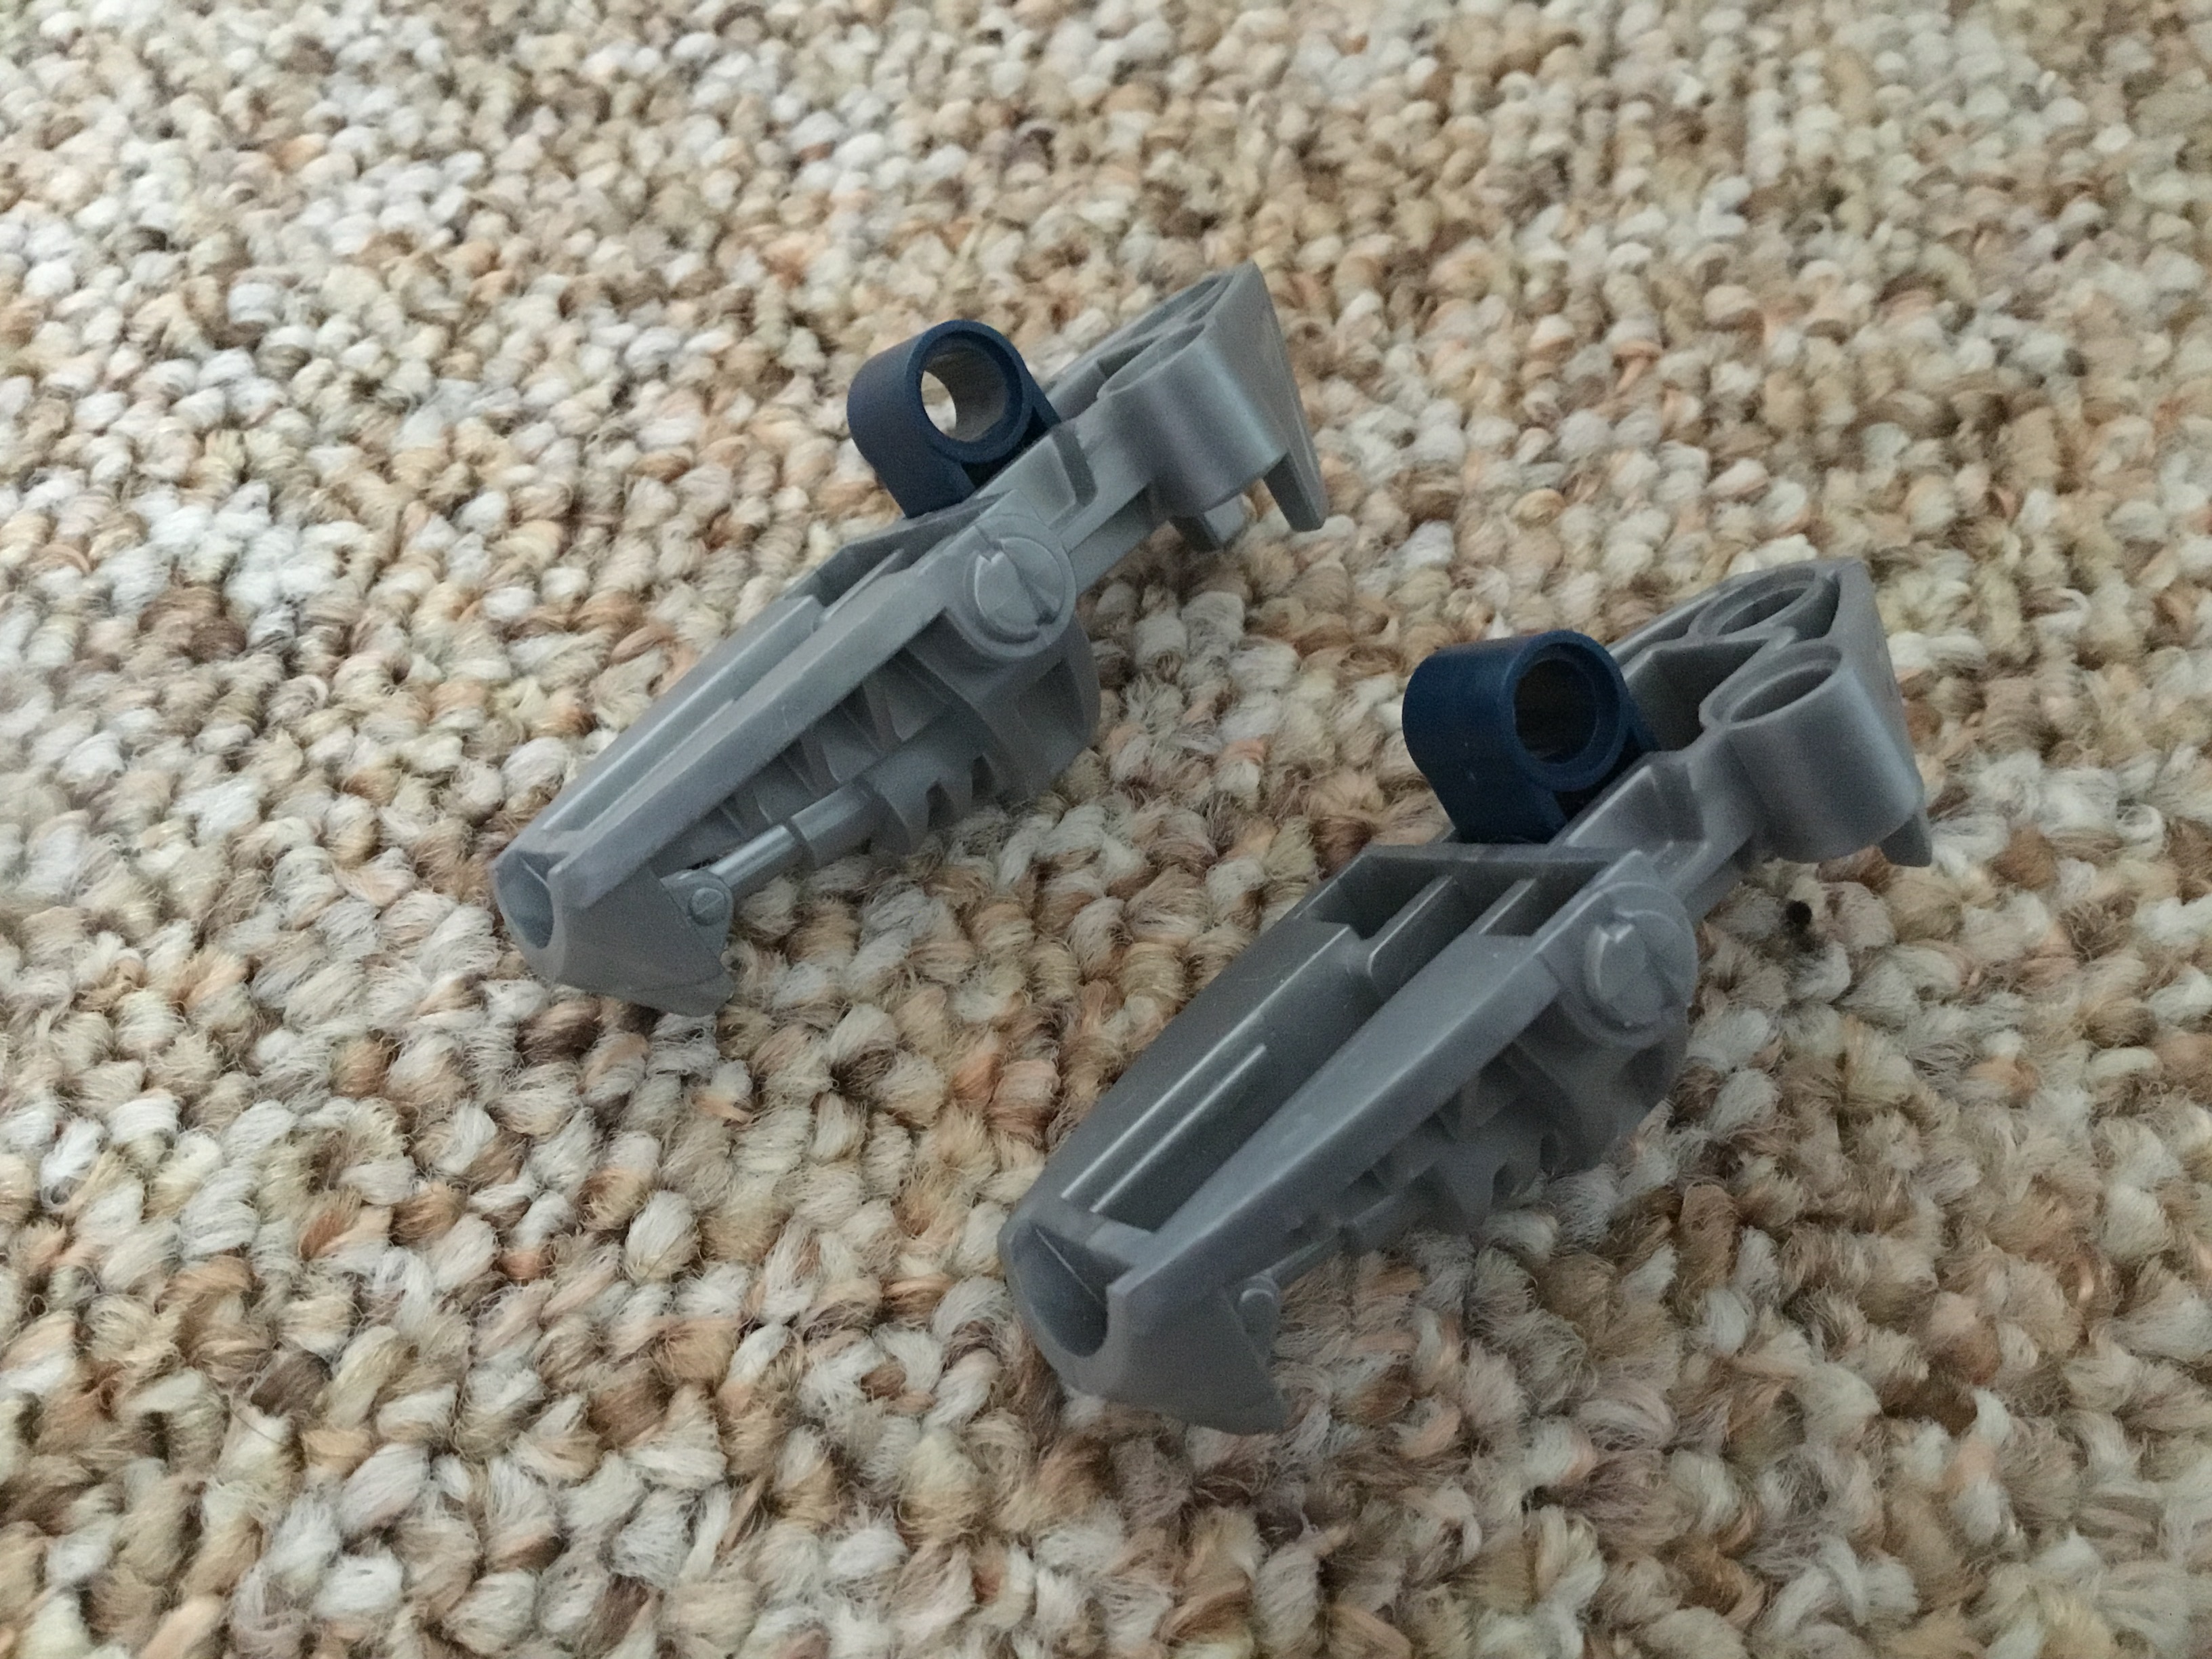
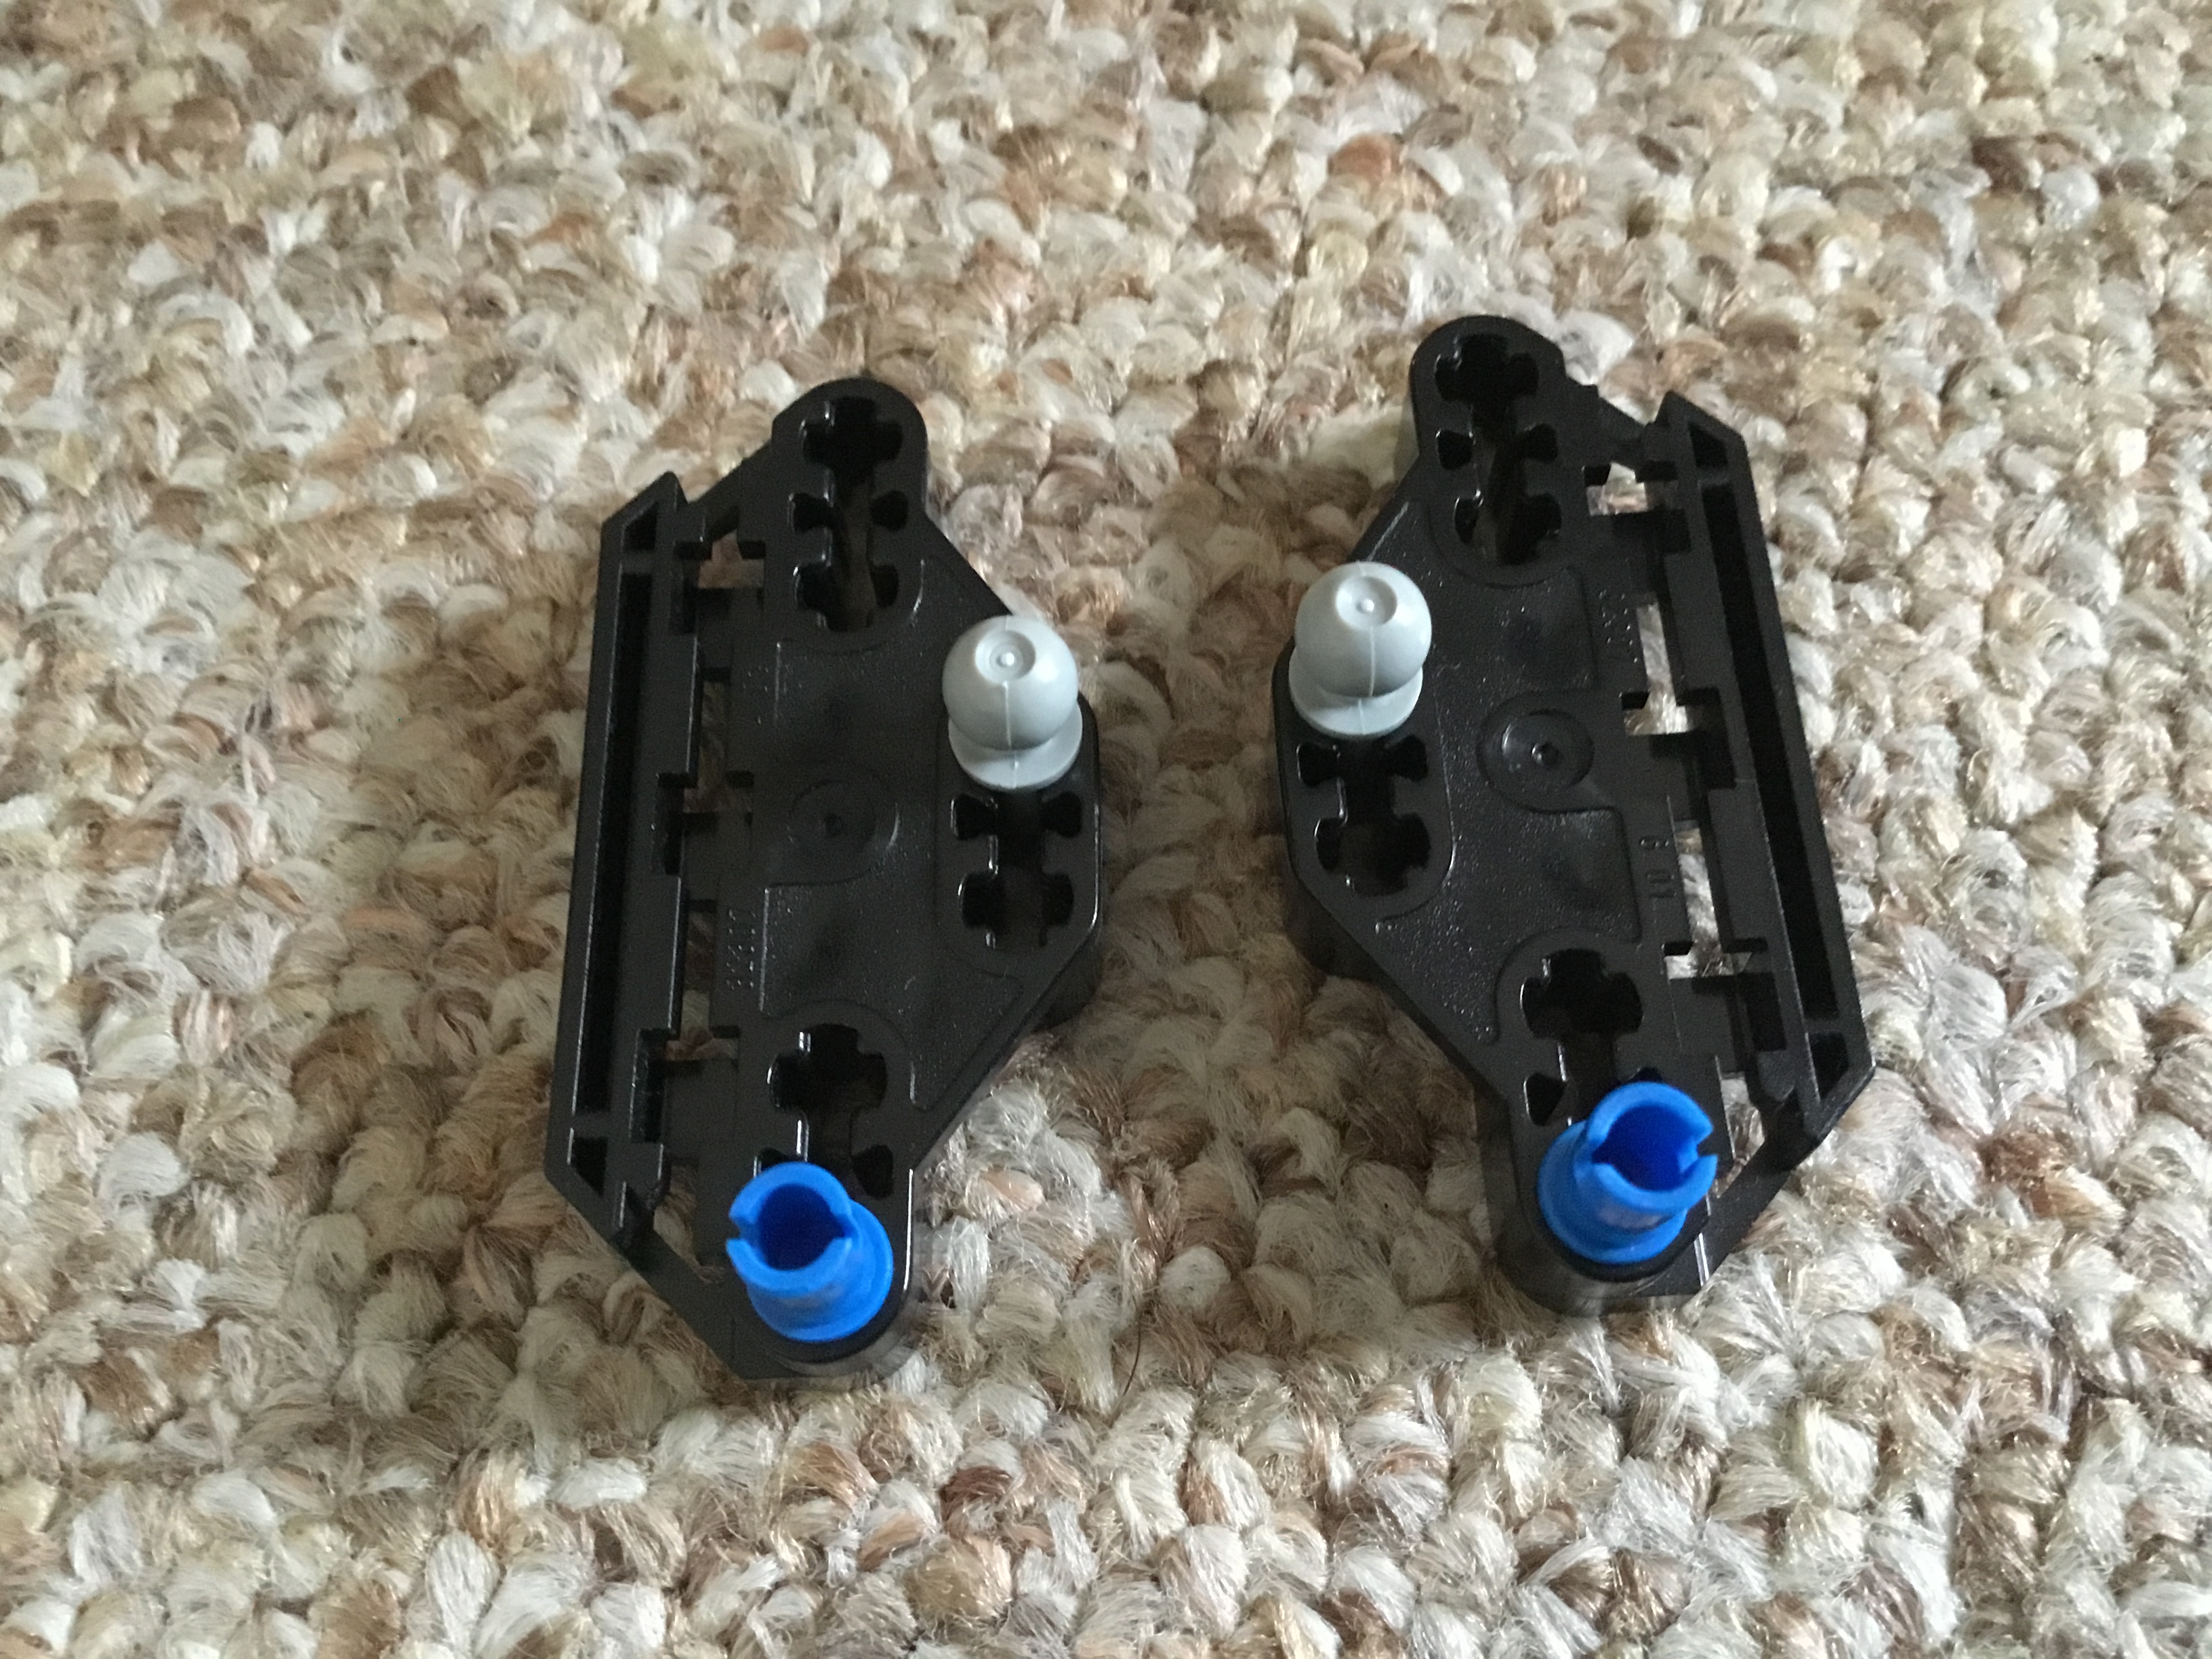
You’ll now need these two pieces which you should’ve found when disassembling the feet. They can be found near the heel.
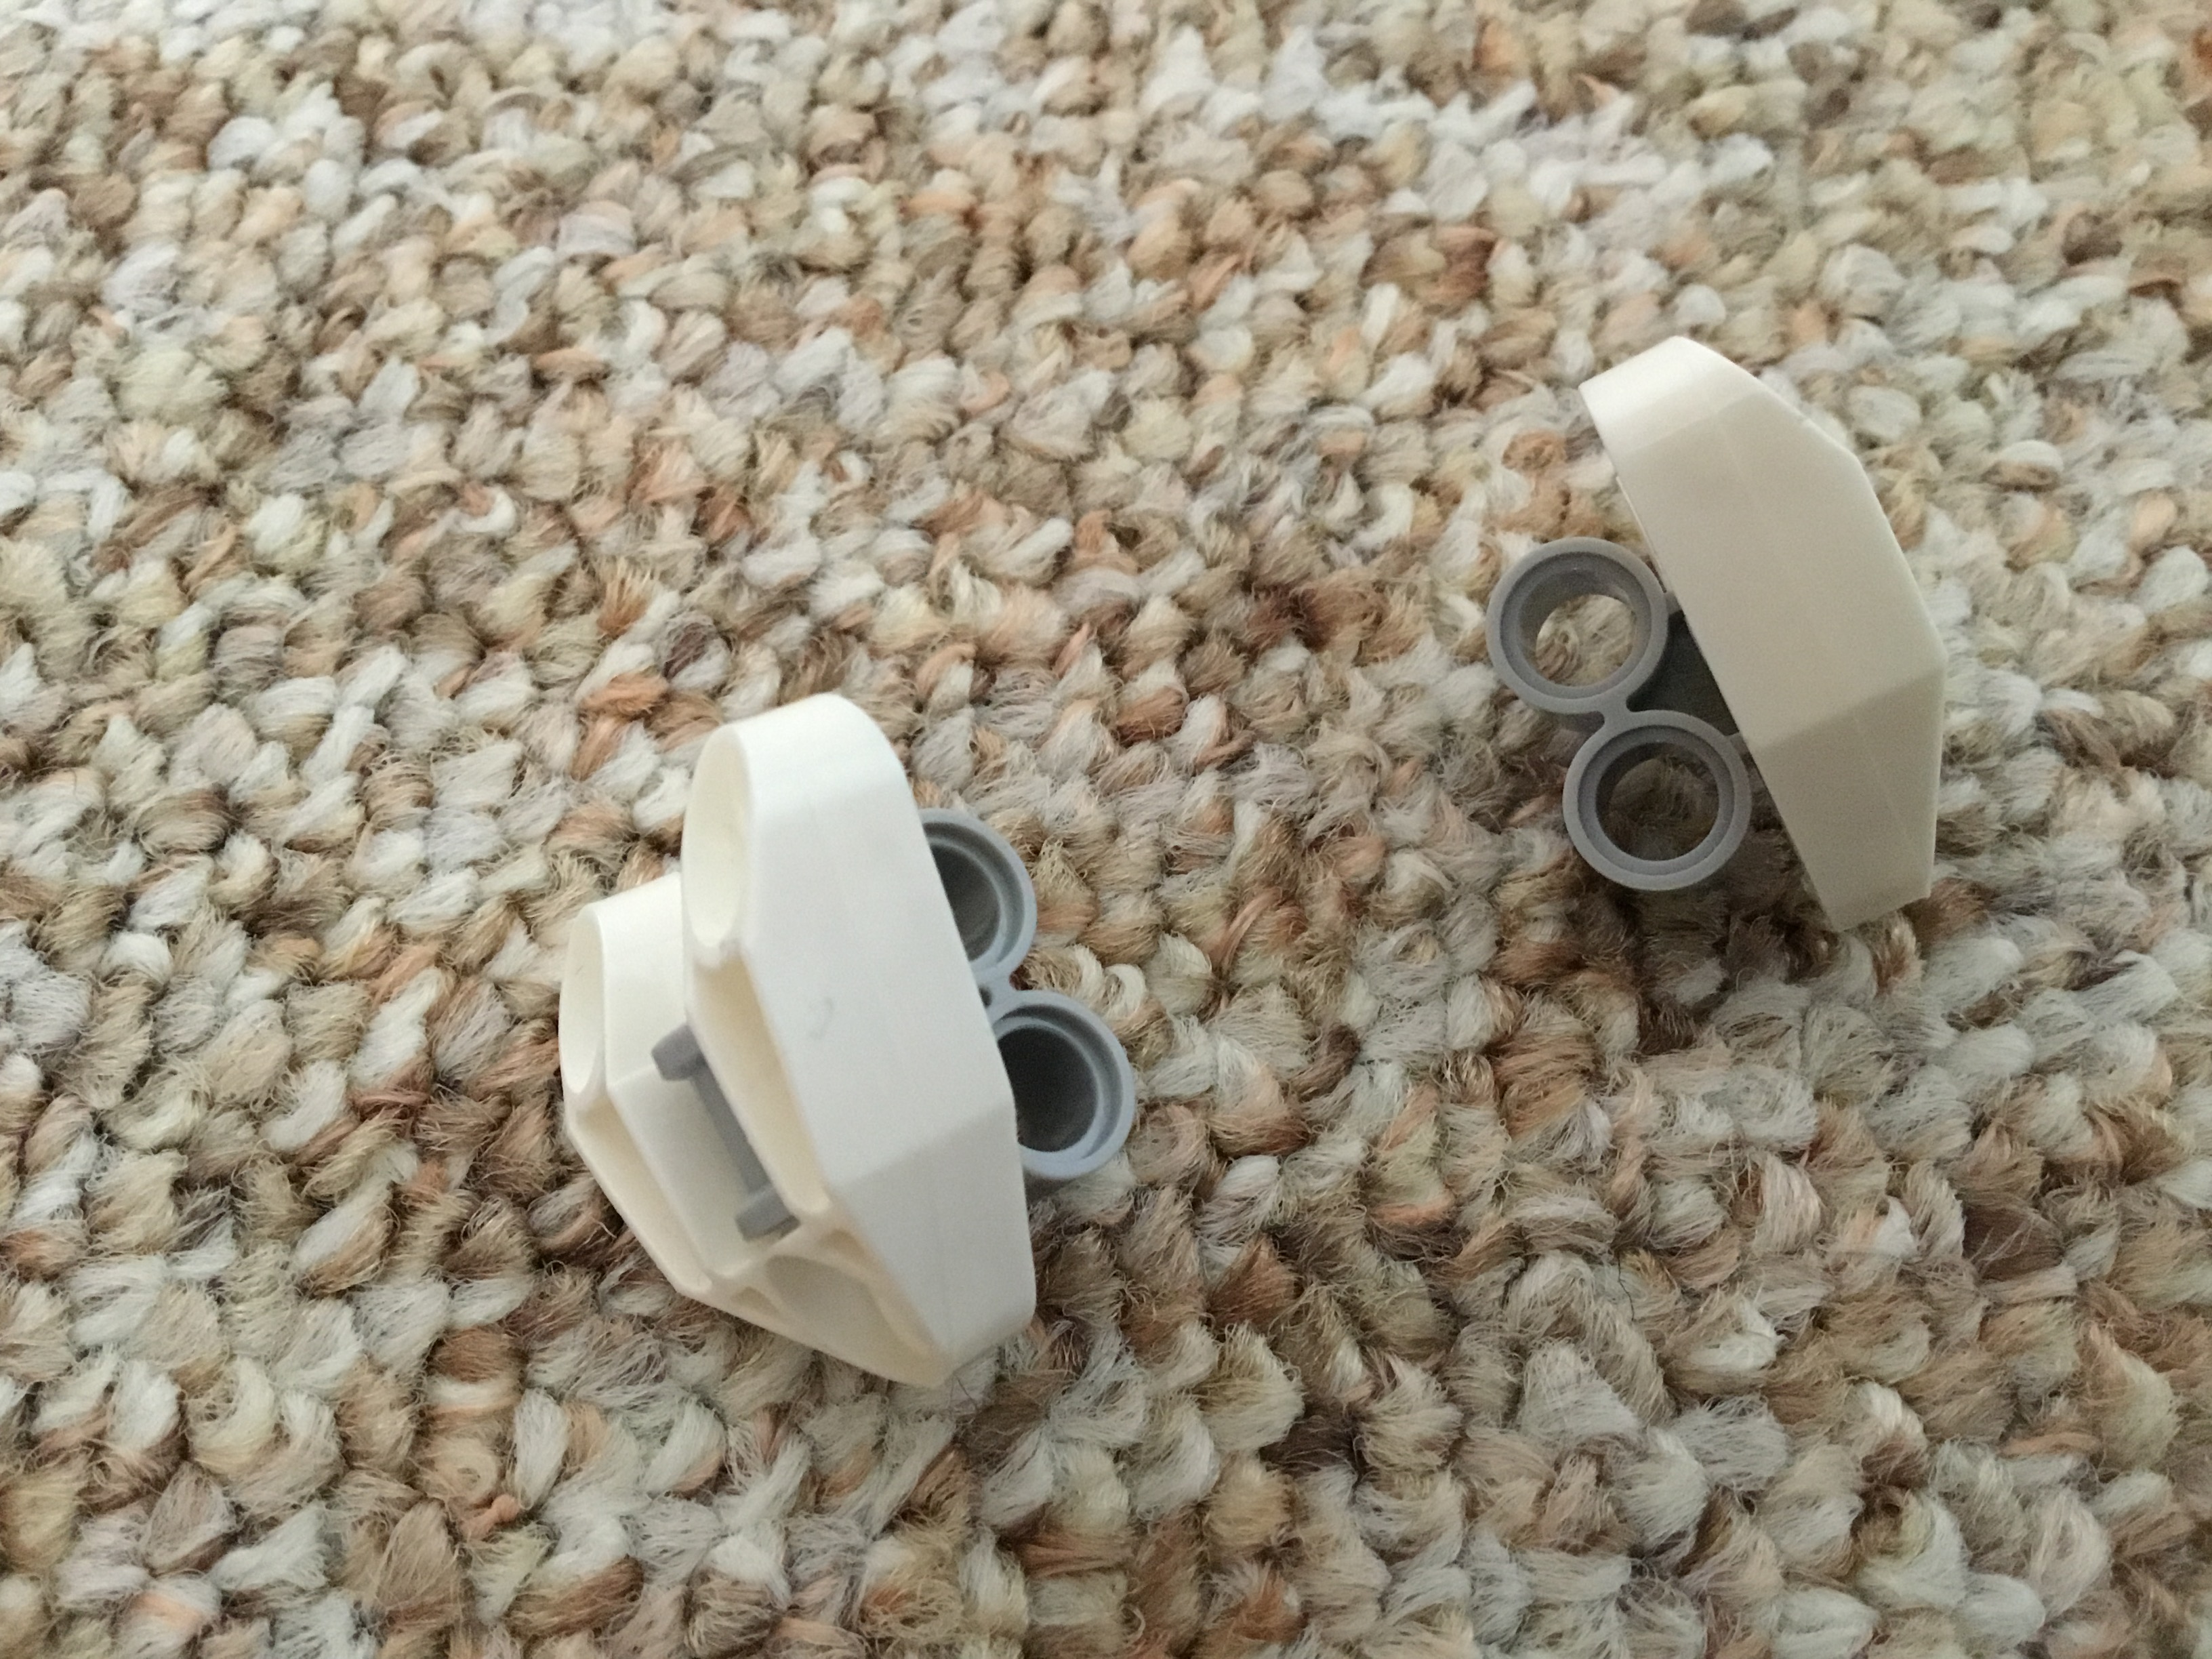
Attach each of them to a white Slizer foot.
Attach the assemblies to the open pins from earlier and squeeze them inwards to angle them. They should slot into some pre-made holes.
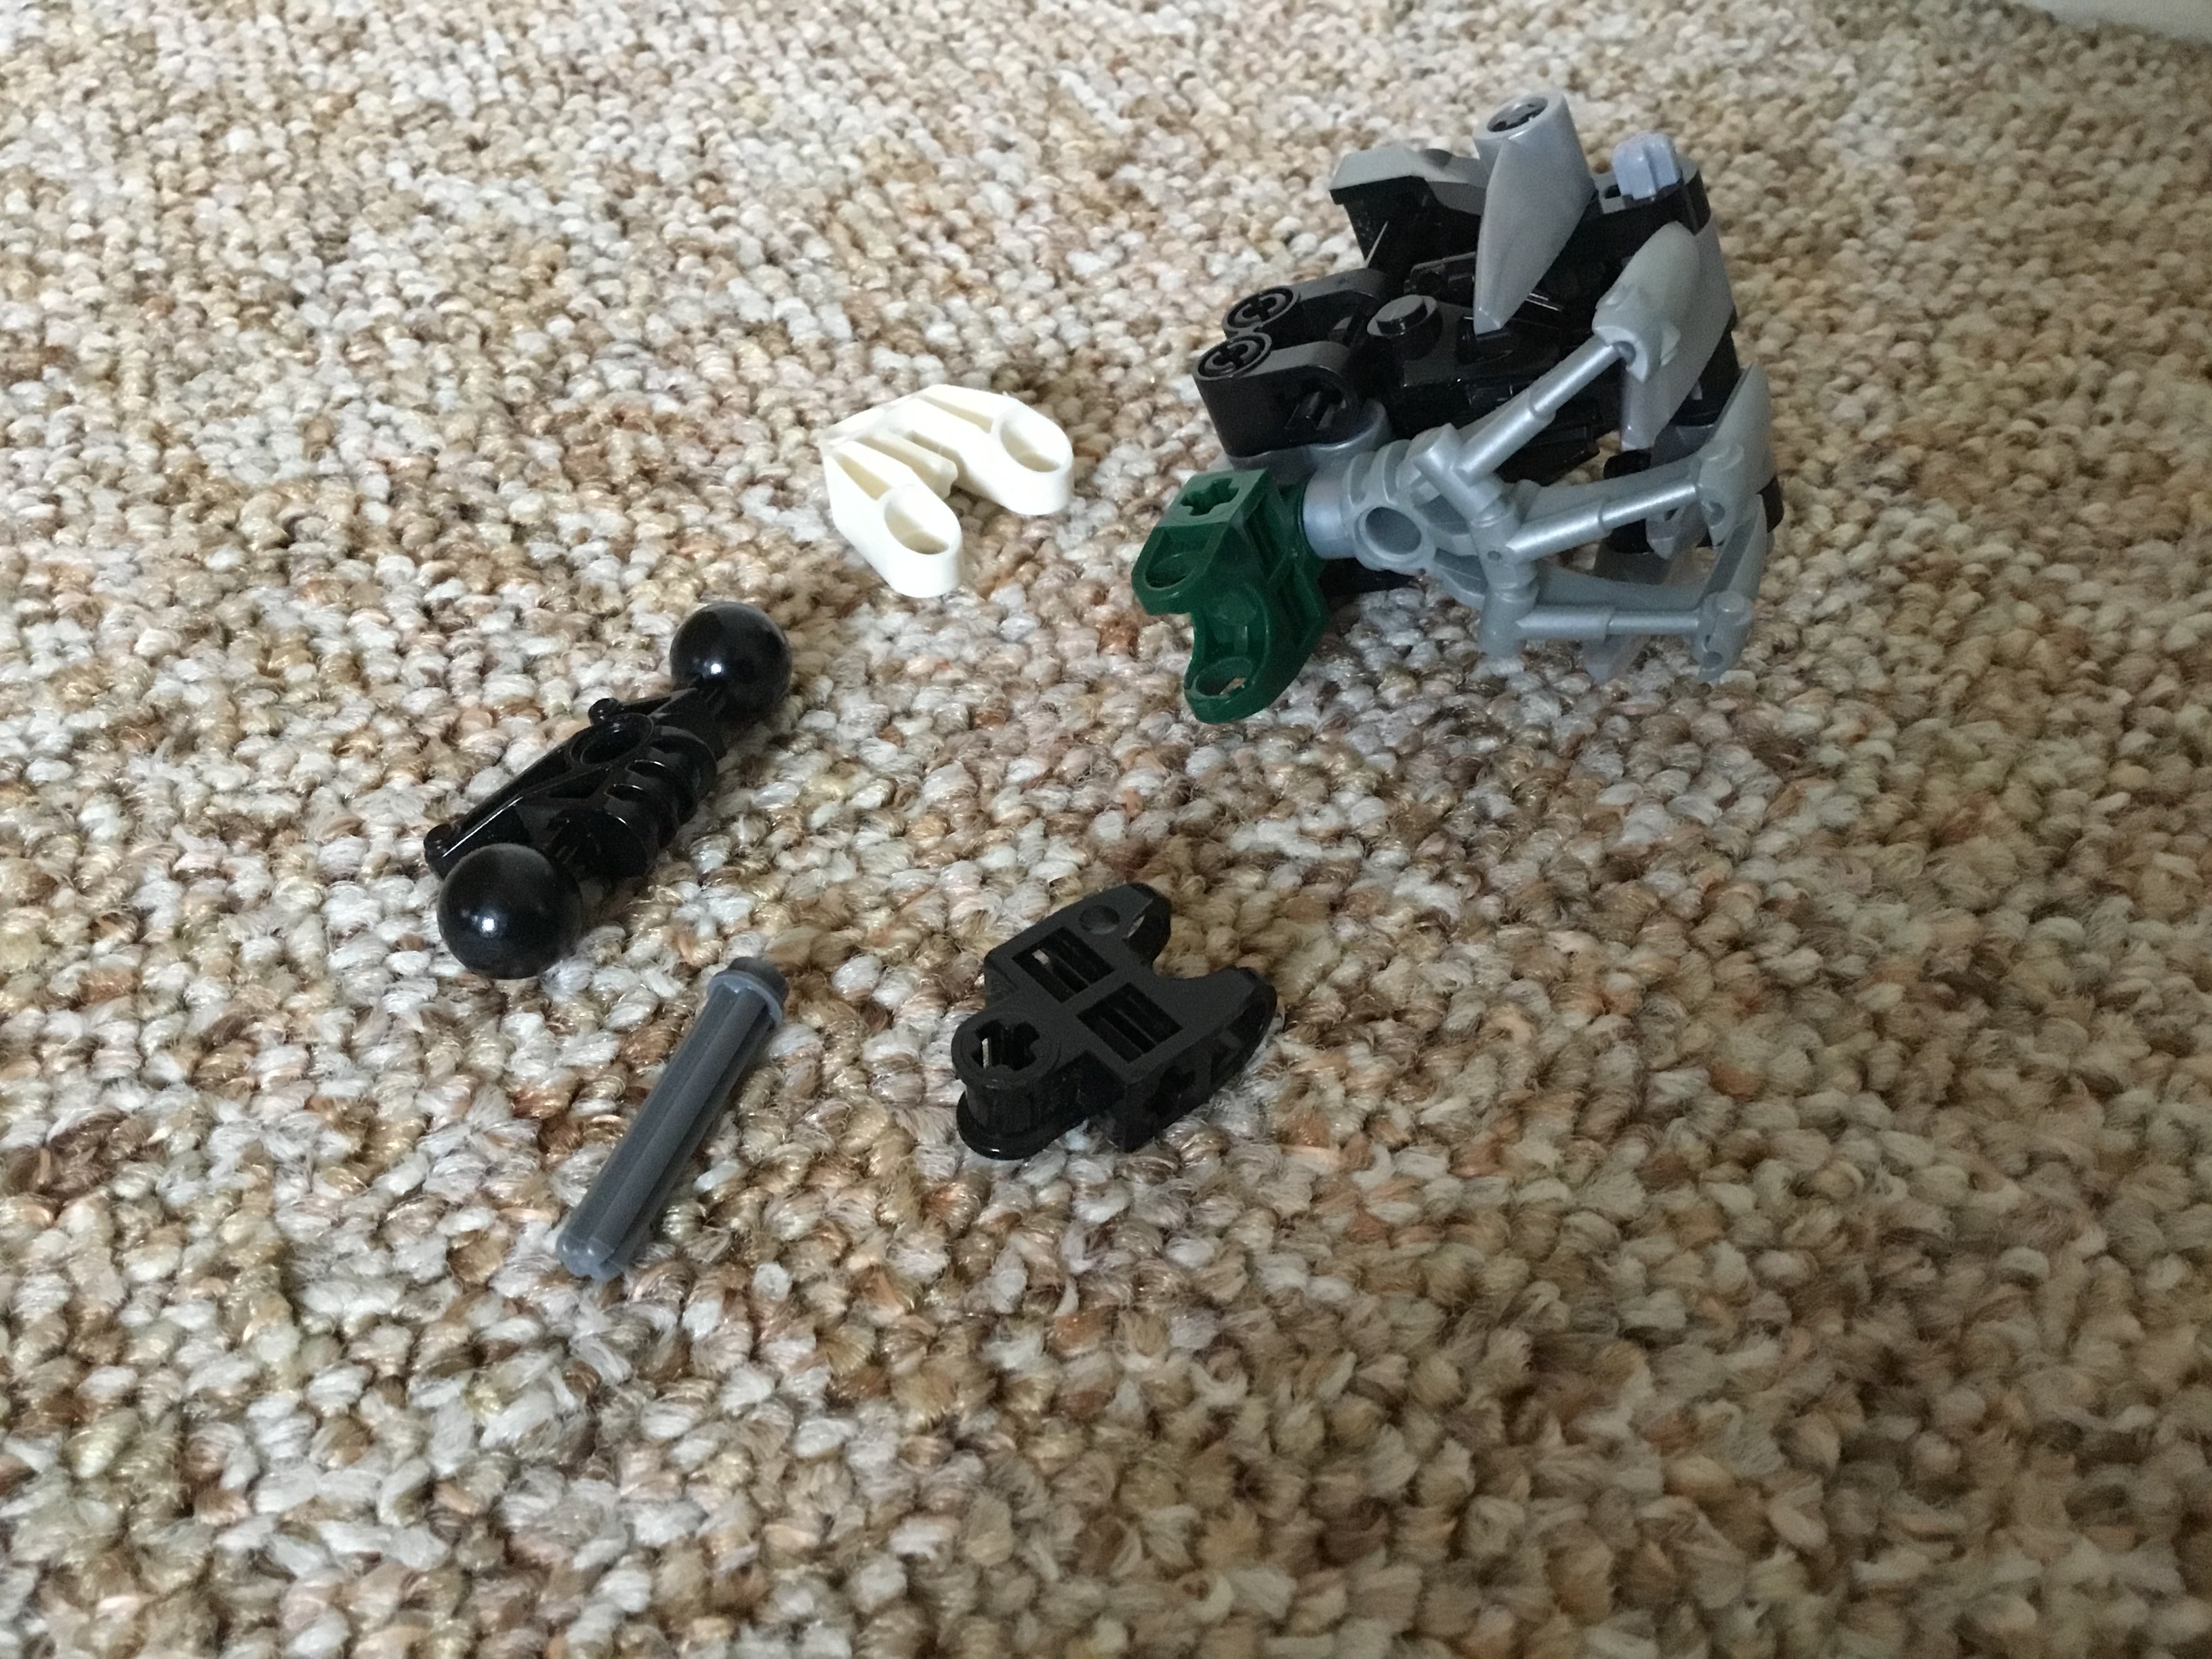
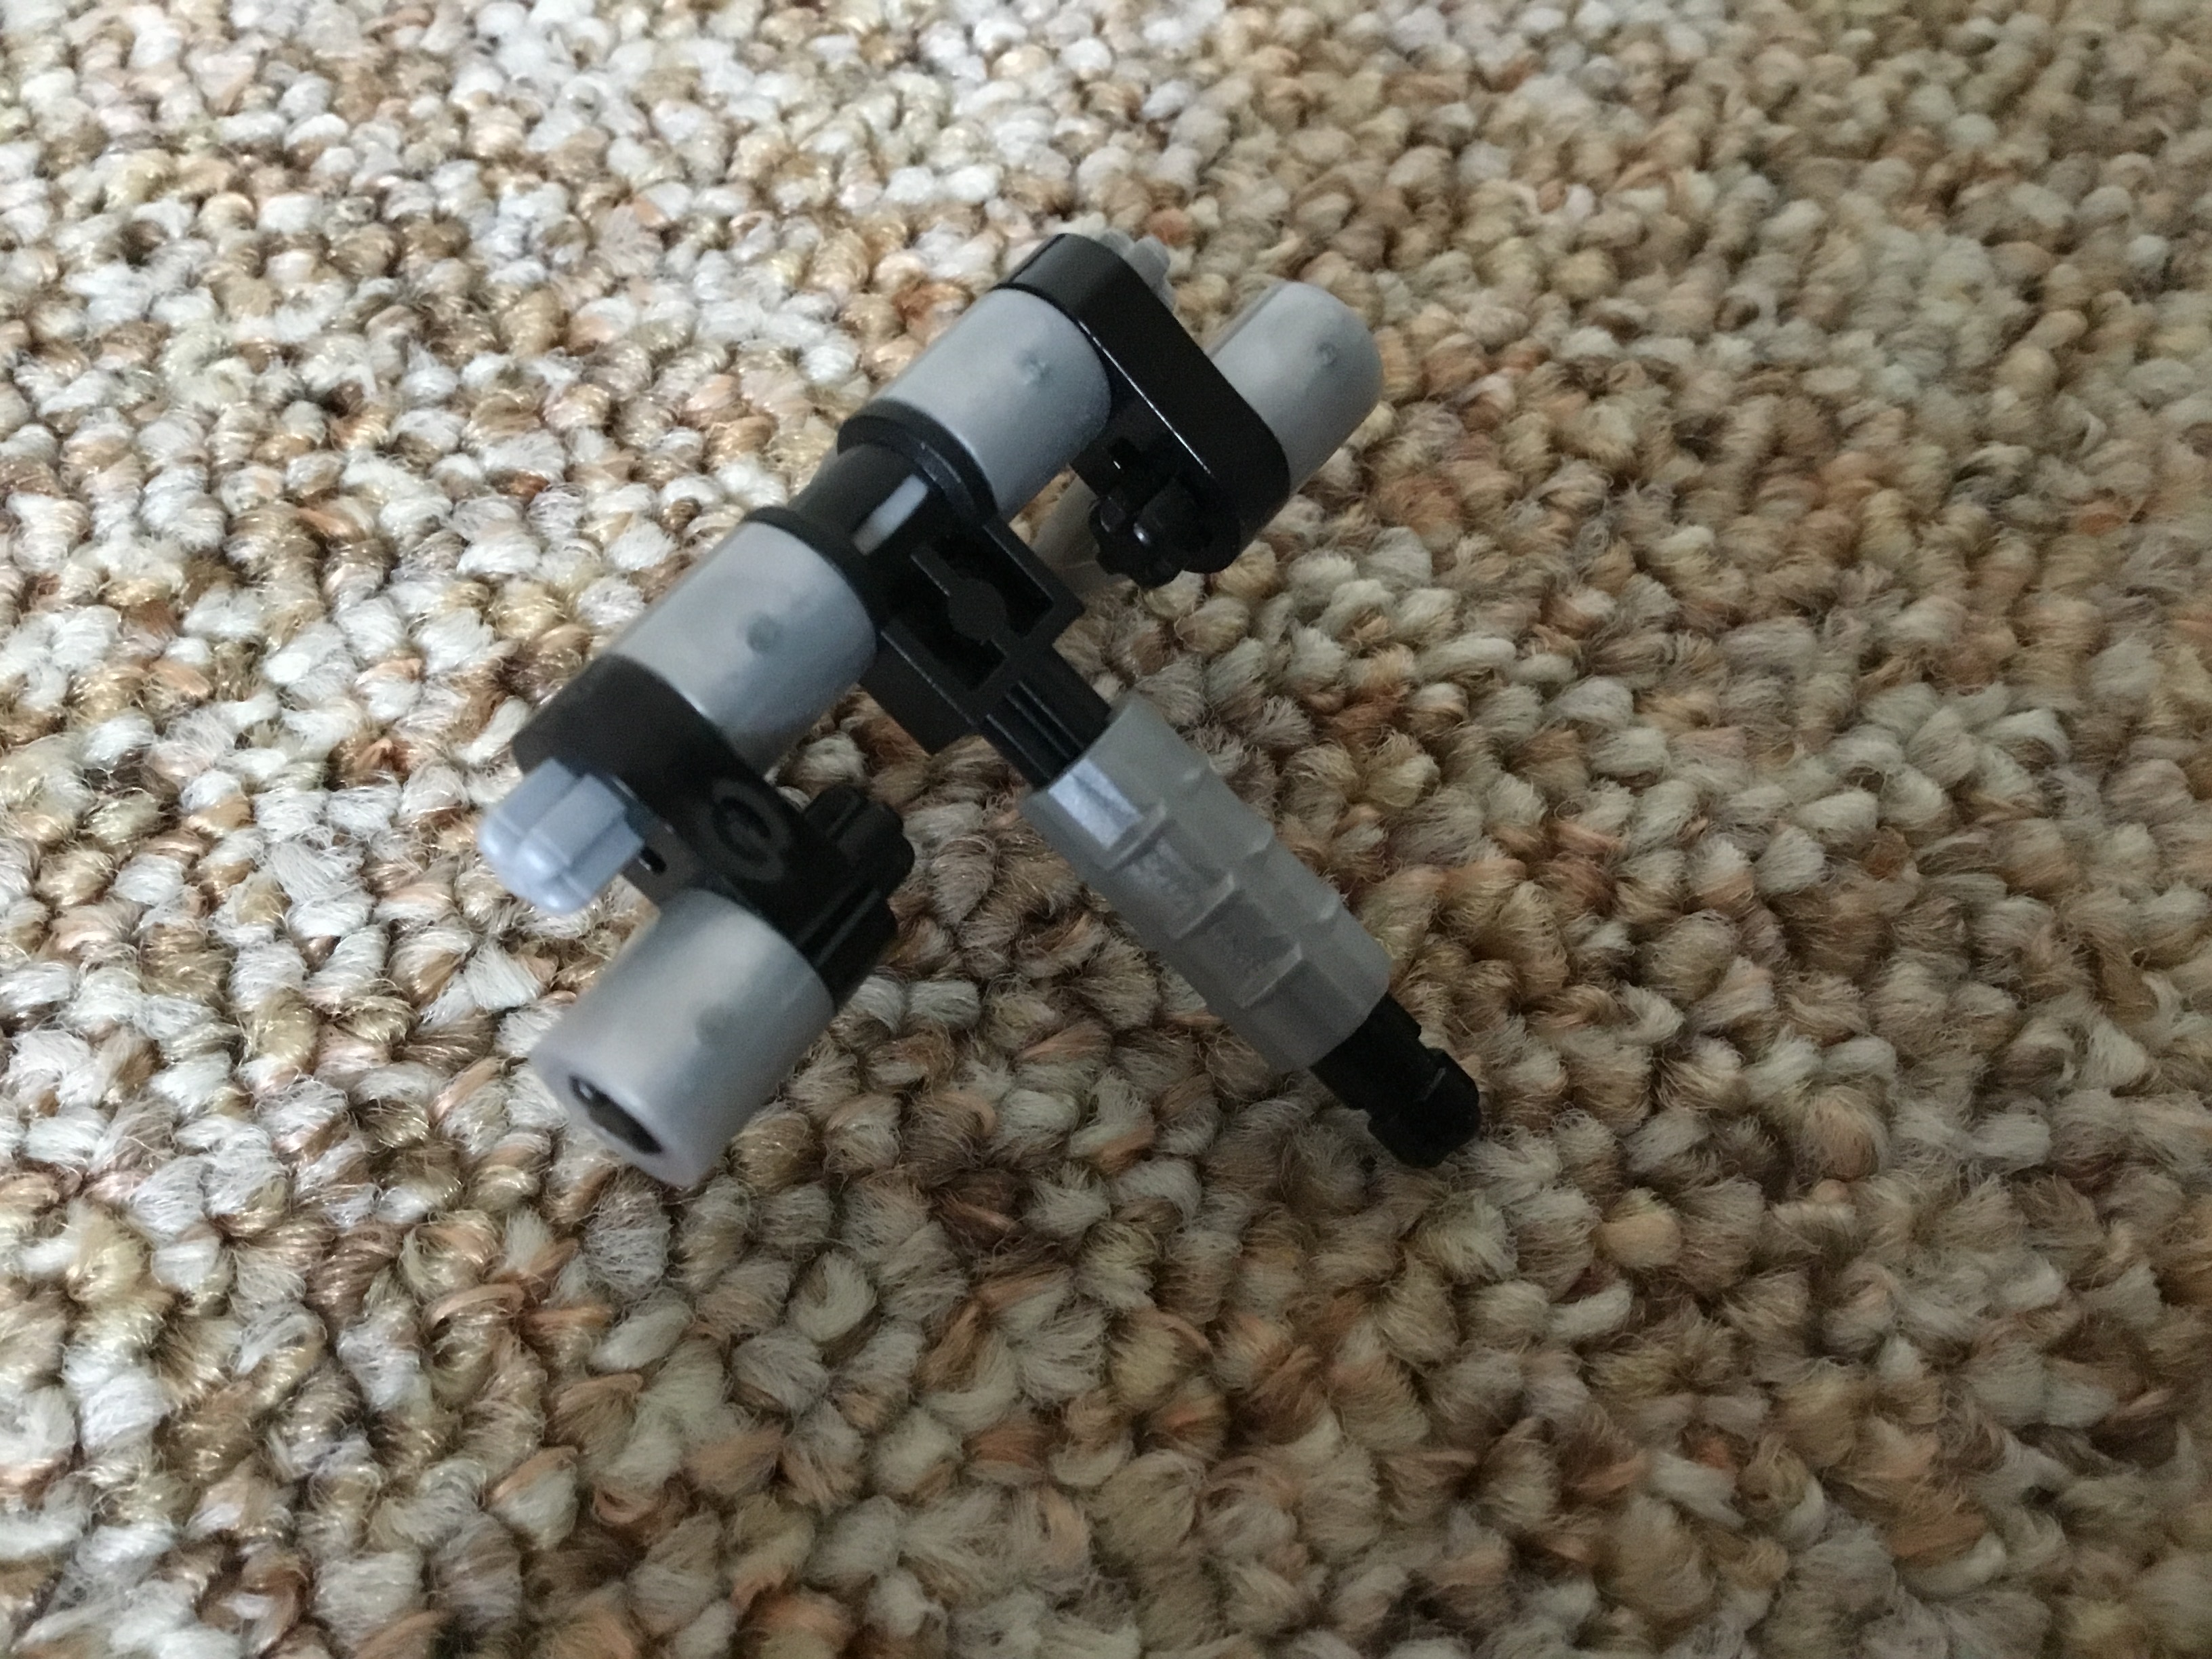
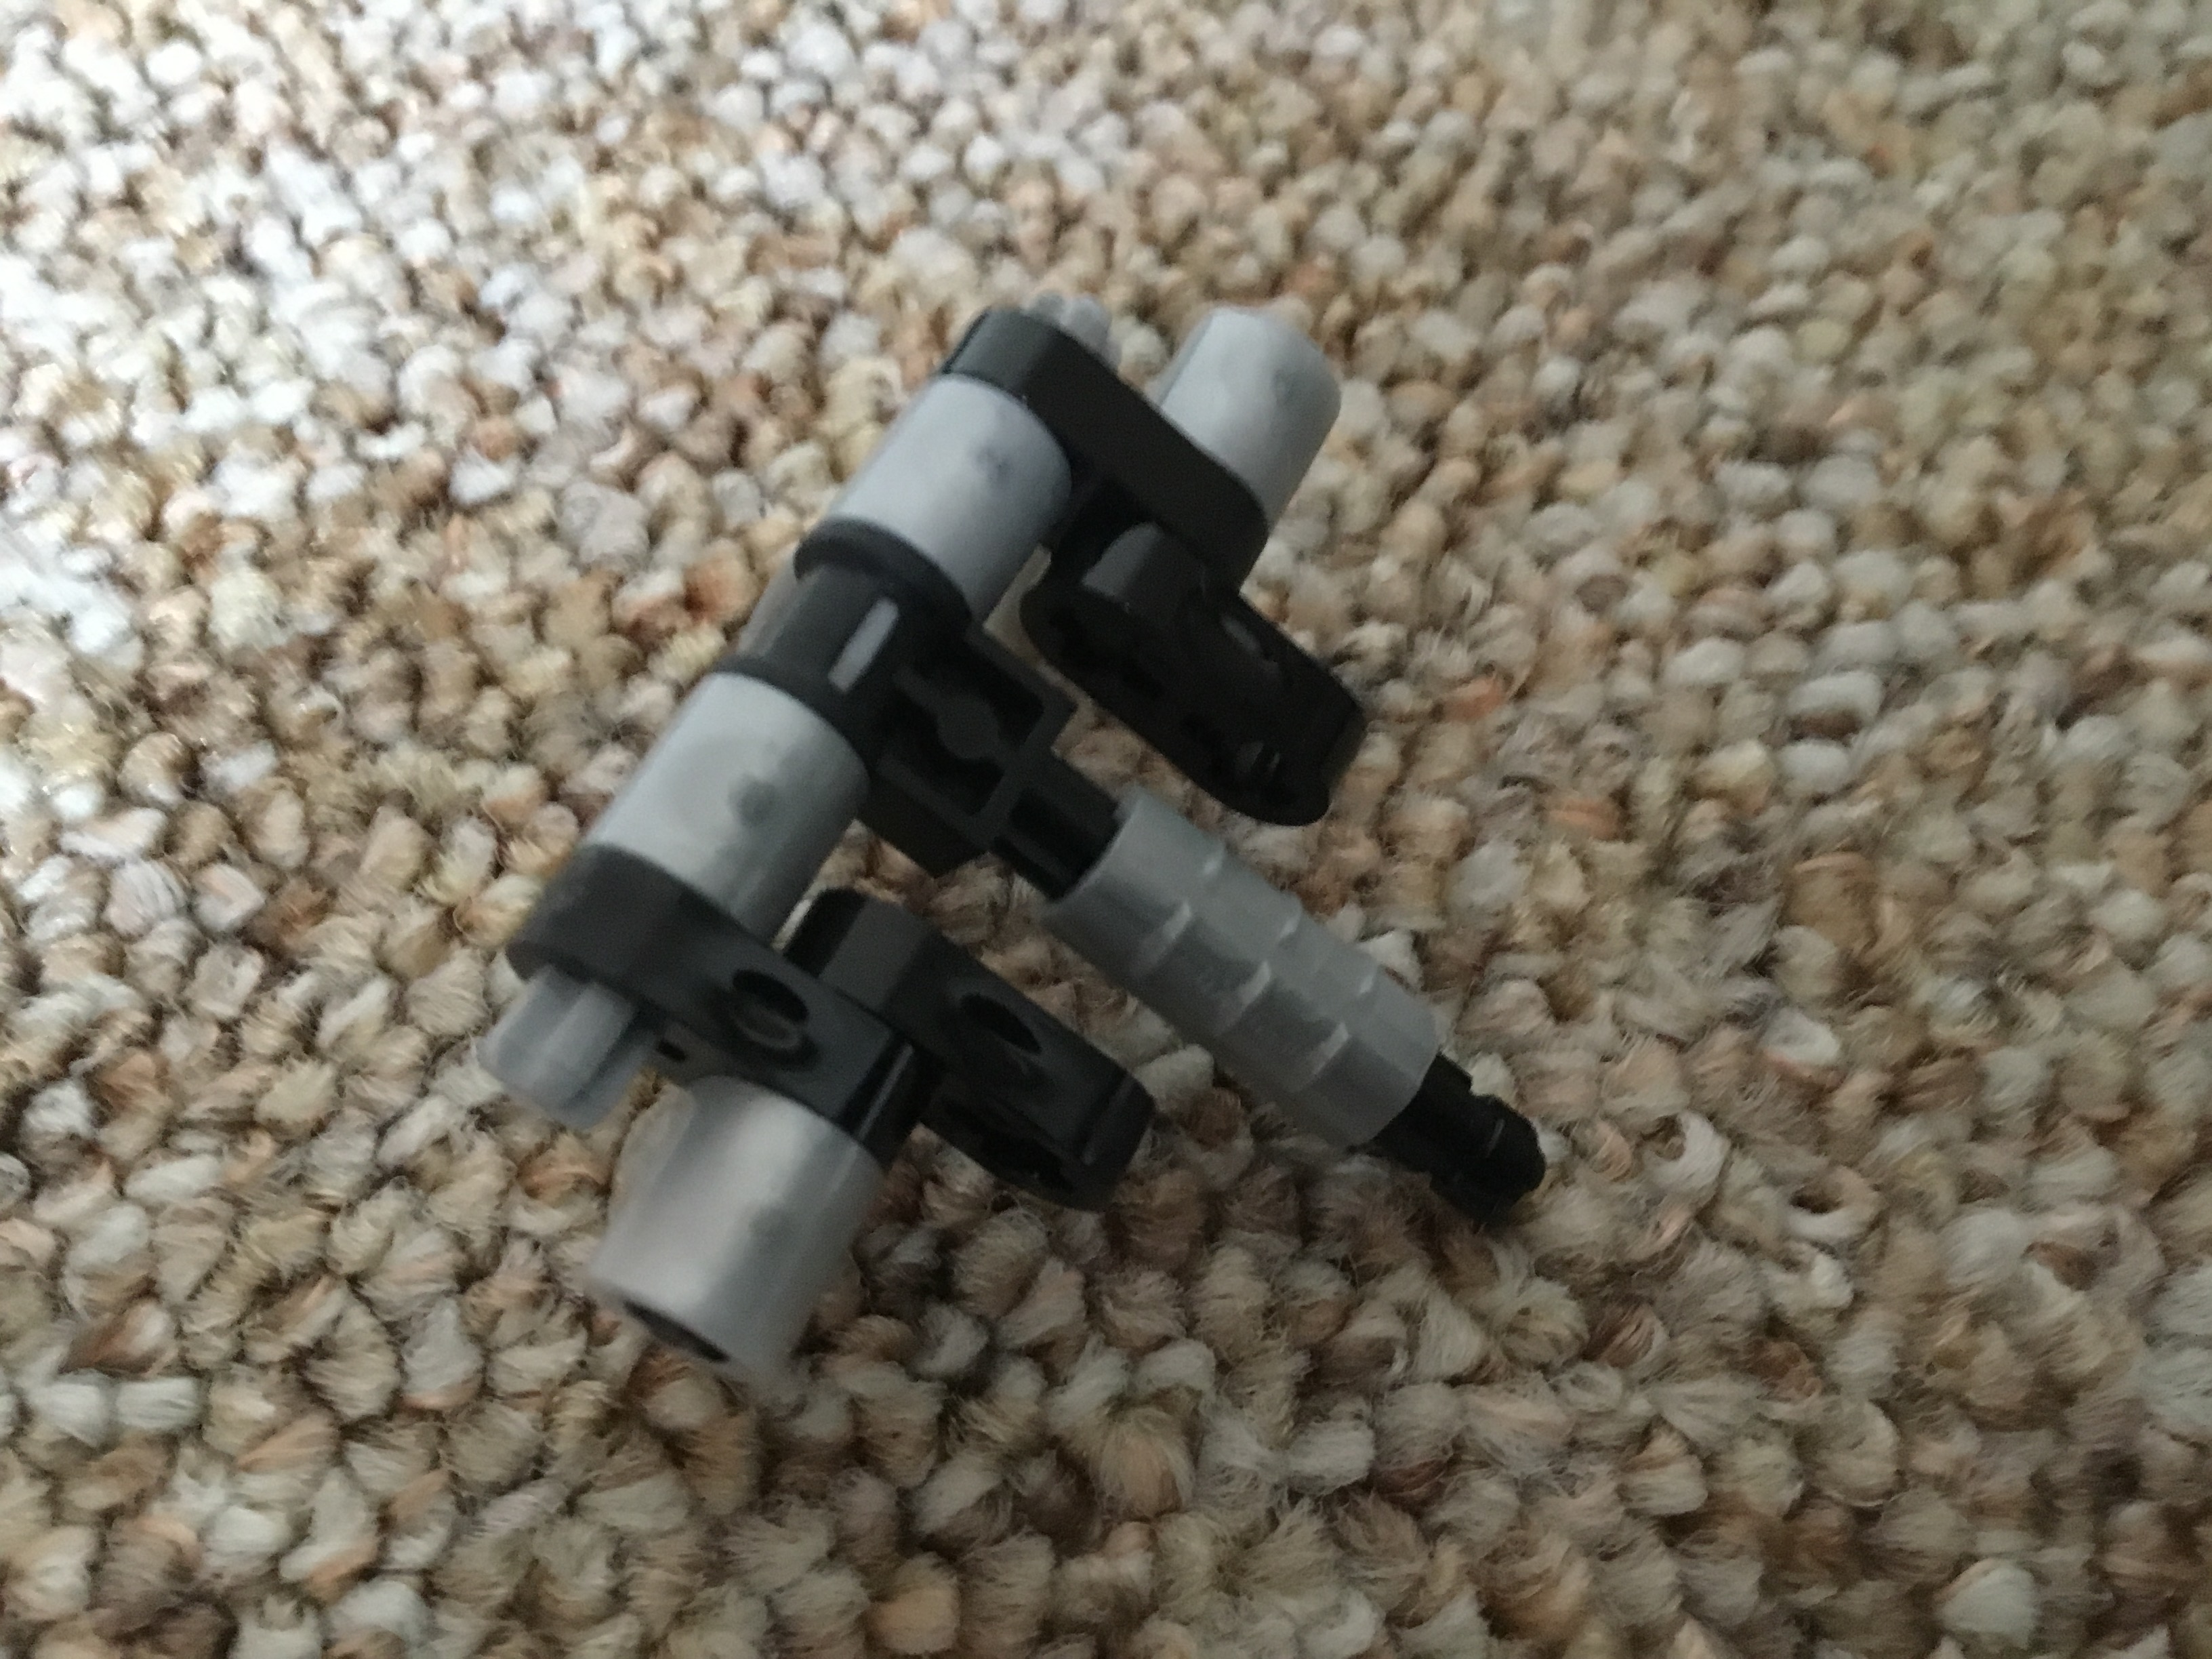
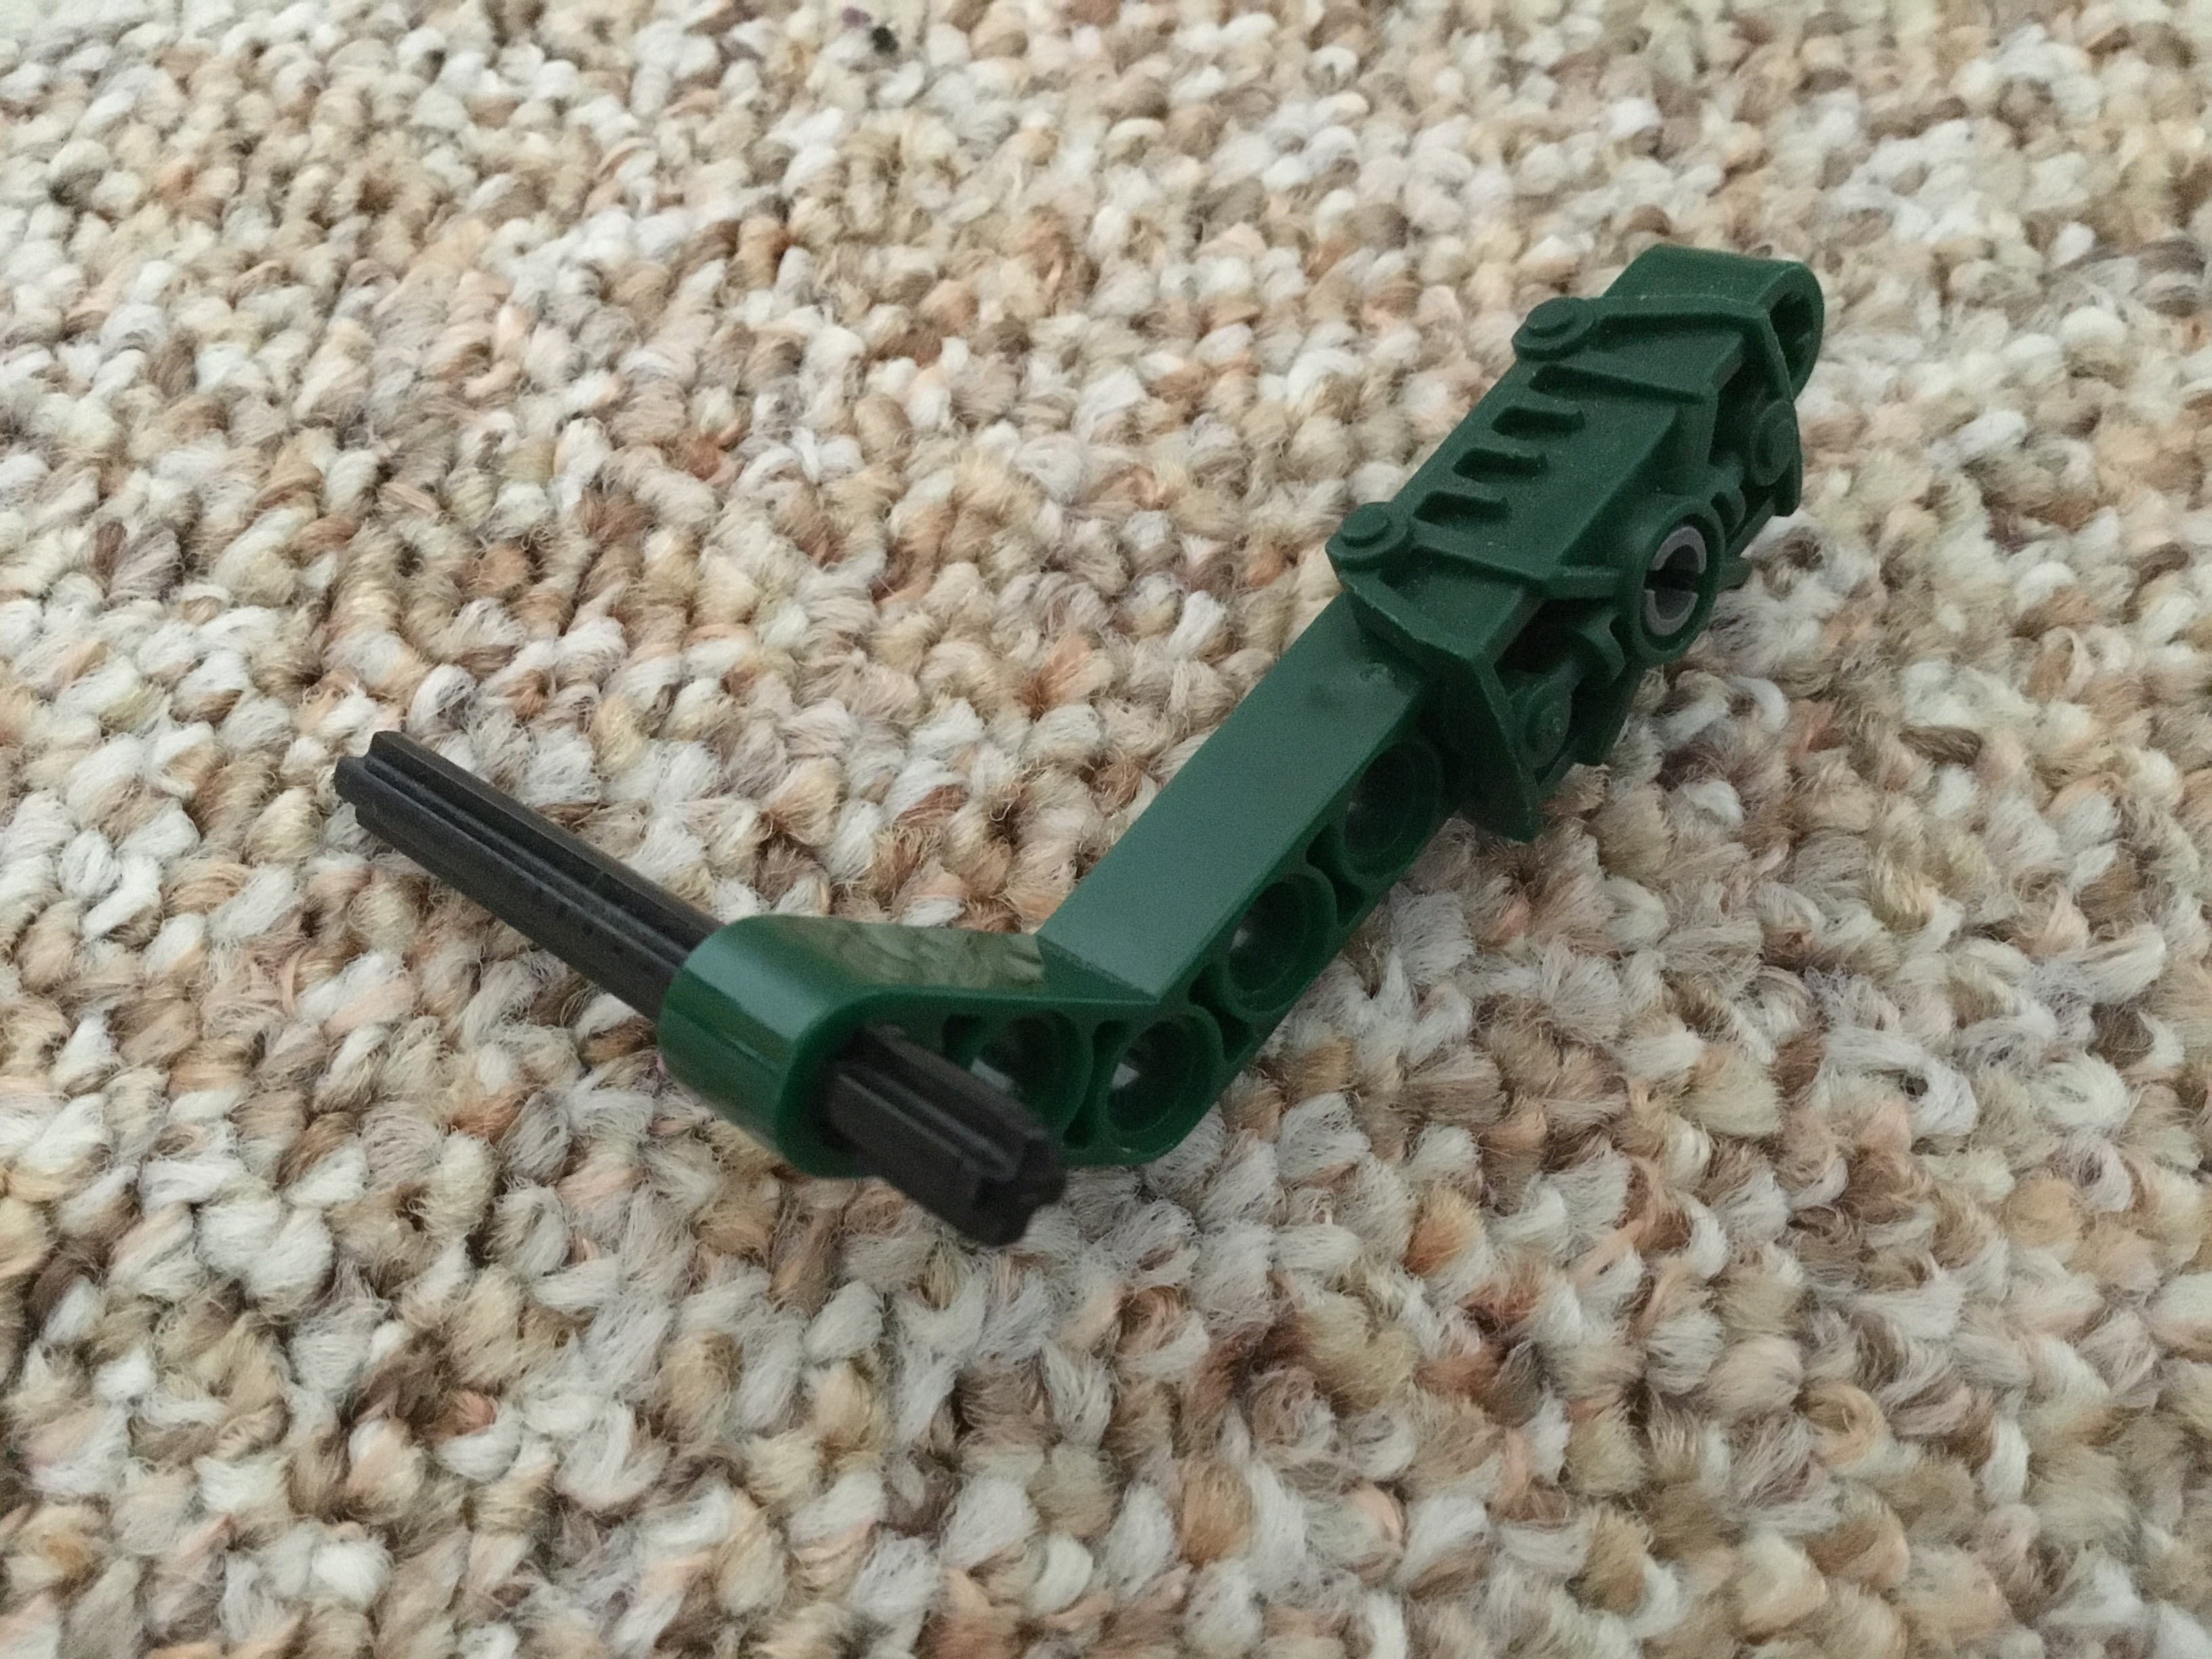
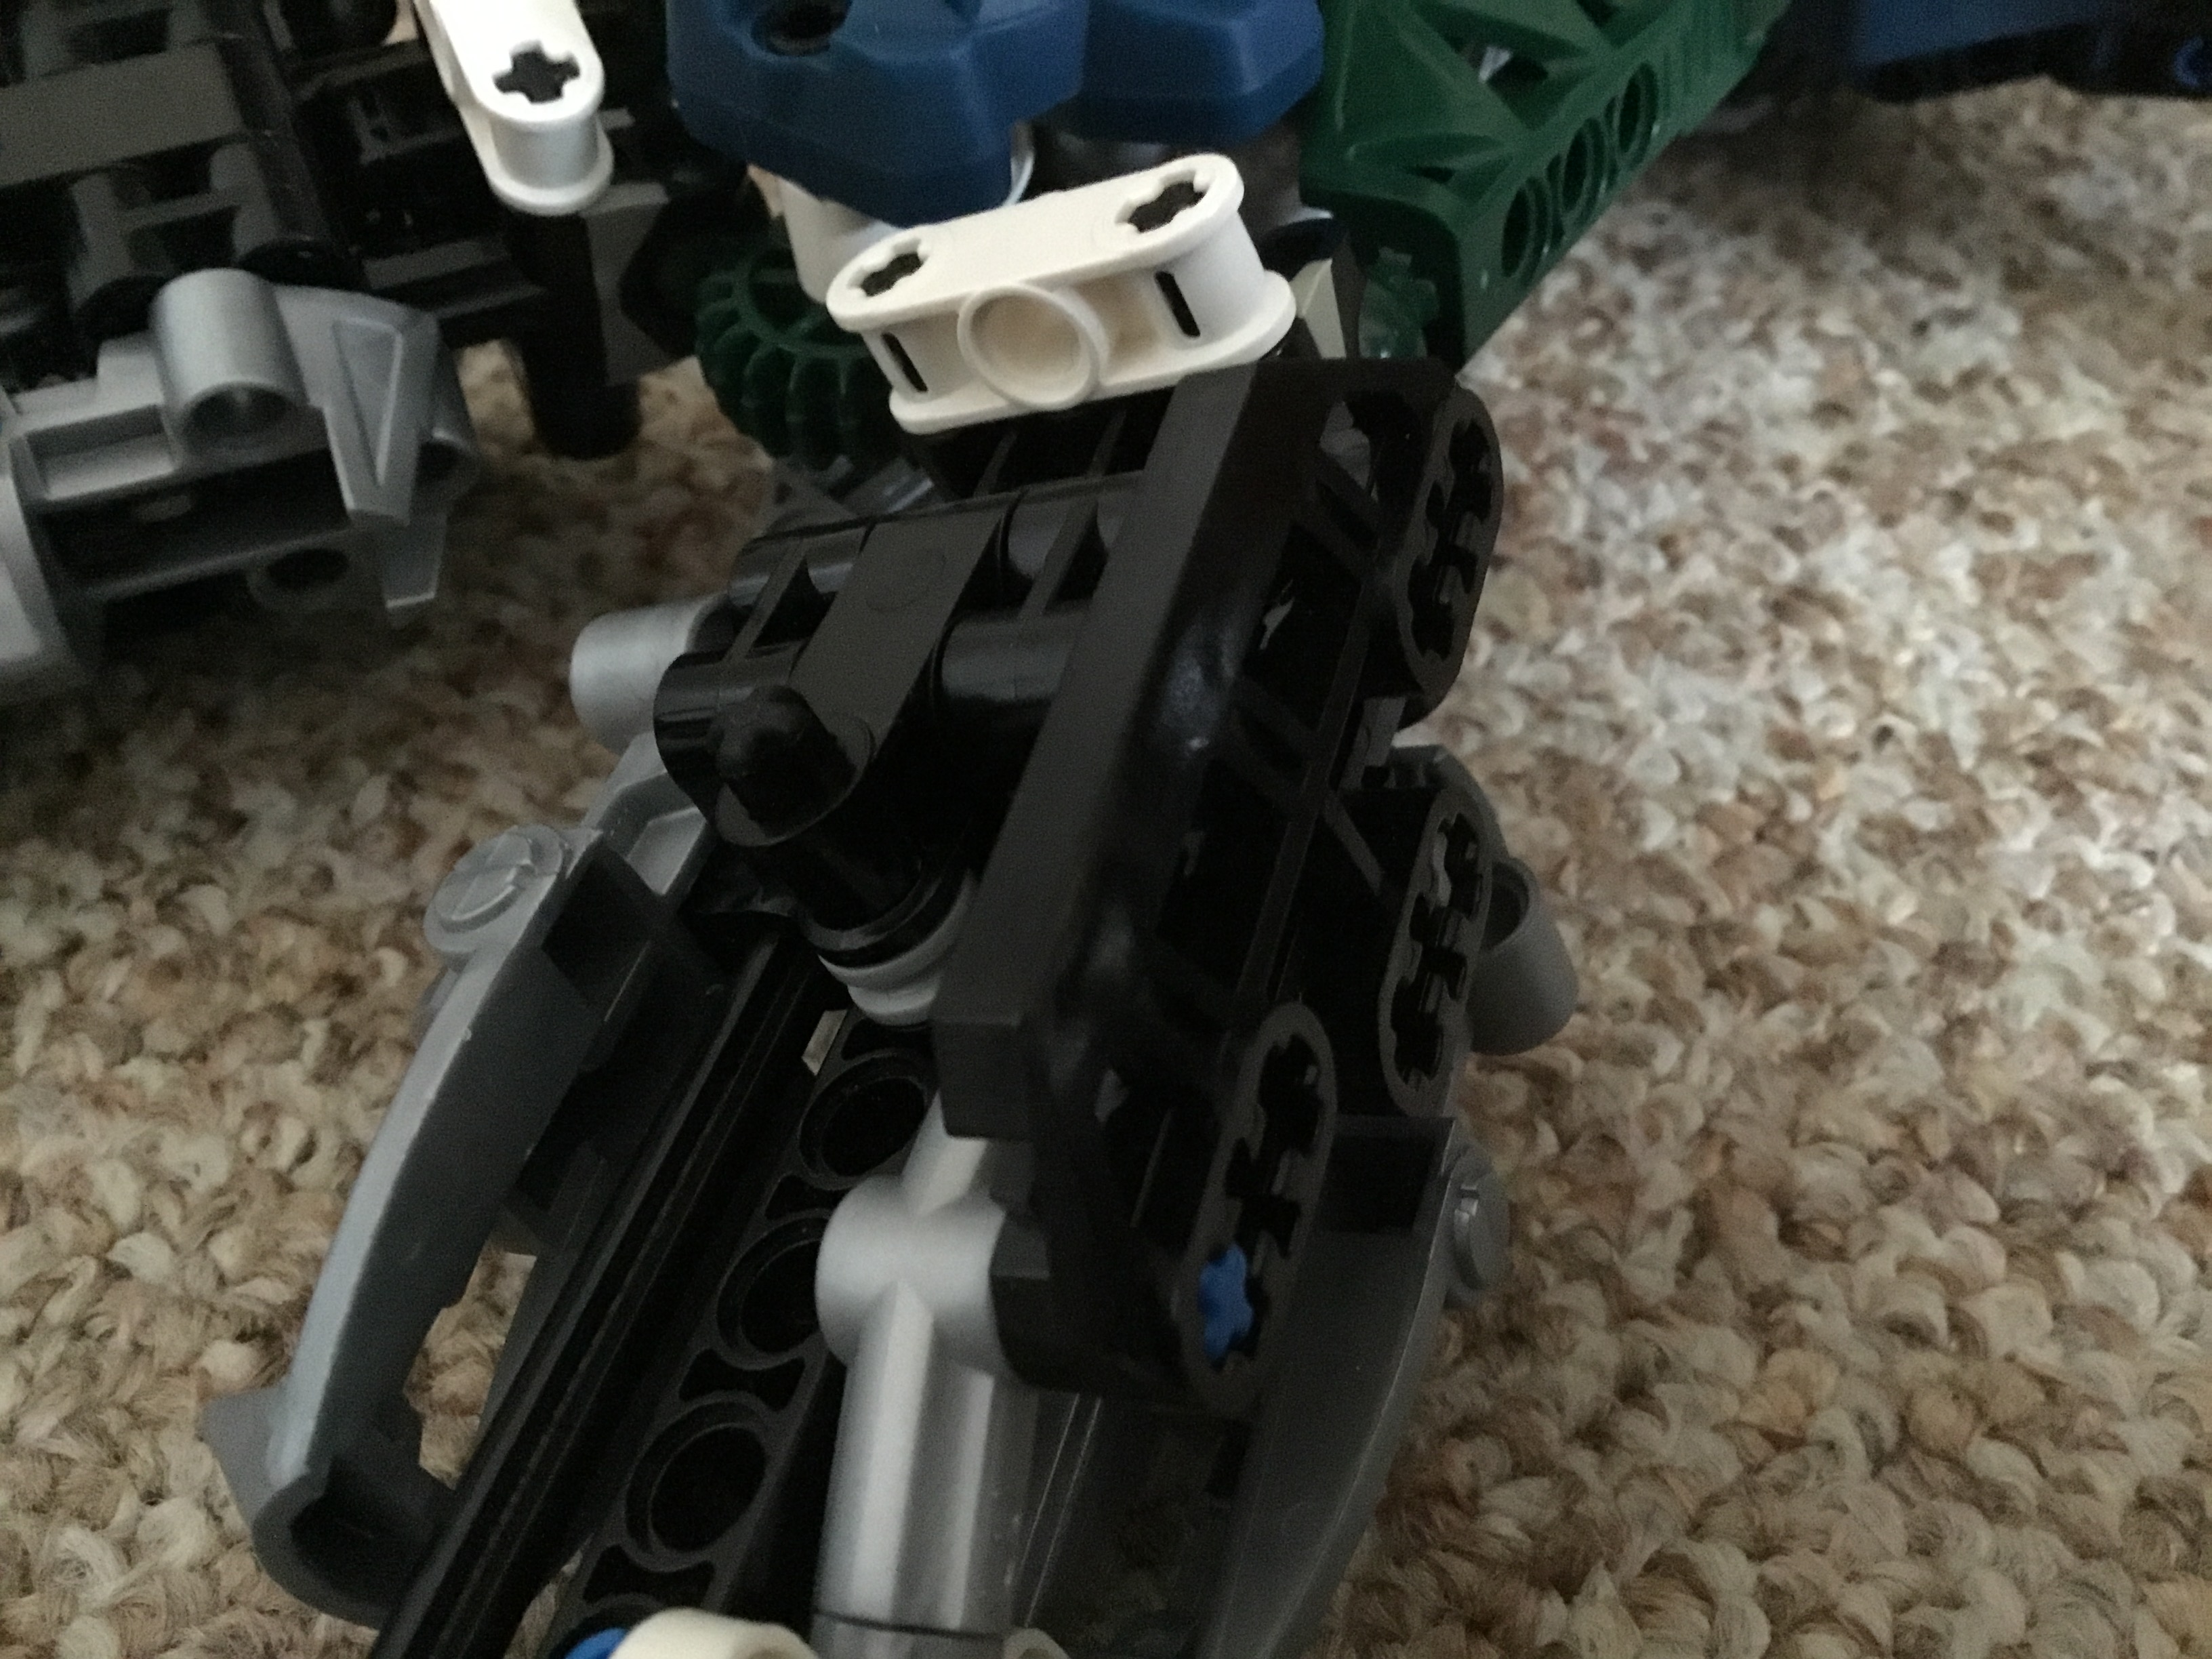
Next, build this sub-assembly. It’s pretty easy to figure out; you only need five pieces.
You’ll want to attach it to the back of his right shoulder like so.
Mirror for the other side.
IV: Head
First, completely disassemble the neck. You’ll need to keep every part except the Metru arm for later. Also remove the white Slizer foot.
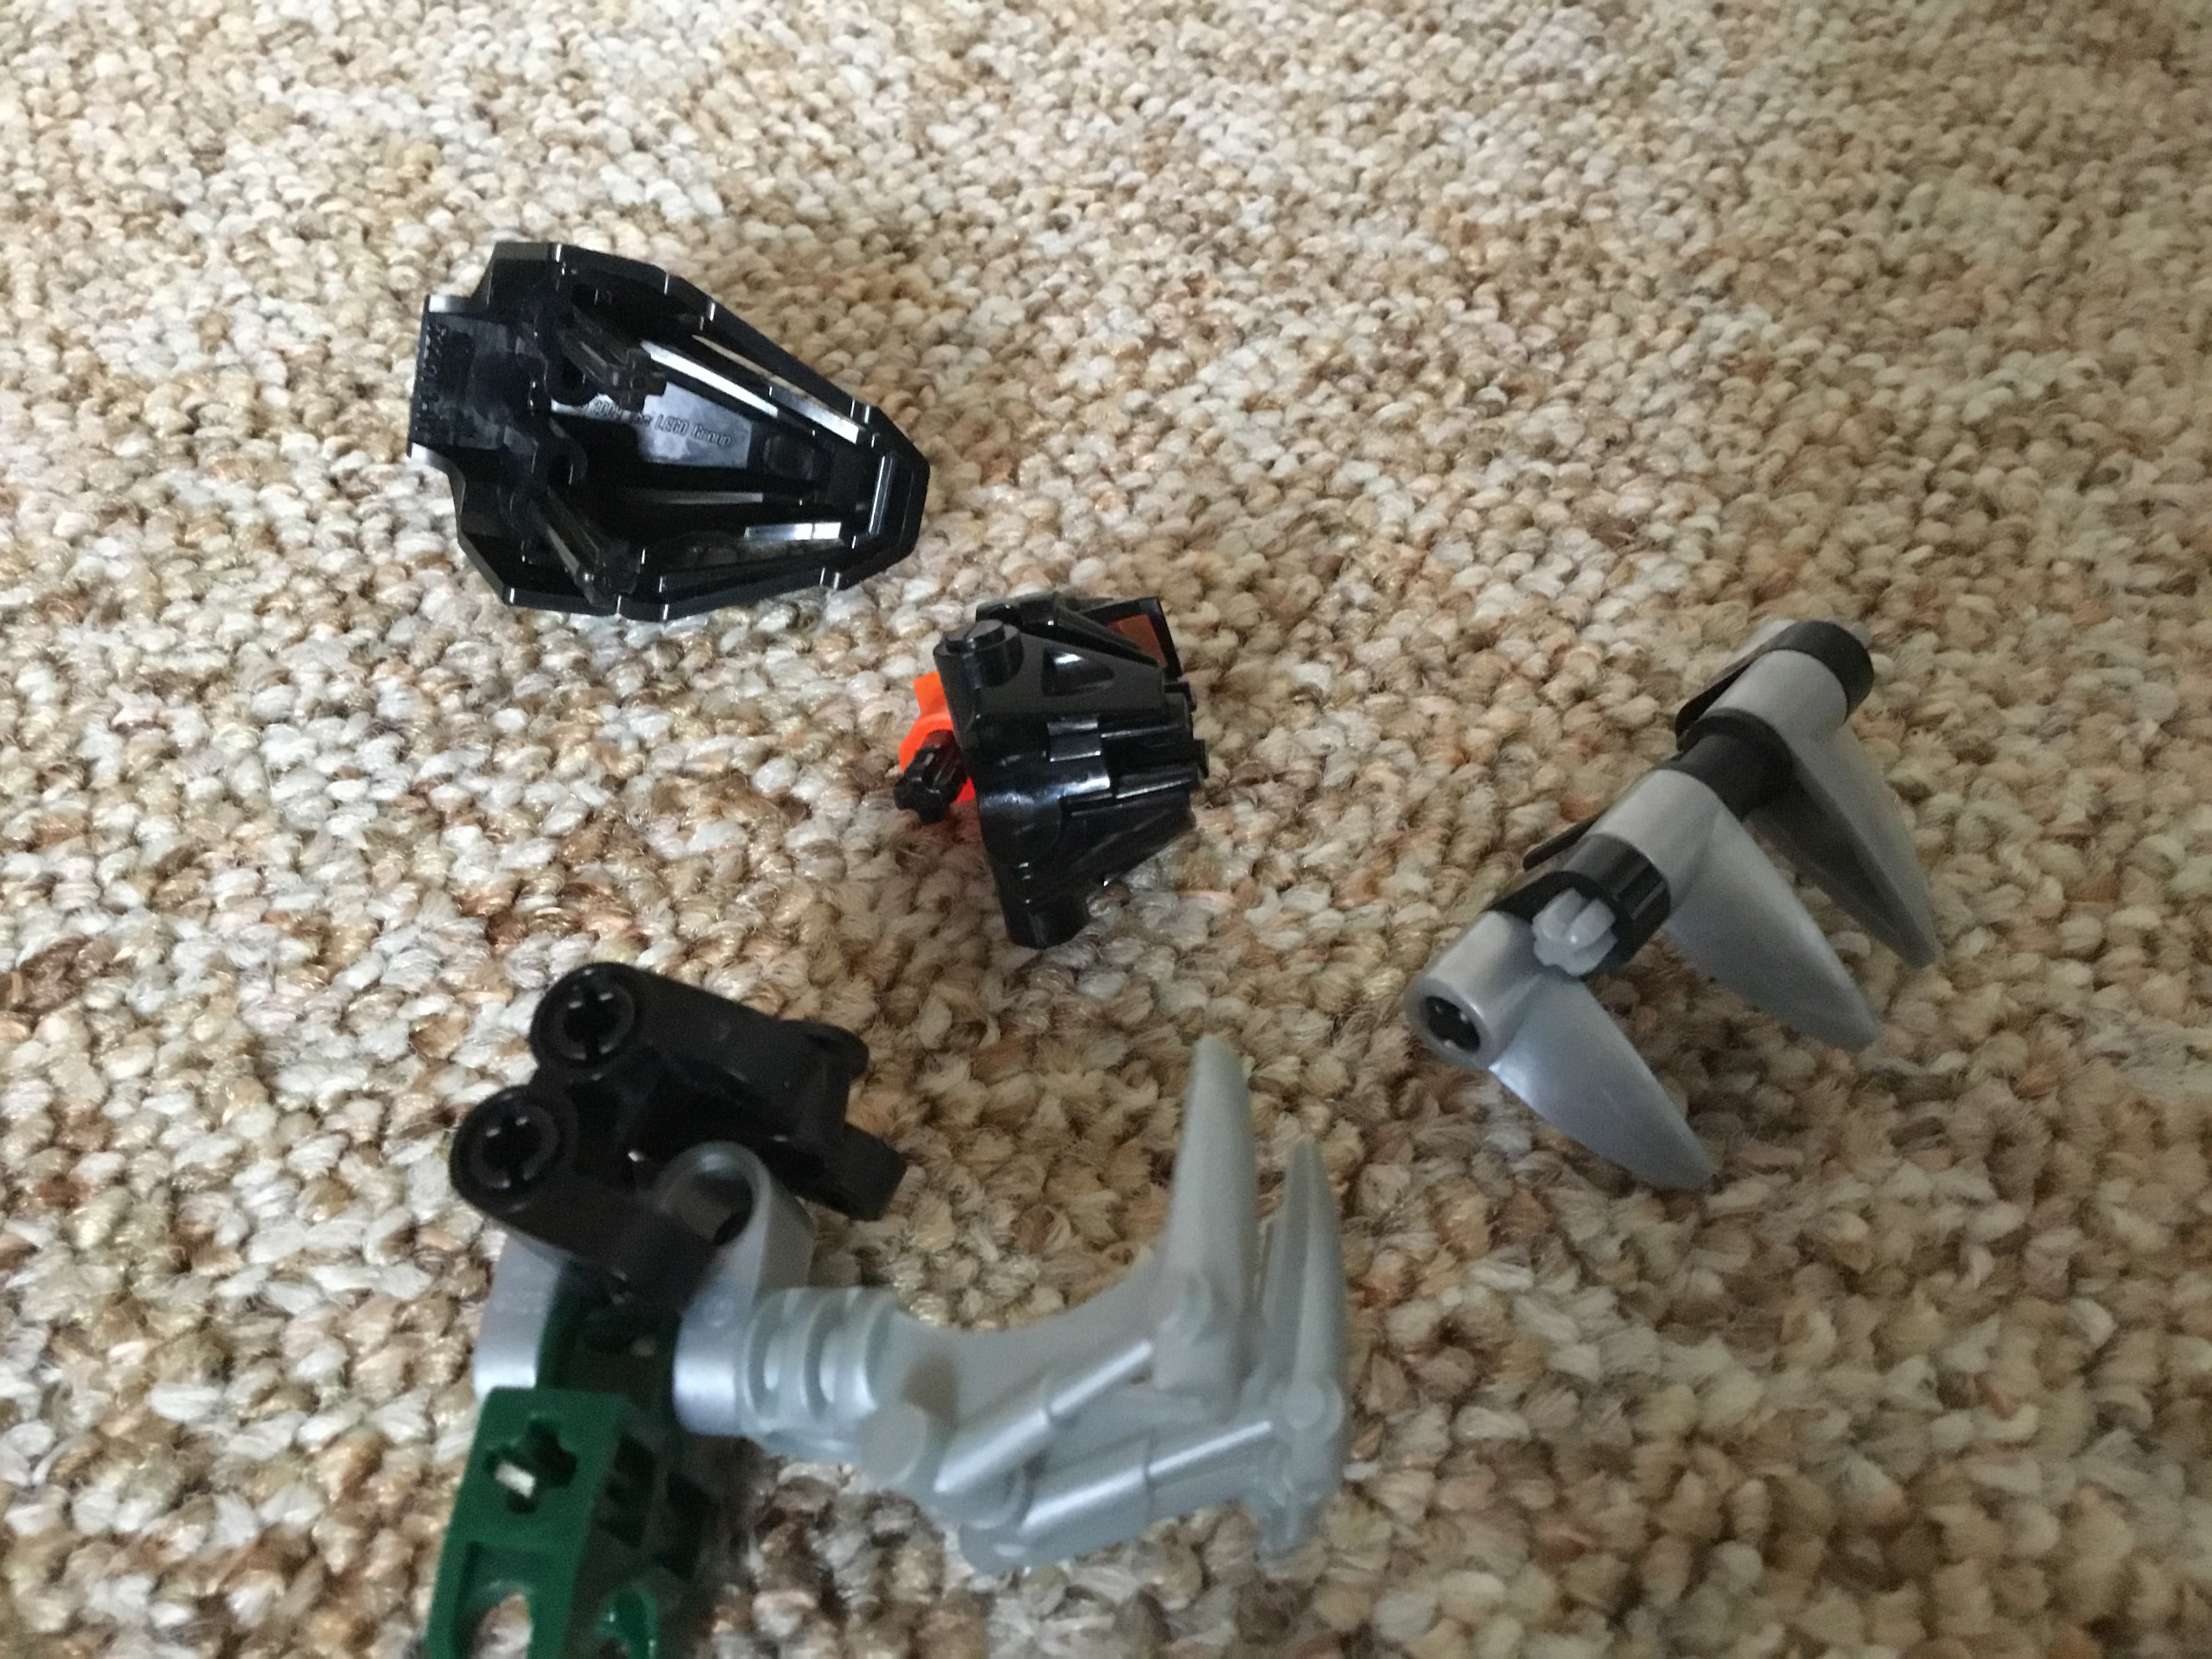
Also disassemble the upper jaw into these components. Remove and save the black axle in the Mata head, but the head itself isn’t needed.
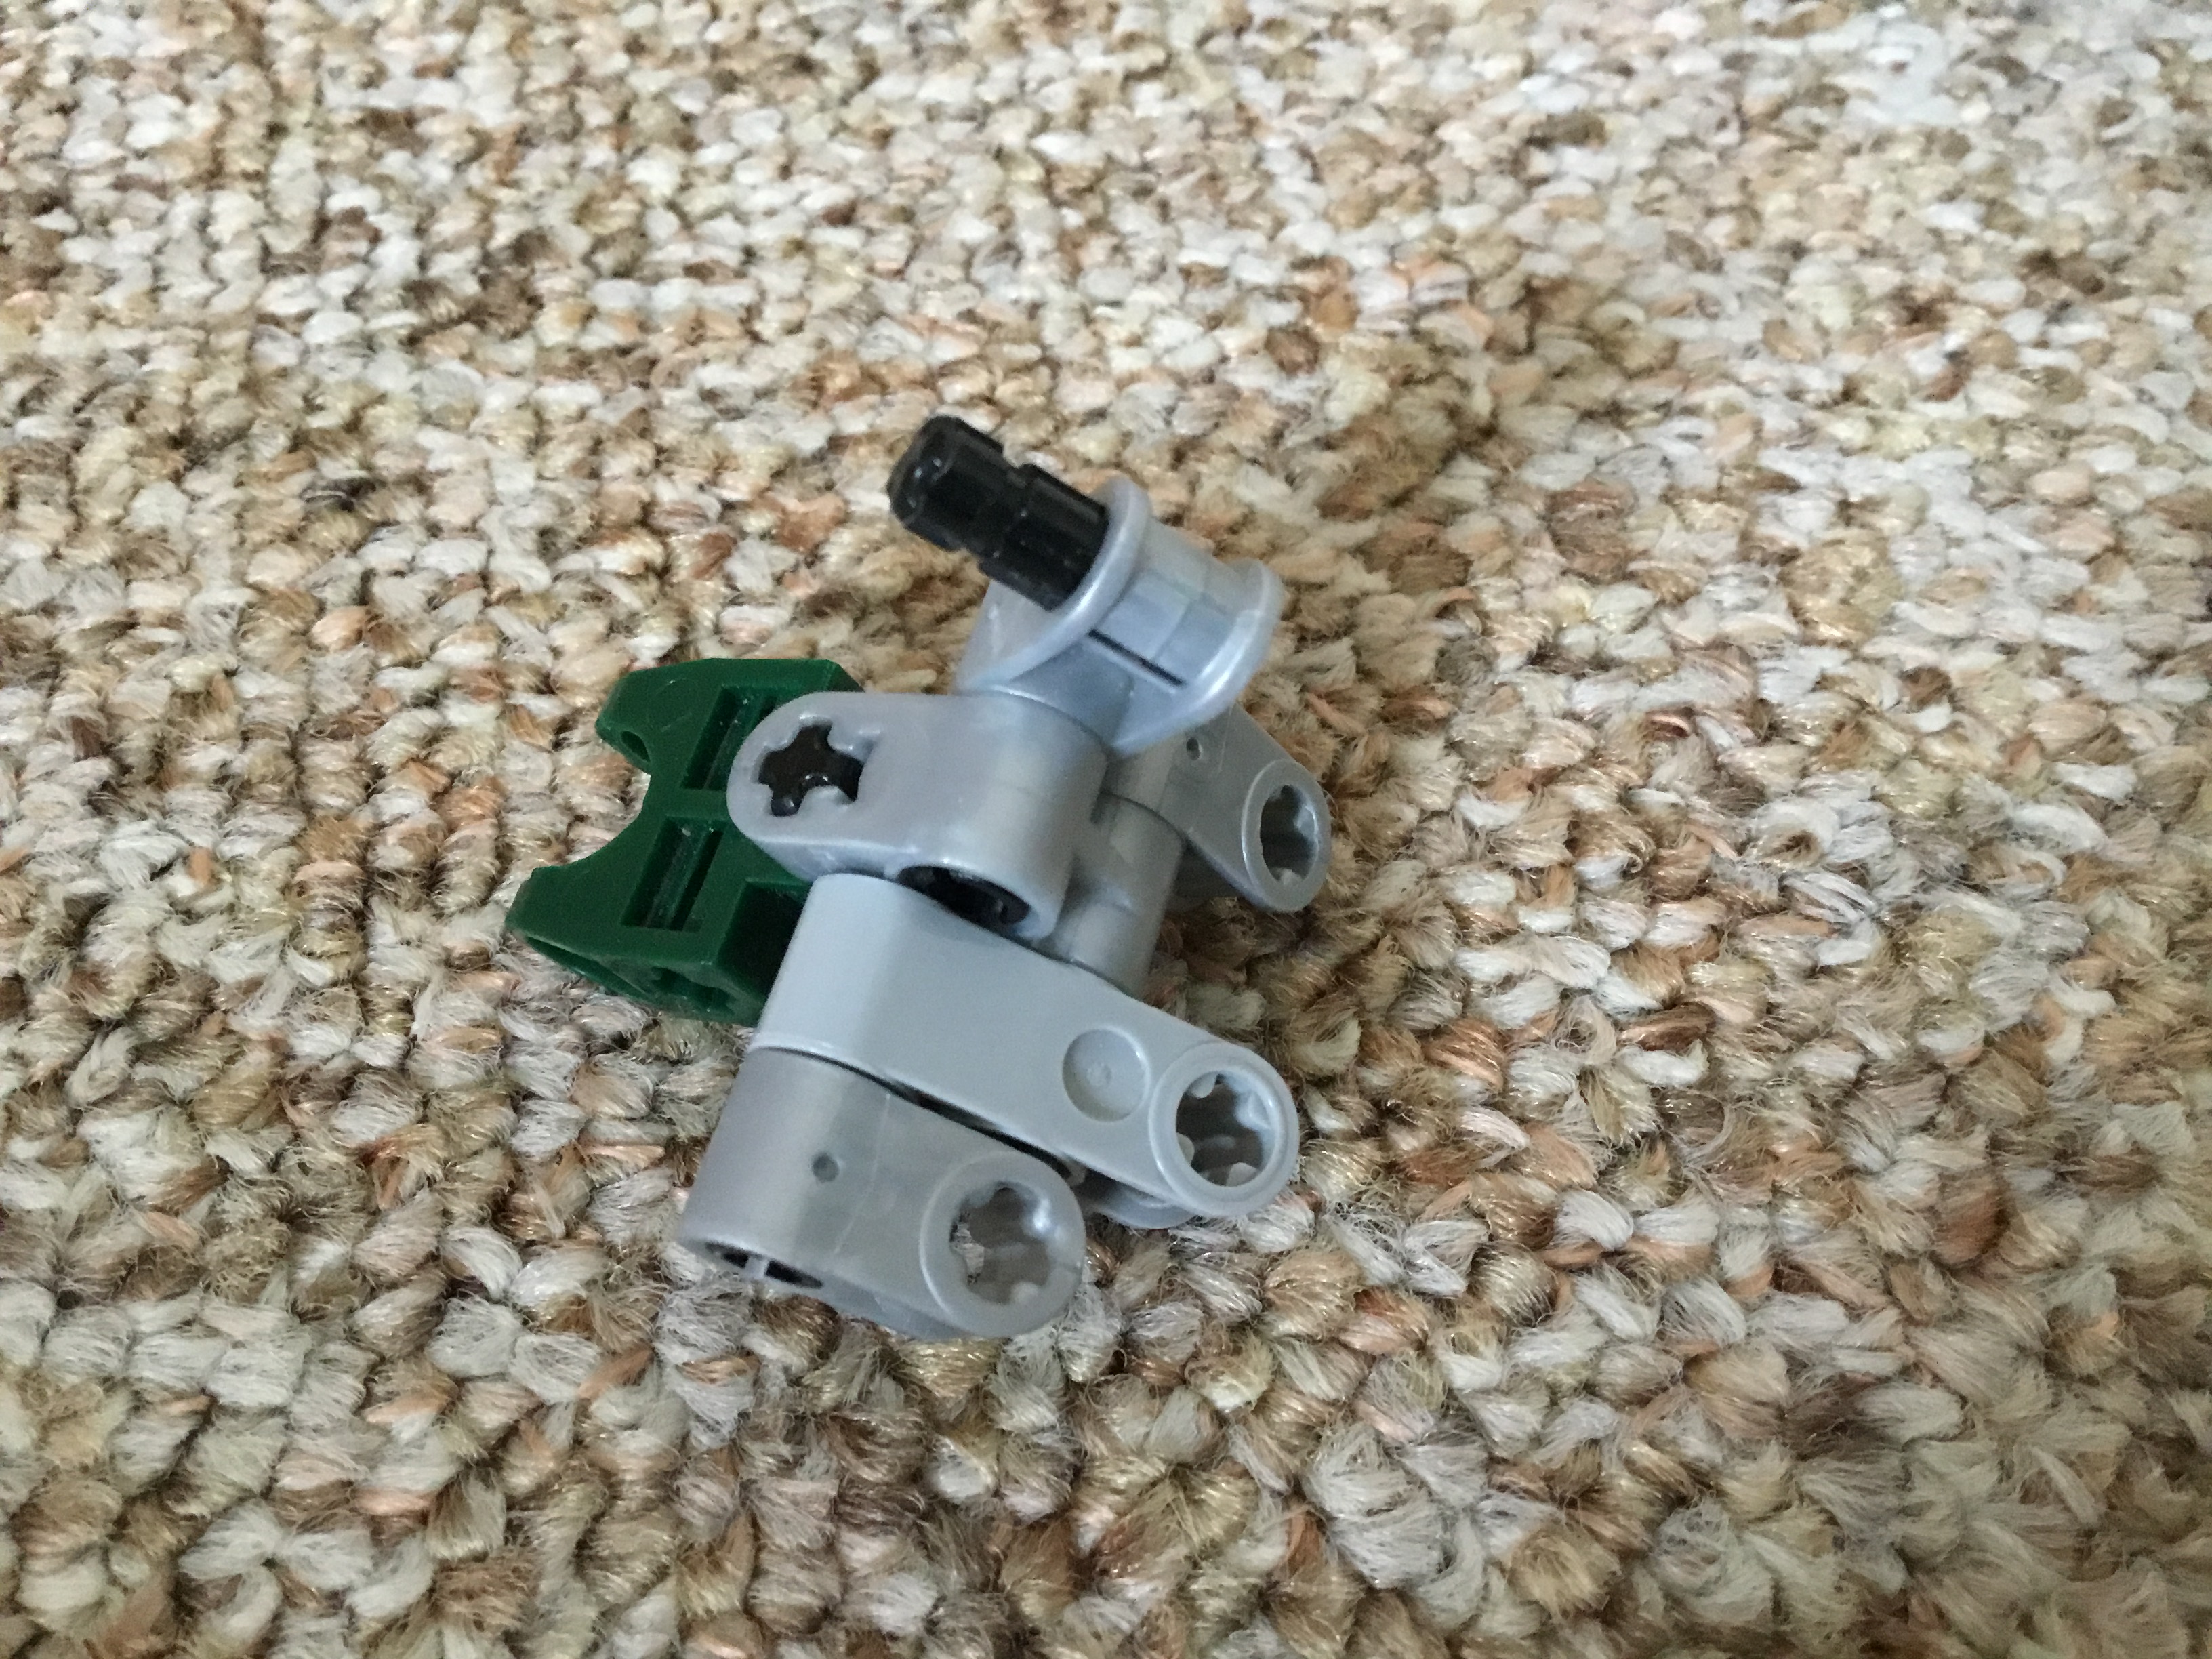
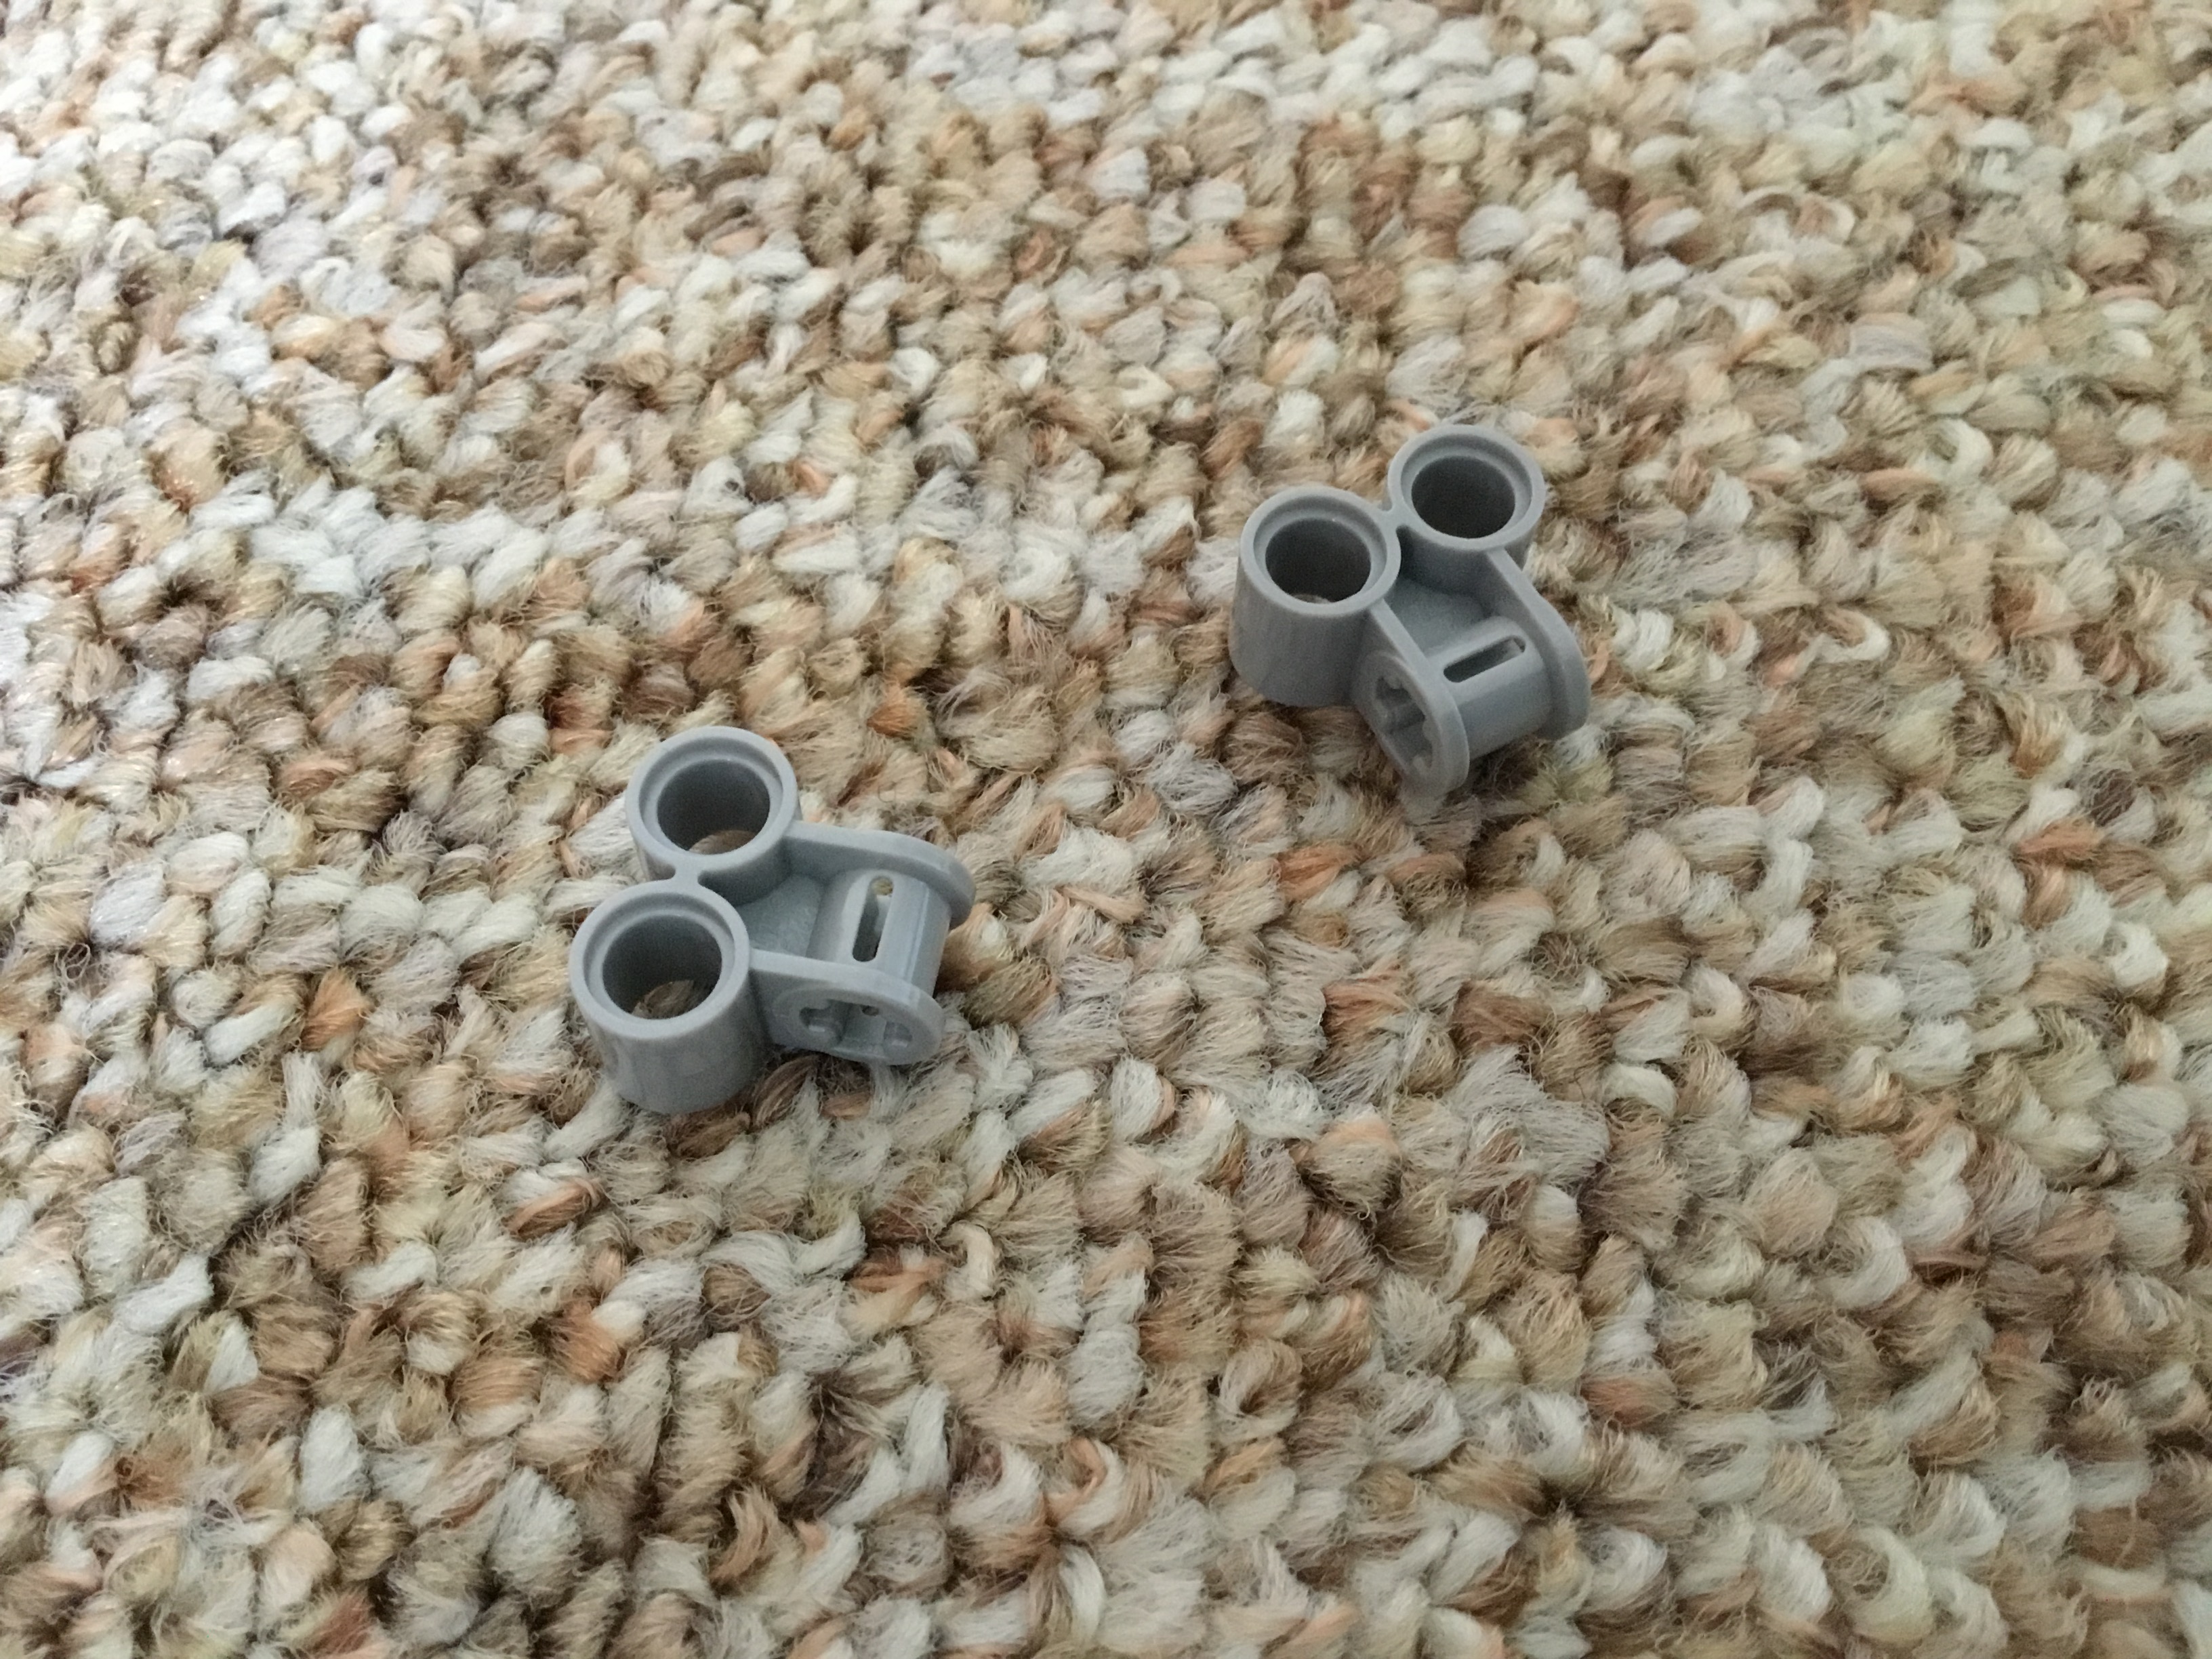
Next, remove one side of the hinge. This should allow you to remove this black connector piece. Save it for later.
Replace the connector with this silver piece and reattach the side of the hinge.
From there you can create this small assembly using the axle in the Mata head.
Attach it to the upper jaw.
Also attach these small black pieces on the inside to fill out the gaps.
You can now reattach the assembly to the lower jaw.
Next, create this assembly.
Another tricky part. Place it inside the mask and push it down just a little bit. You don’t want it to fall out, but don’t push it in so much that you can’t see the eyes.
Reattach the mask. If everything is secure, you can readjust the eyes if you want to.
If done correctly, the head should look like this.
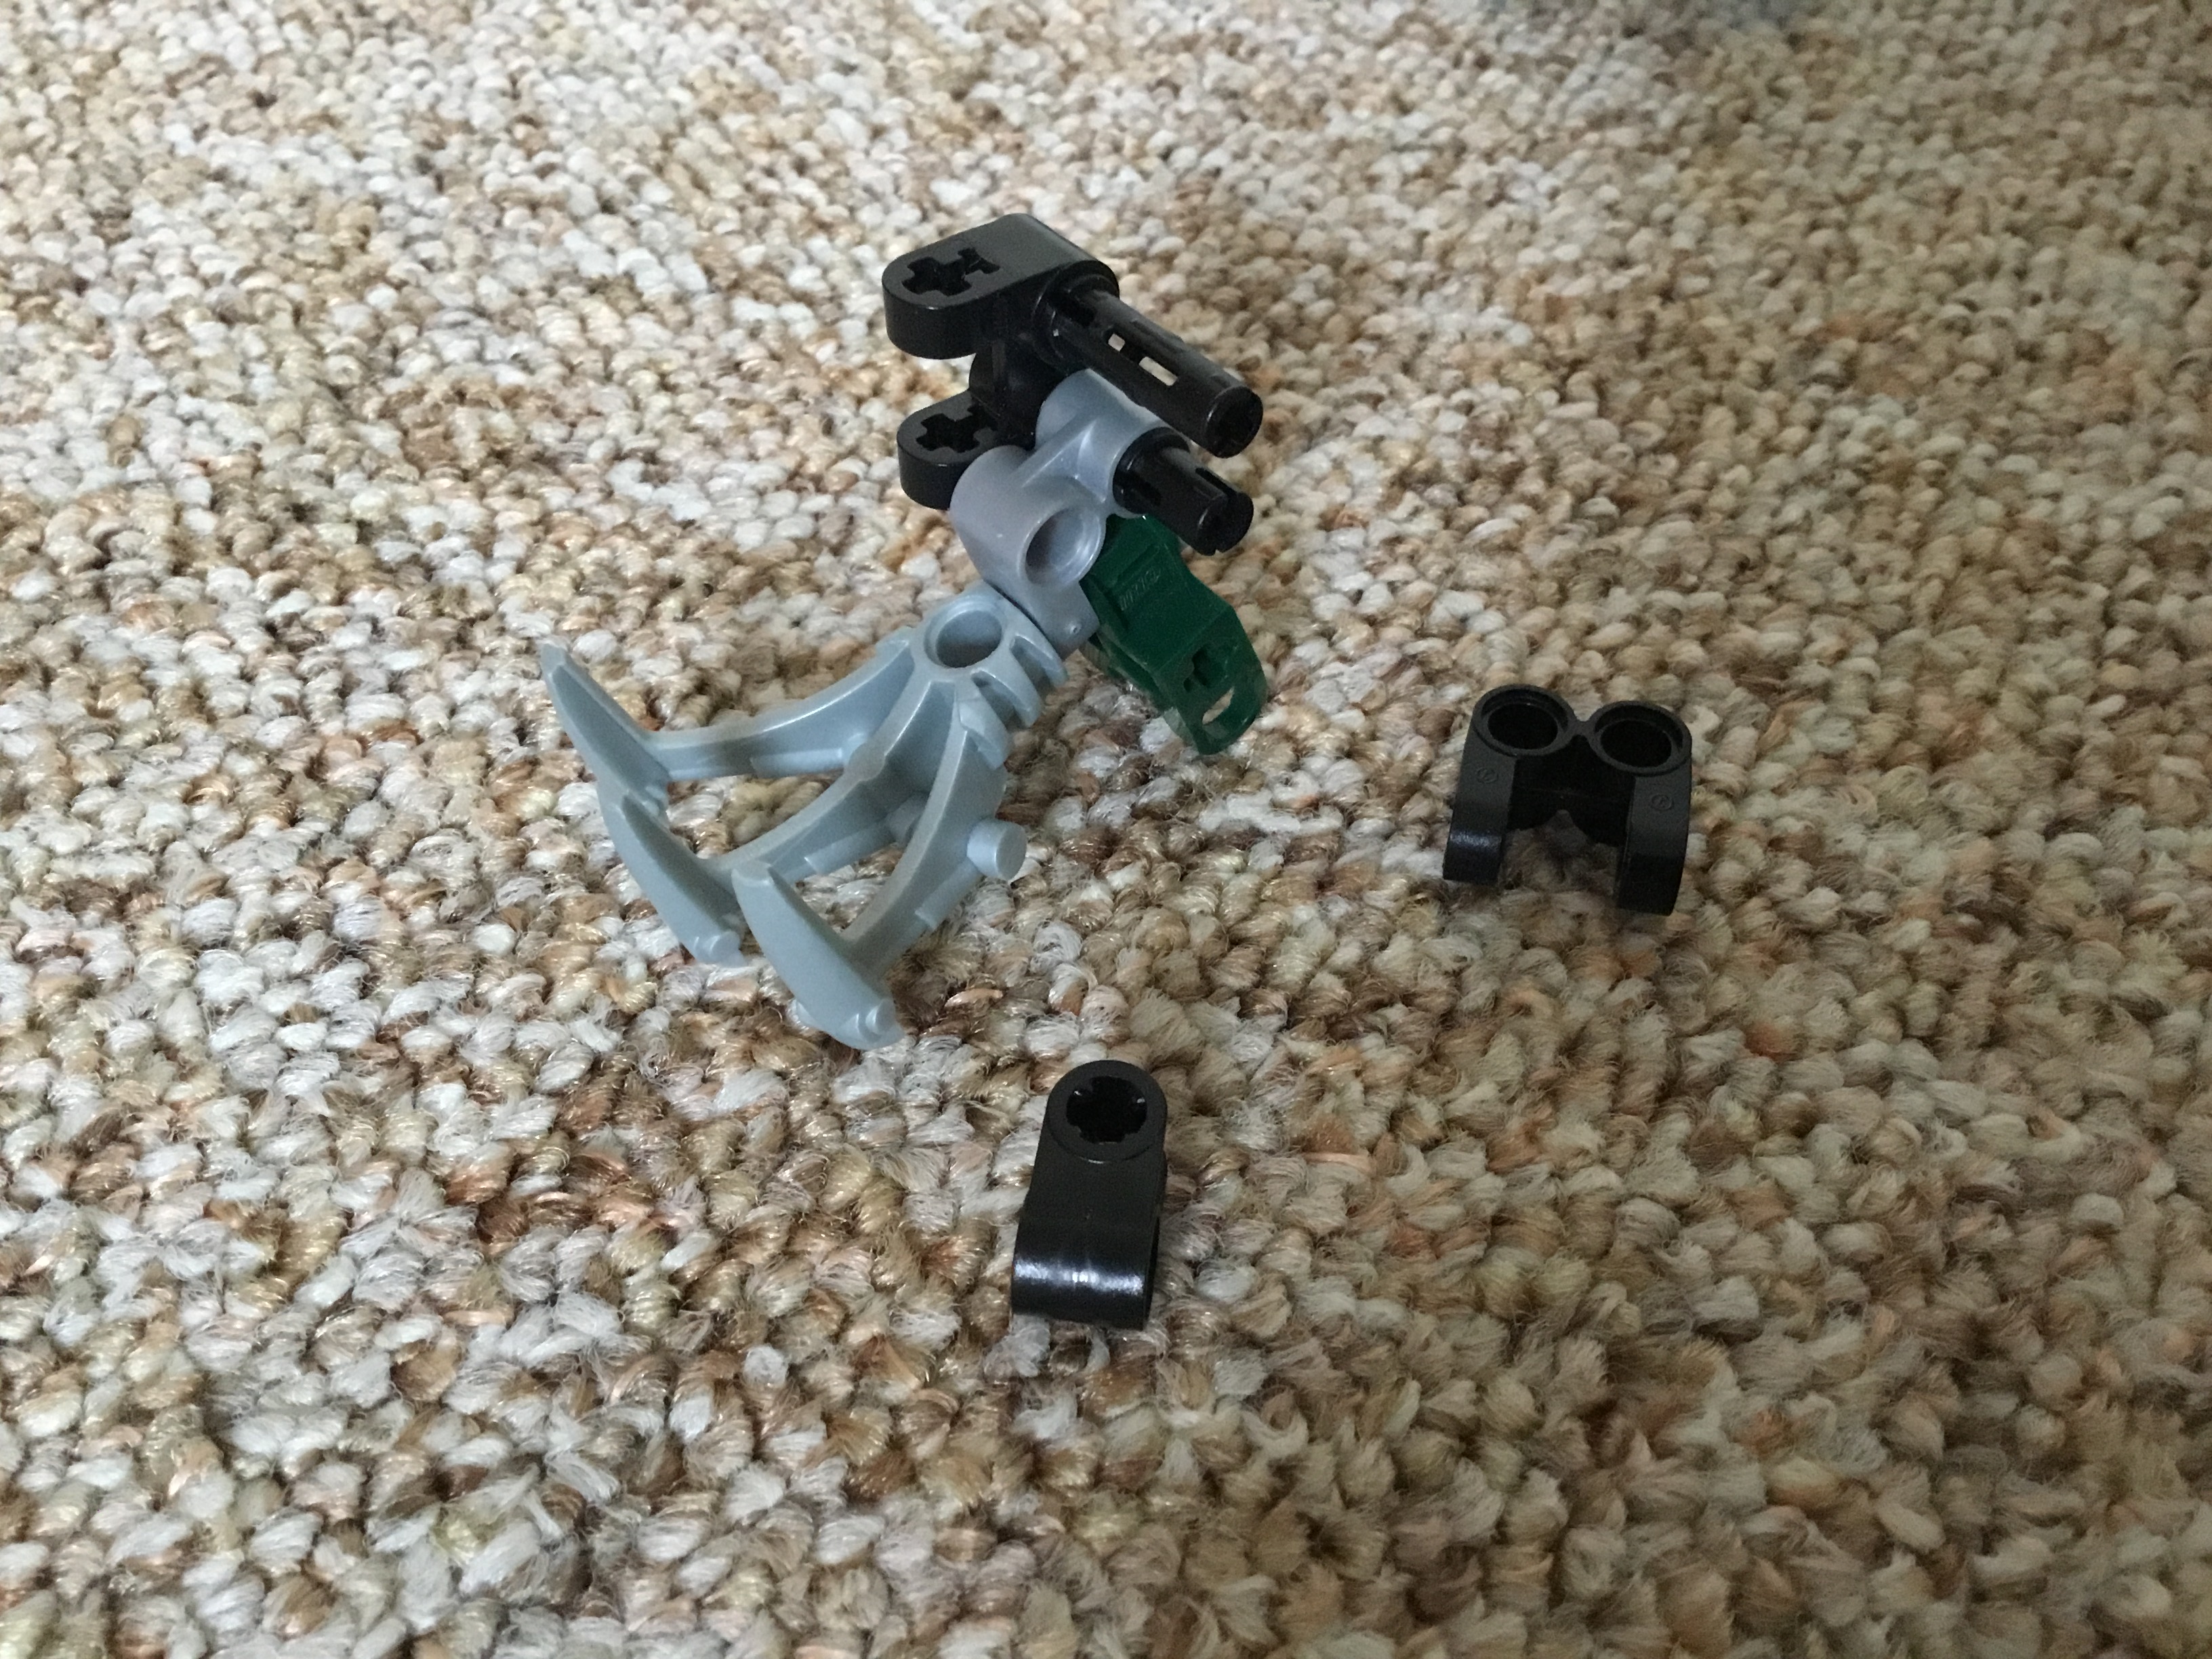
We can now begin the neck. Attach these three parts to a Mata leg.
Upon them, place two Slizer feet to bulk it up. You can now attach it to the head.
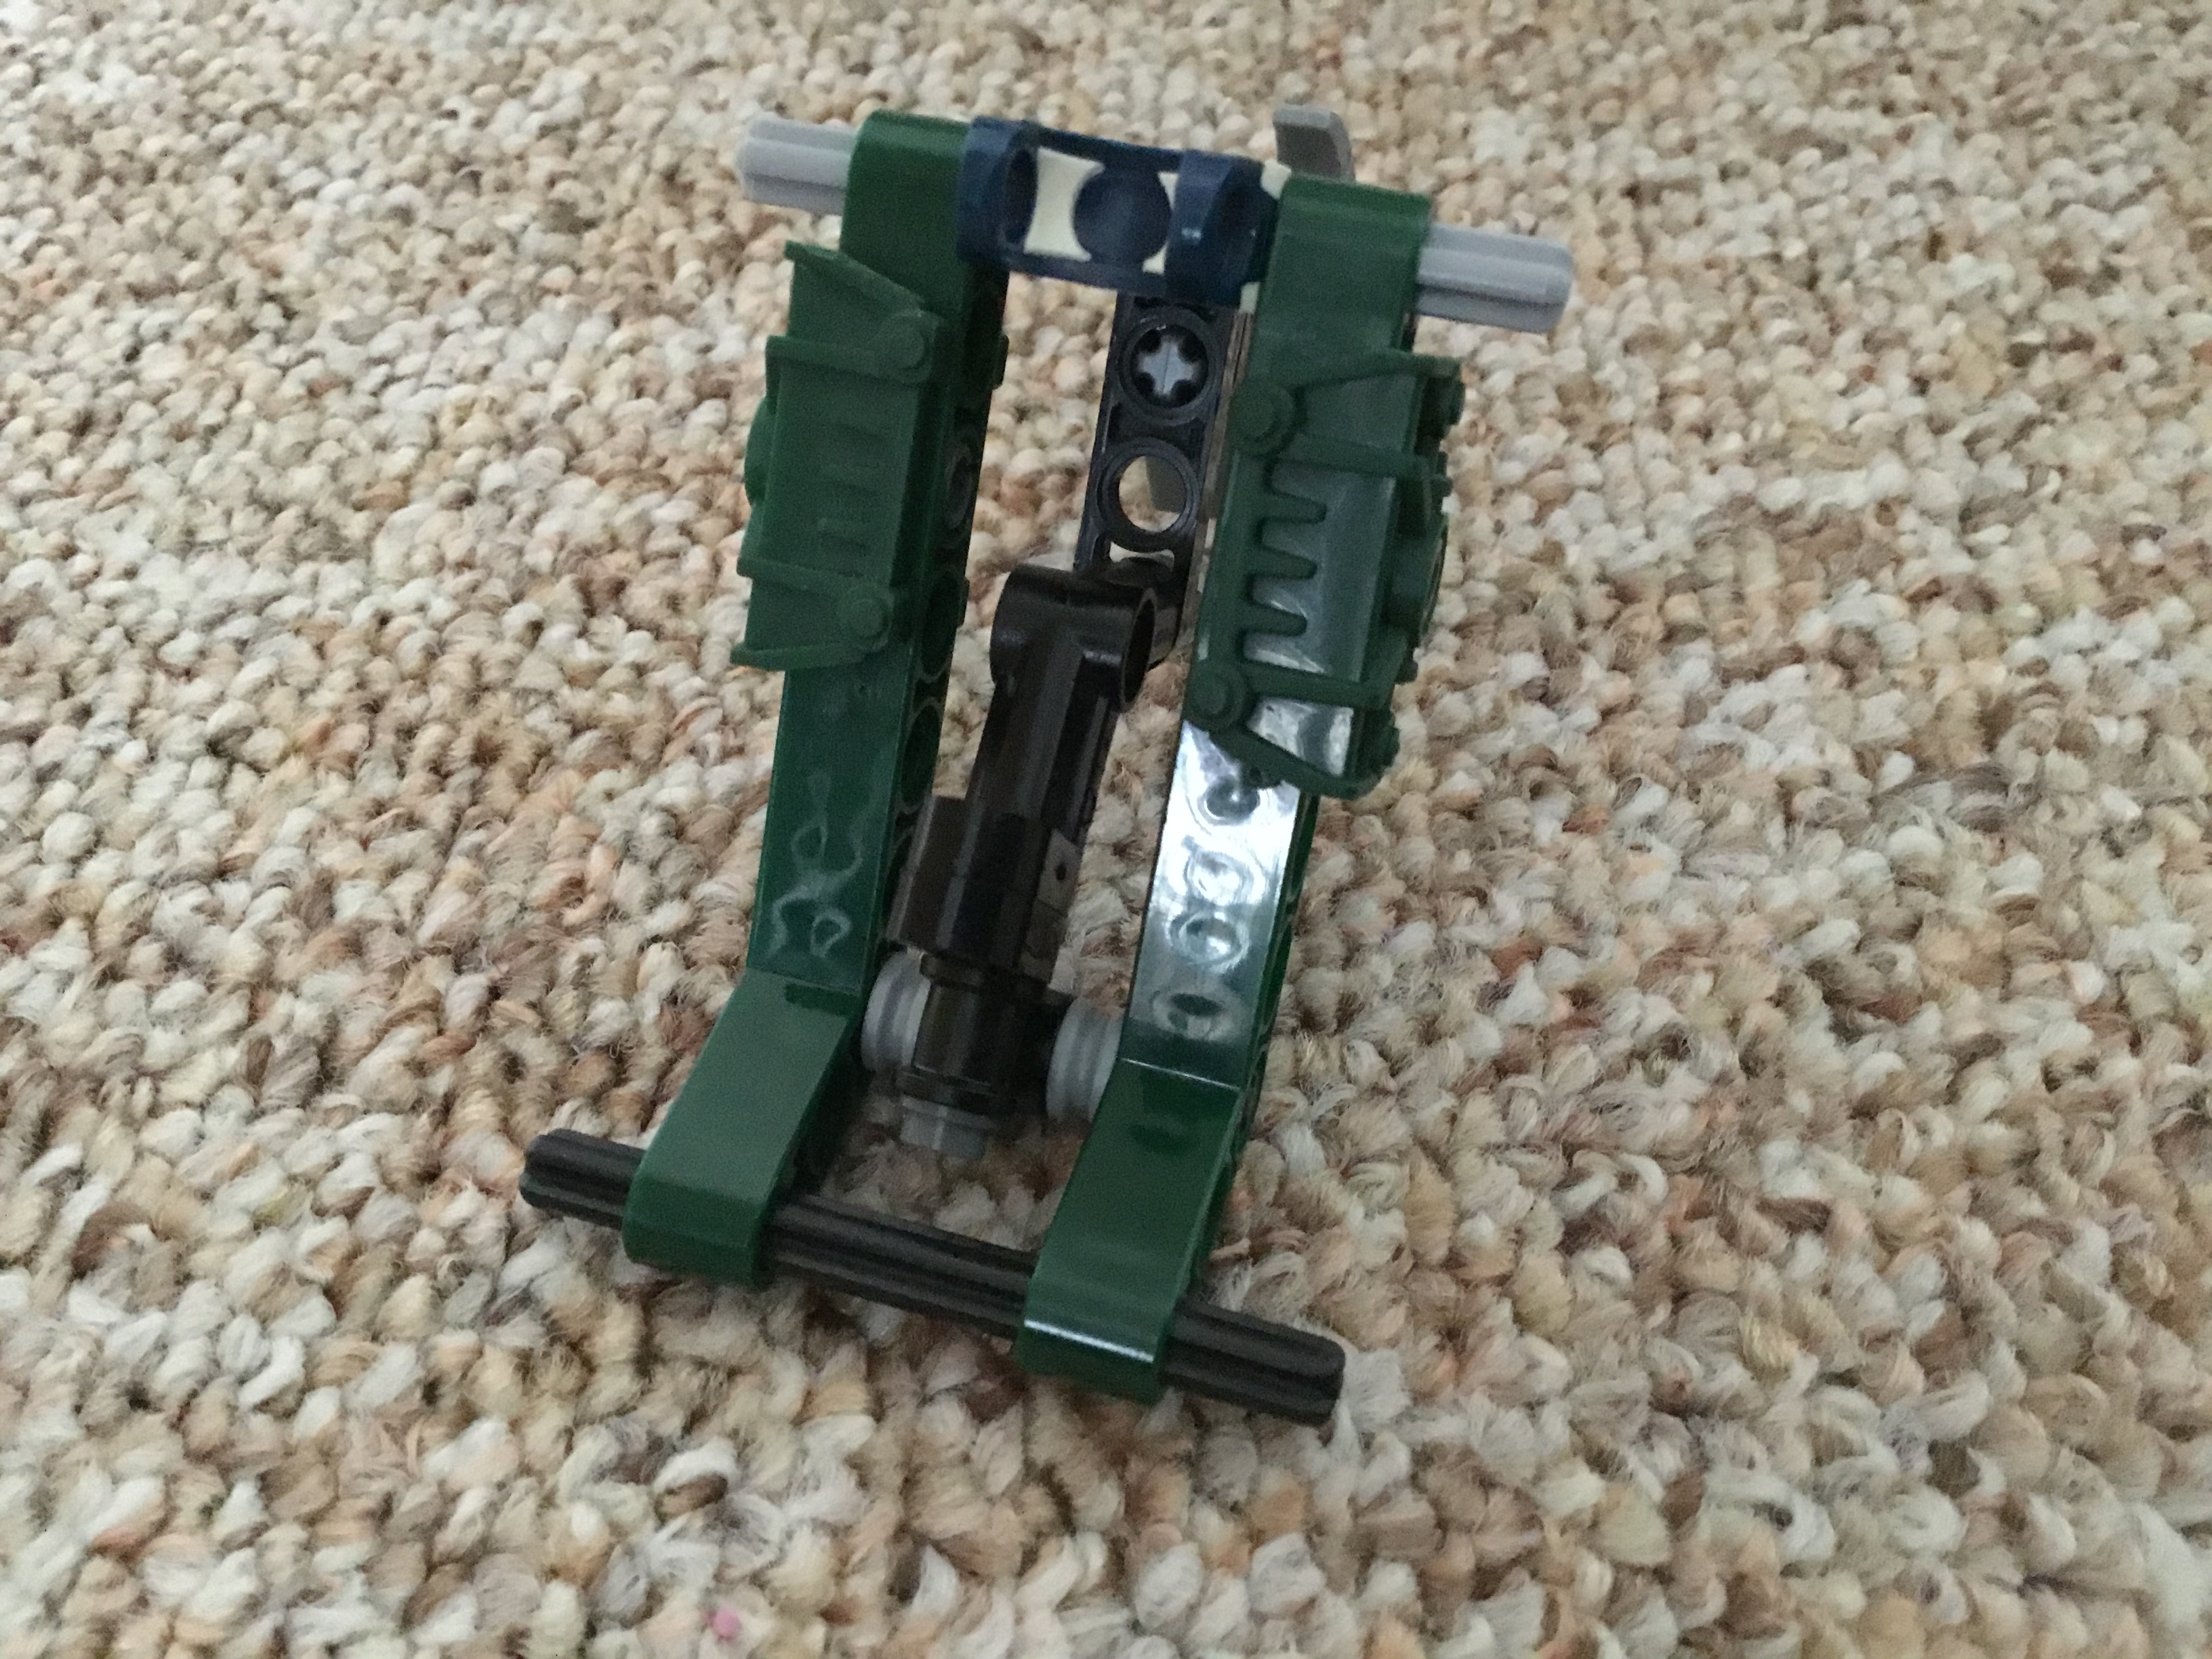
Now make this assembly.
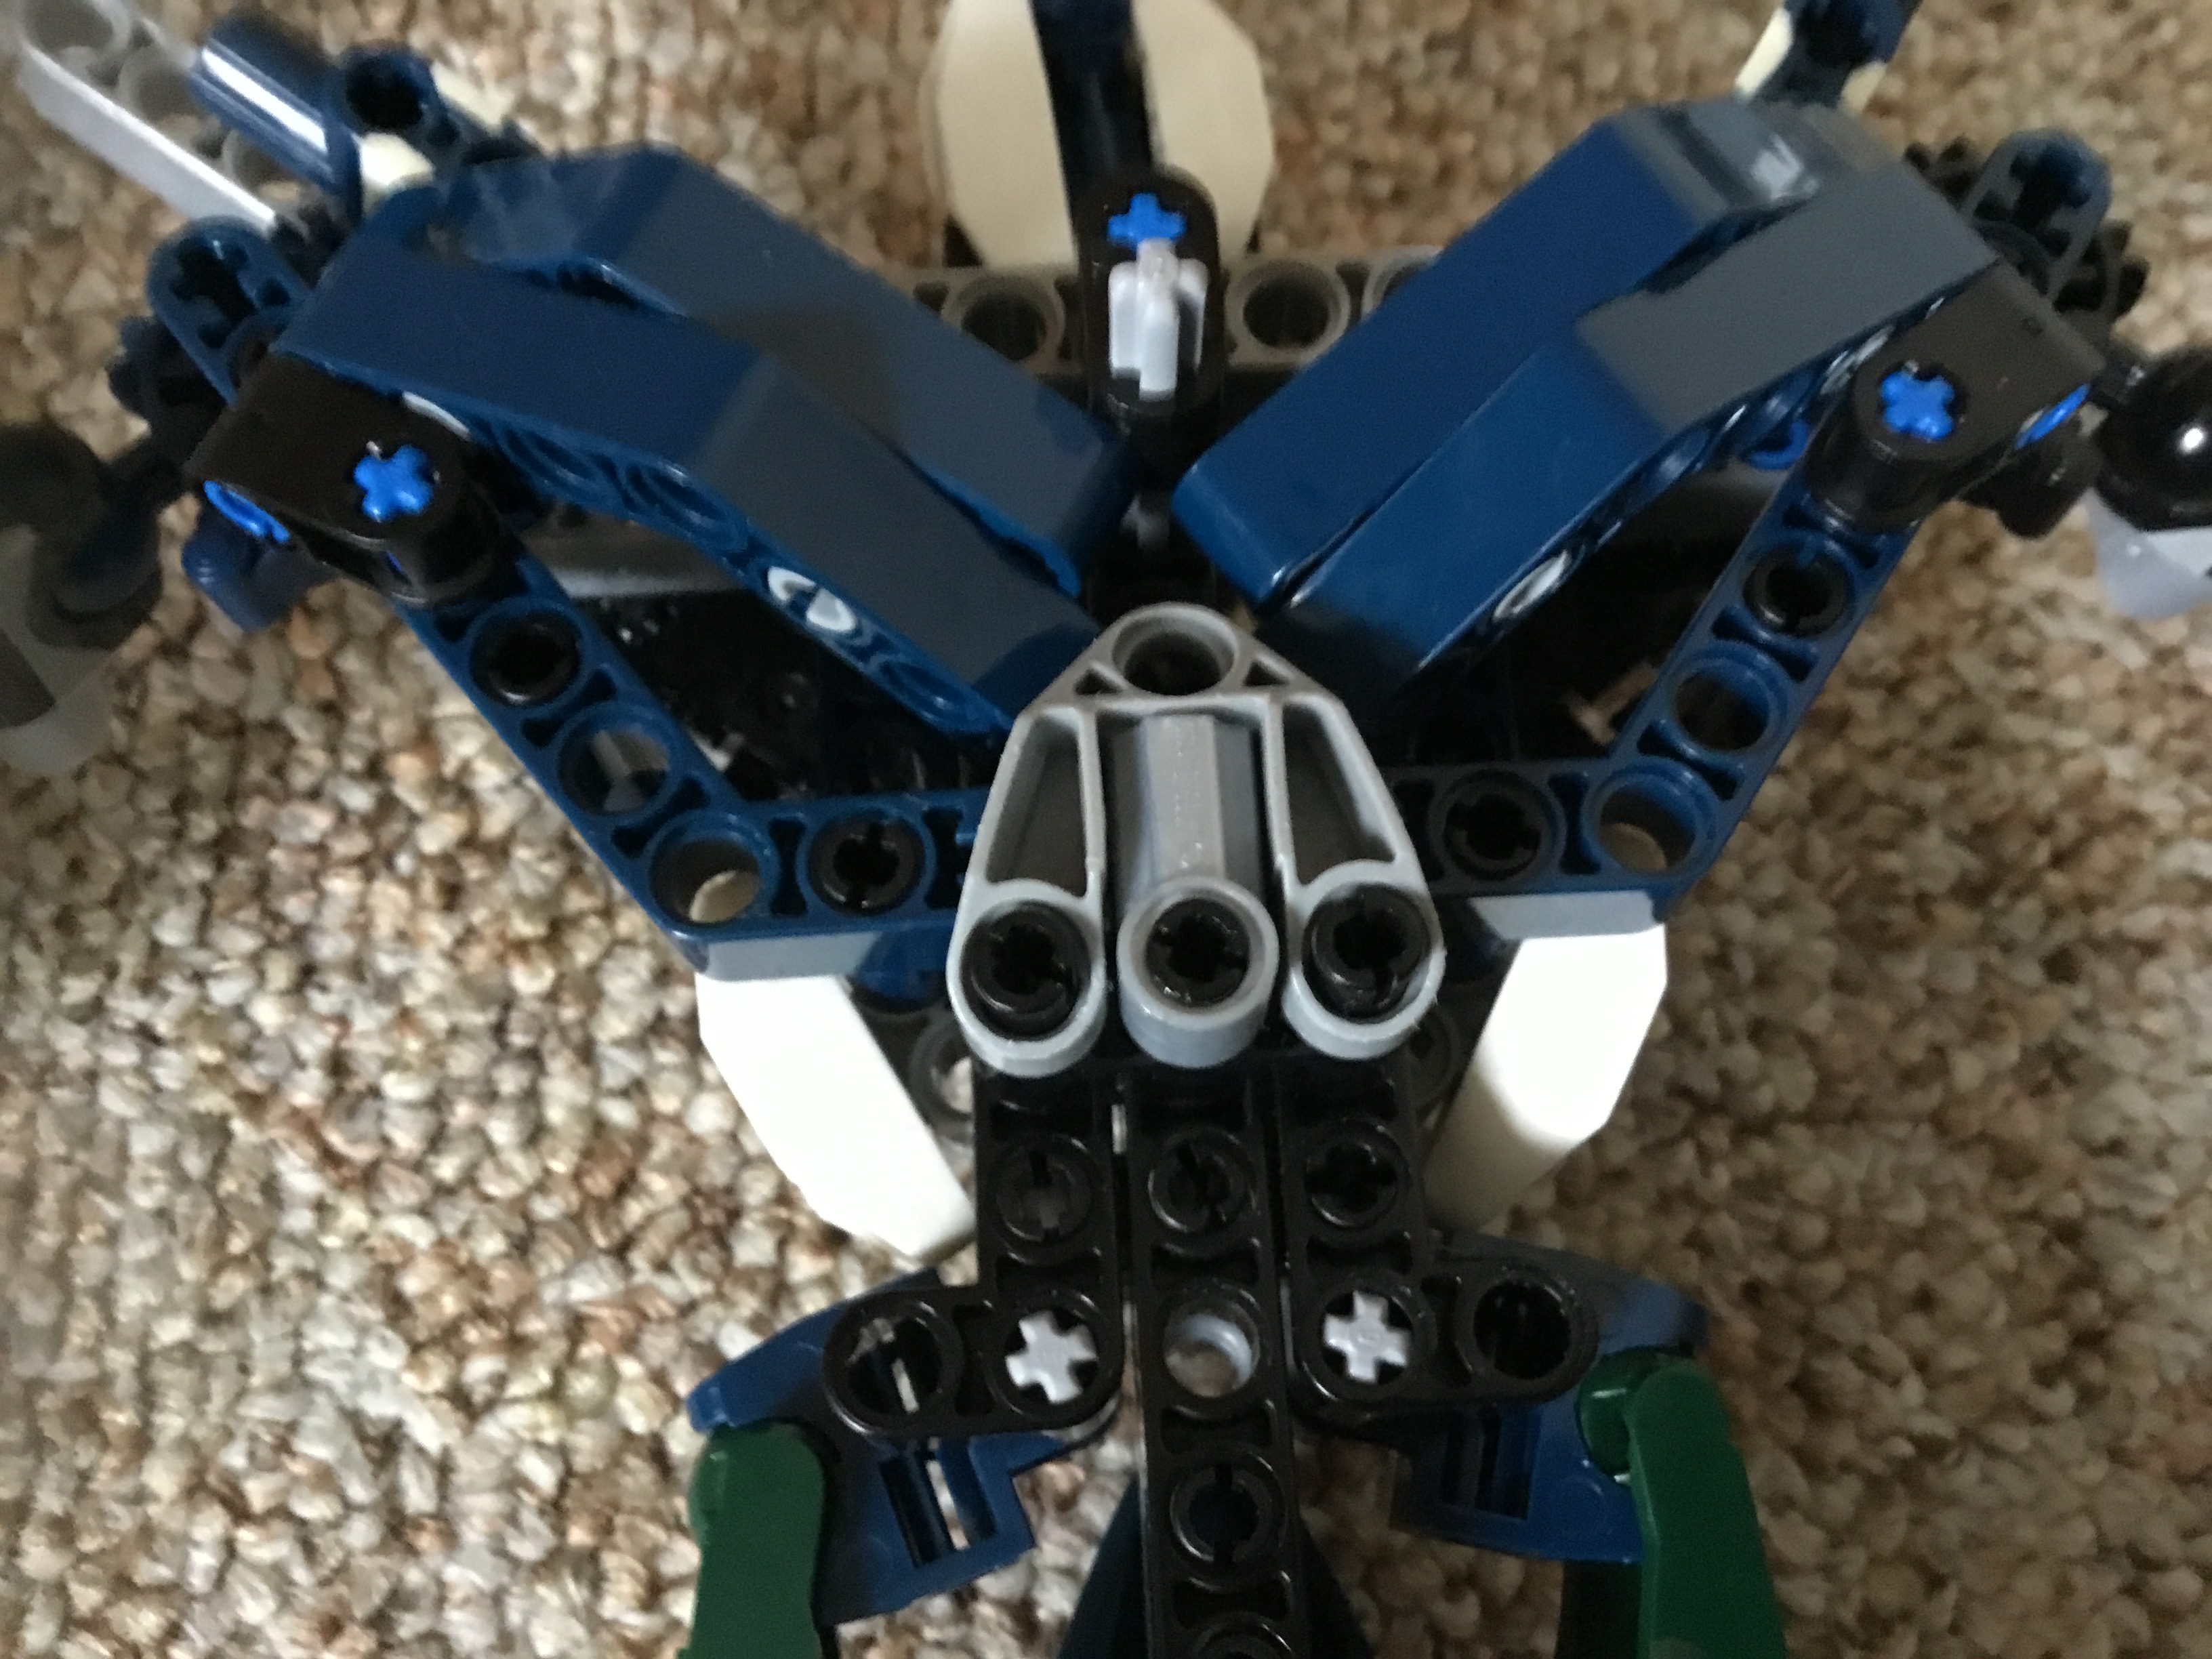
Turn the model back on his back and insert the assembly through this area above the chest.
The result looks like this.
On the opposite side, attach these three pieces.
You can then attach a socket from the old neck and snap in the new neck.
Finally, pull off this assembly from directly below the chest. Remove the black Slizer foot from it…

…and attach it to the back of the head.
V: Front
In place of the black foot just removed, attach one of they grey ones from Nivawk.
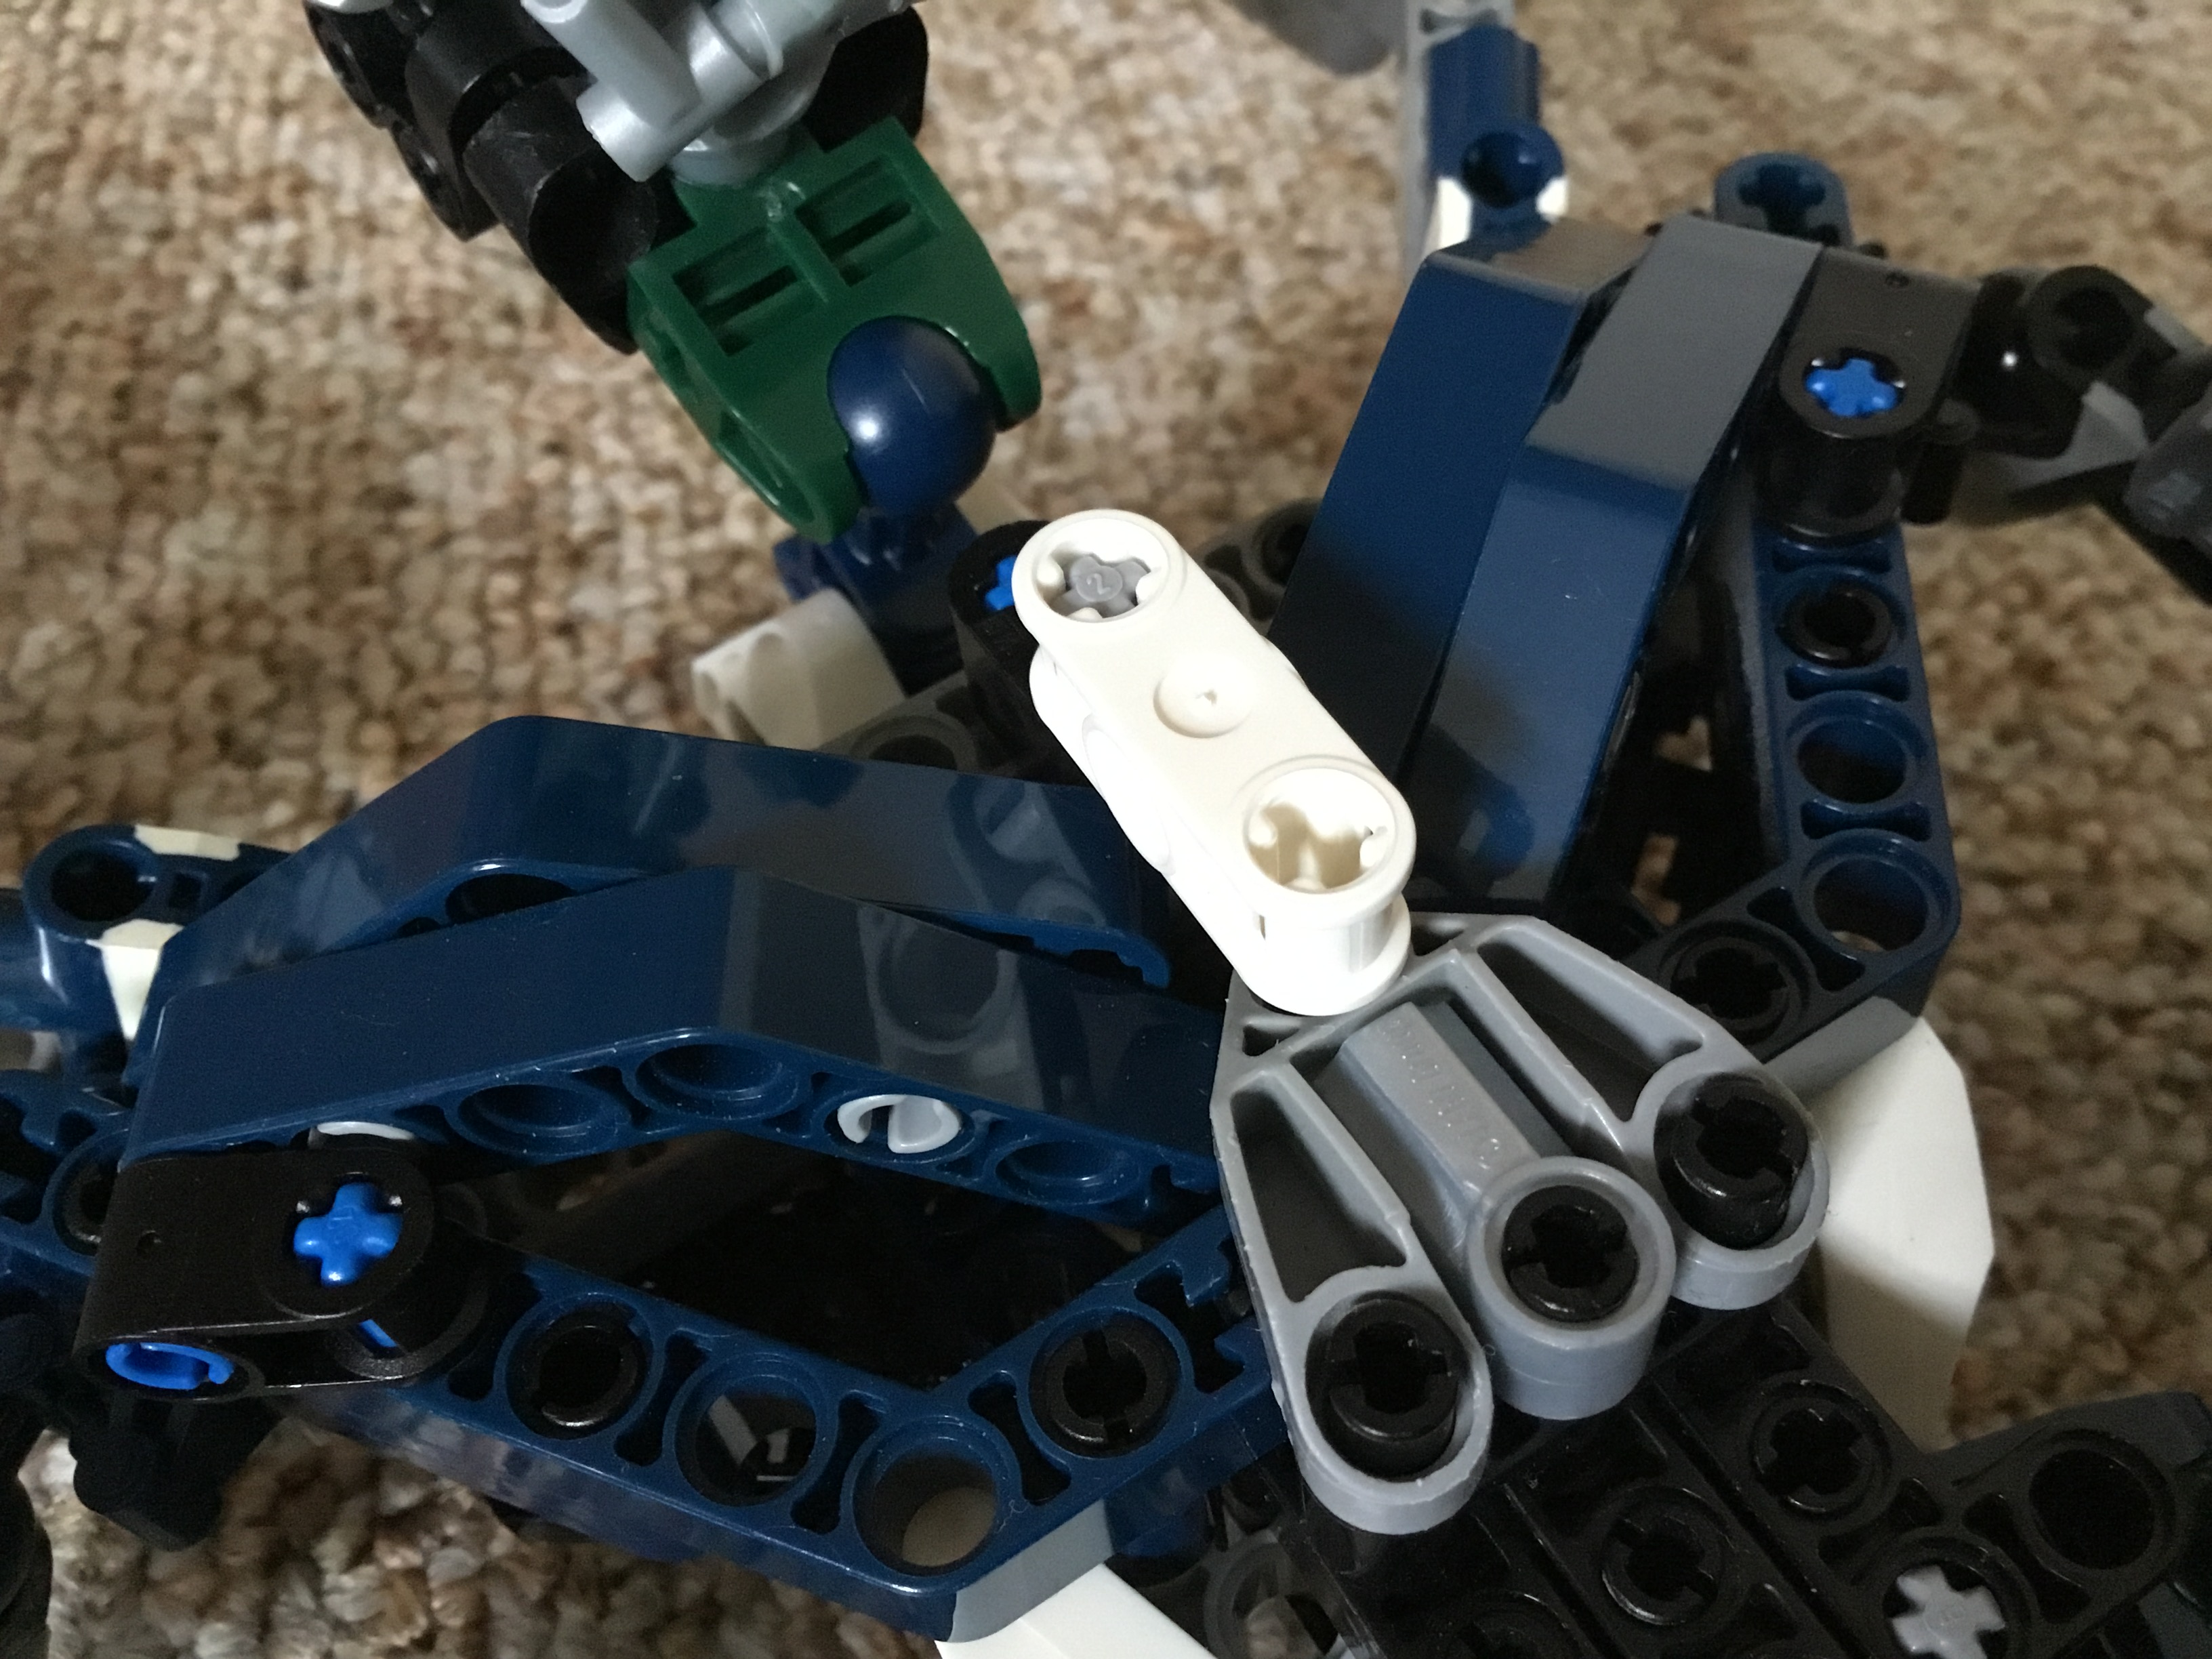
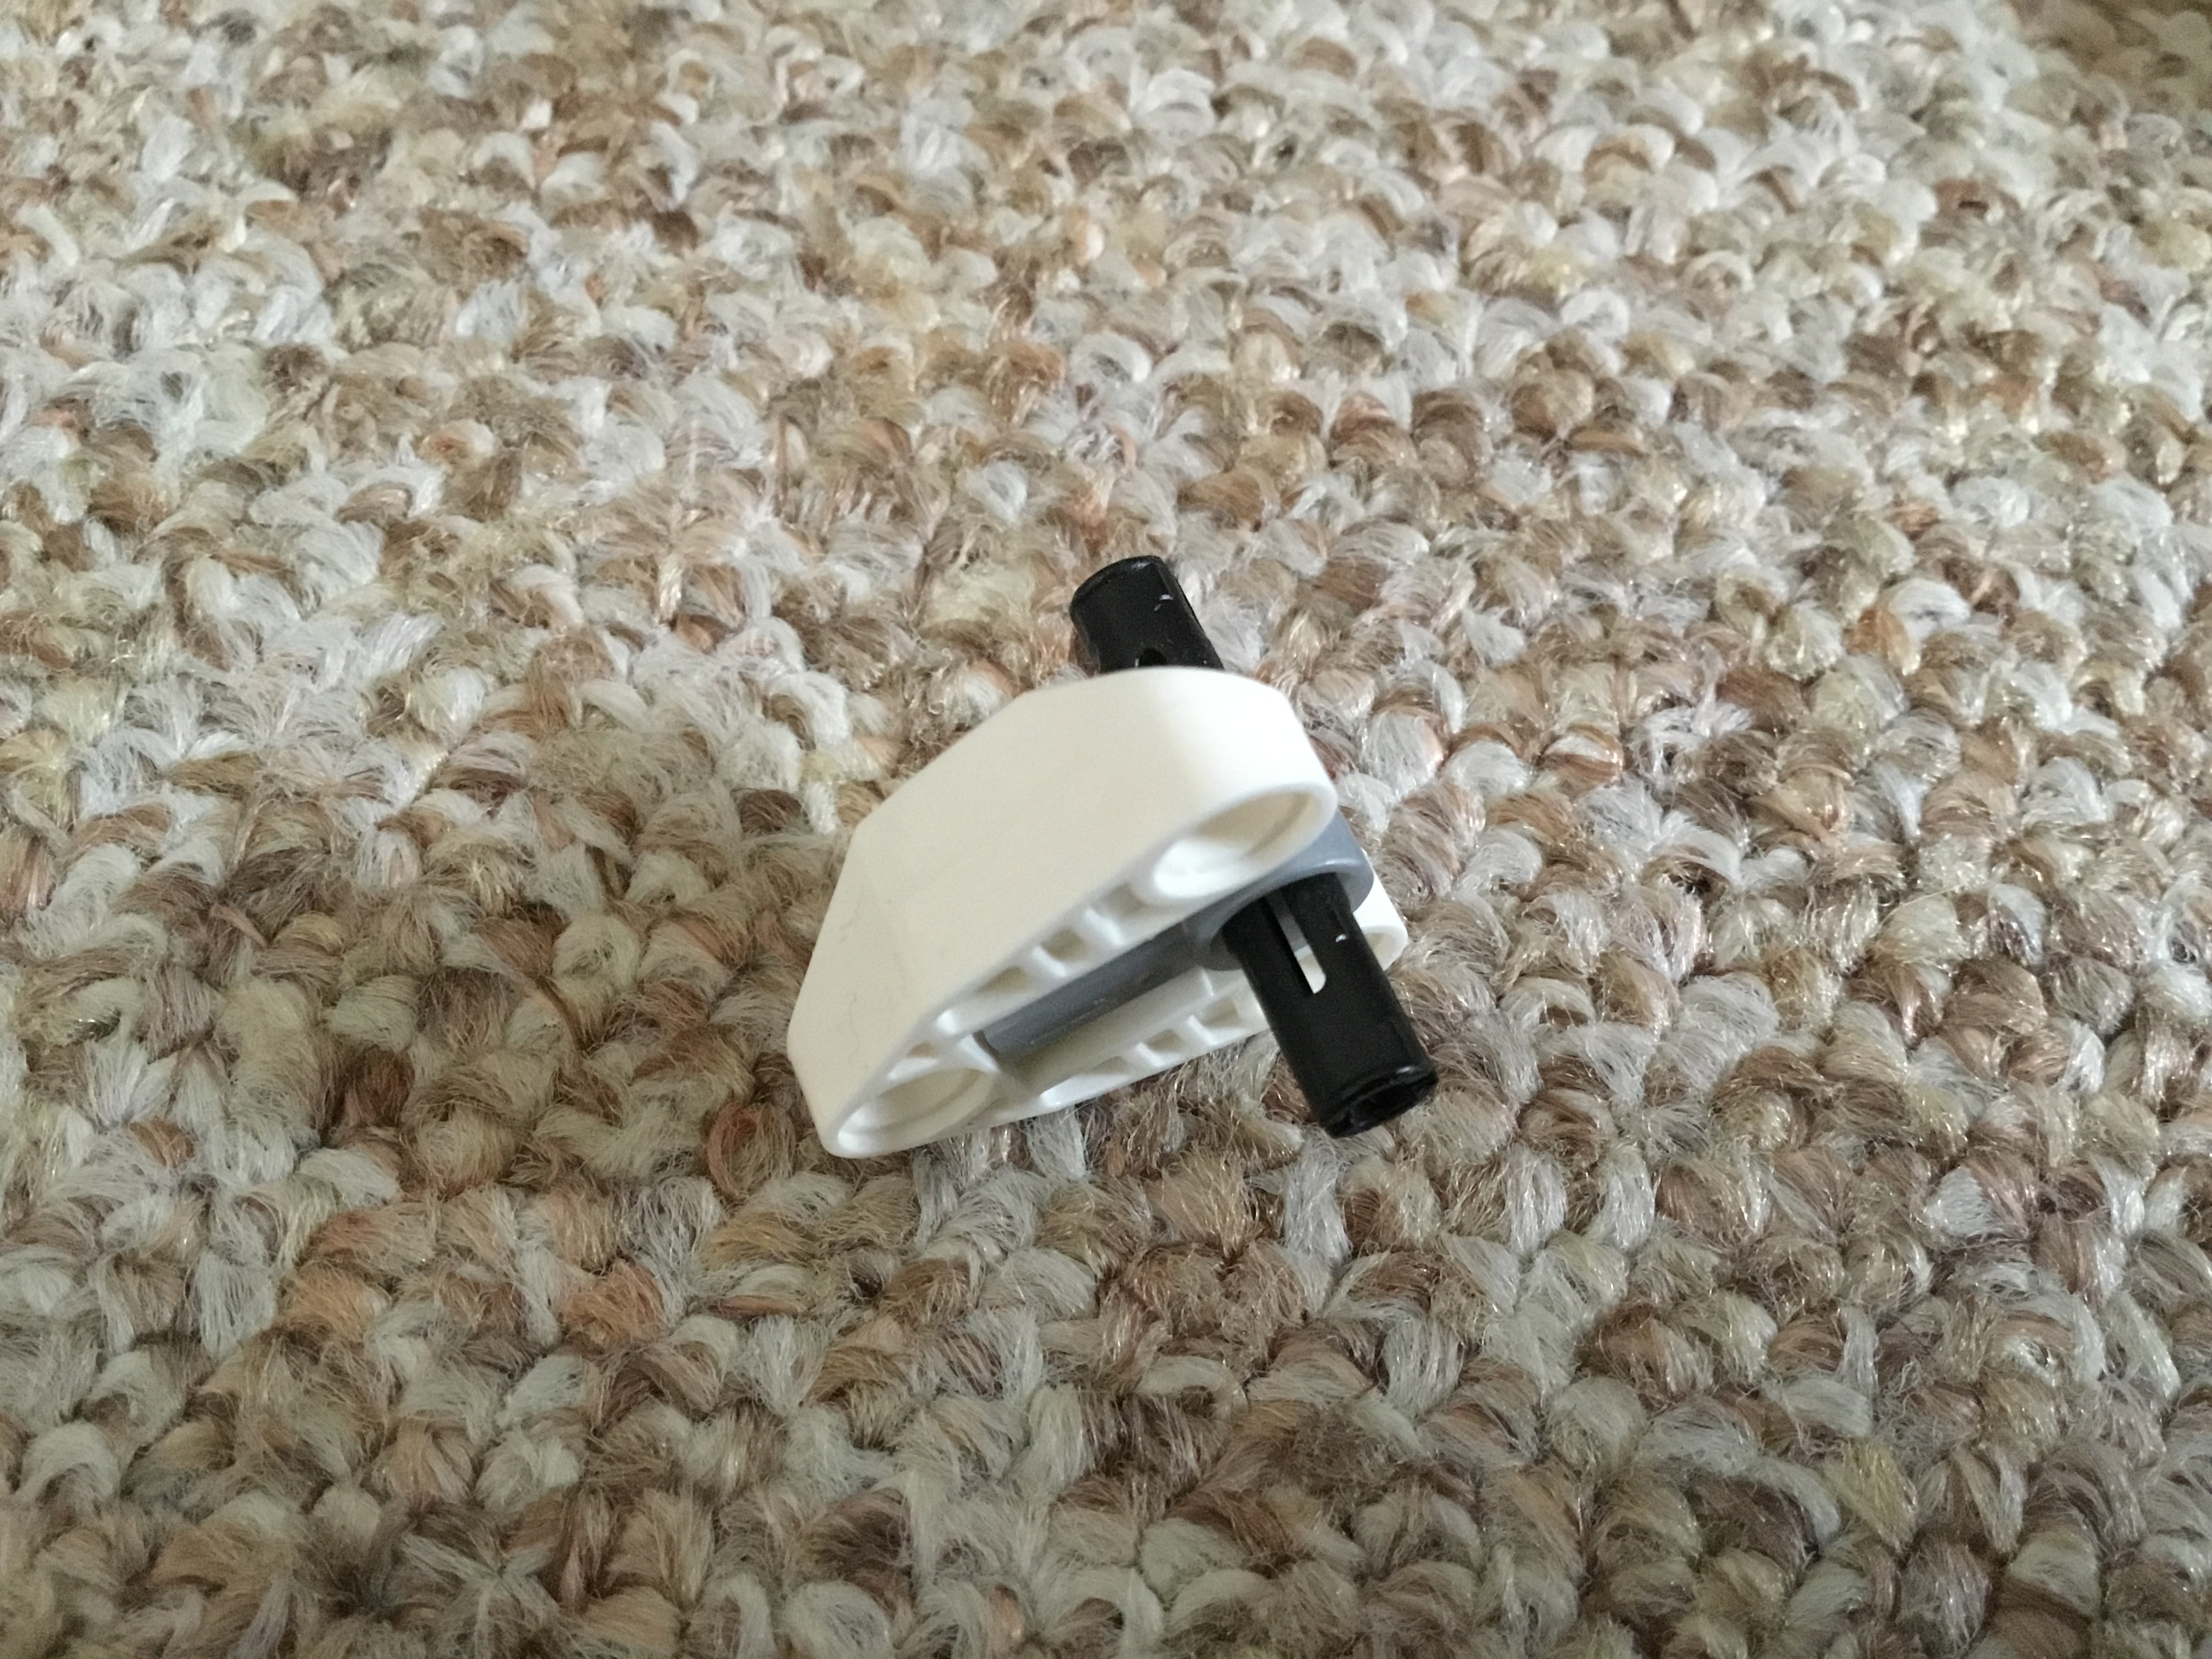
Next, attach this white connector to the axle above the chest.
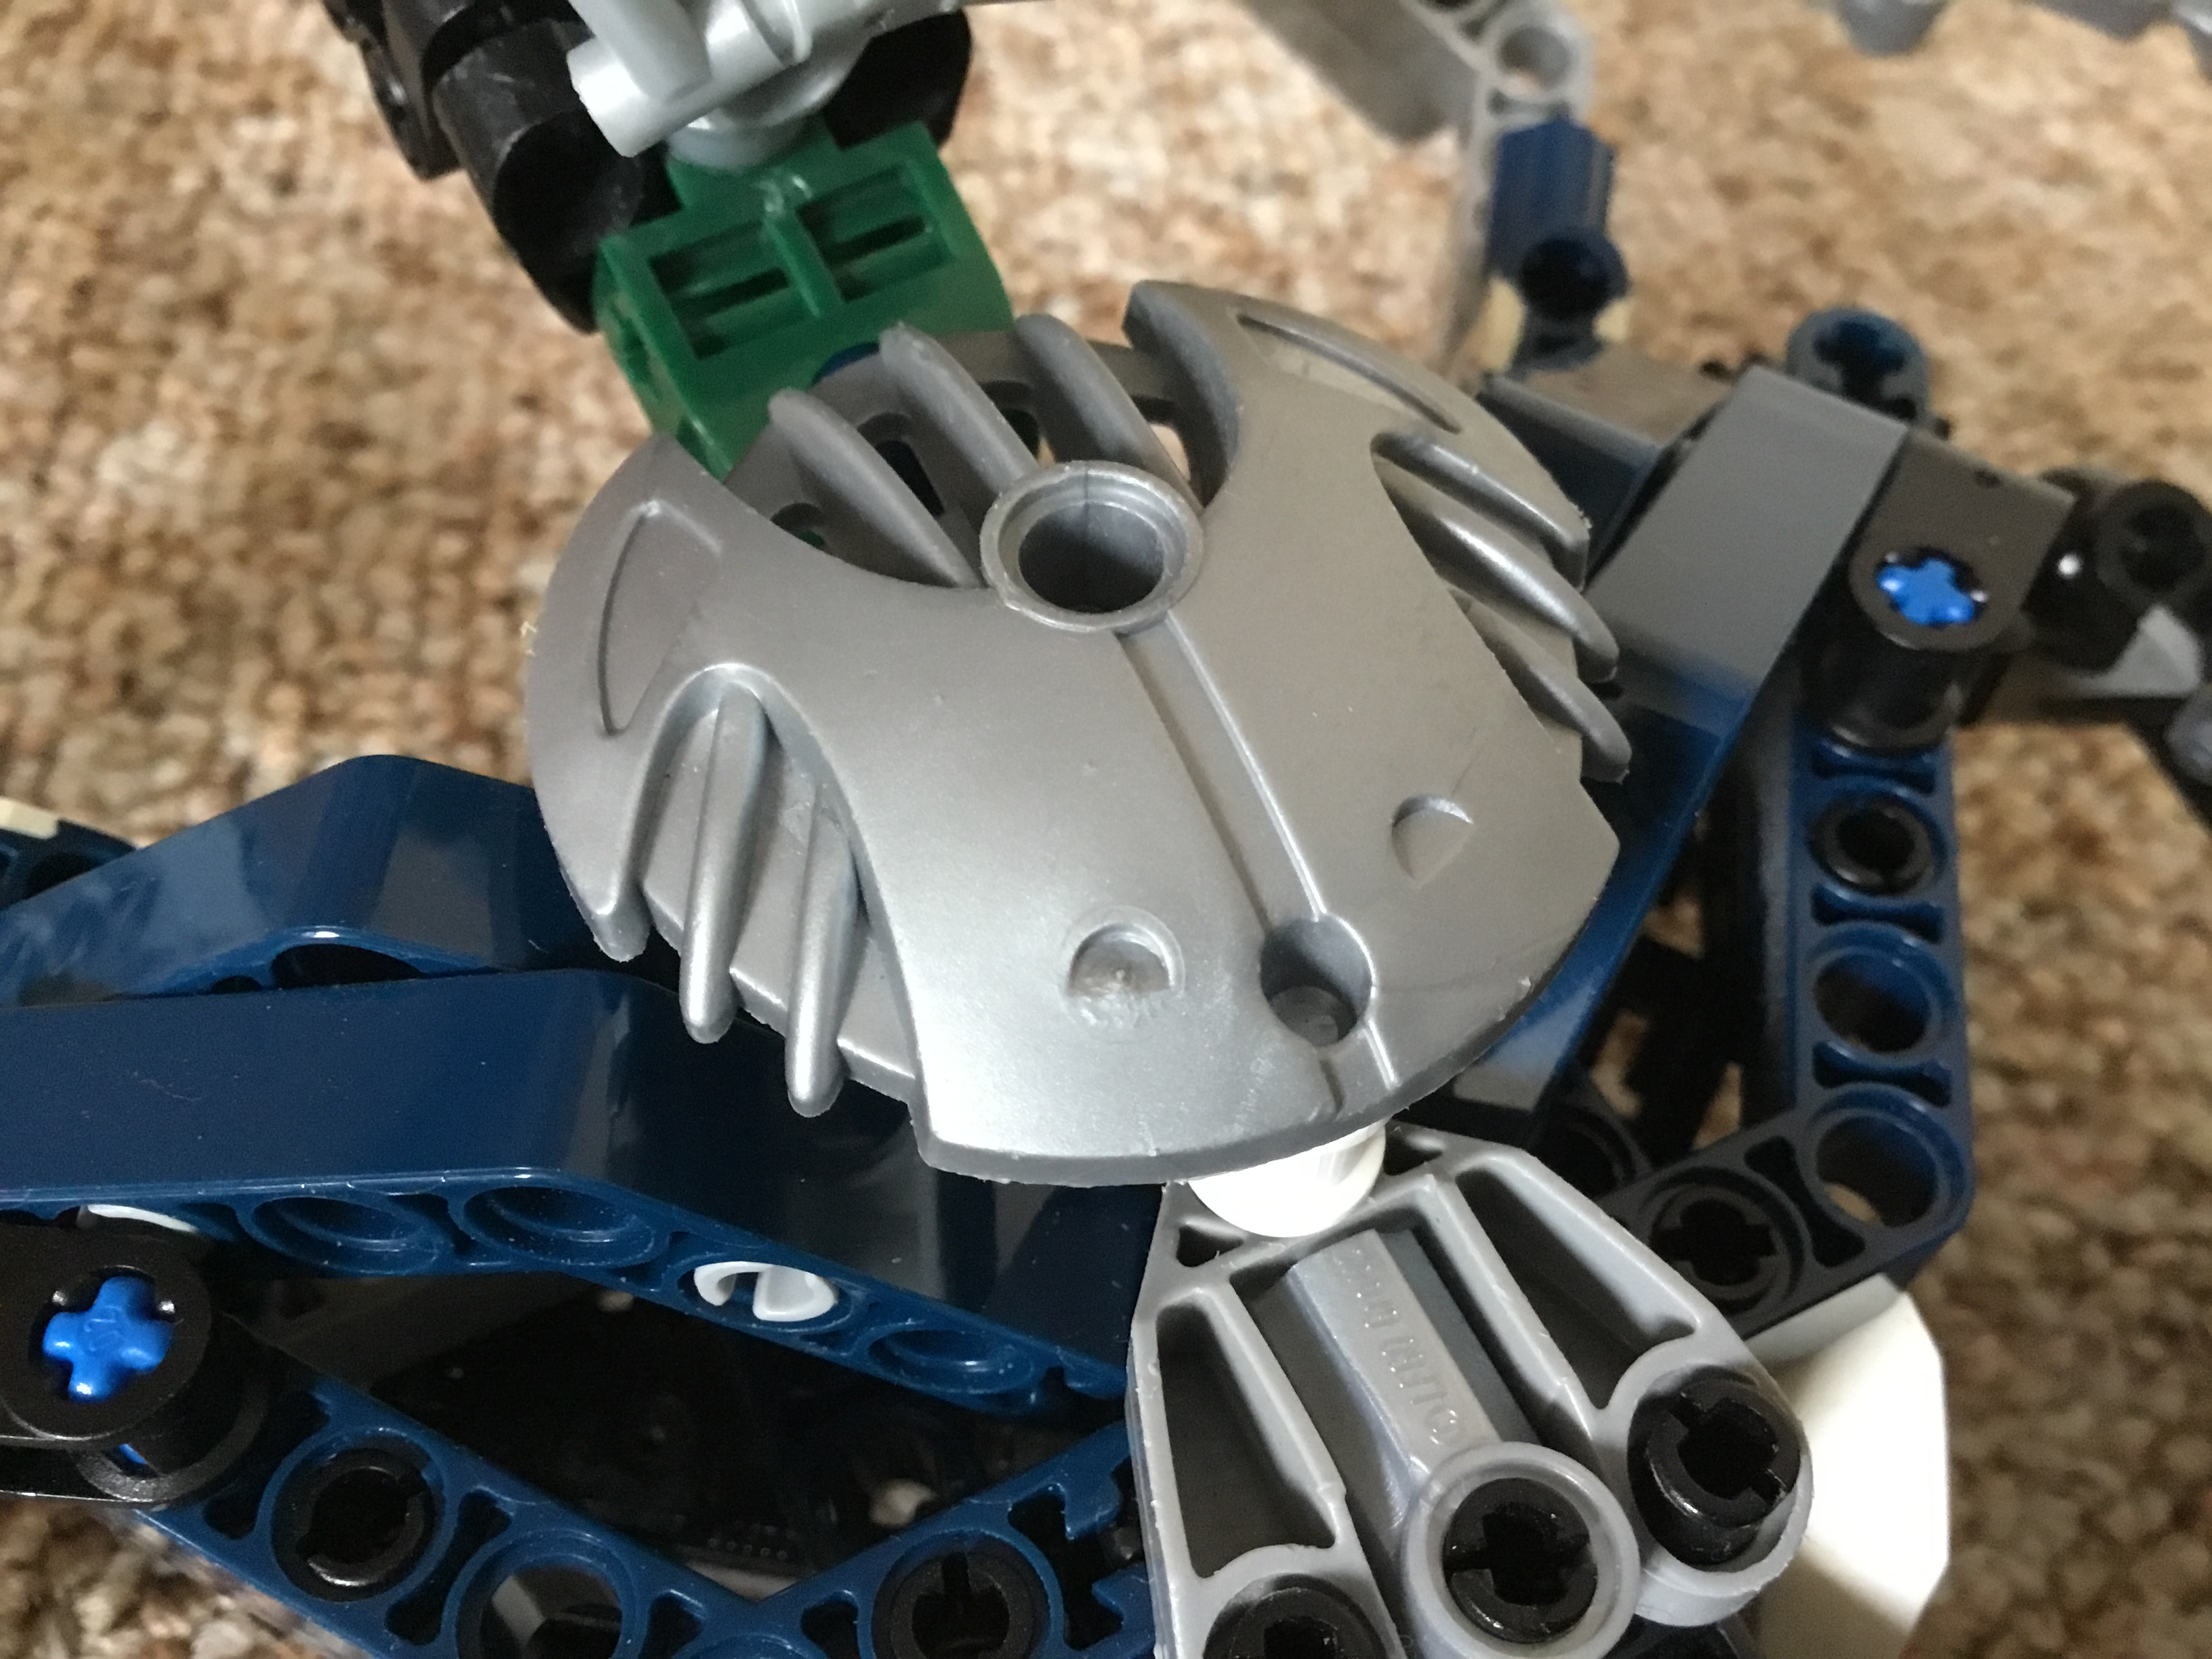
Then, attach a Gahlok-Kal shield to it.
Afterwards, build this assembly.
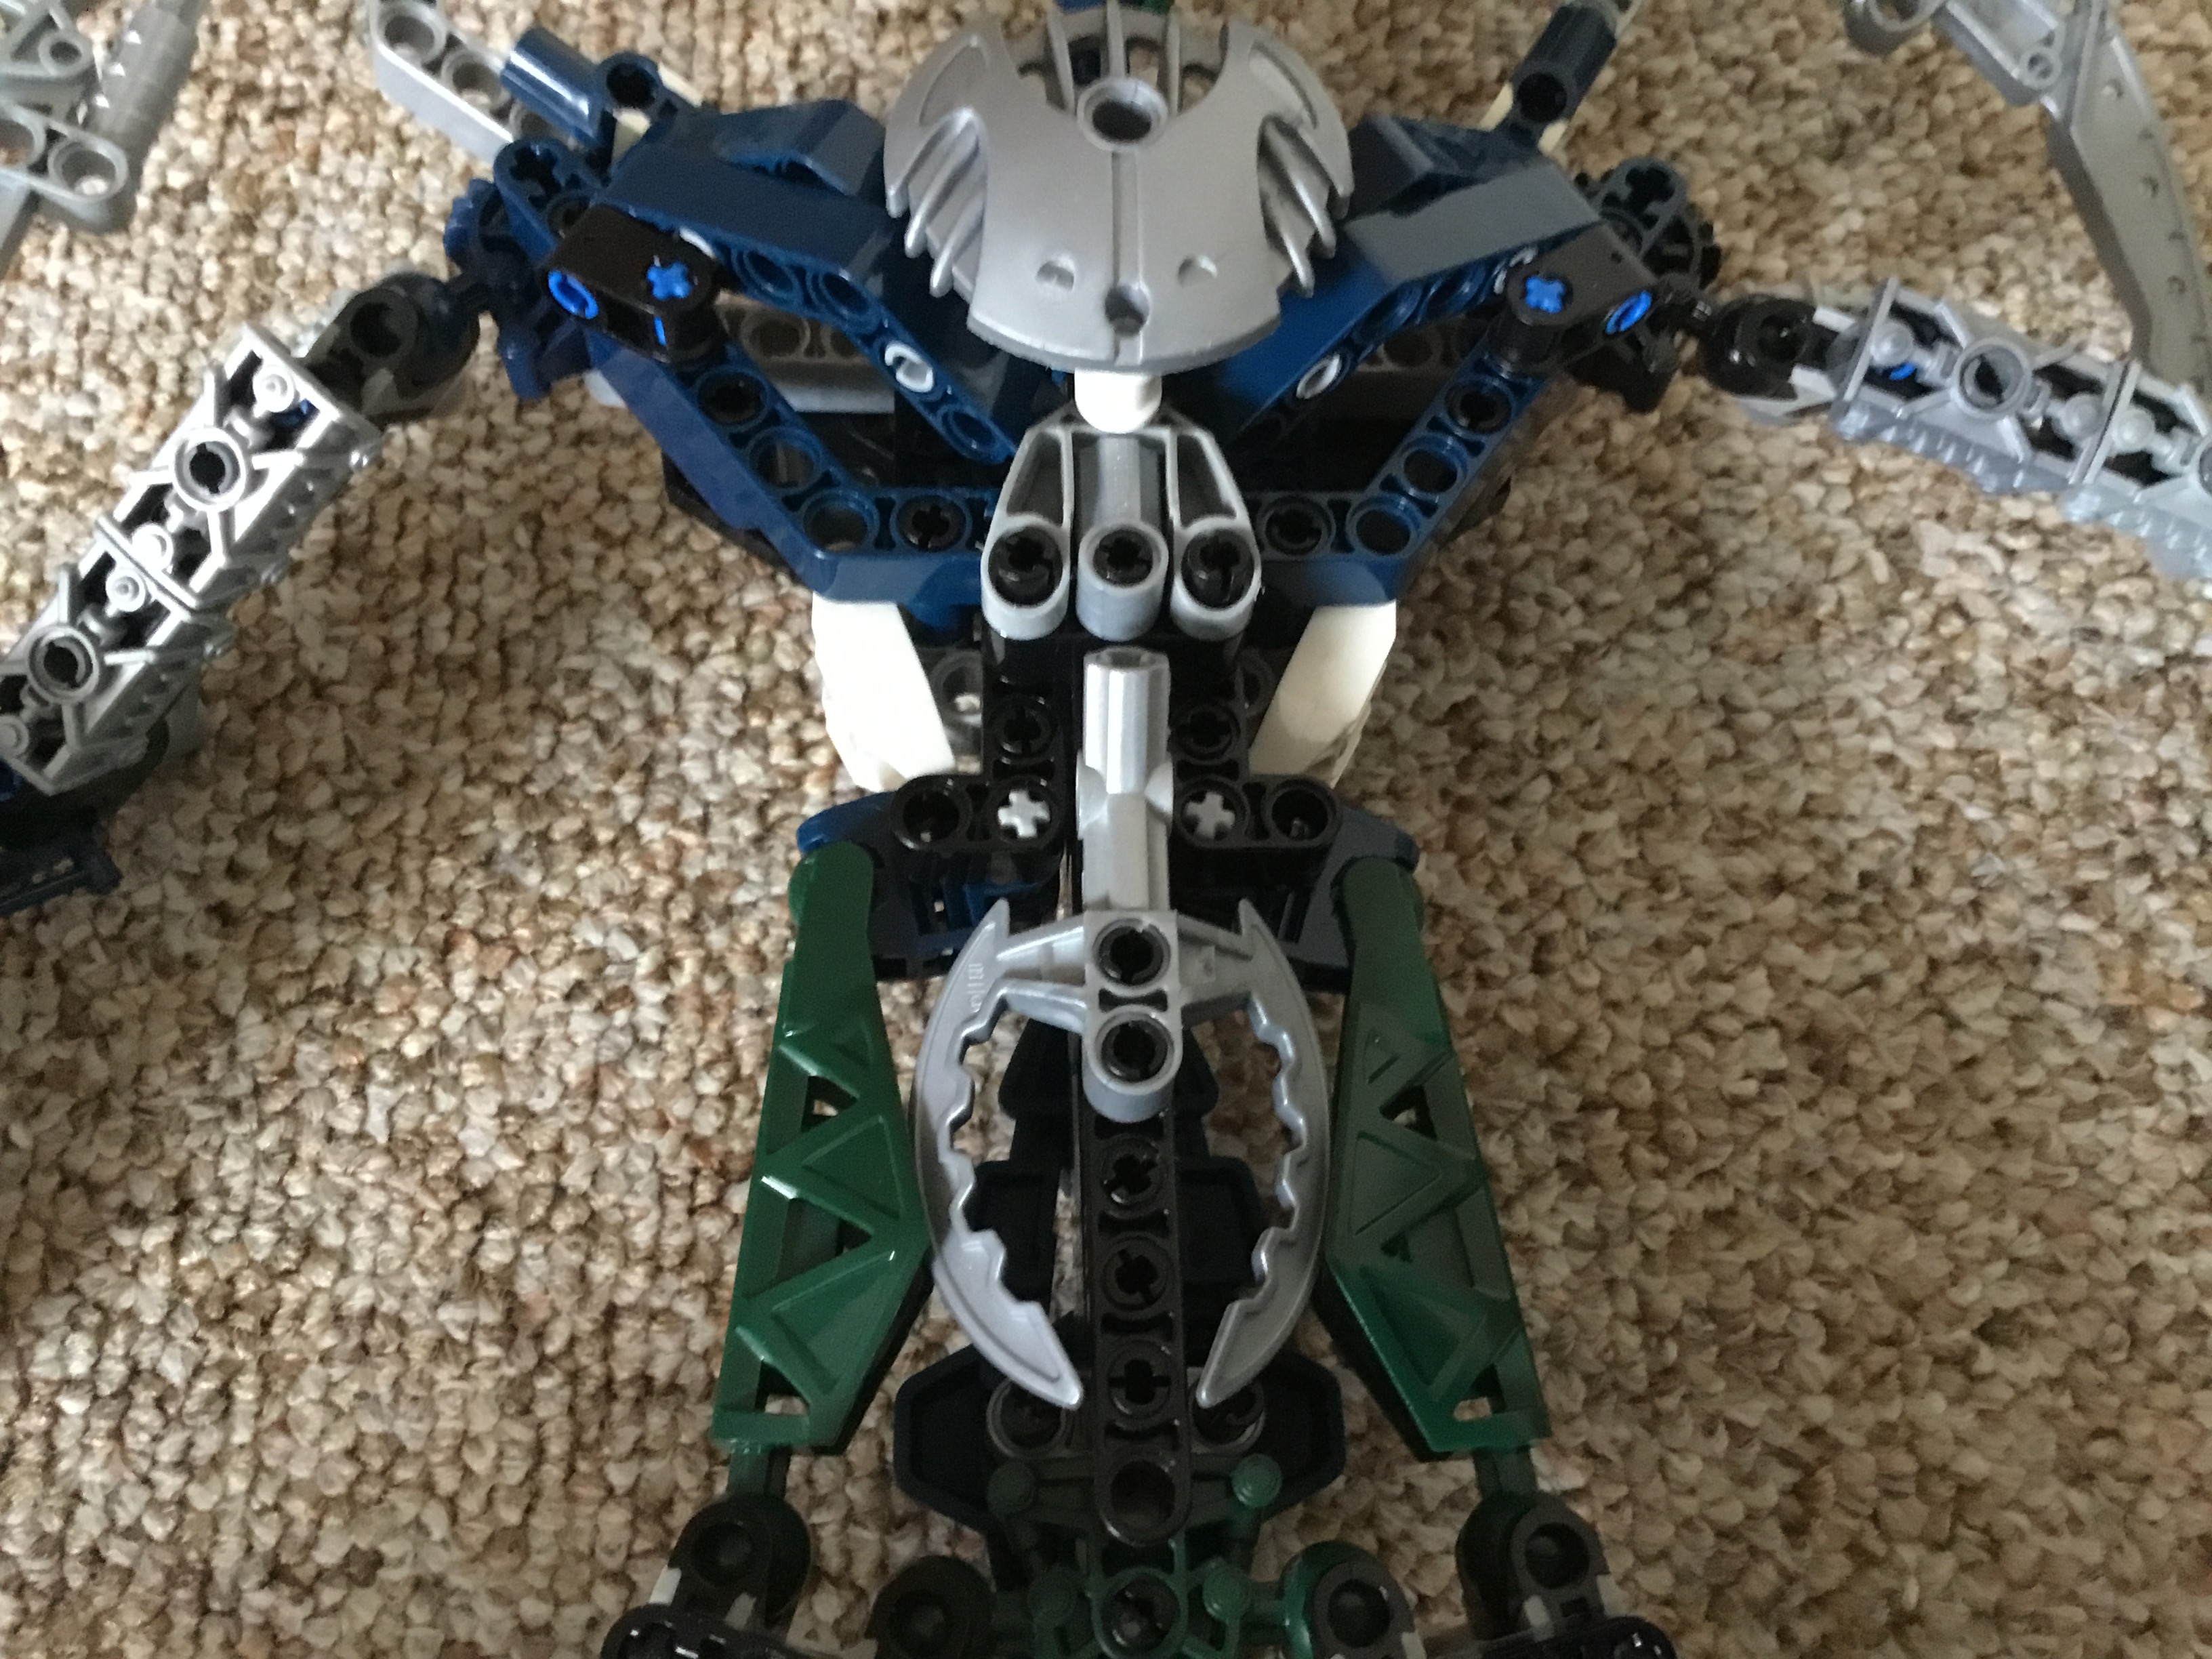
Attach it just below the chest, filling in his gappy stomach.
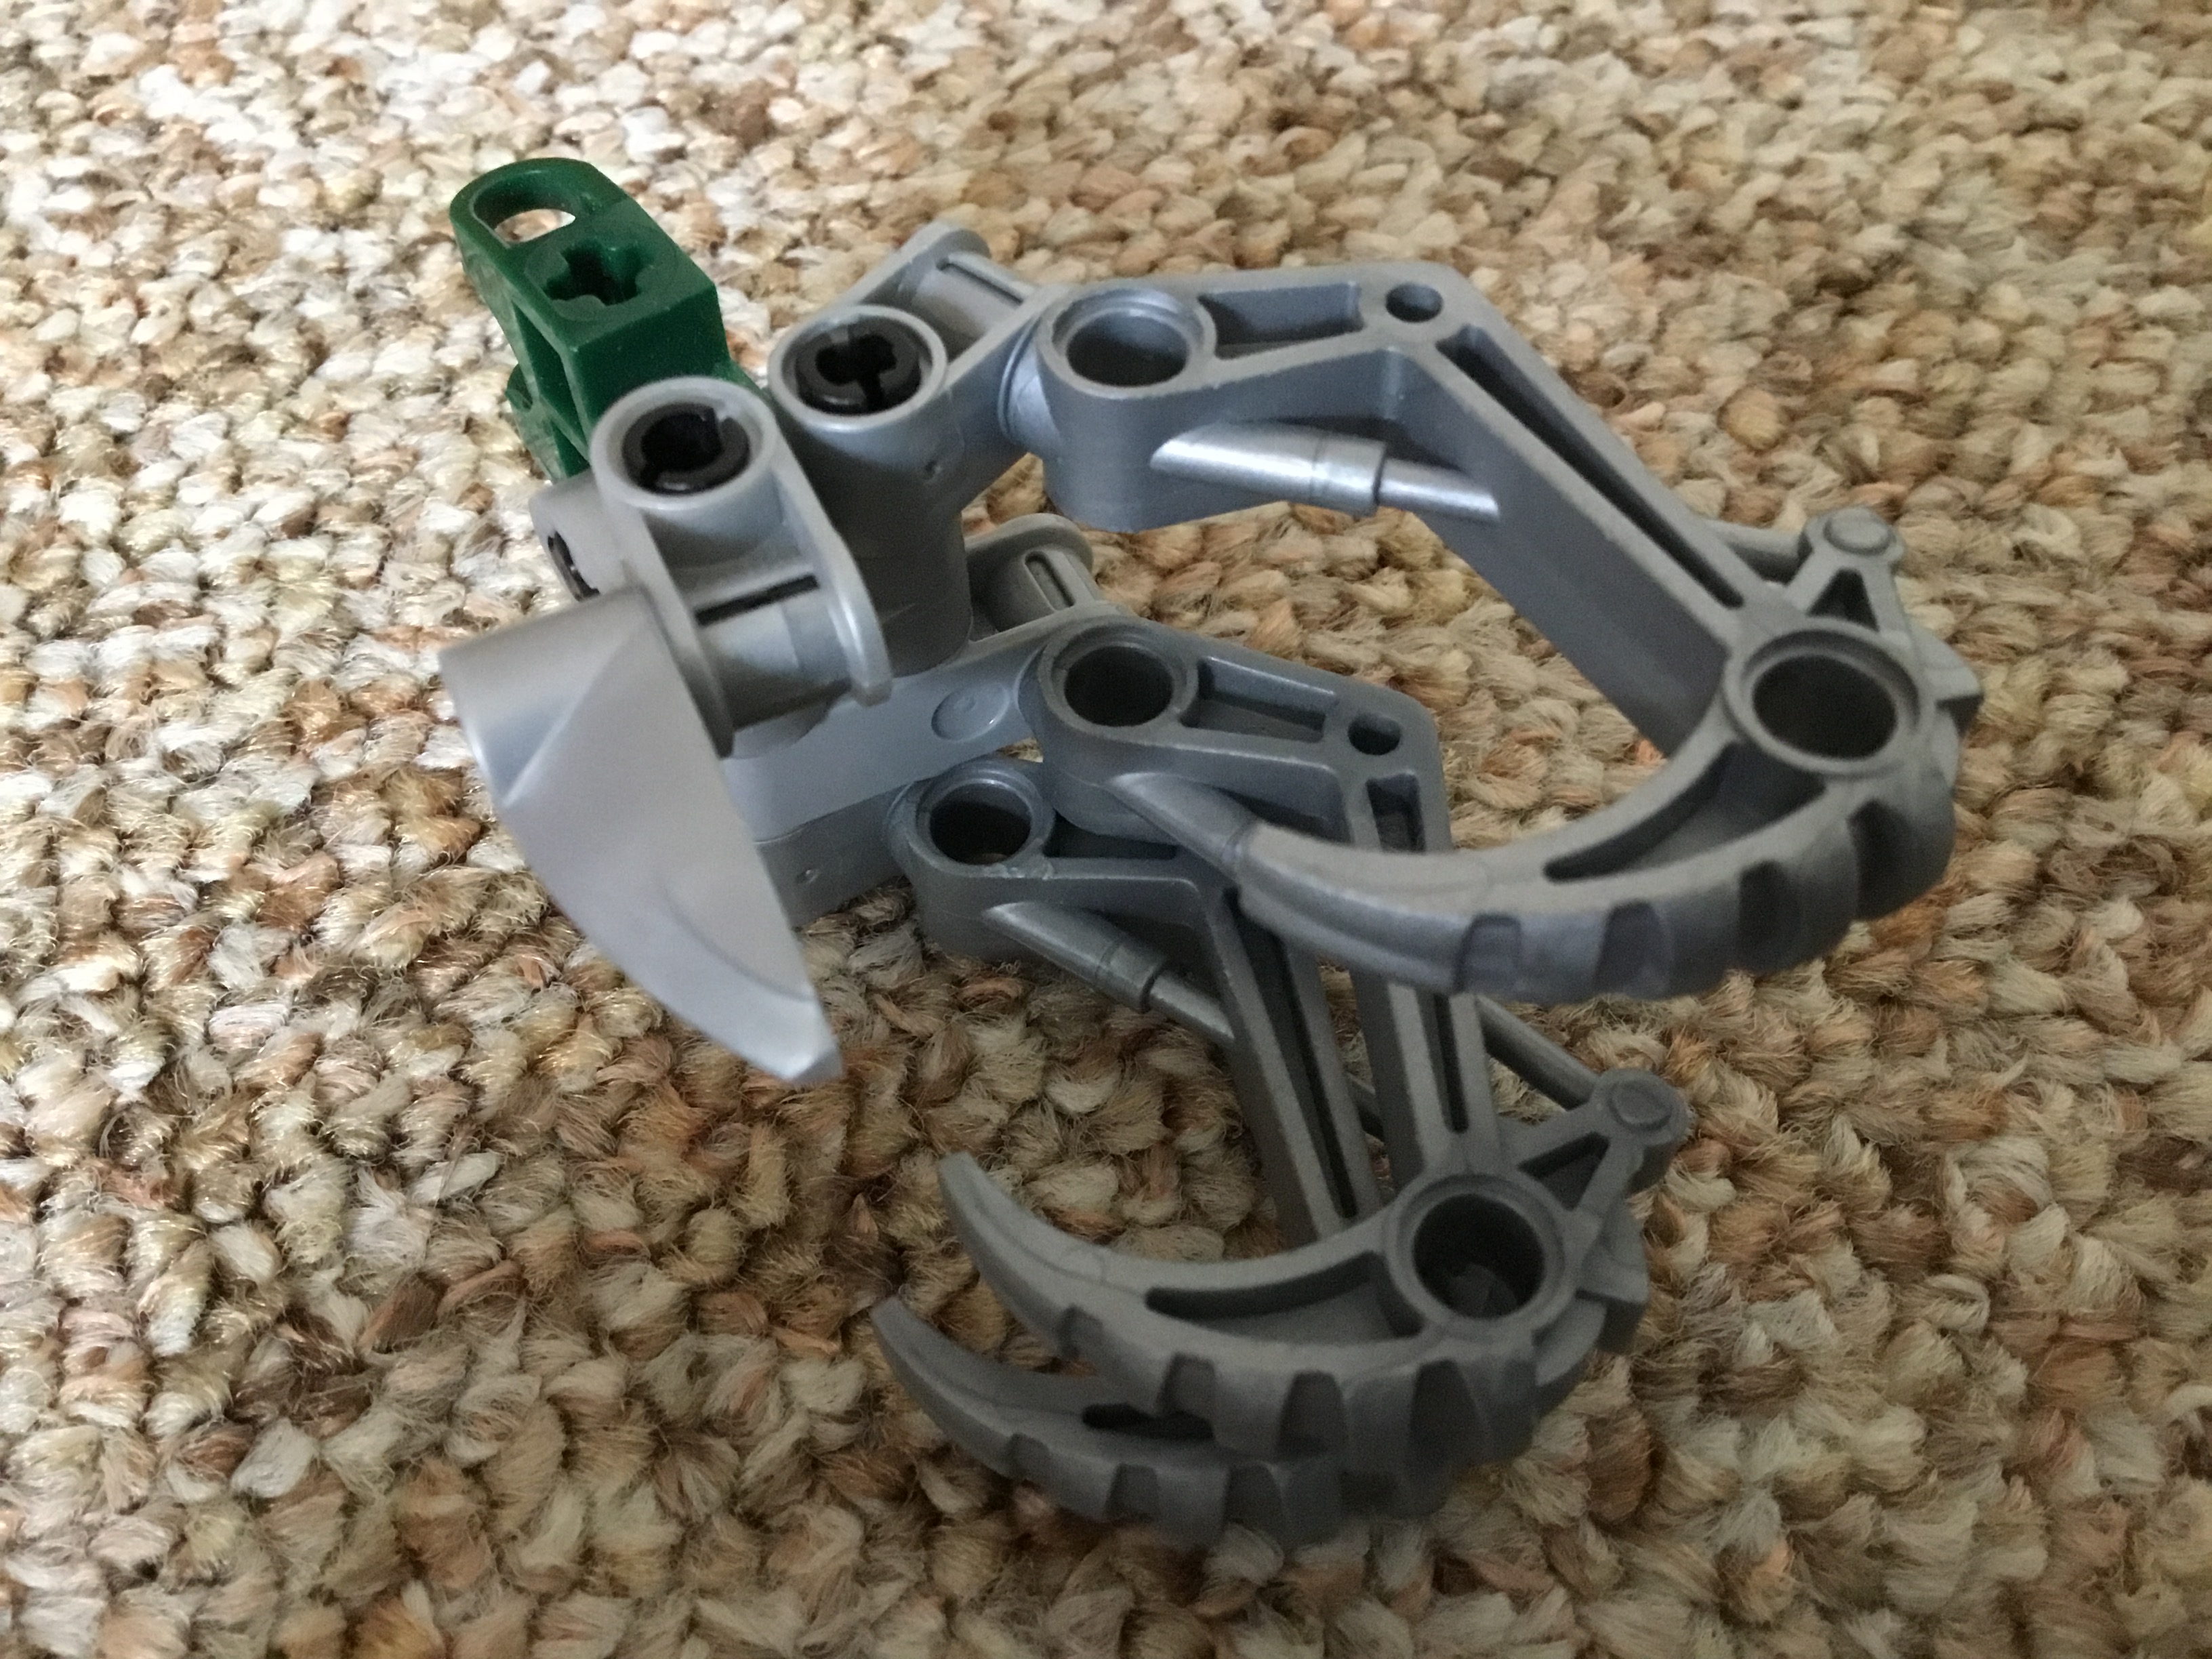
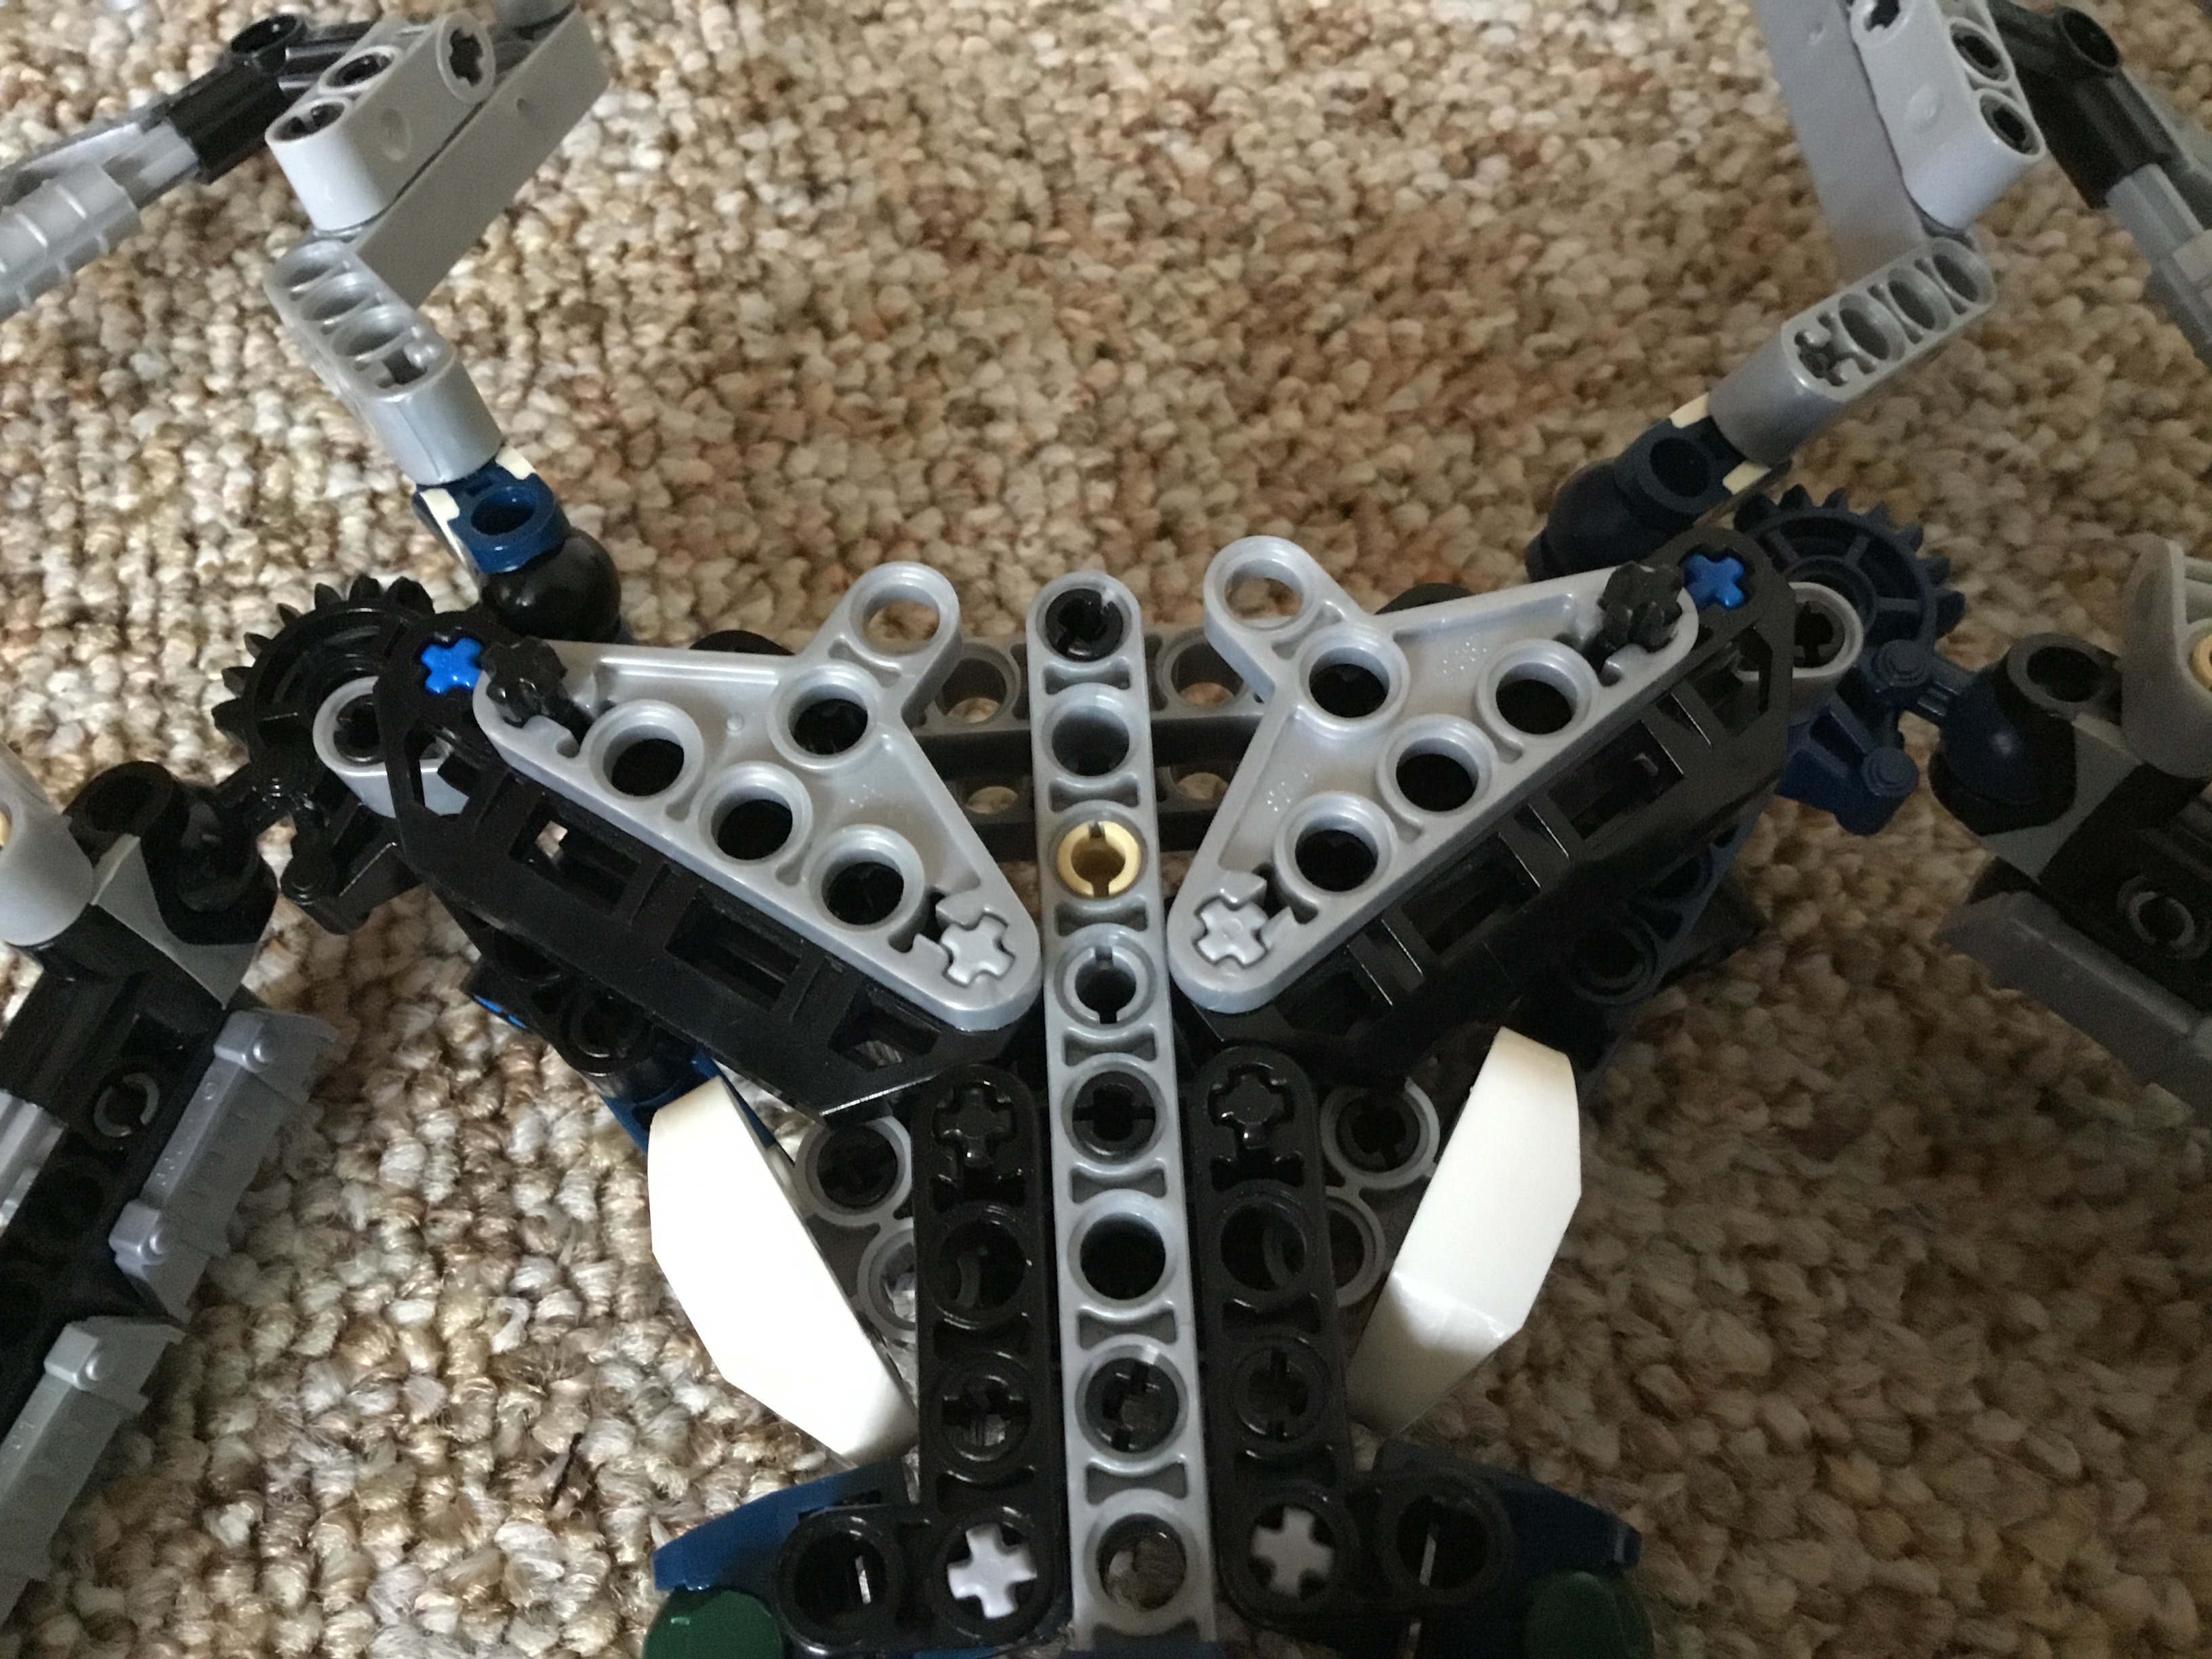
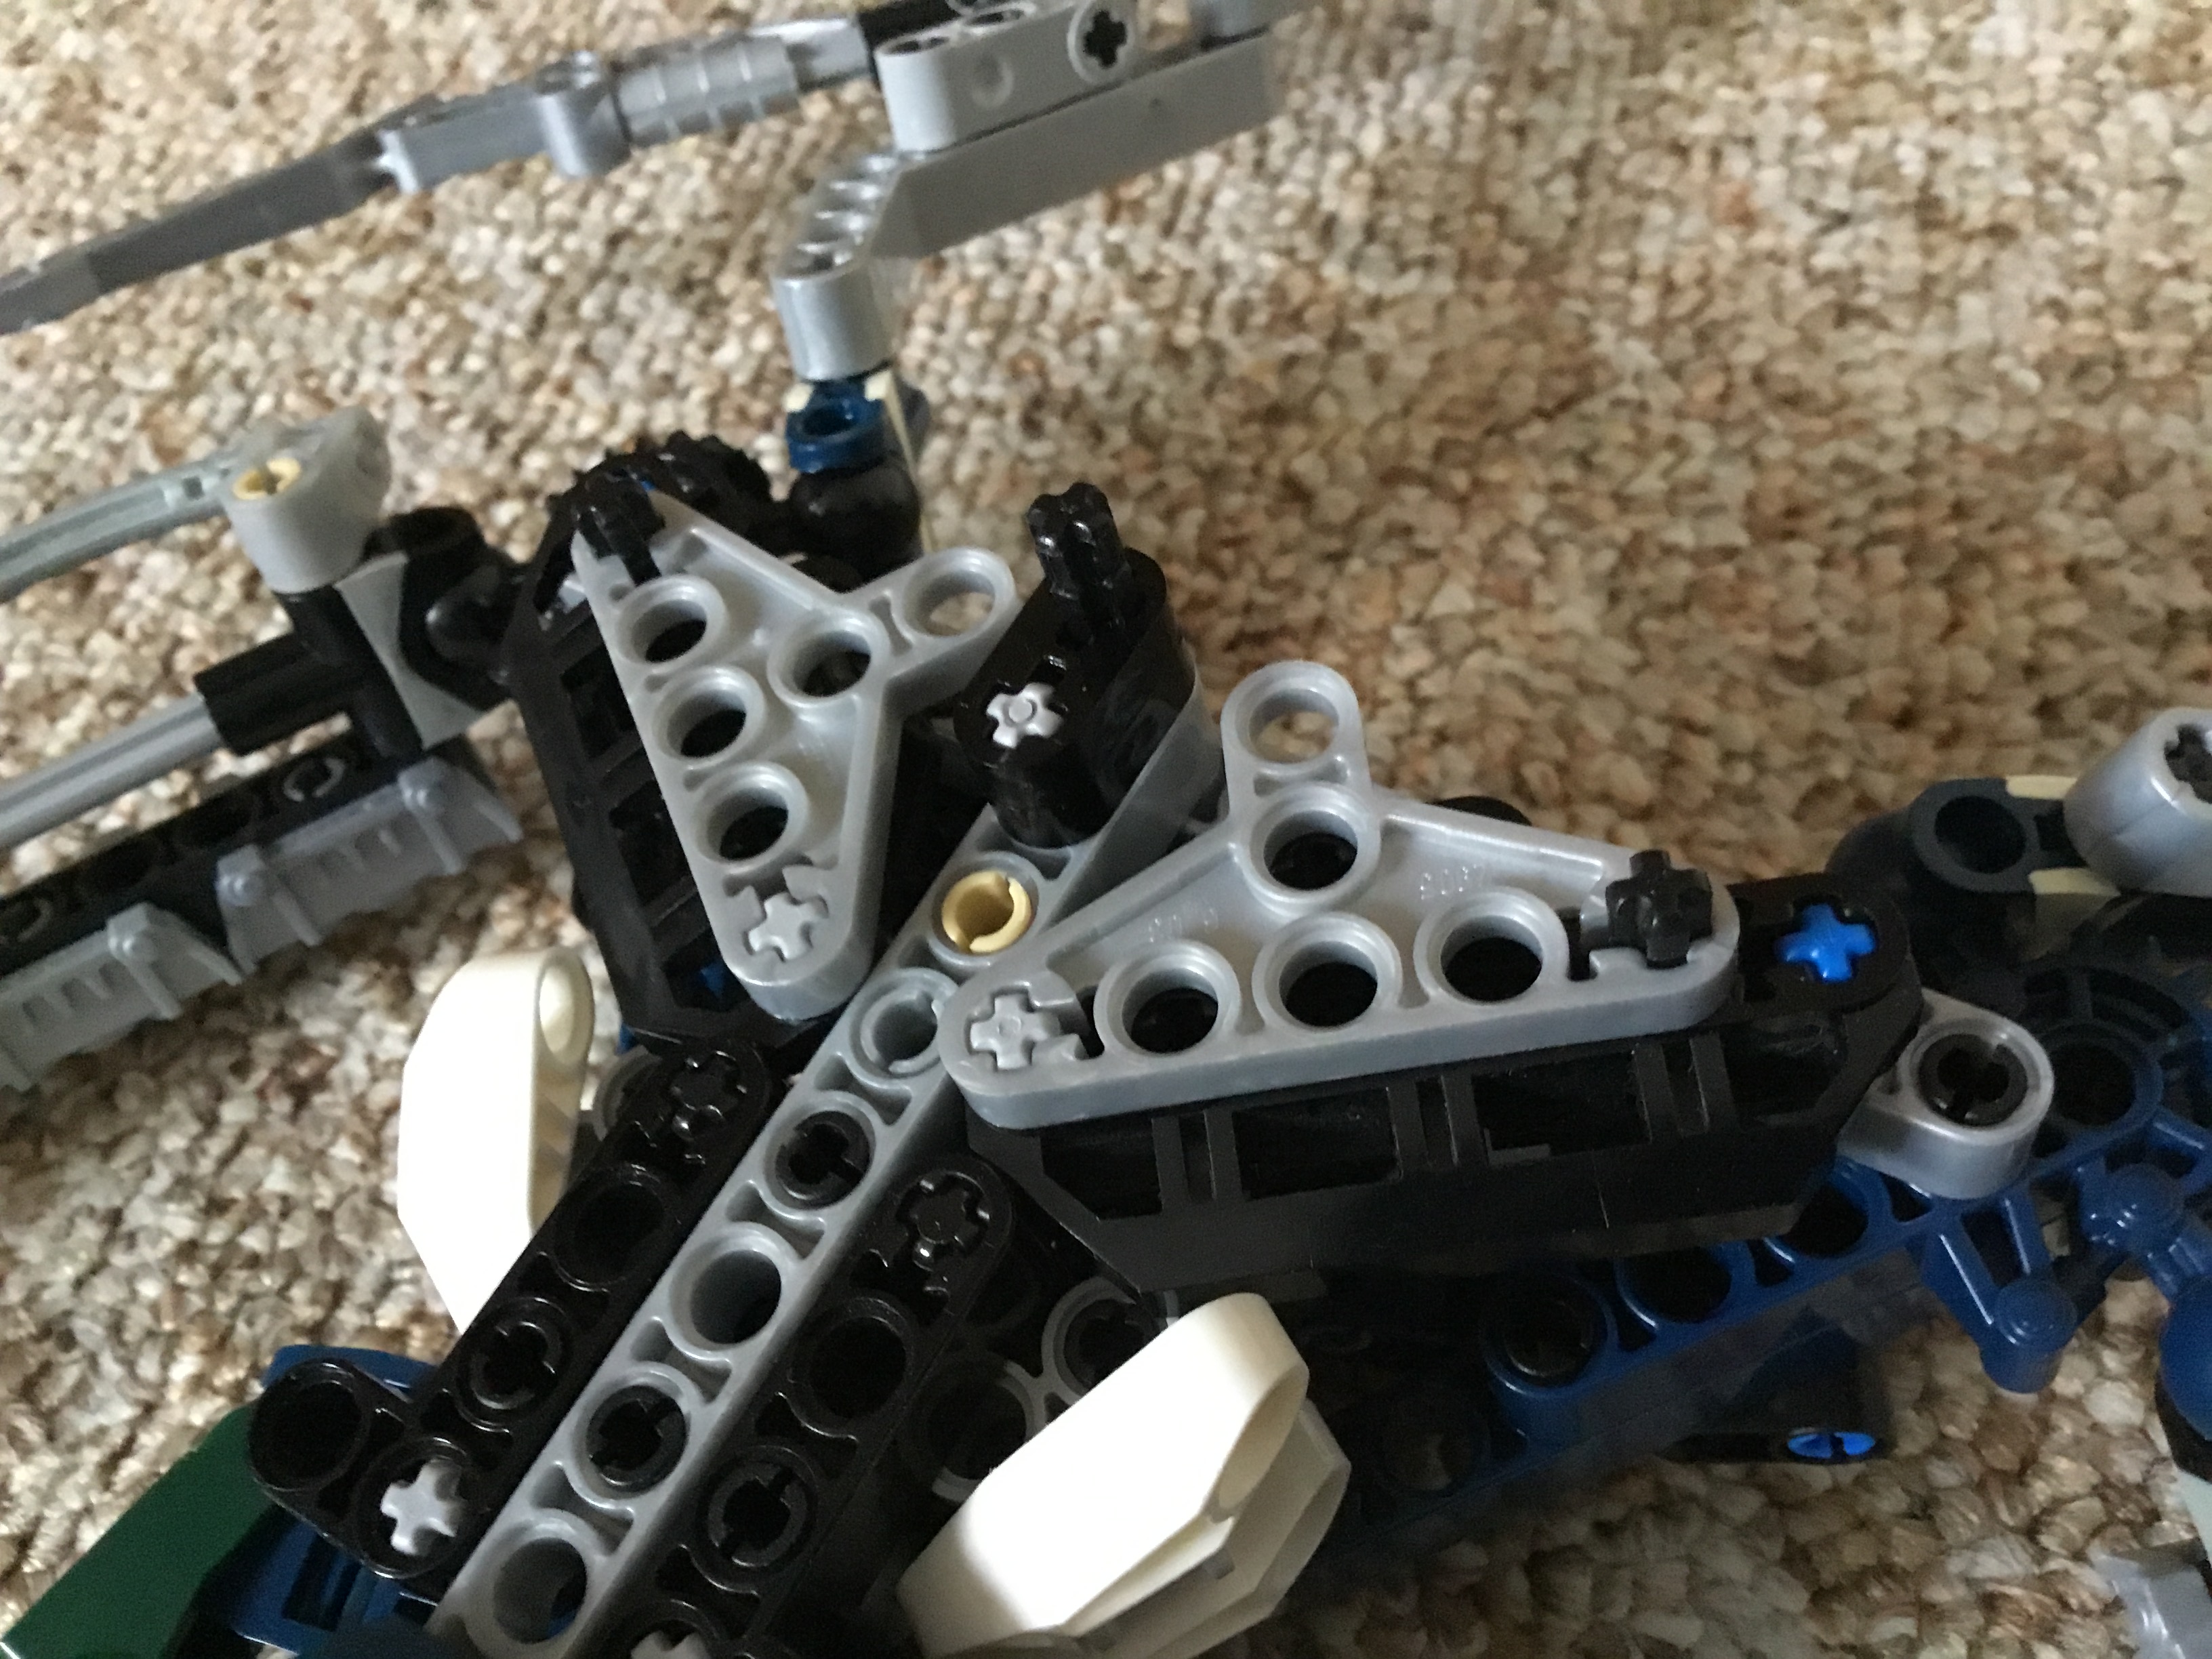
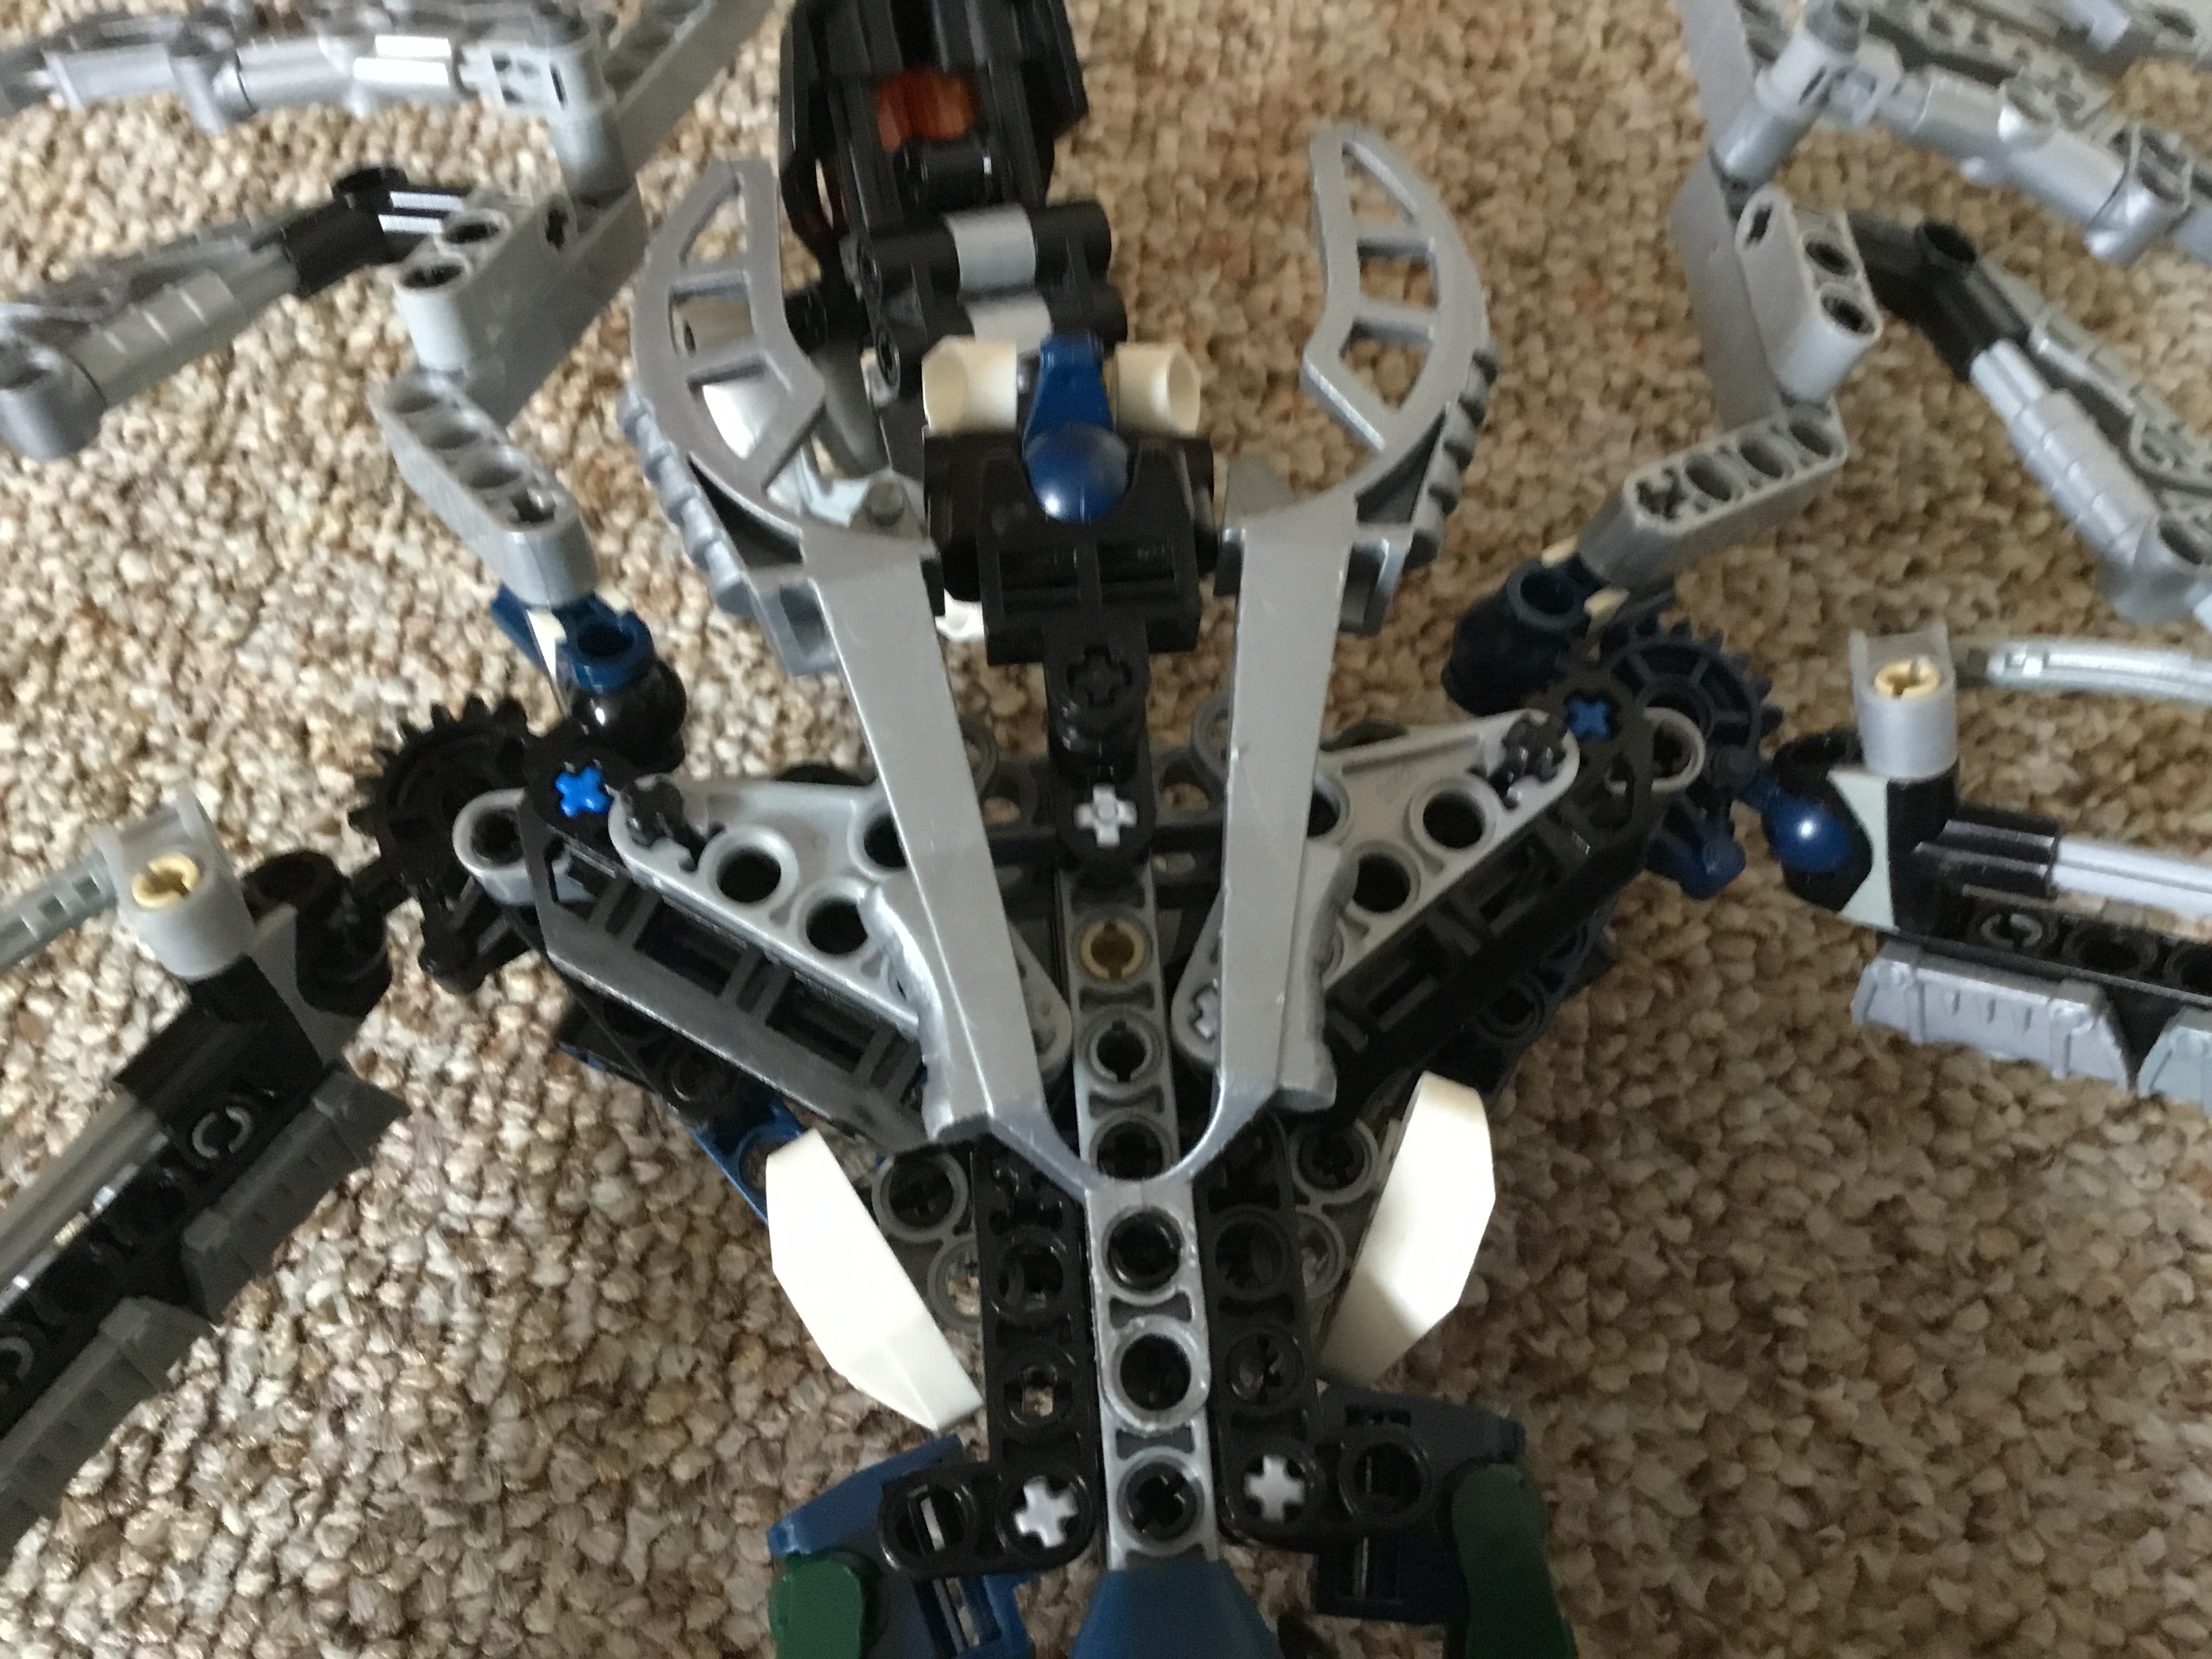
Then create this triangular assembly.

Use it to armour his pelvis.
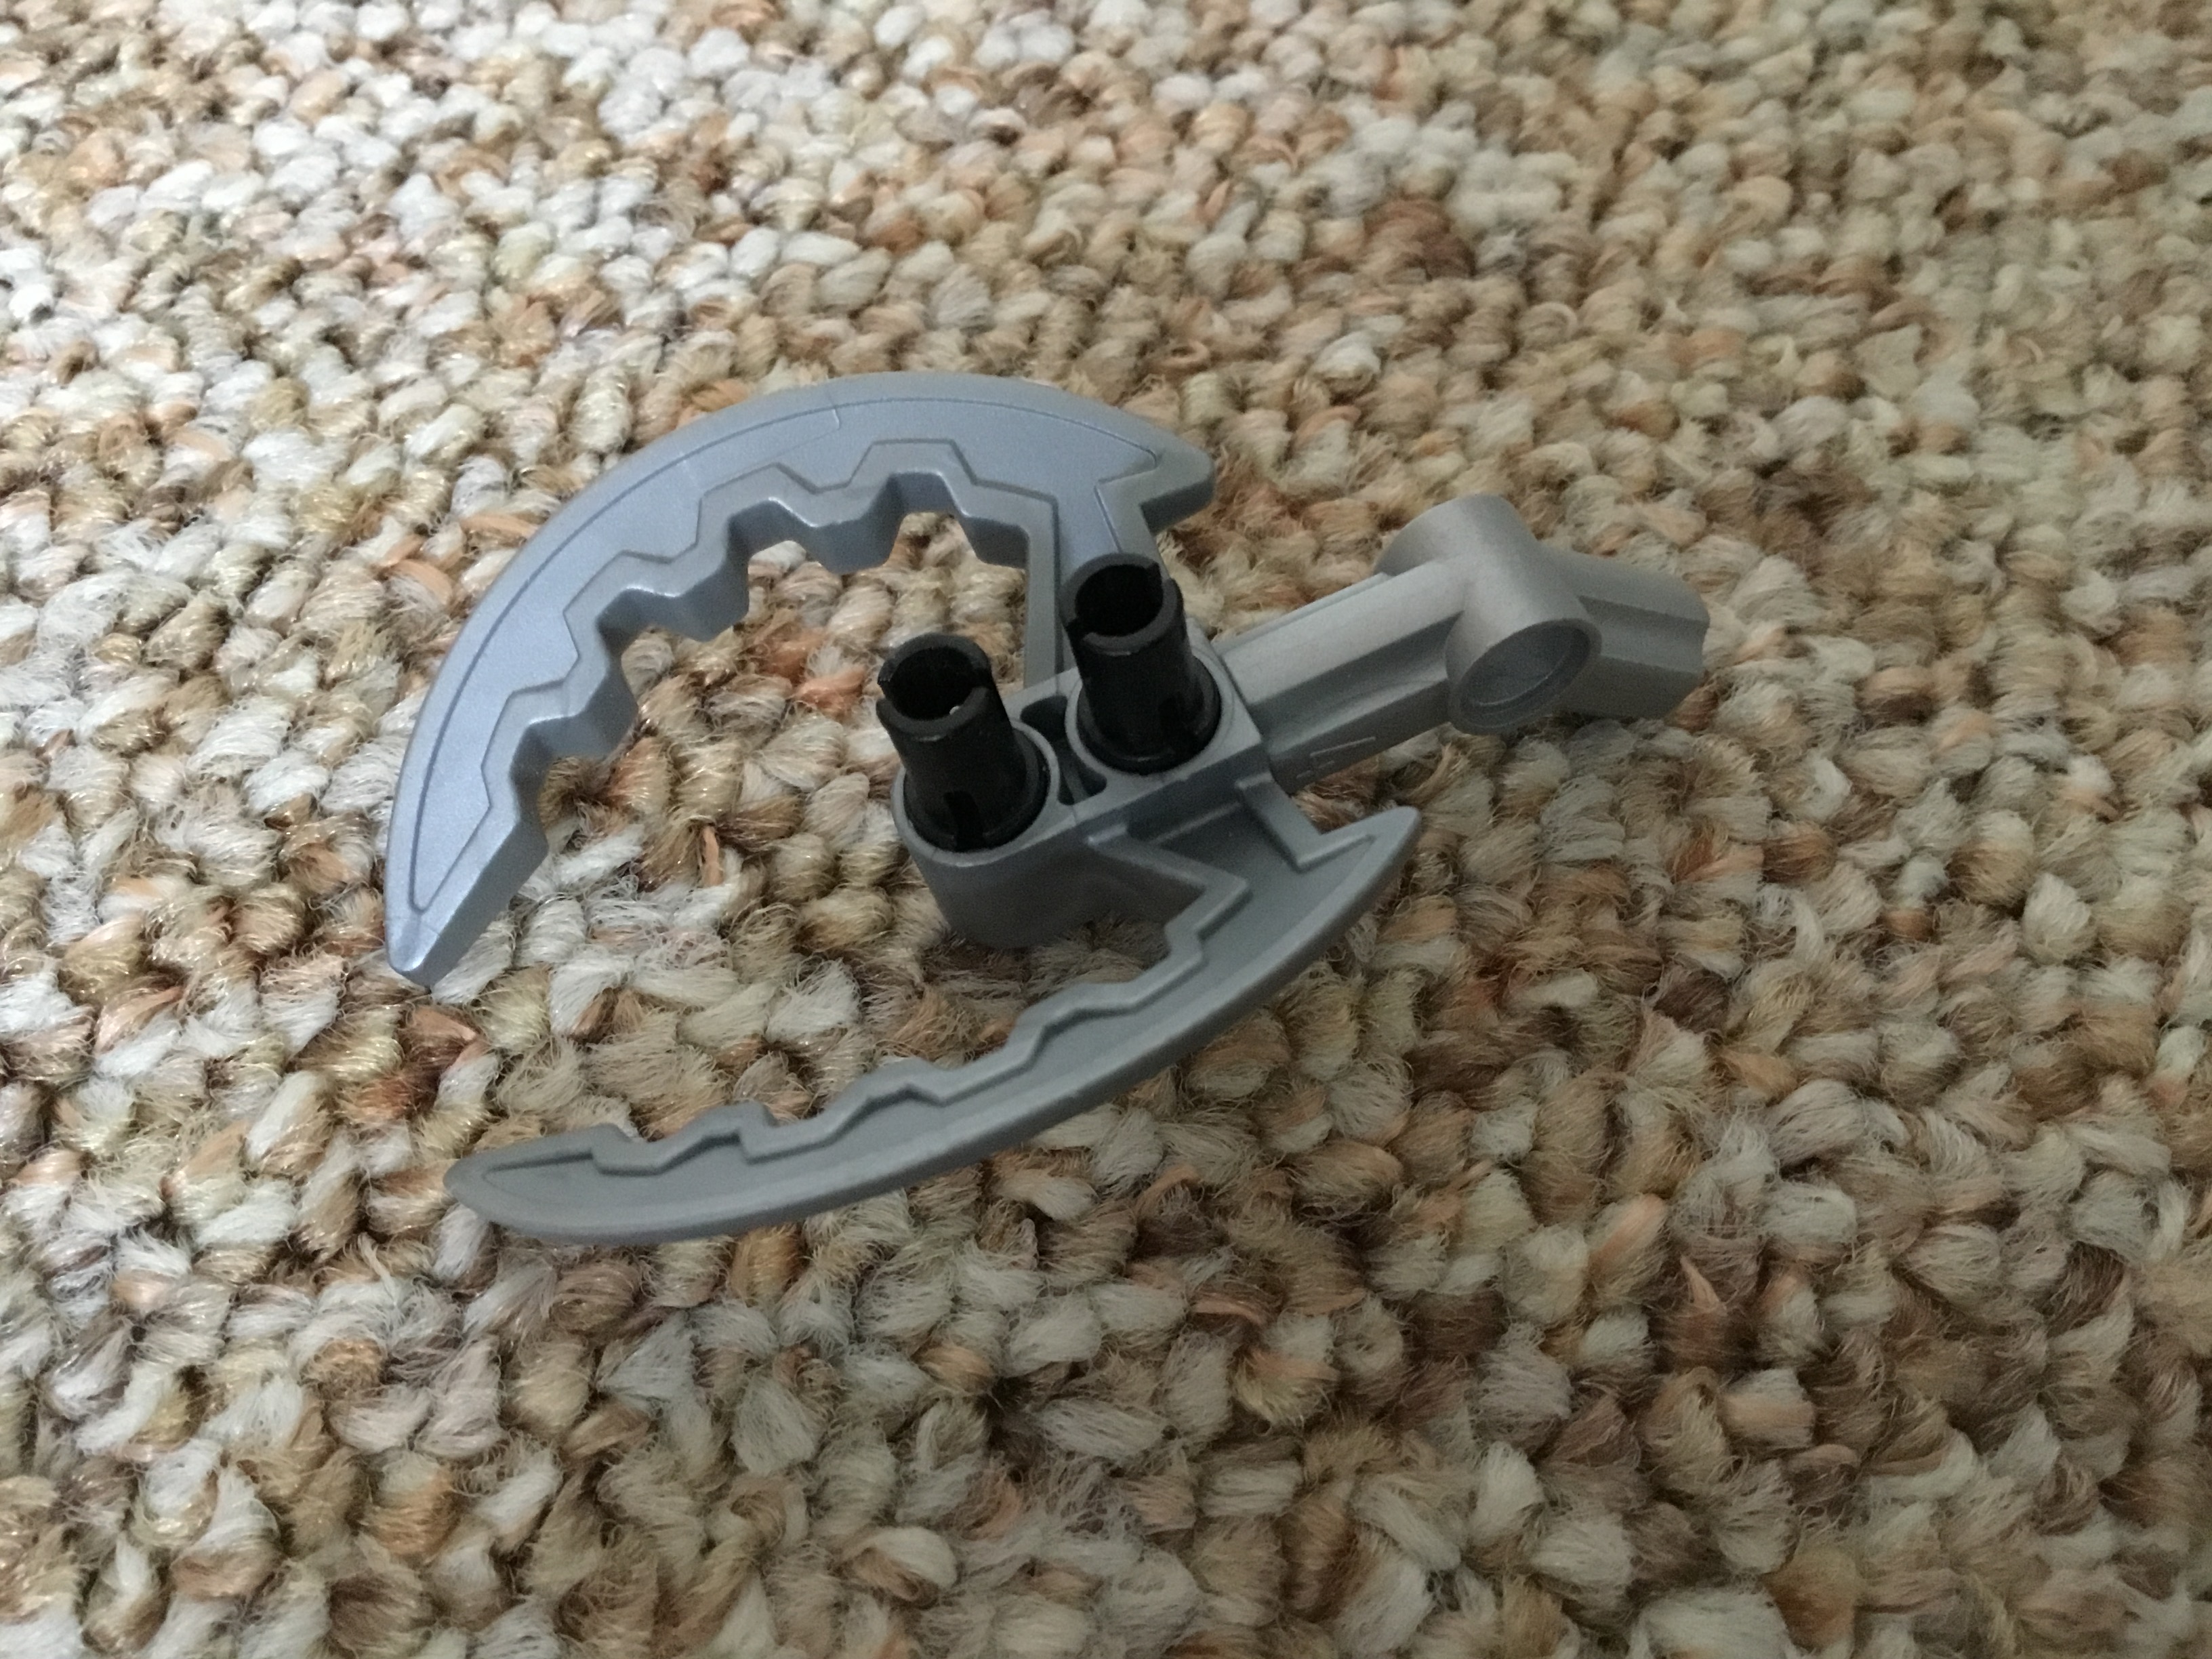
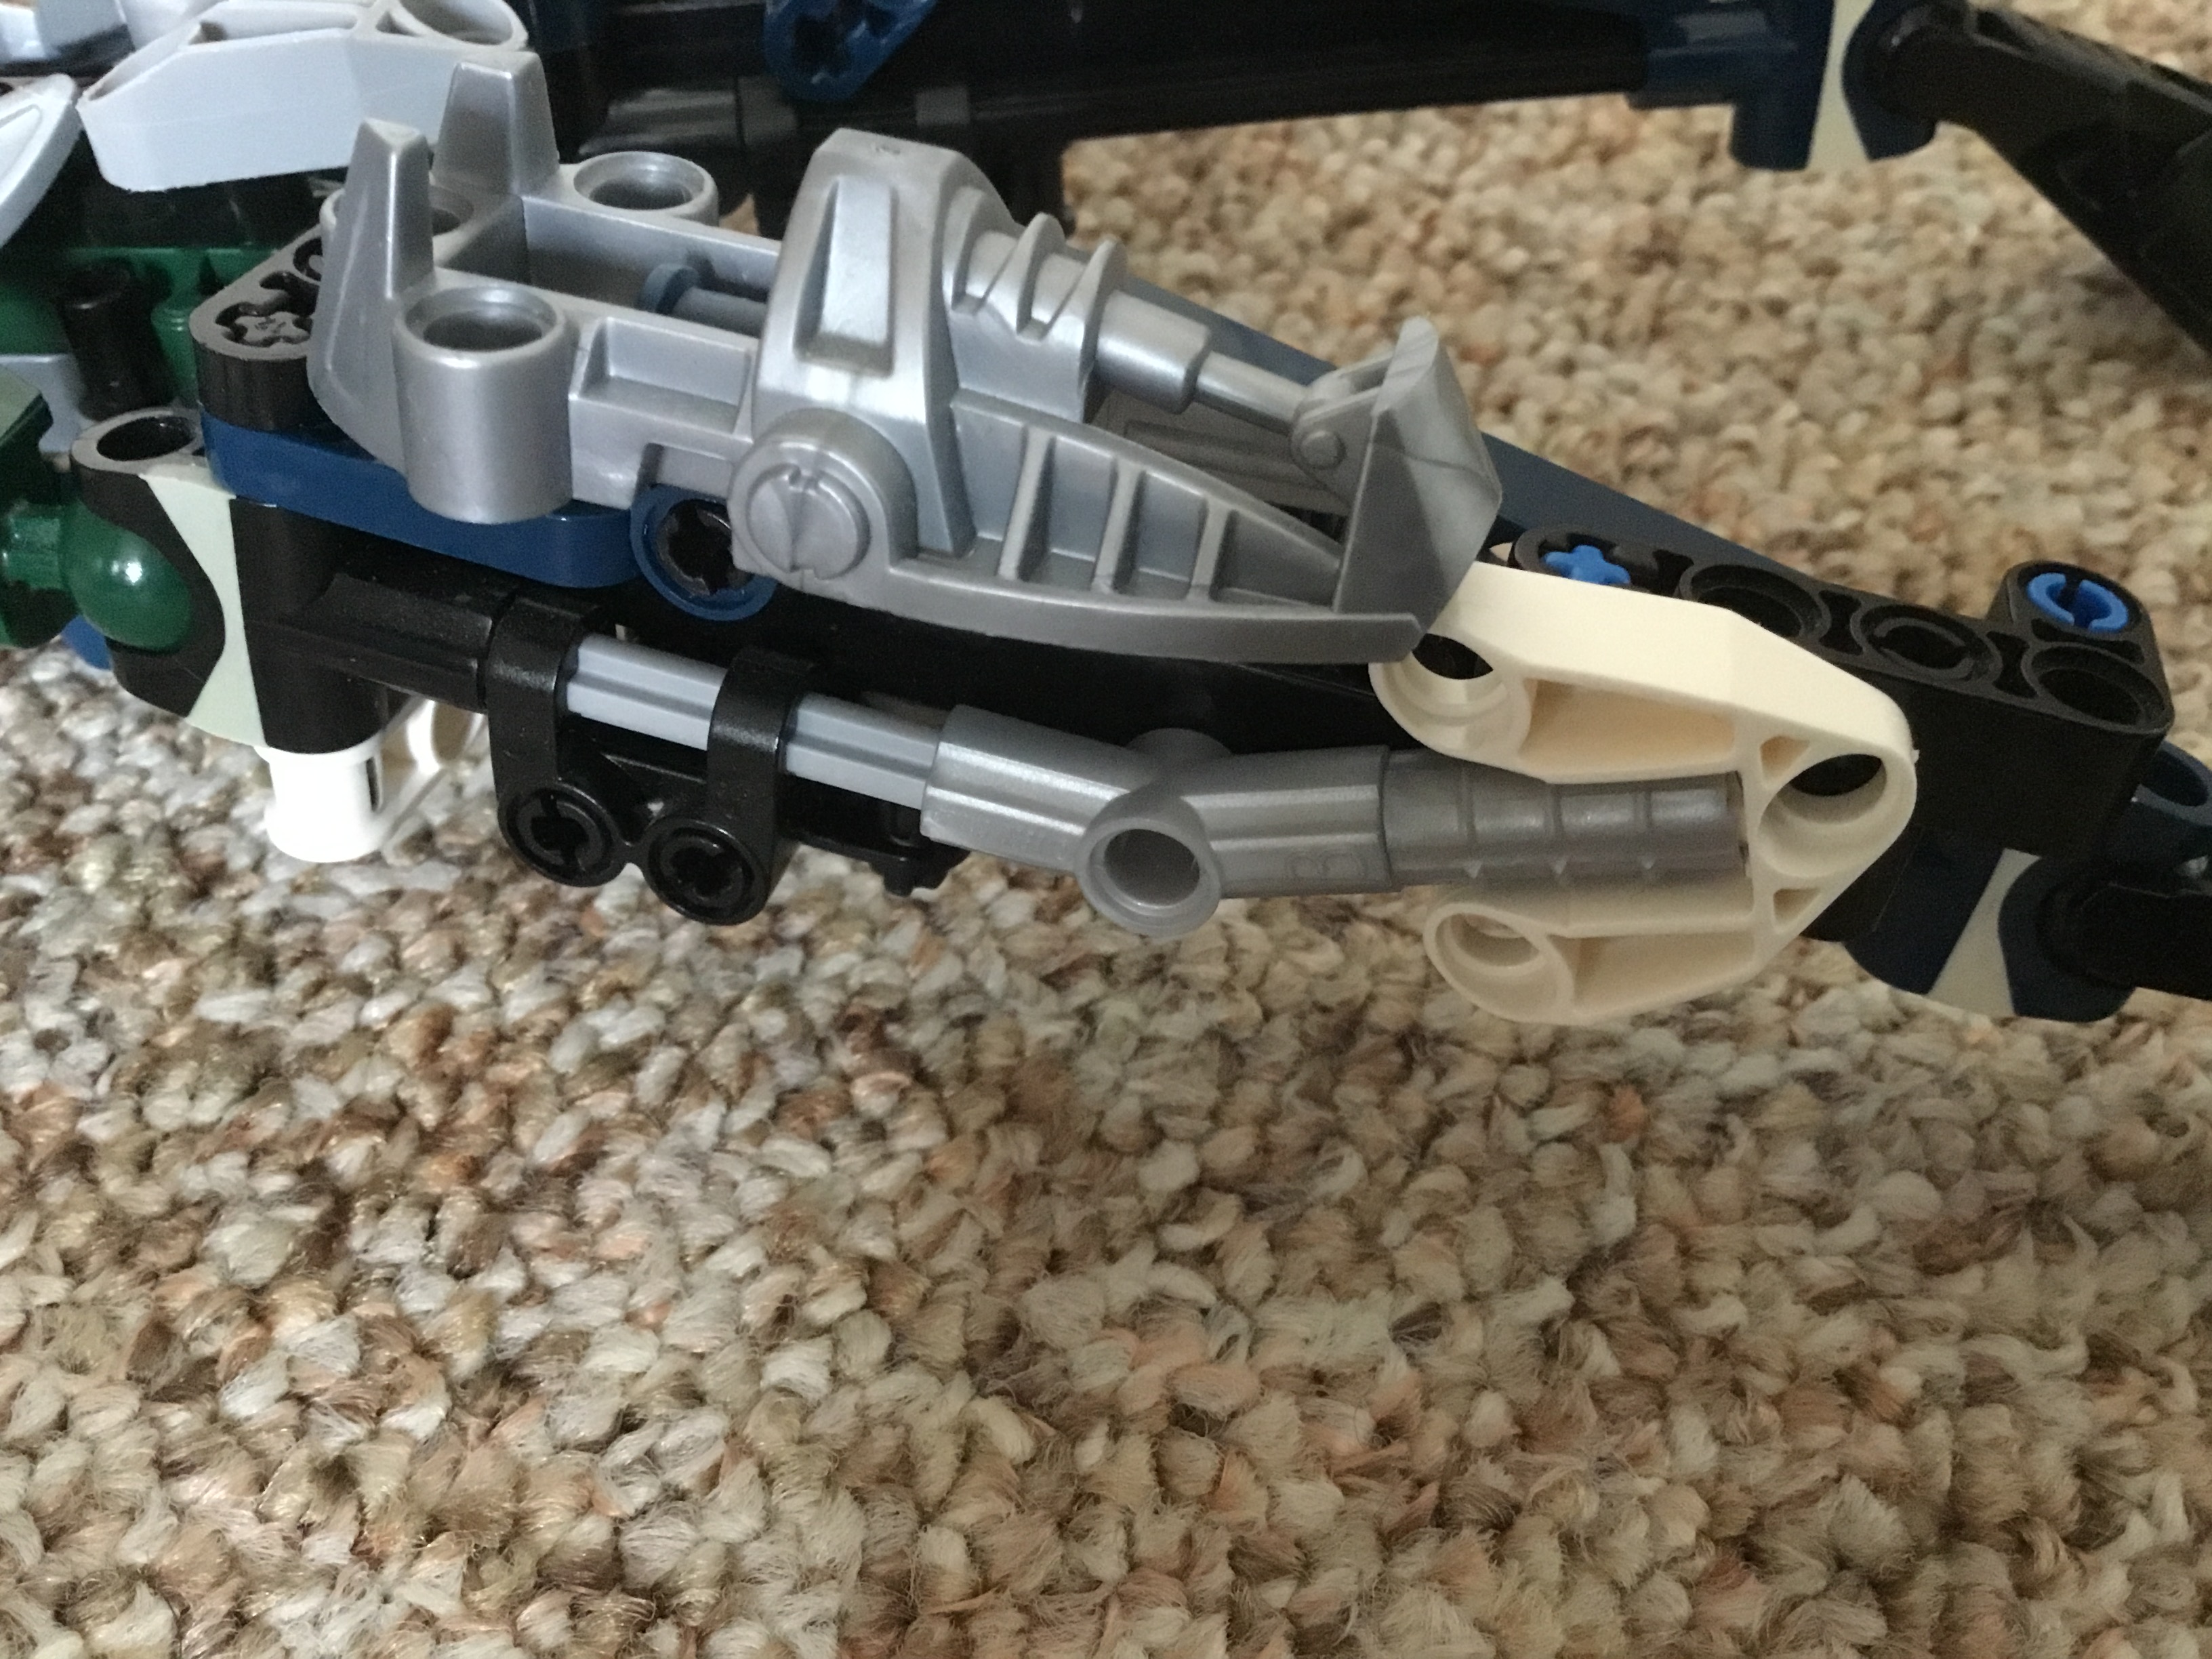
Finally, create this assembly from Nidhiki’s Kanoka launcher.
Attach it here on his back. The torso is now fully complete.
VI: Legs
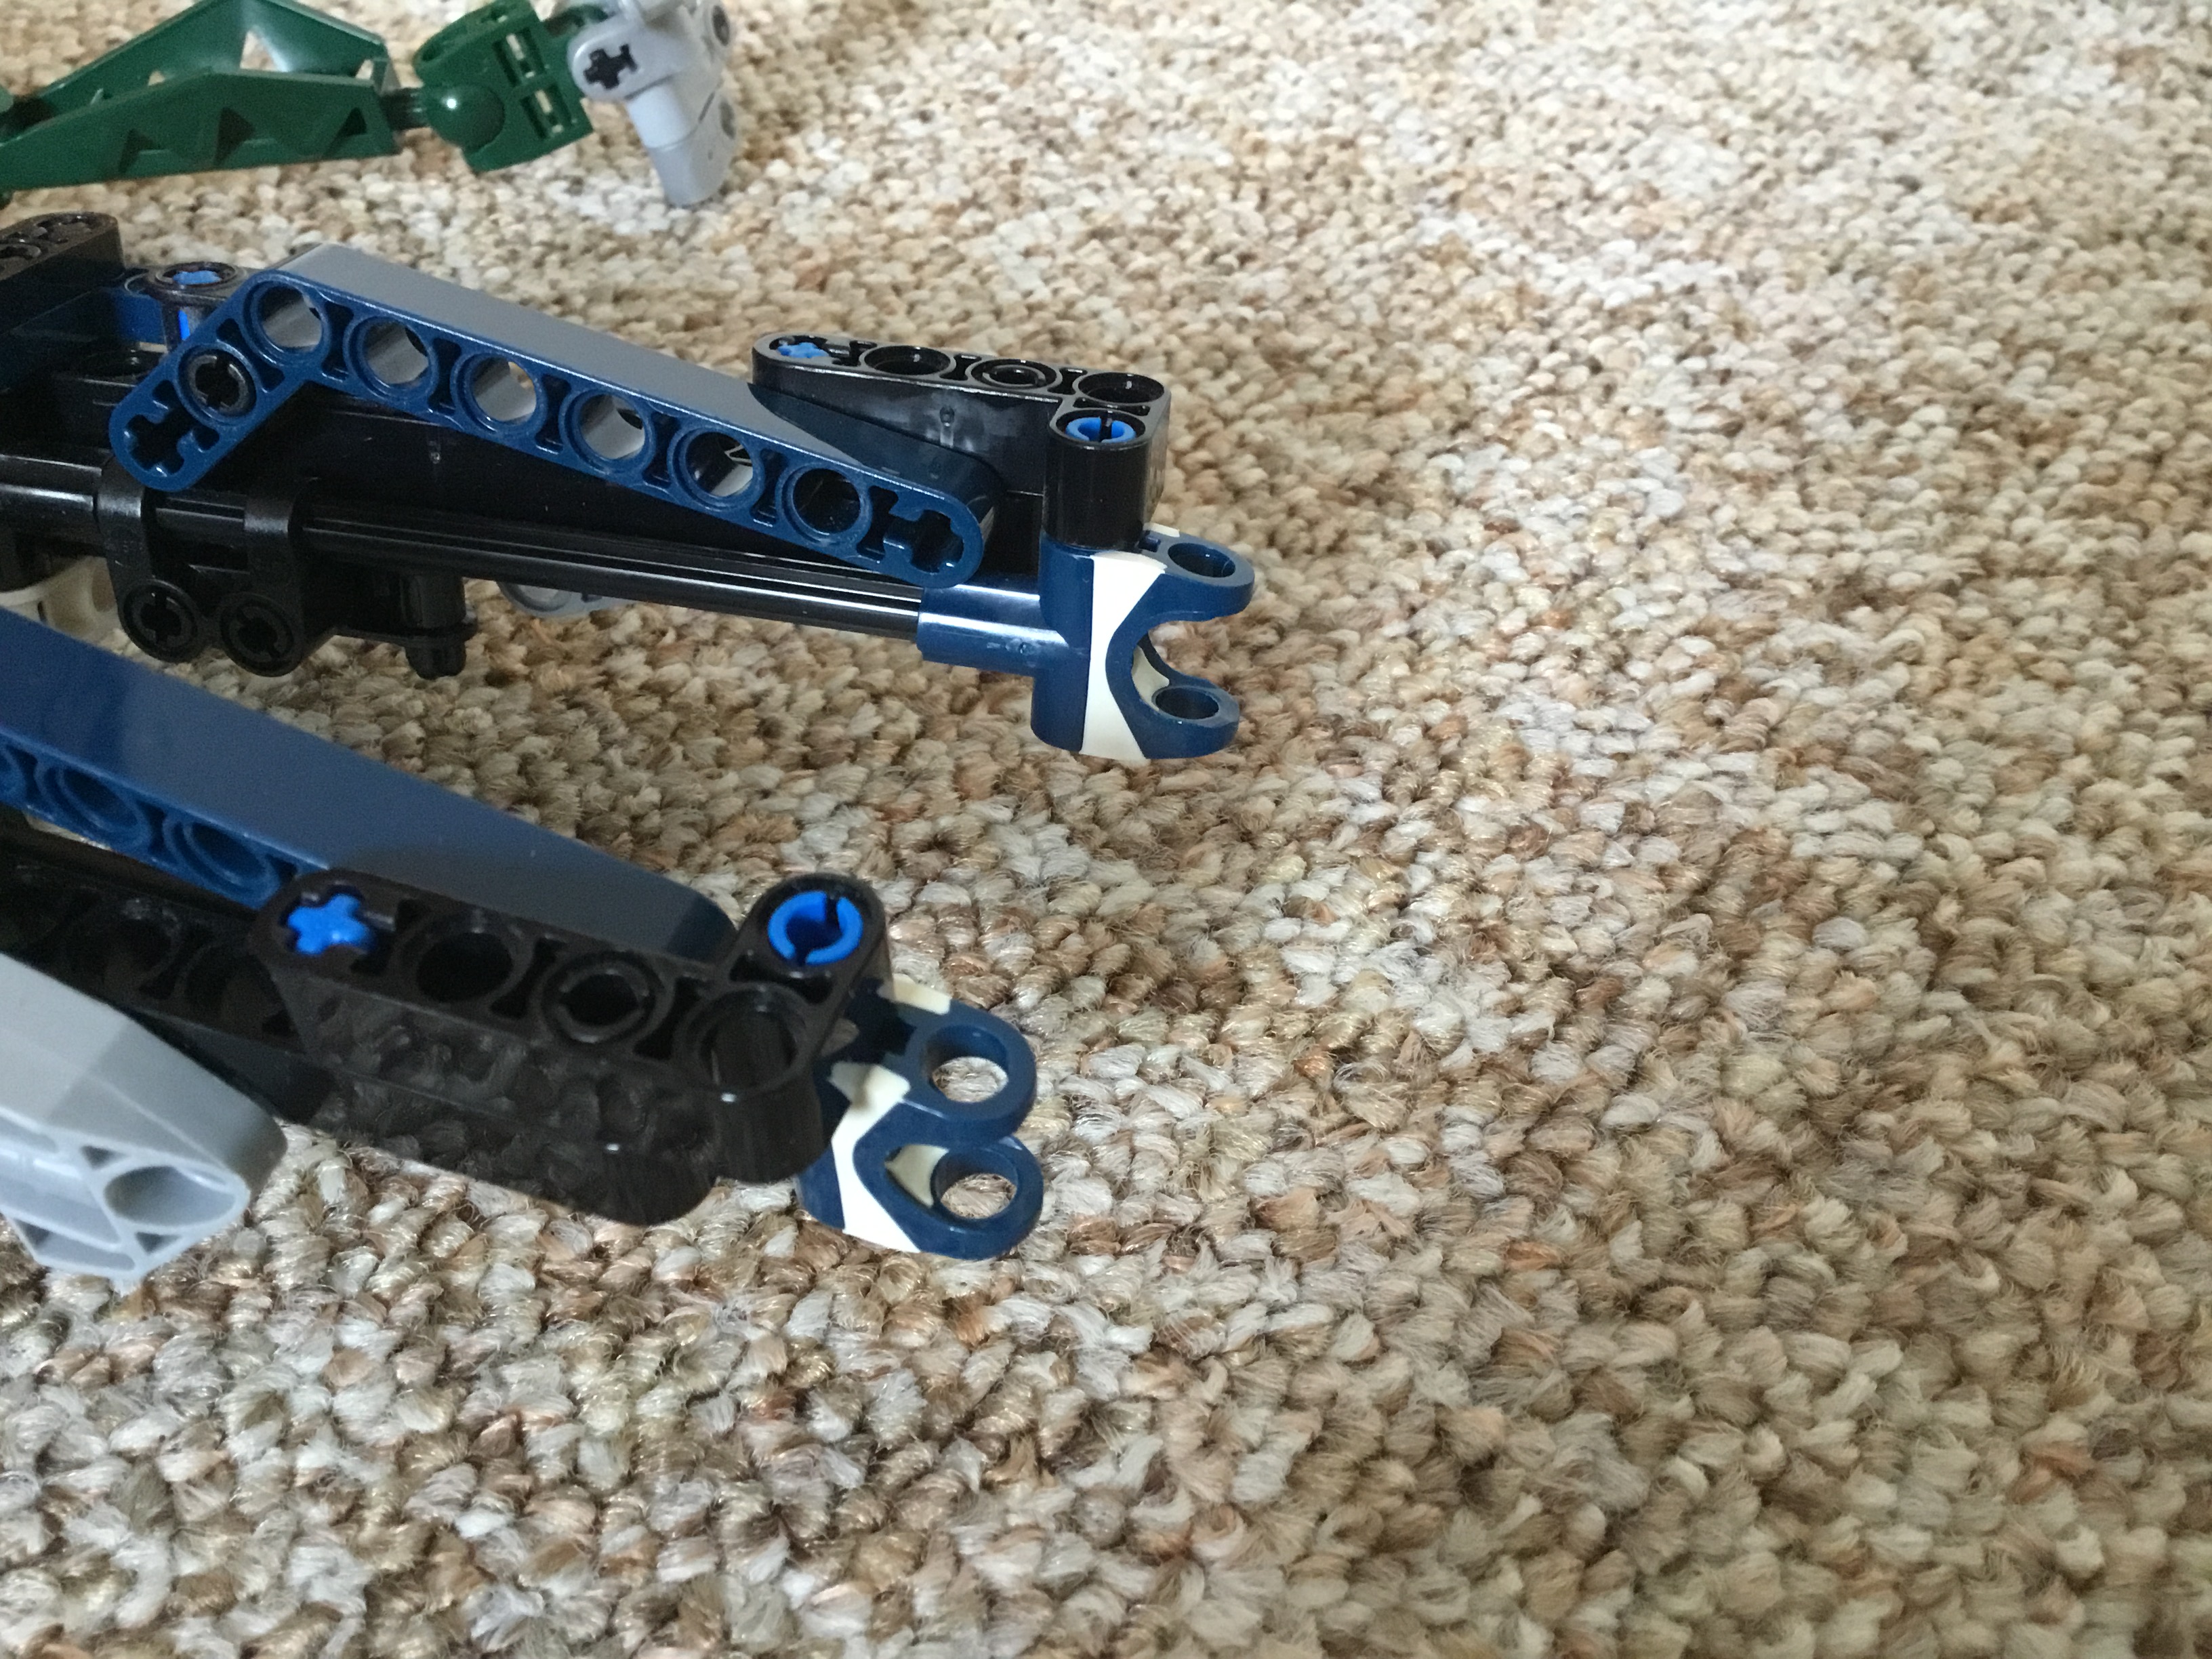
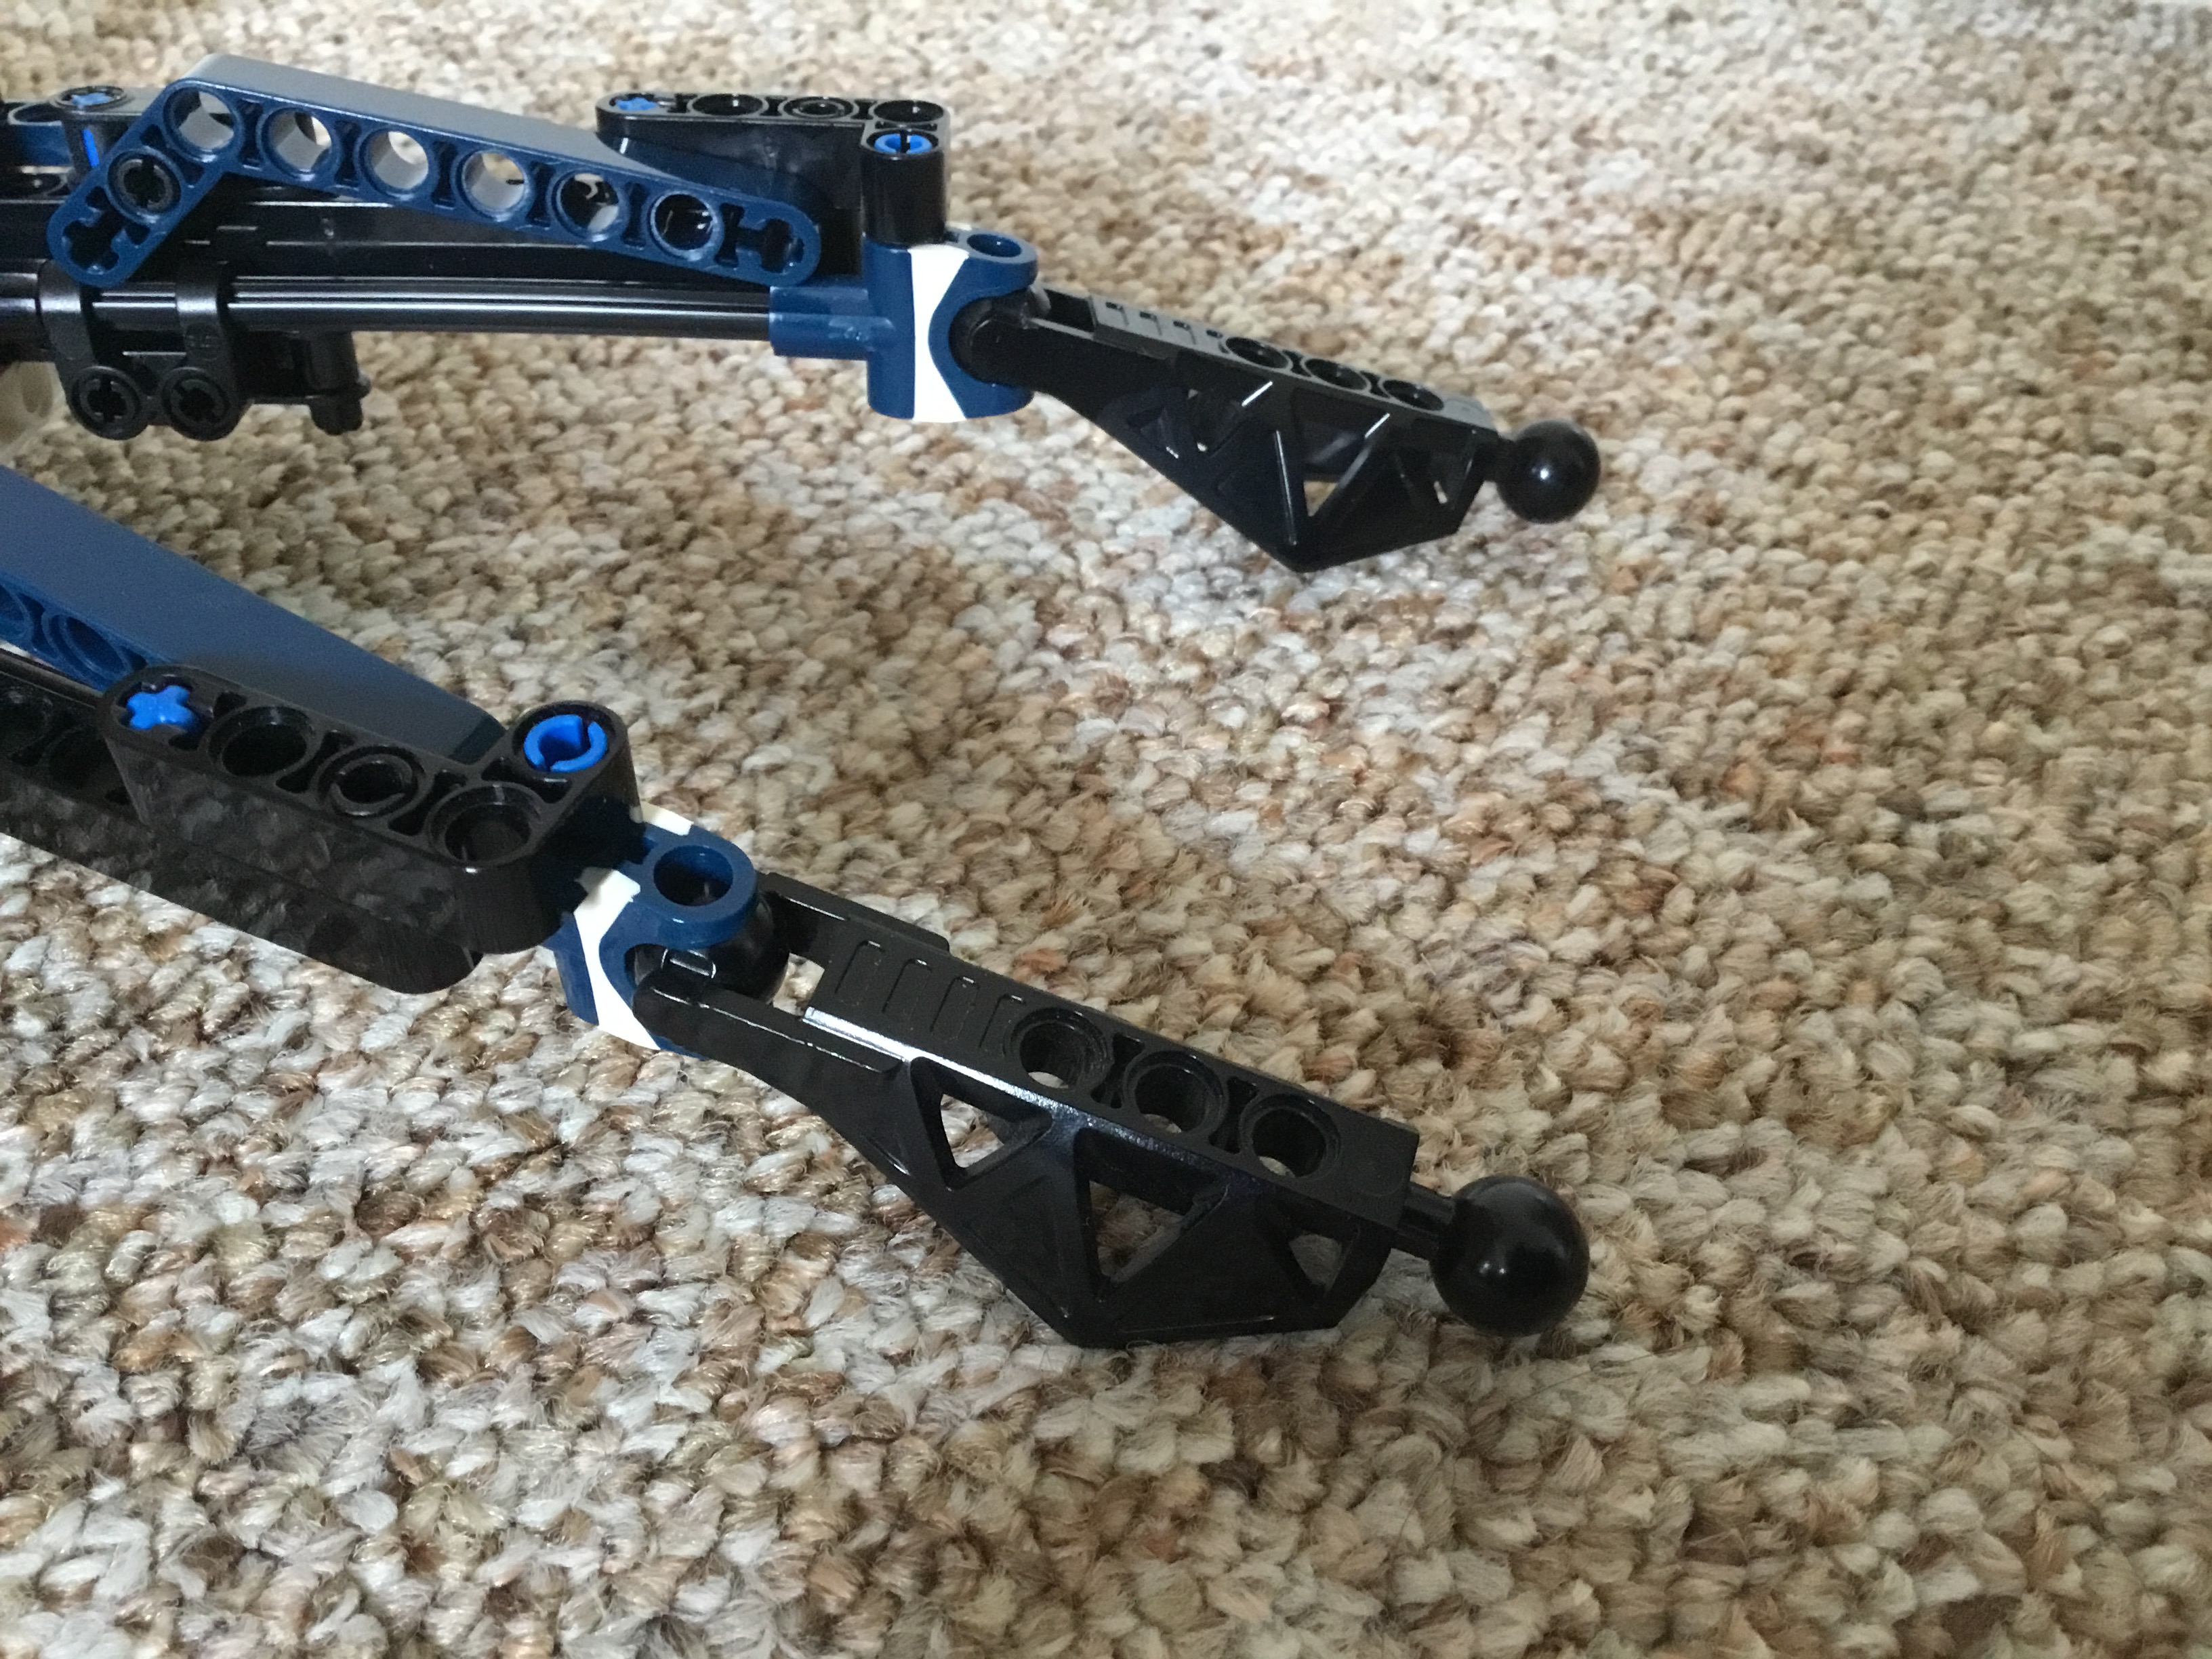
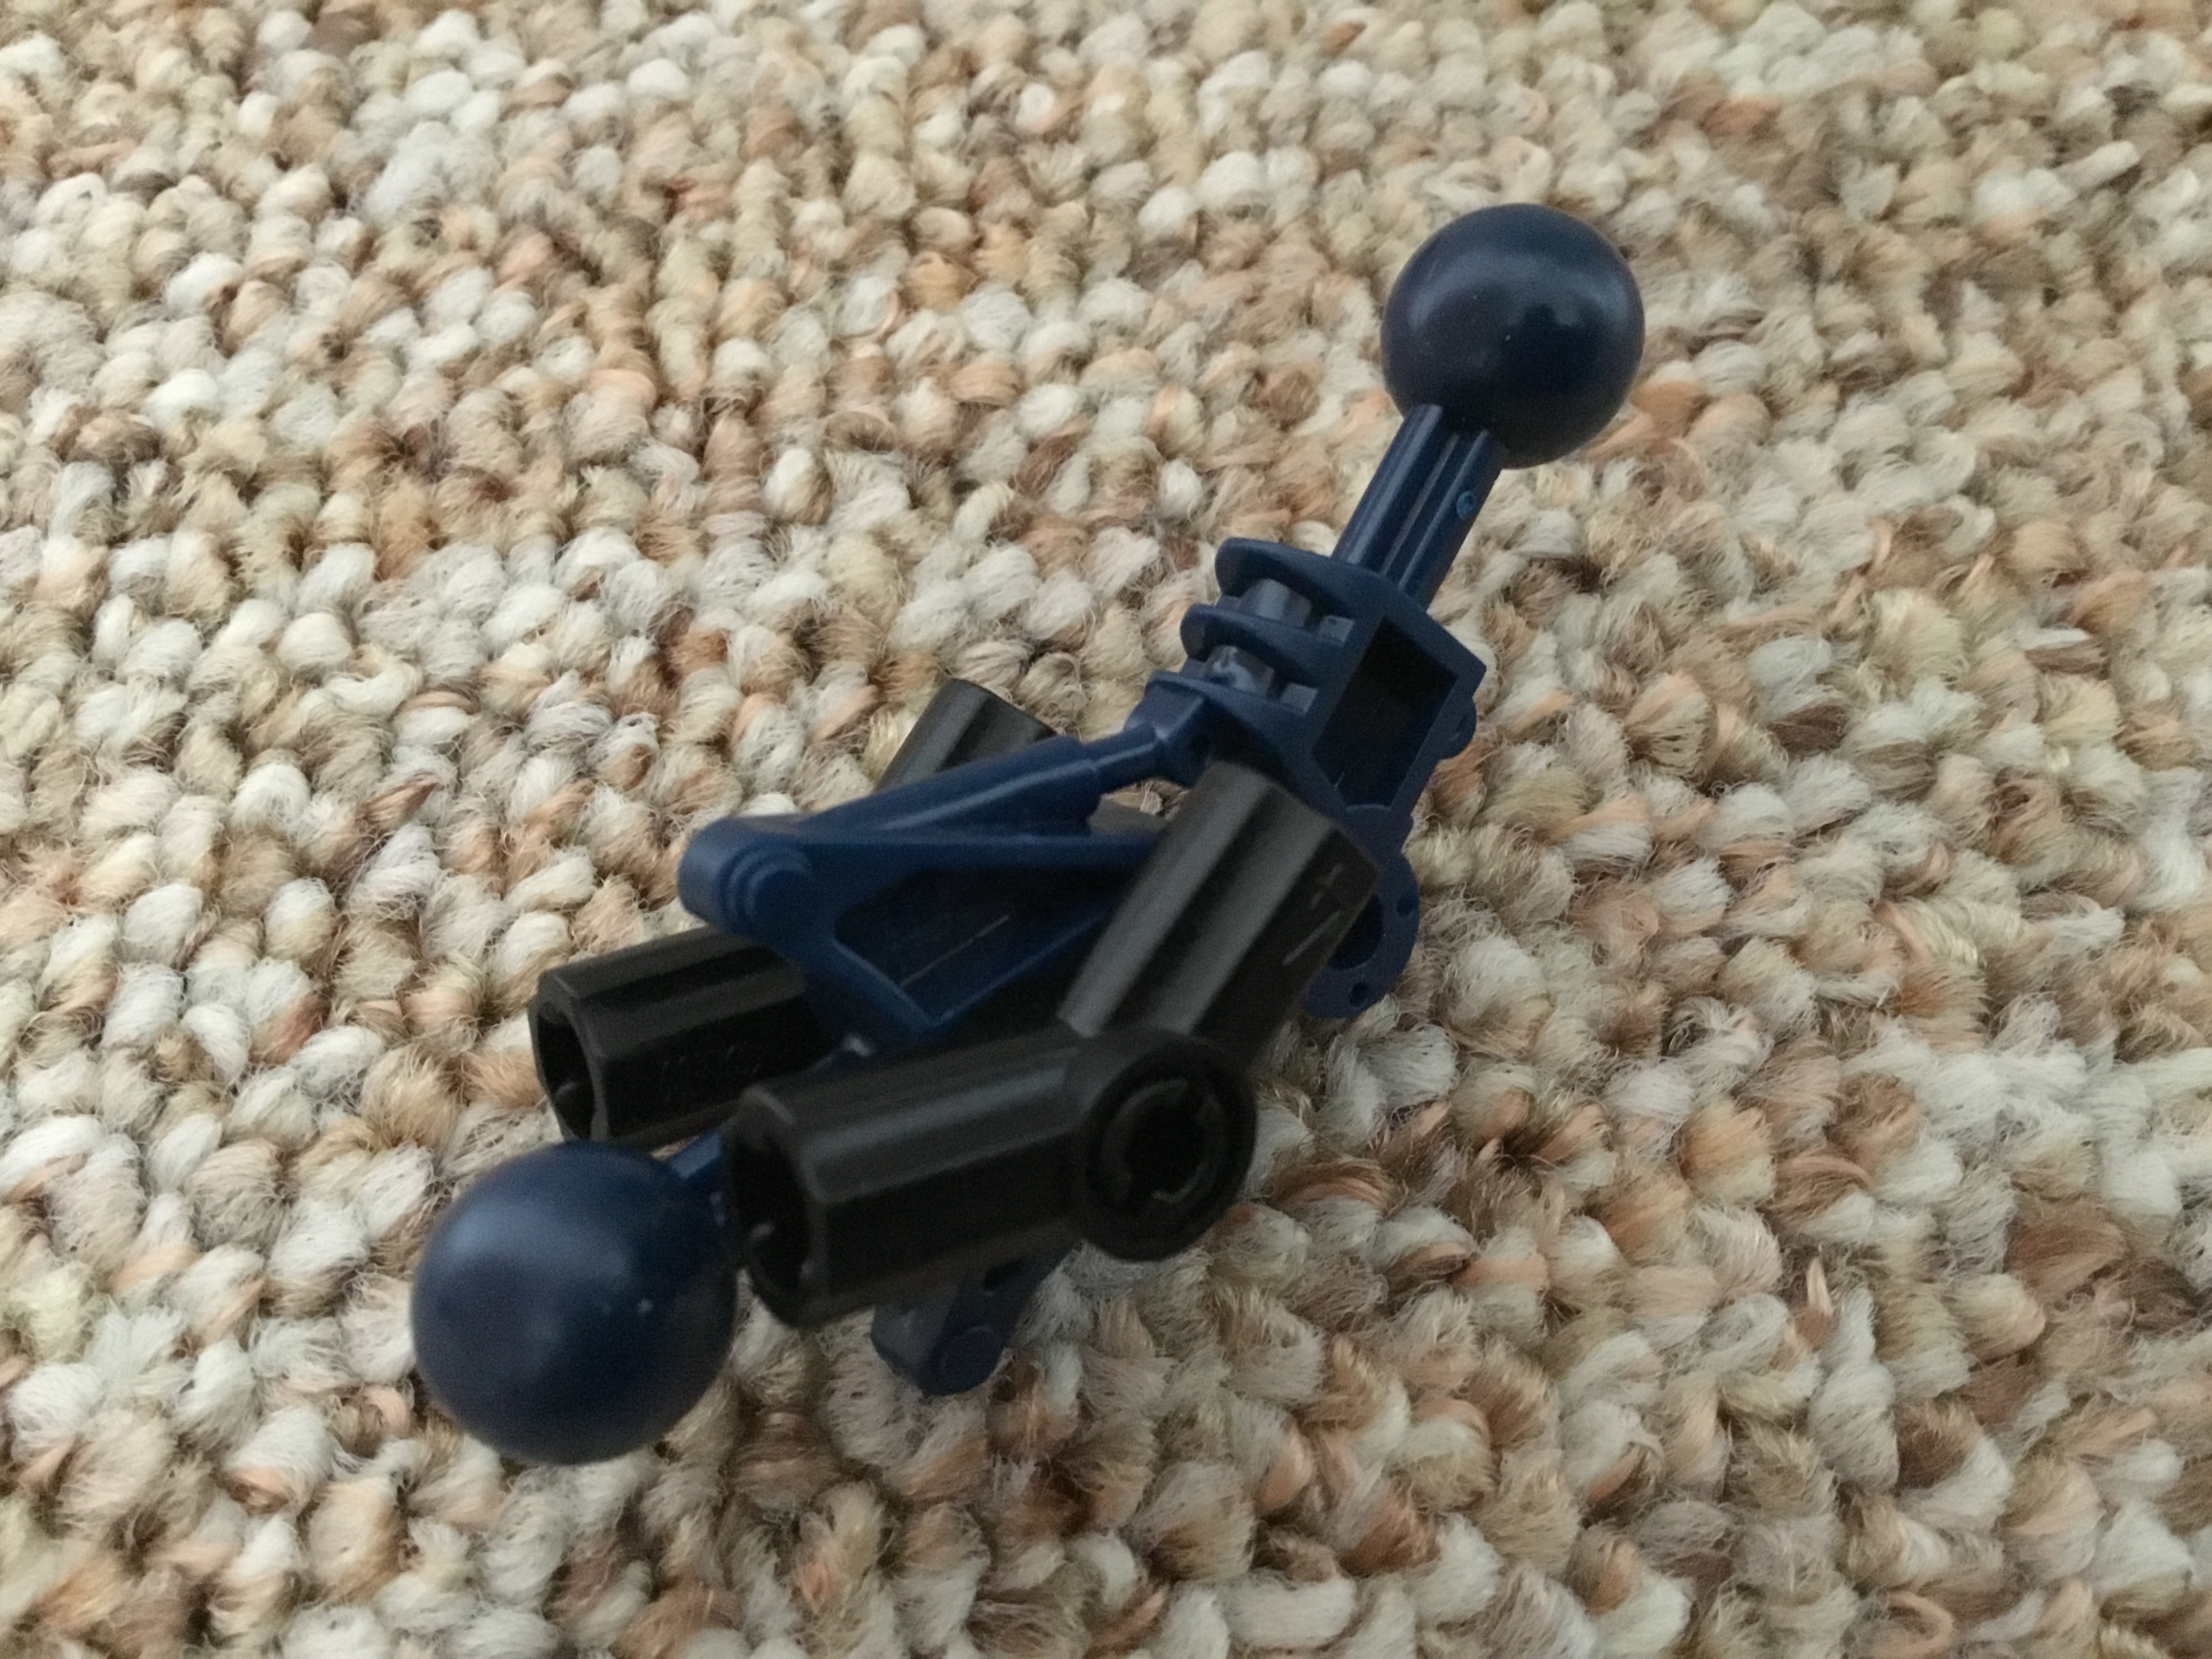
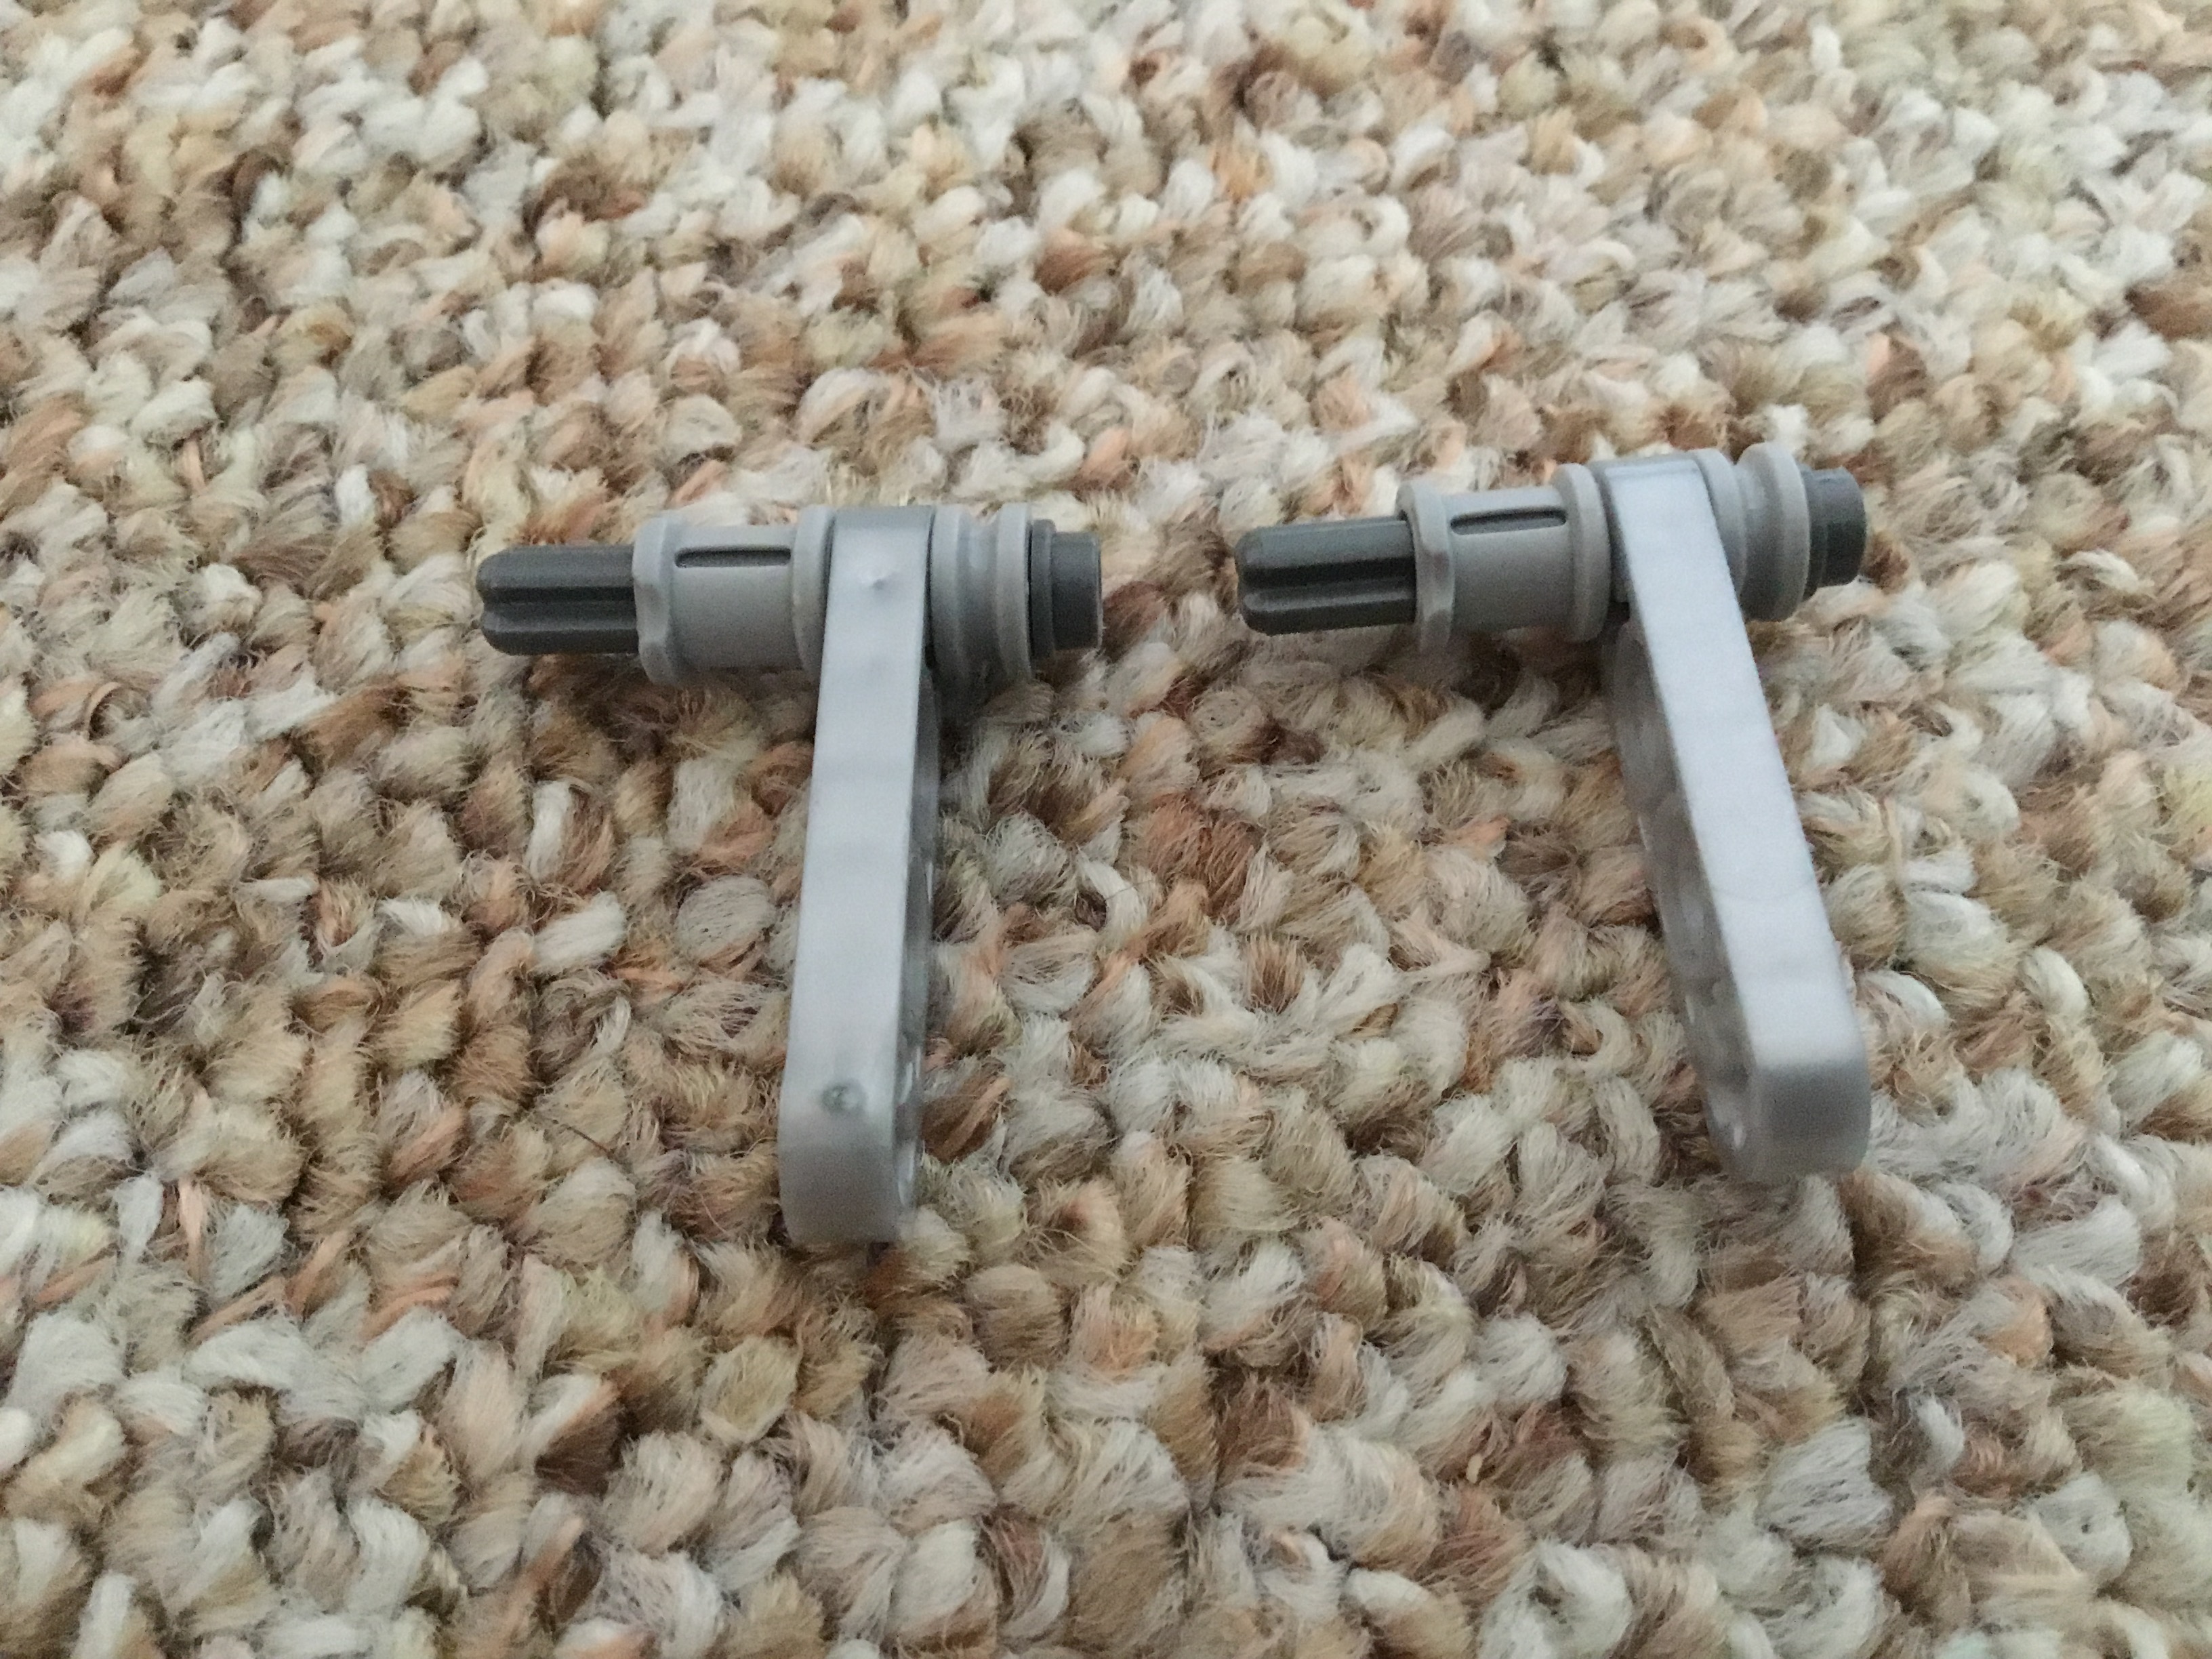
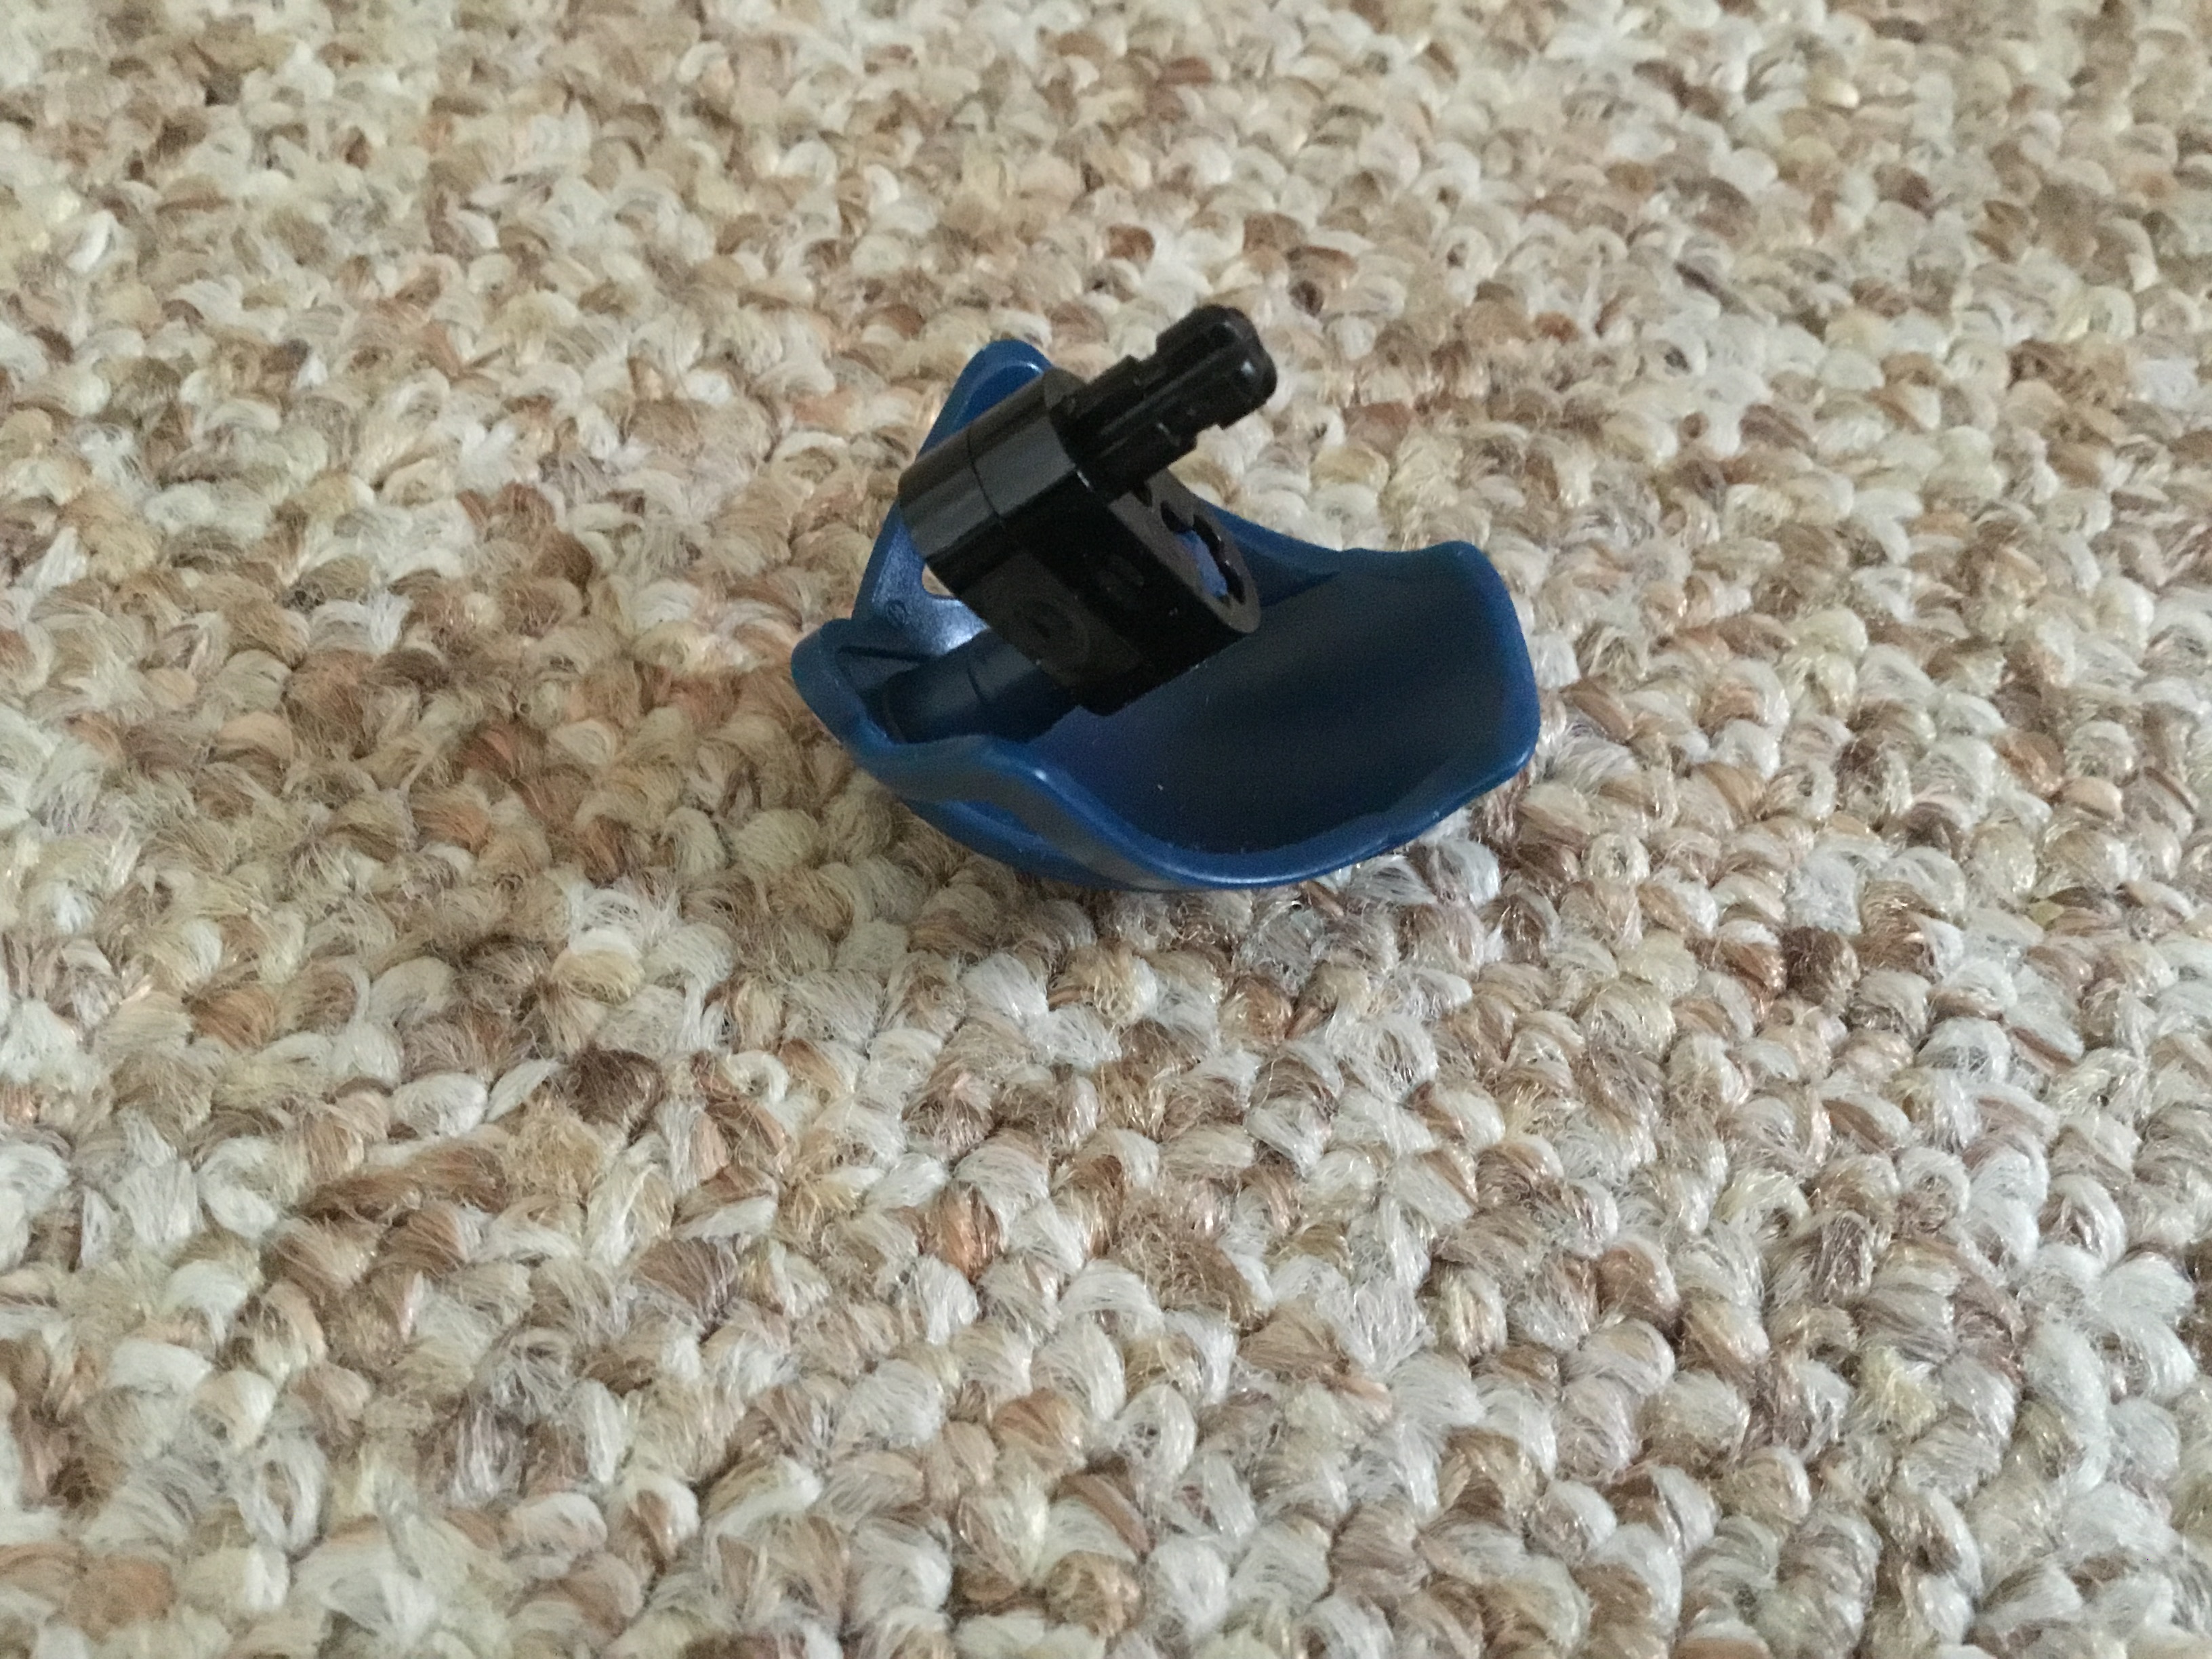
Create these assemblies using Metru feet and some blue connectors.
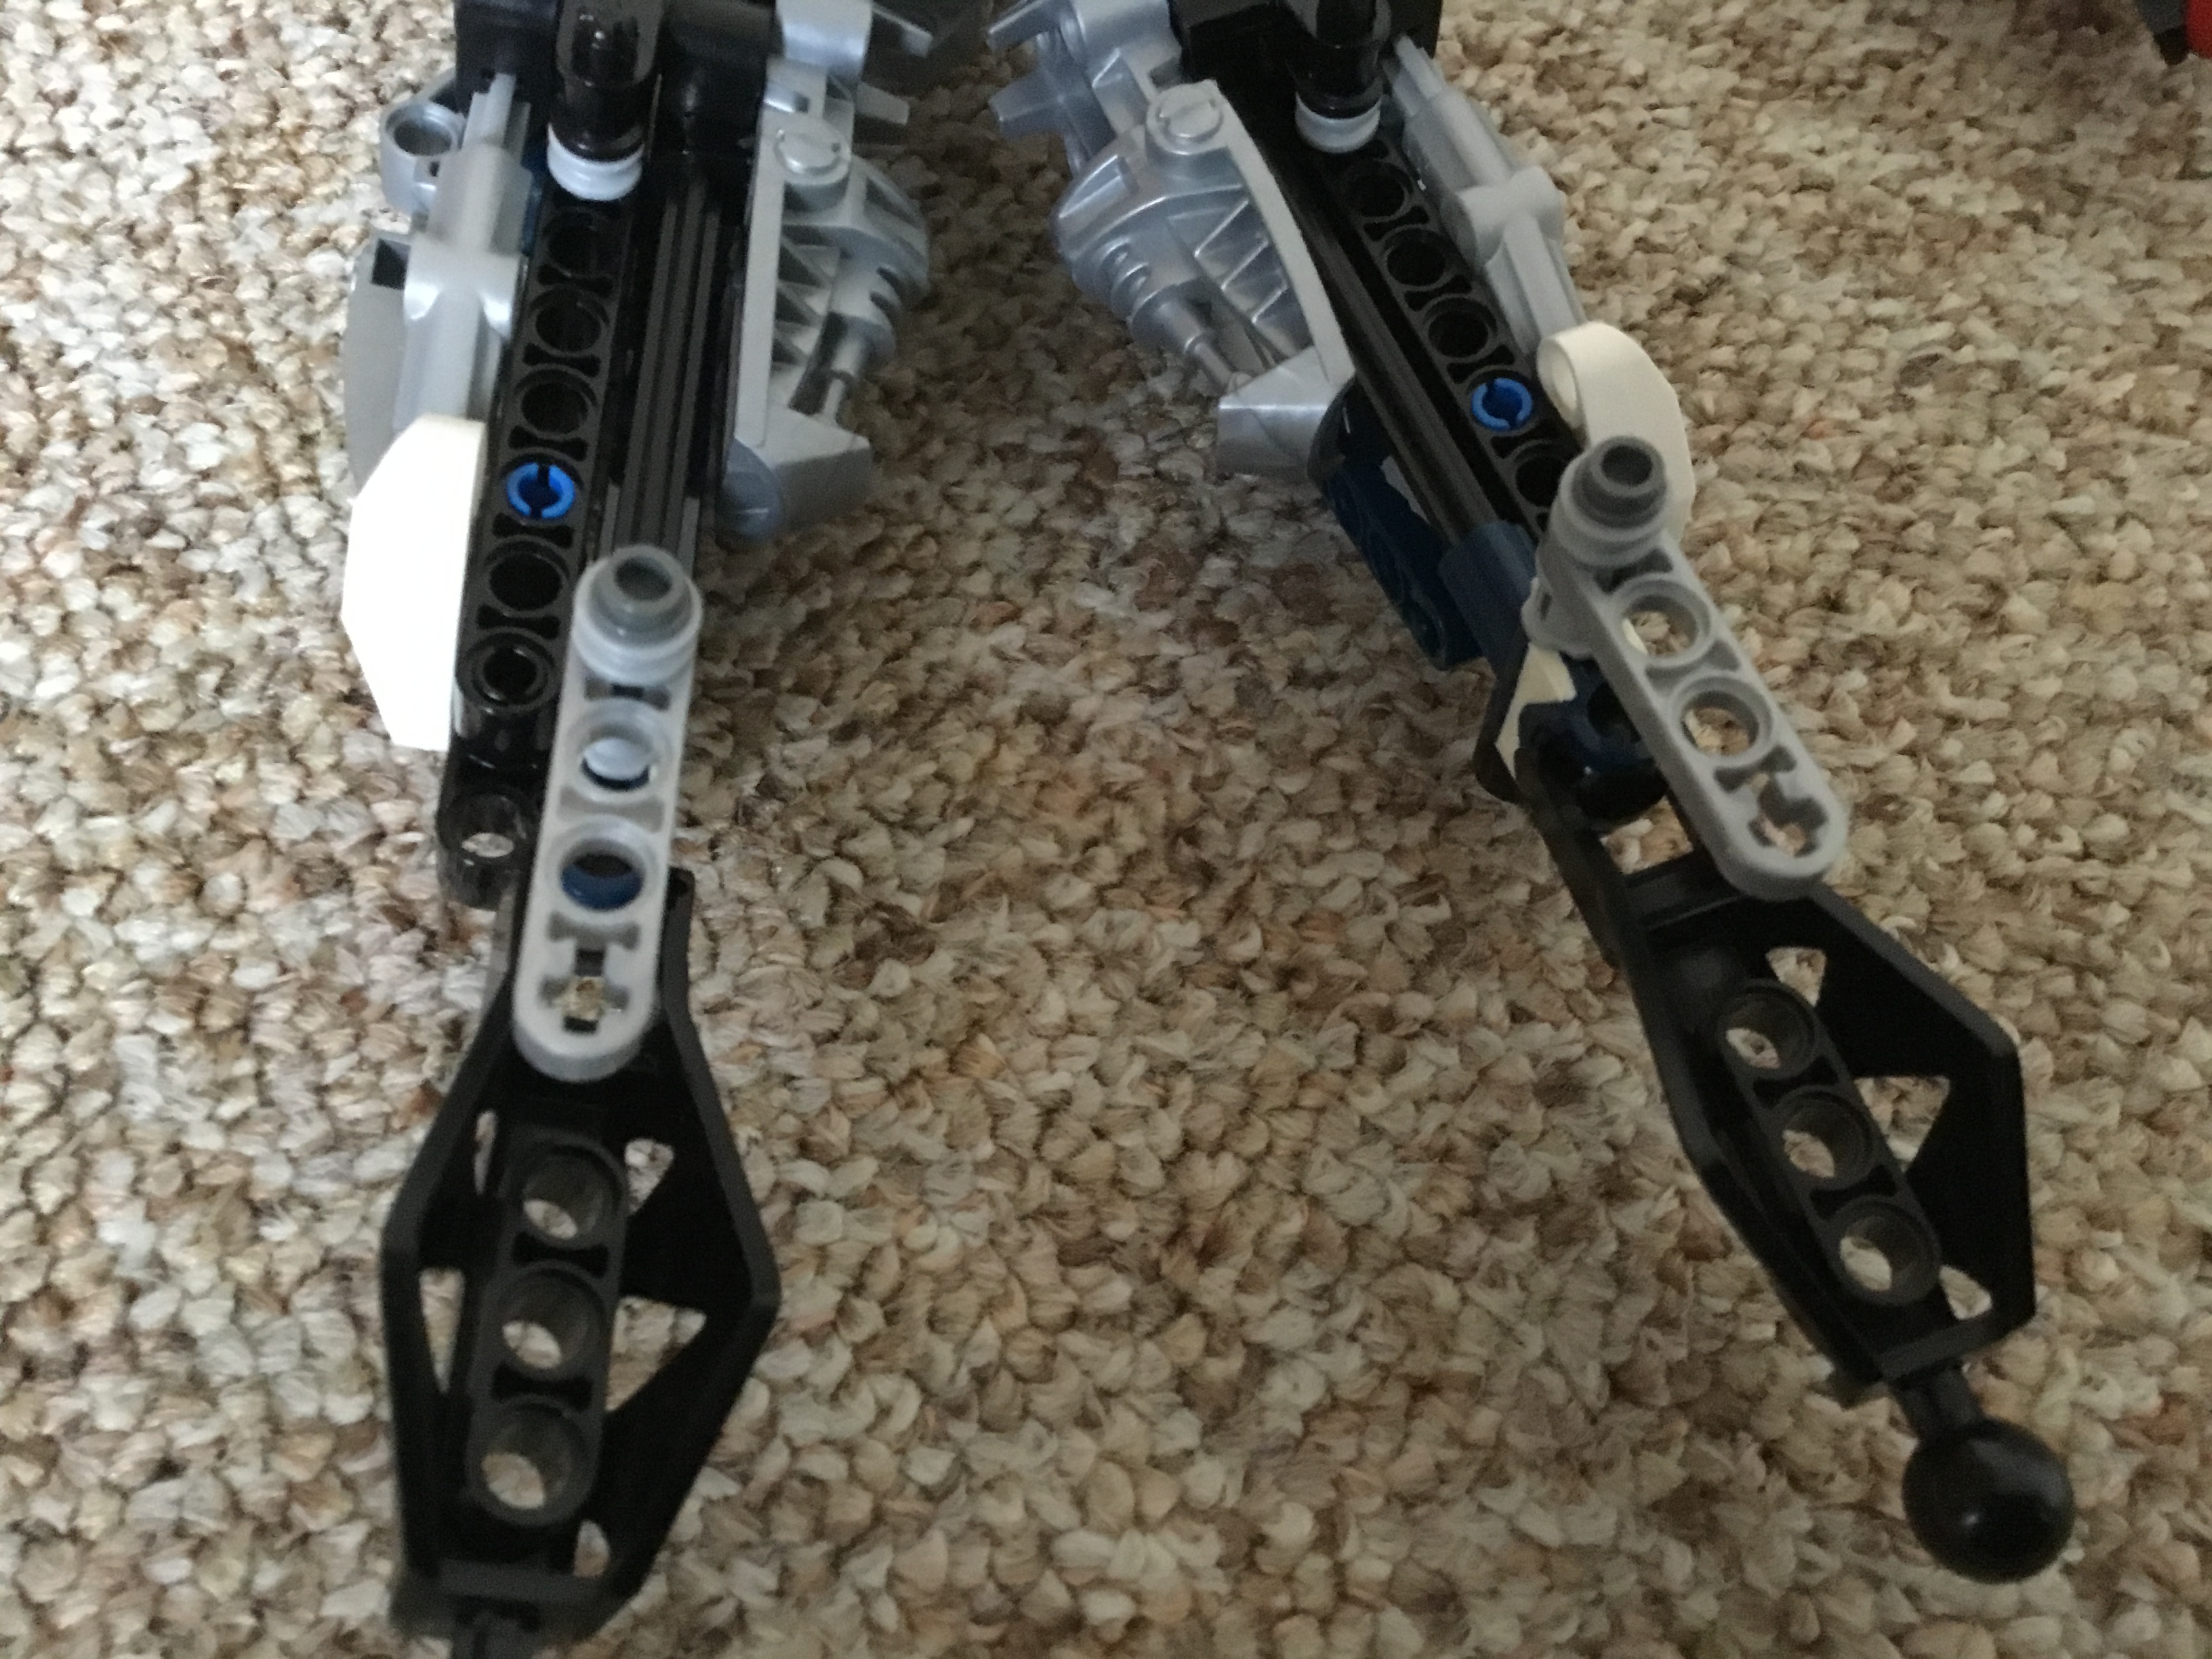
Attach them to the exposed pins on the side of his thighs.
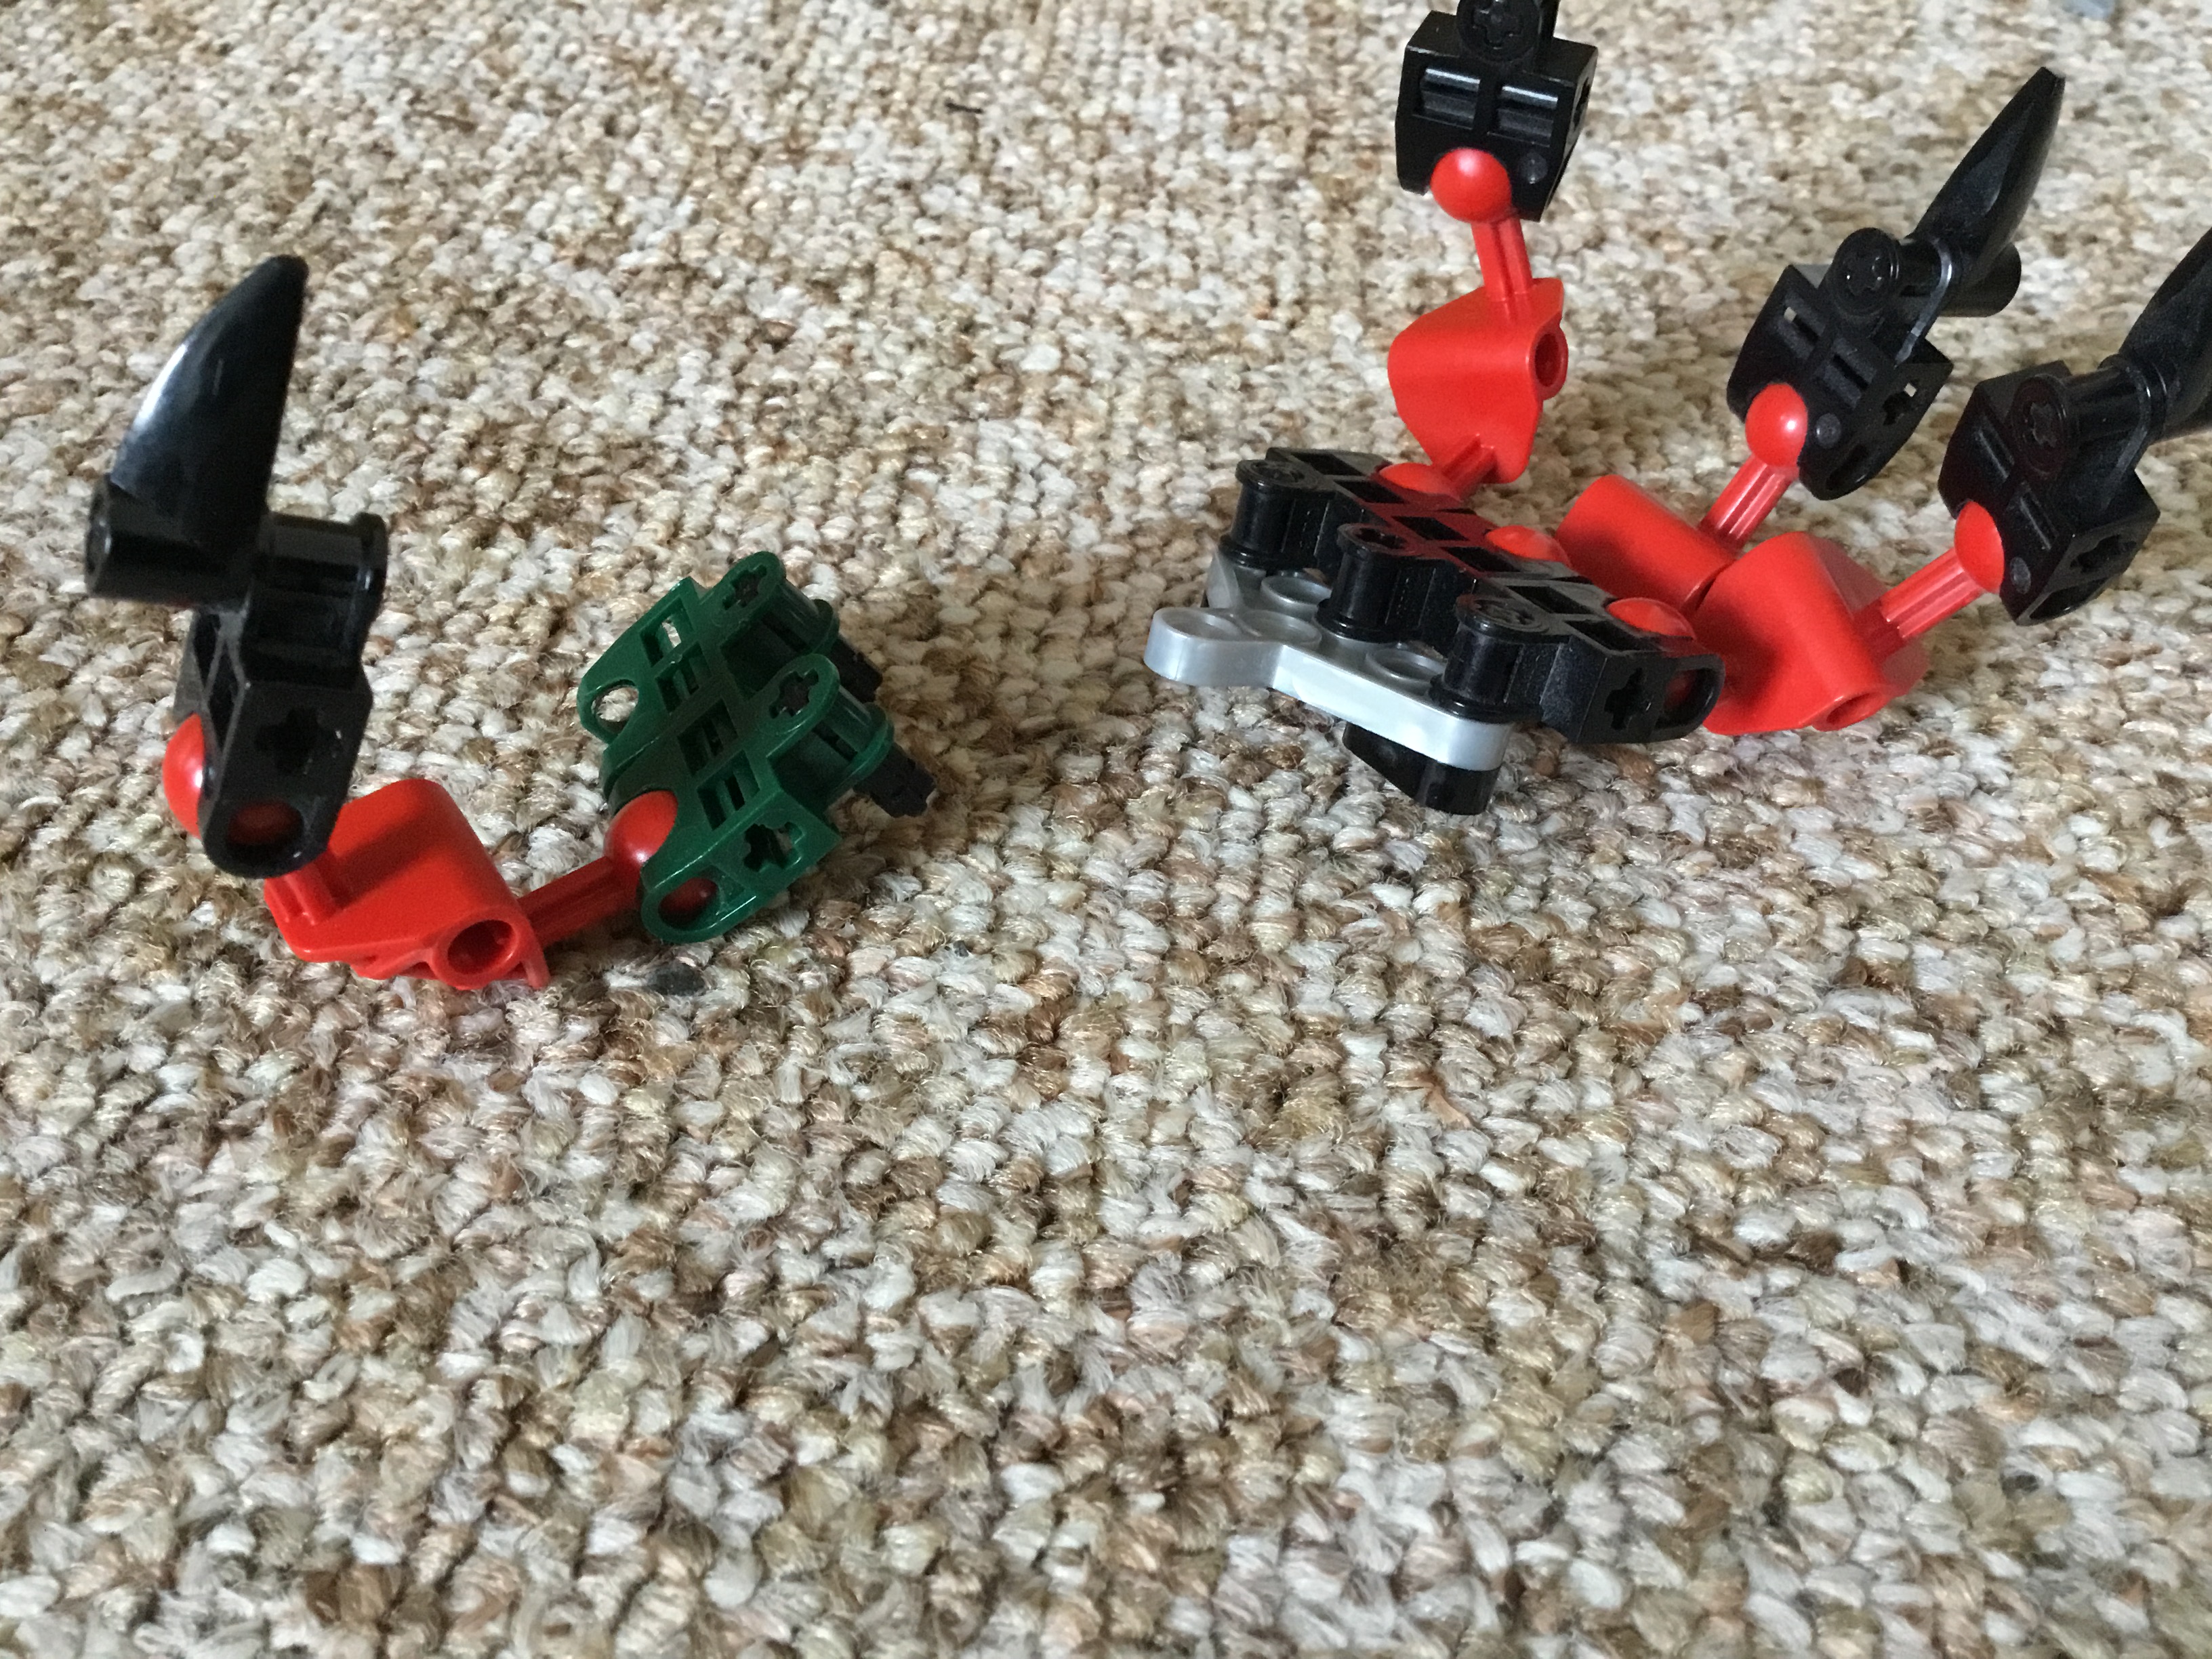
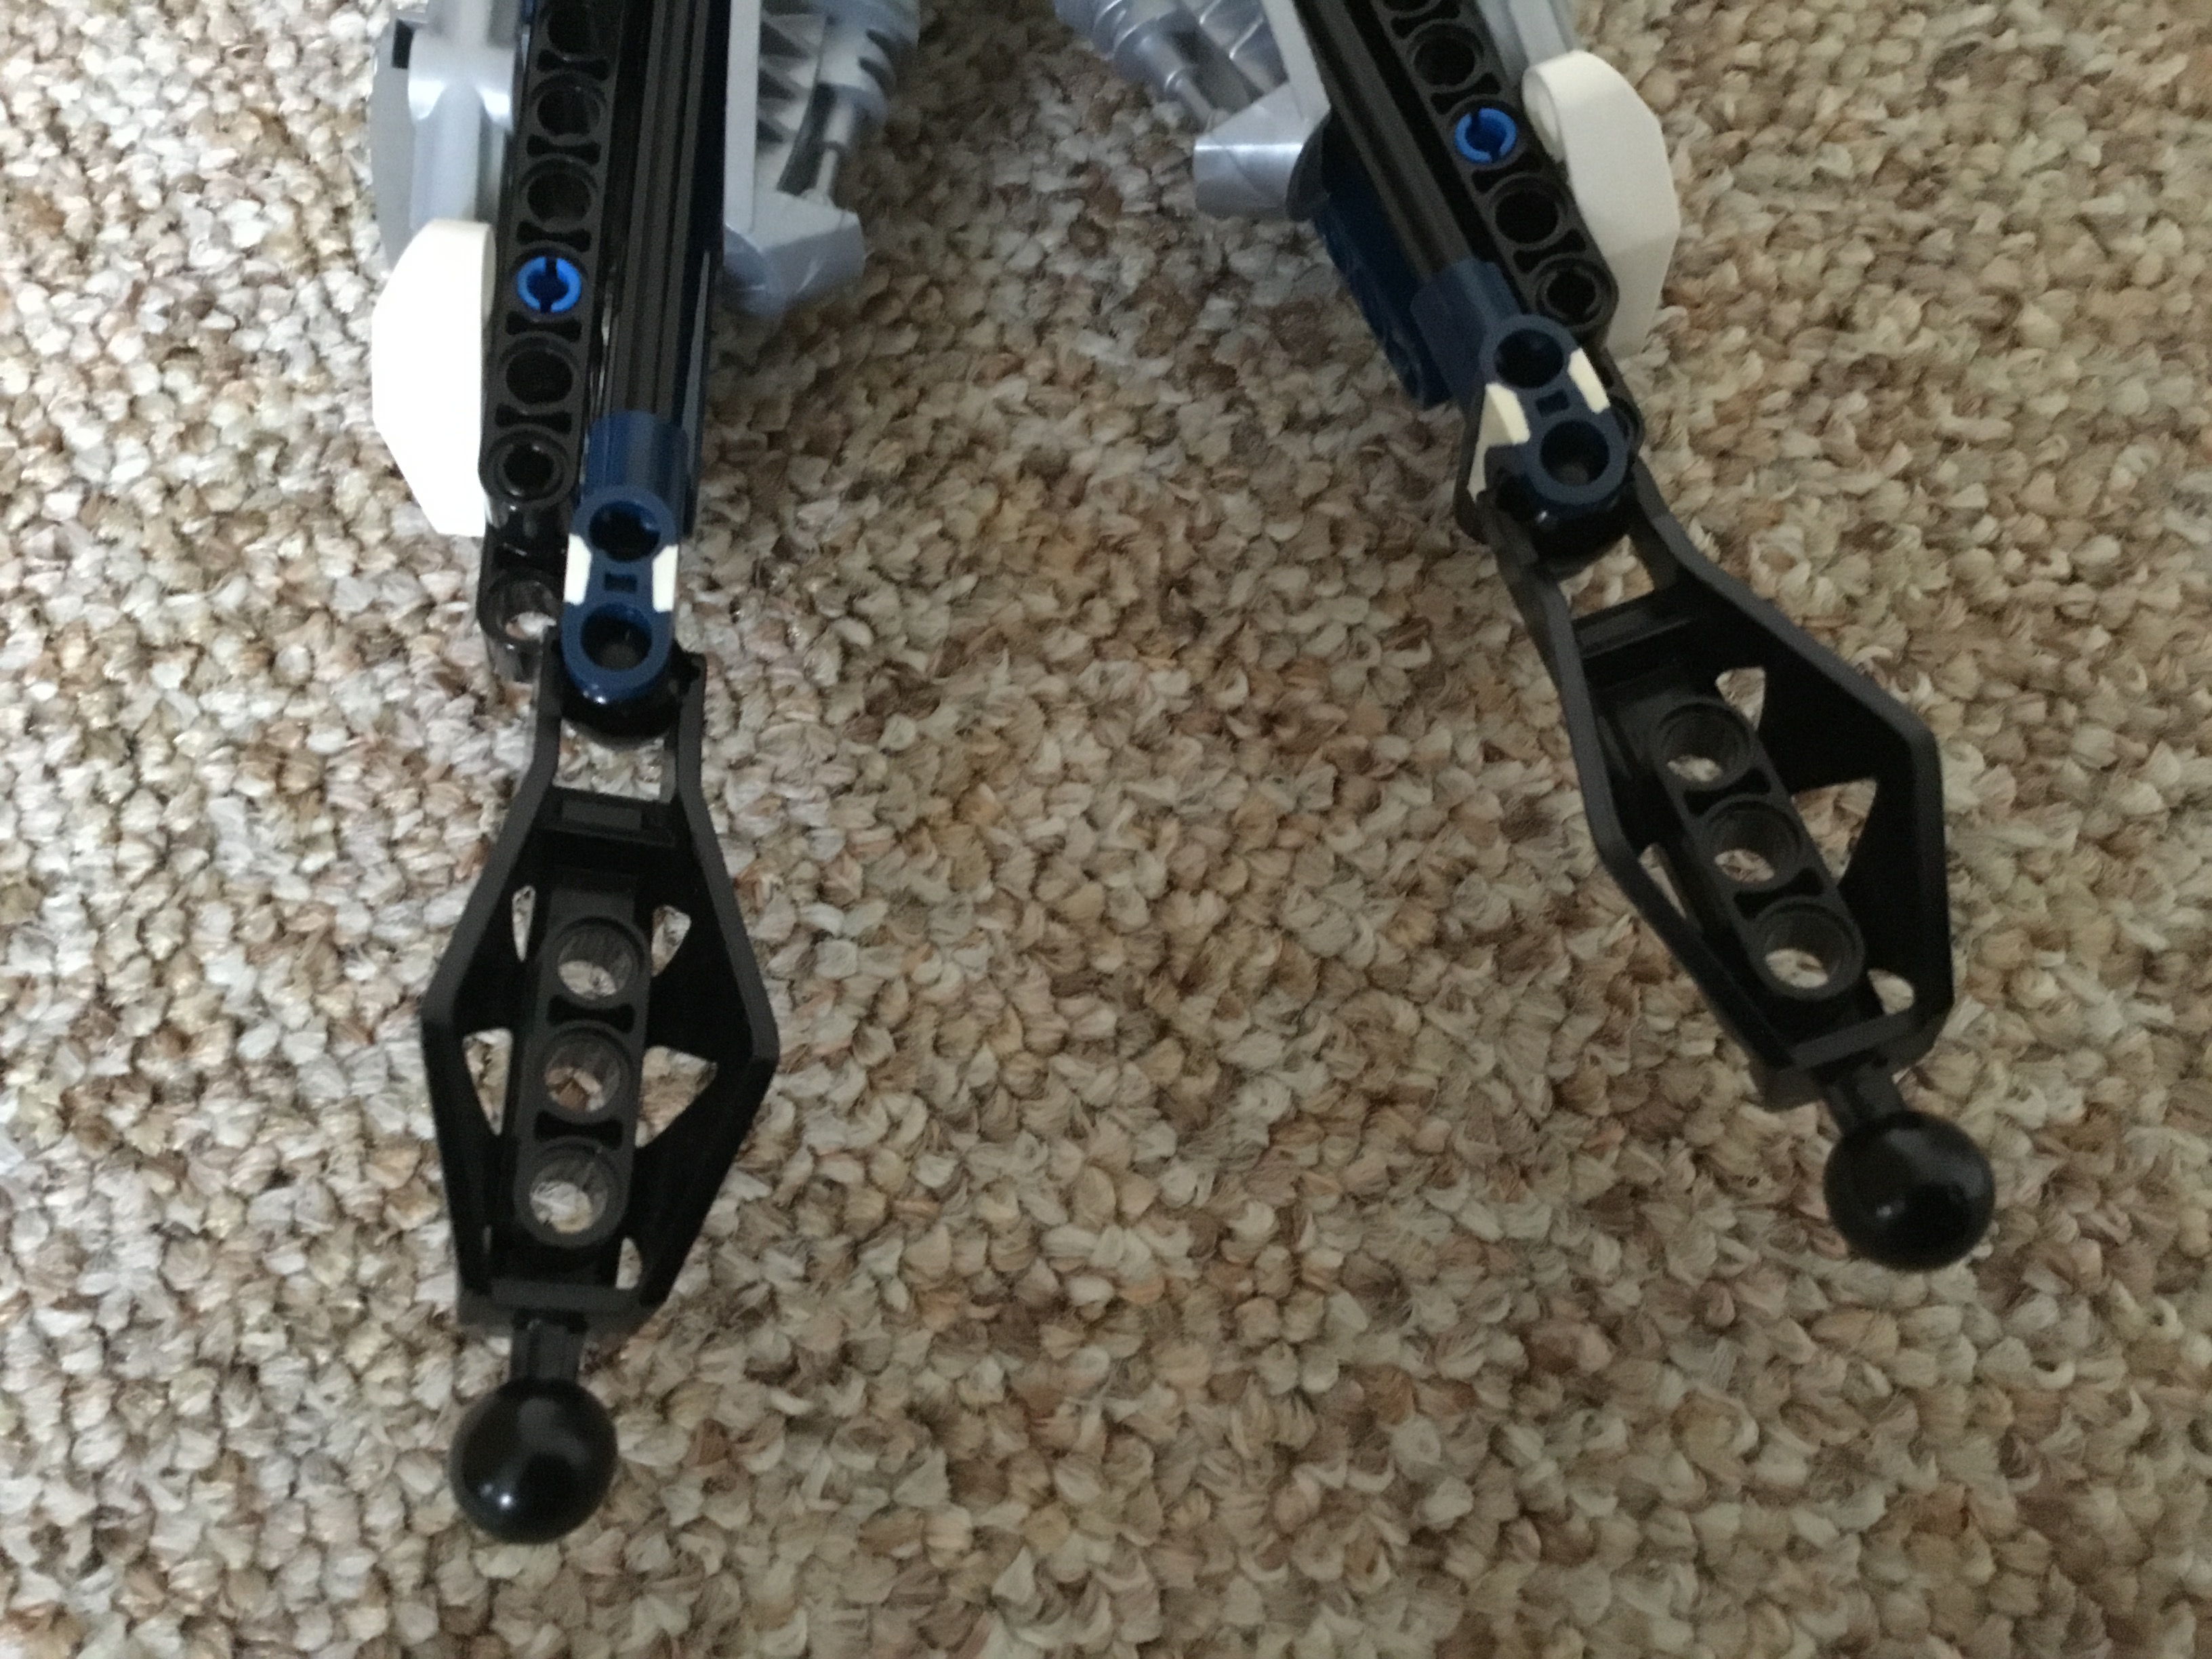
Next make these mirrored assemblies.
Attach them to these axles.
Temporarily remove the sockets from his knees.
This will allow you to slide some small black pieces onto his leg axles.
Now slide Metru feet onto those black pieces, bulking up his thighs.
You can now reattach the sockets to his thighs.
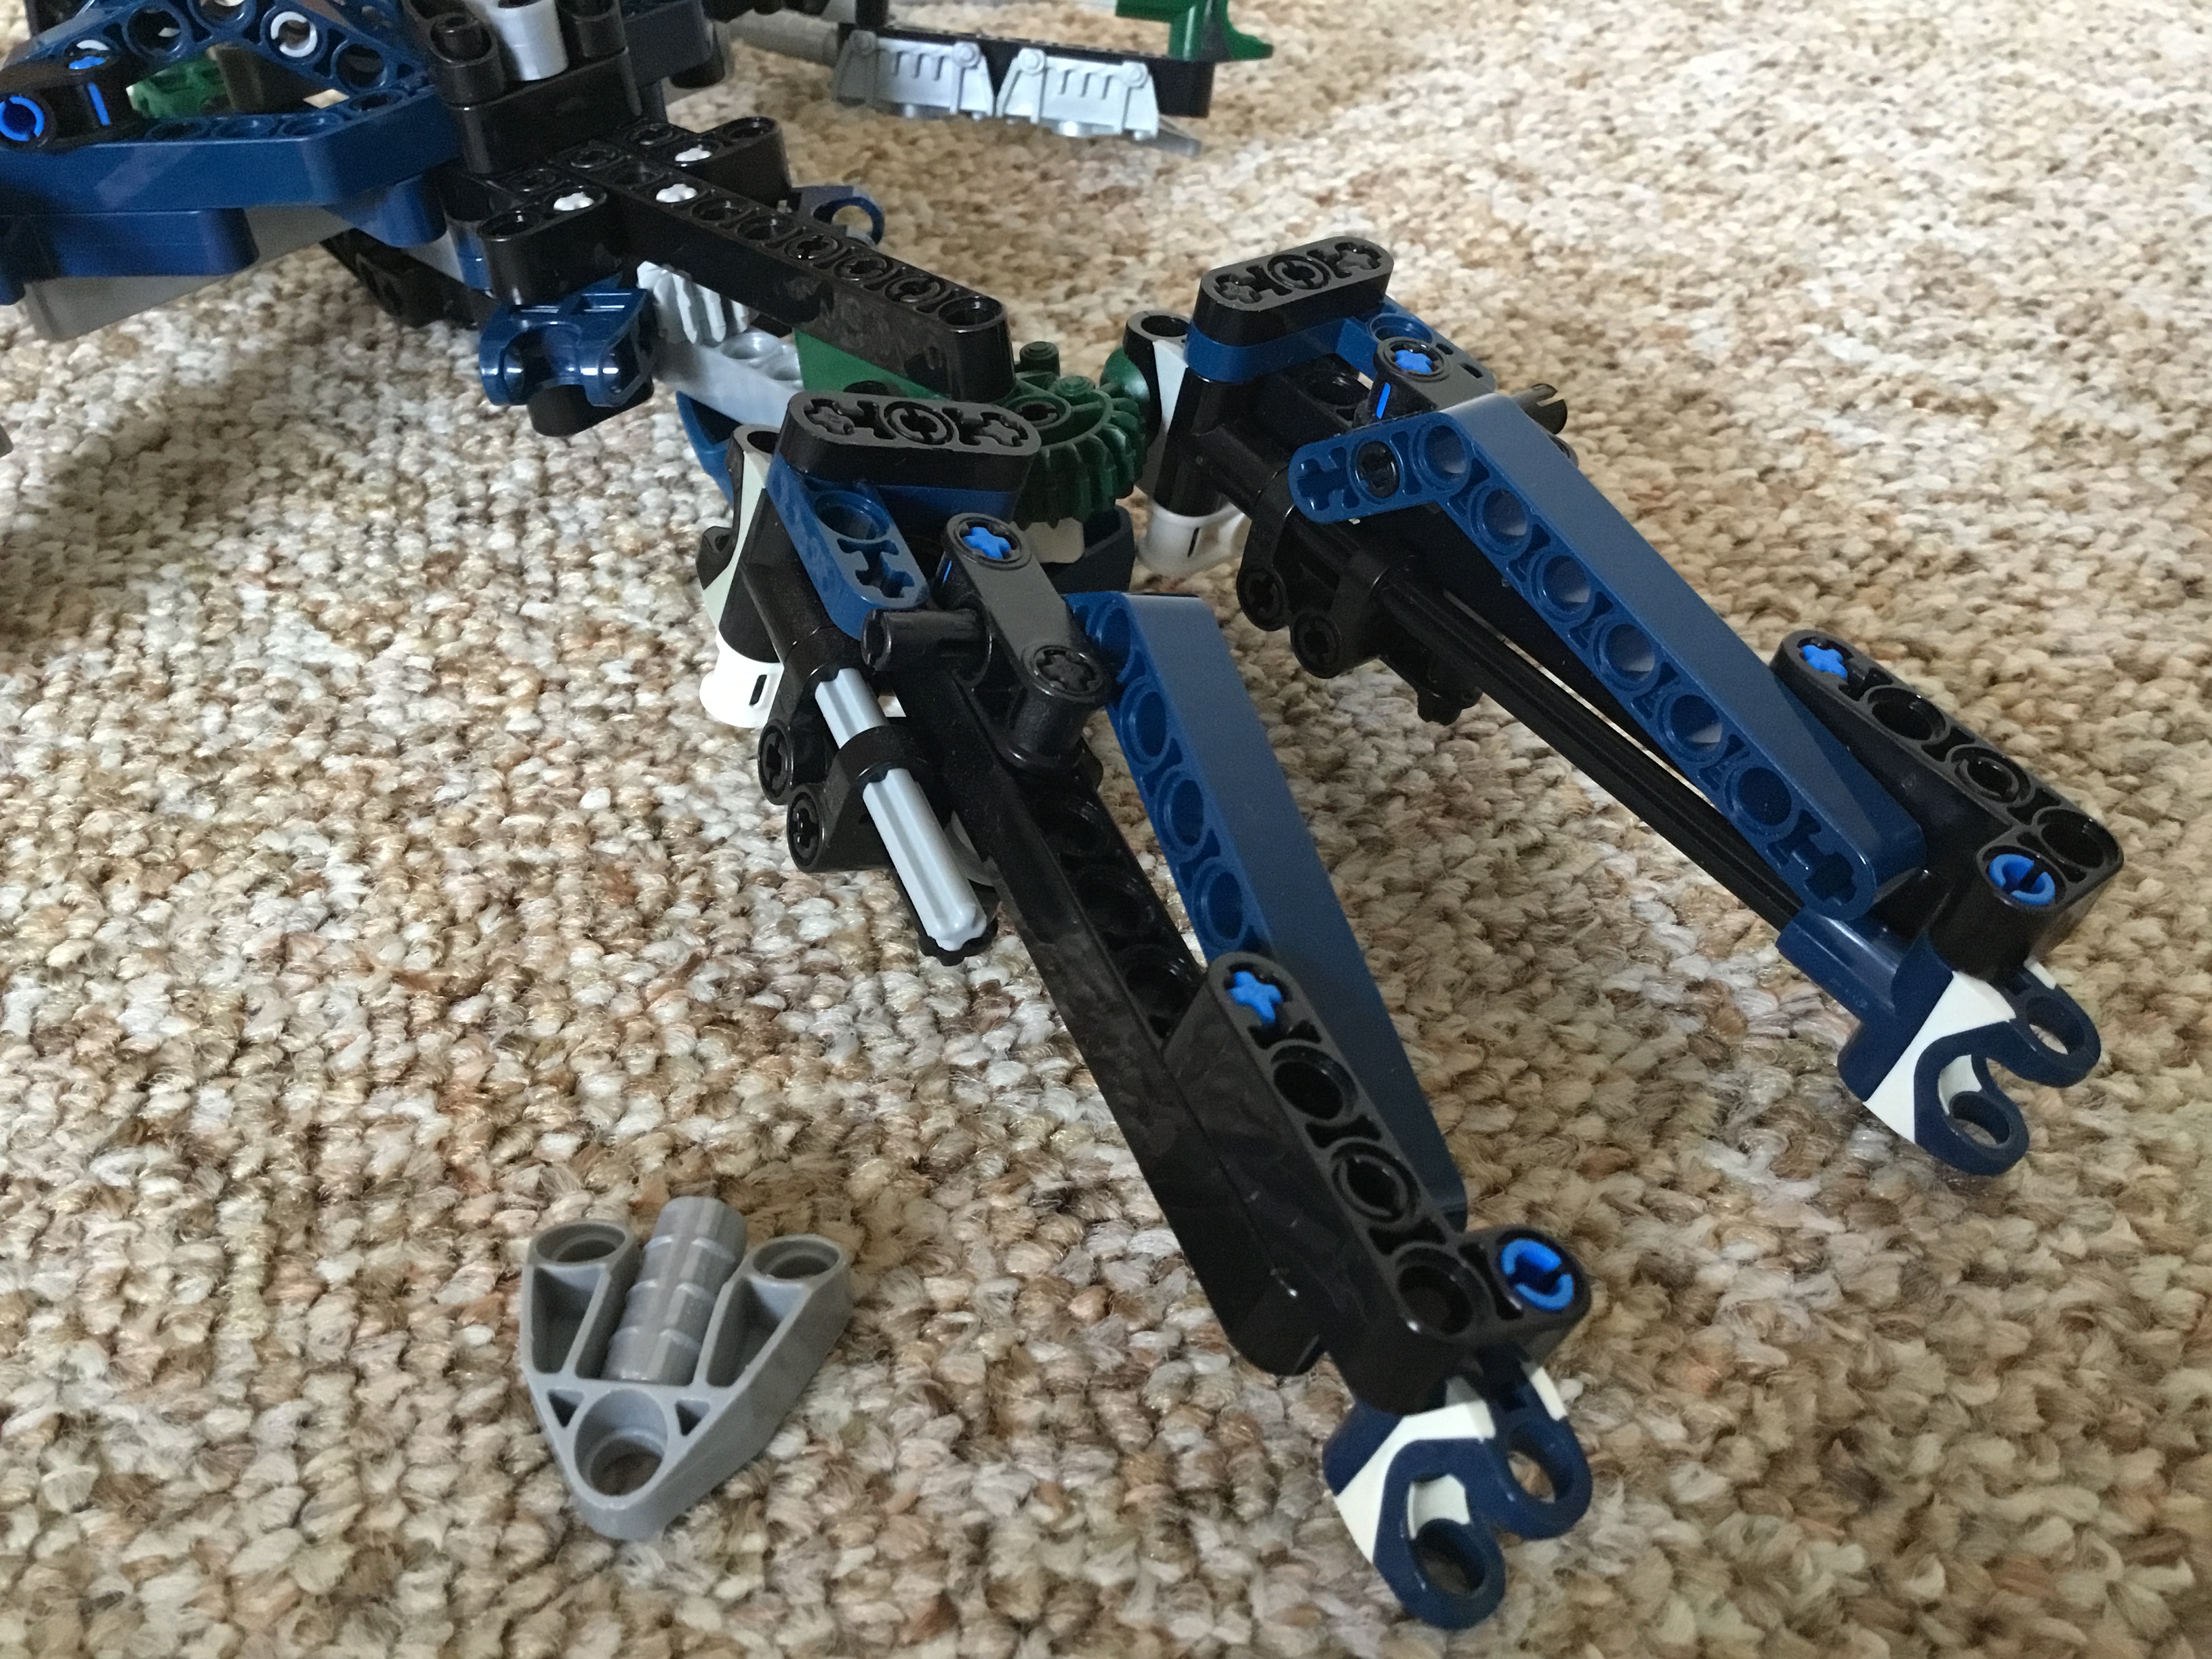
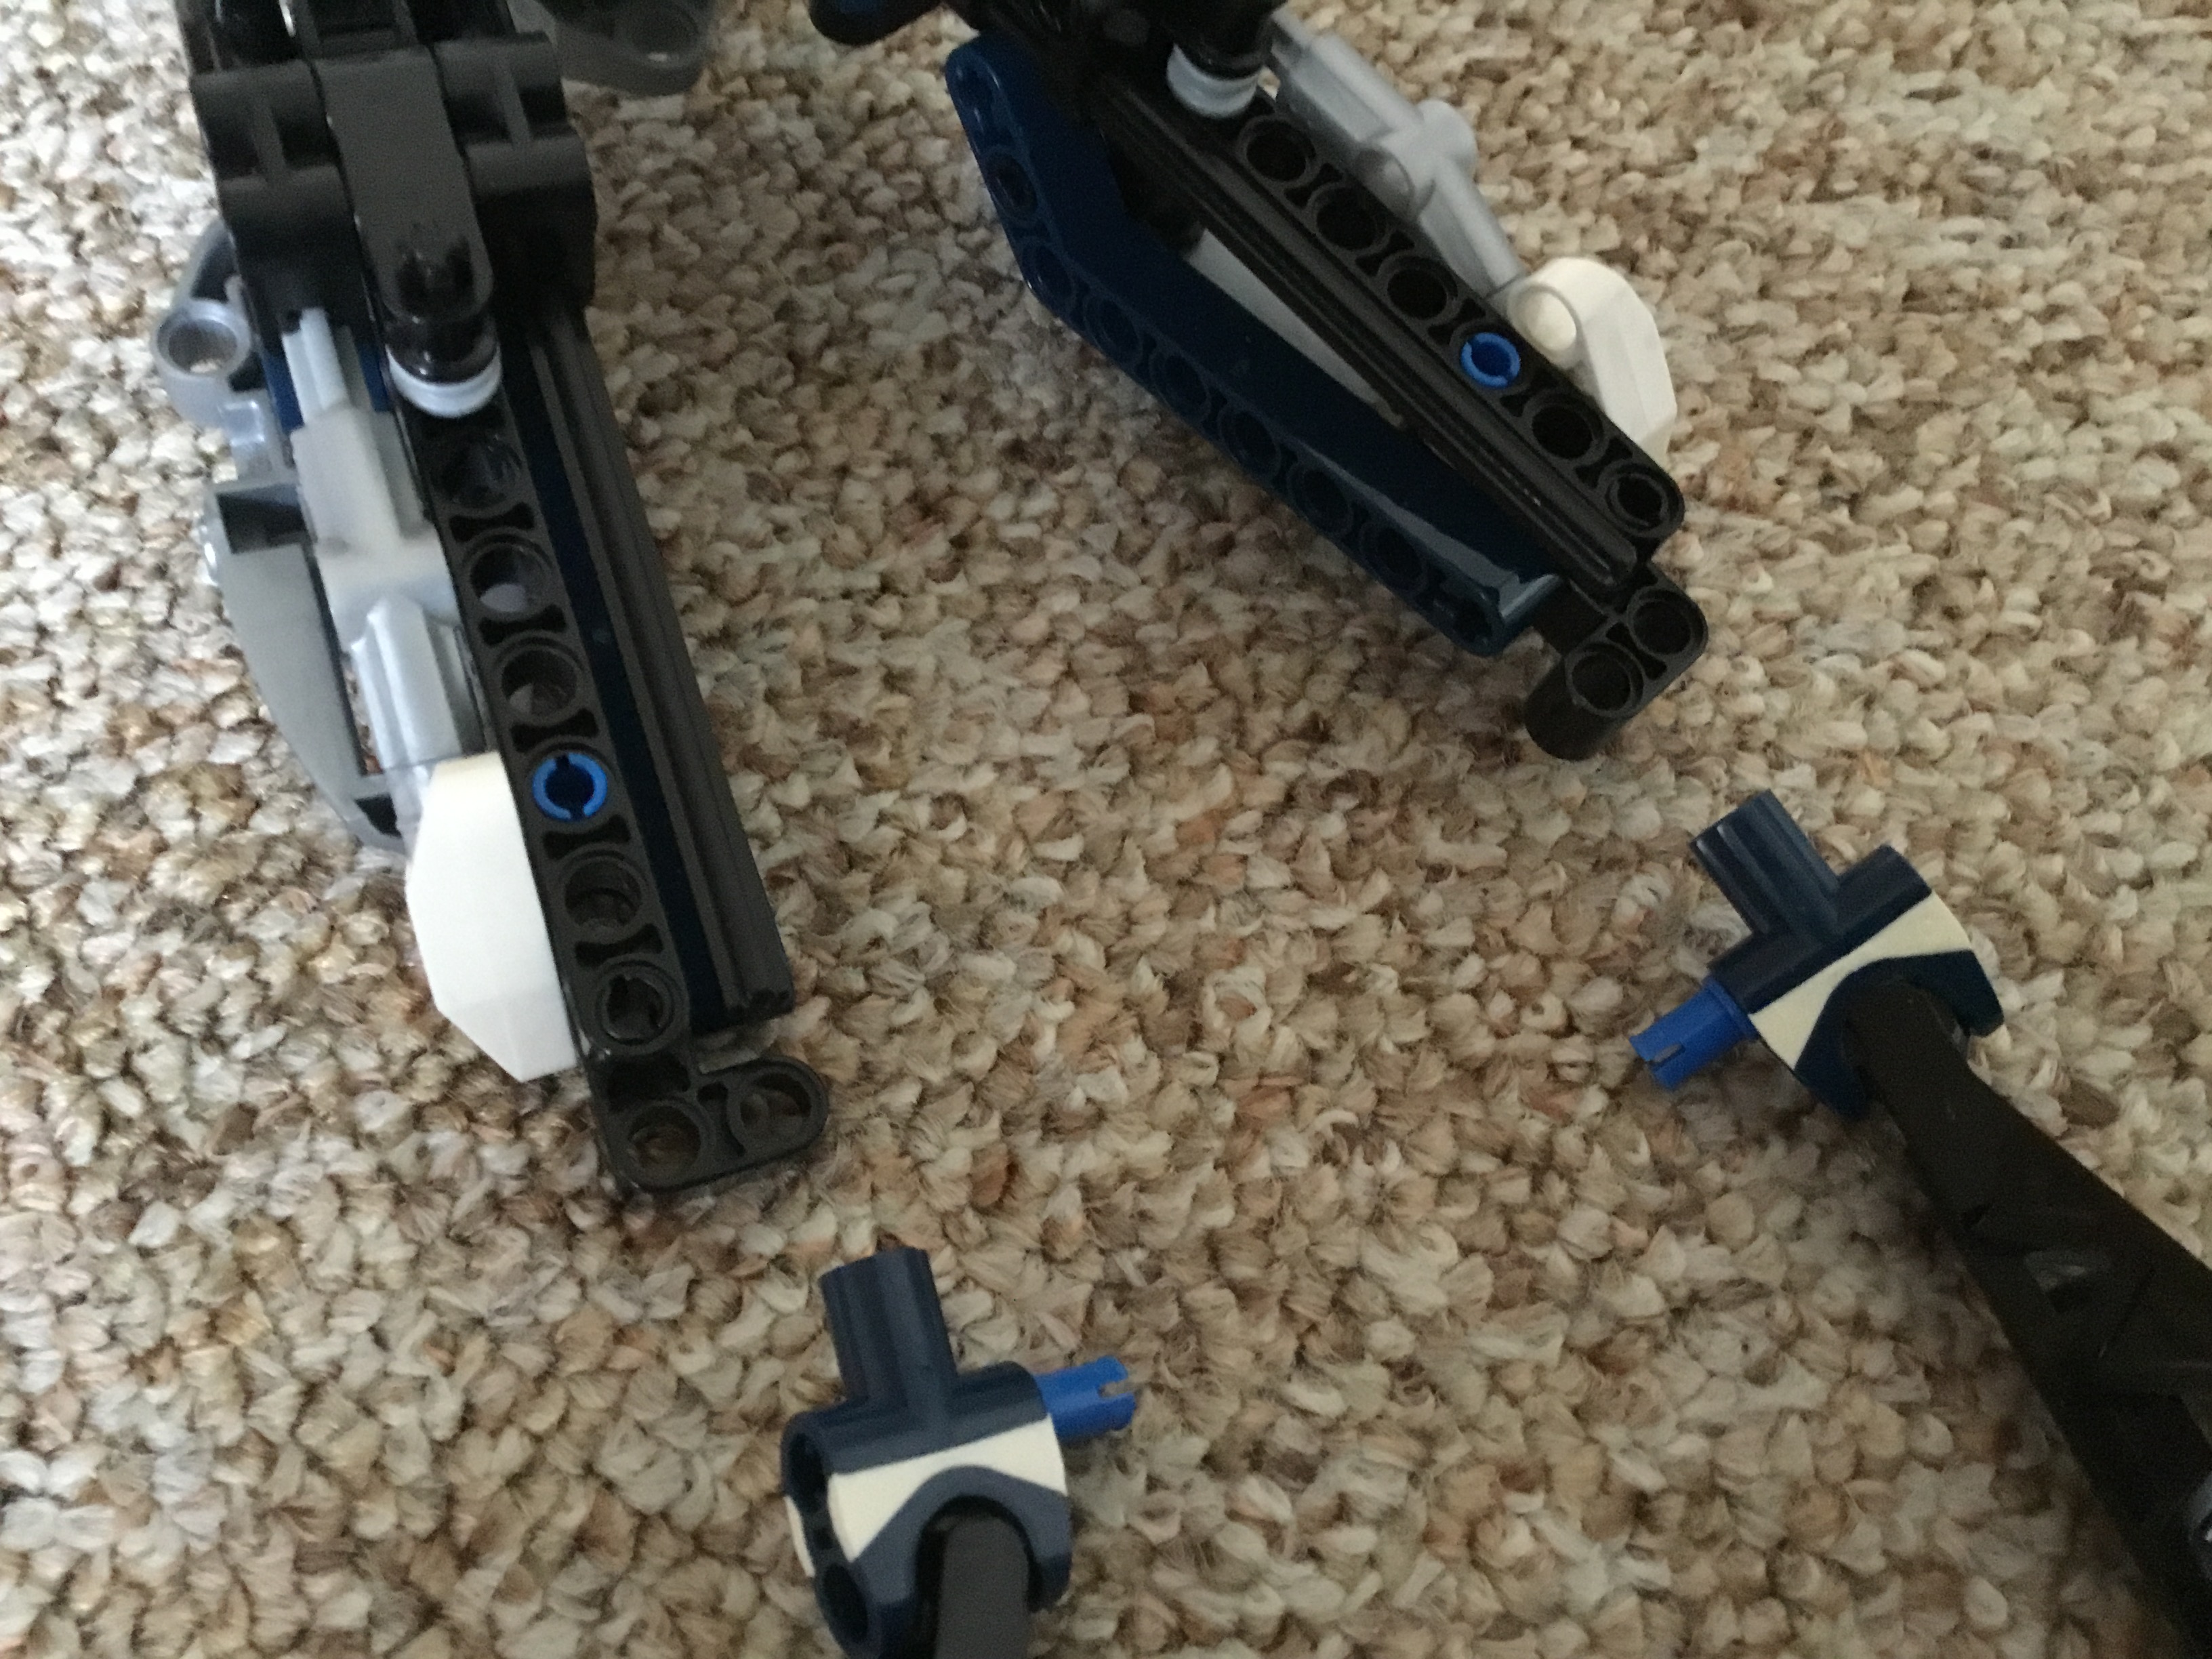
Finally, create two of these assemblies.
Plug them into the backs of his knees to stabilise his legs. Optionally, they could be removed as they hinder his articulation, however, he is significantly more unstable without them.
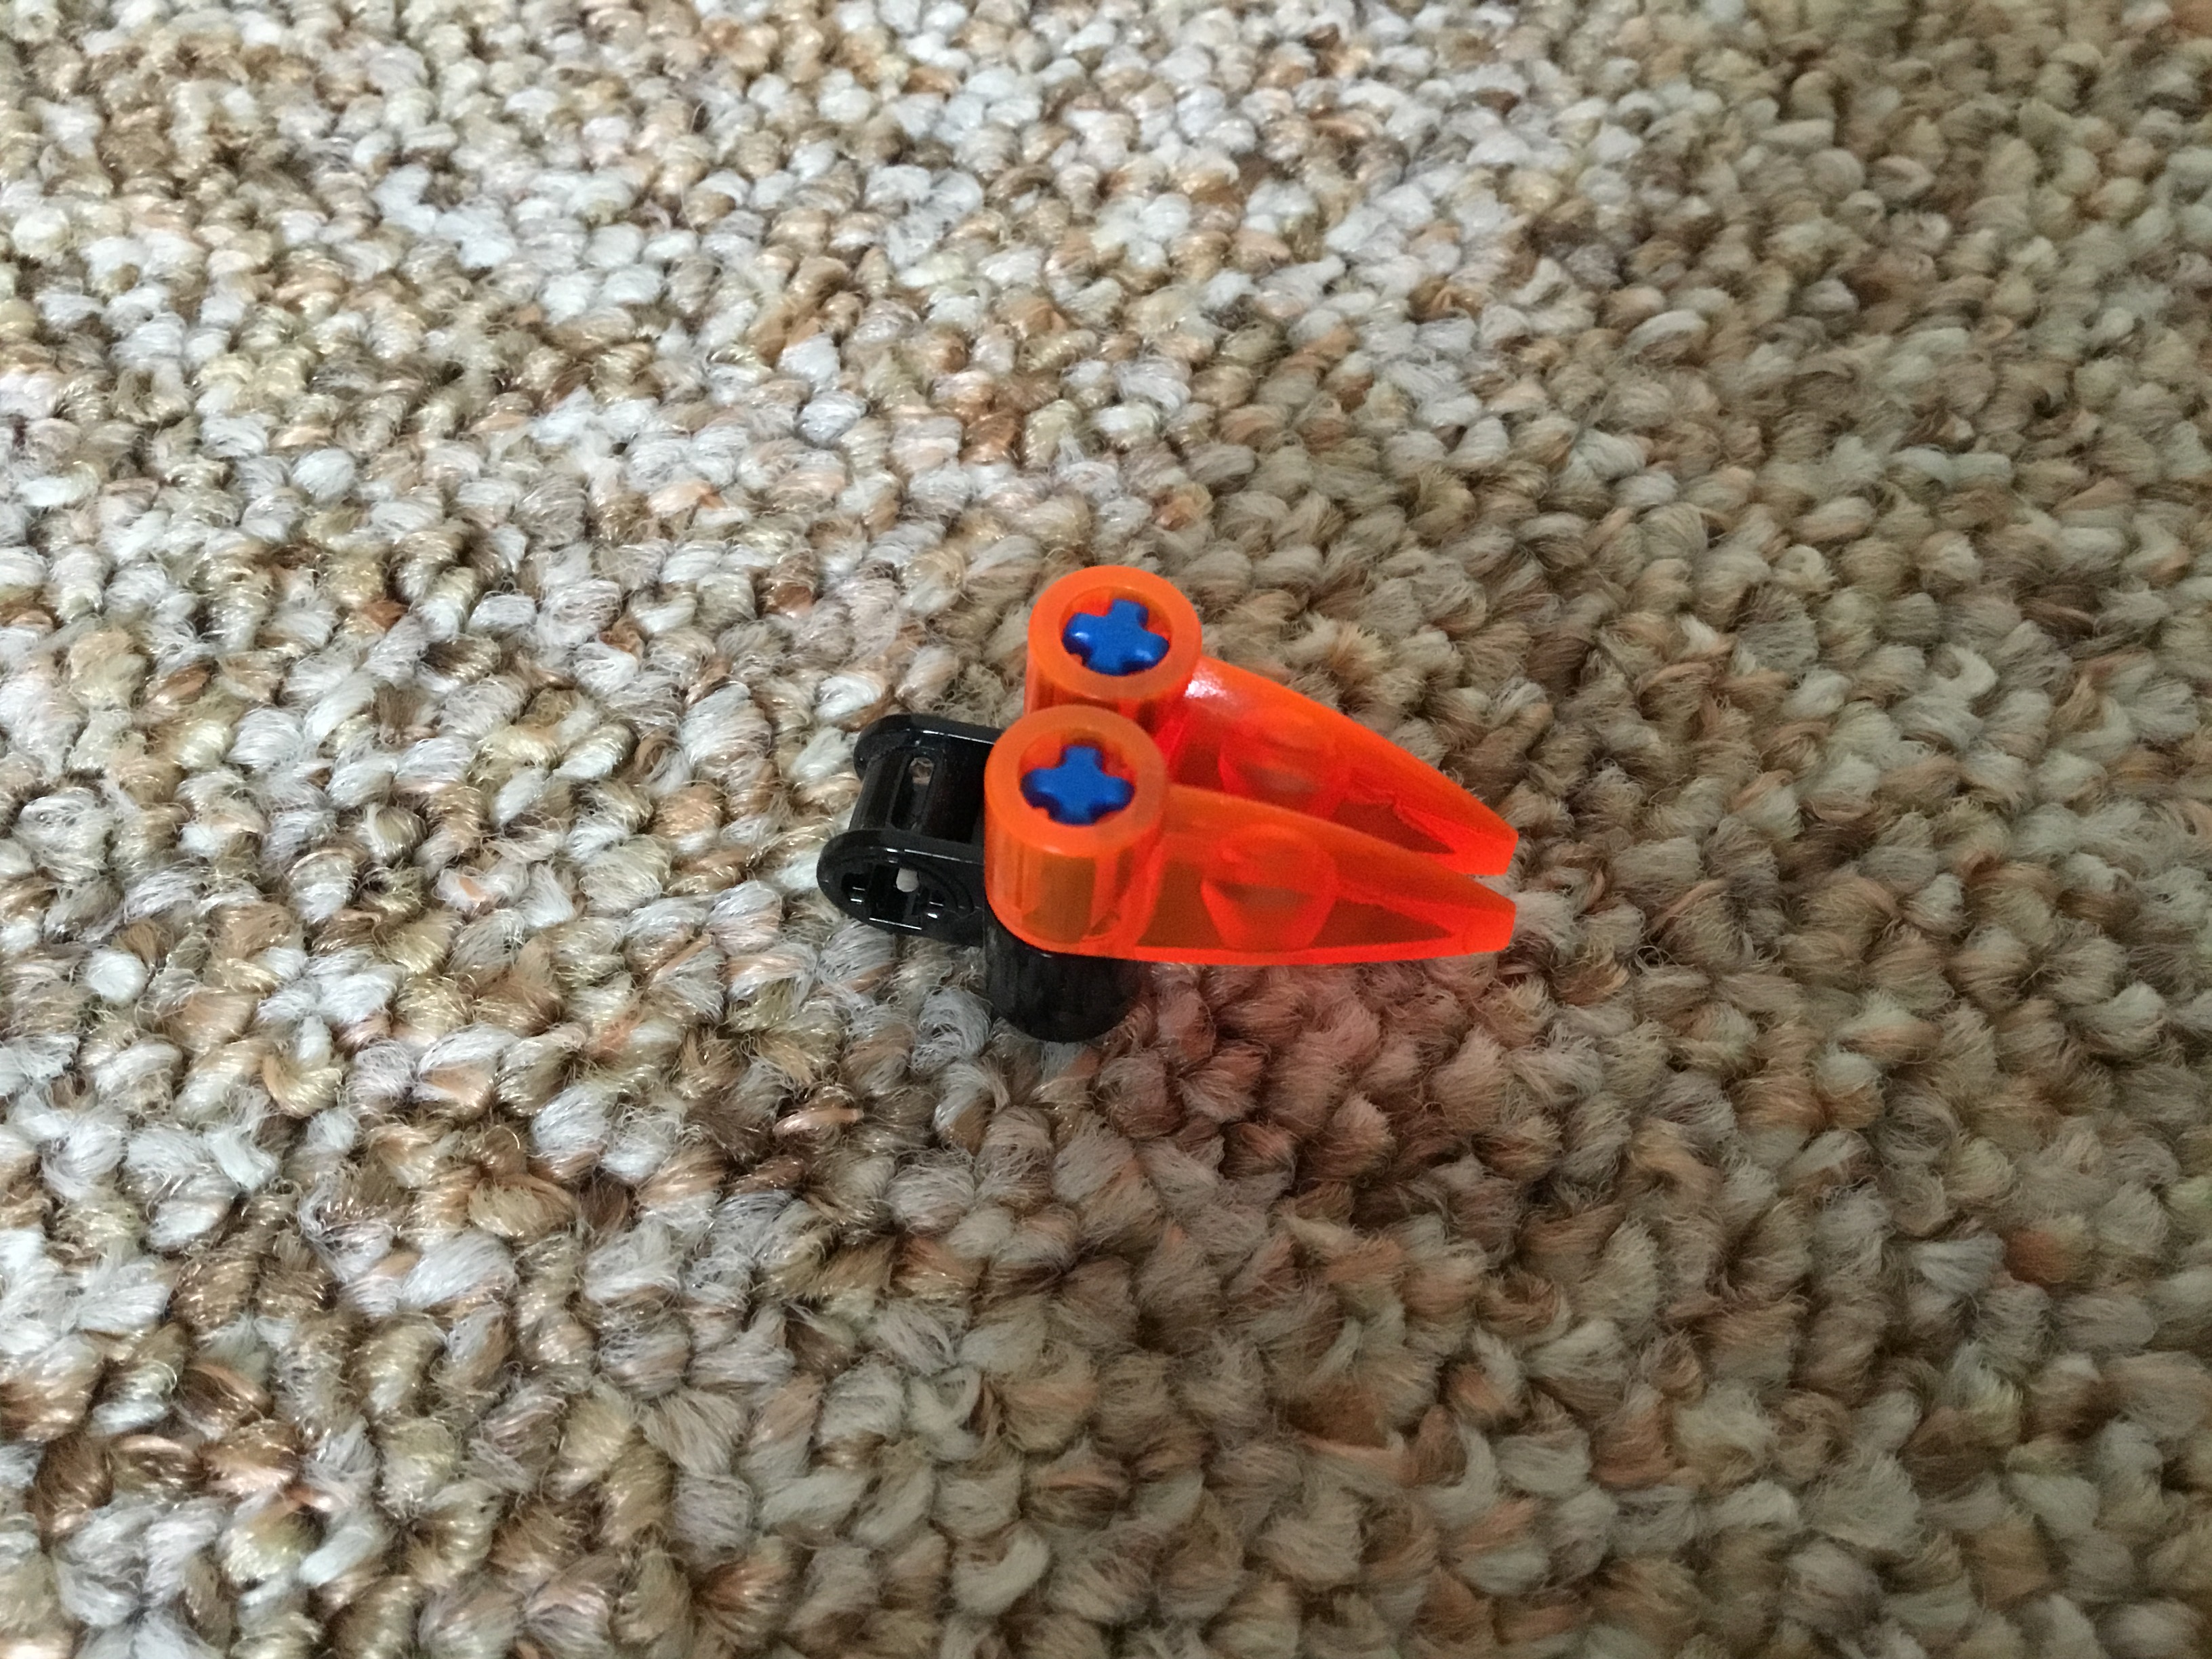
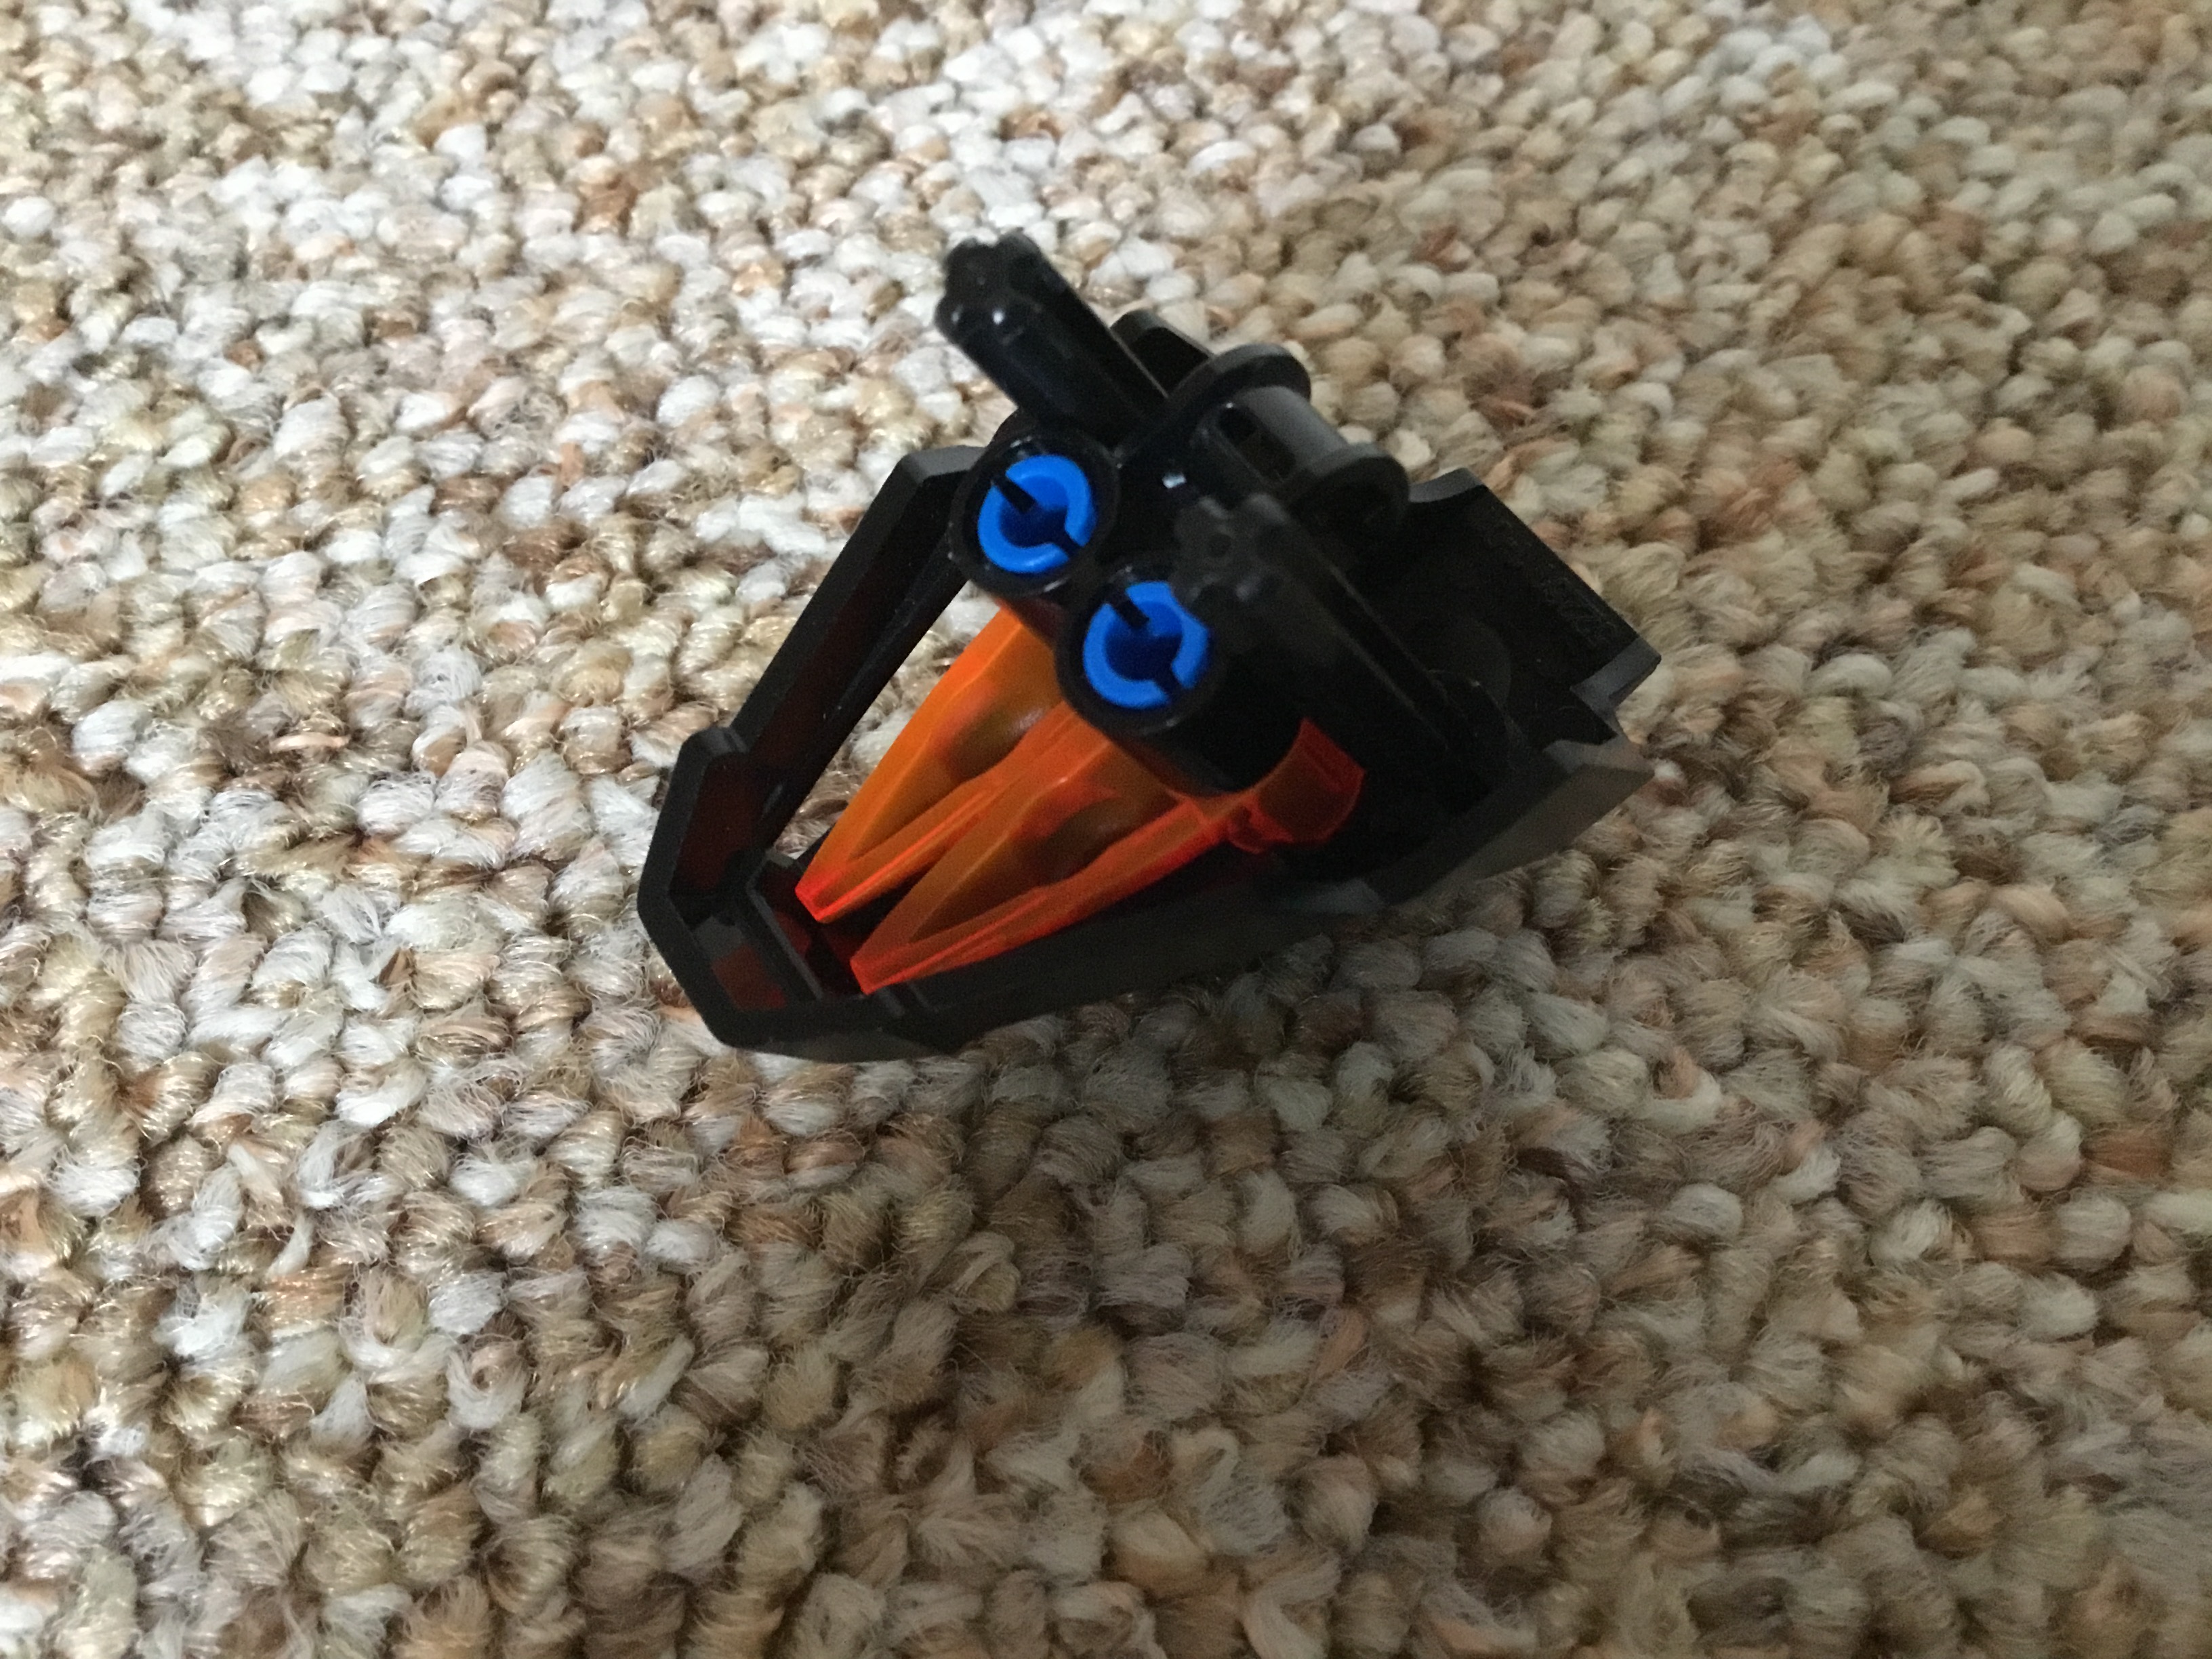
VII: Wings
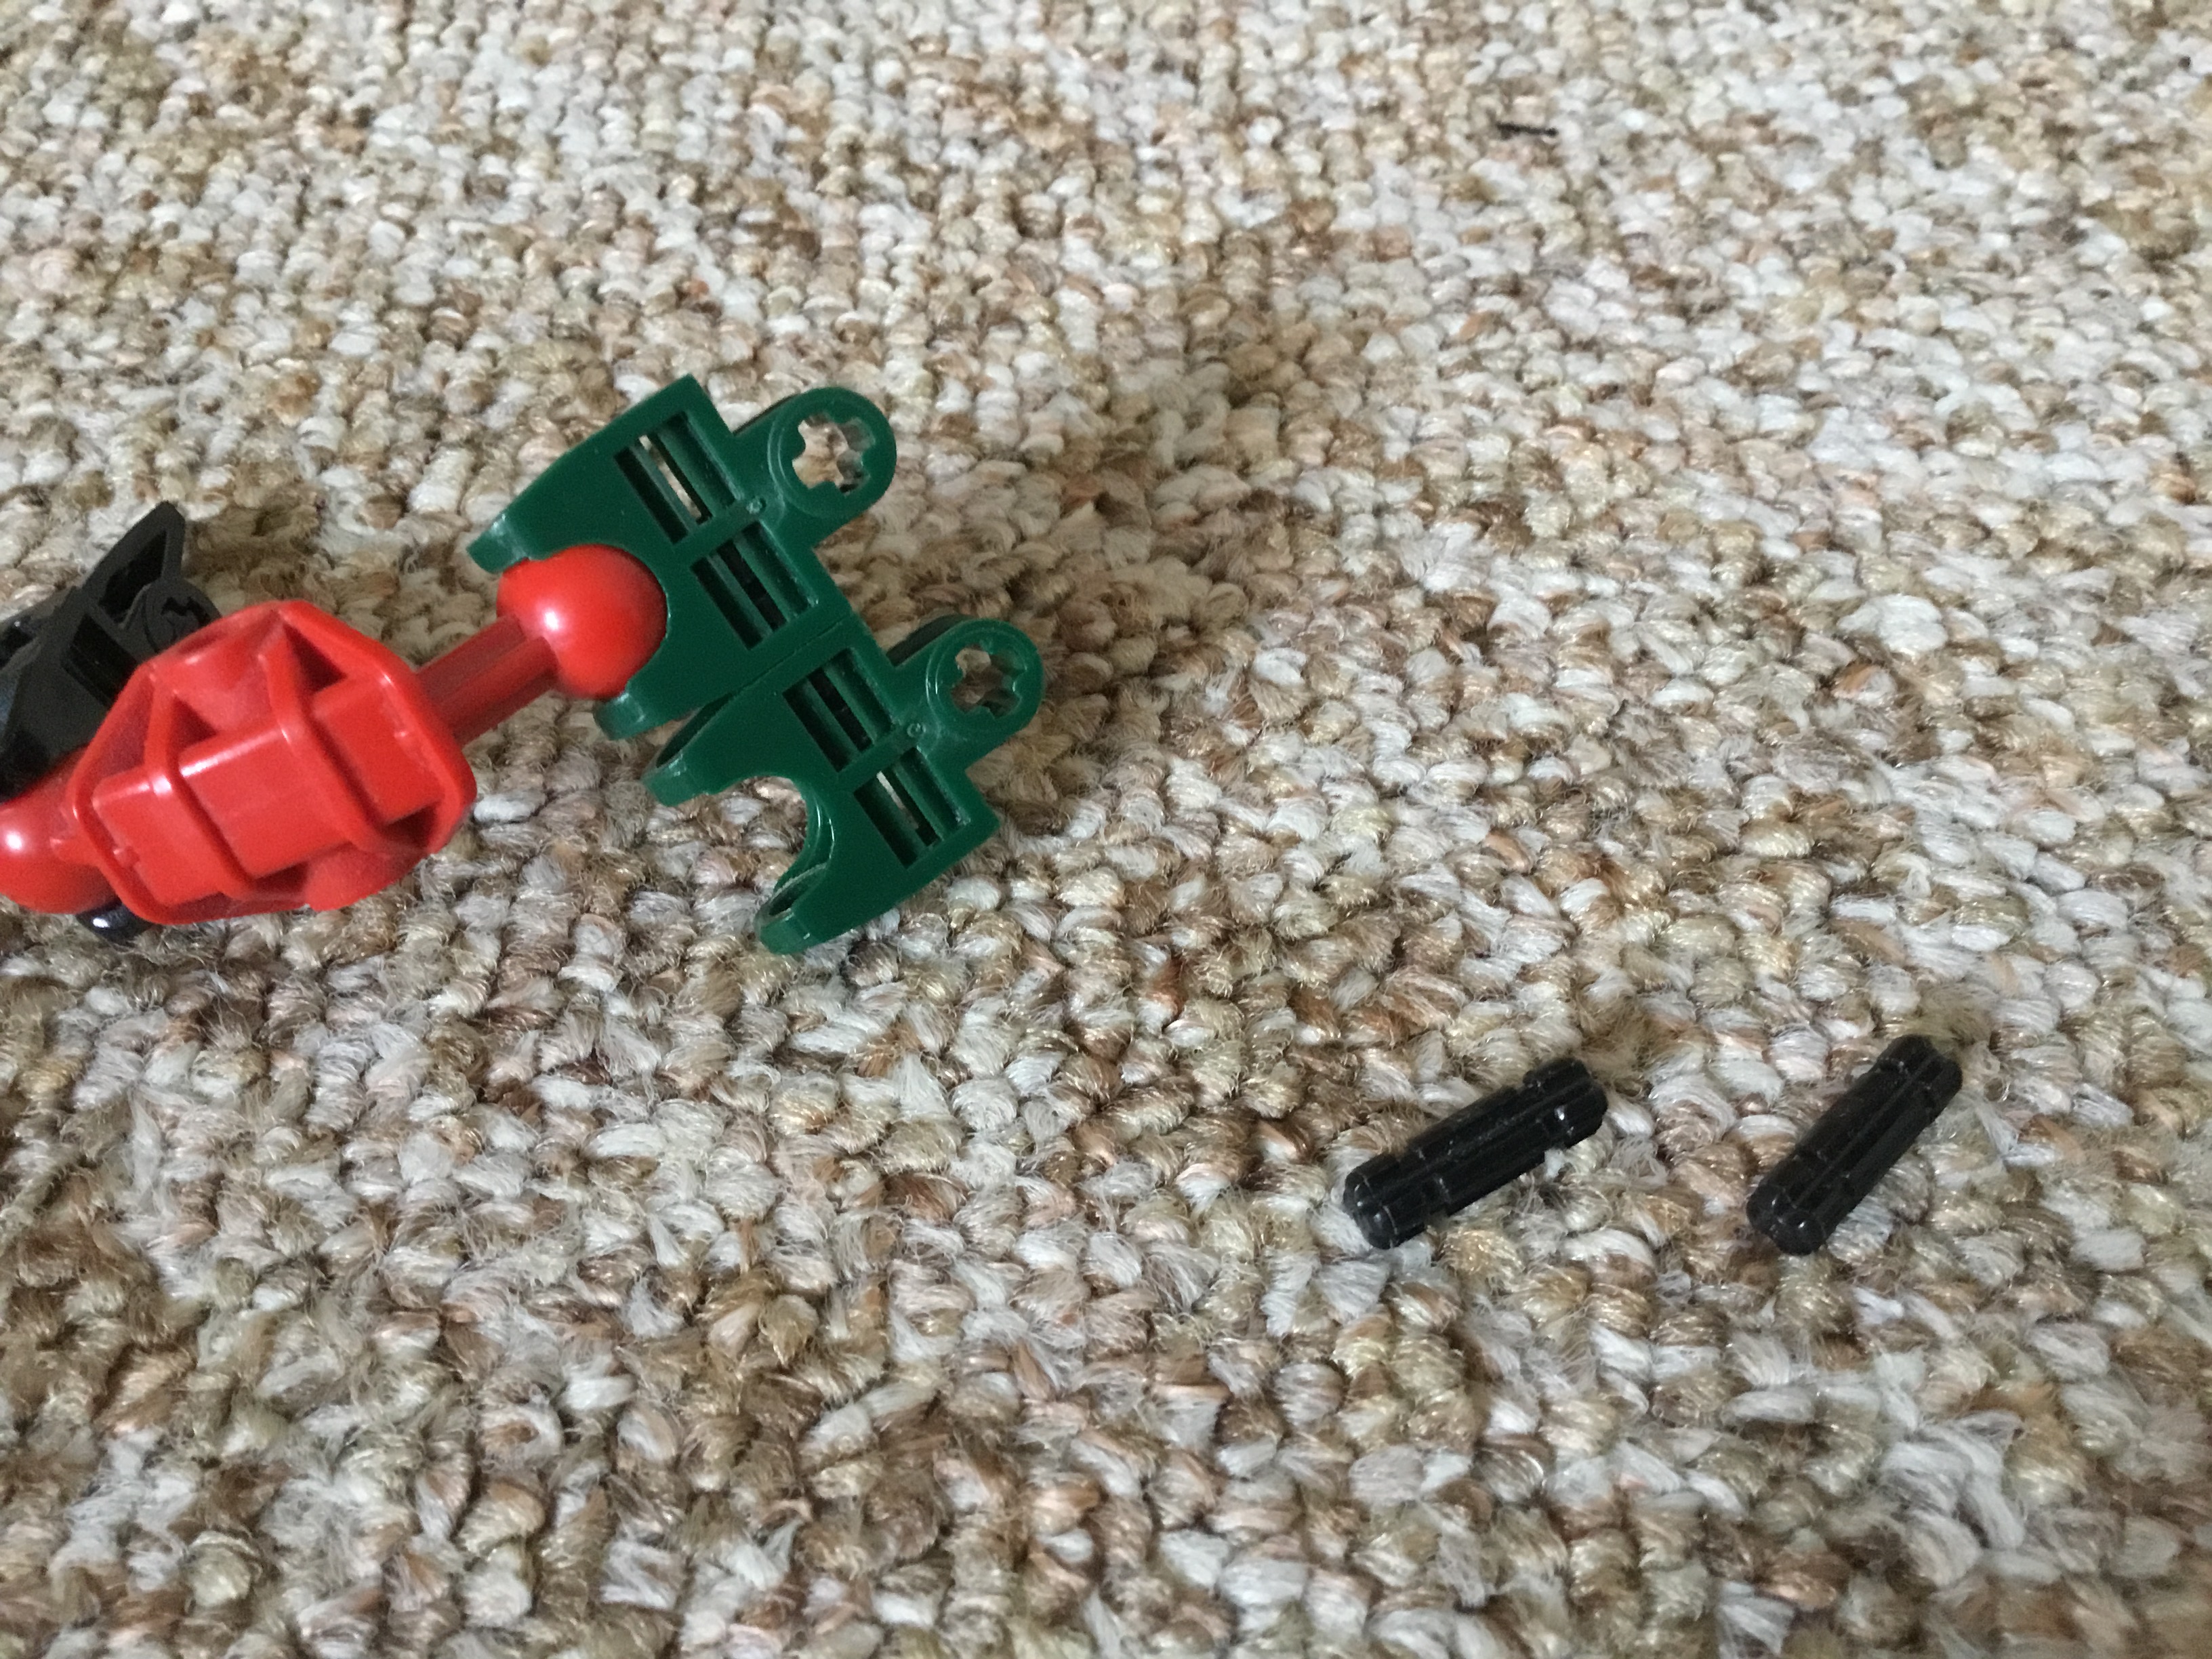
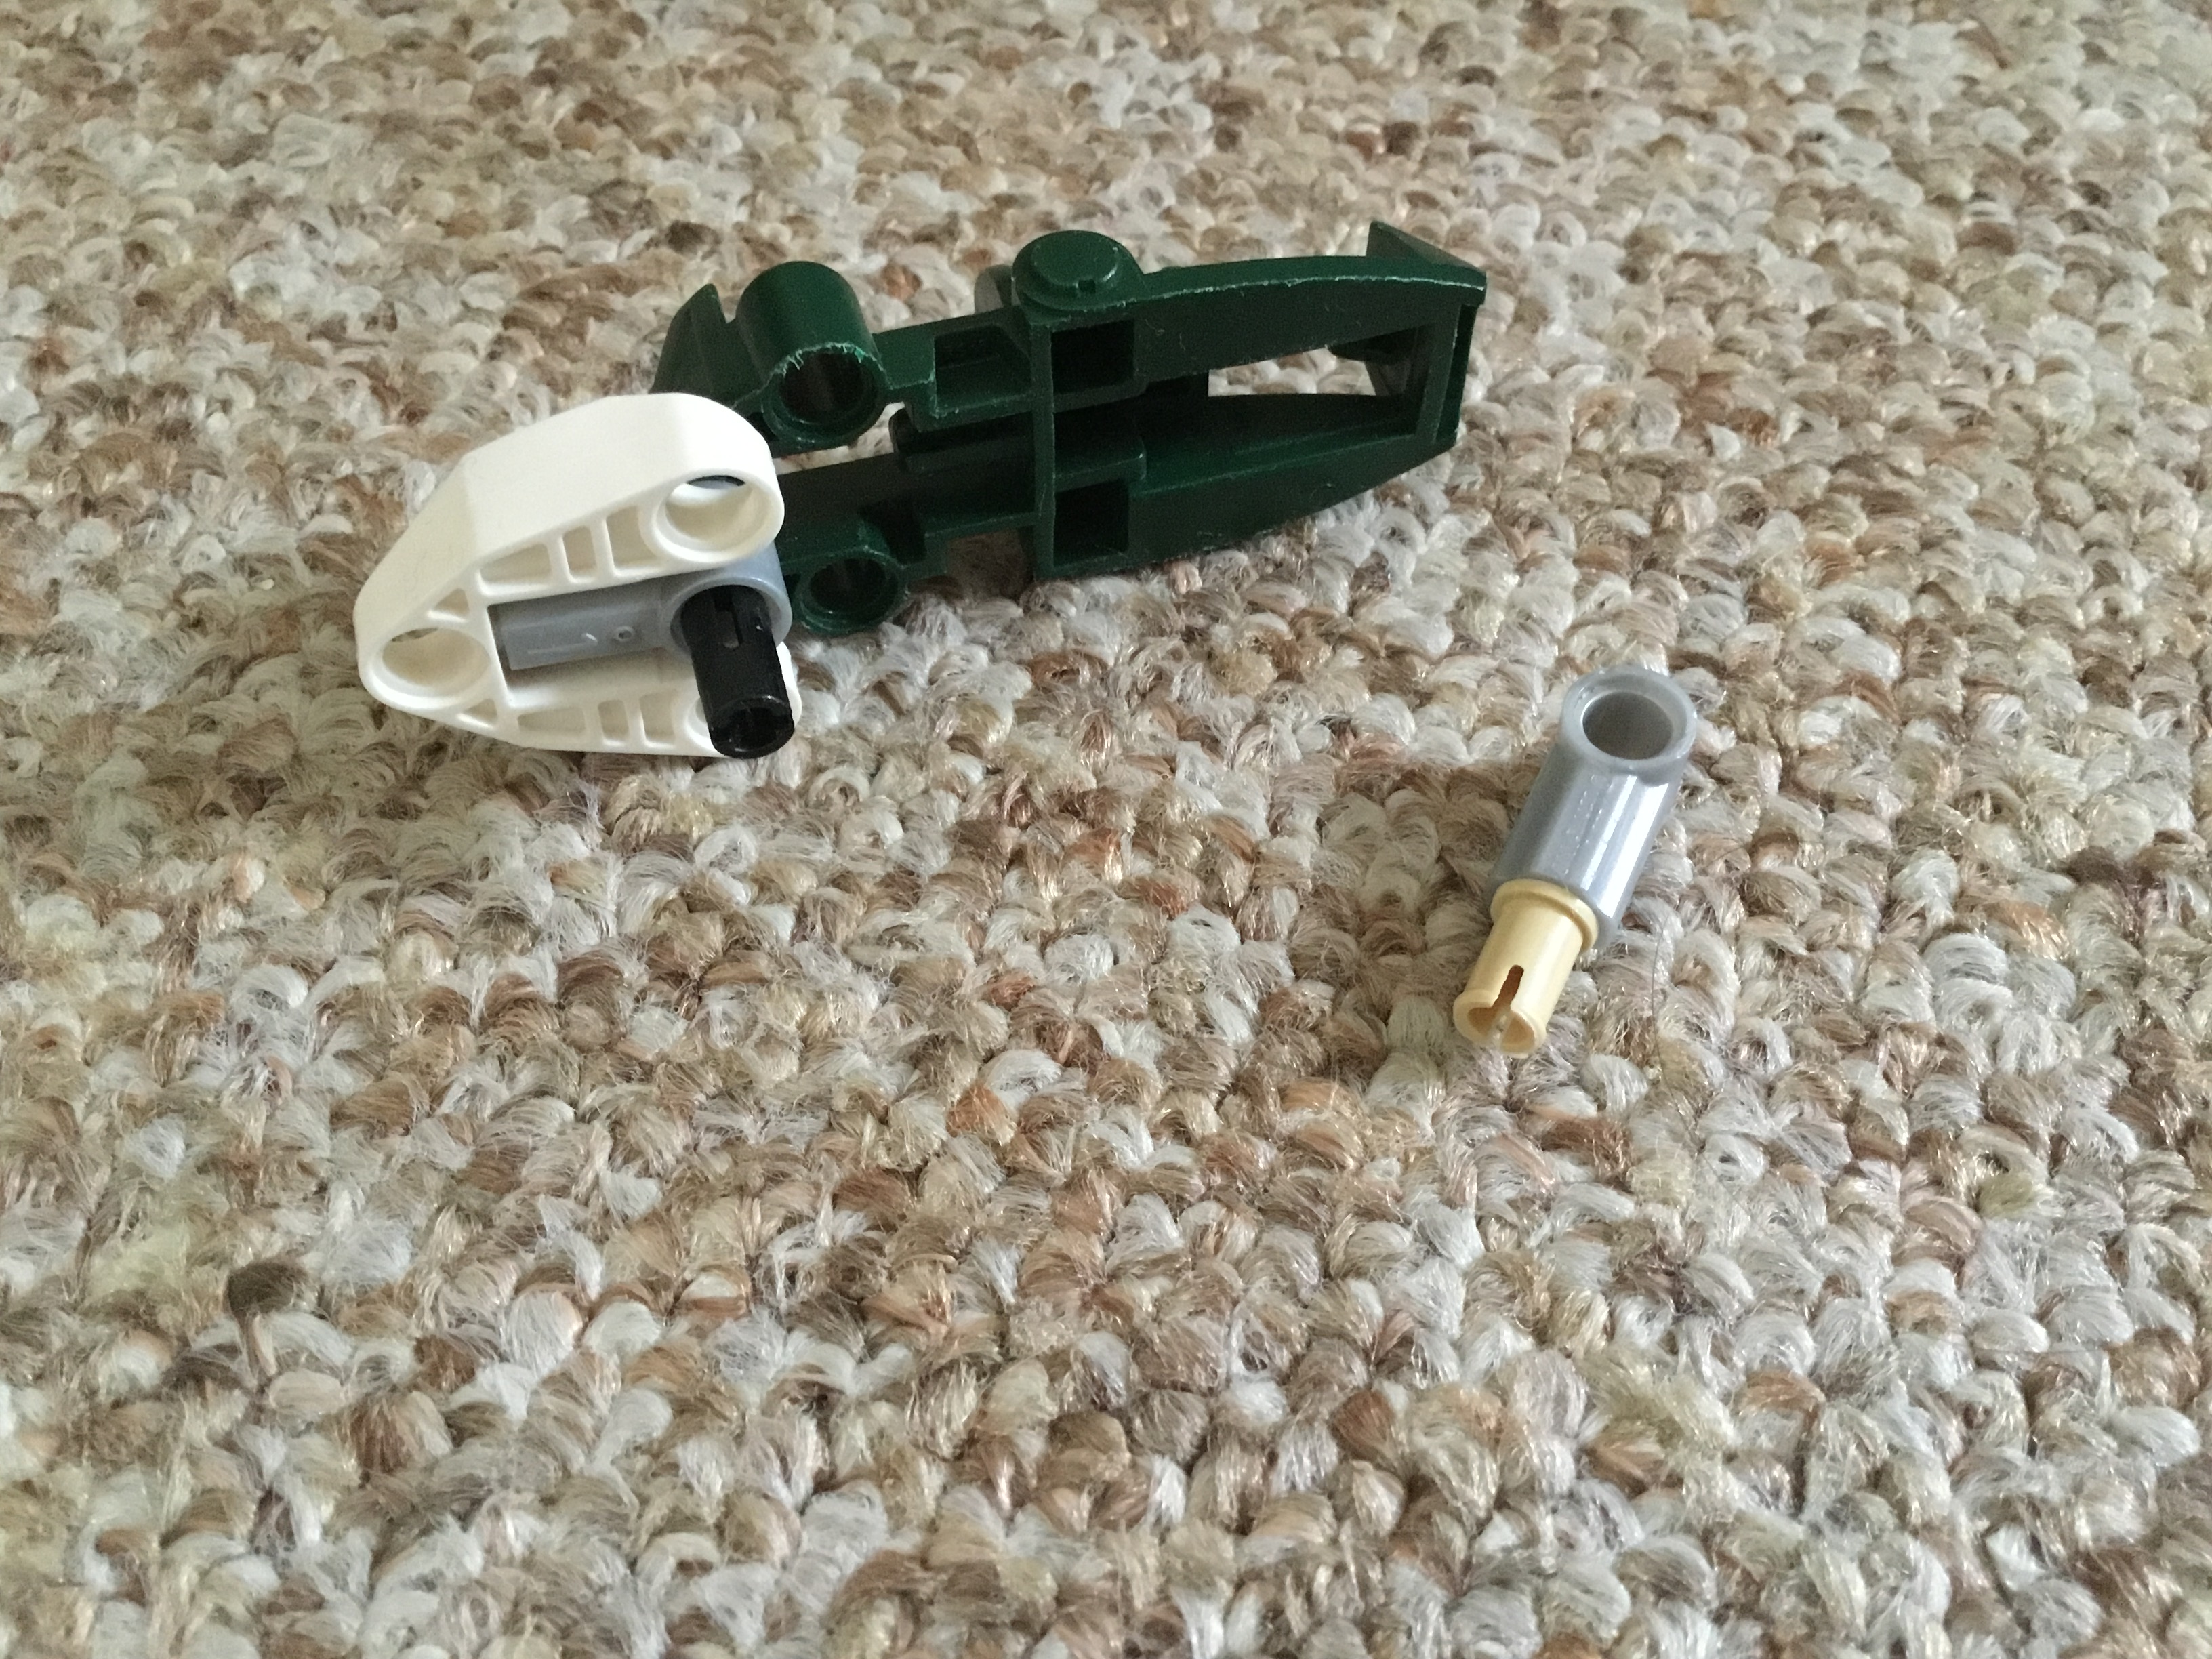
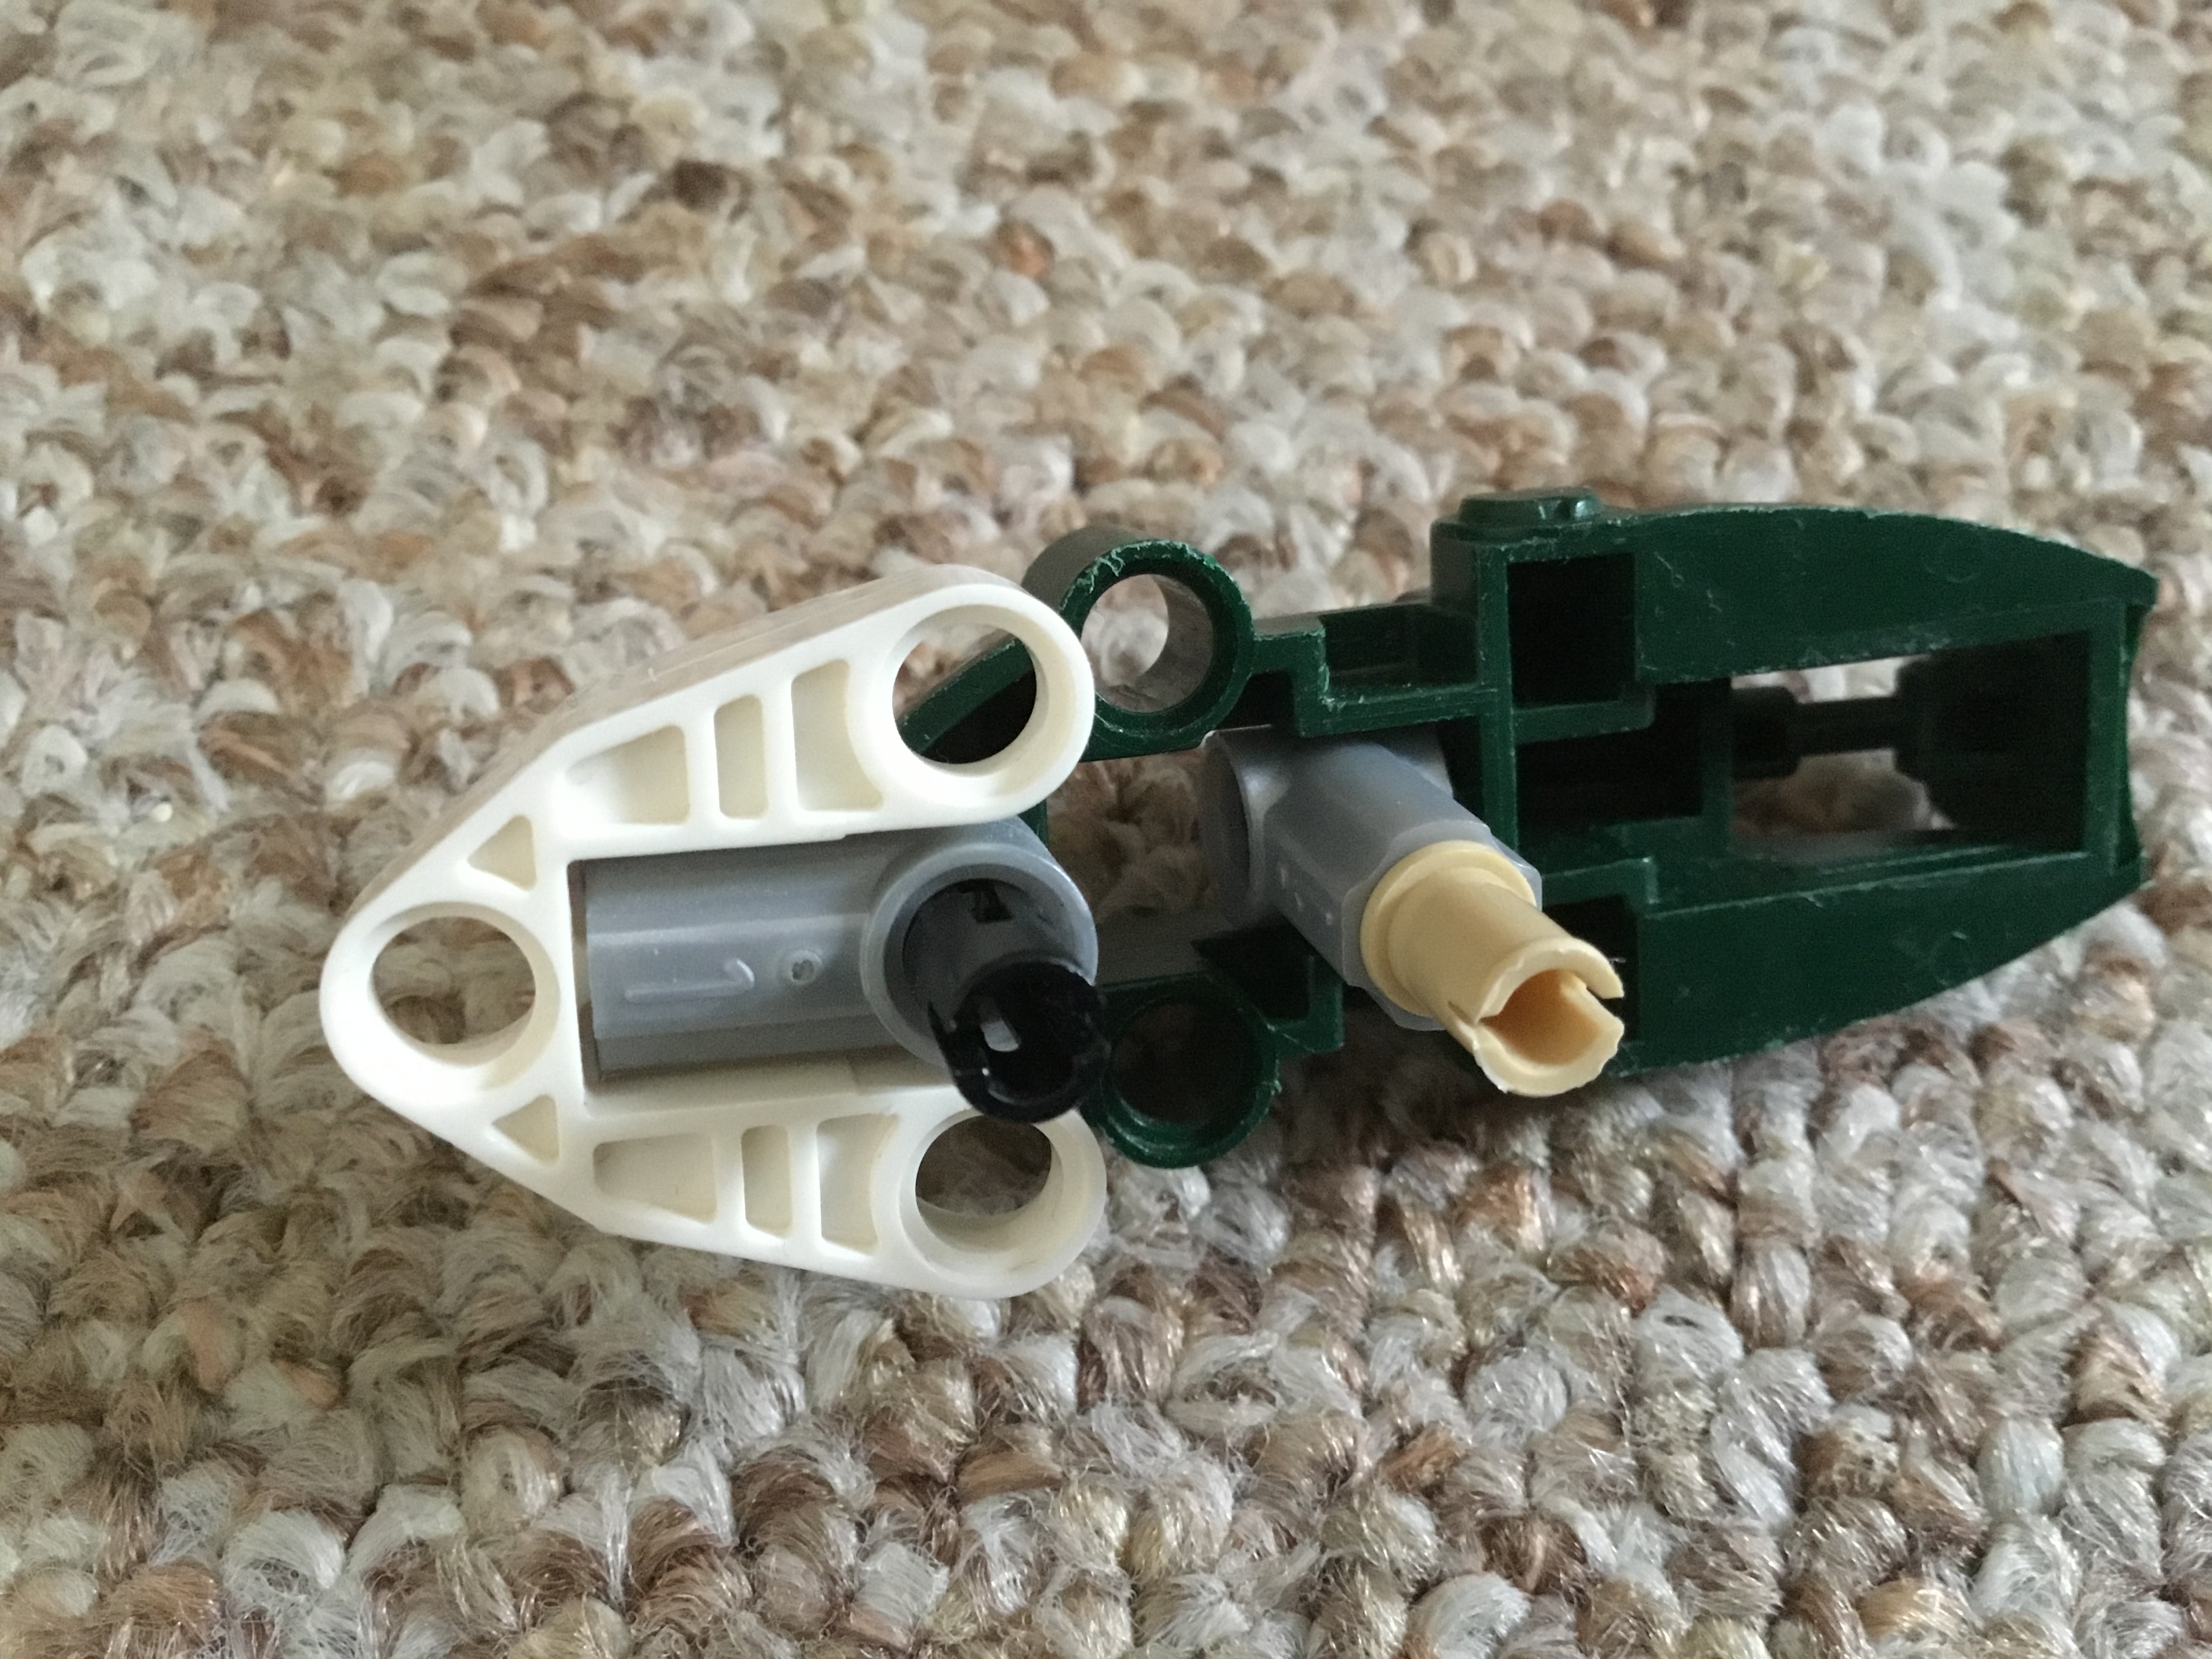
The wing modifications are extremely simplistic. Just remove the black connector and blue pin from each wing.
Replace the connector with a silver one.
And replace the pin with an axle with stud.
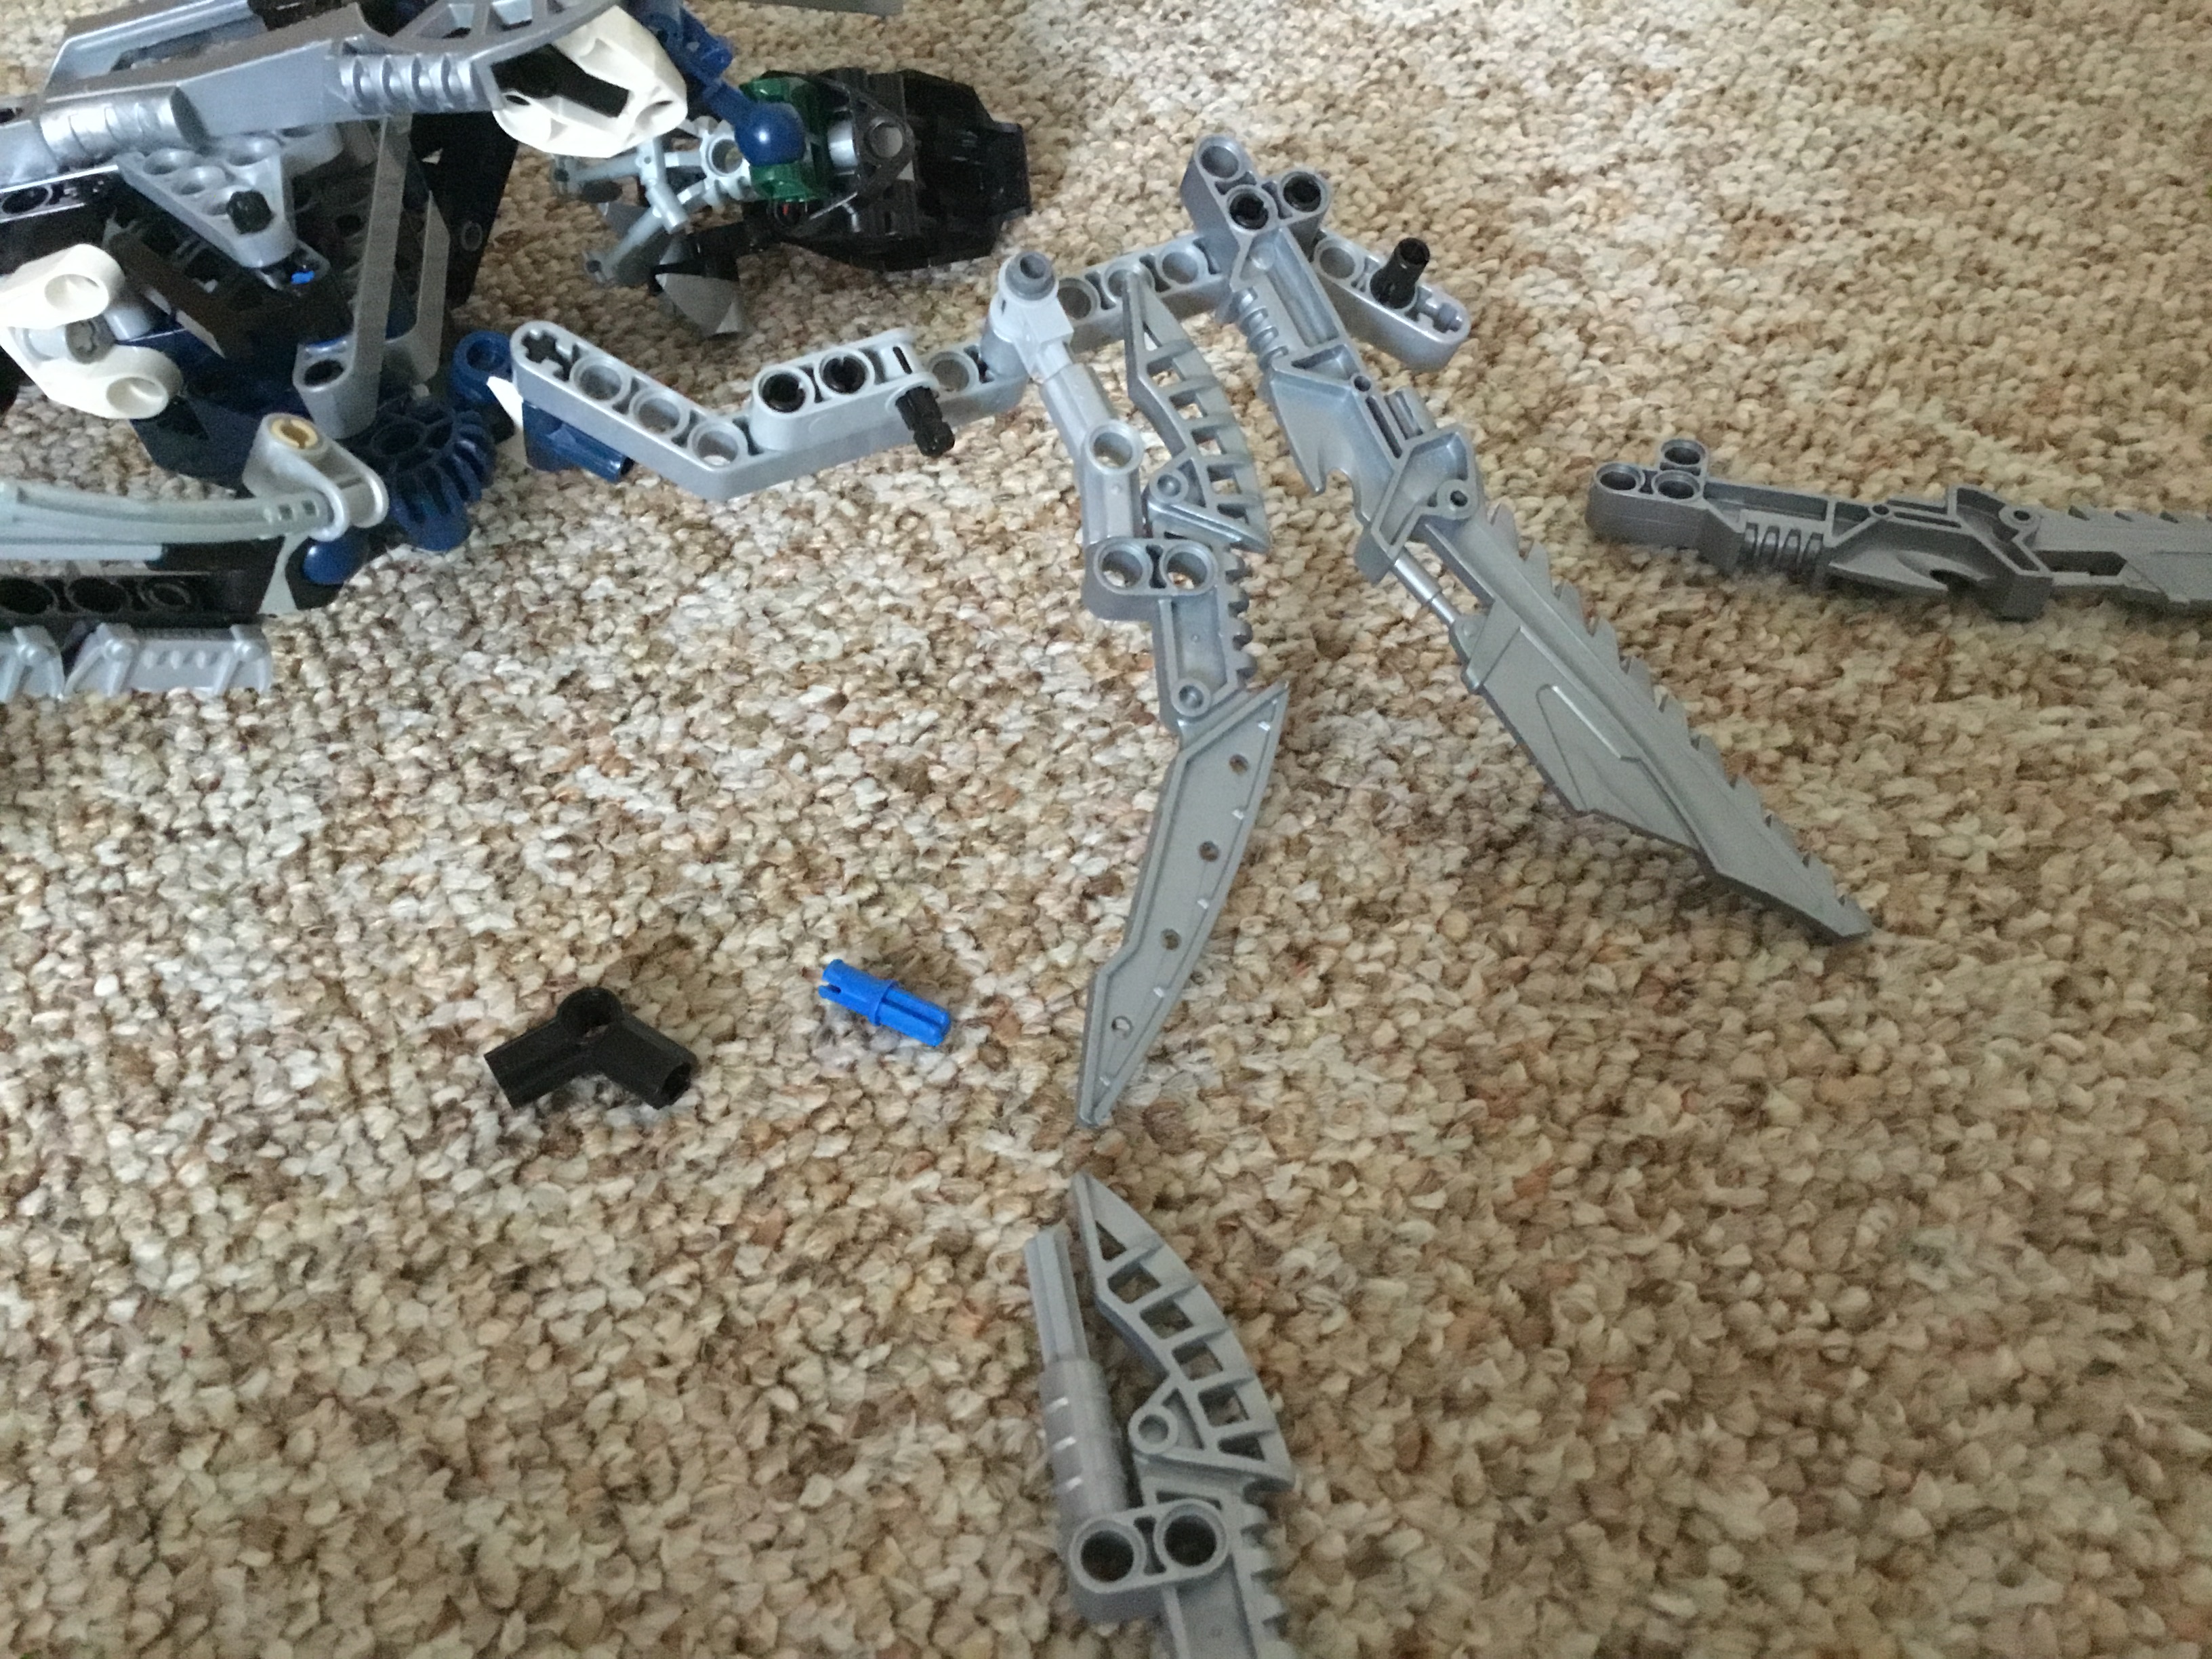
VIII: Feet
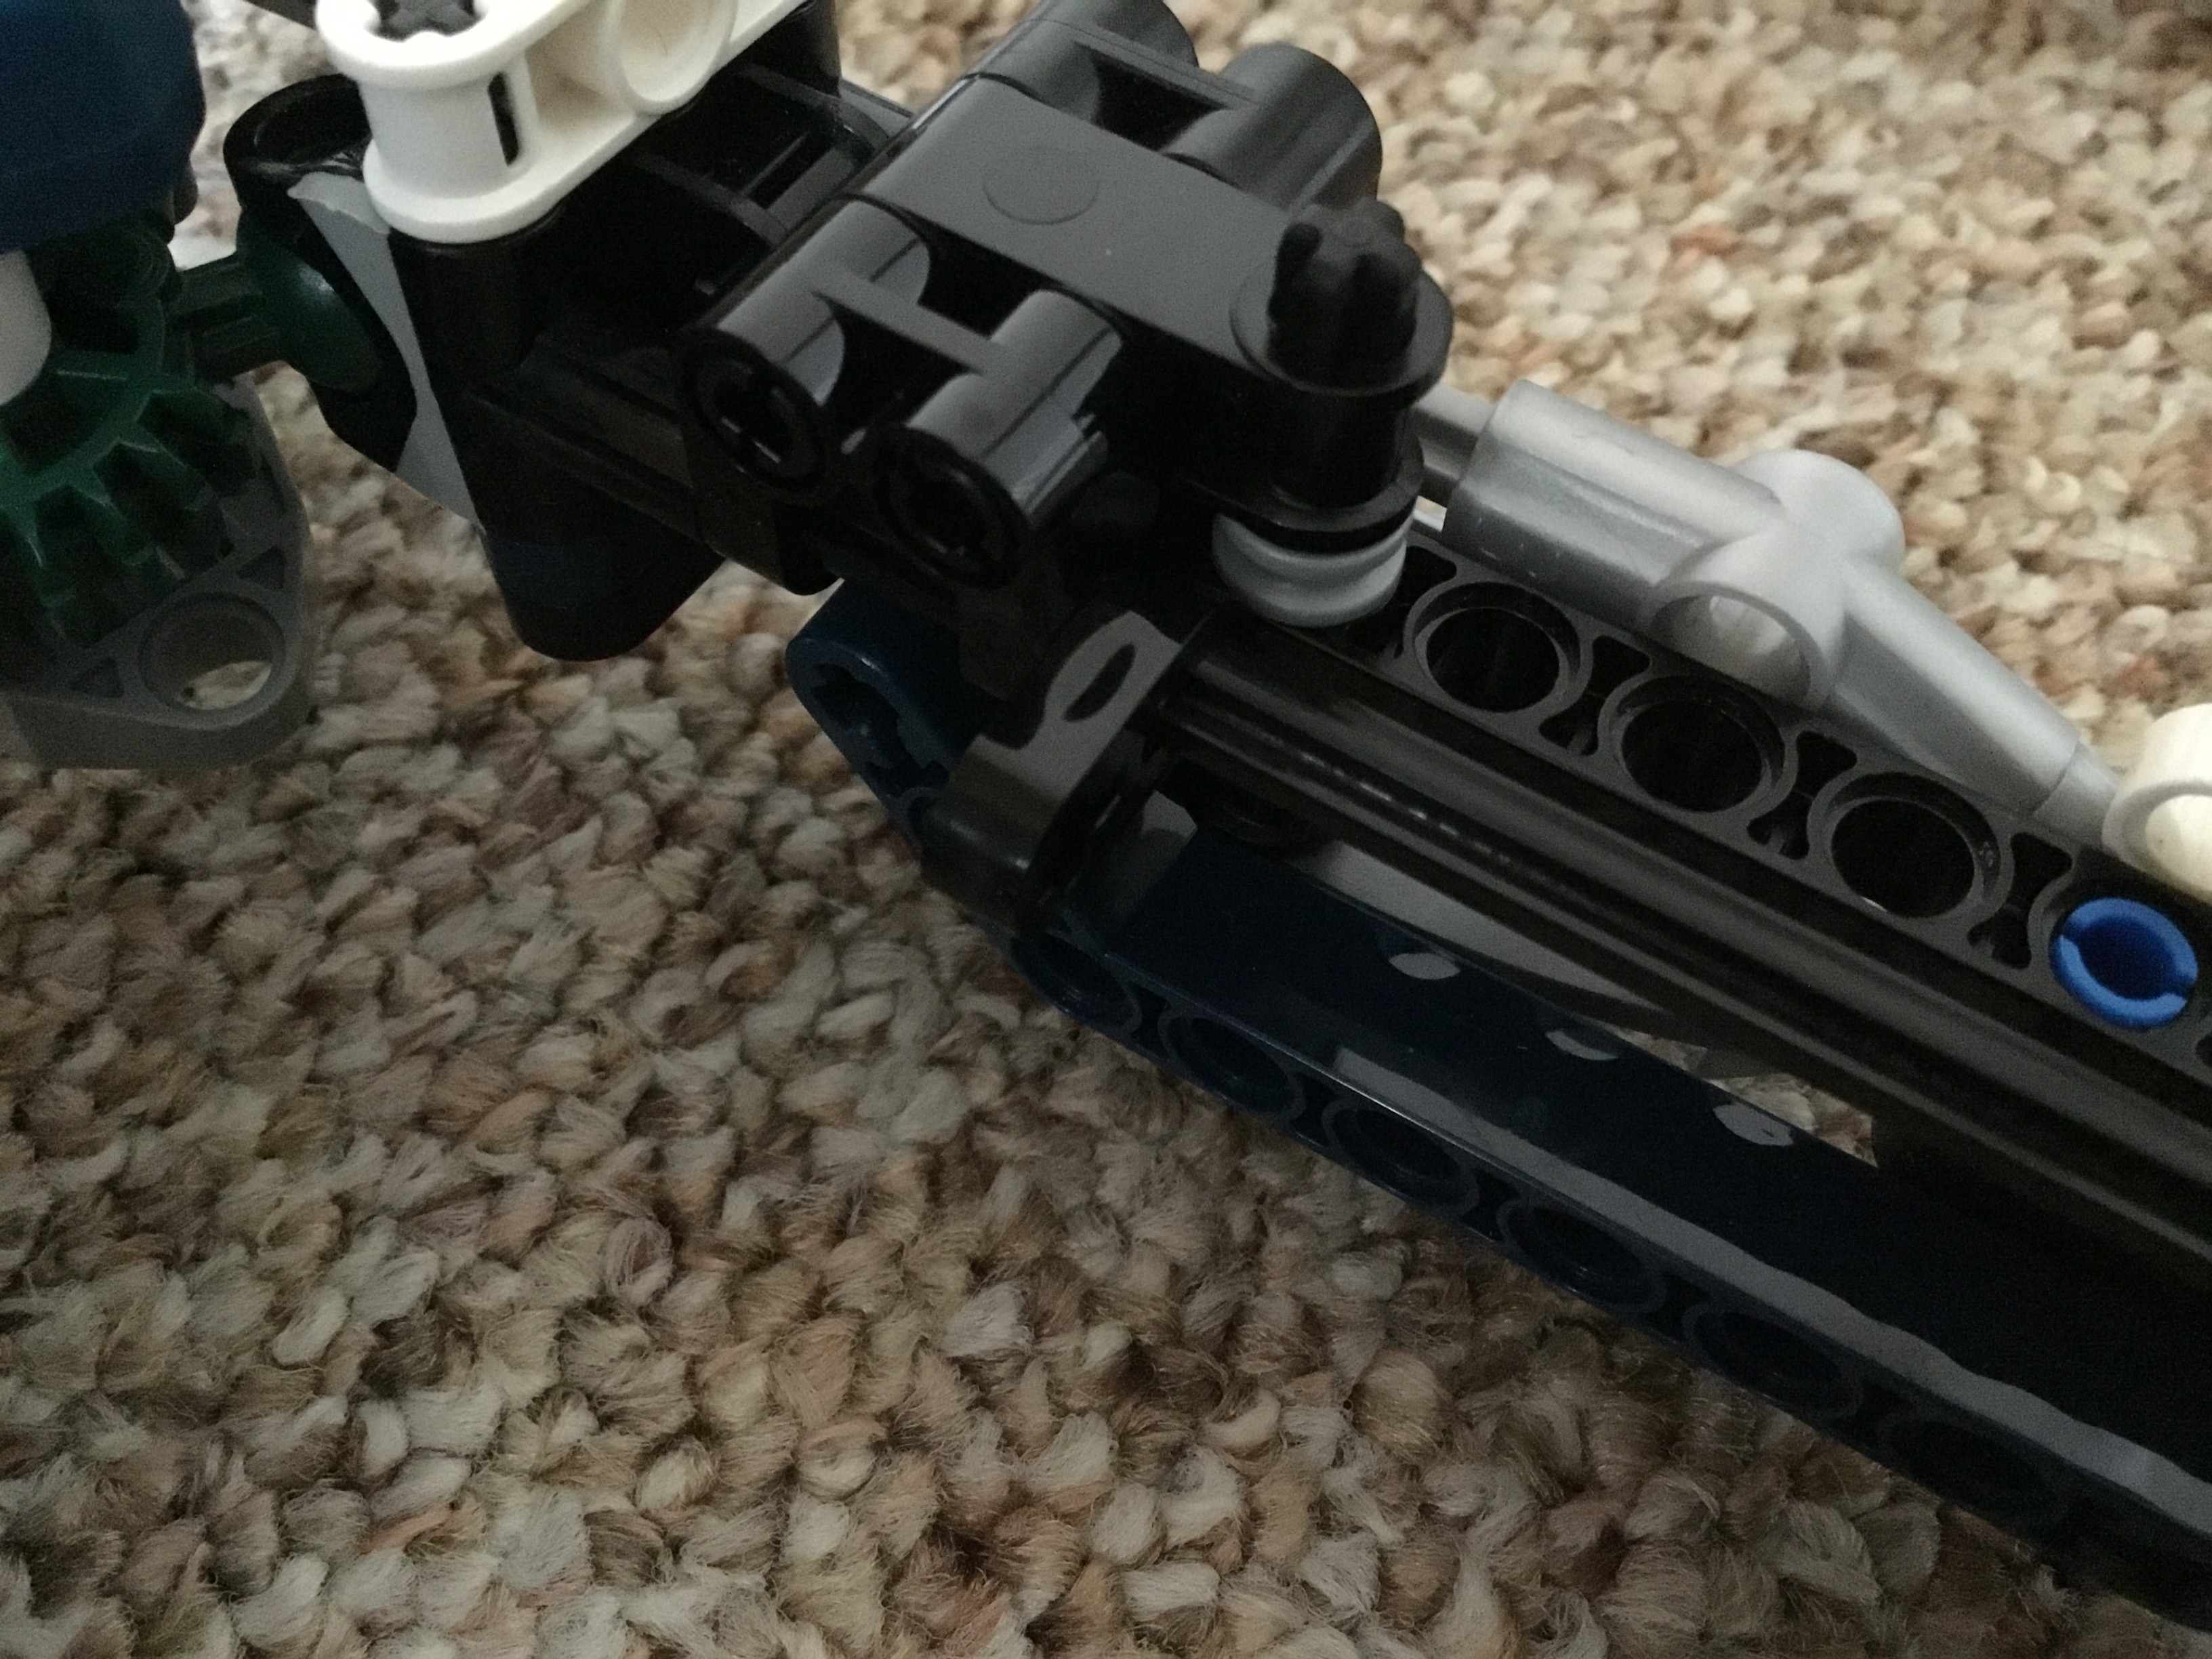
Build this structure. It contains many pieces, but it’s exceedingly simple.
Next, attach assorted axles and bushings.
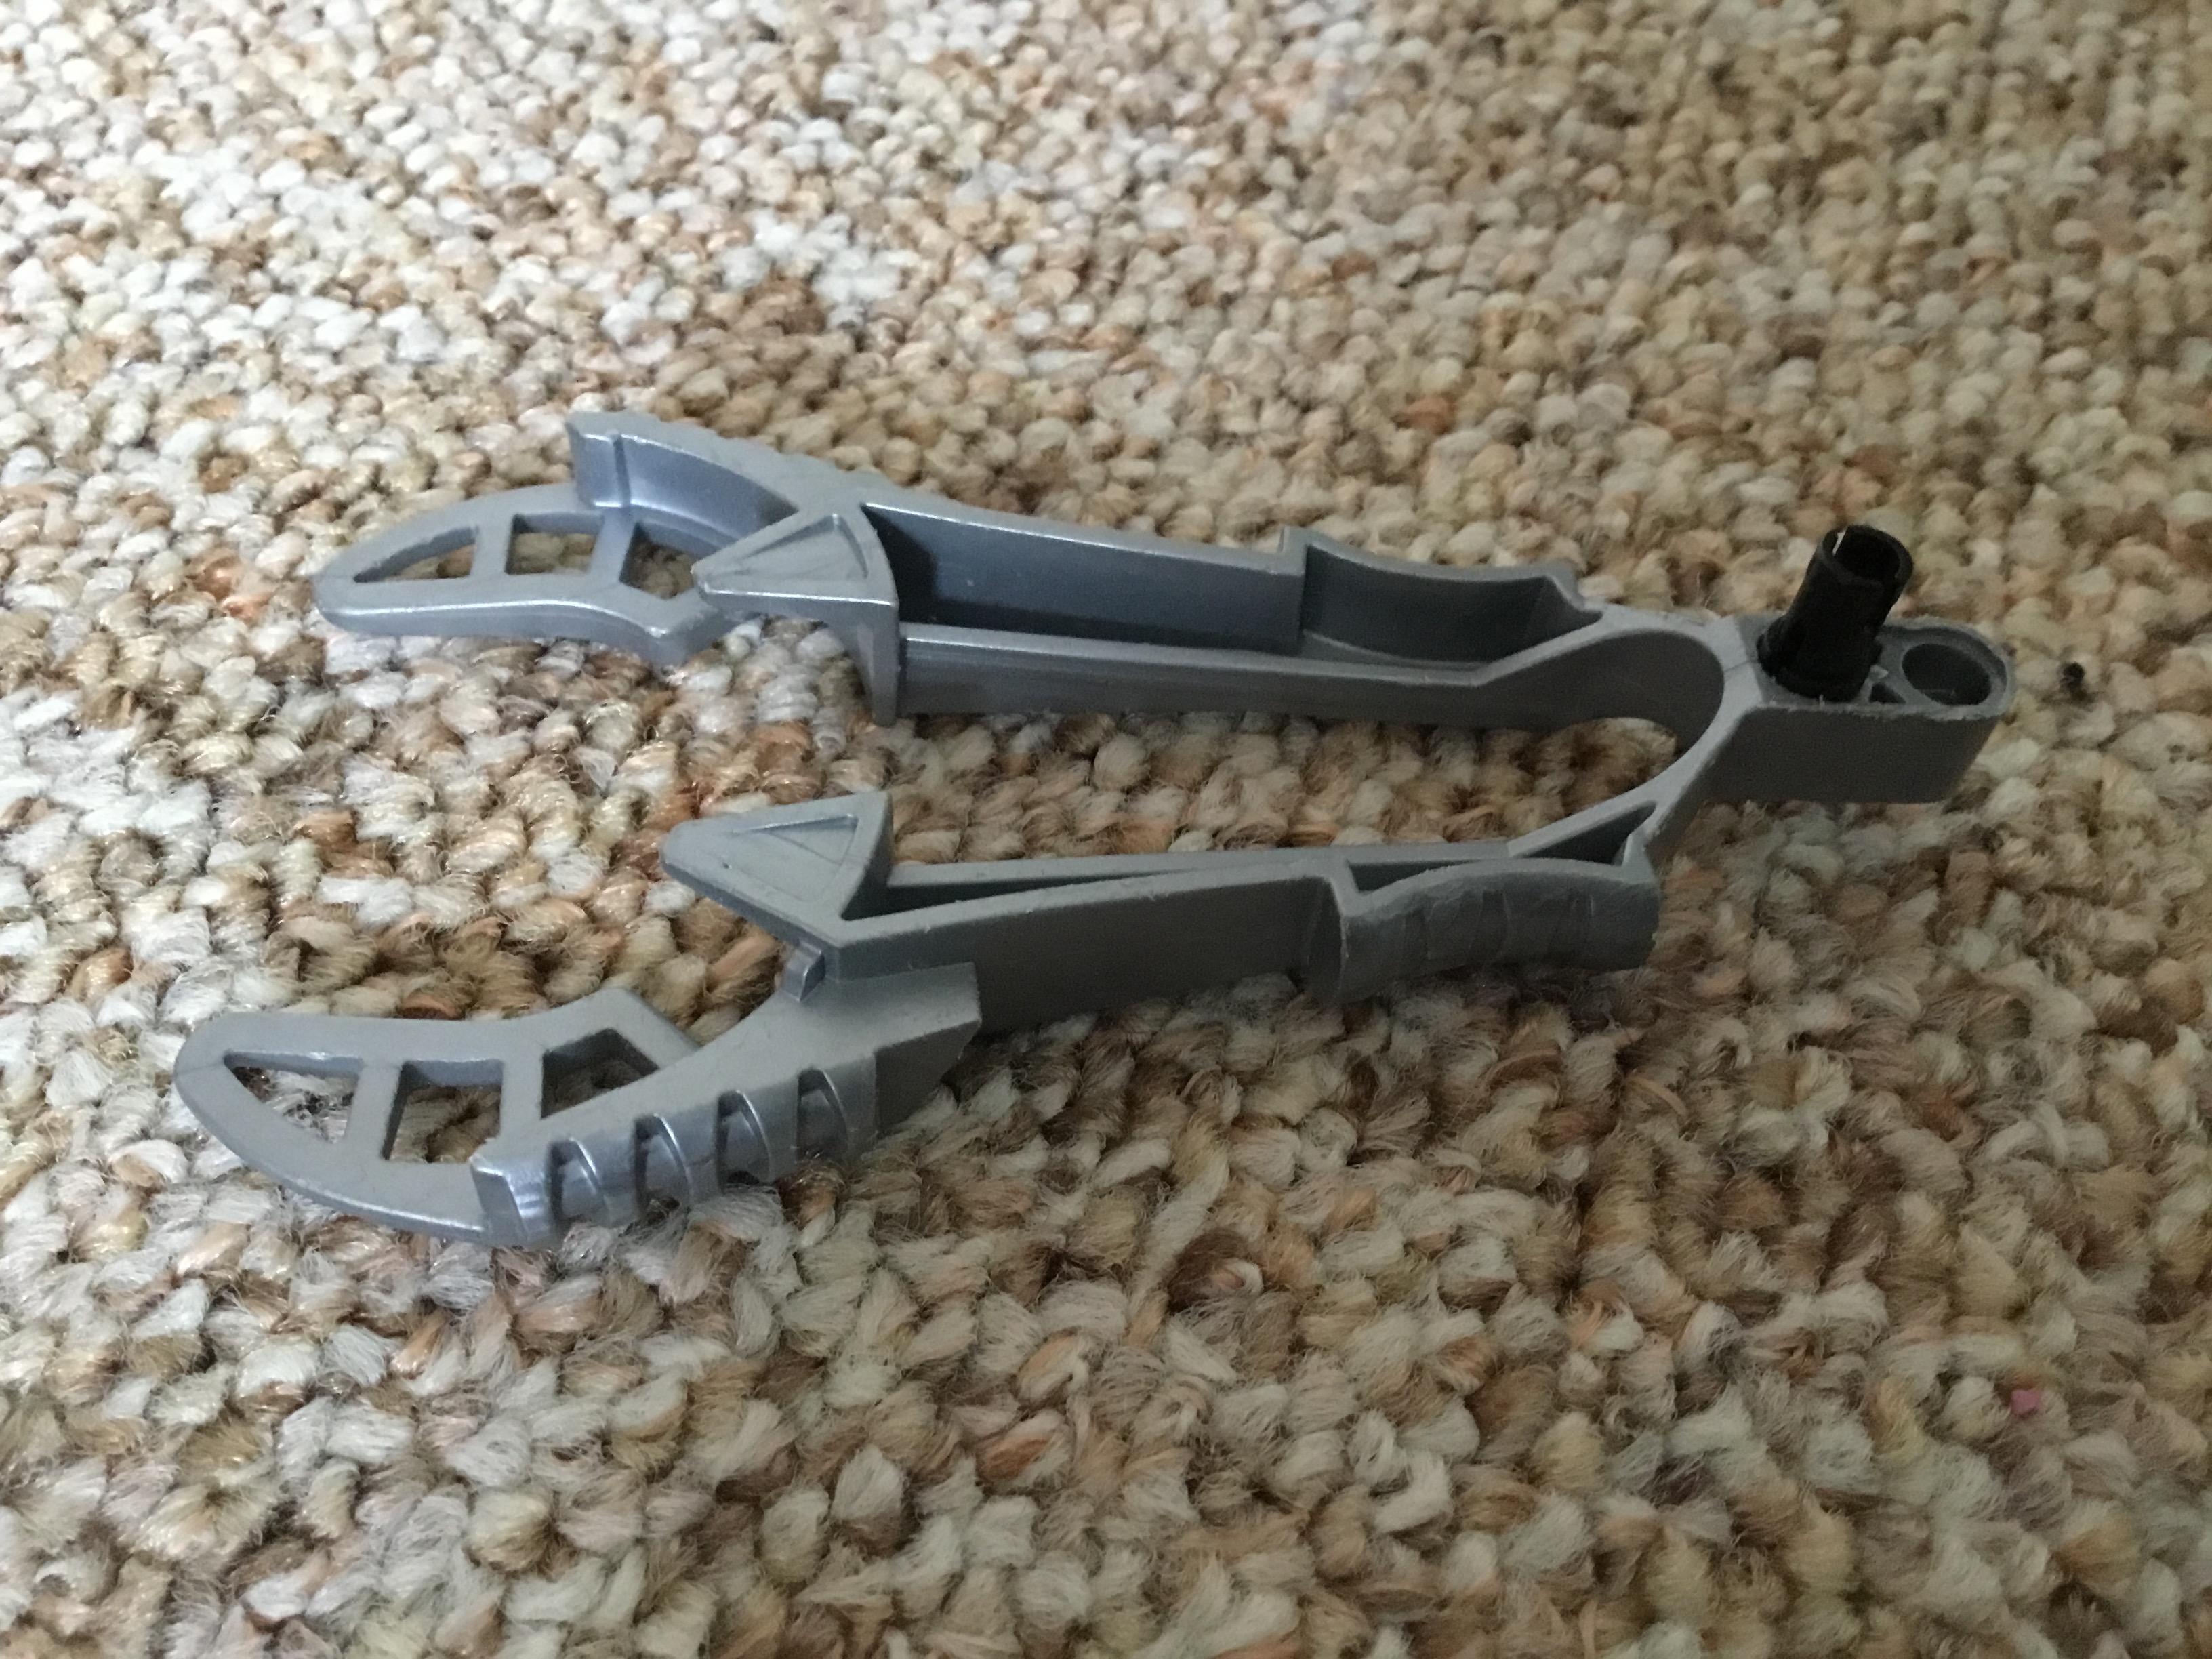
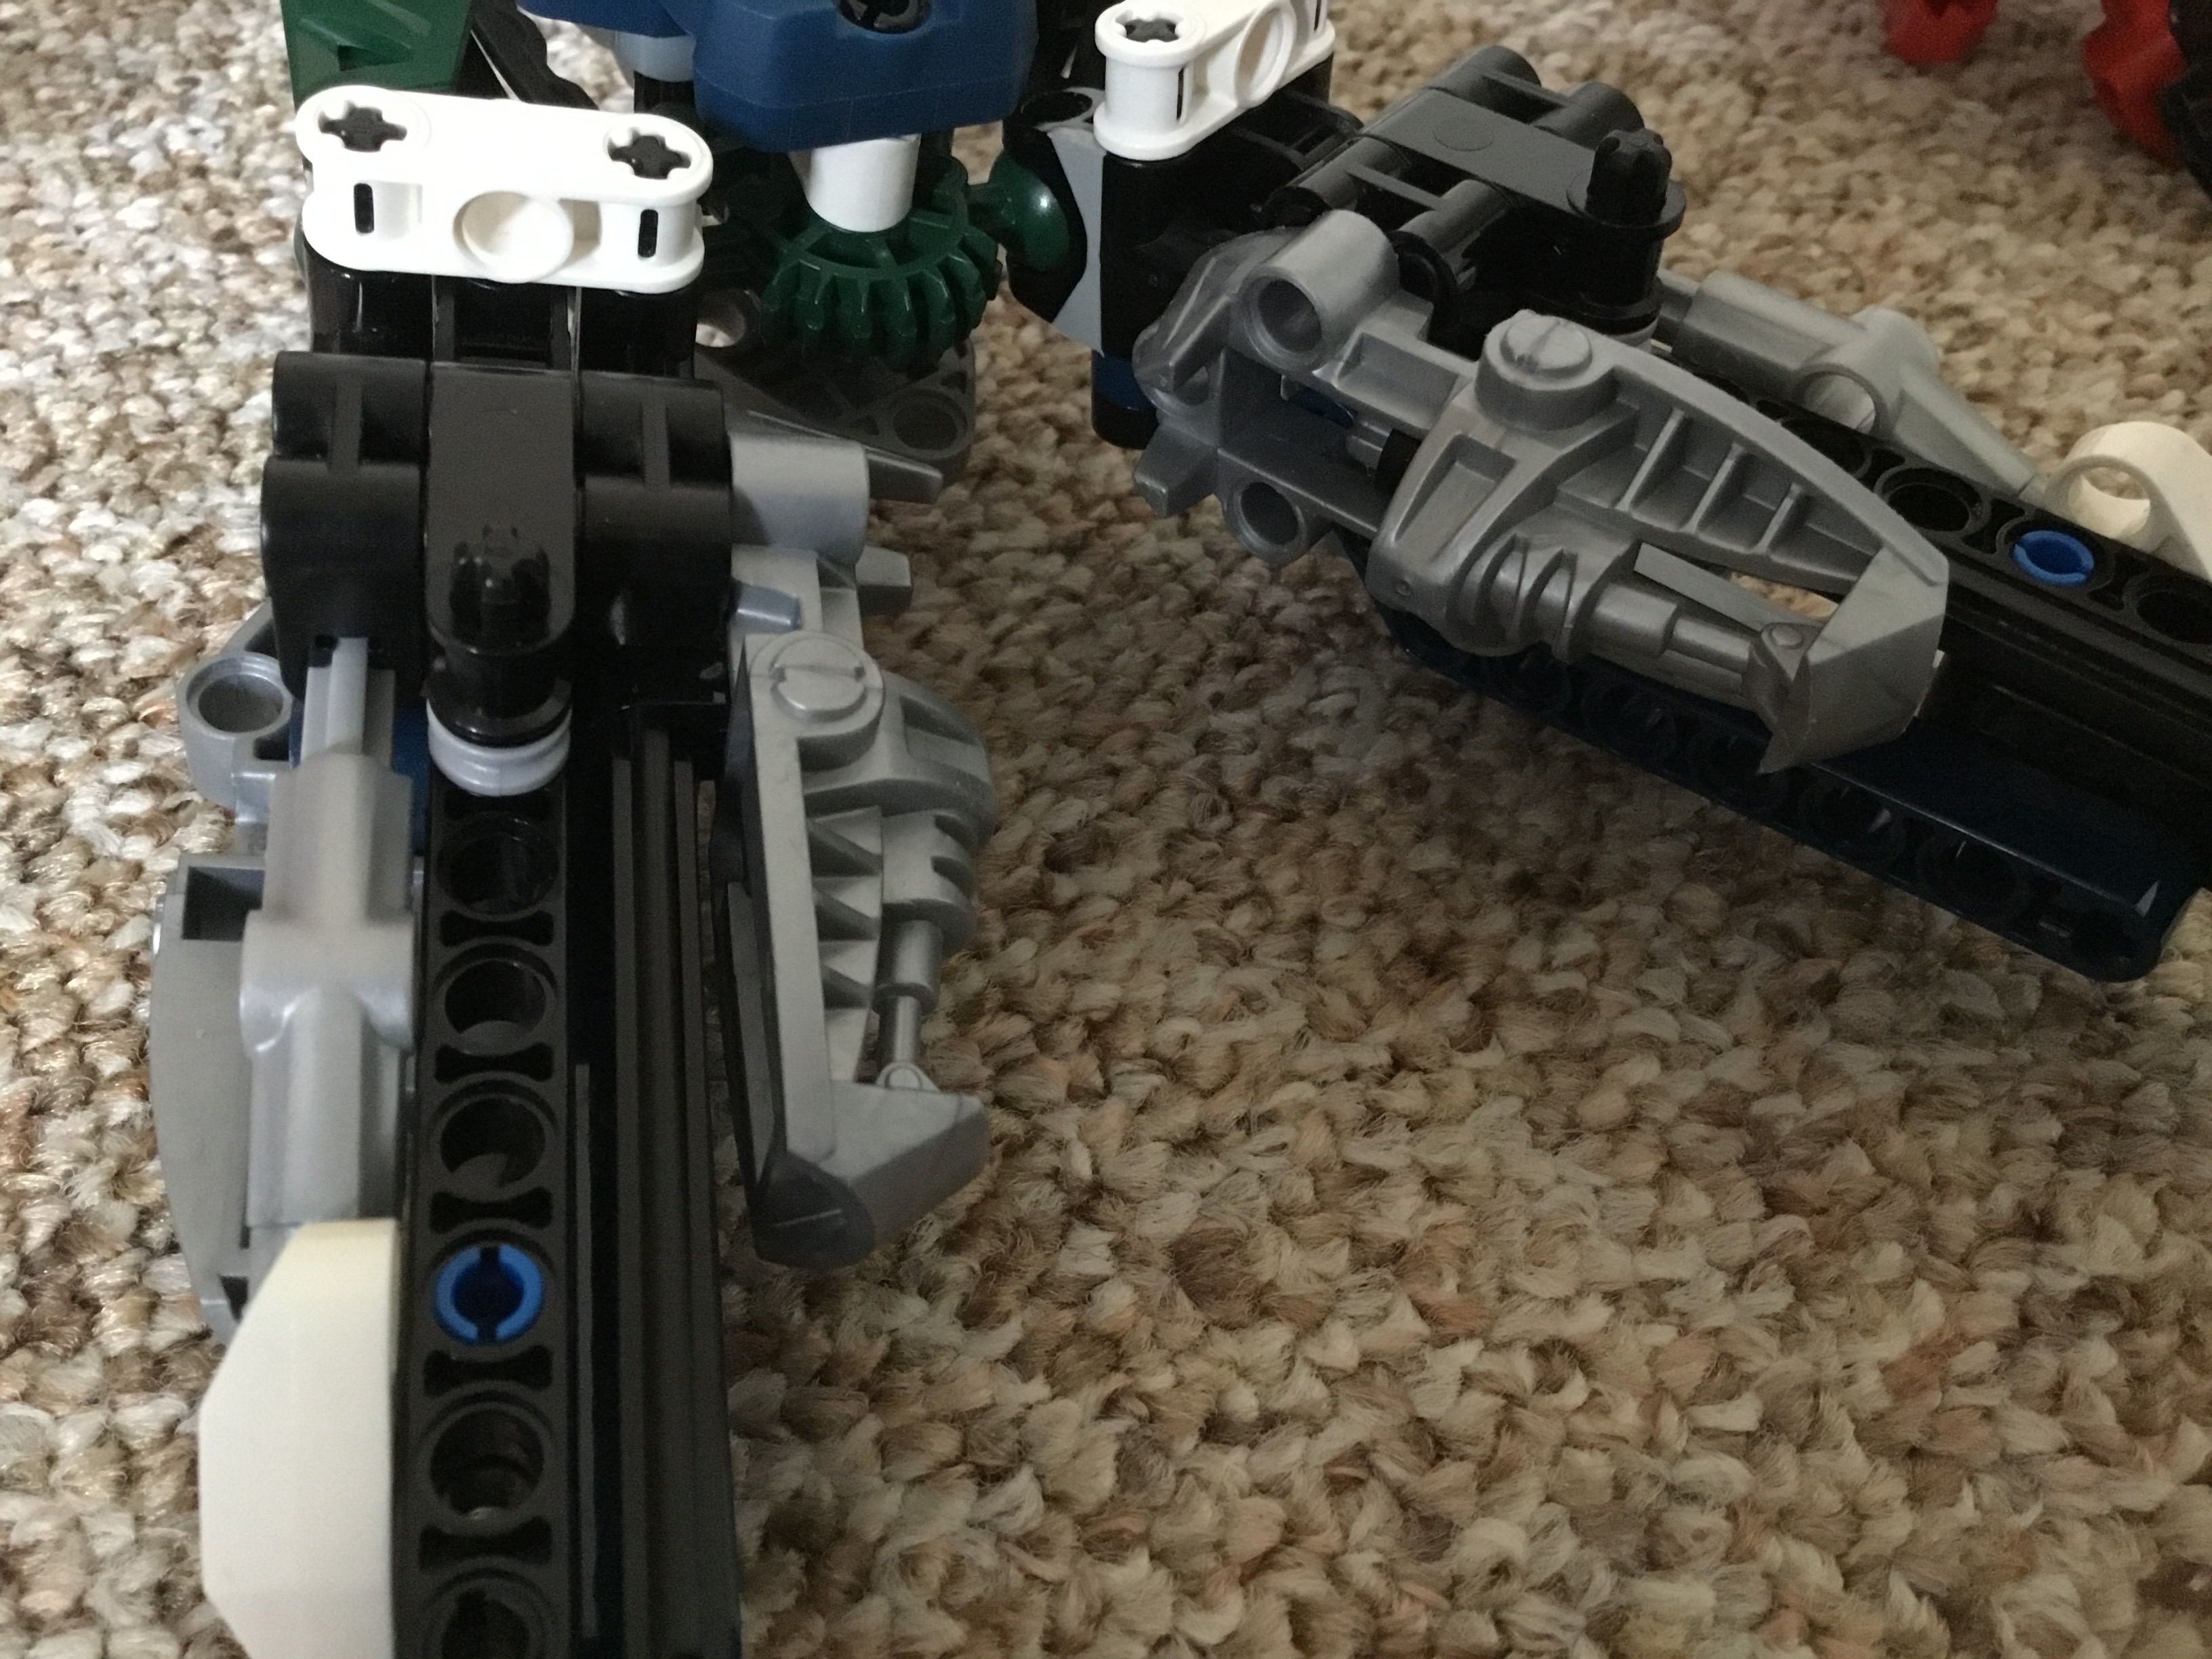
Then, create this assembly.
Also make a mirrored version, just without the axle.
Attach both like so to the existing structure. Make sure all the axles are lined up correctly.
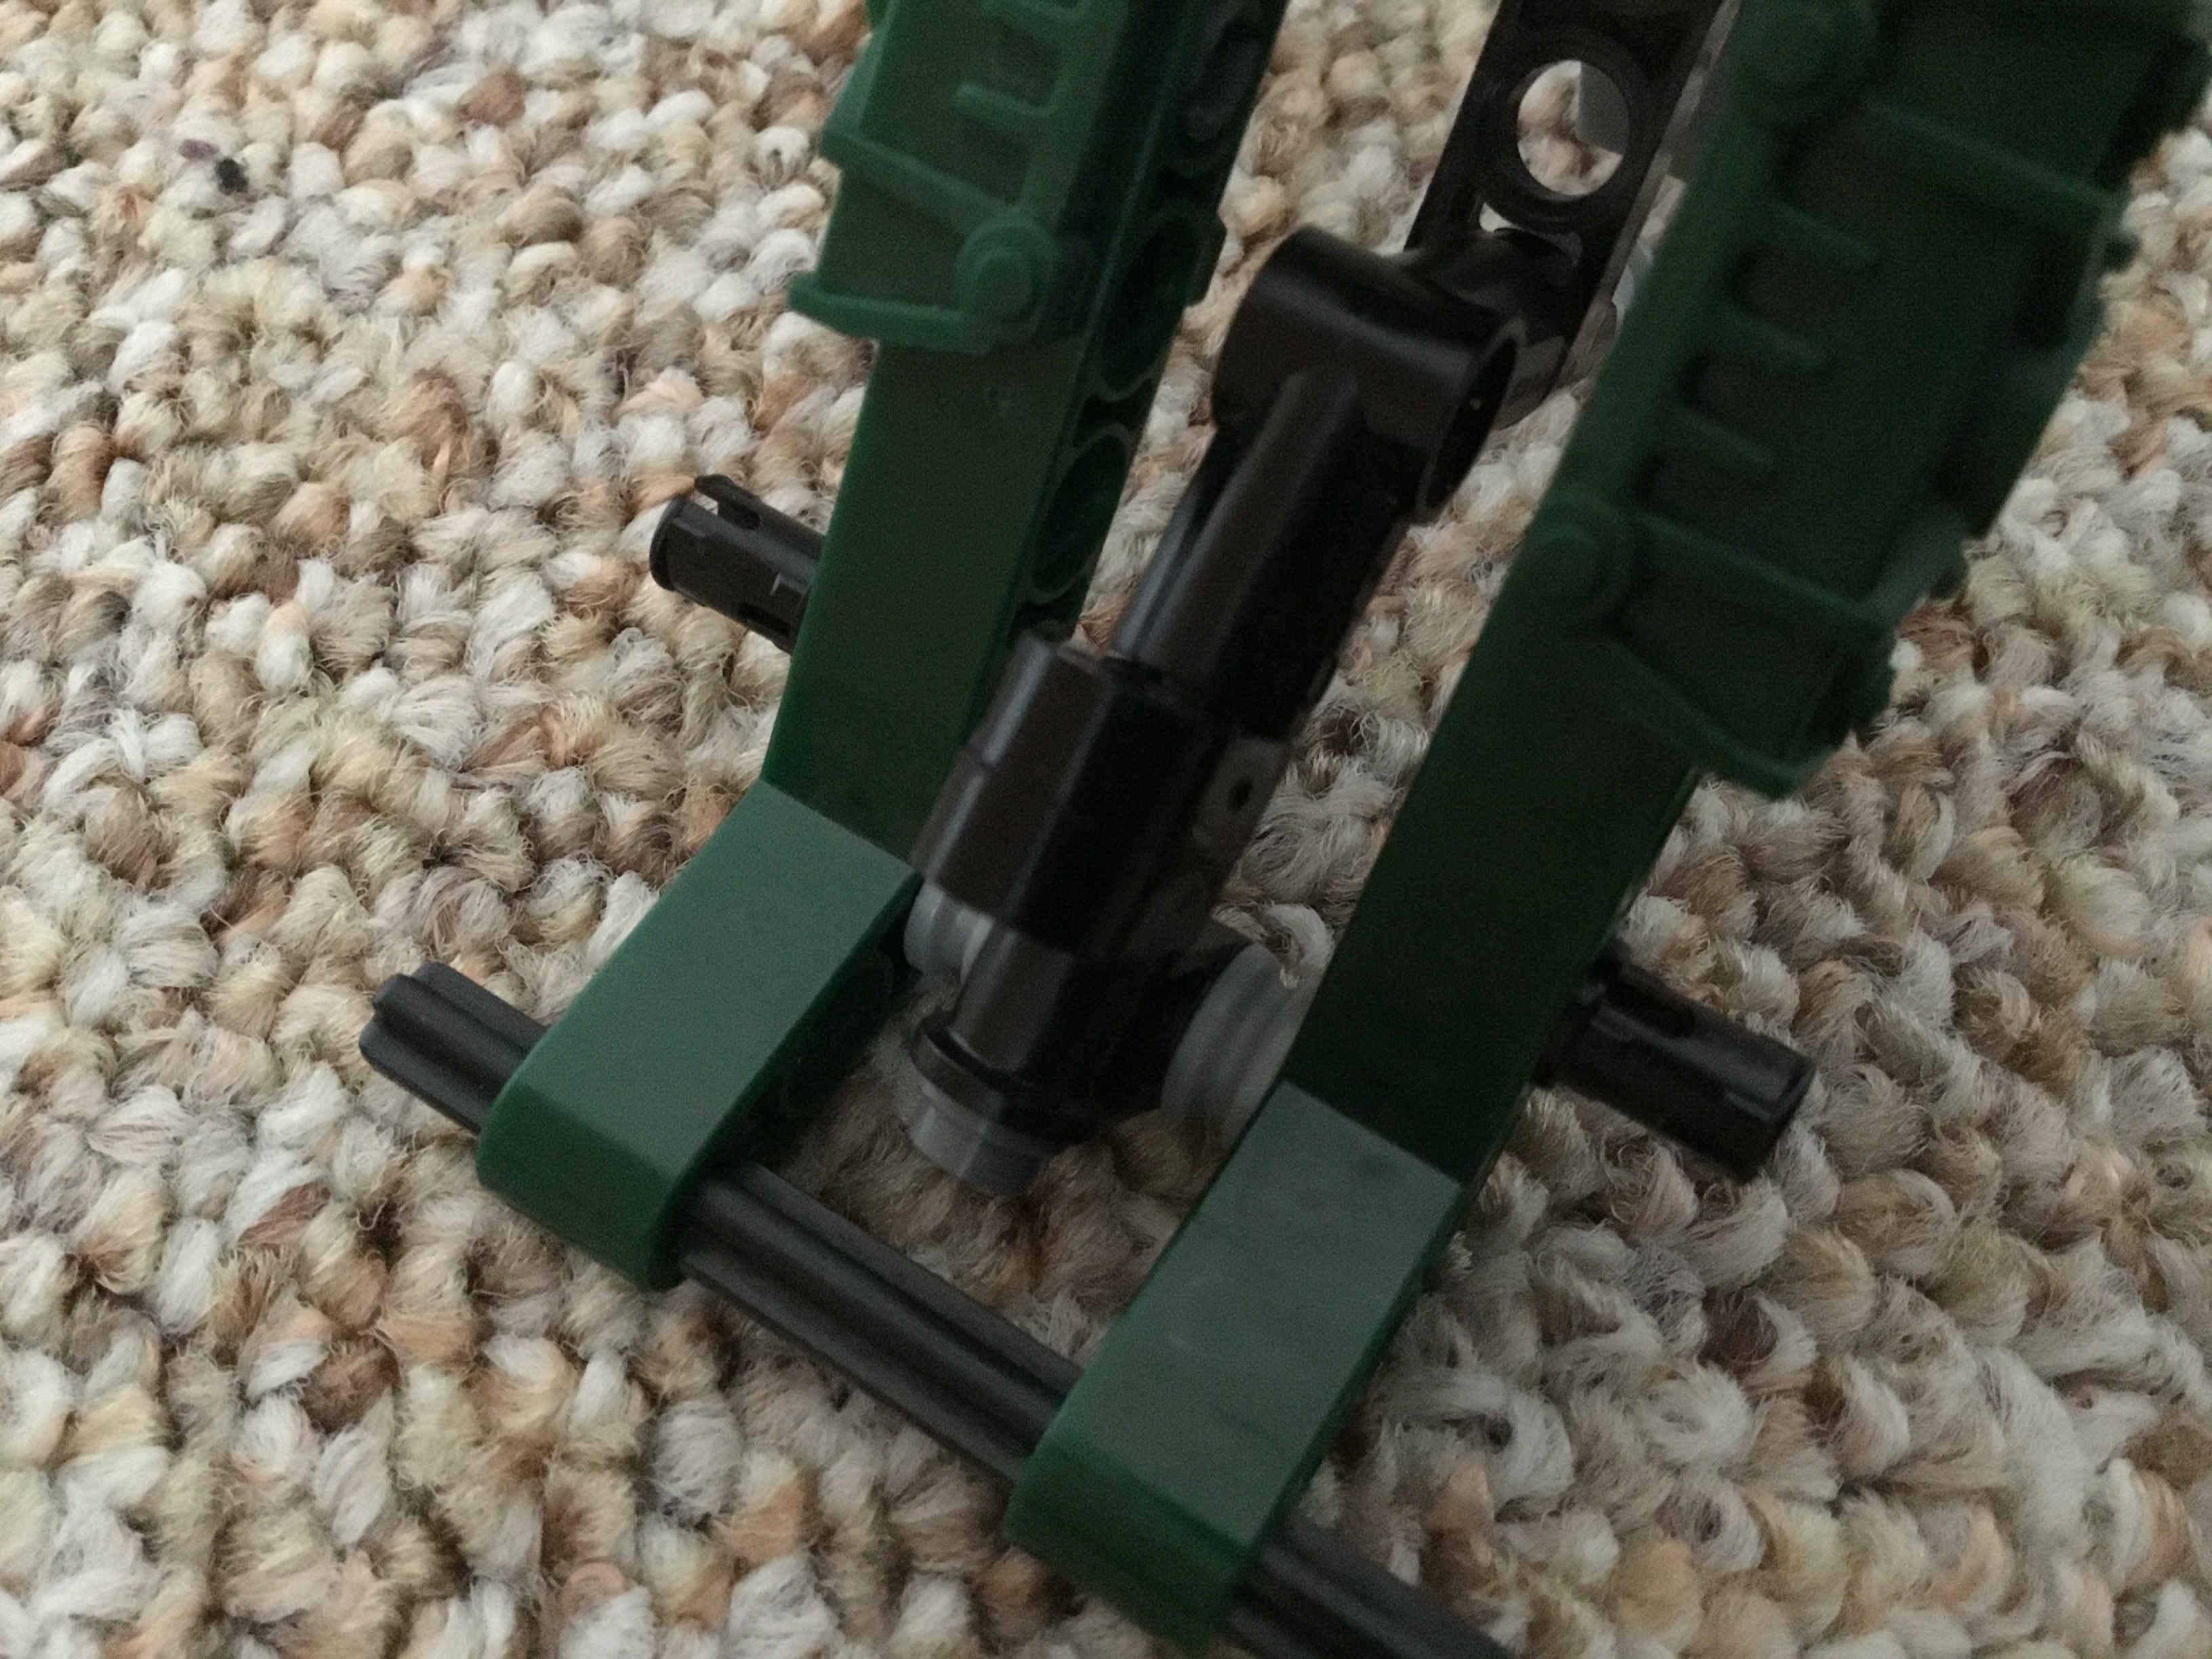
Next, insert two black pins into these holes.
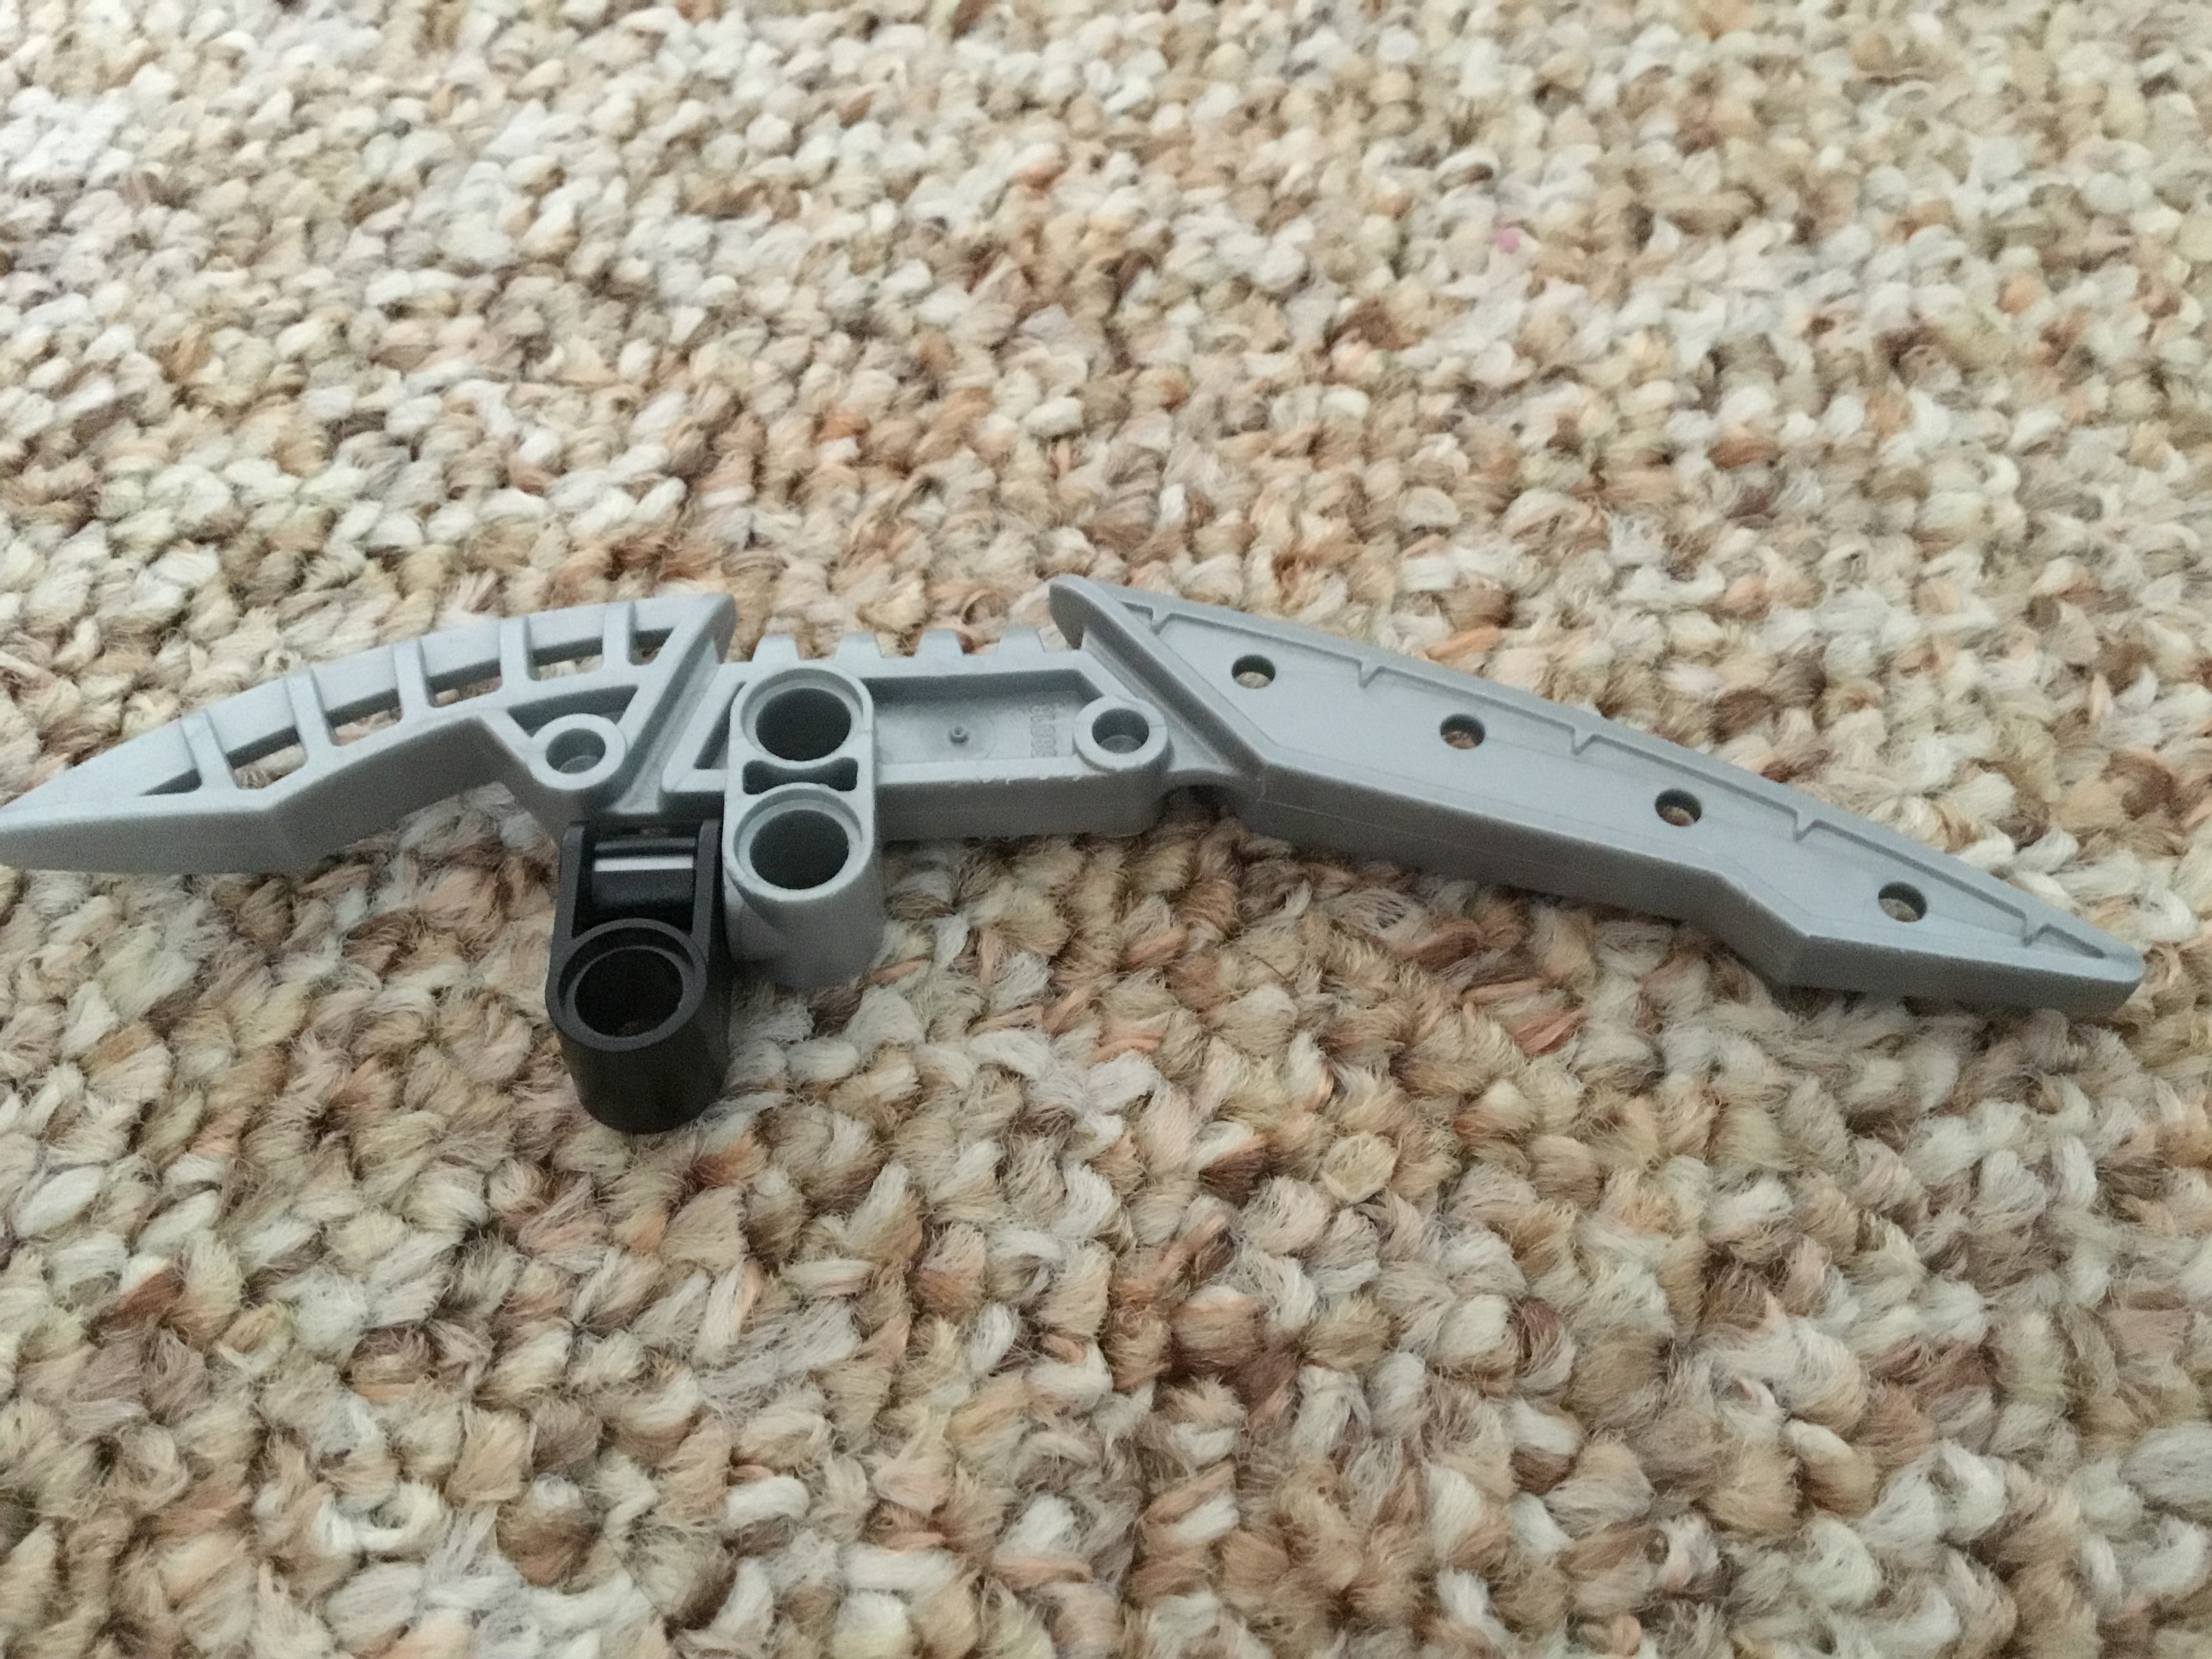
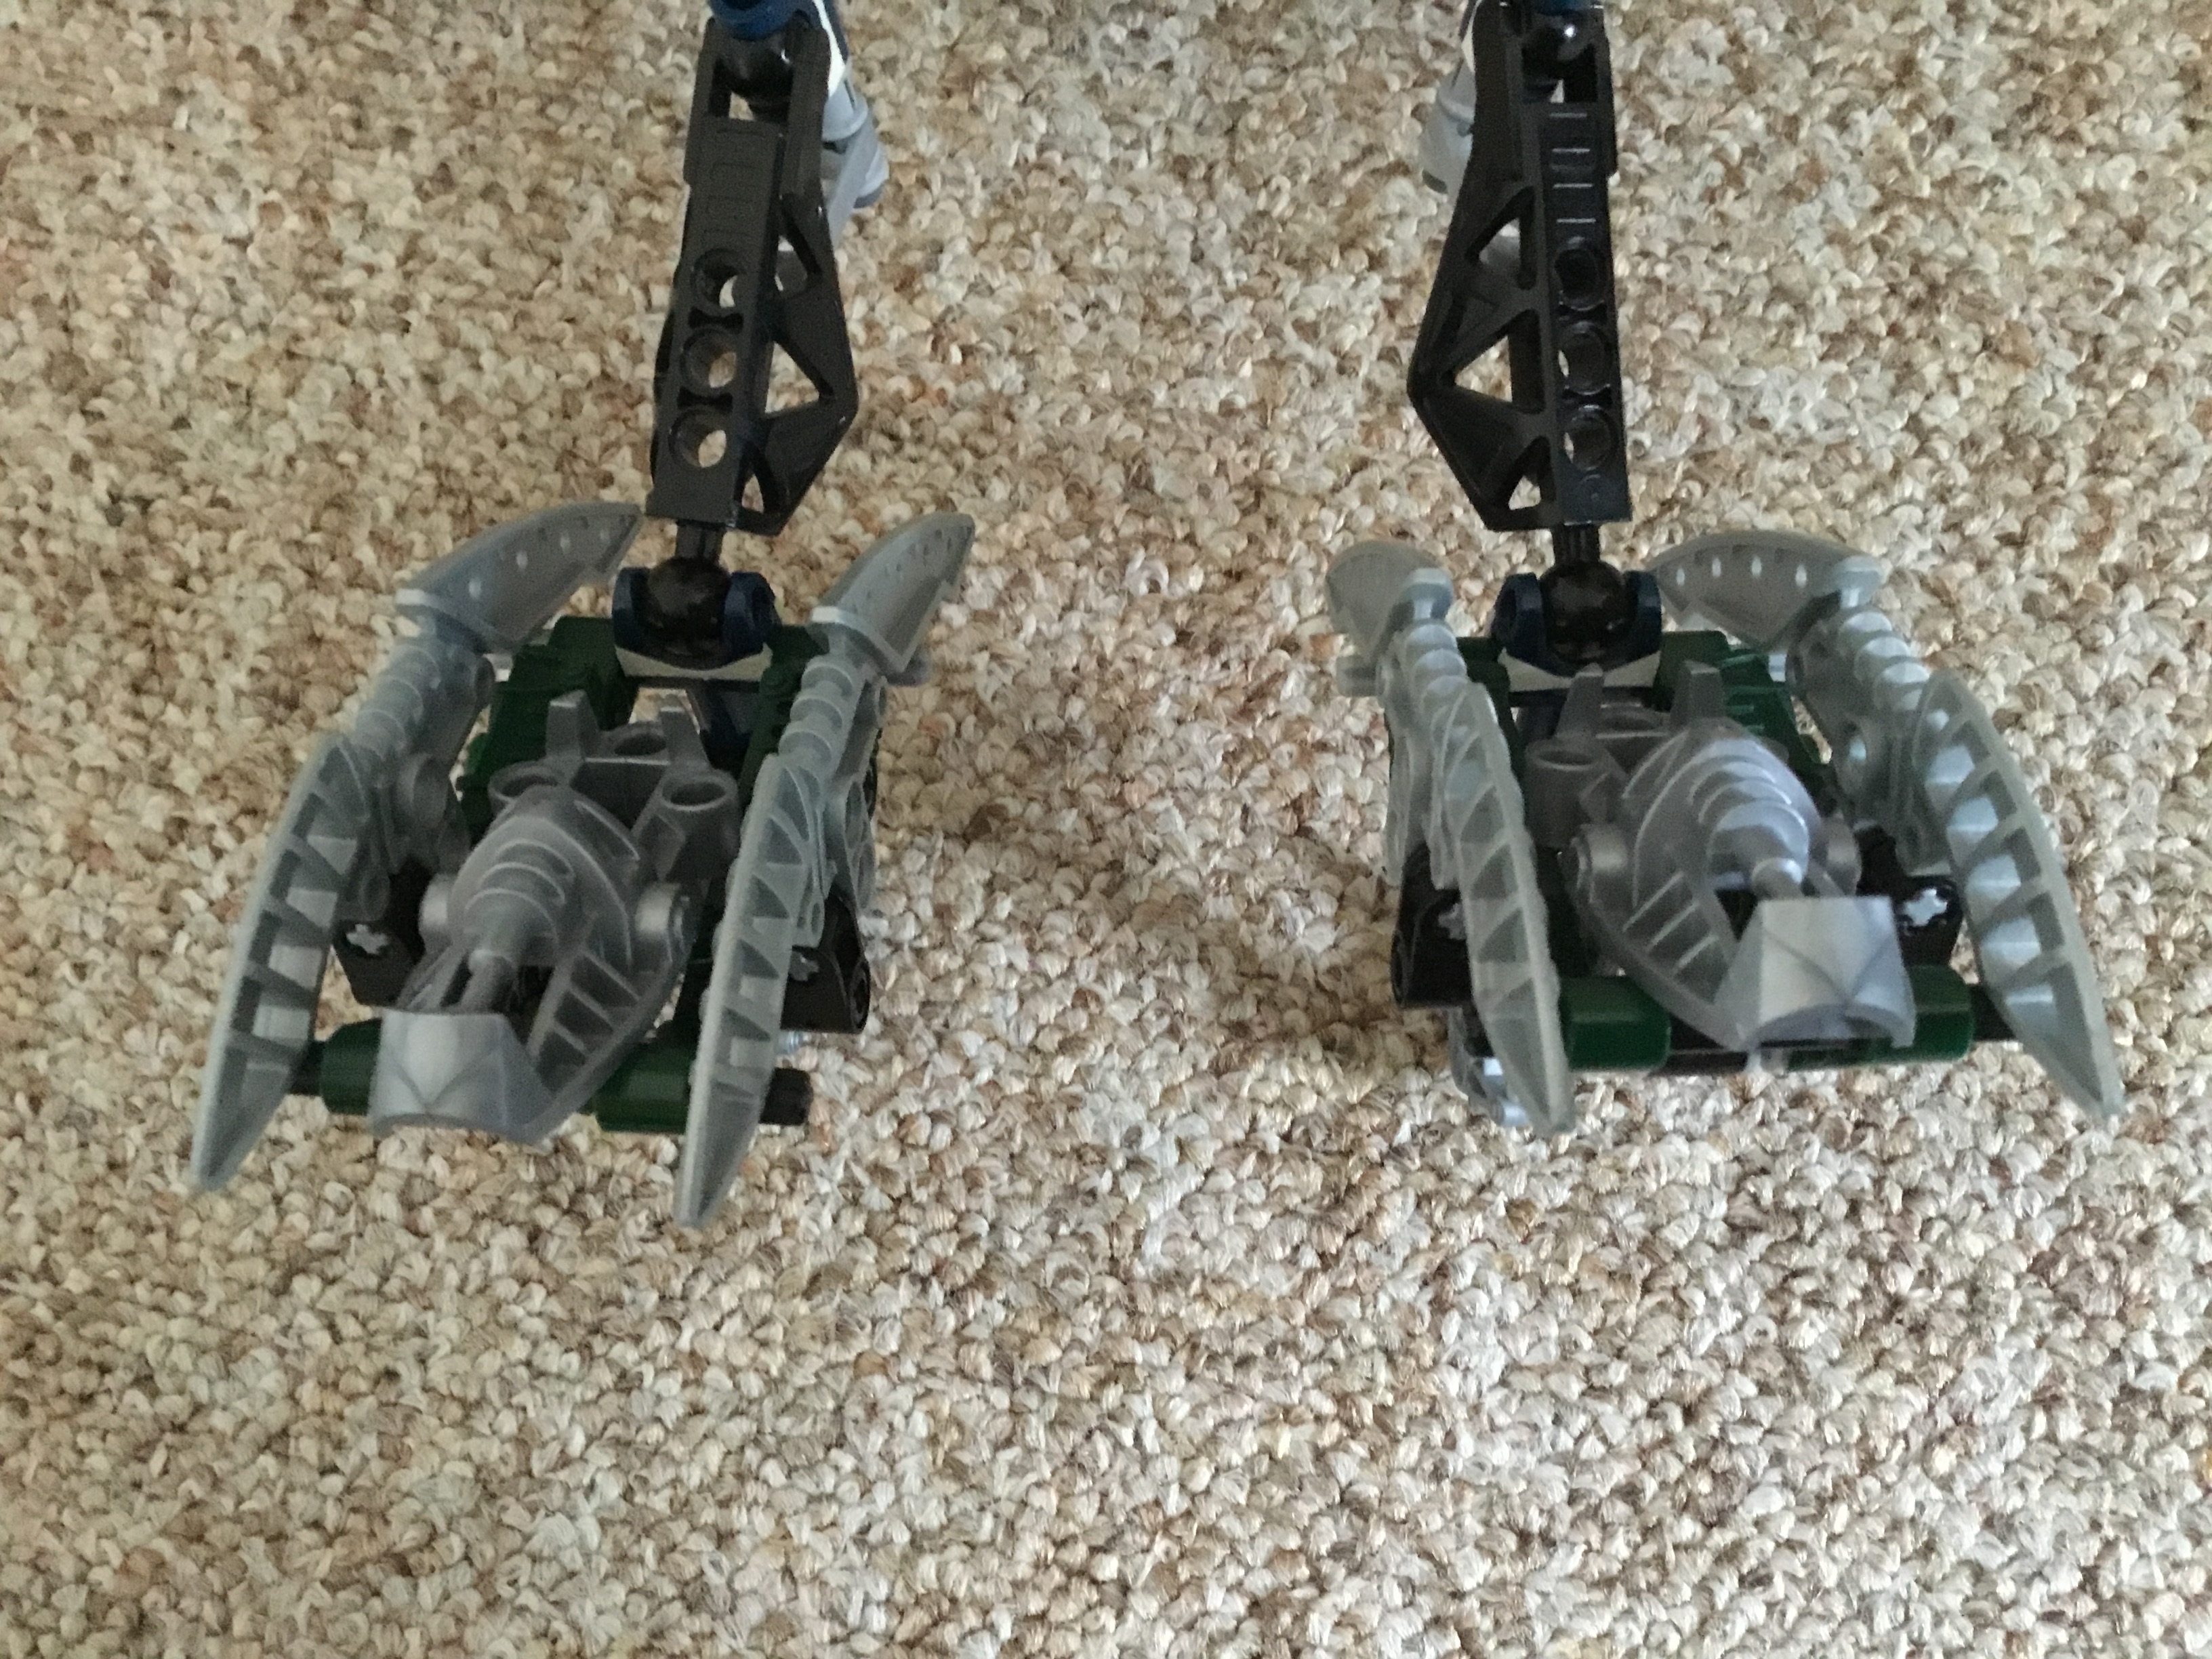
Create two of these bladed assemblies.
Attach them to the black pins. The exposed axles act as buffers and should stop them from moving freely.
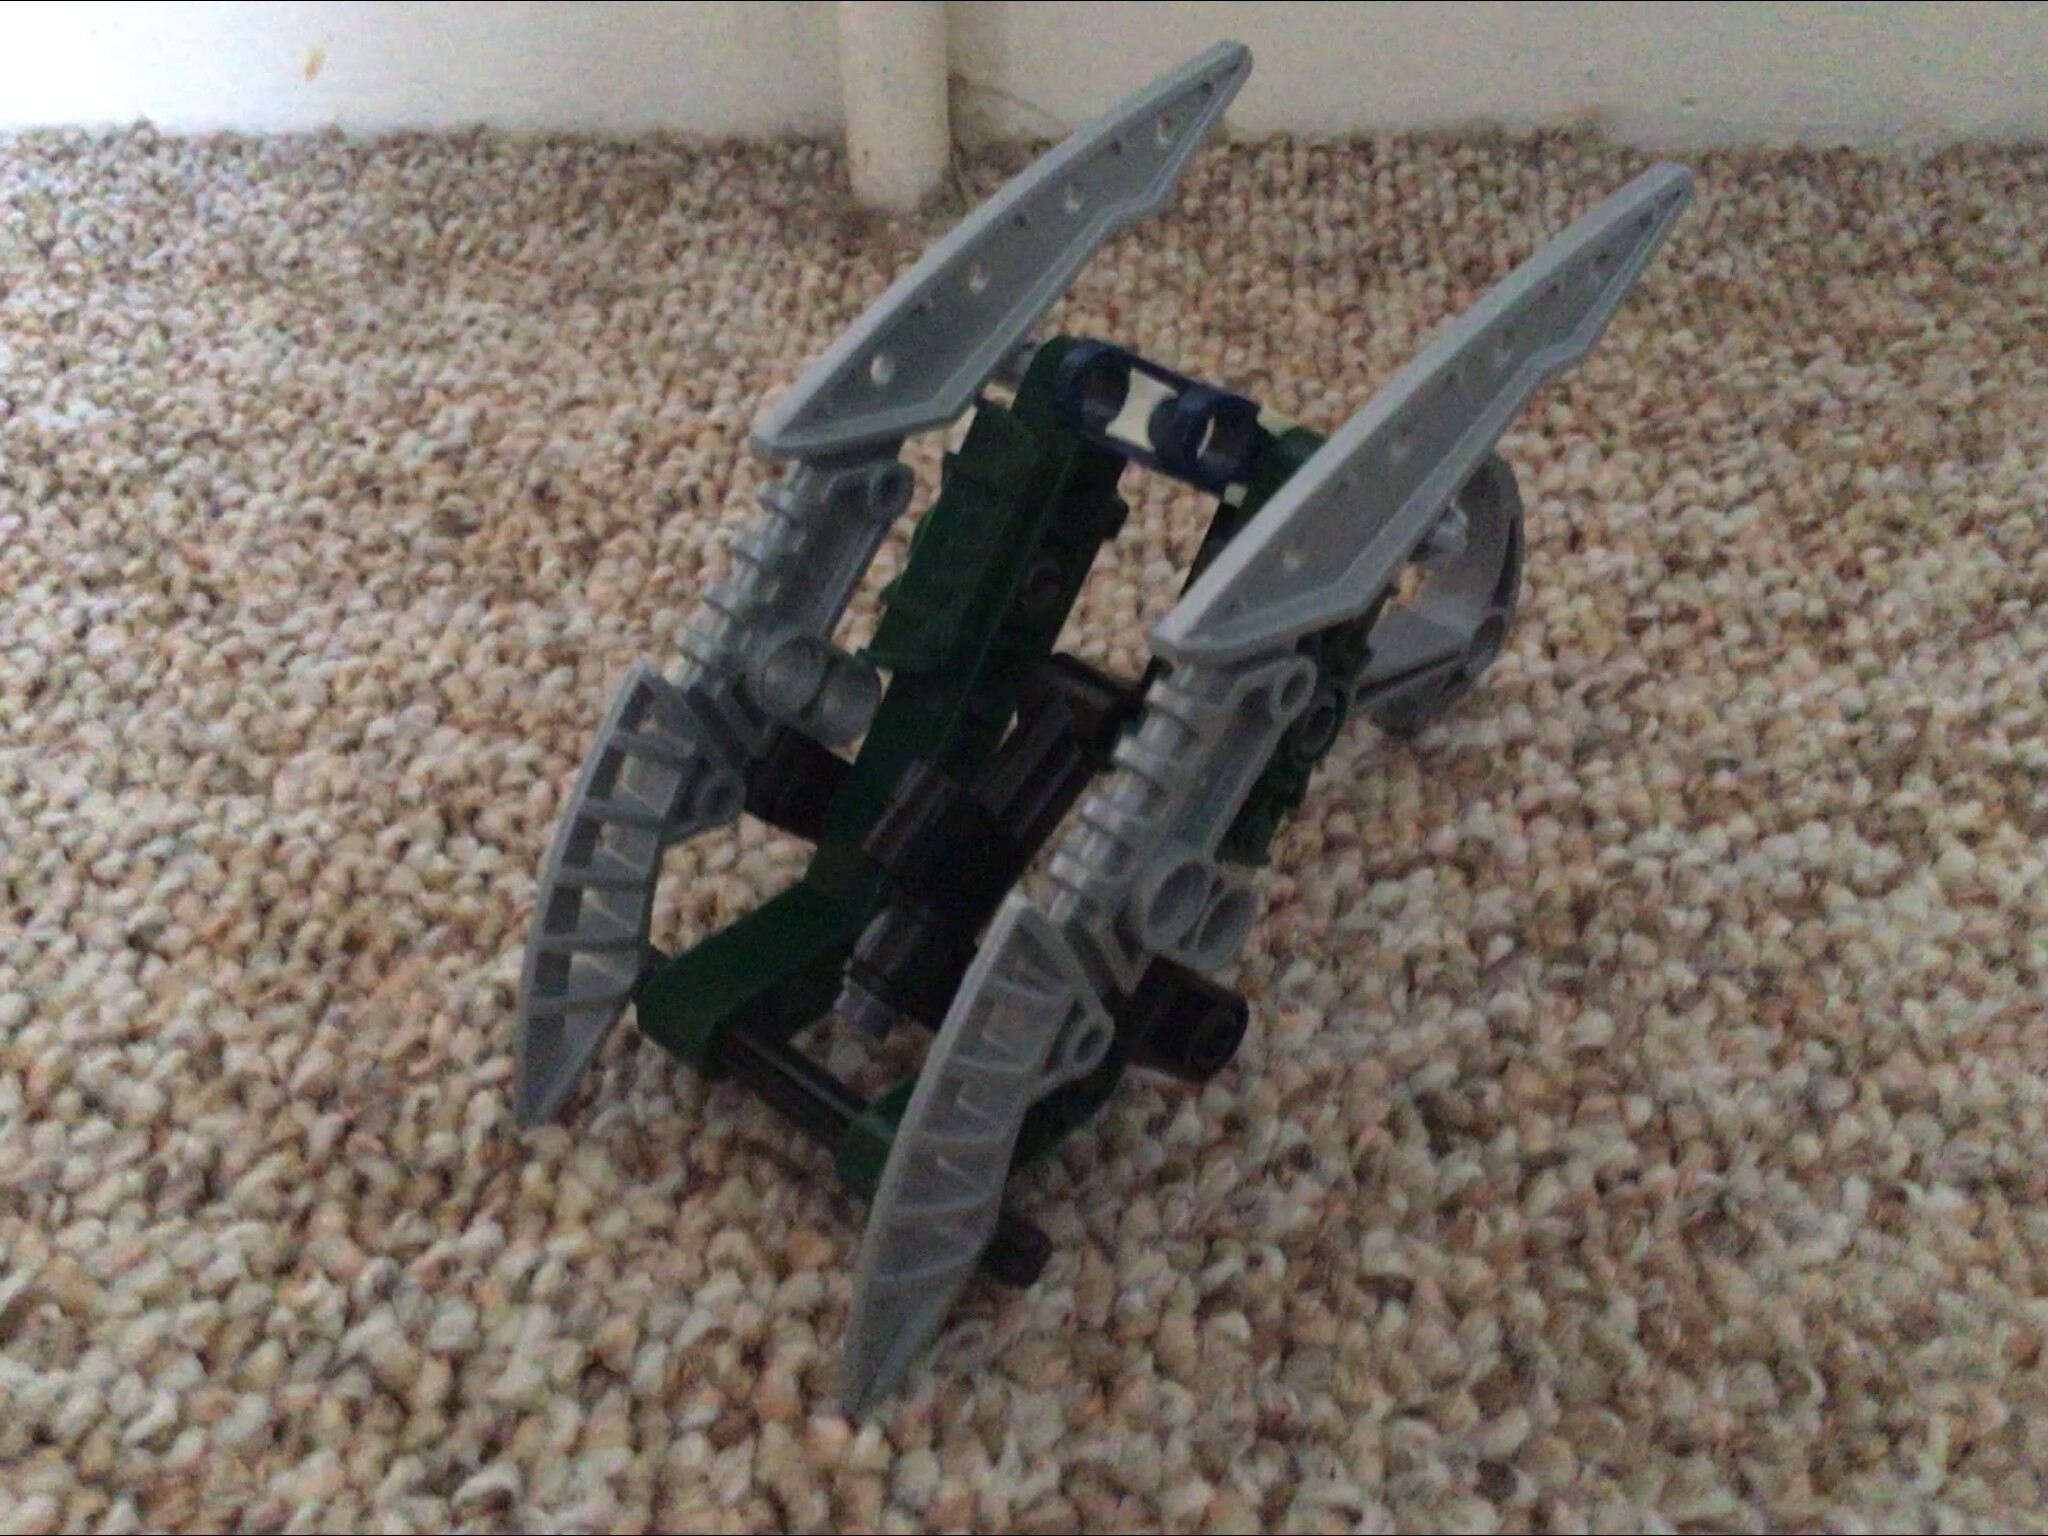
Finally, slide a Metru foot onto the exposed axle hole.
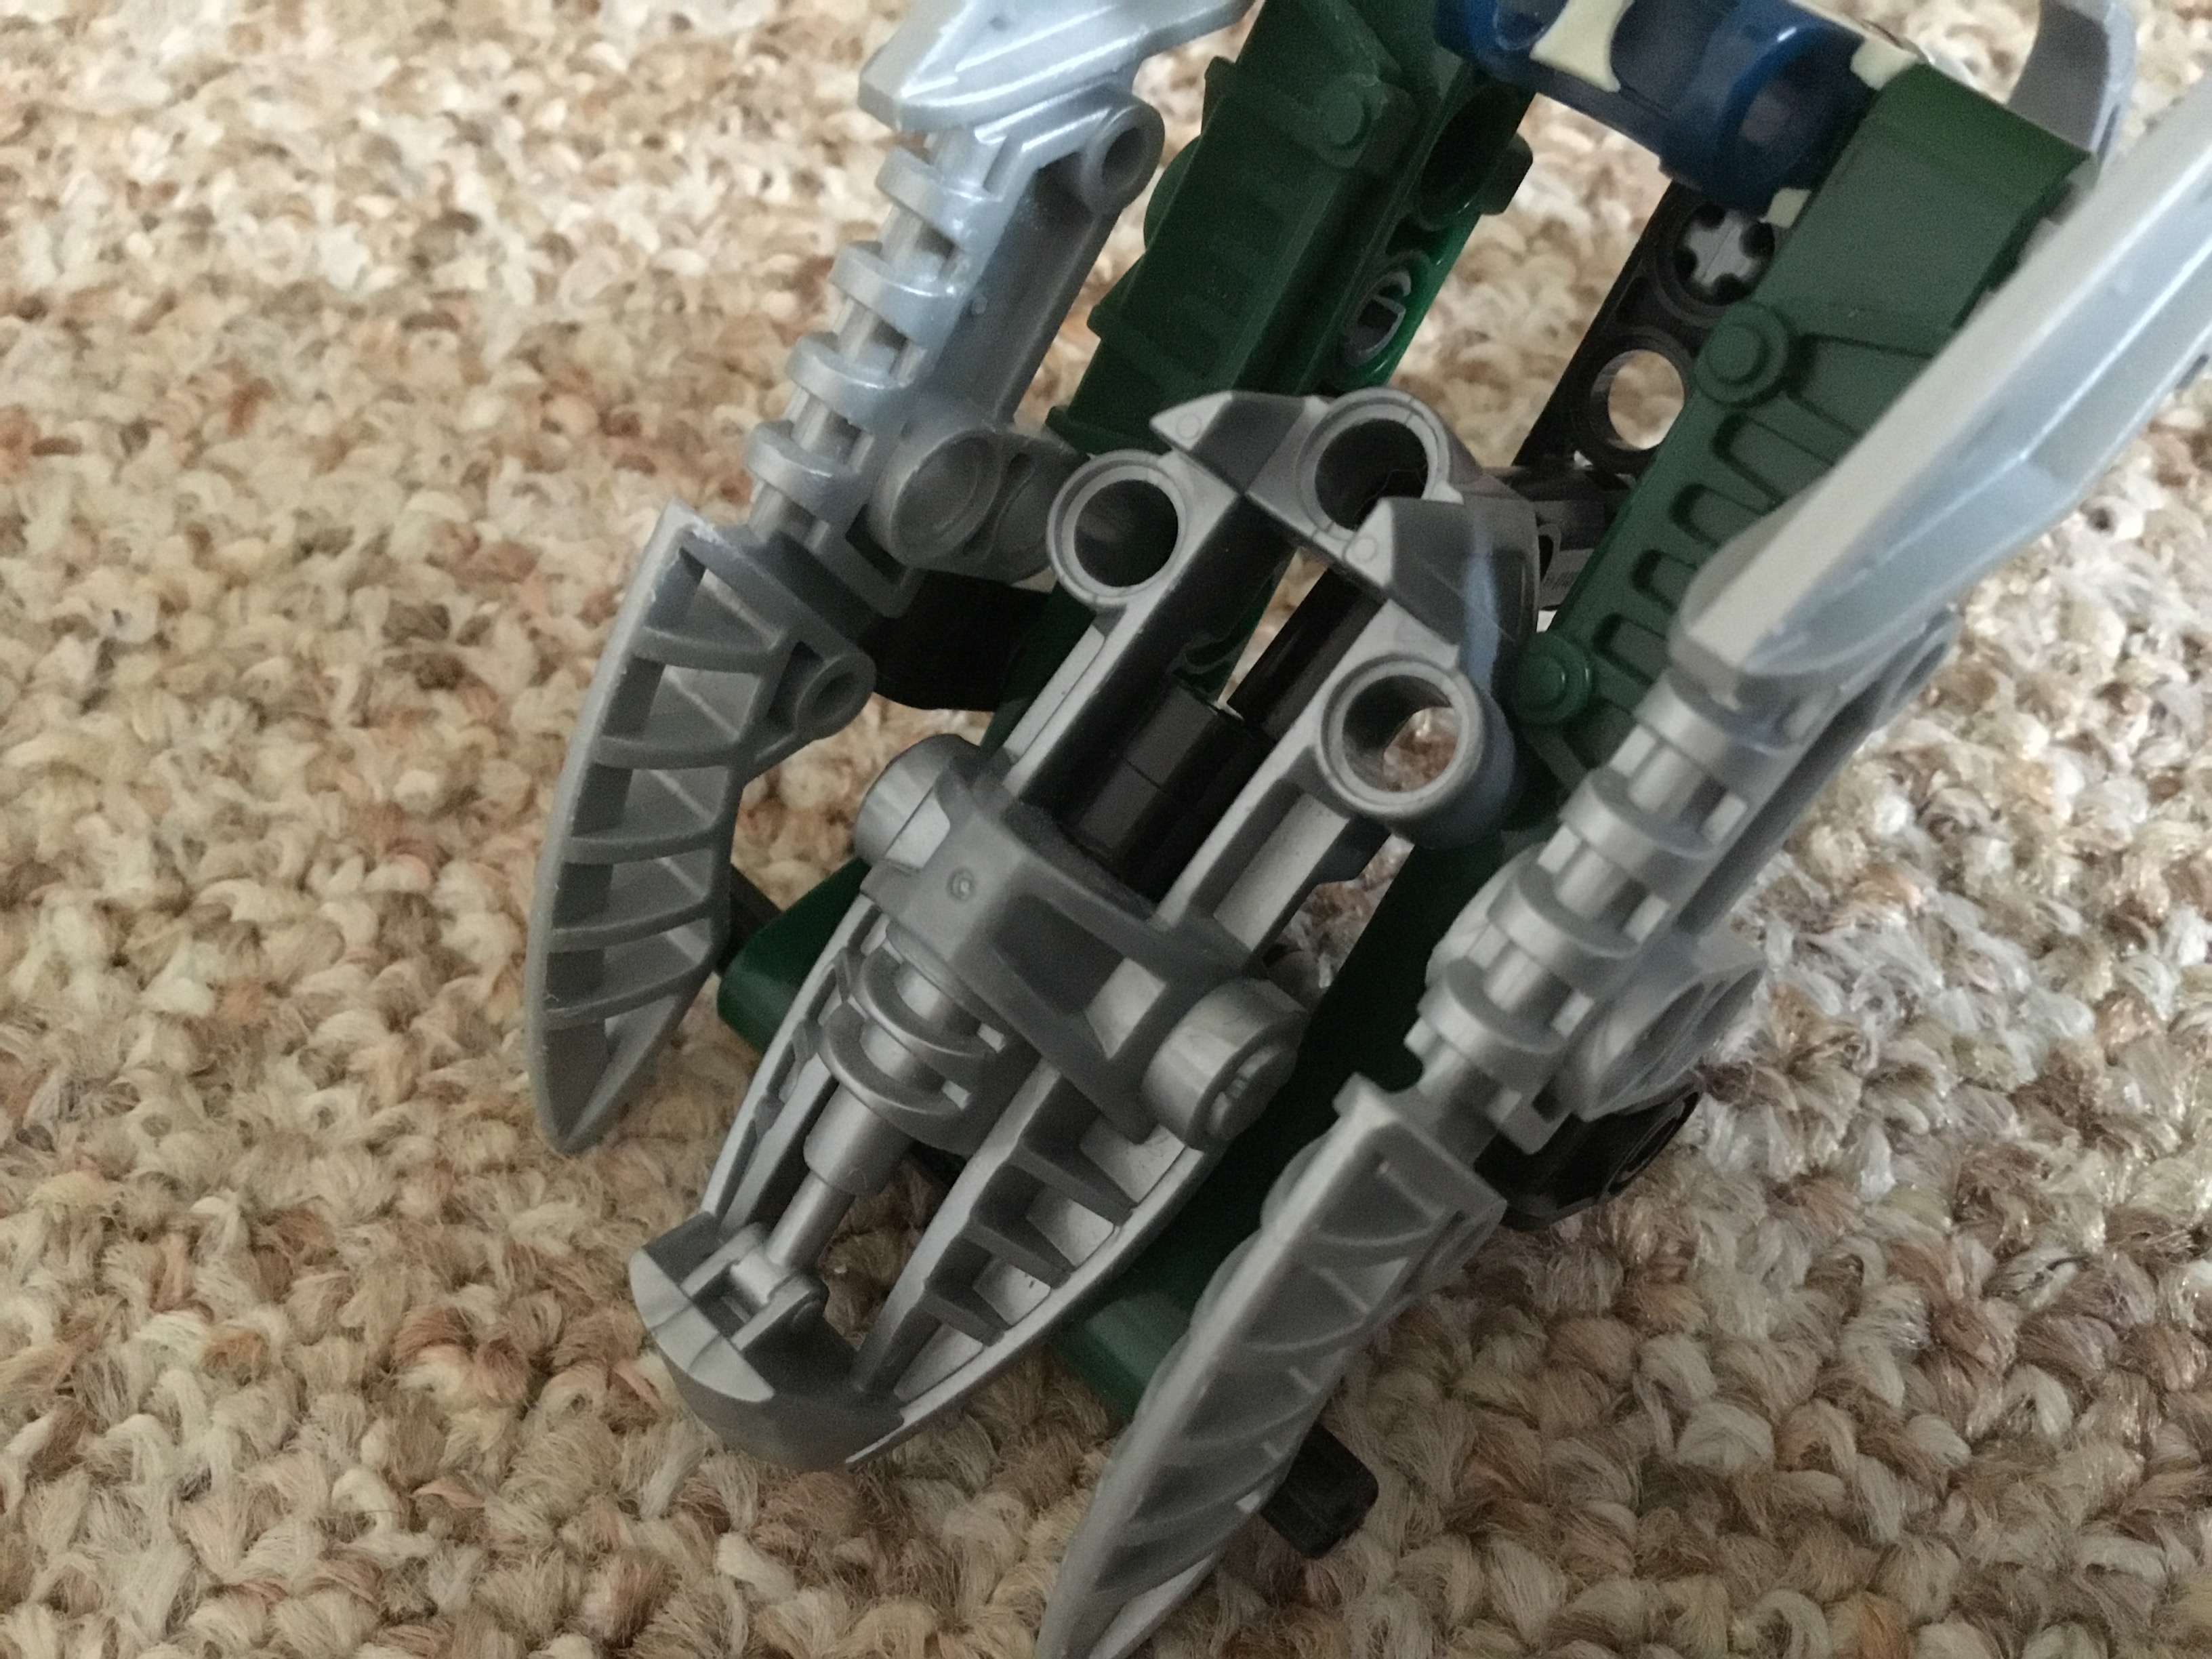
Repeat the process to make a second foot and attach both to the legs.
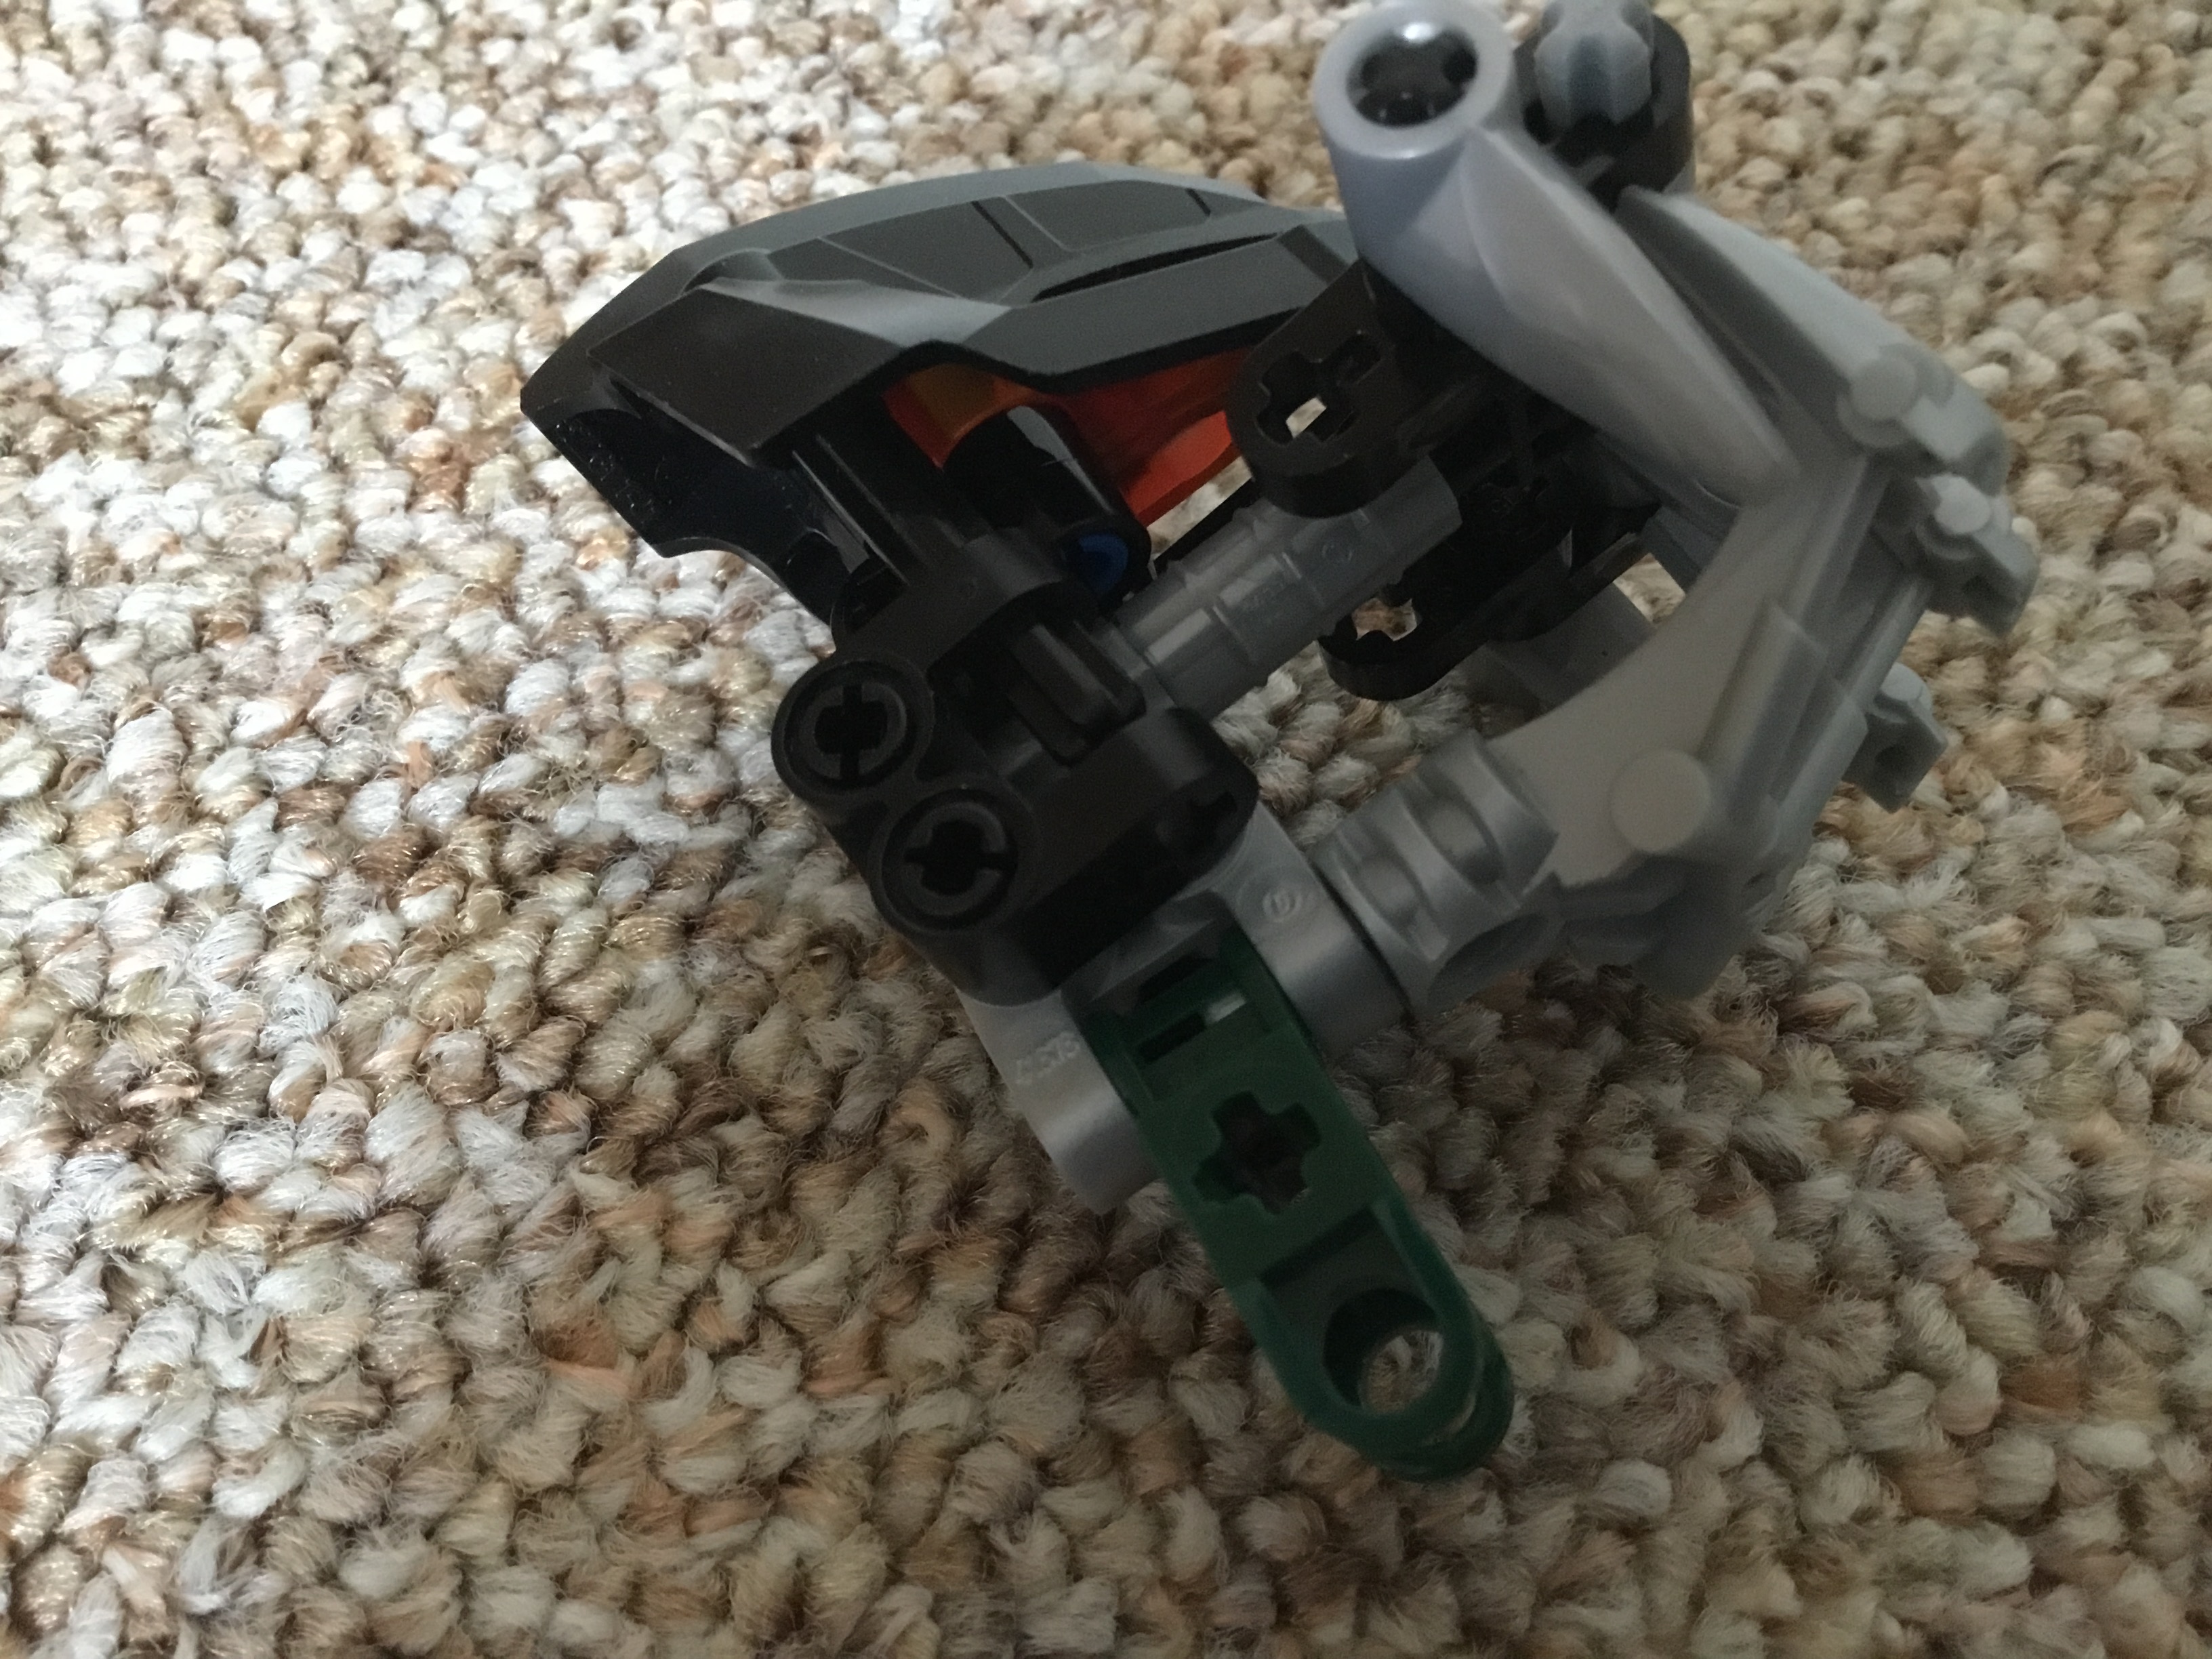
IX: Finishing touches
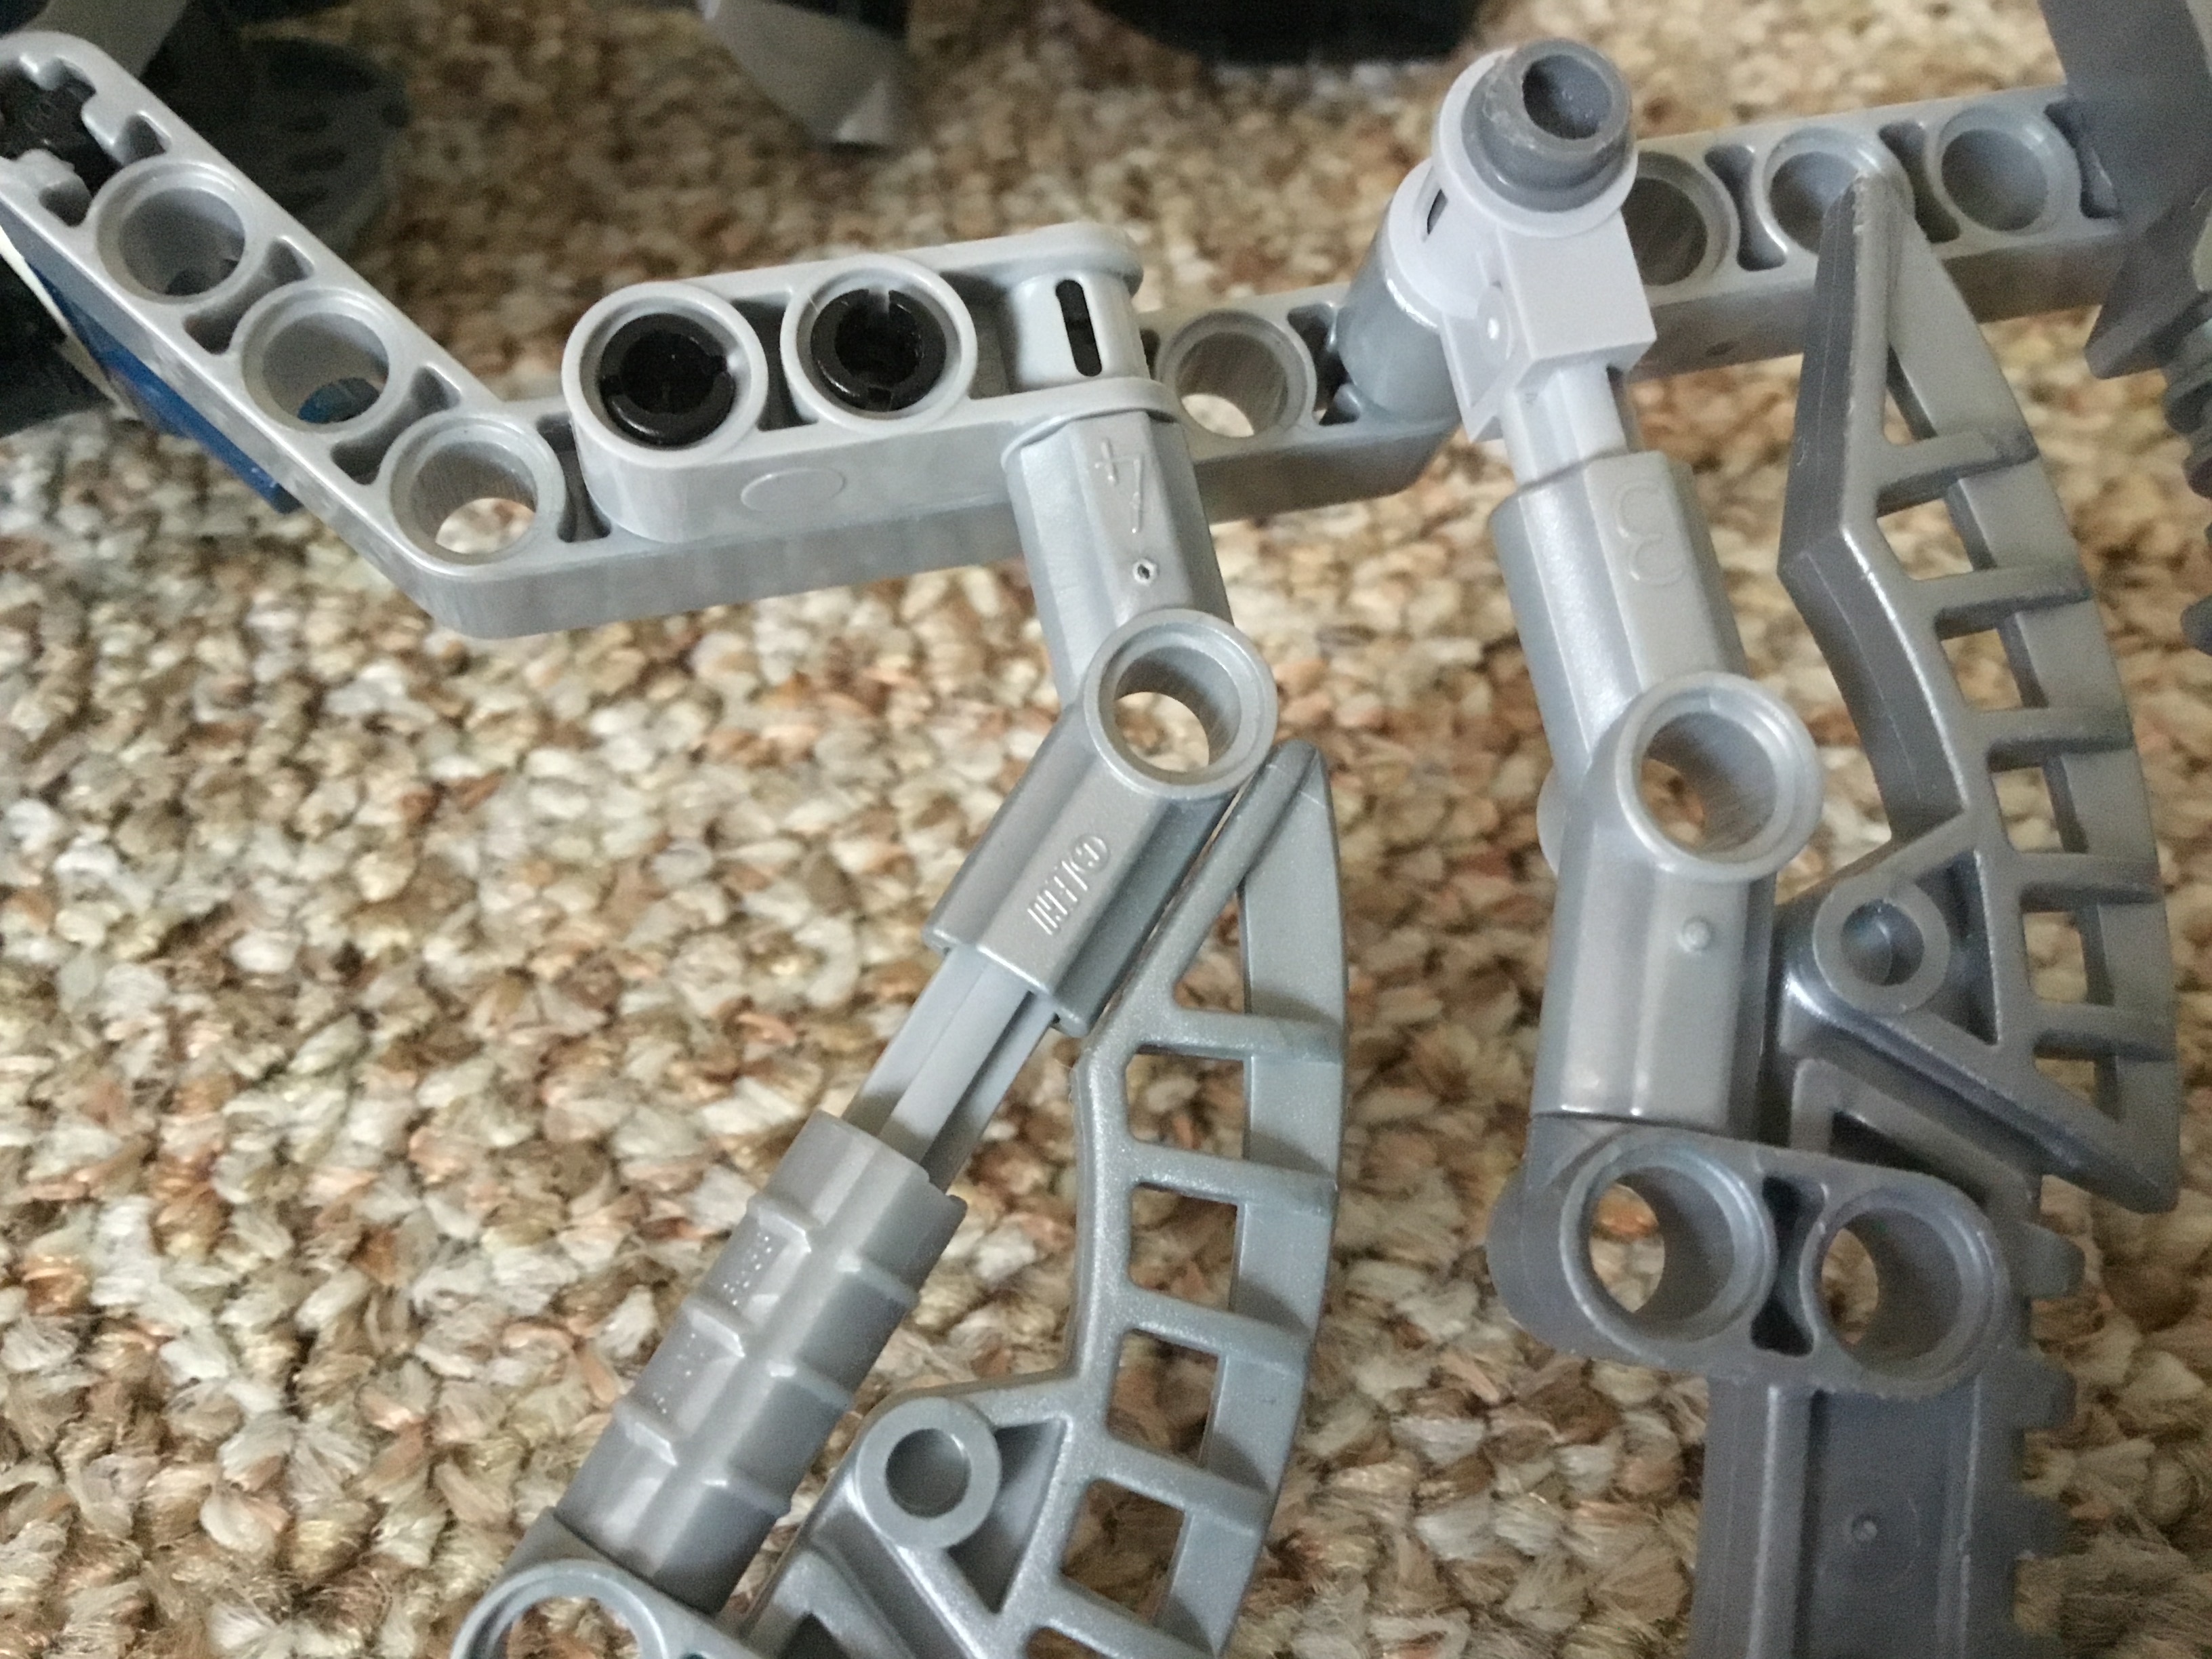
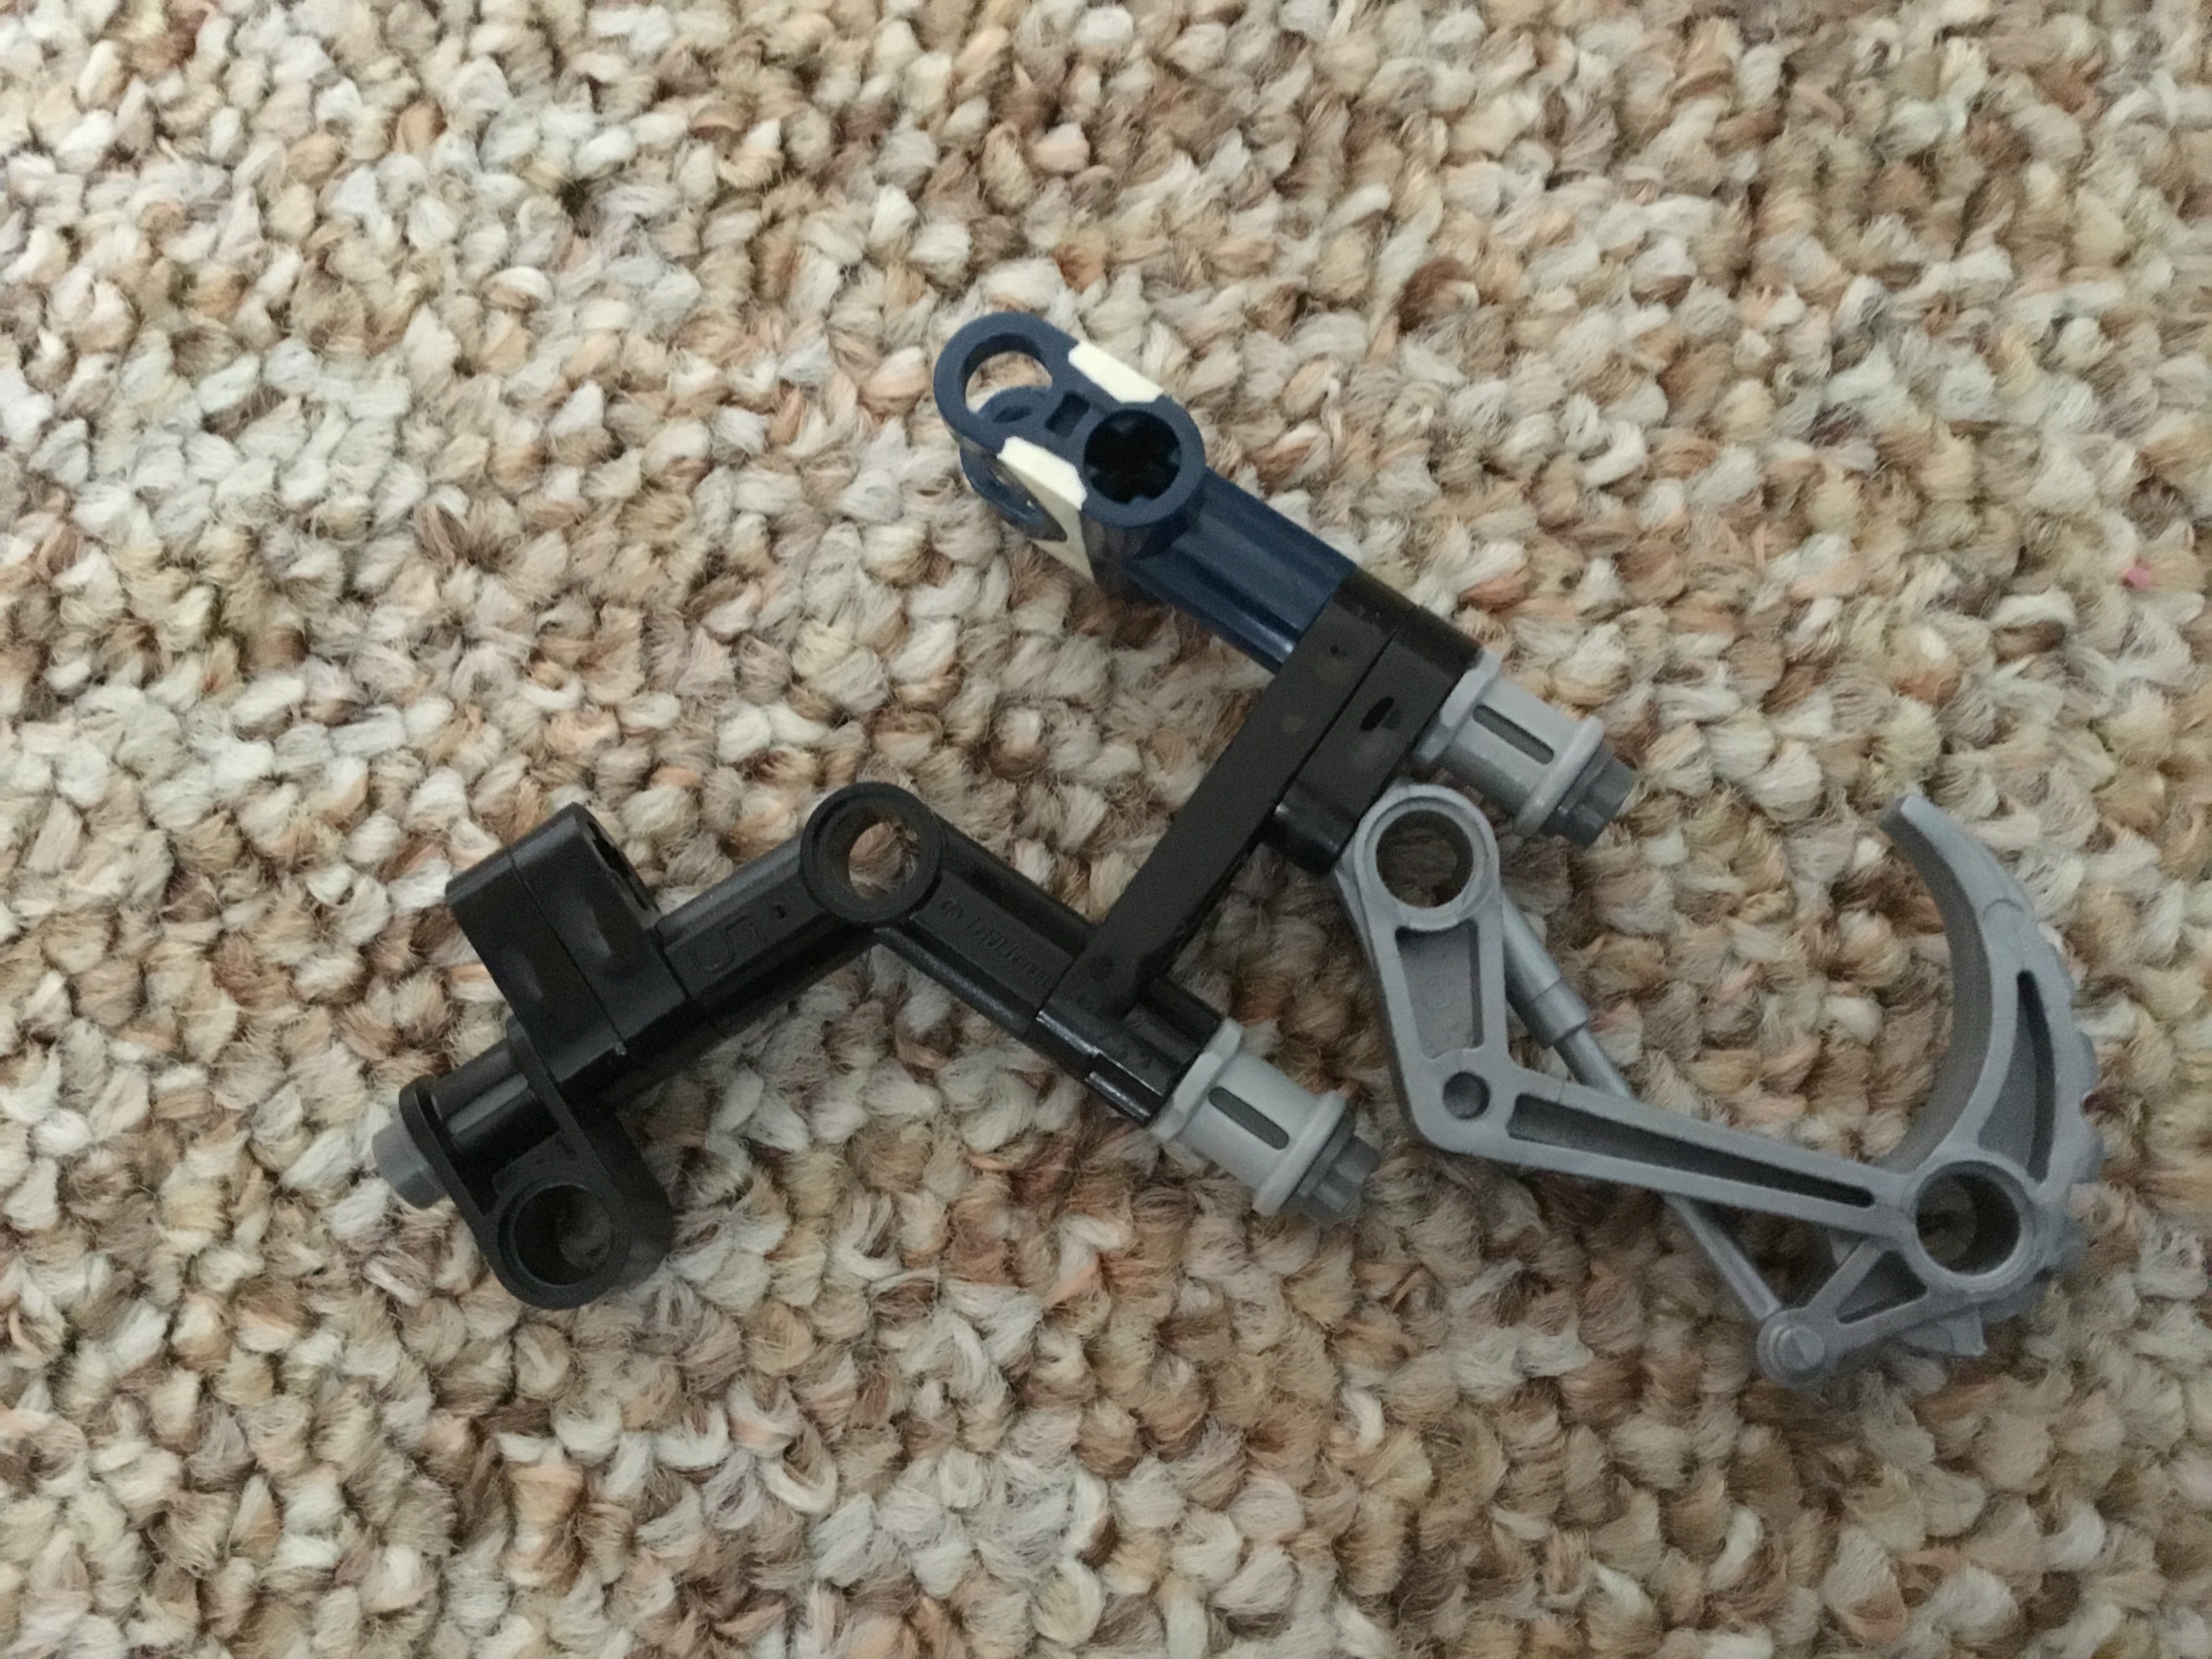
We’ll start with the shin guards. First, create this assembly.
Attach it to a Metru foot and build a smaller assembly.
Carefully slide the smaller assembly into the Metru foot.

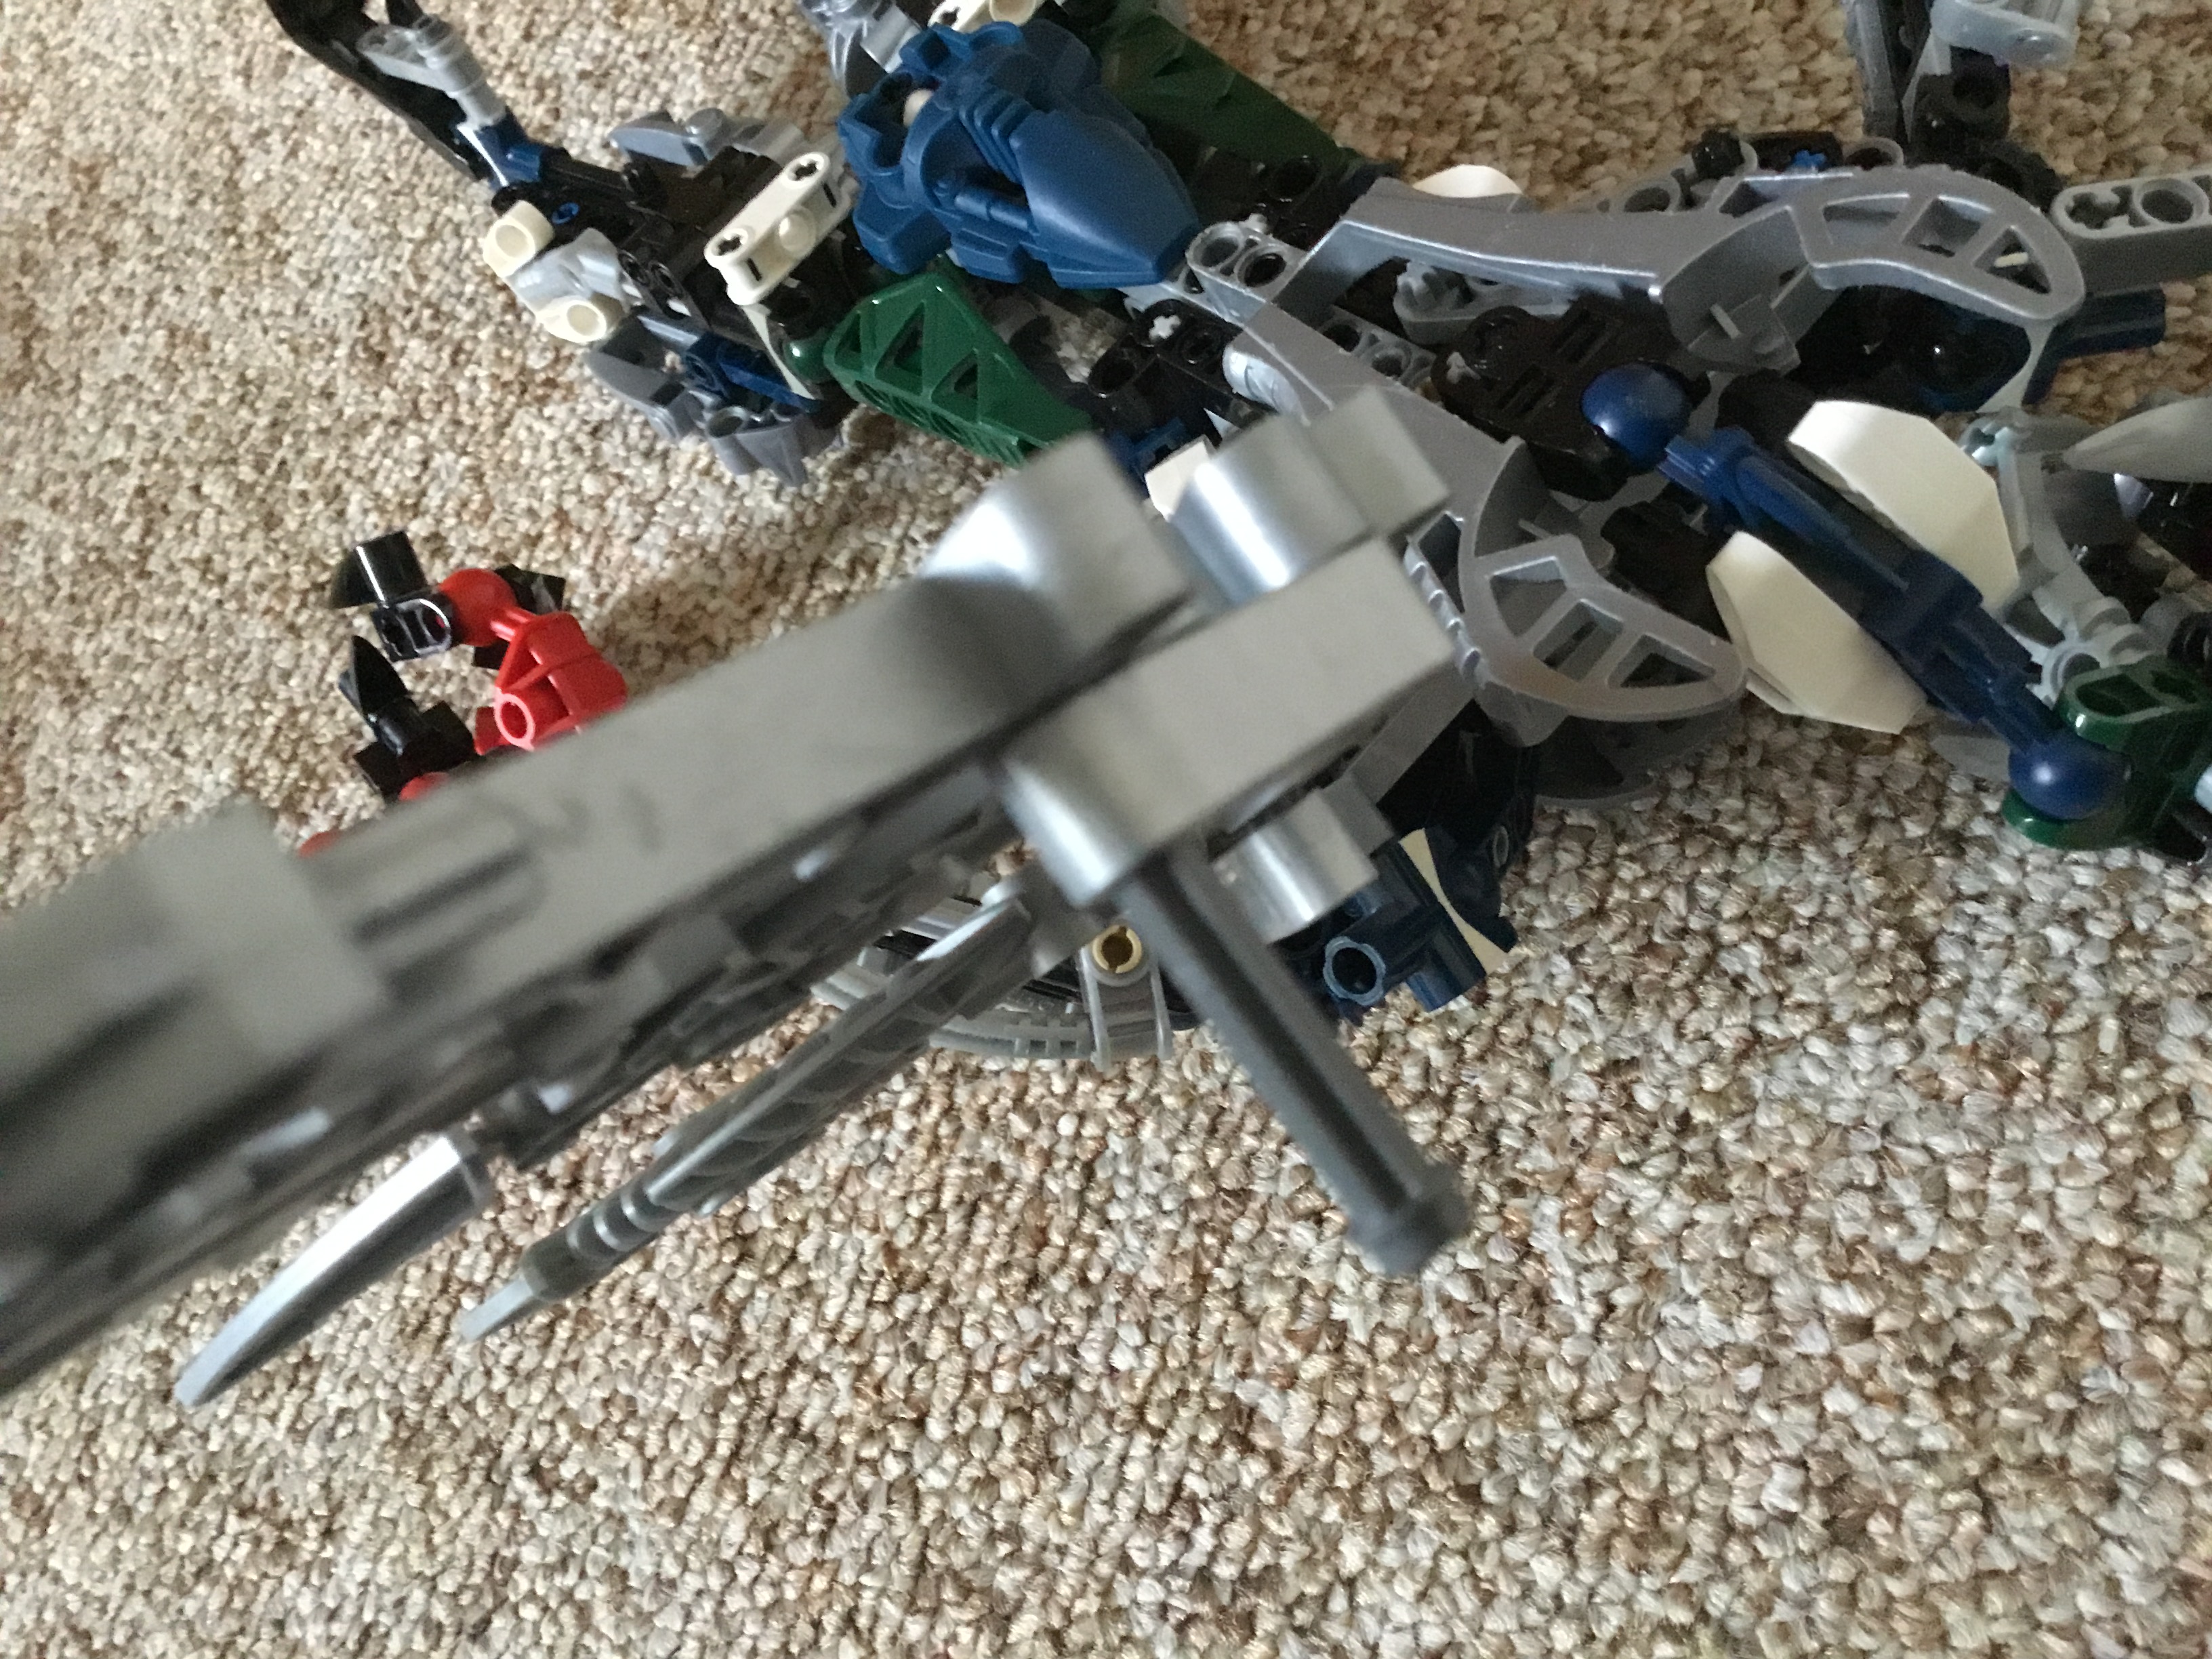
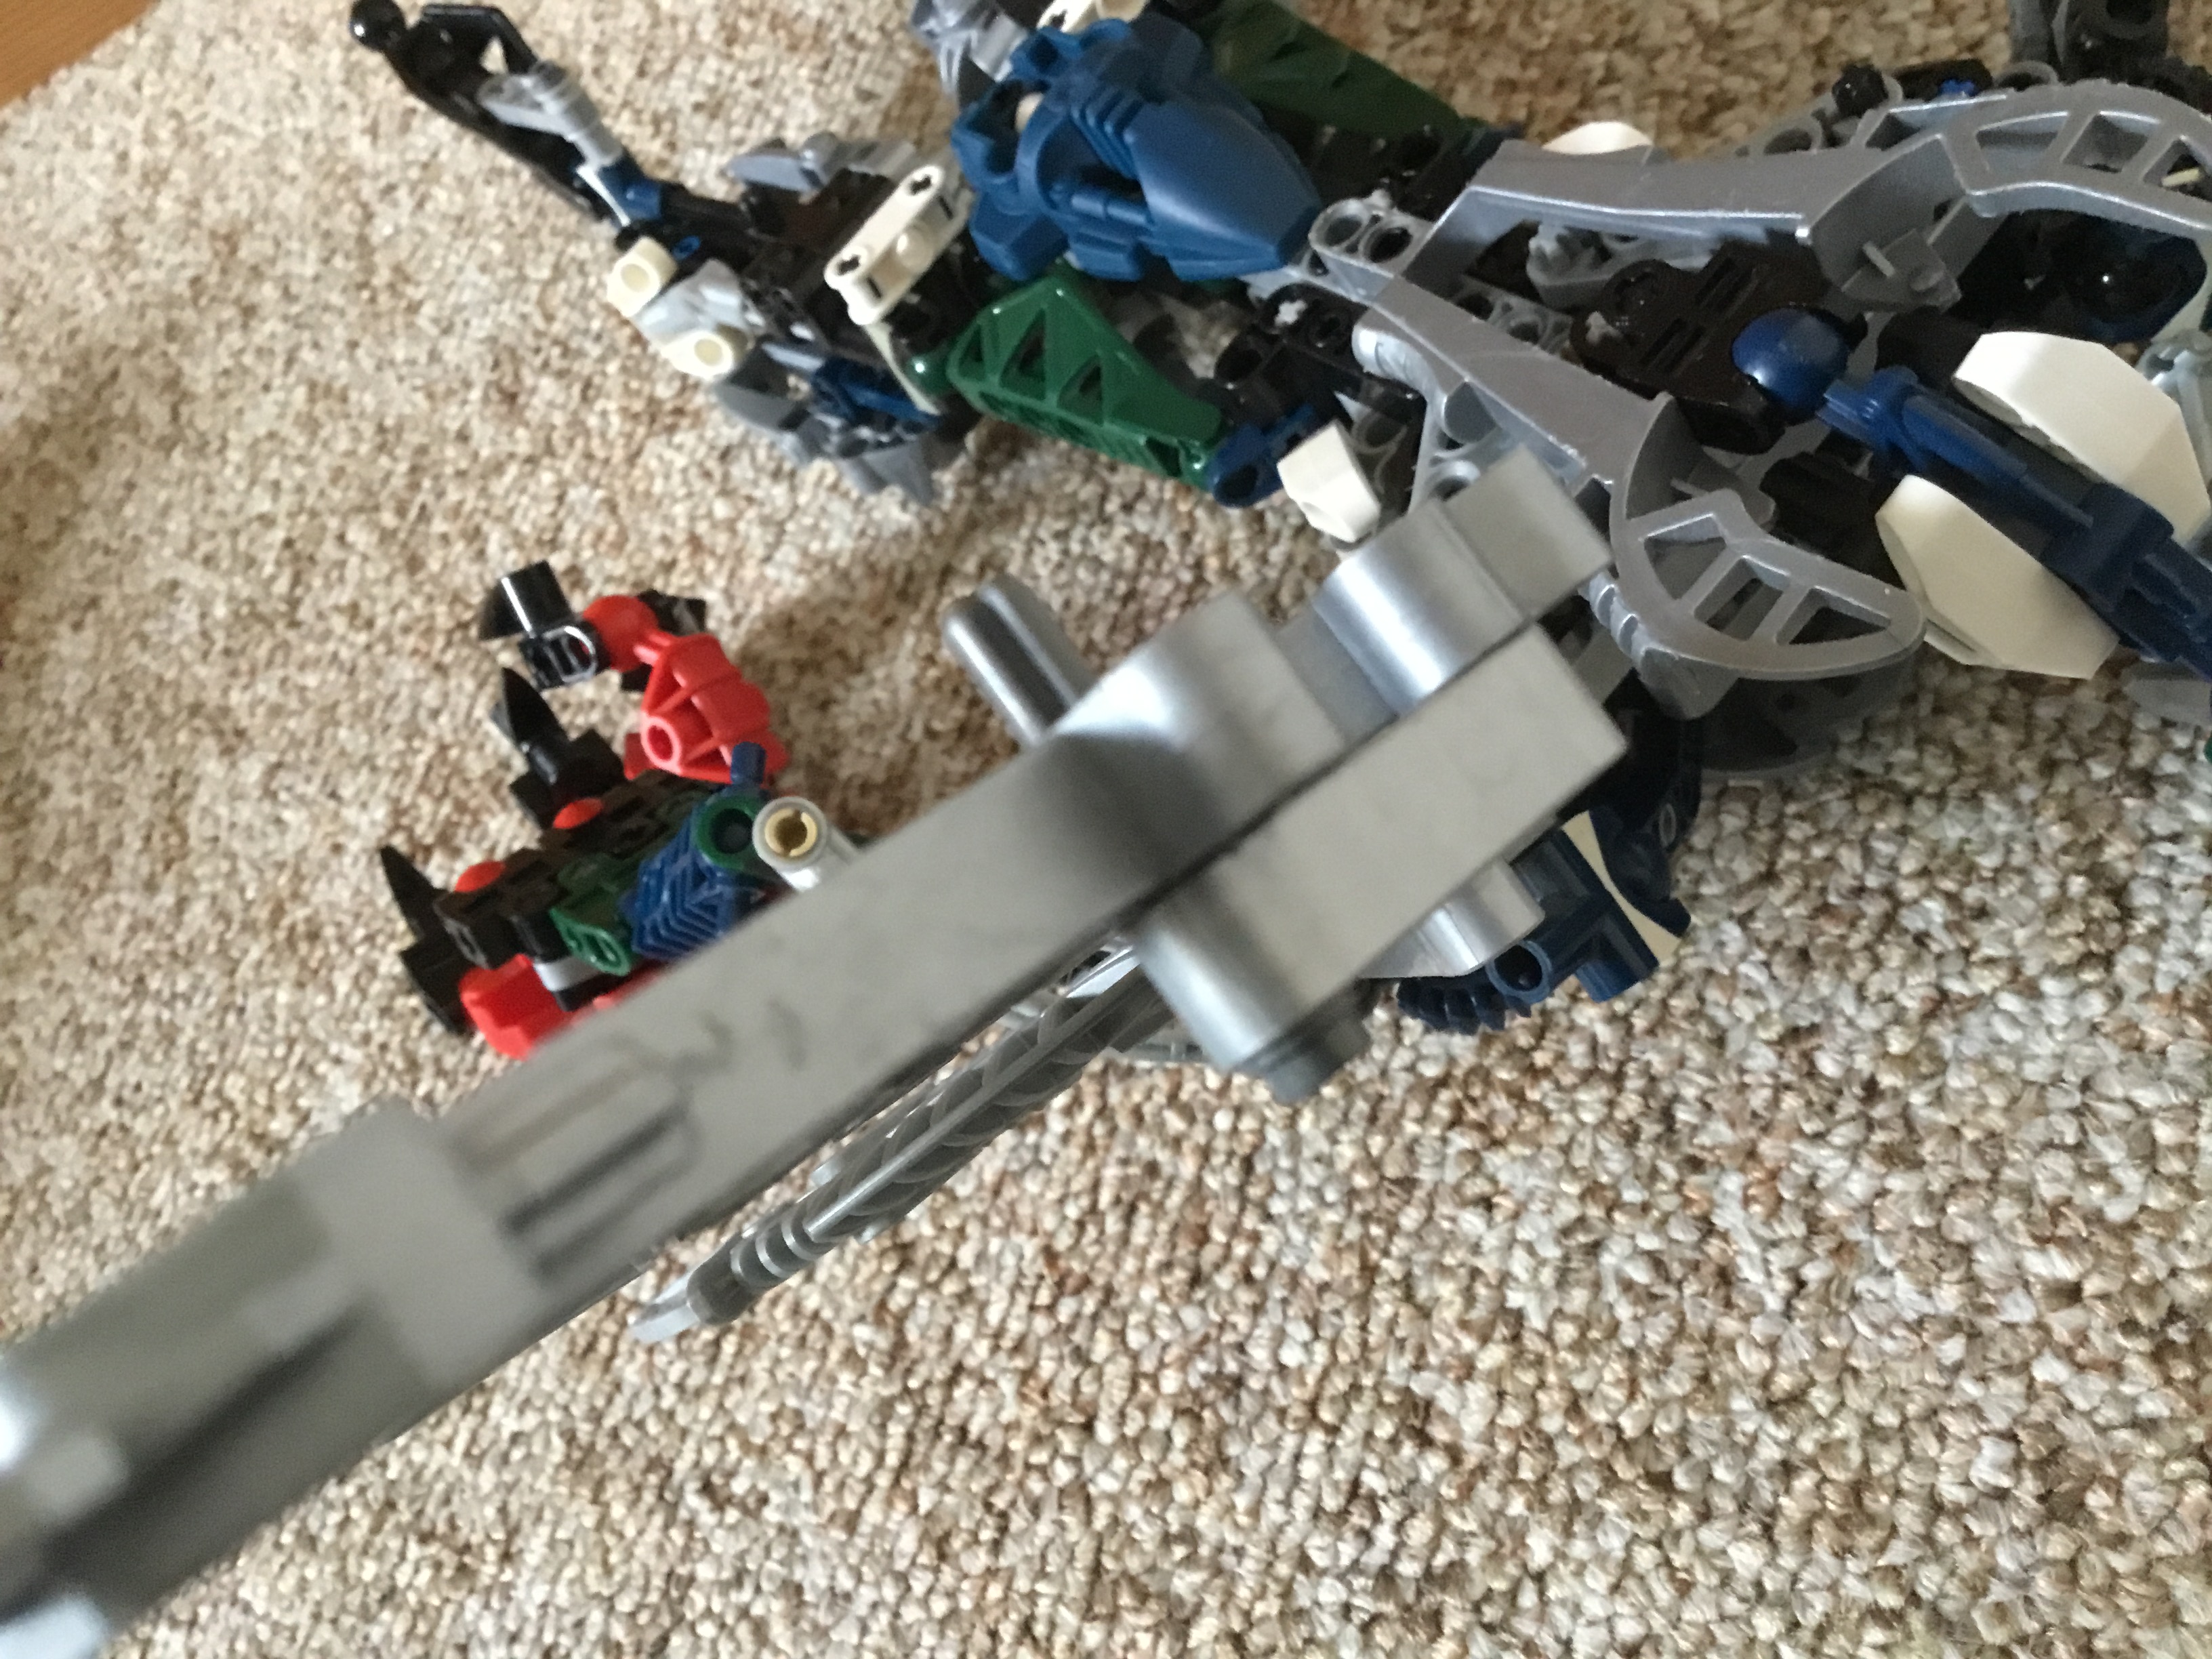
Attach the entire assembly to the shin. Repeat for both sides.
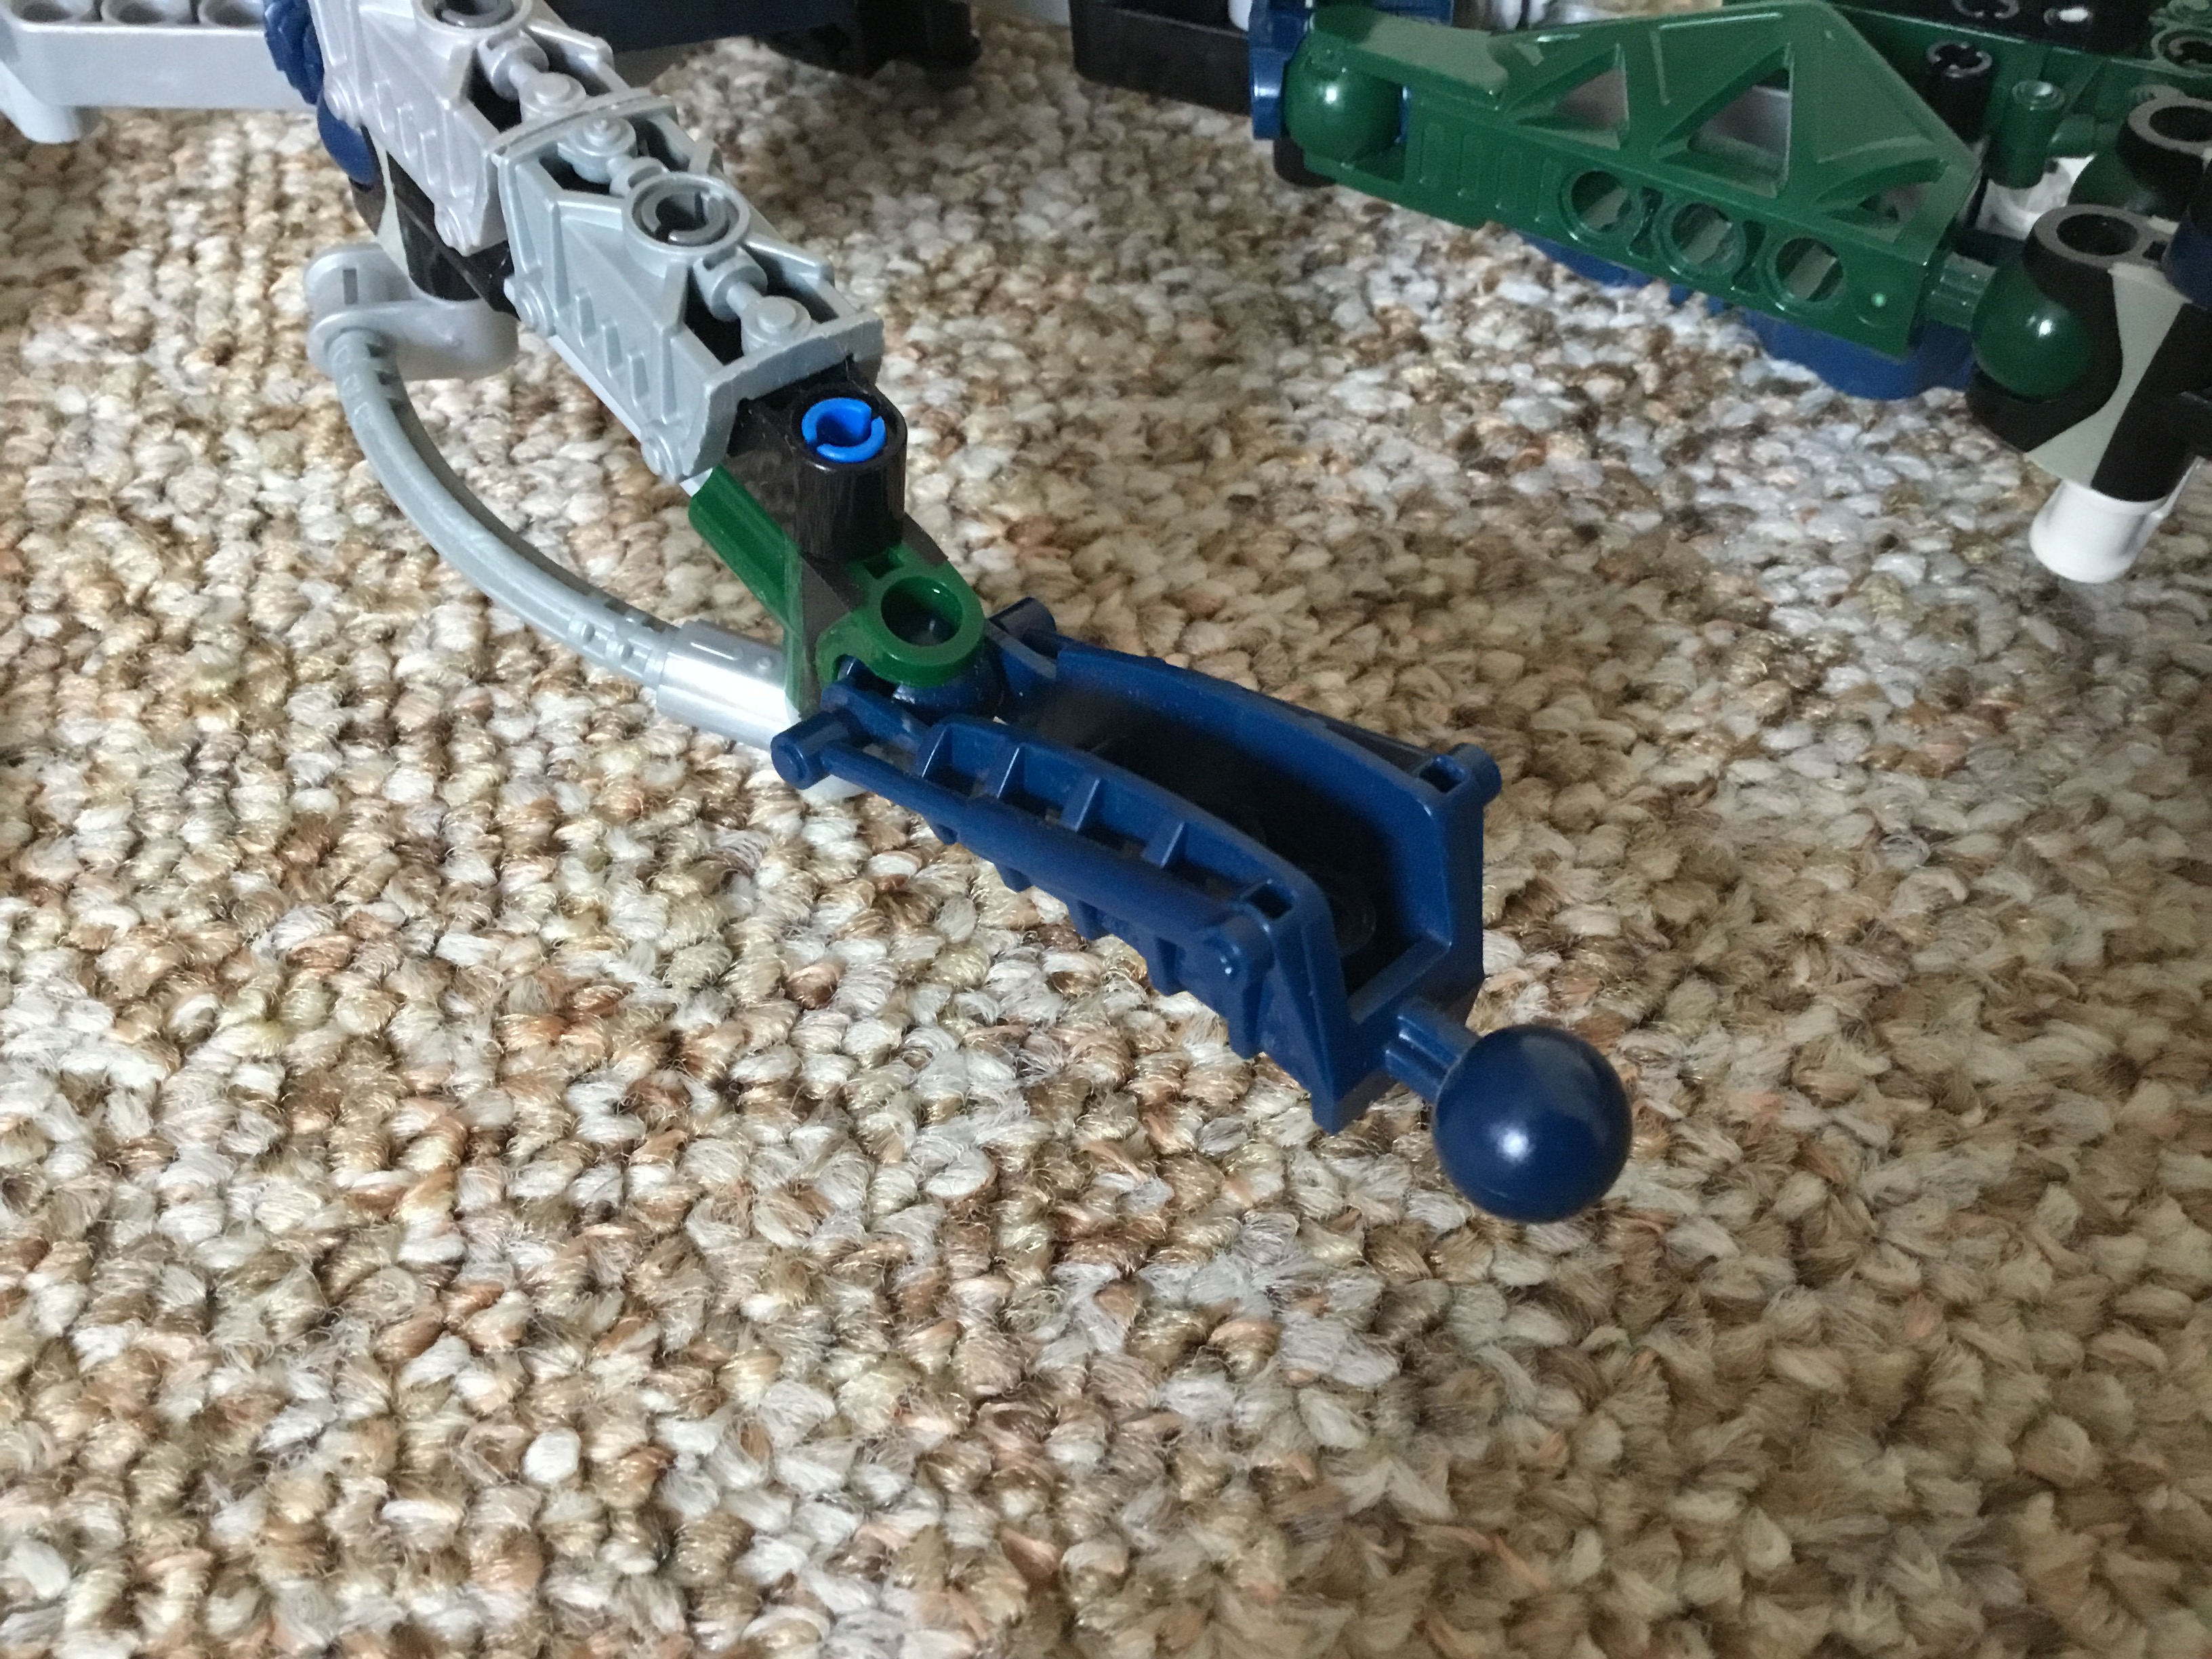
Next we’ll finish off the thighs. Construct these mirrored assemblies.
Attach the blue part to the silver angled connector on the outside of the thigh. The mini ball joint should rest in a crevice, restricting movement of the panel.
Finally, we’ll make the shoulder pads. Build two of these assemblies.
And attach them to these axle holes in the shoulders.
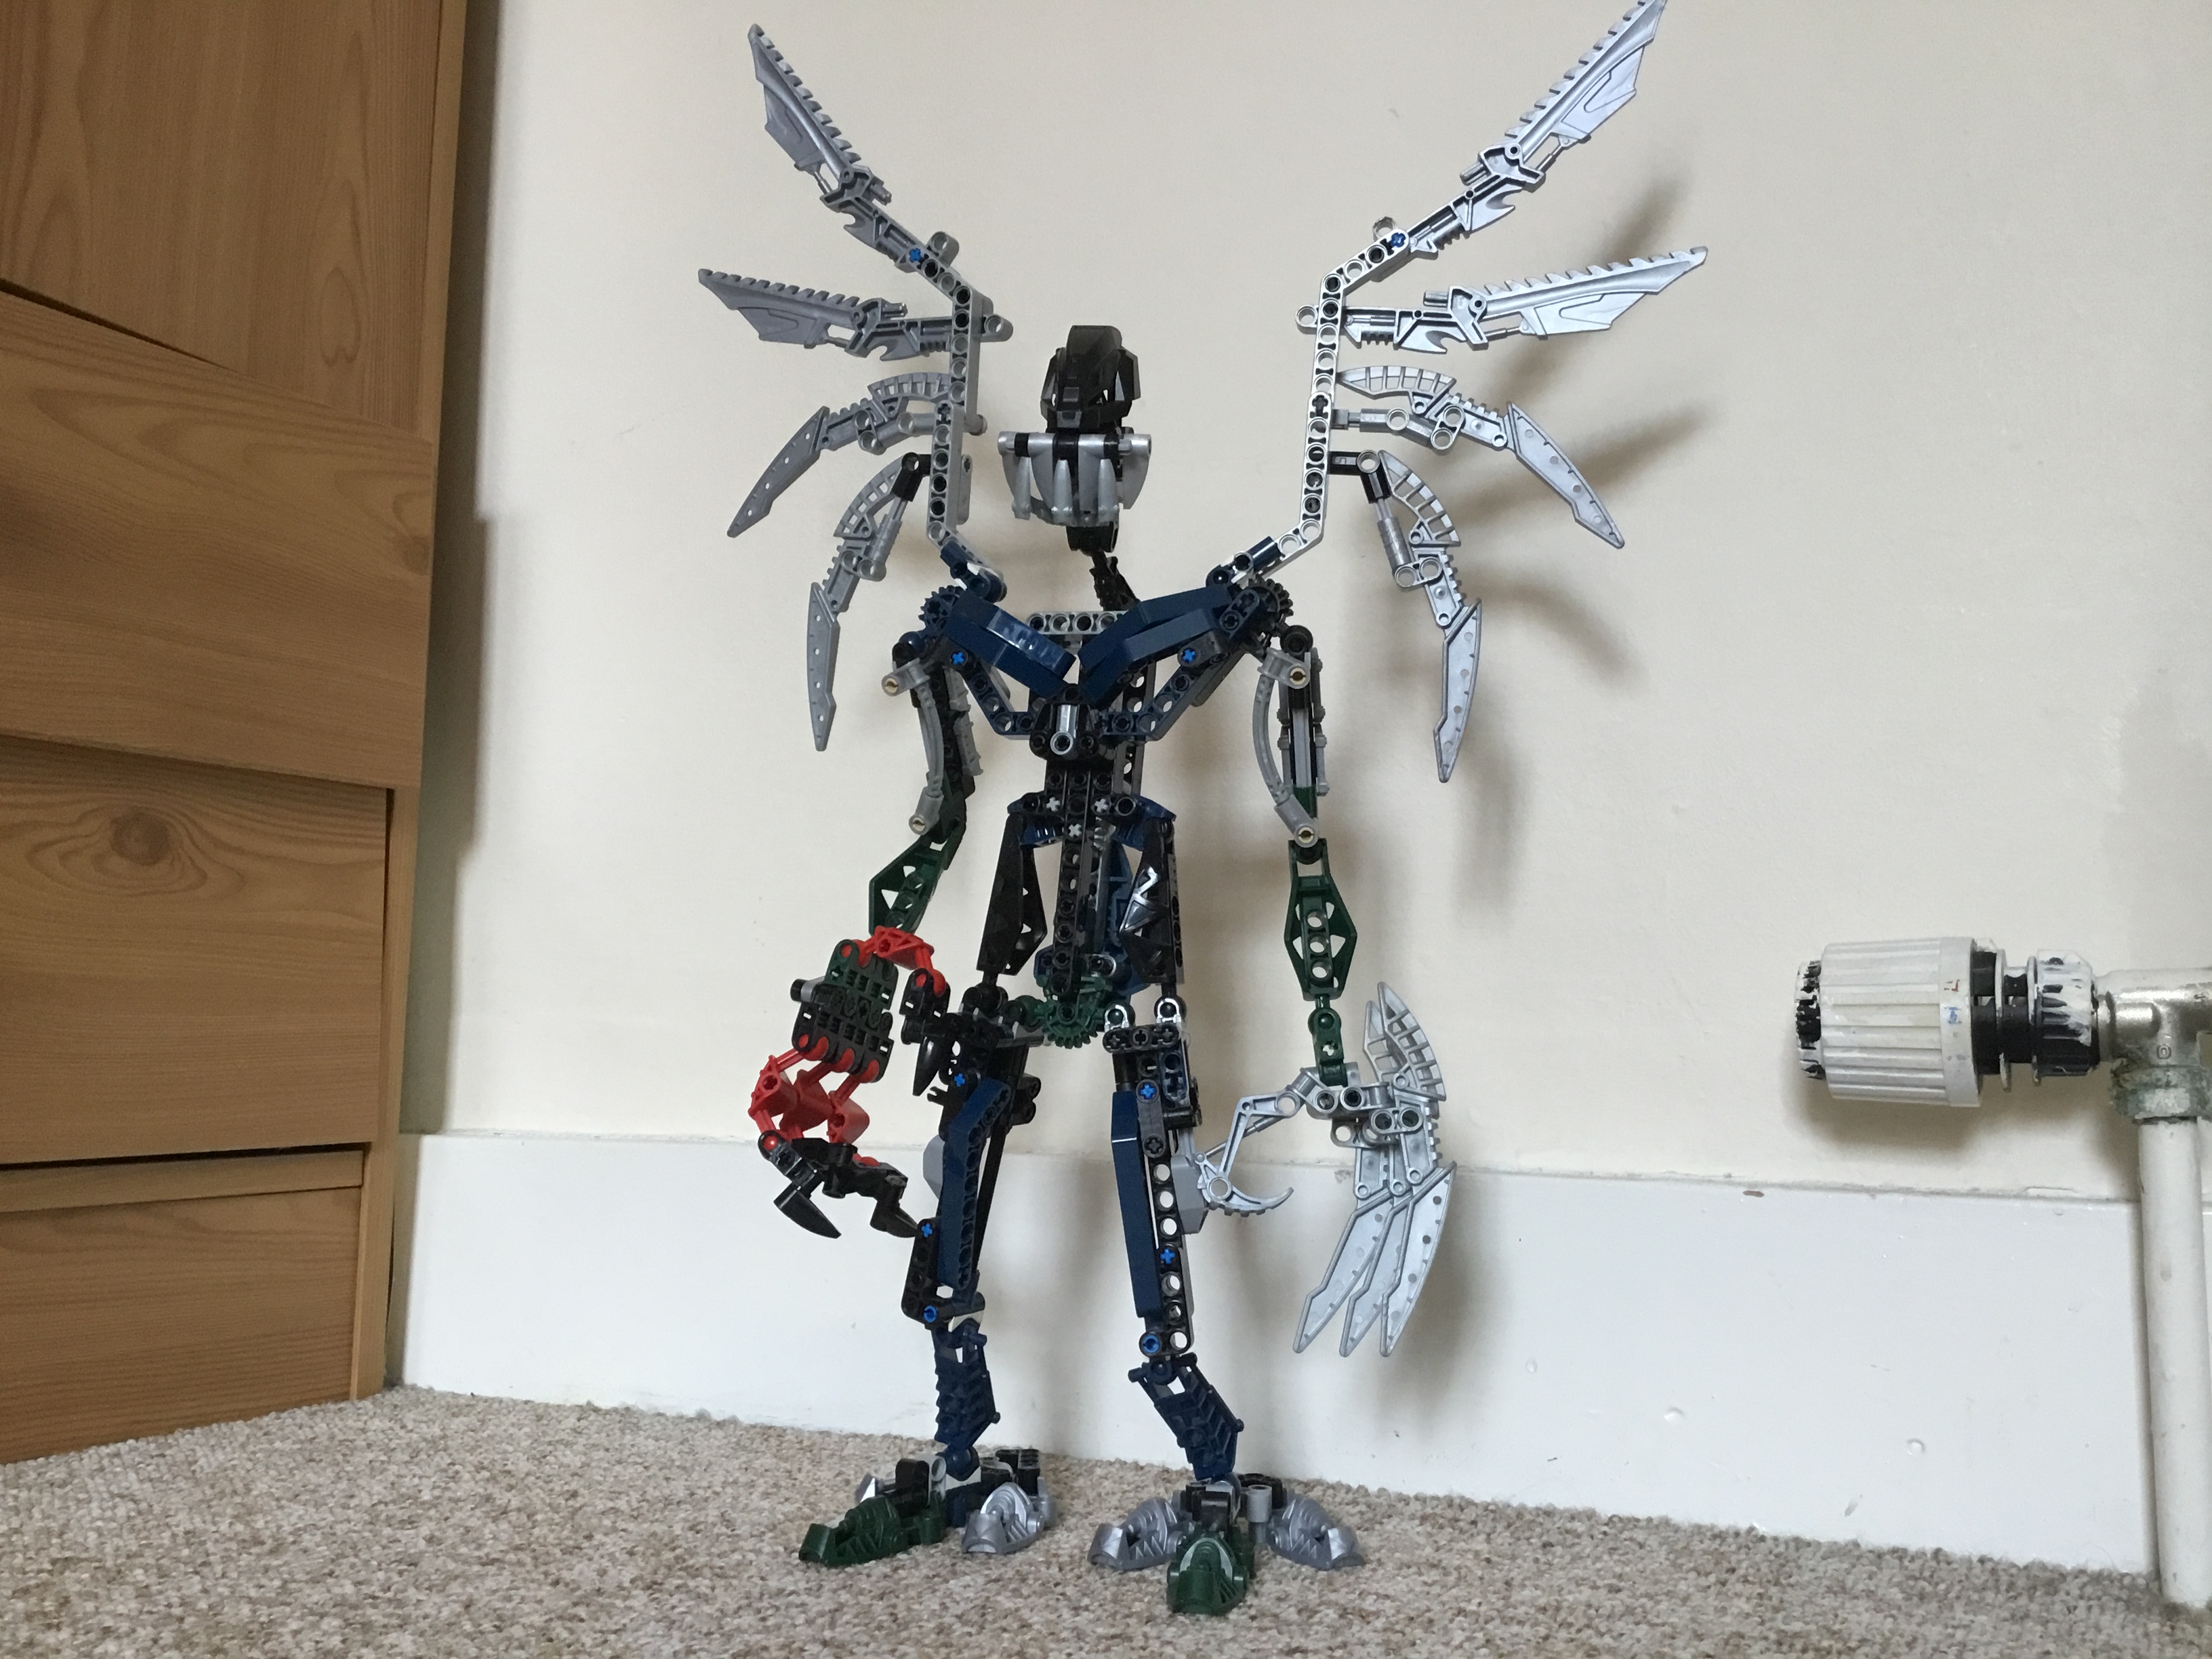
And with that, you are finally done!