Thank you for the referencing !
Thank you very much ! ^^
2 Likes
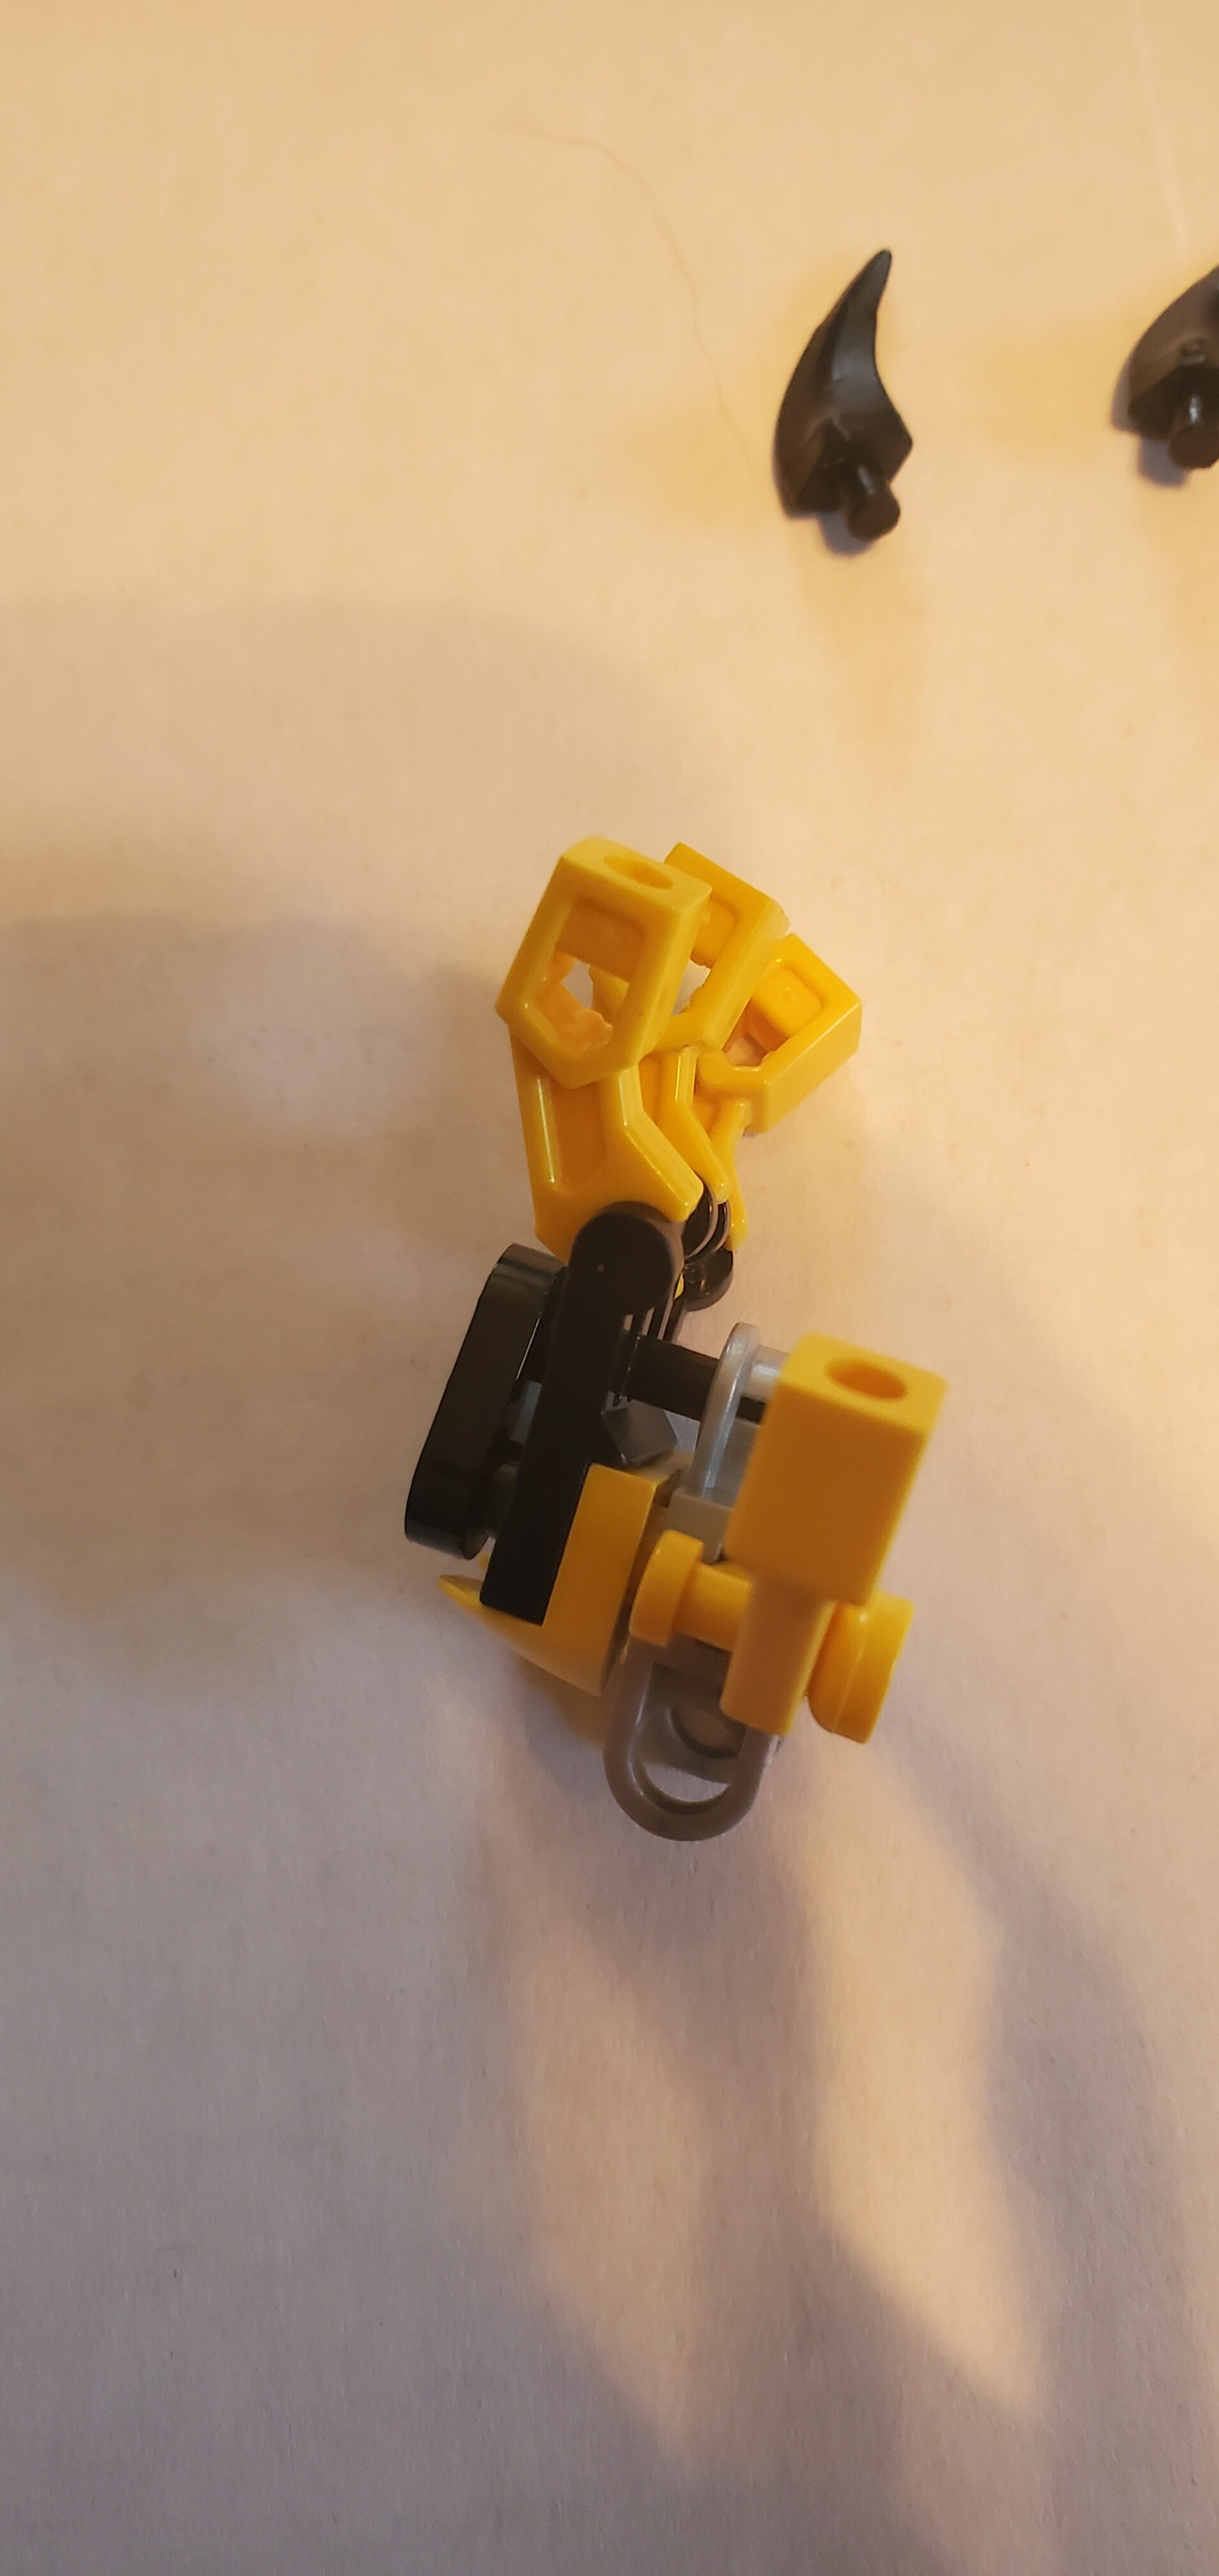
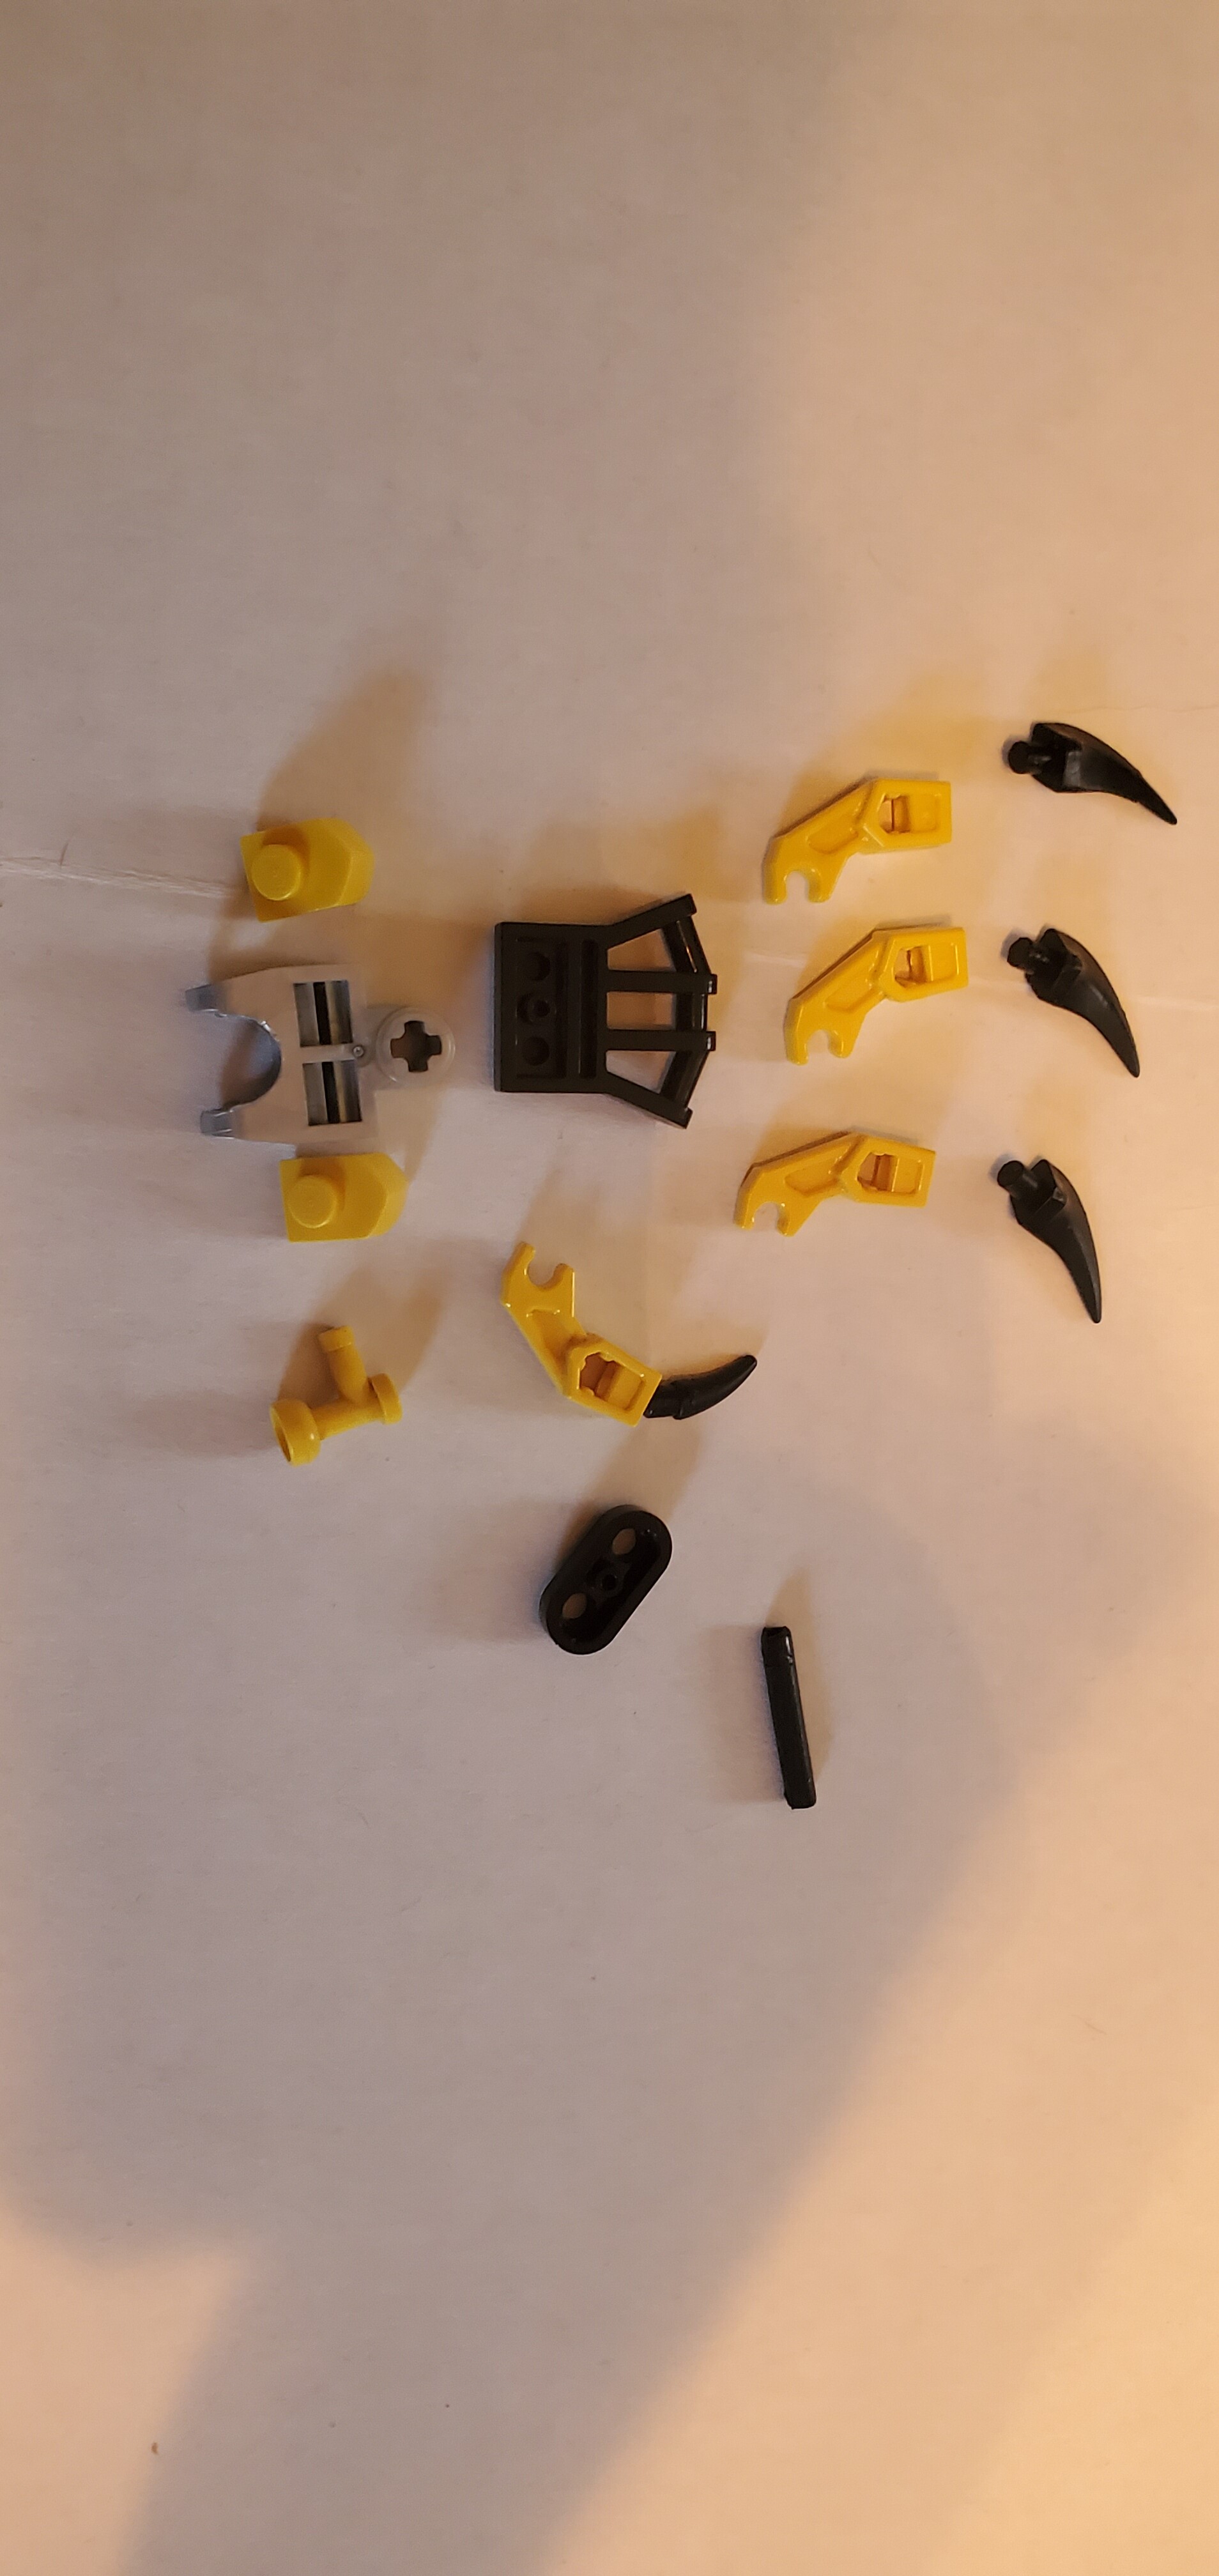
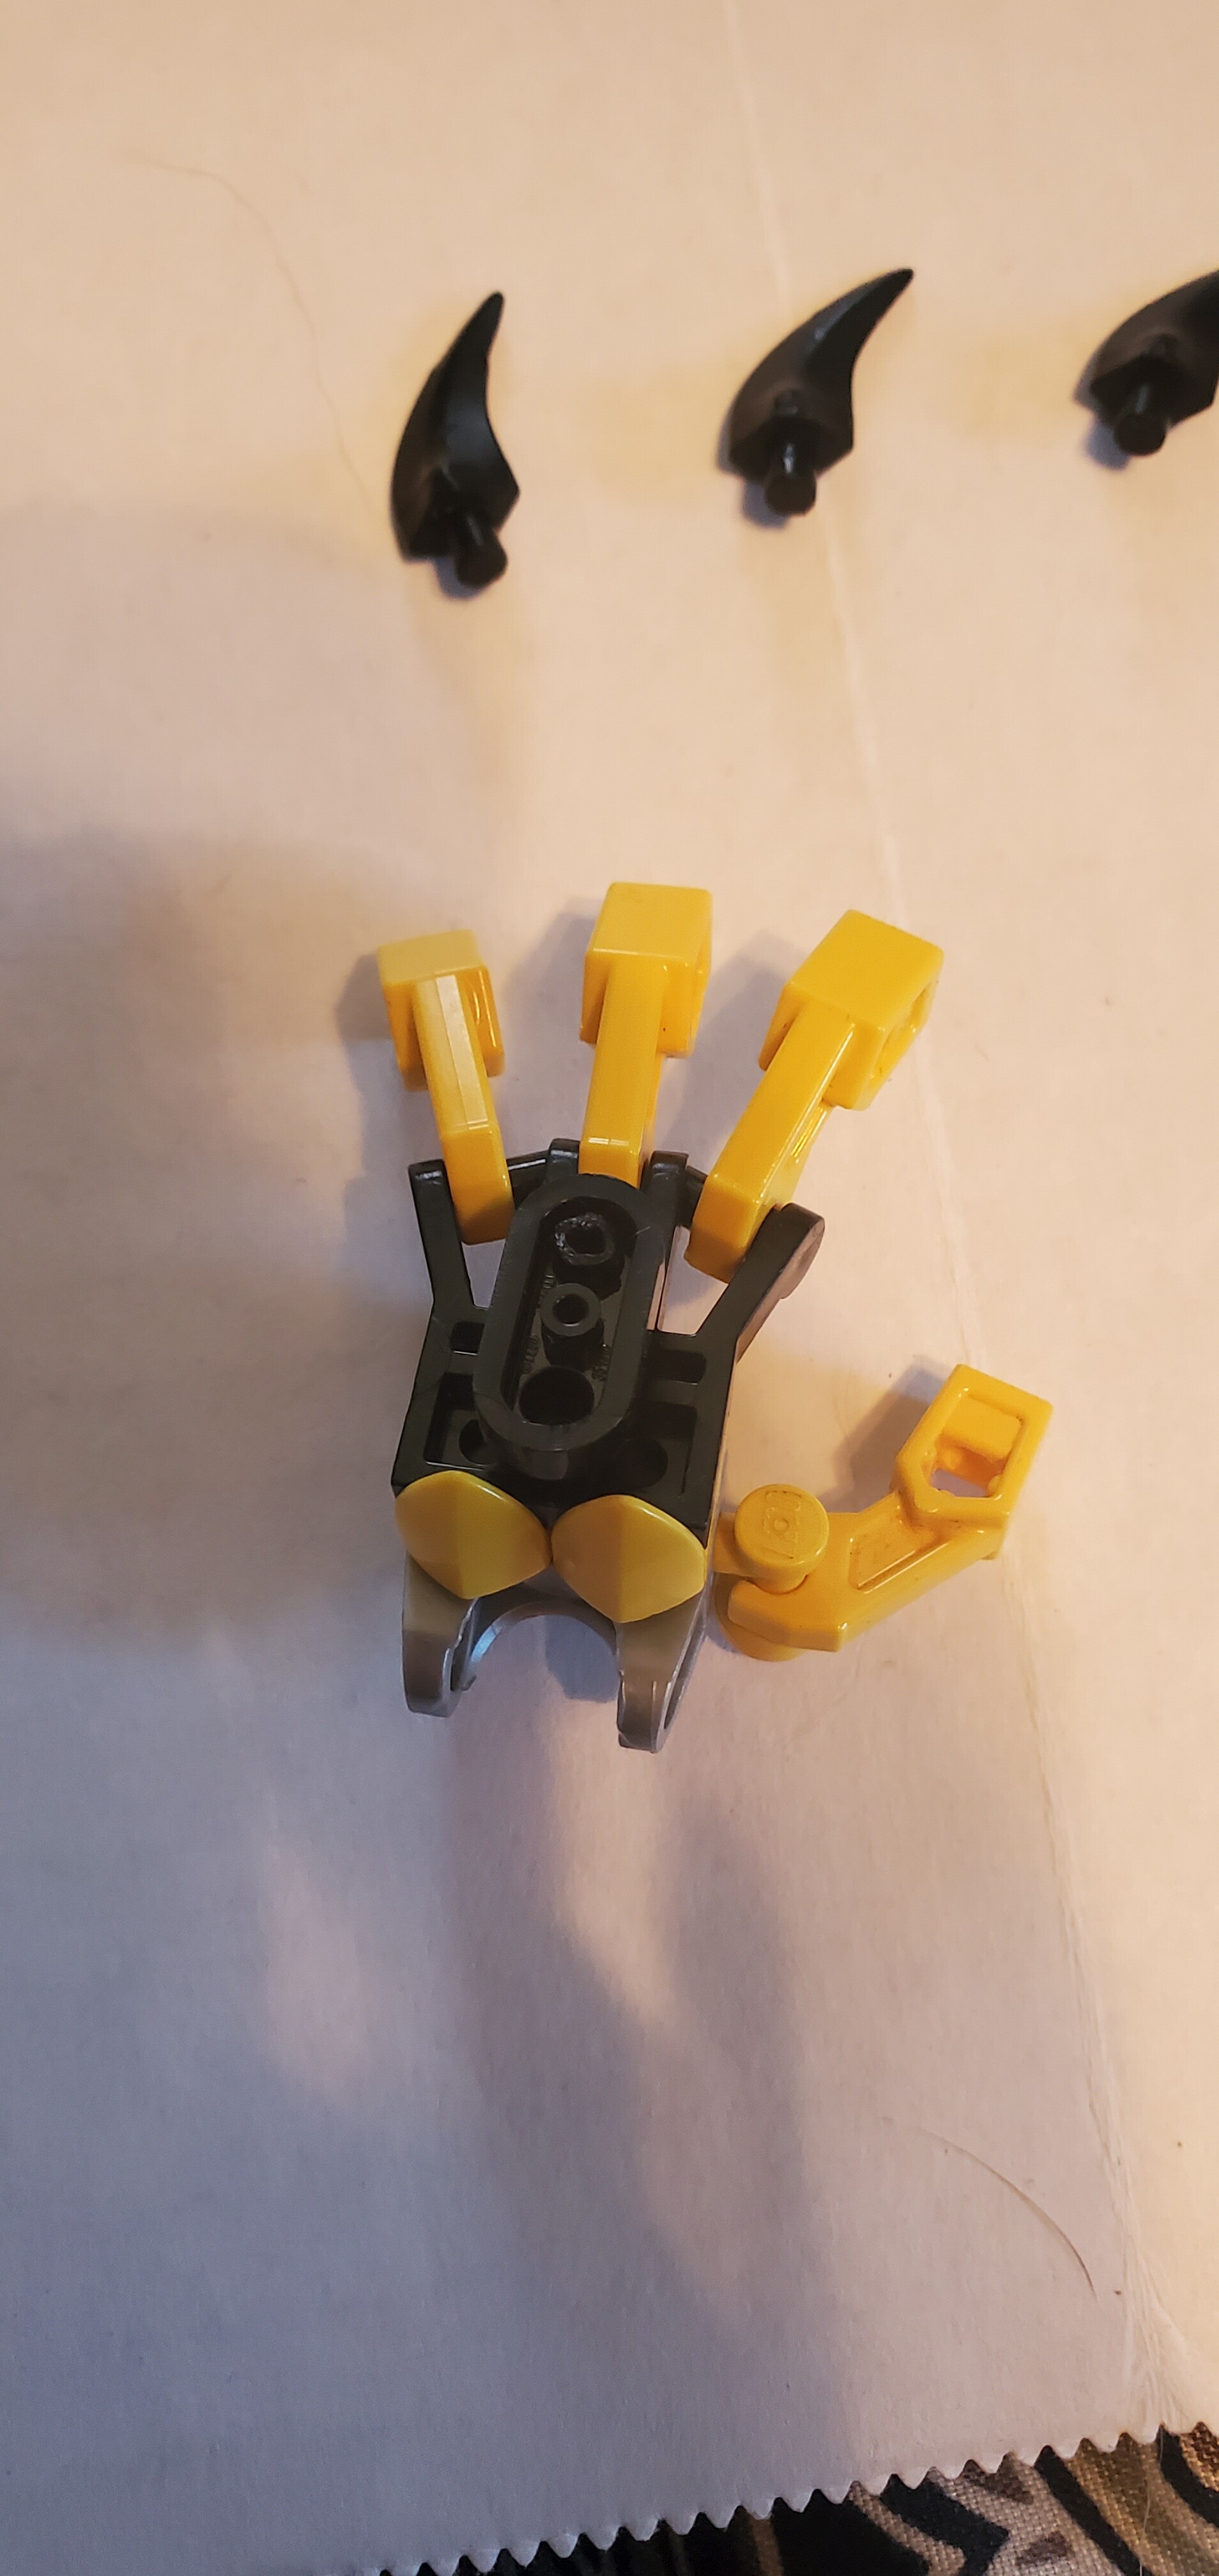
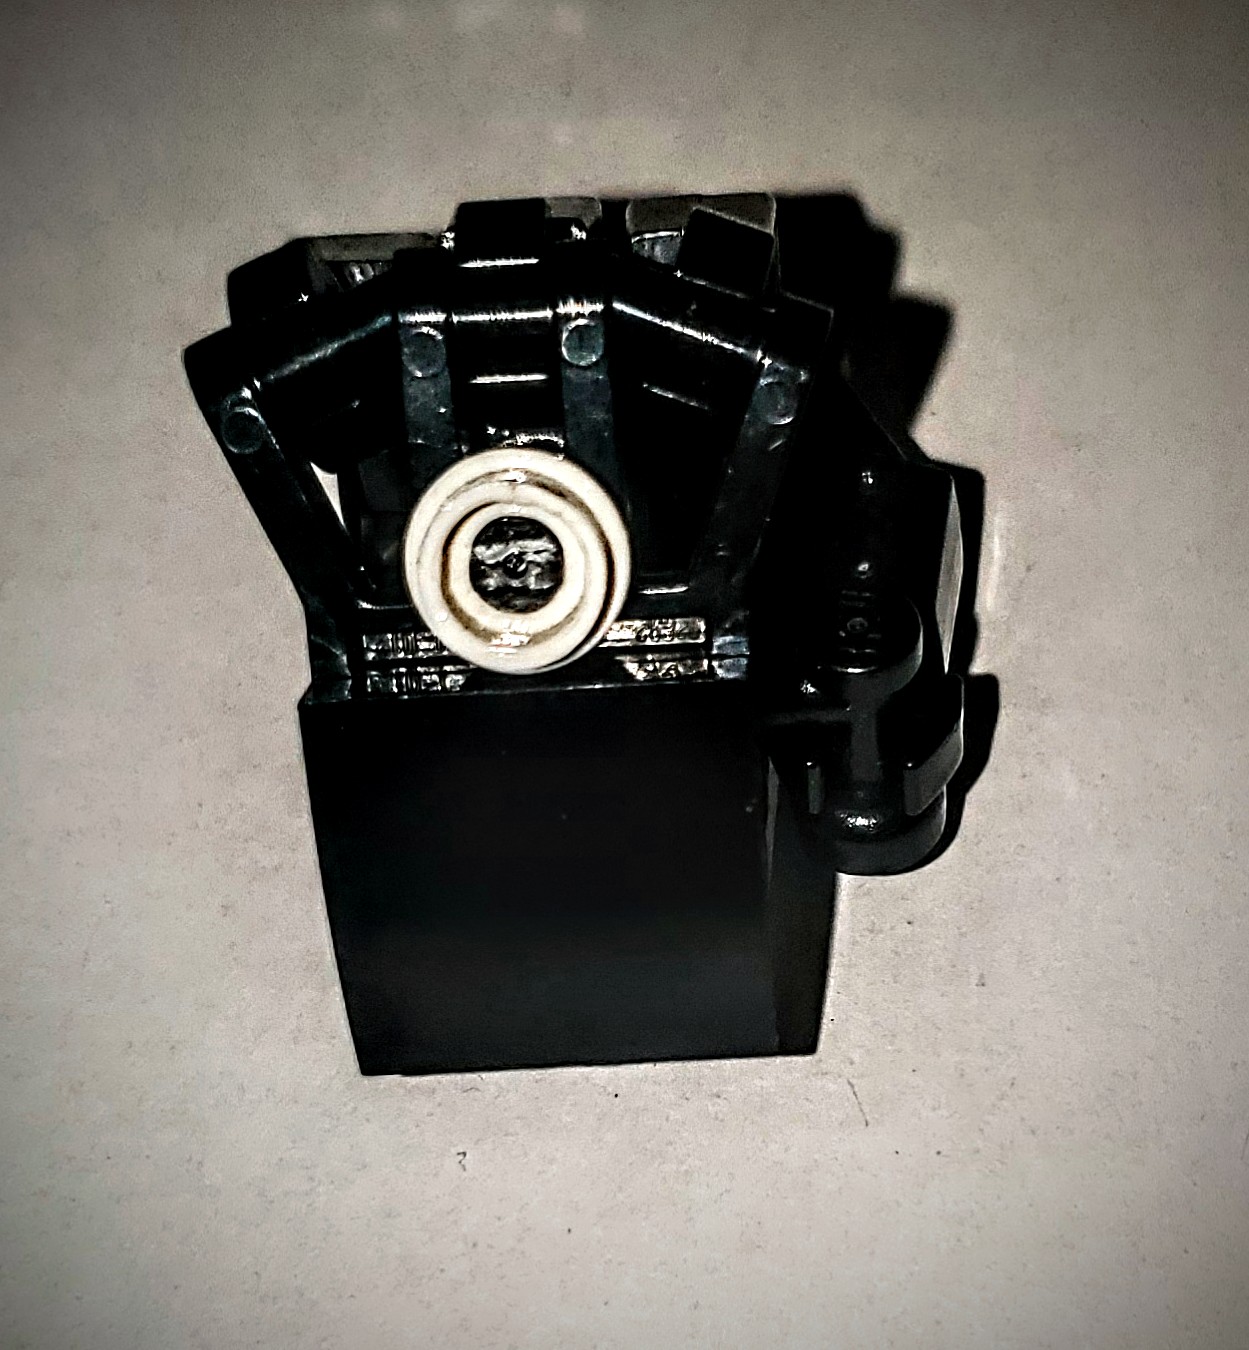
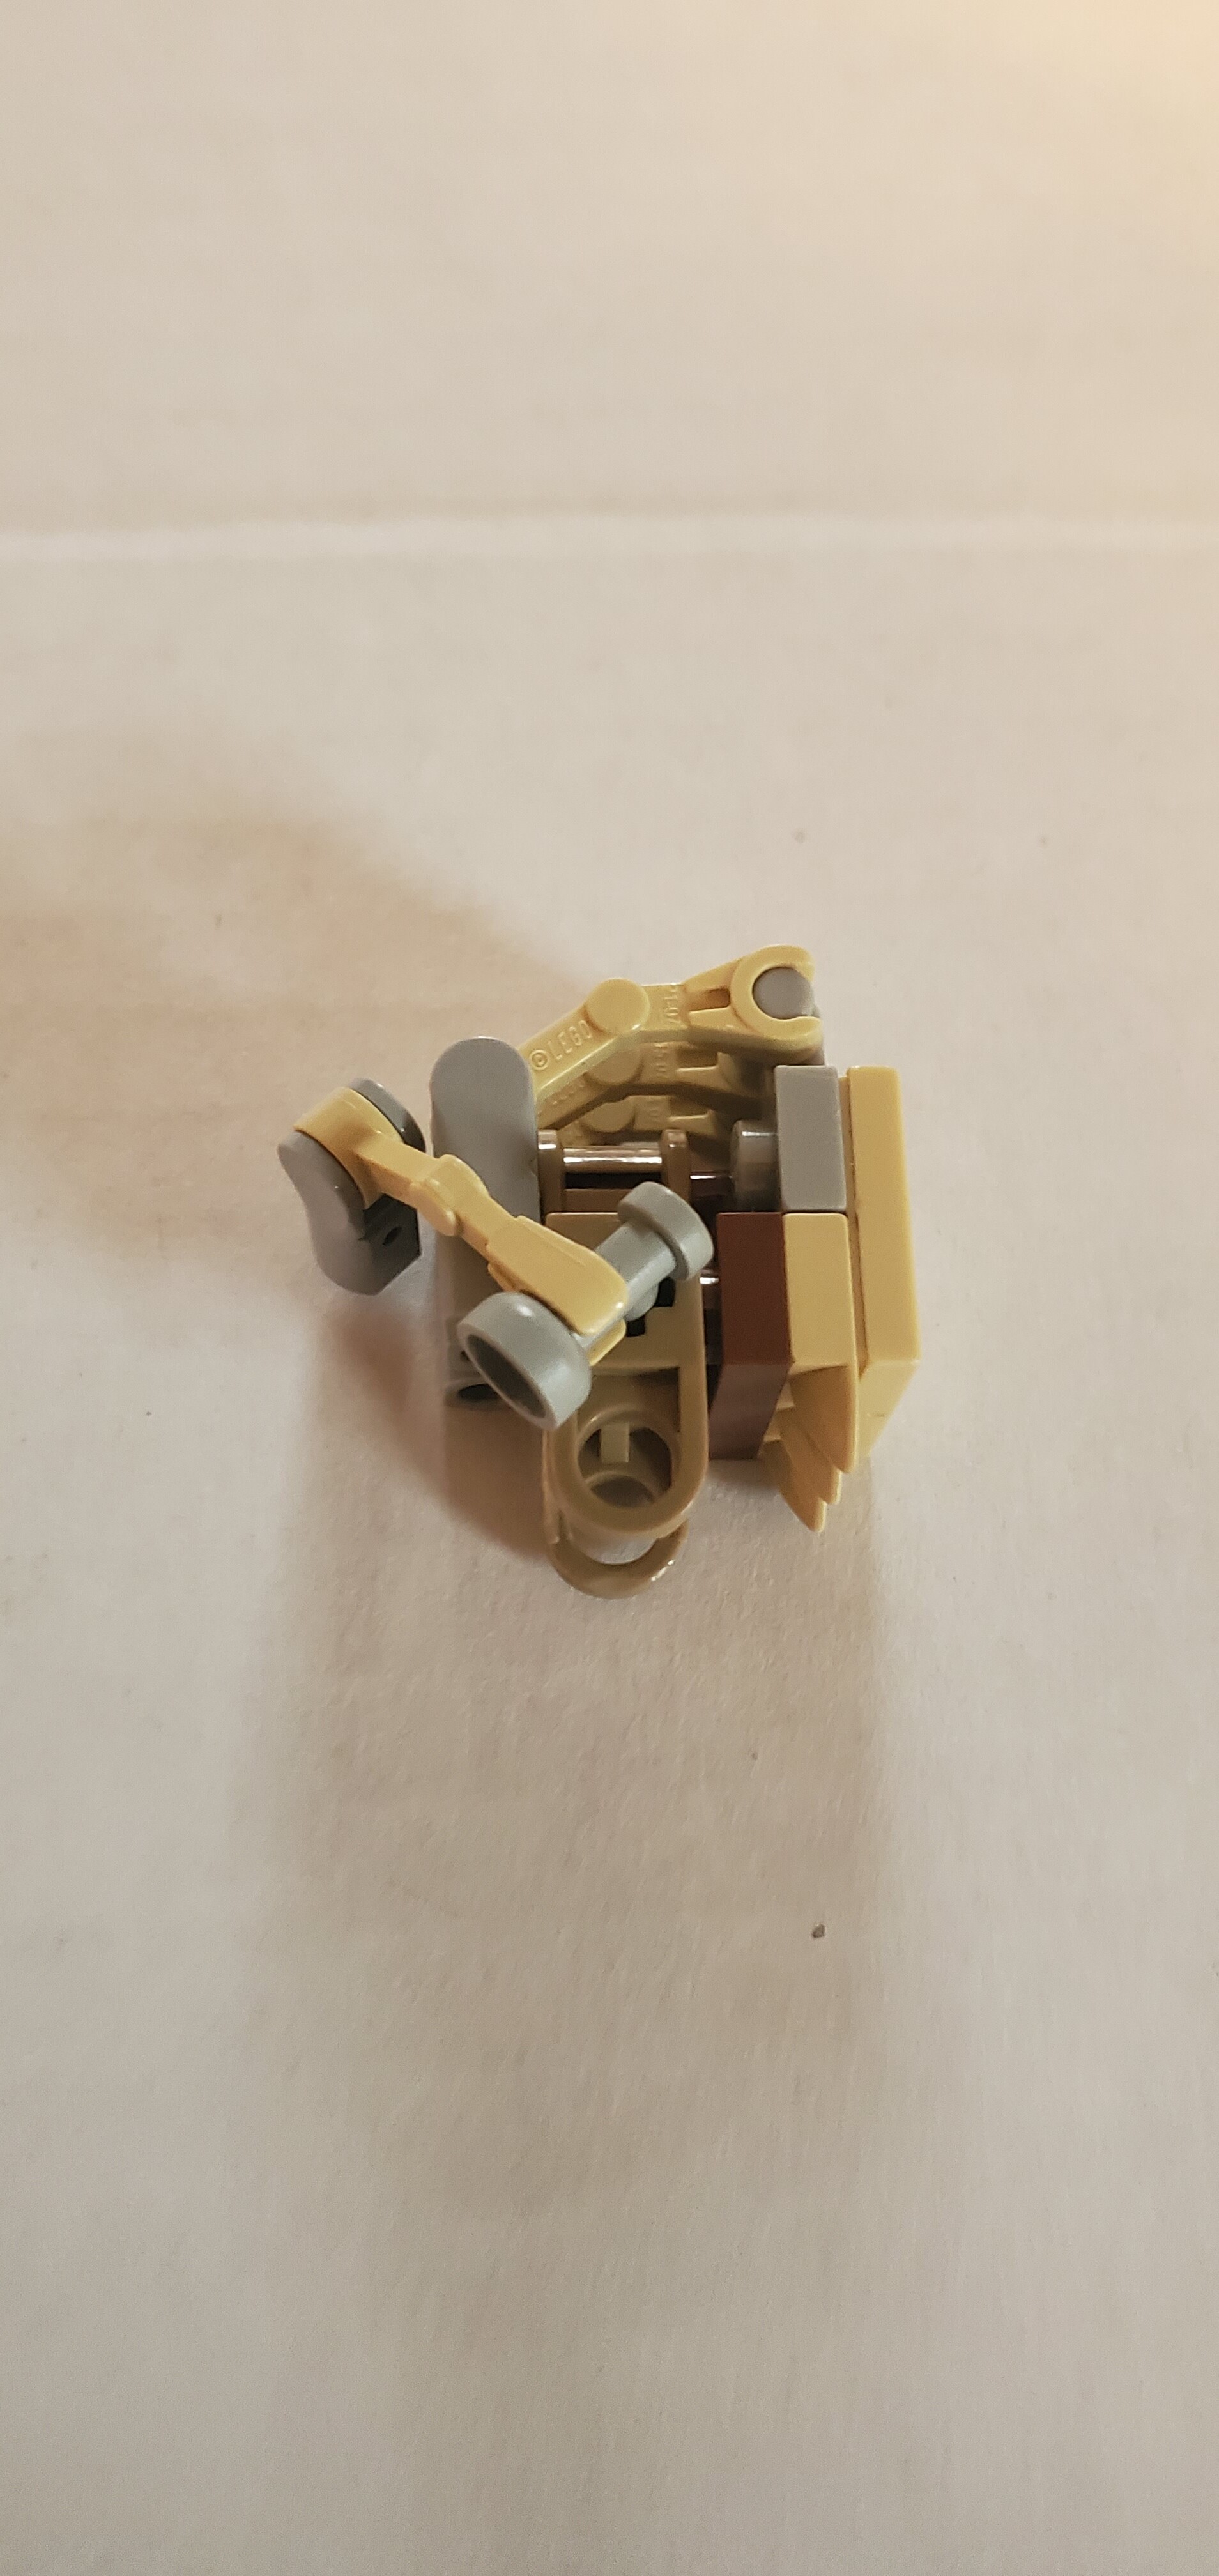
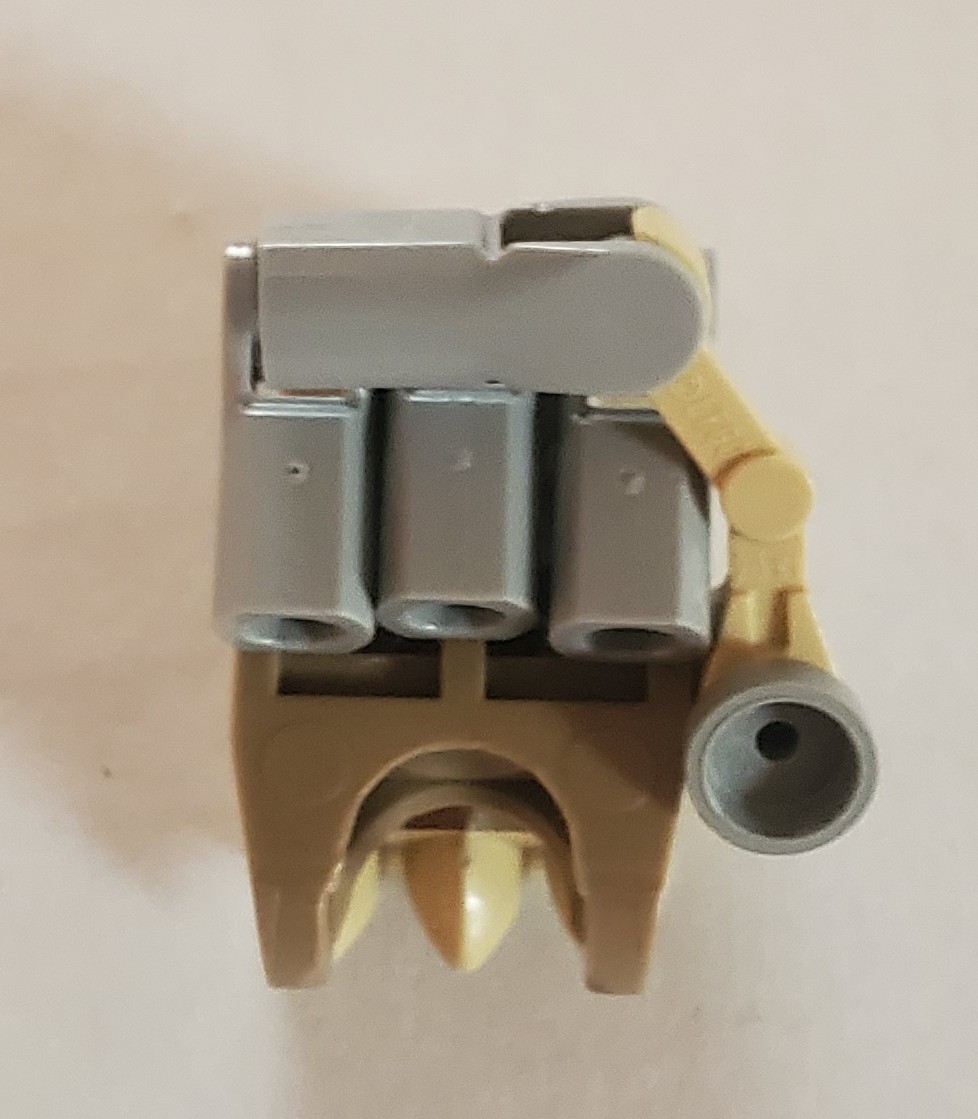
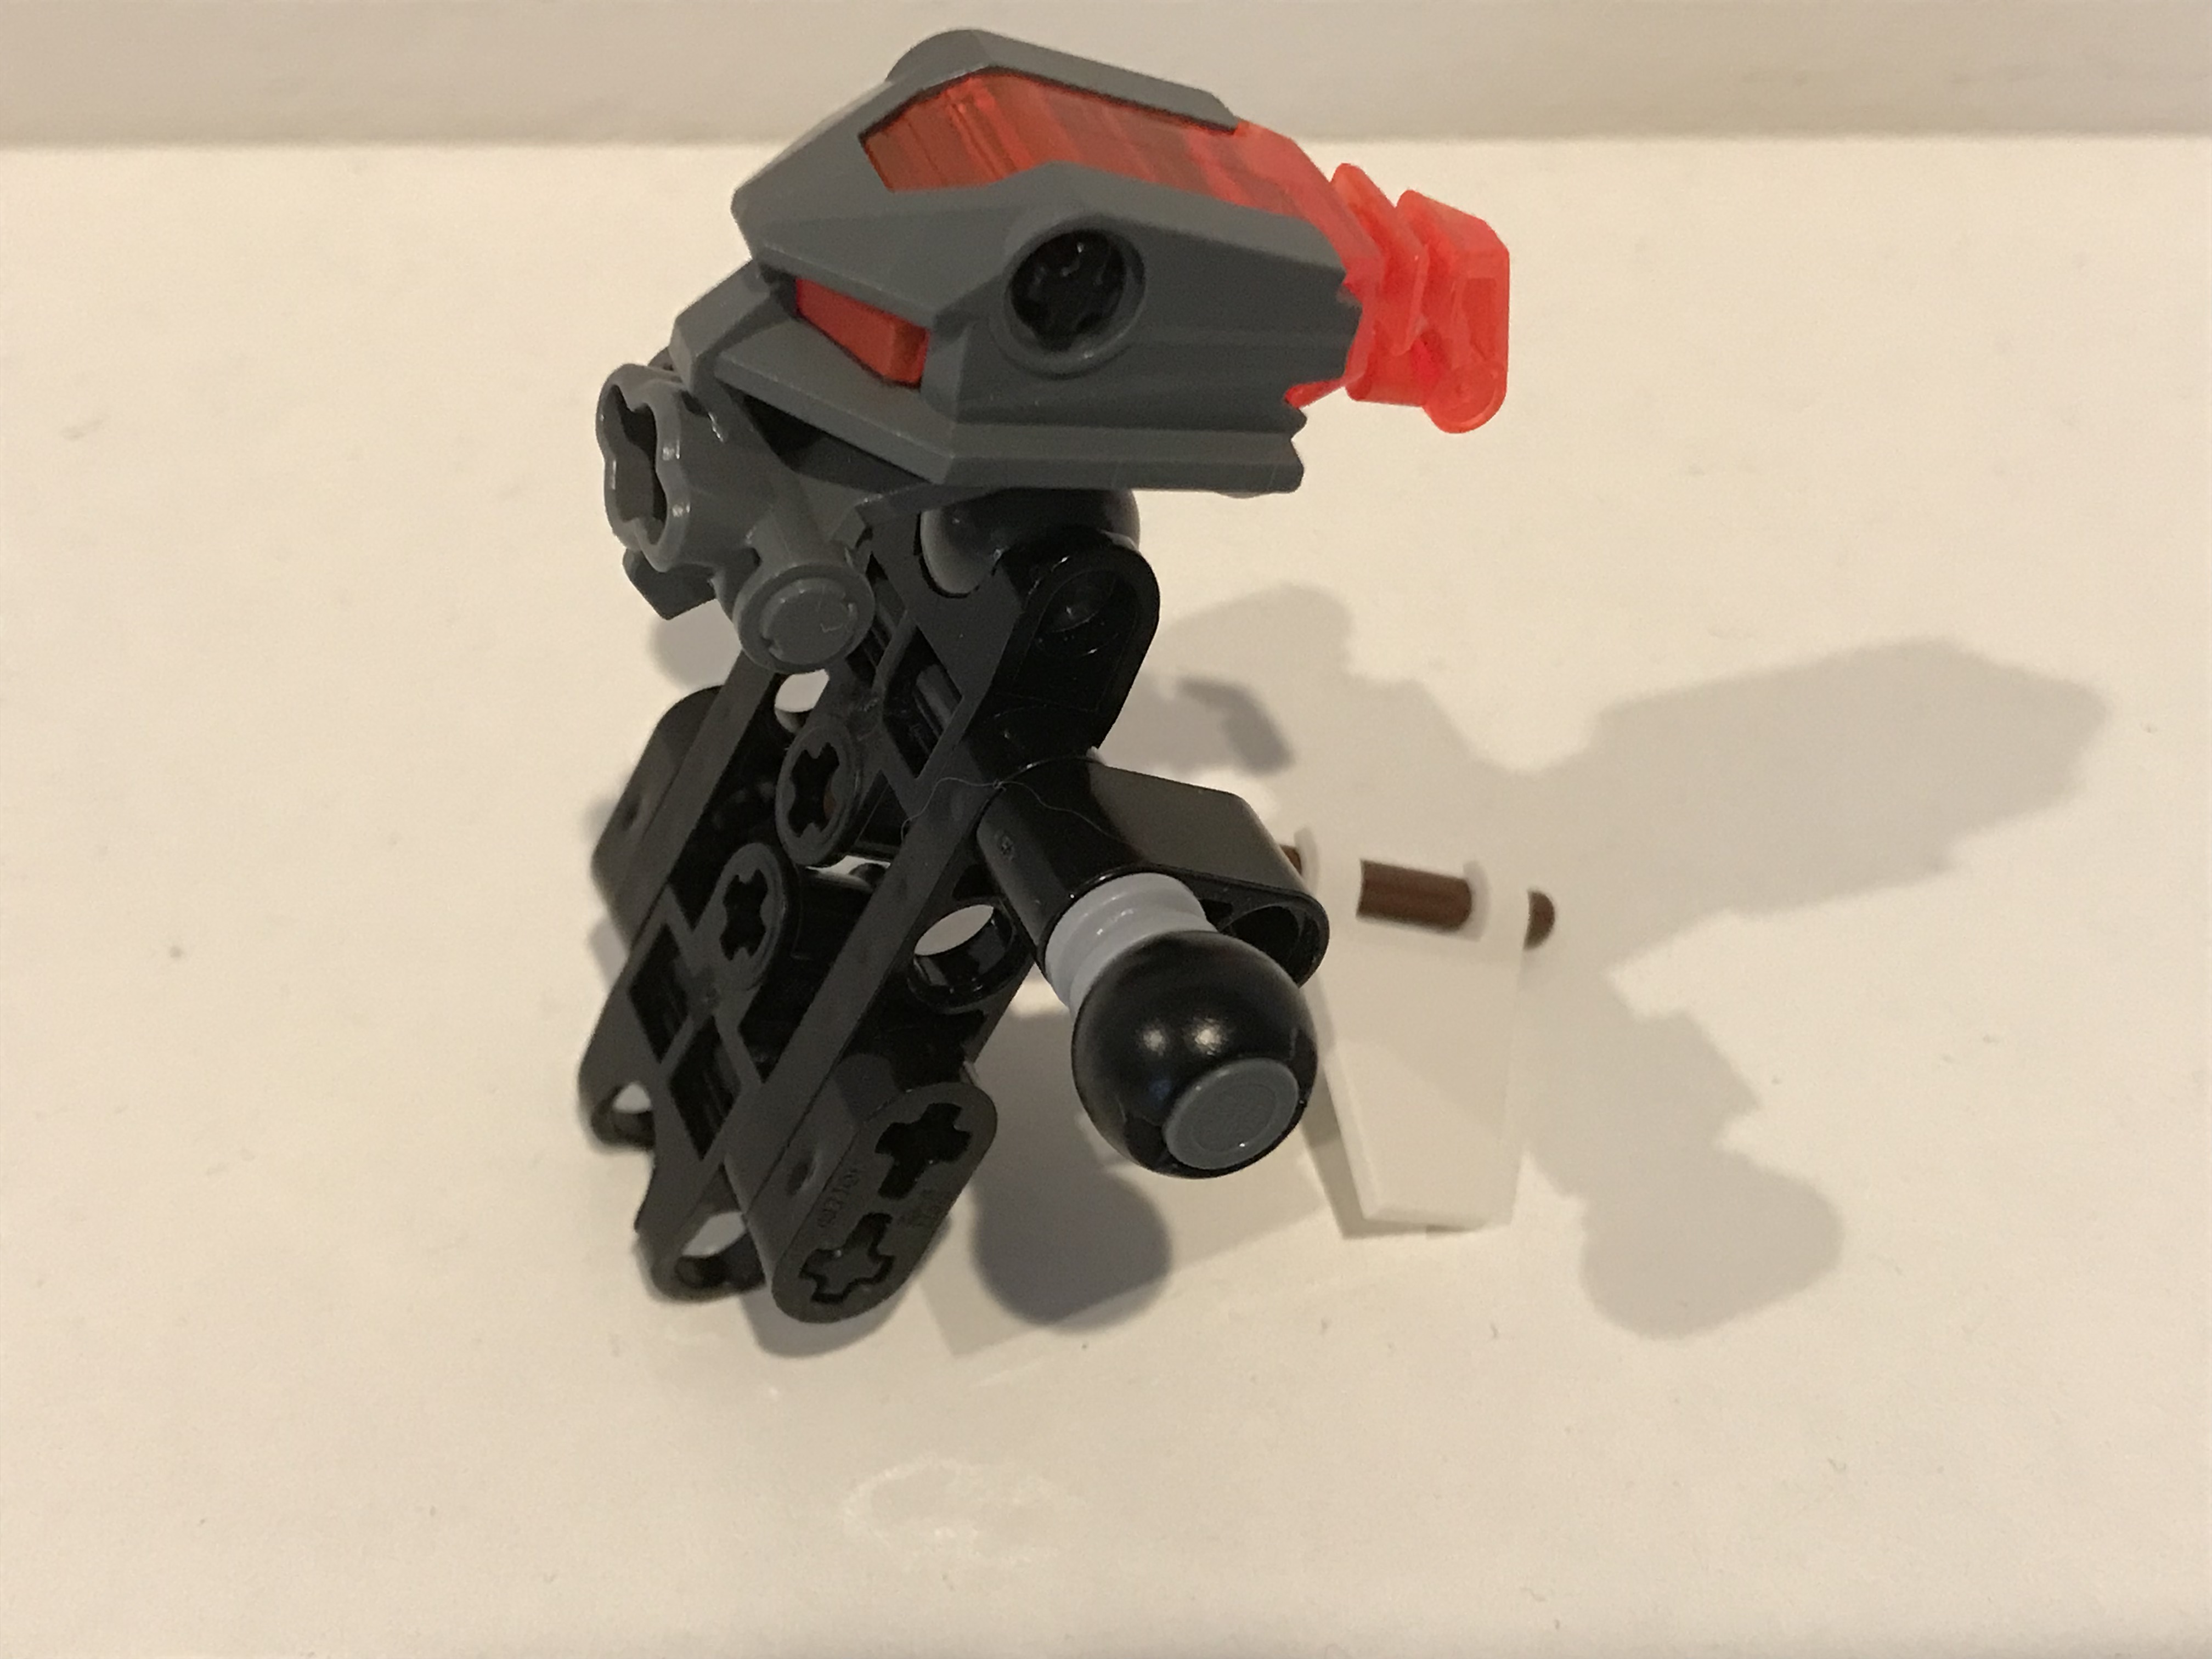
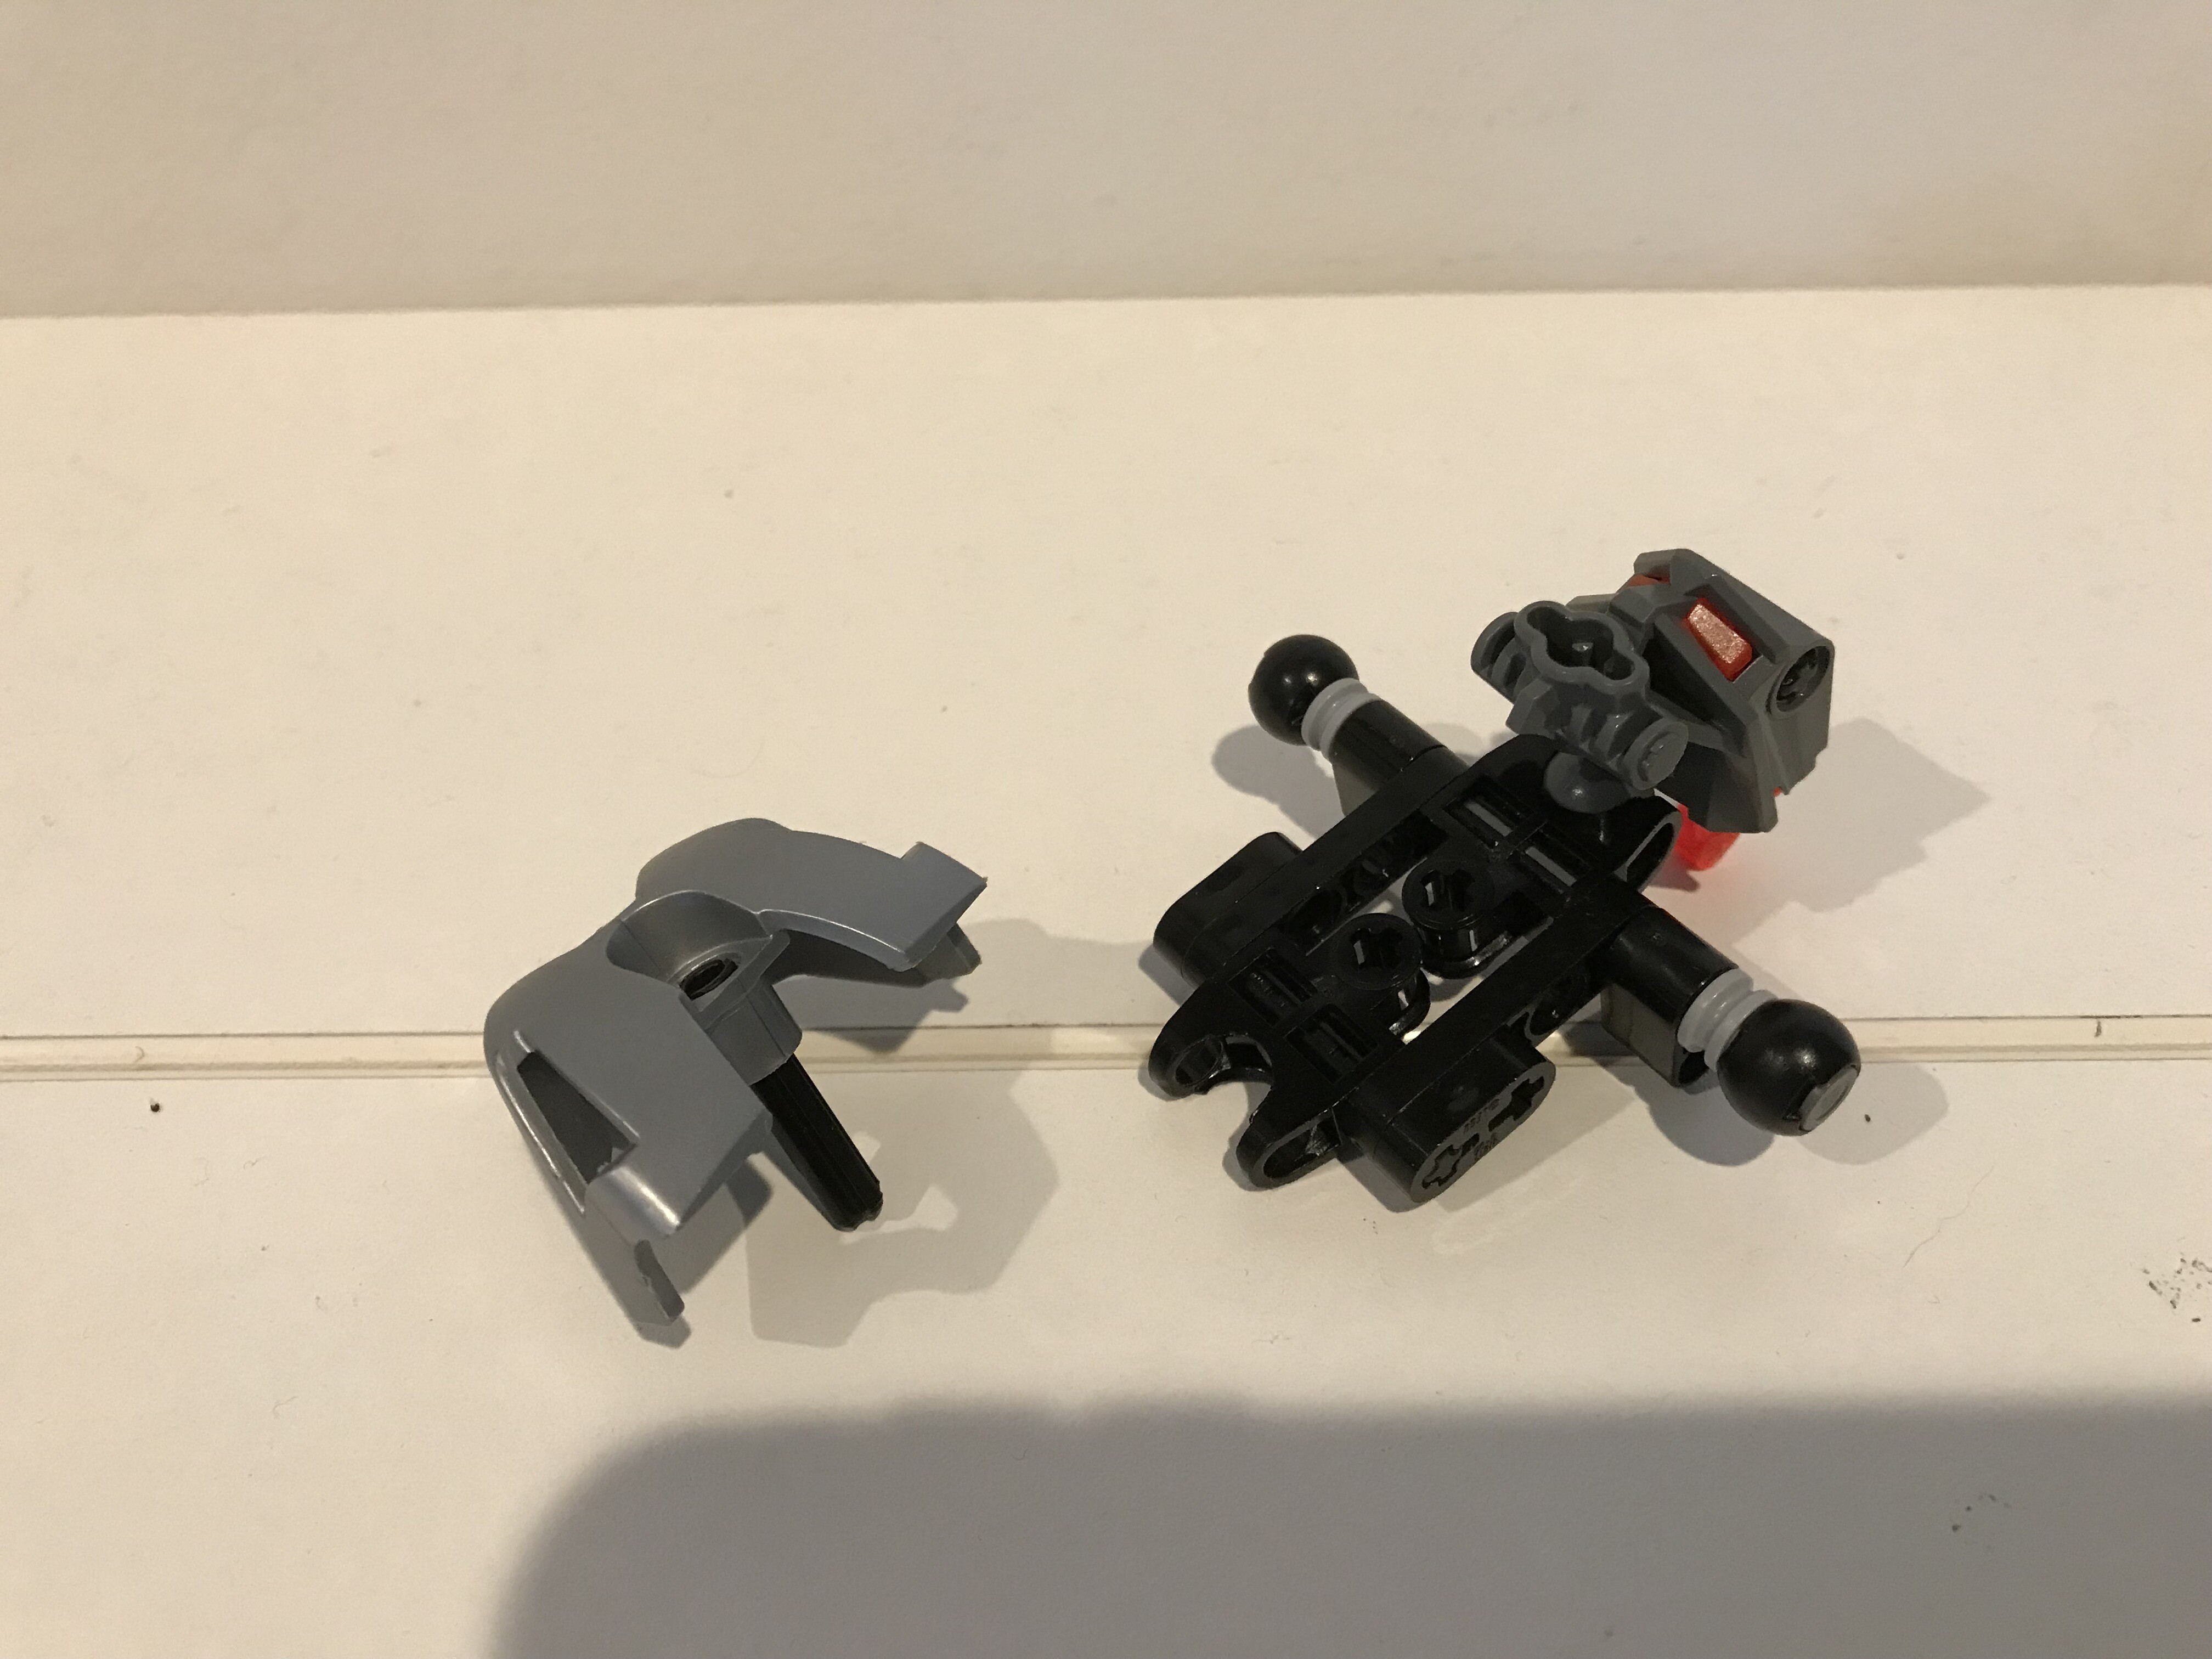
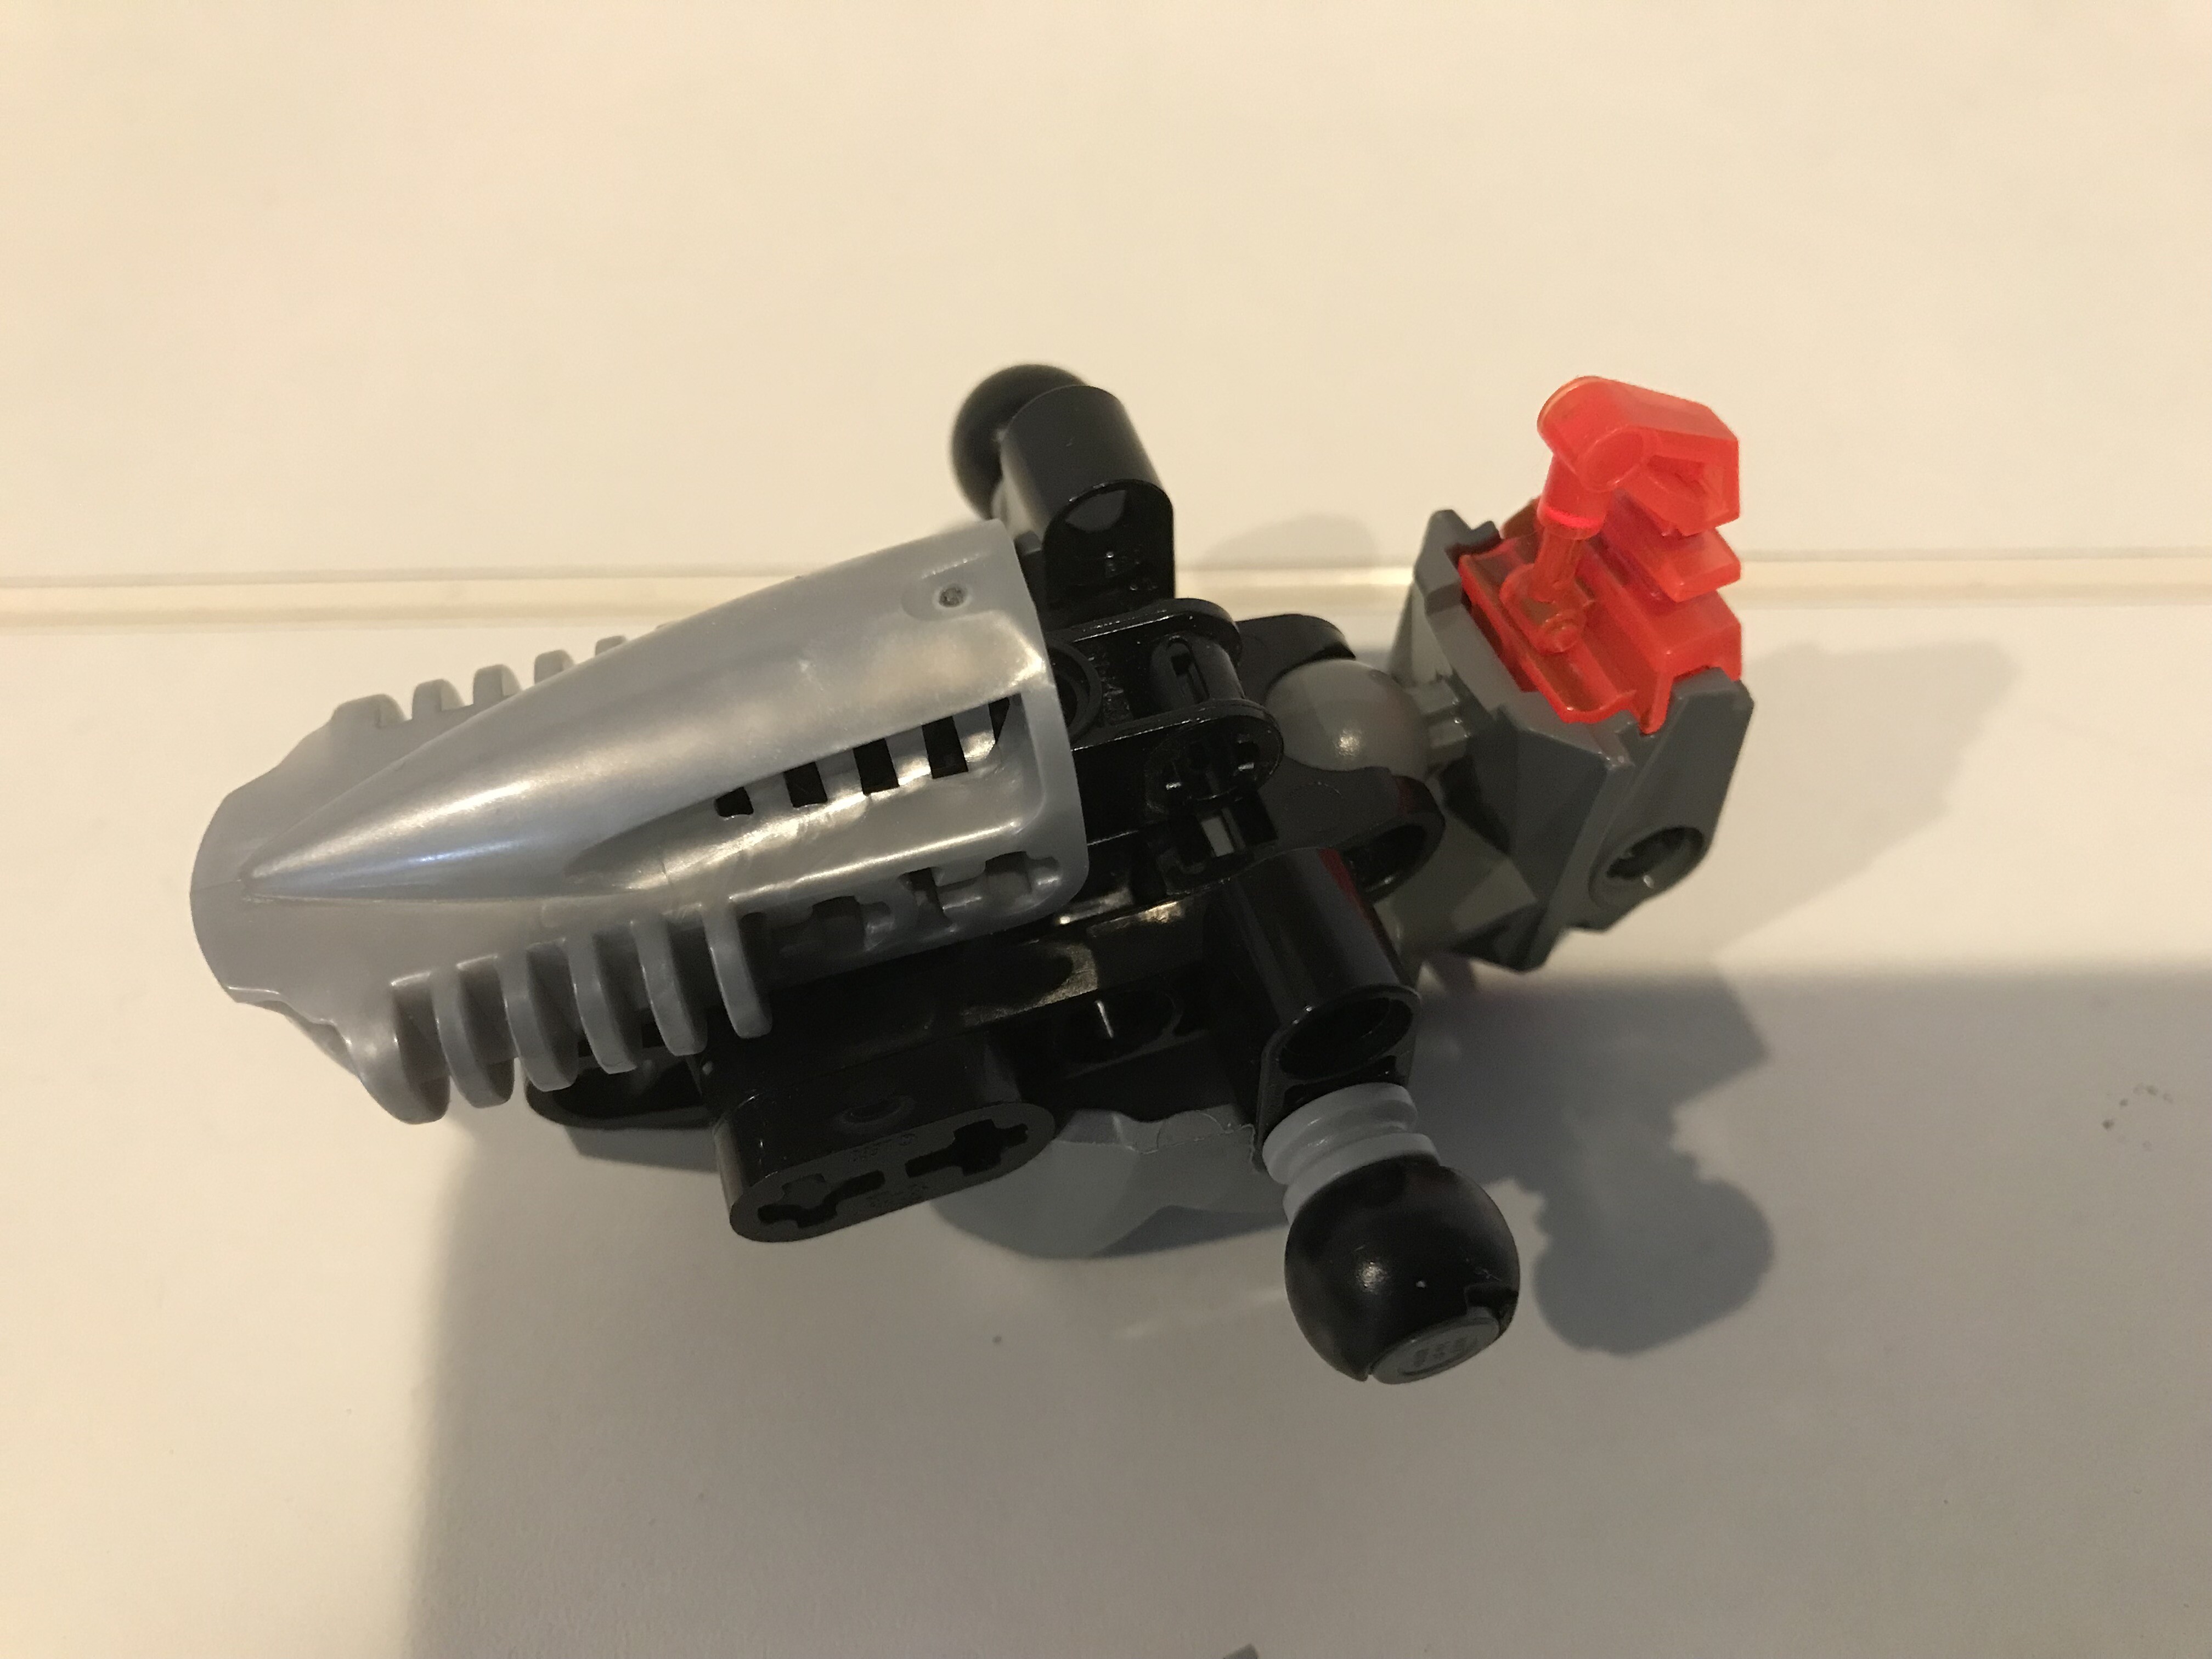
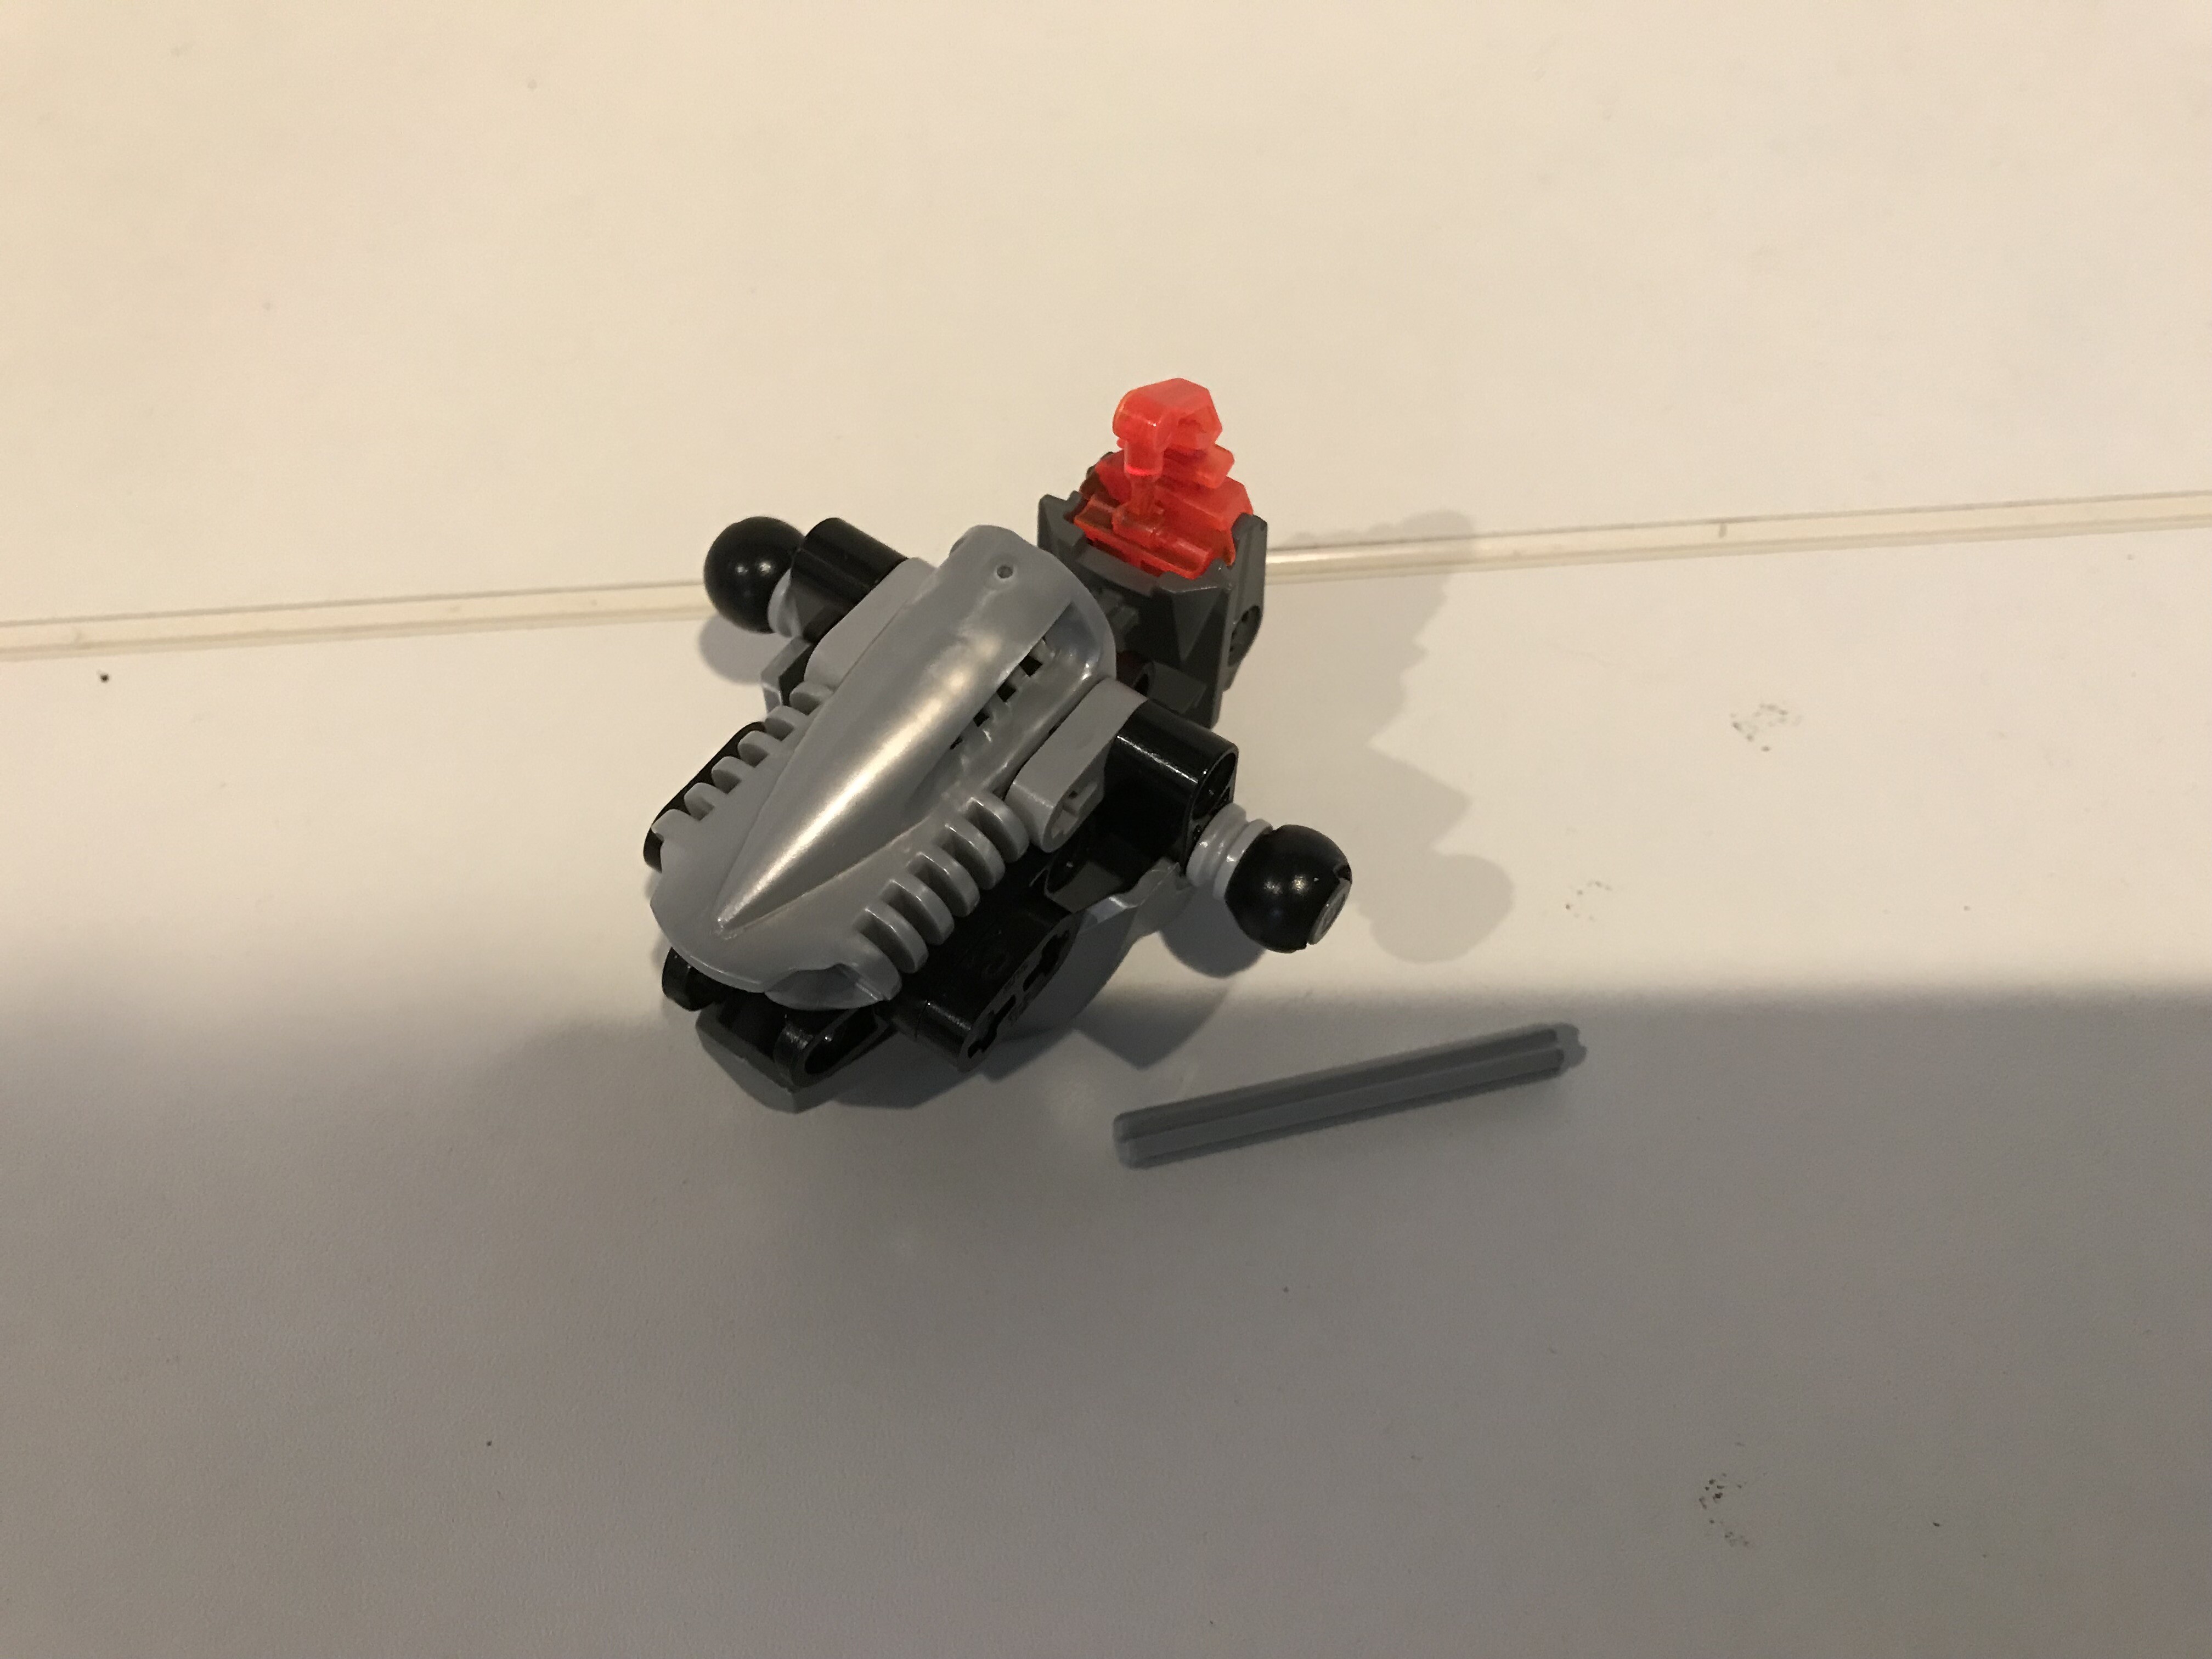
Since I finally revealed my Marendar moc I can post an instruction for transforming rocket boots/ iron man legs.
When Idea to make legs came to me I was utterly suprised I could not find any pictures on google which I could use as starting point.
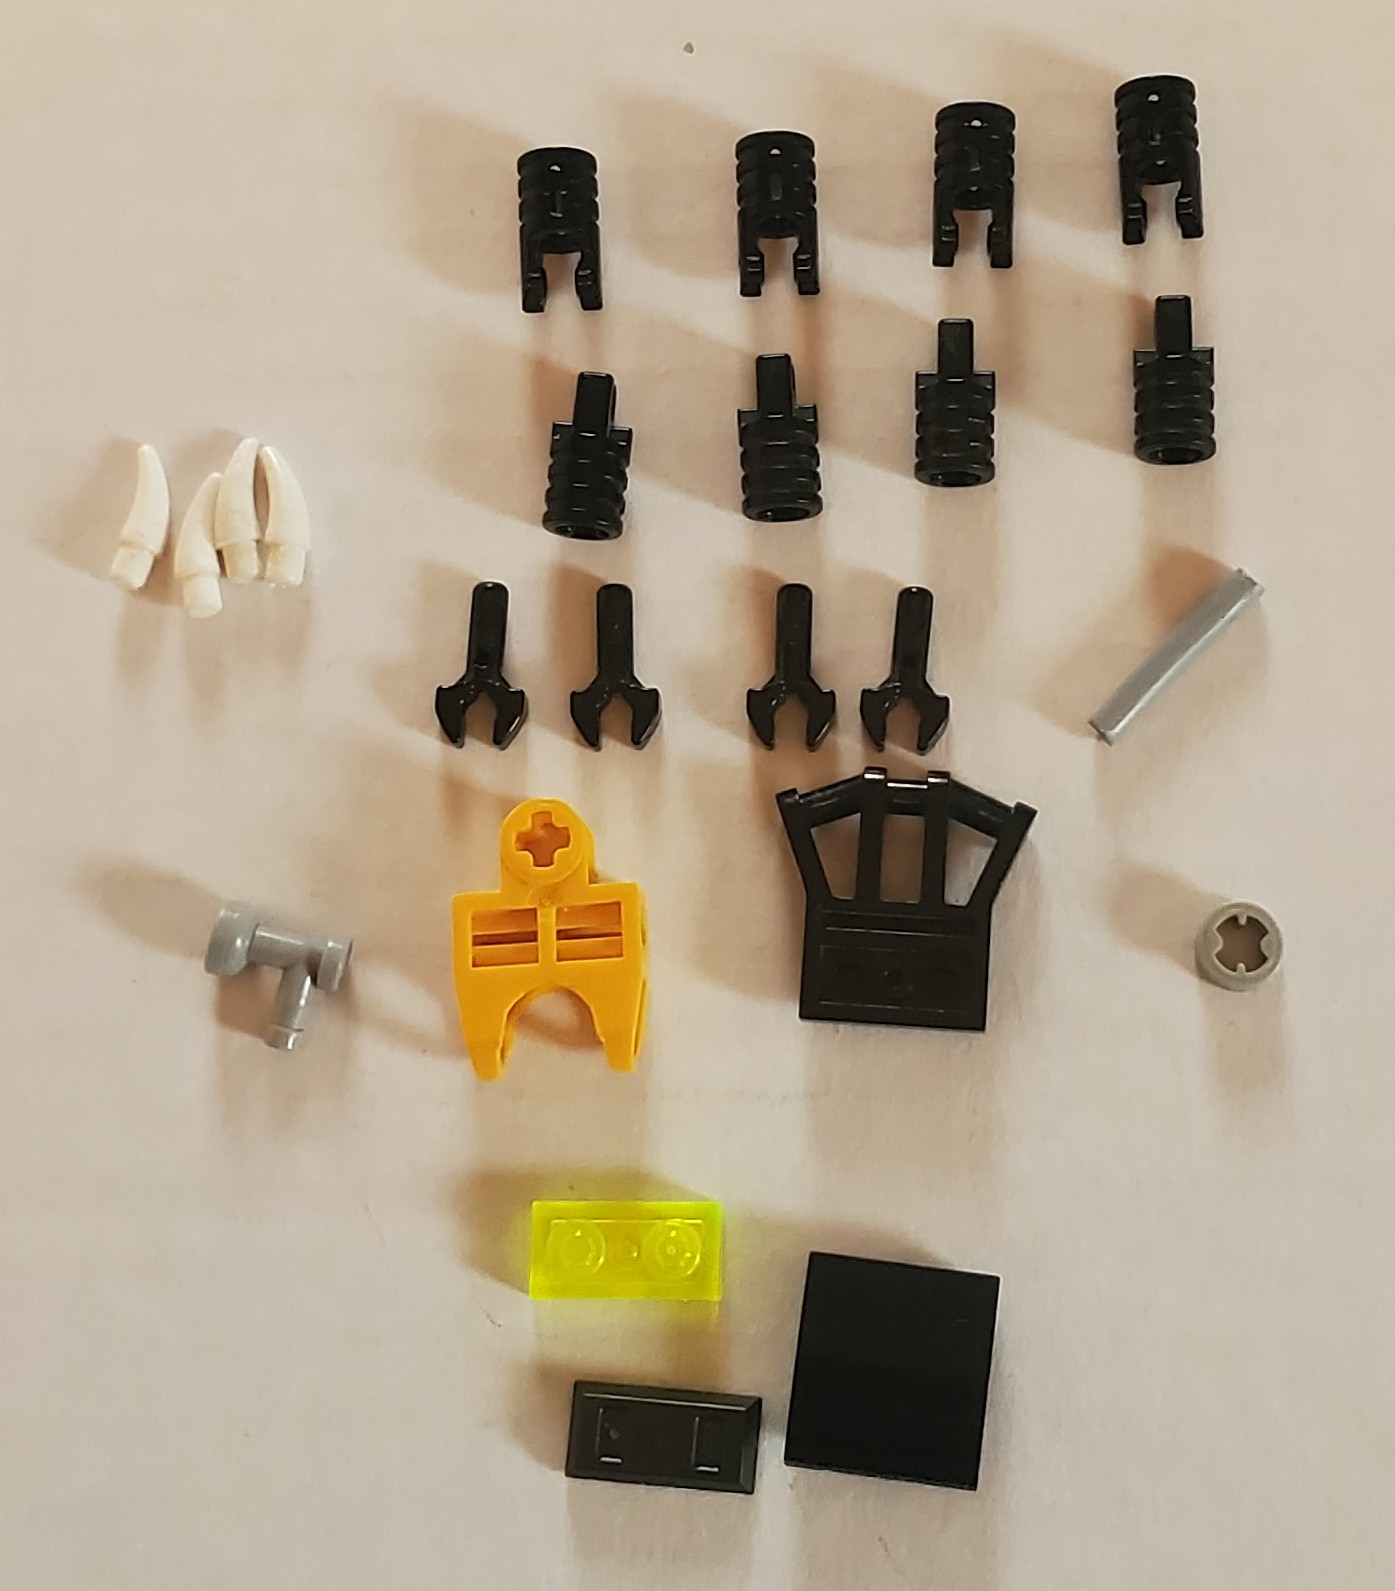
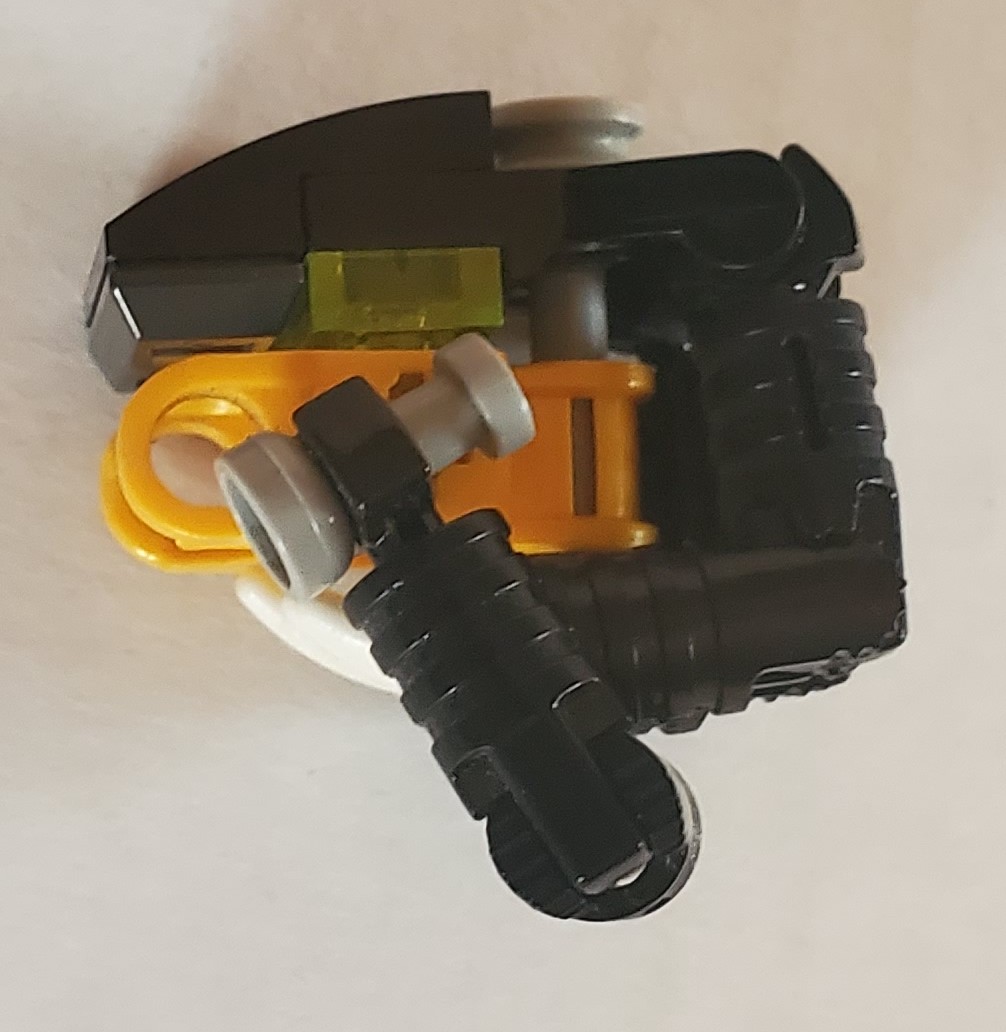
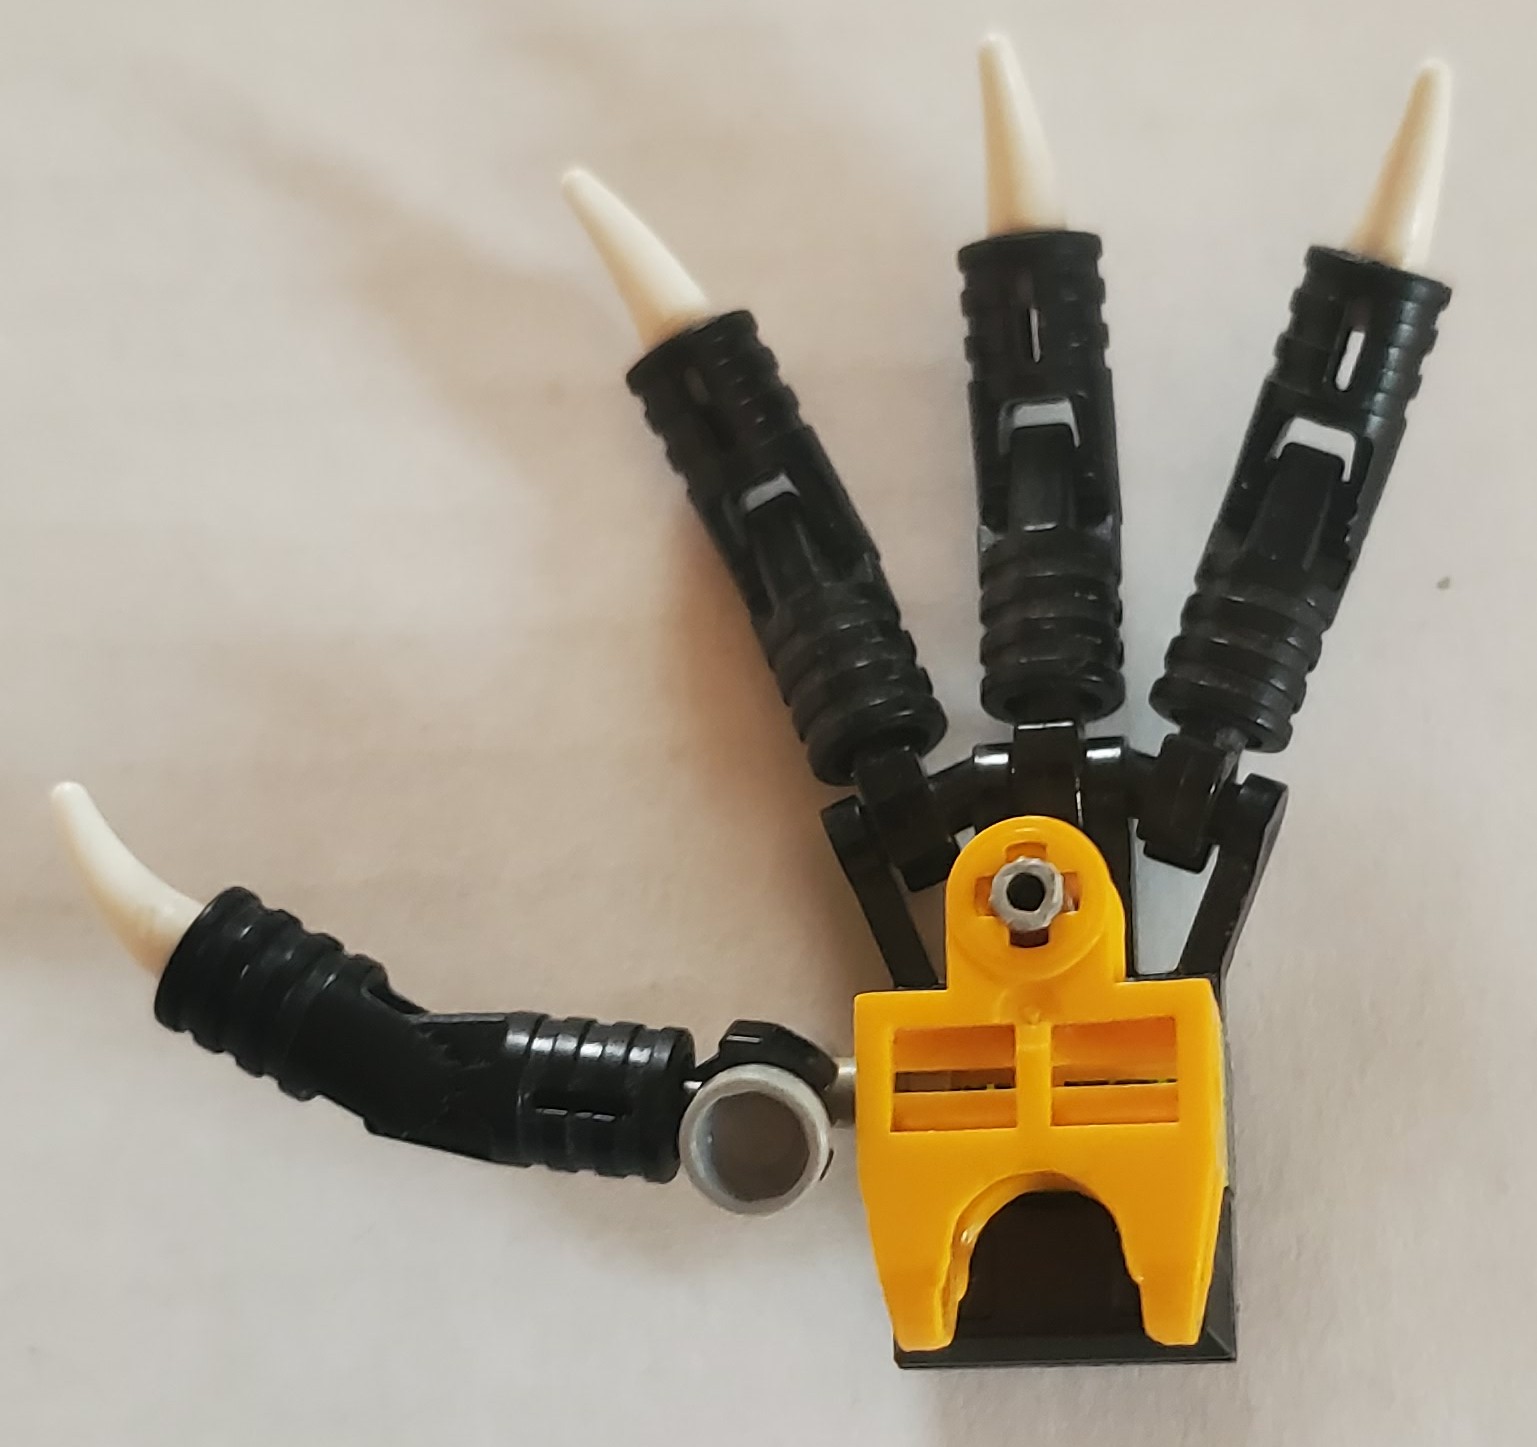
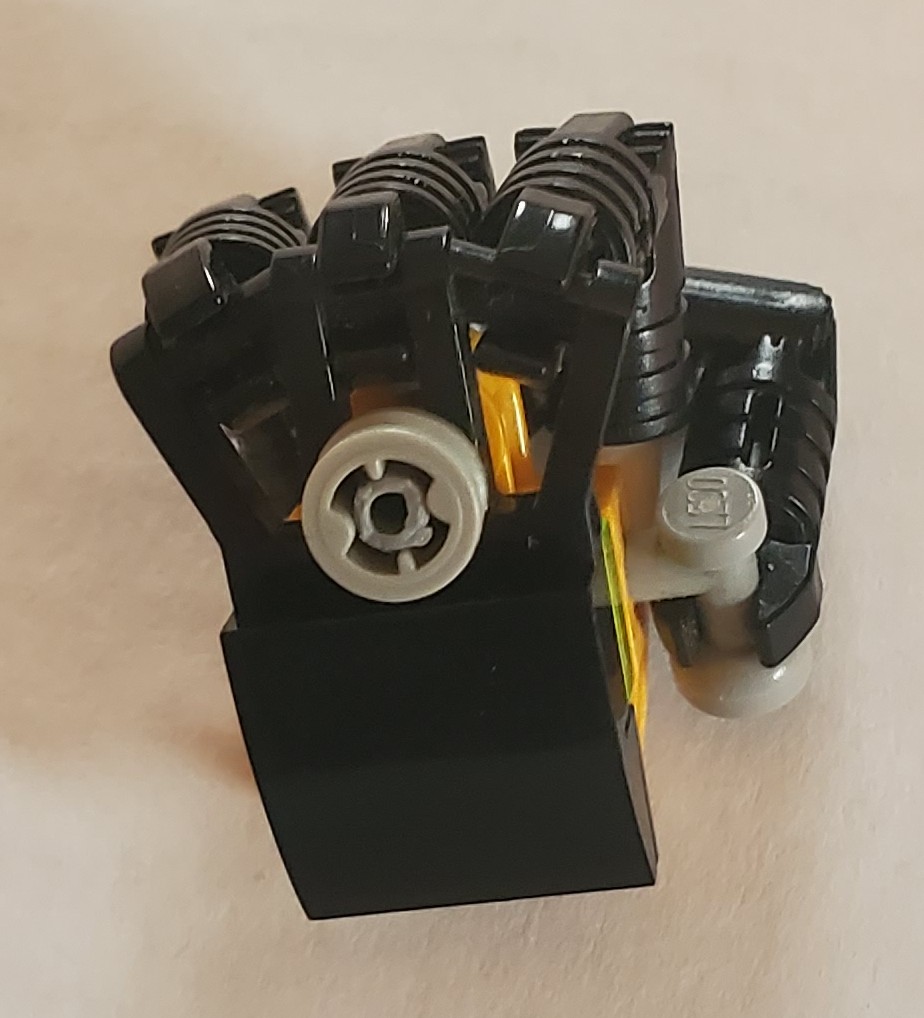
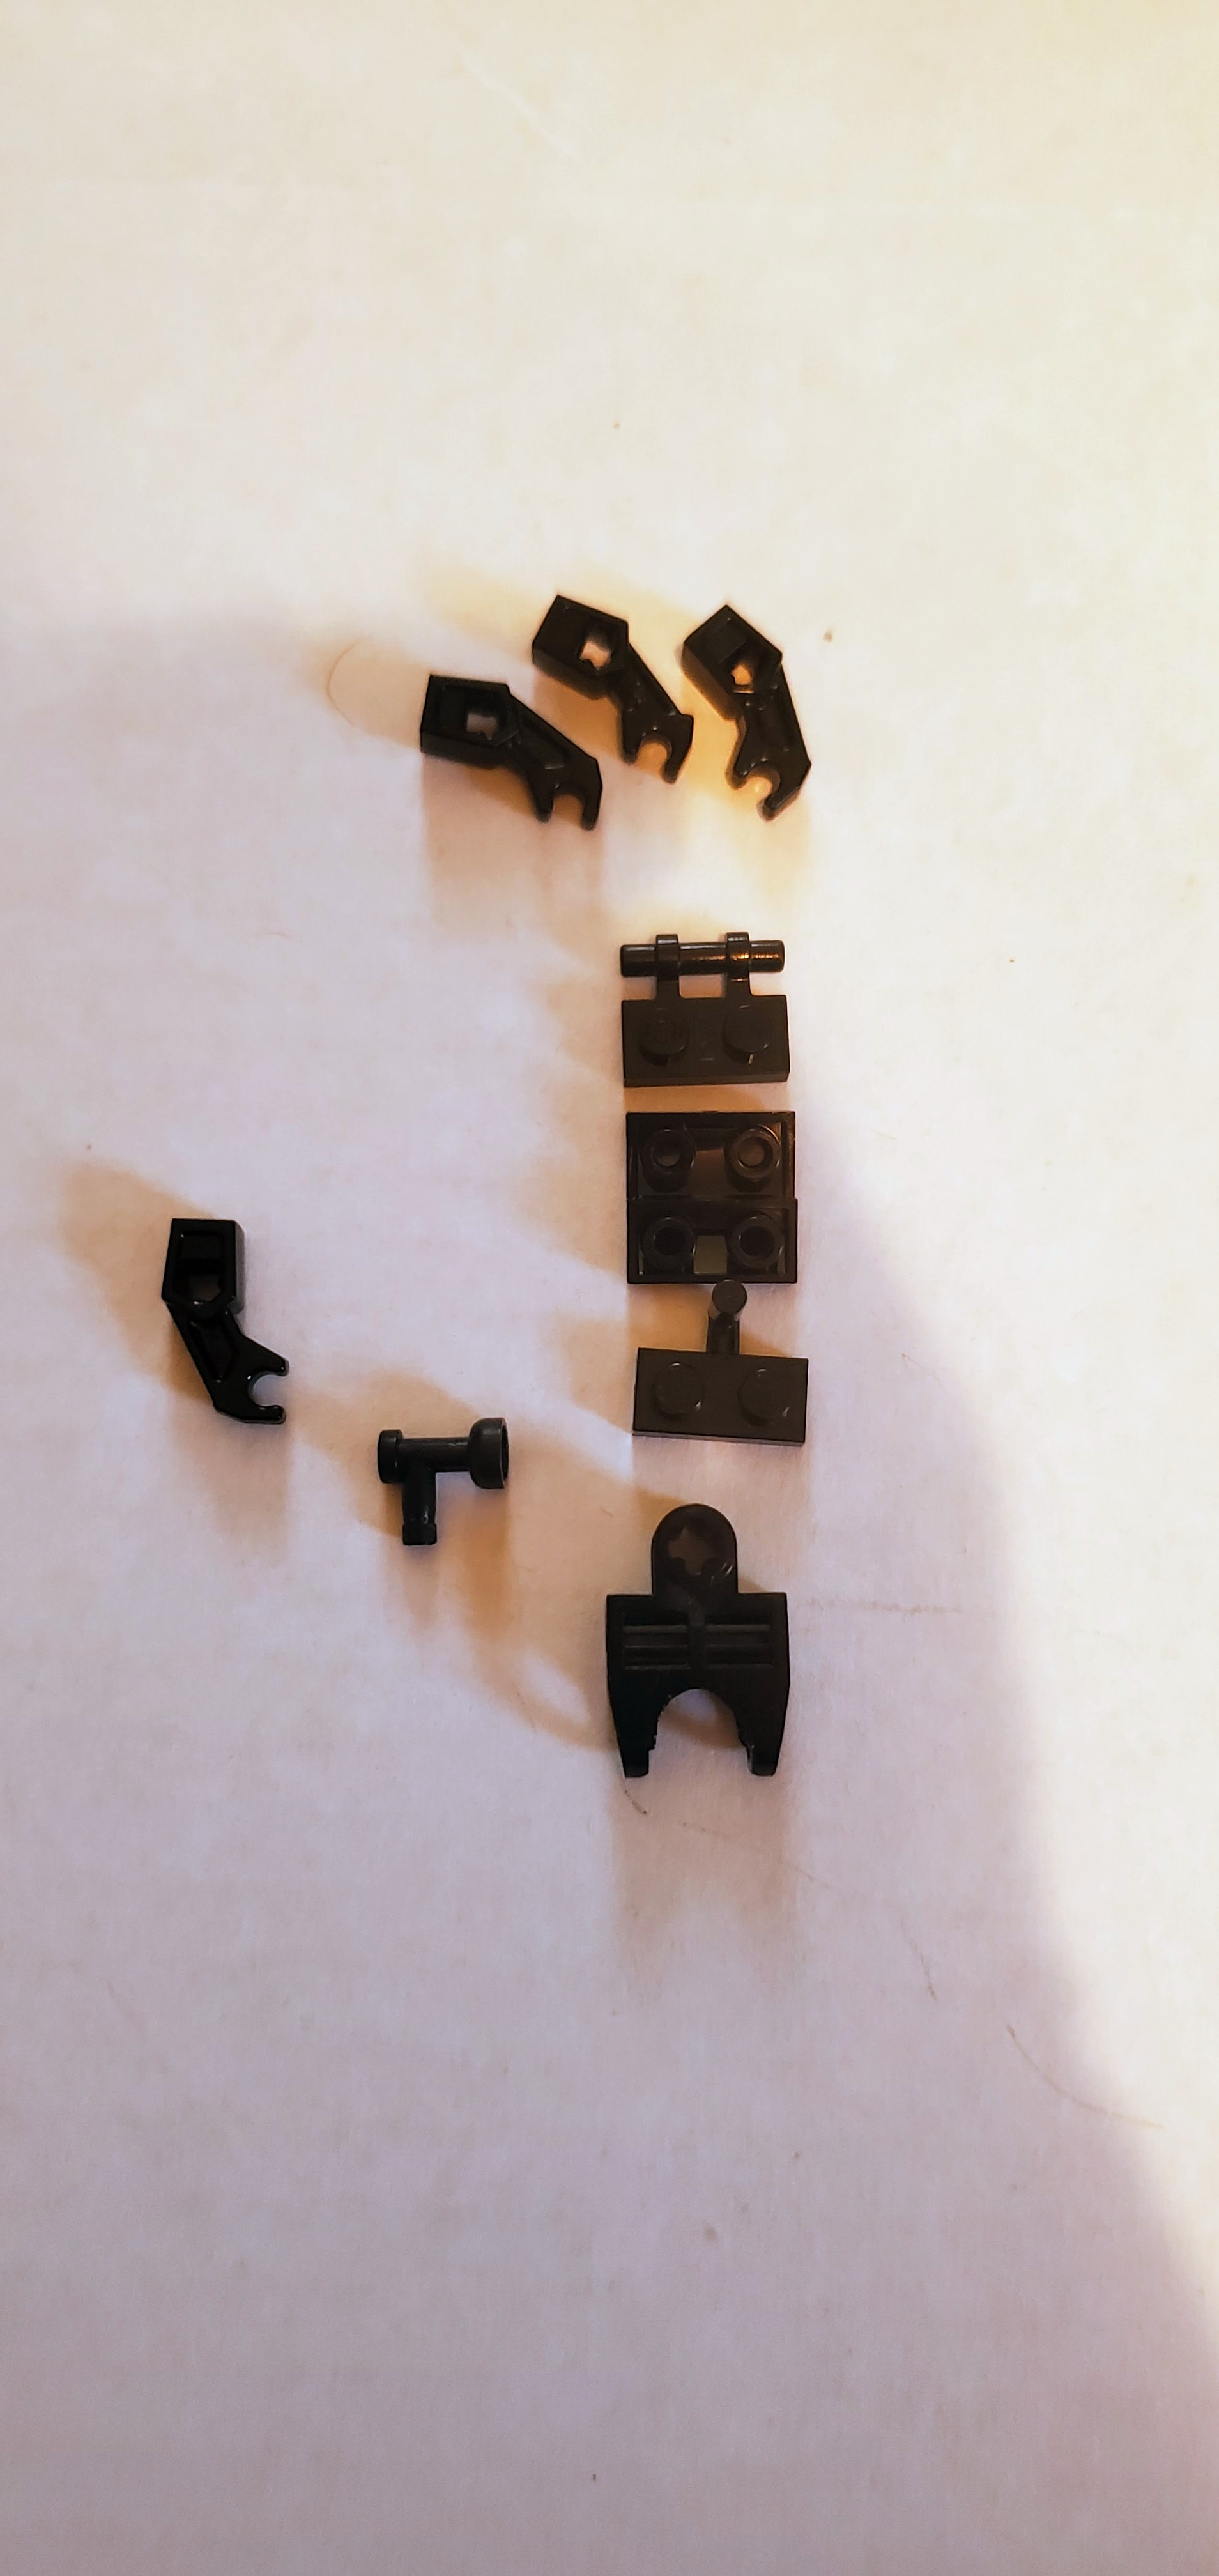
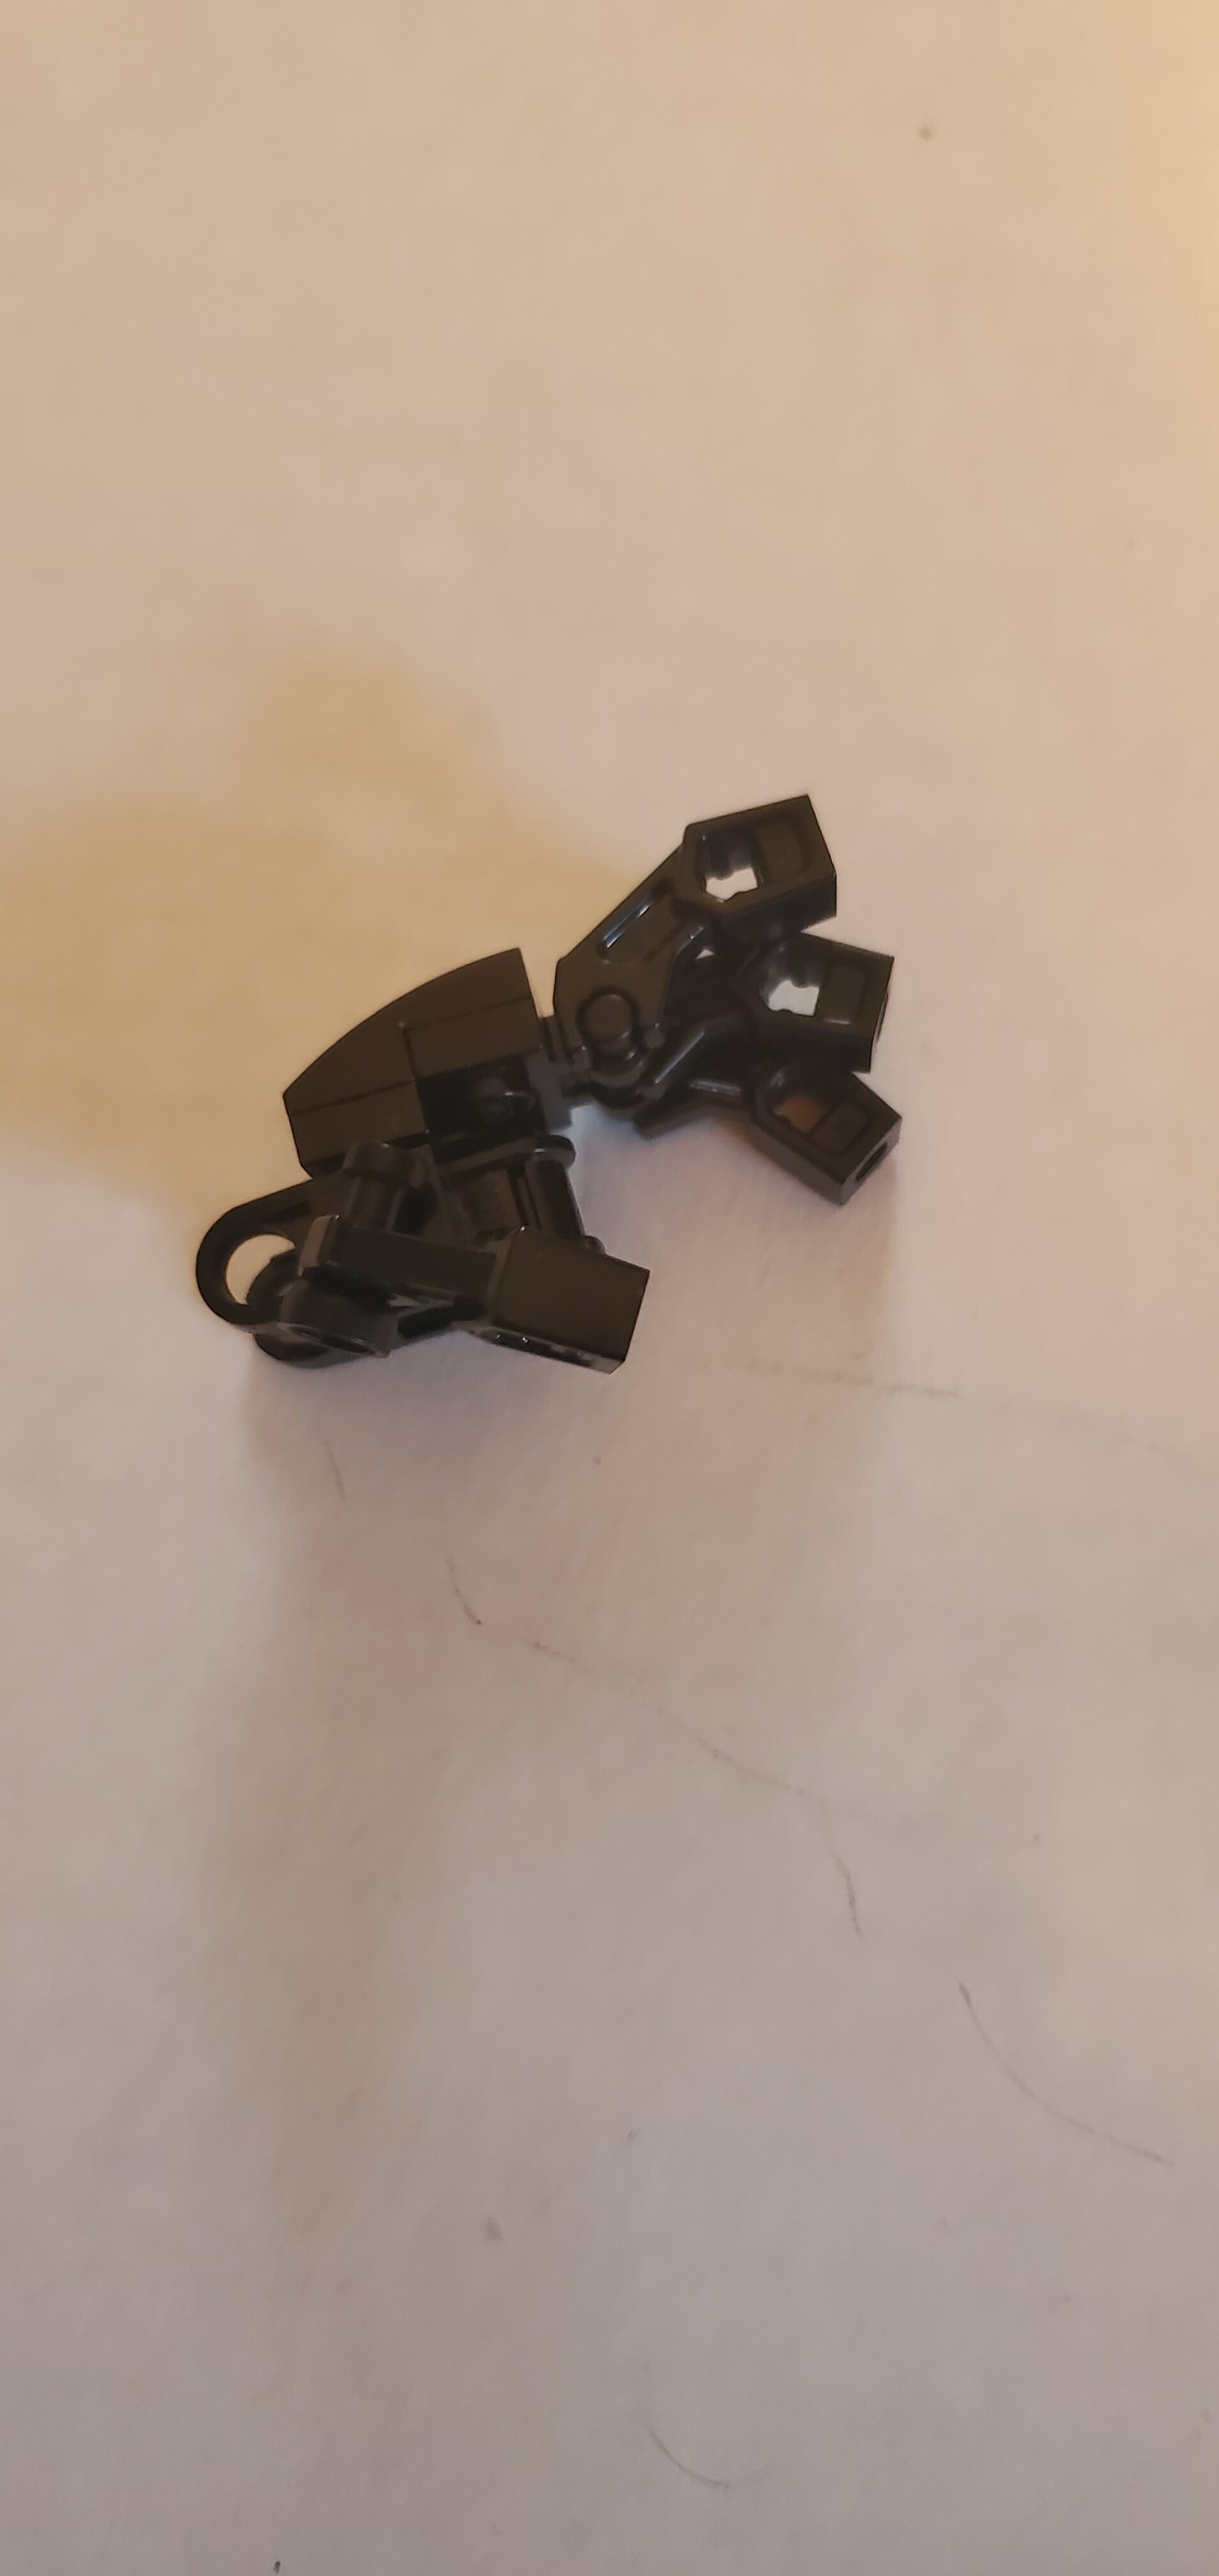
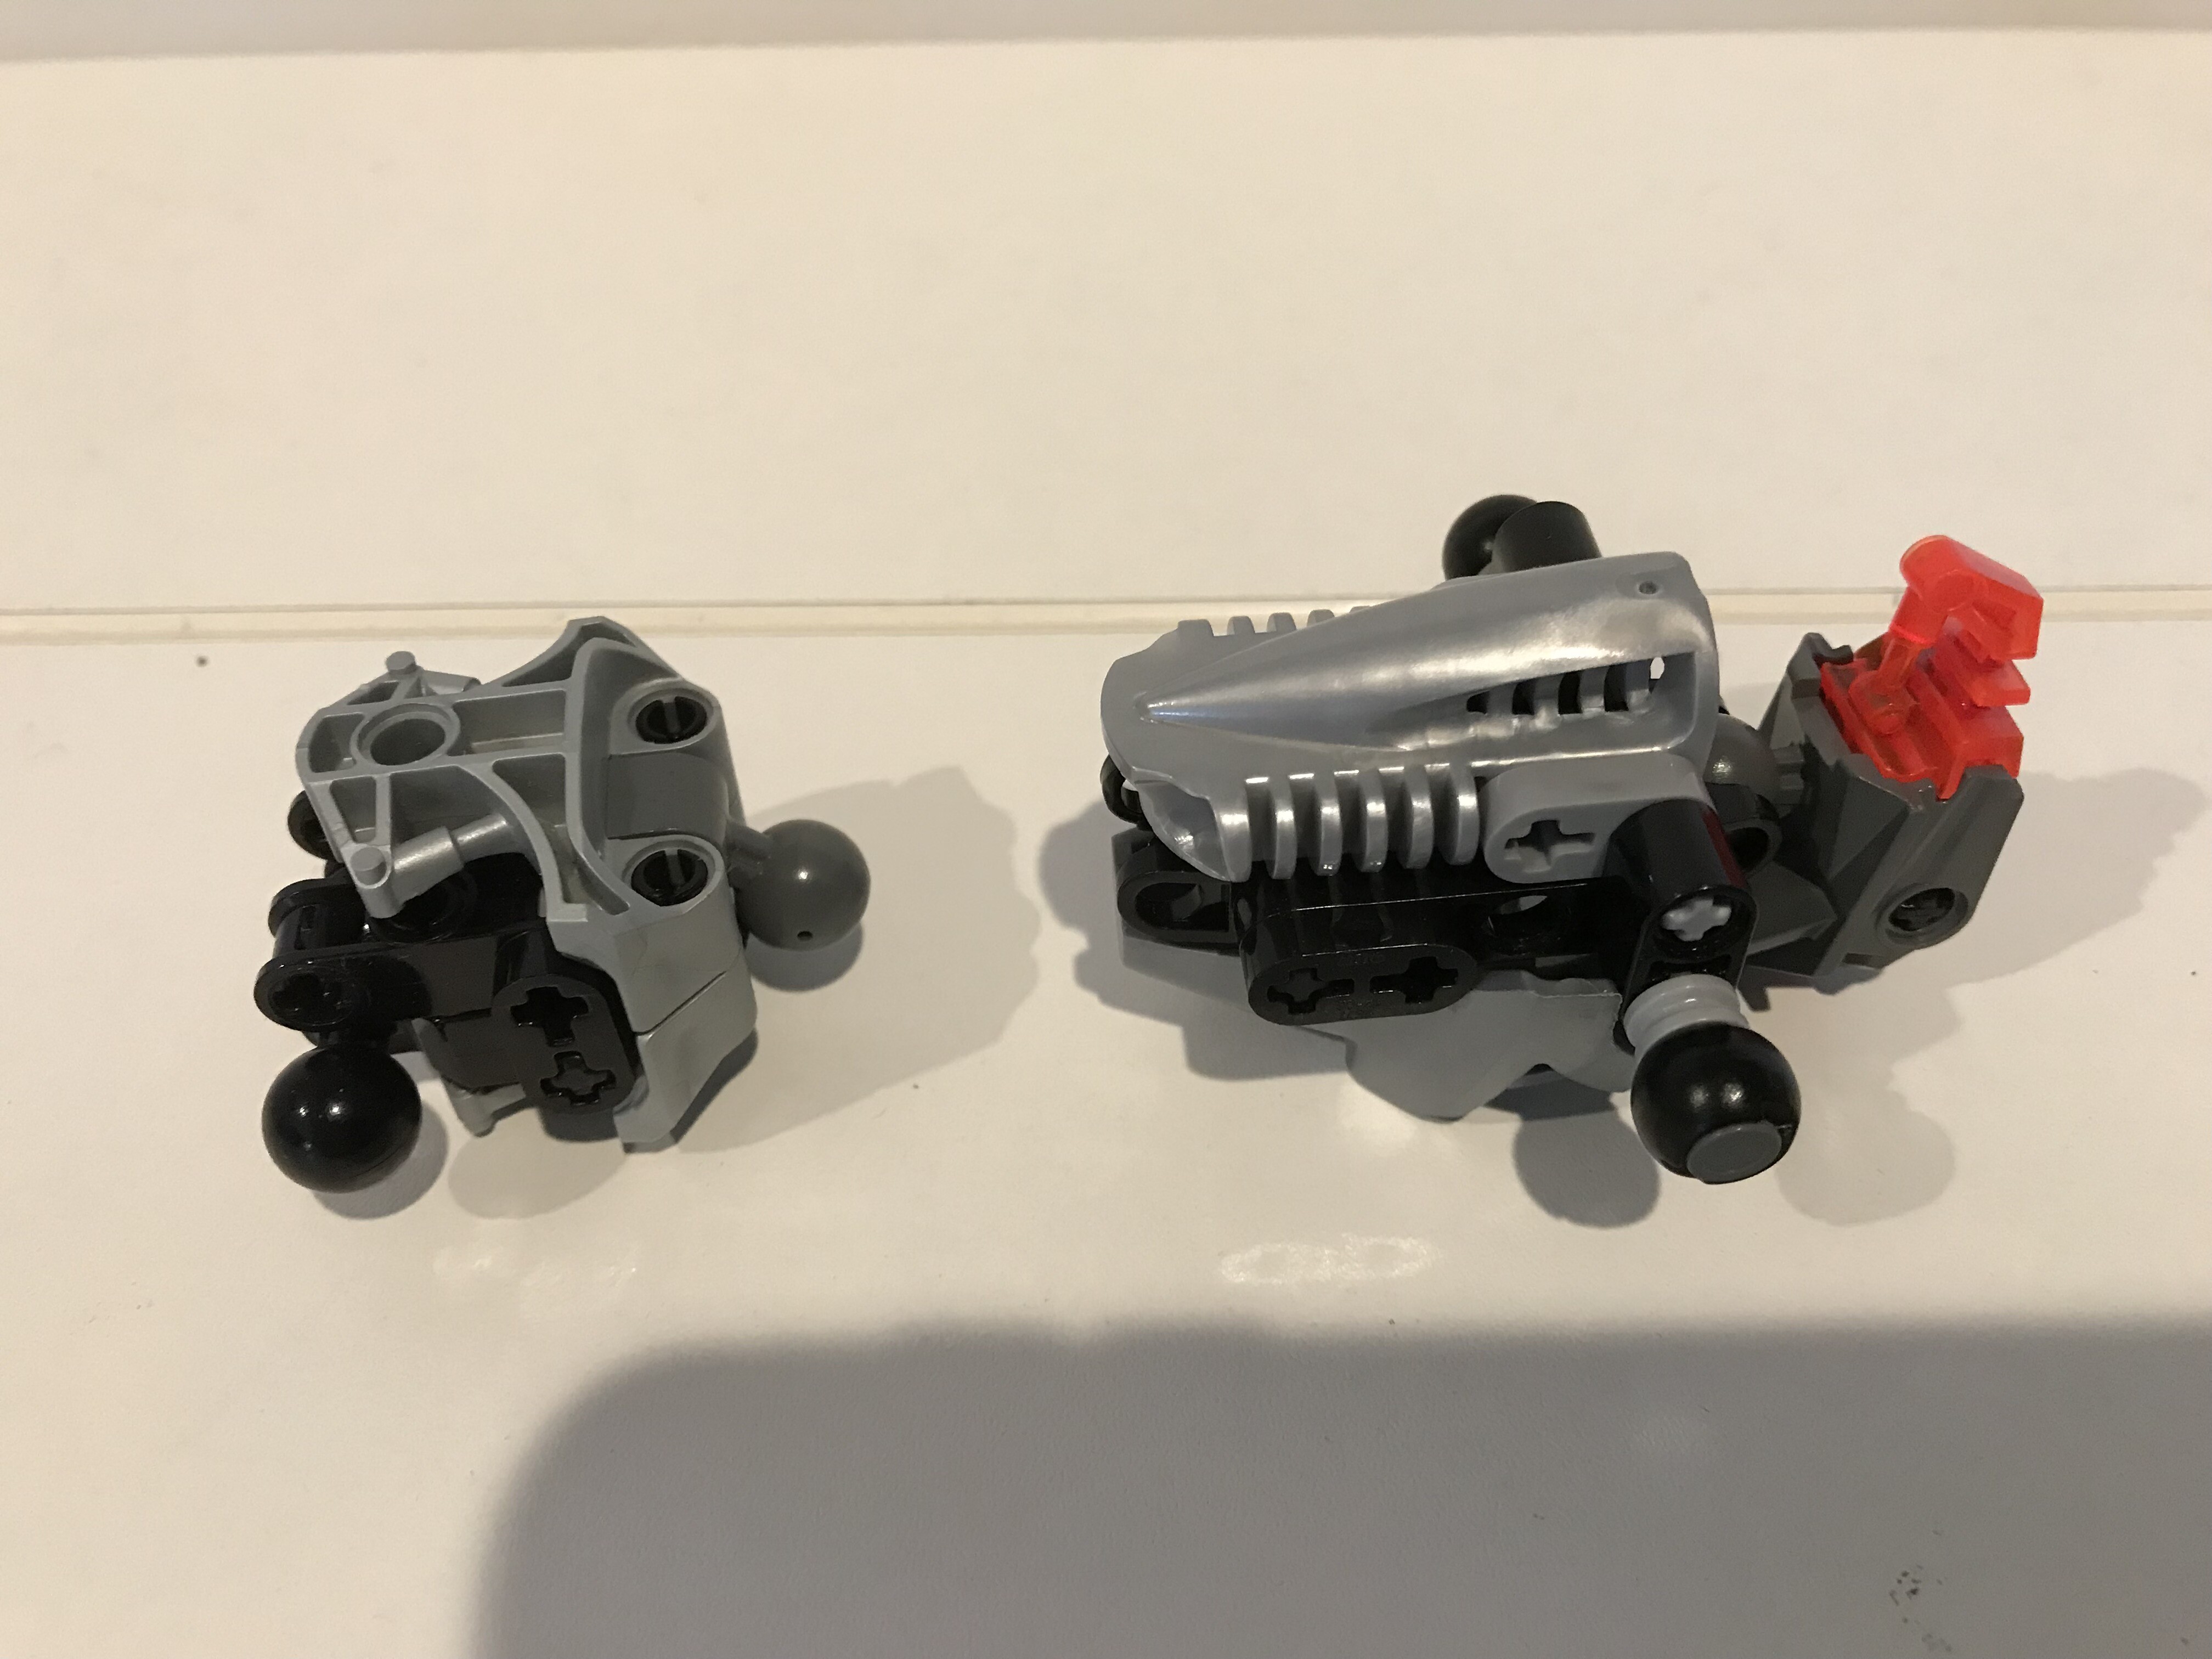
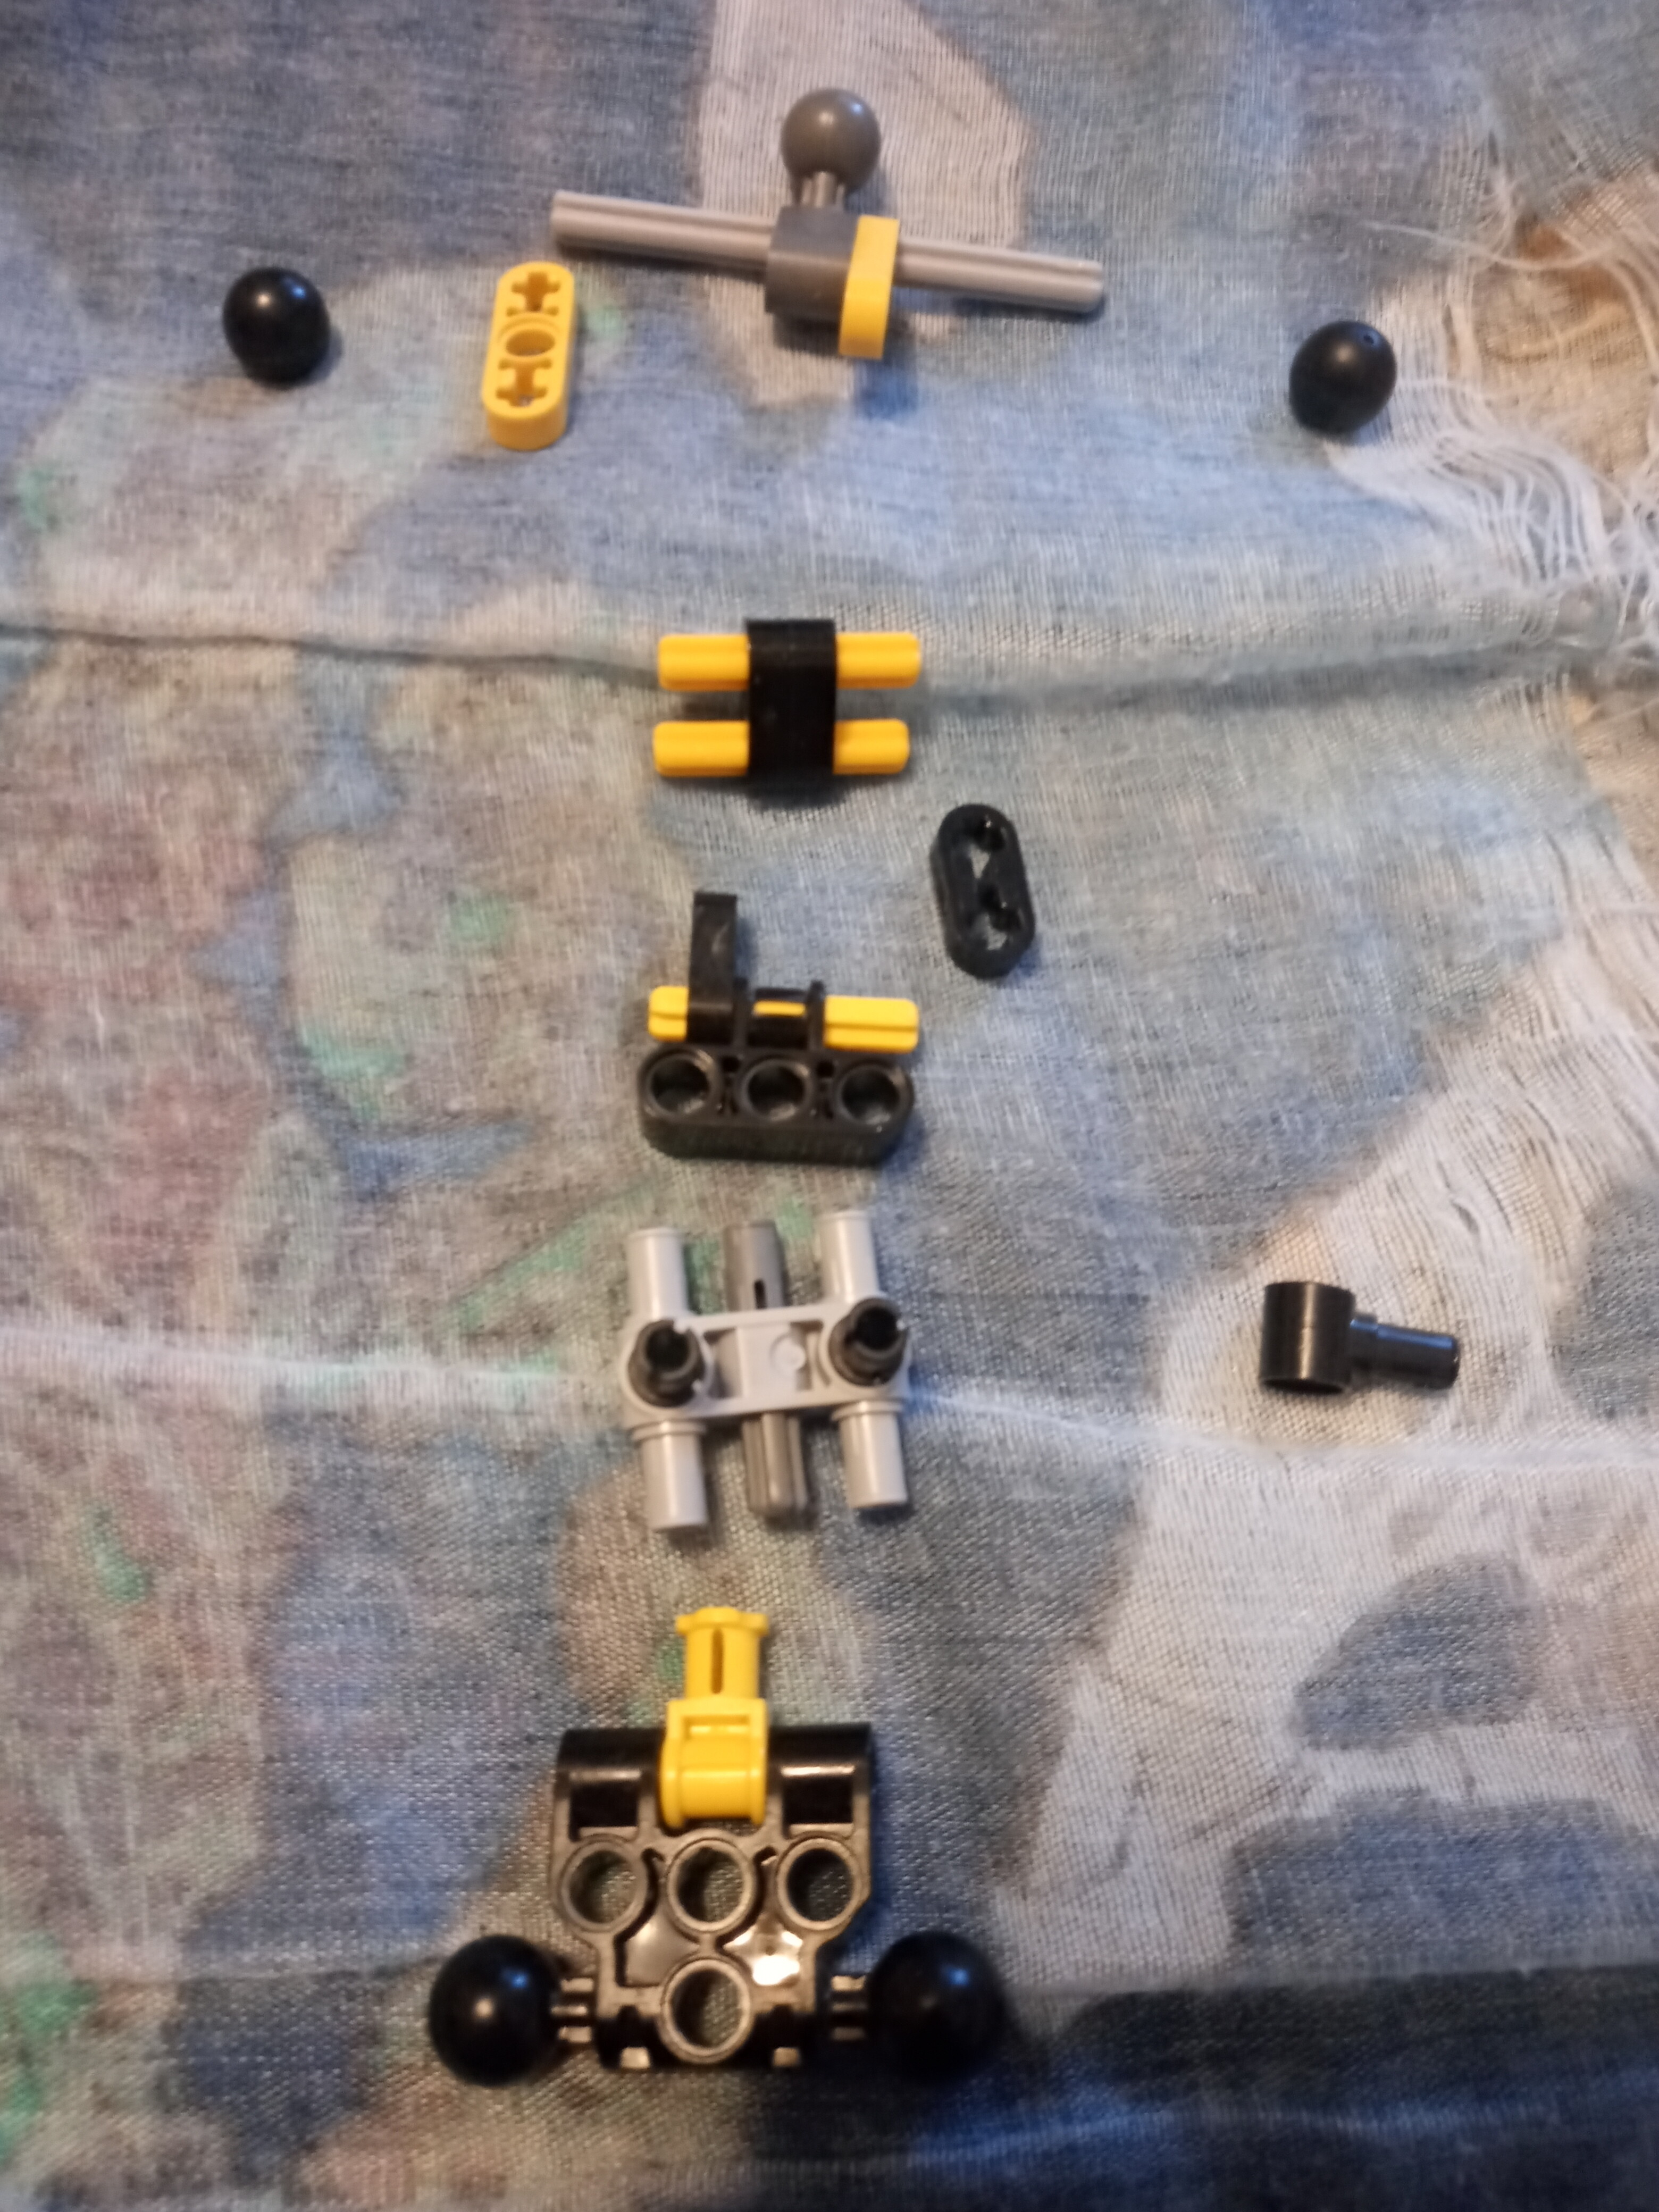
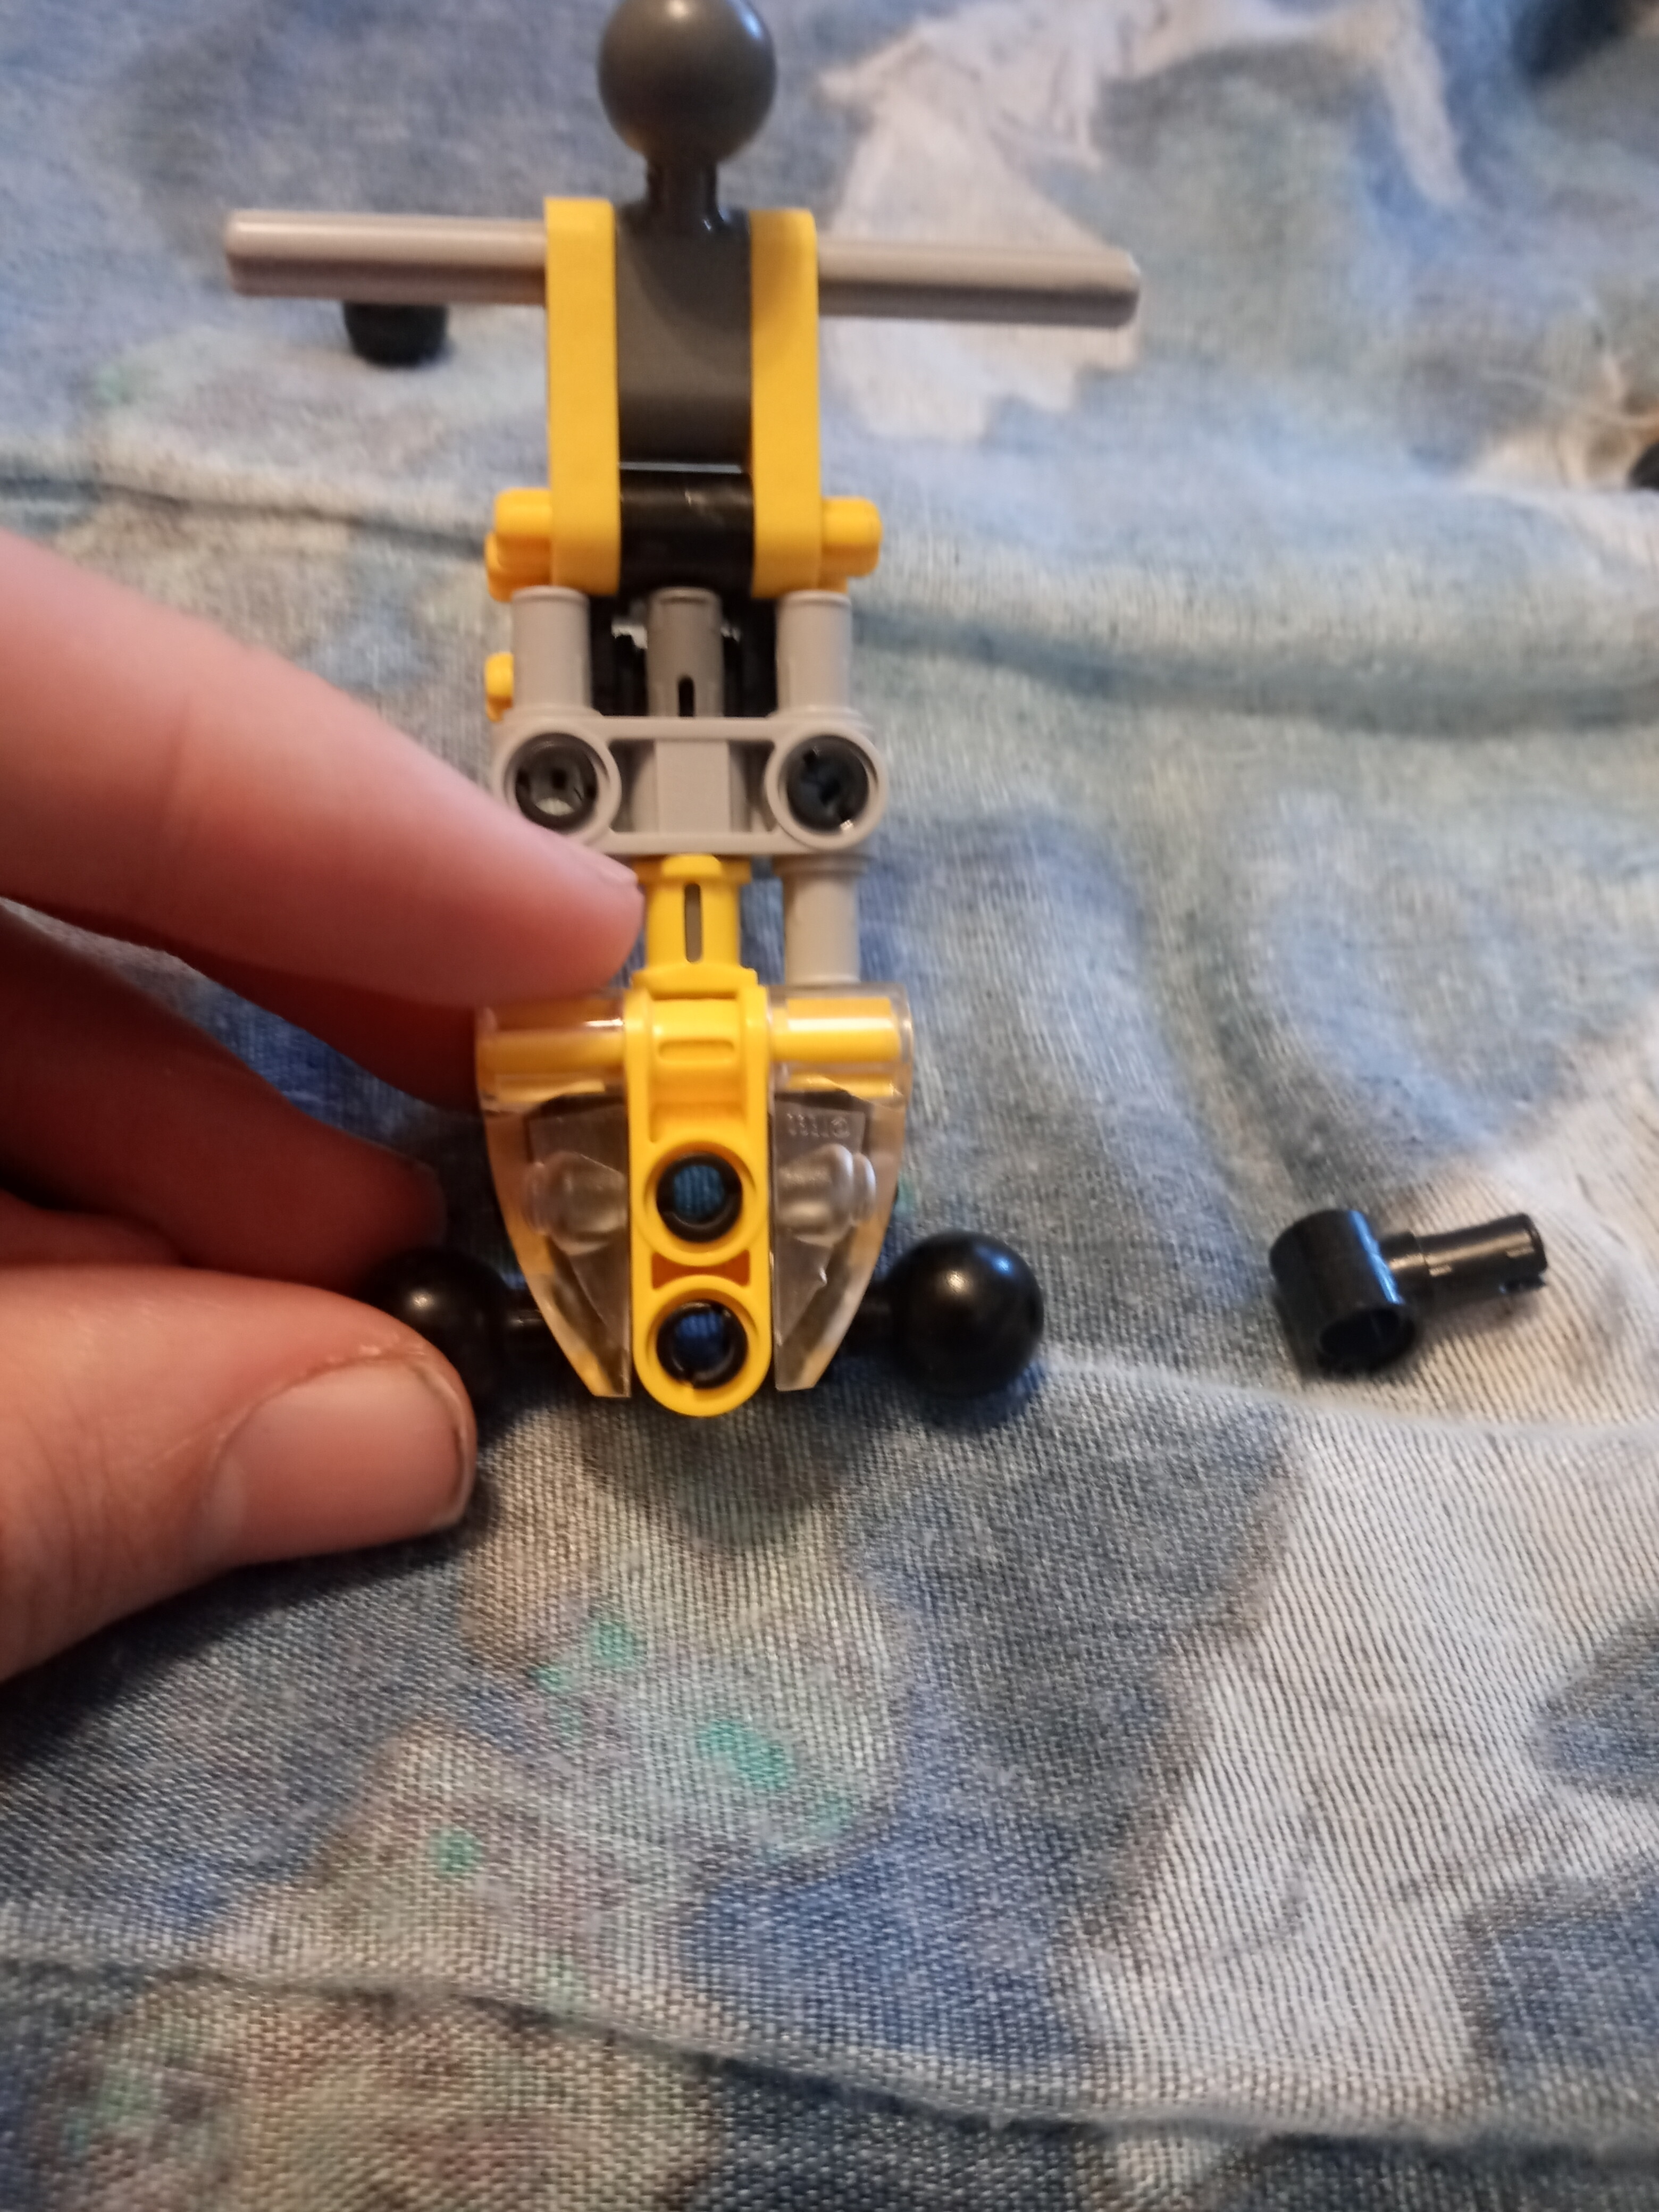
So if you want your Moc to have transforming rocket legs, here is a version I made from G1 pieces.
Basic skeleton inside is just a long light grey axle that goes through two toa hands. Then using two pin axle connextors and triangle looking pieces which name escapes me at the moment one can attach rocket boosters below
There is a locking mechanism that uses a black lightsable bar and axle connectors. One can easily use blue/black axle pins instead and any piece that has a pin hole to work as a lock.


7 Likes
Nice work! That is an impressive MOC.
3 Likes
Thanks.
If memory serves the leg boosters took solid 4 moths to figure out and the lock mechanism took another 4 since I could not figure out how to do it without black axle pins.
Soulder canons were a couple of weeks I think. a month at most.
Head took a year.
Beast mode took only a month which is crazy fast when compared to other things that needed figuring out
I finished the desing in December and started on the day I heard of the canon contest so 2 years of building was not exaggerating
3 Likes
Darkrainmaster’s stuff is the bomb. They’ve always been one of my favorite mocists of all time, and have been a huge source of inspiration over the years. If you haven’t fully checked out their topics here or their youtube channel, I’d highly recommend you do. Still the gold standard in my mind of what a Toa build should be.
5 Likes
These hand design are some of the things I’ve been working on for a while. Please let me know if you use these. Note: I am using newer parts for them.

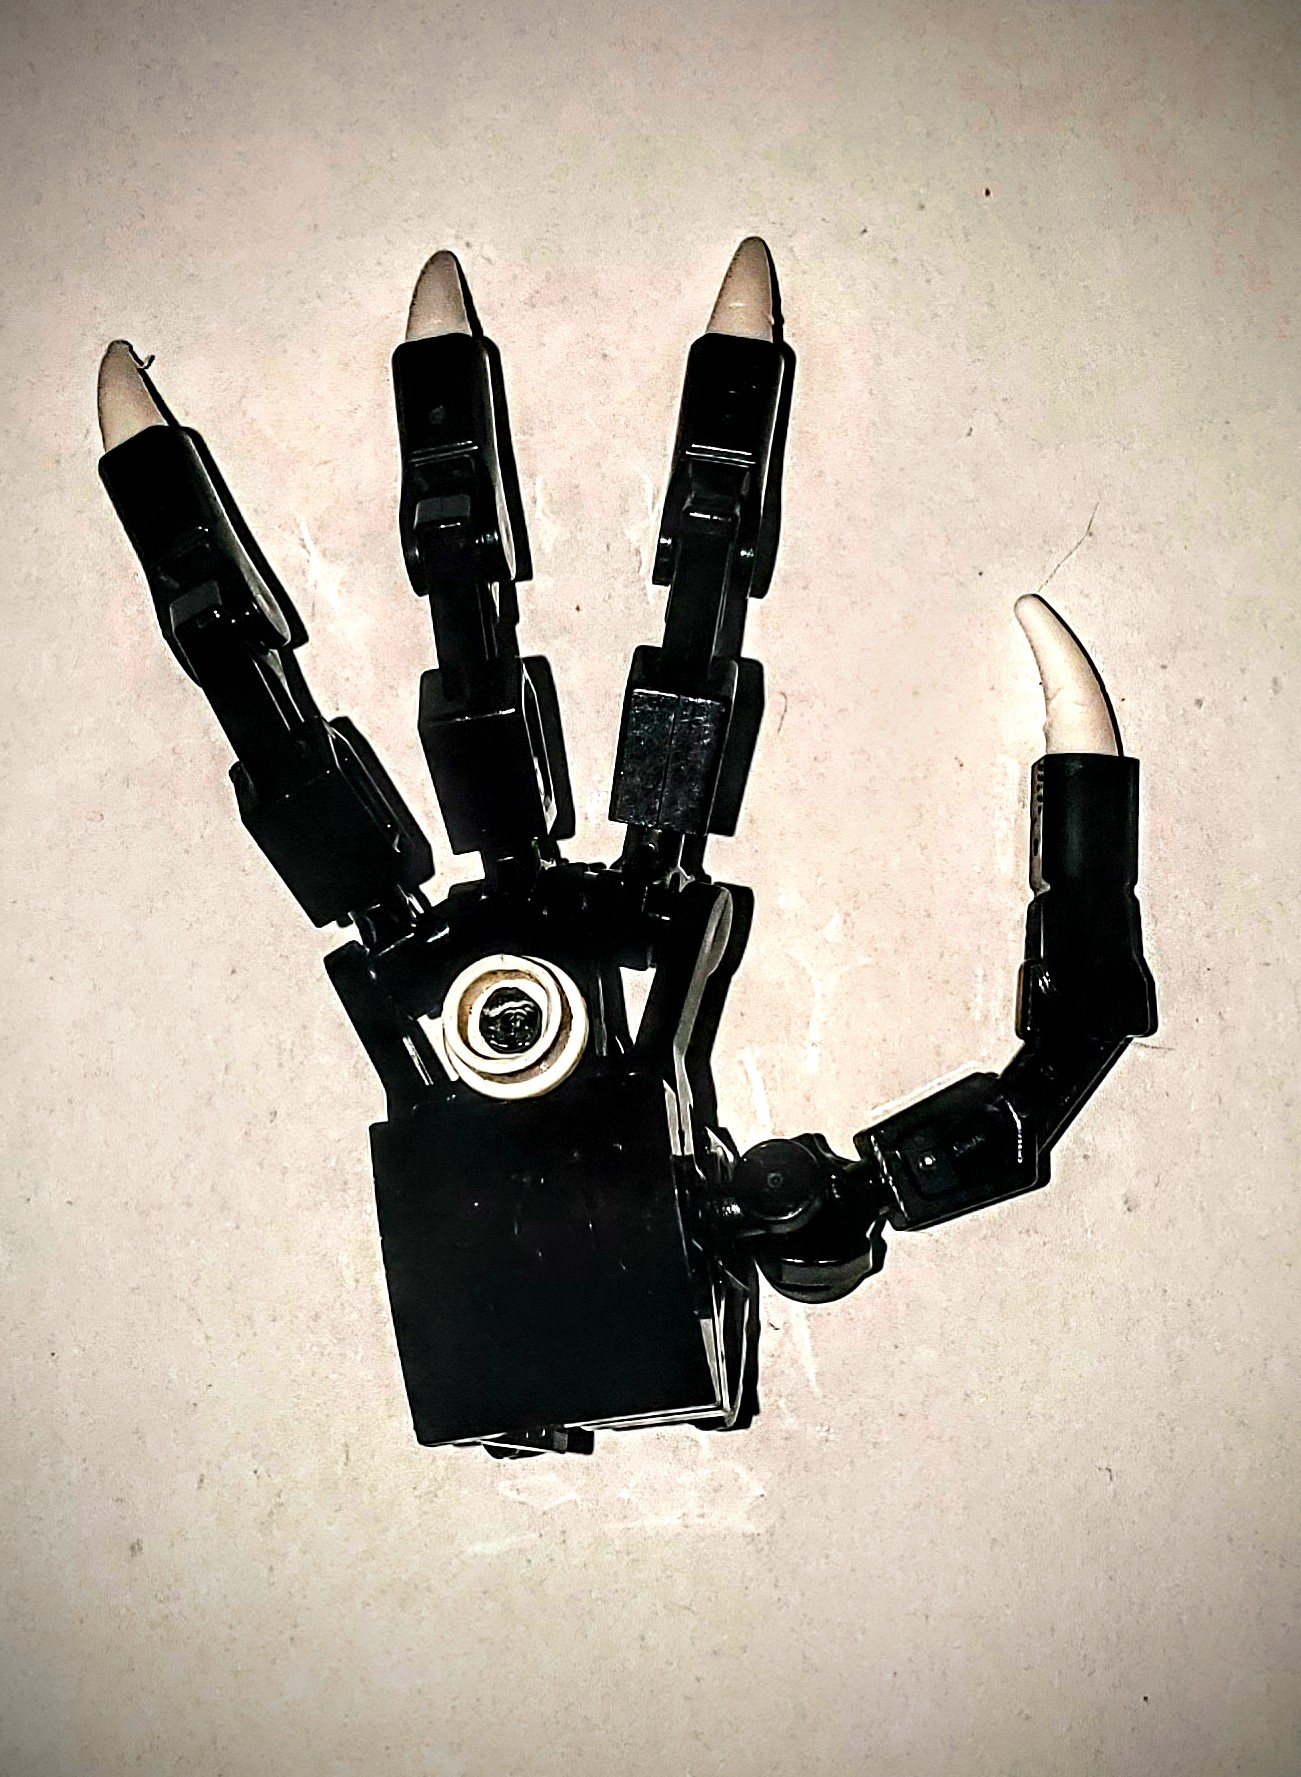
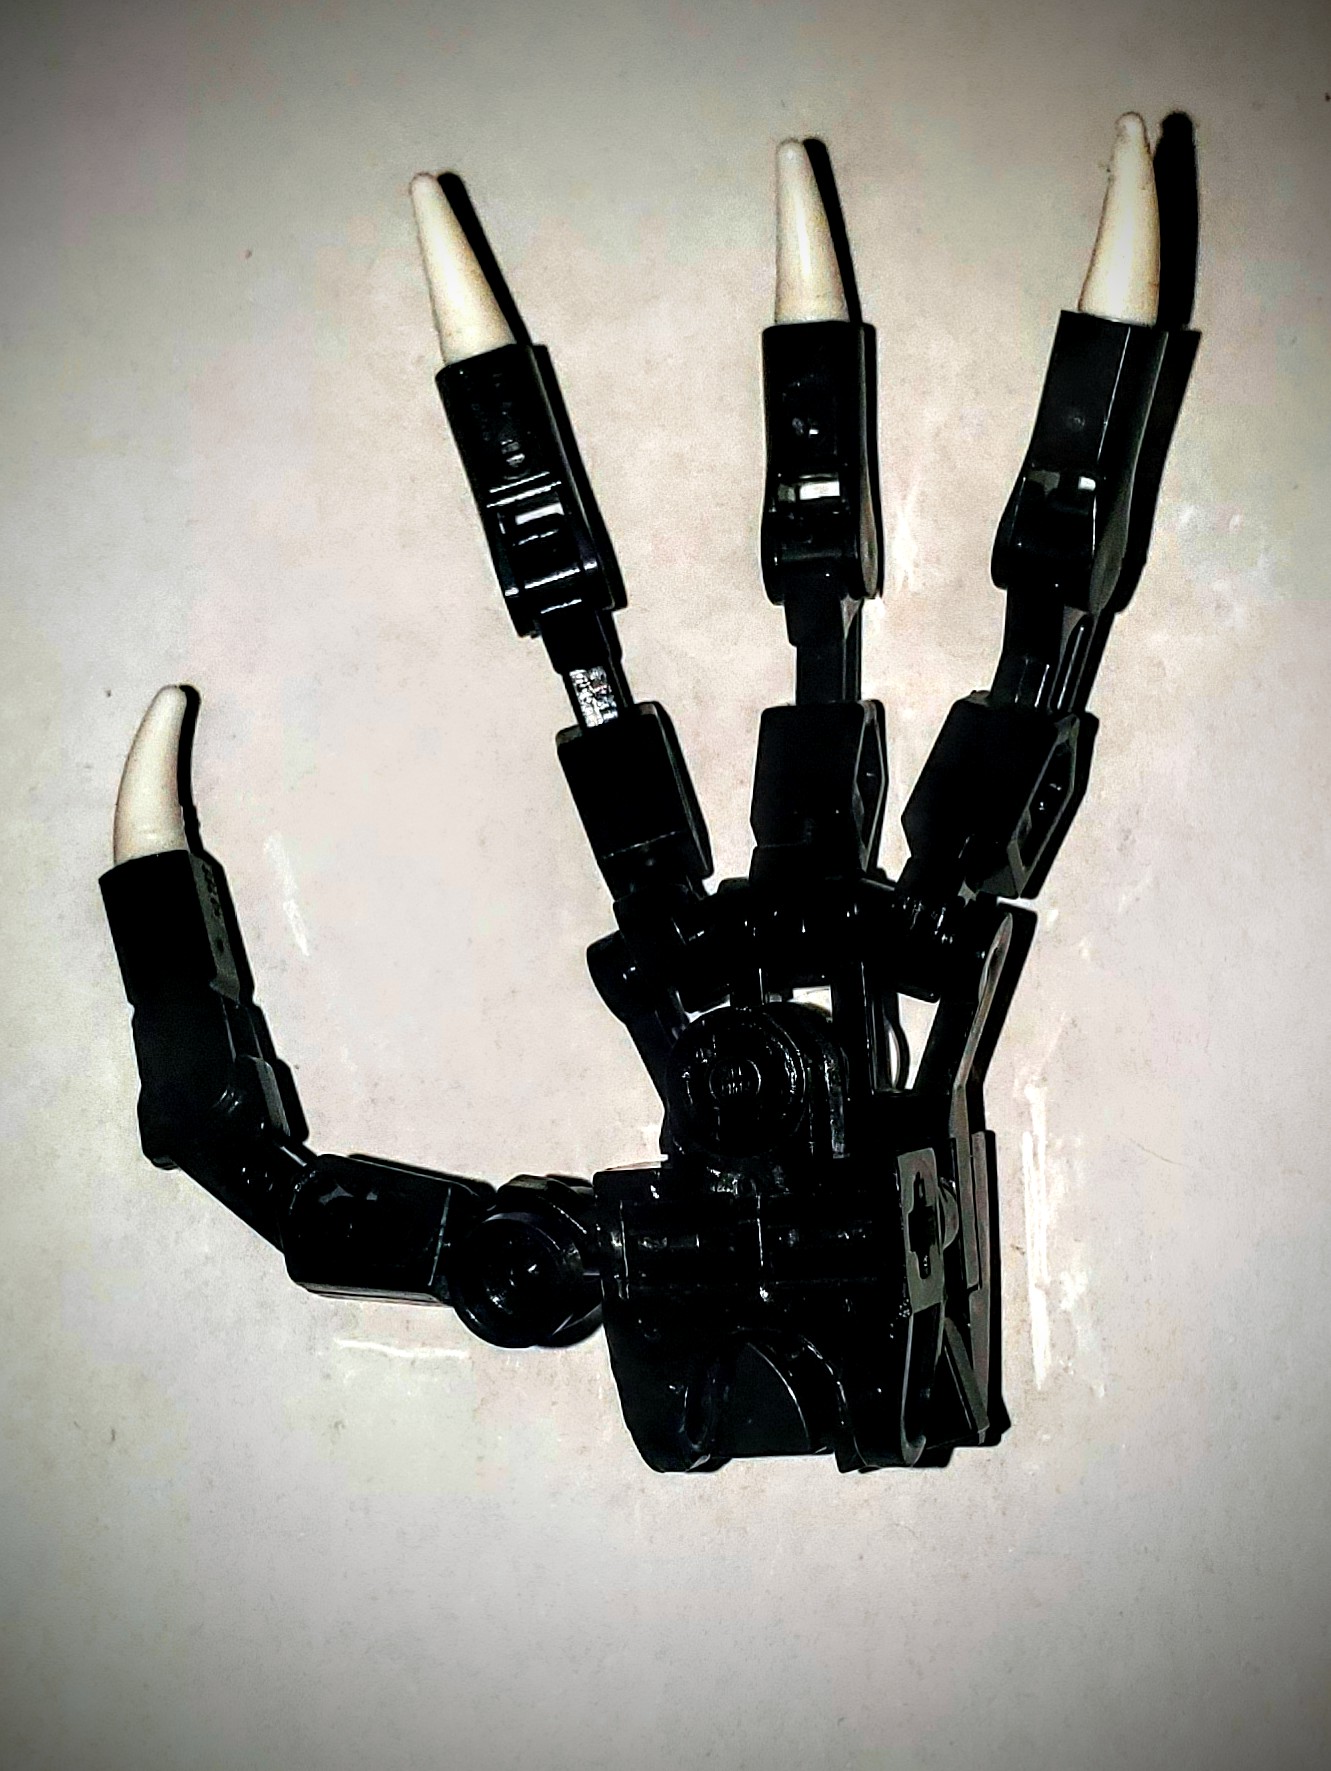
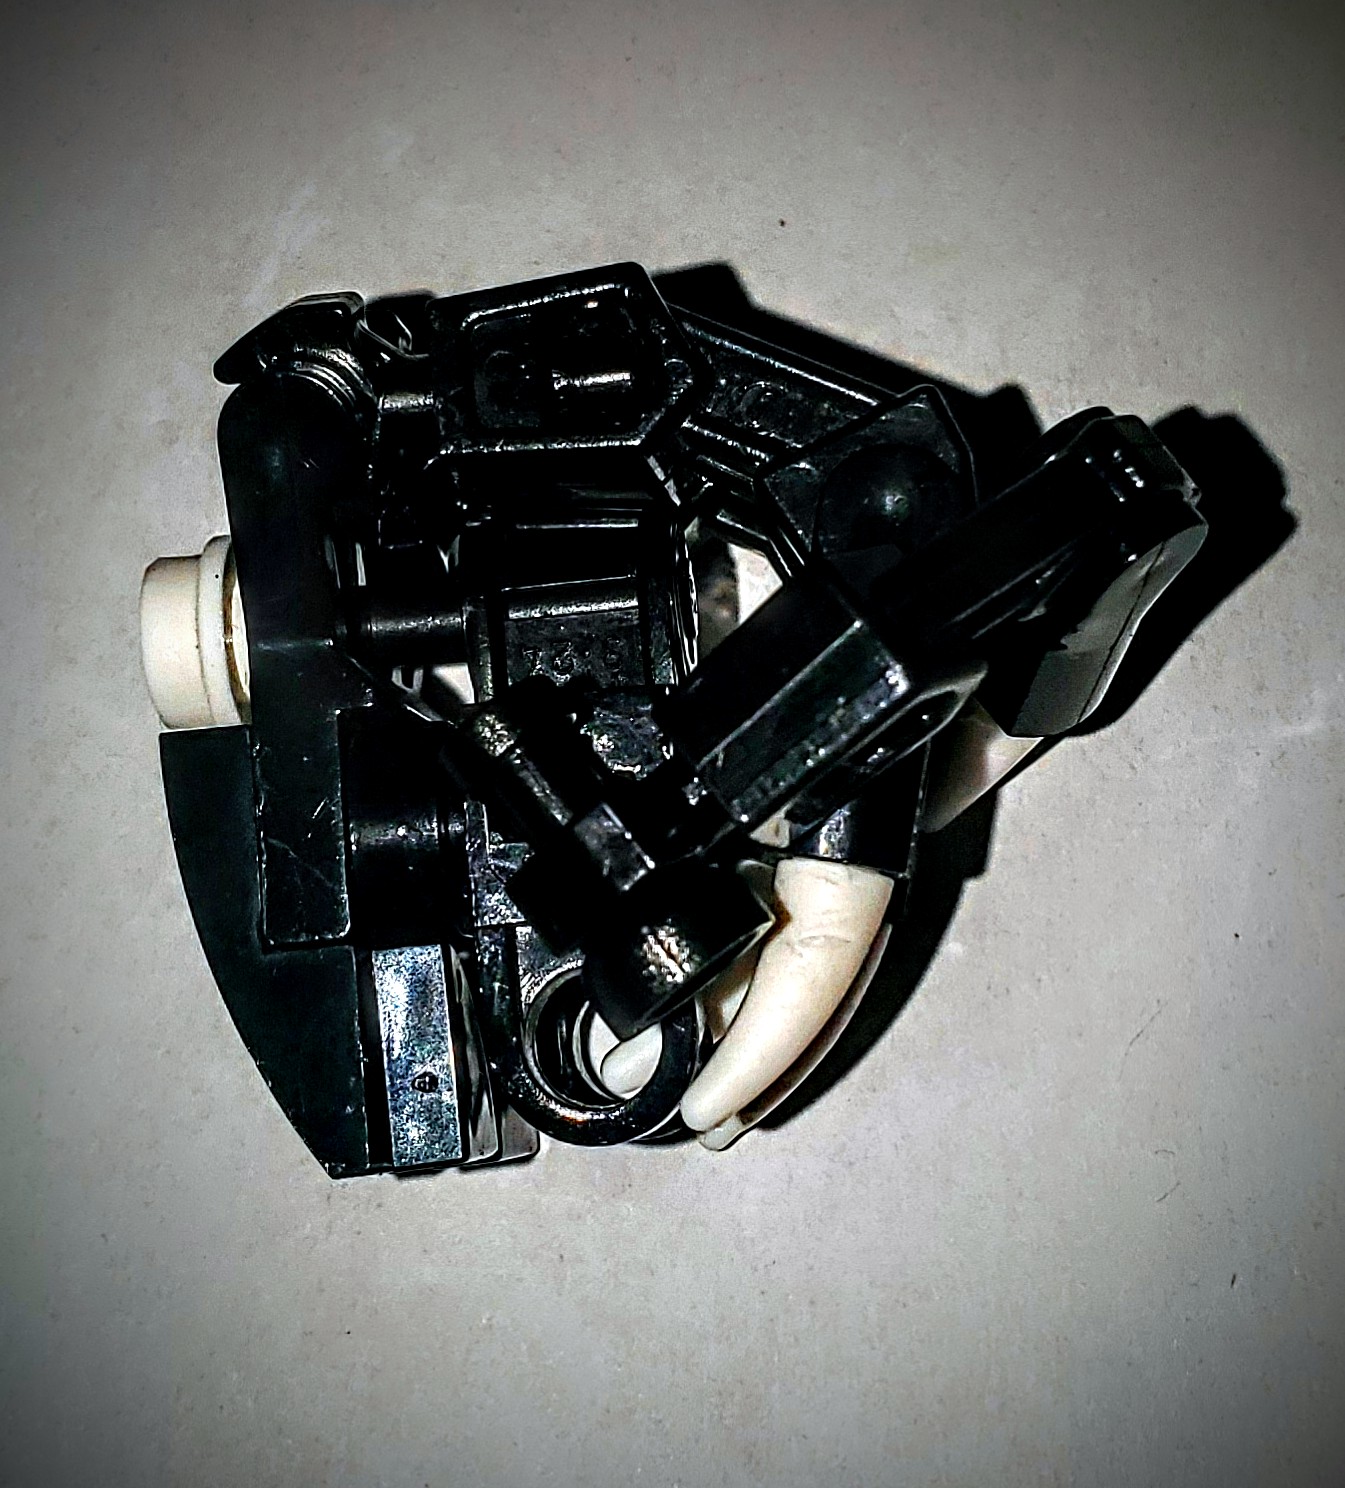
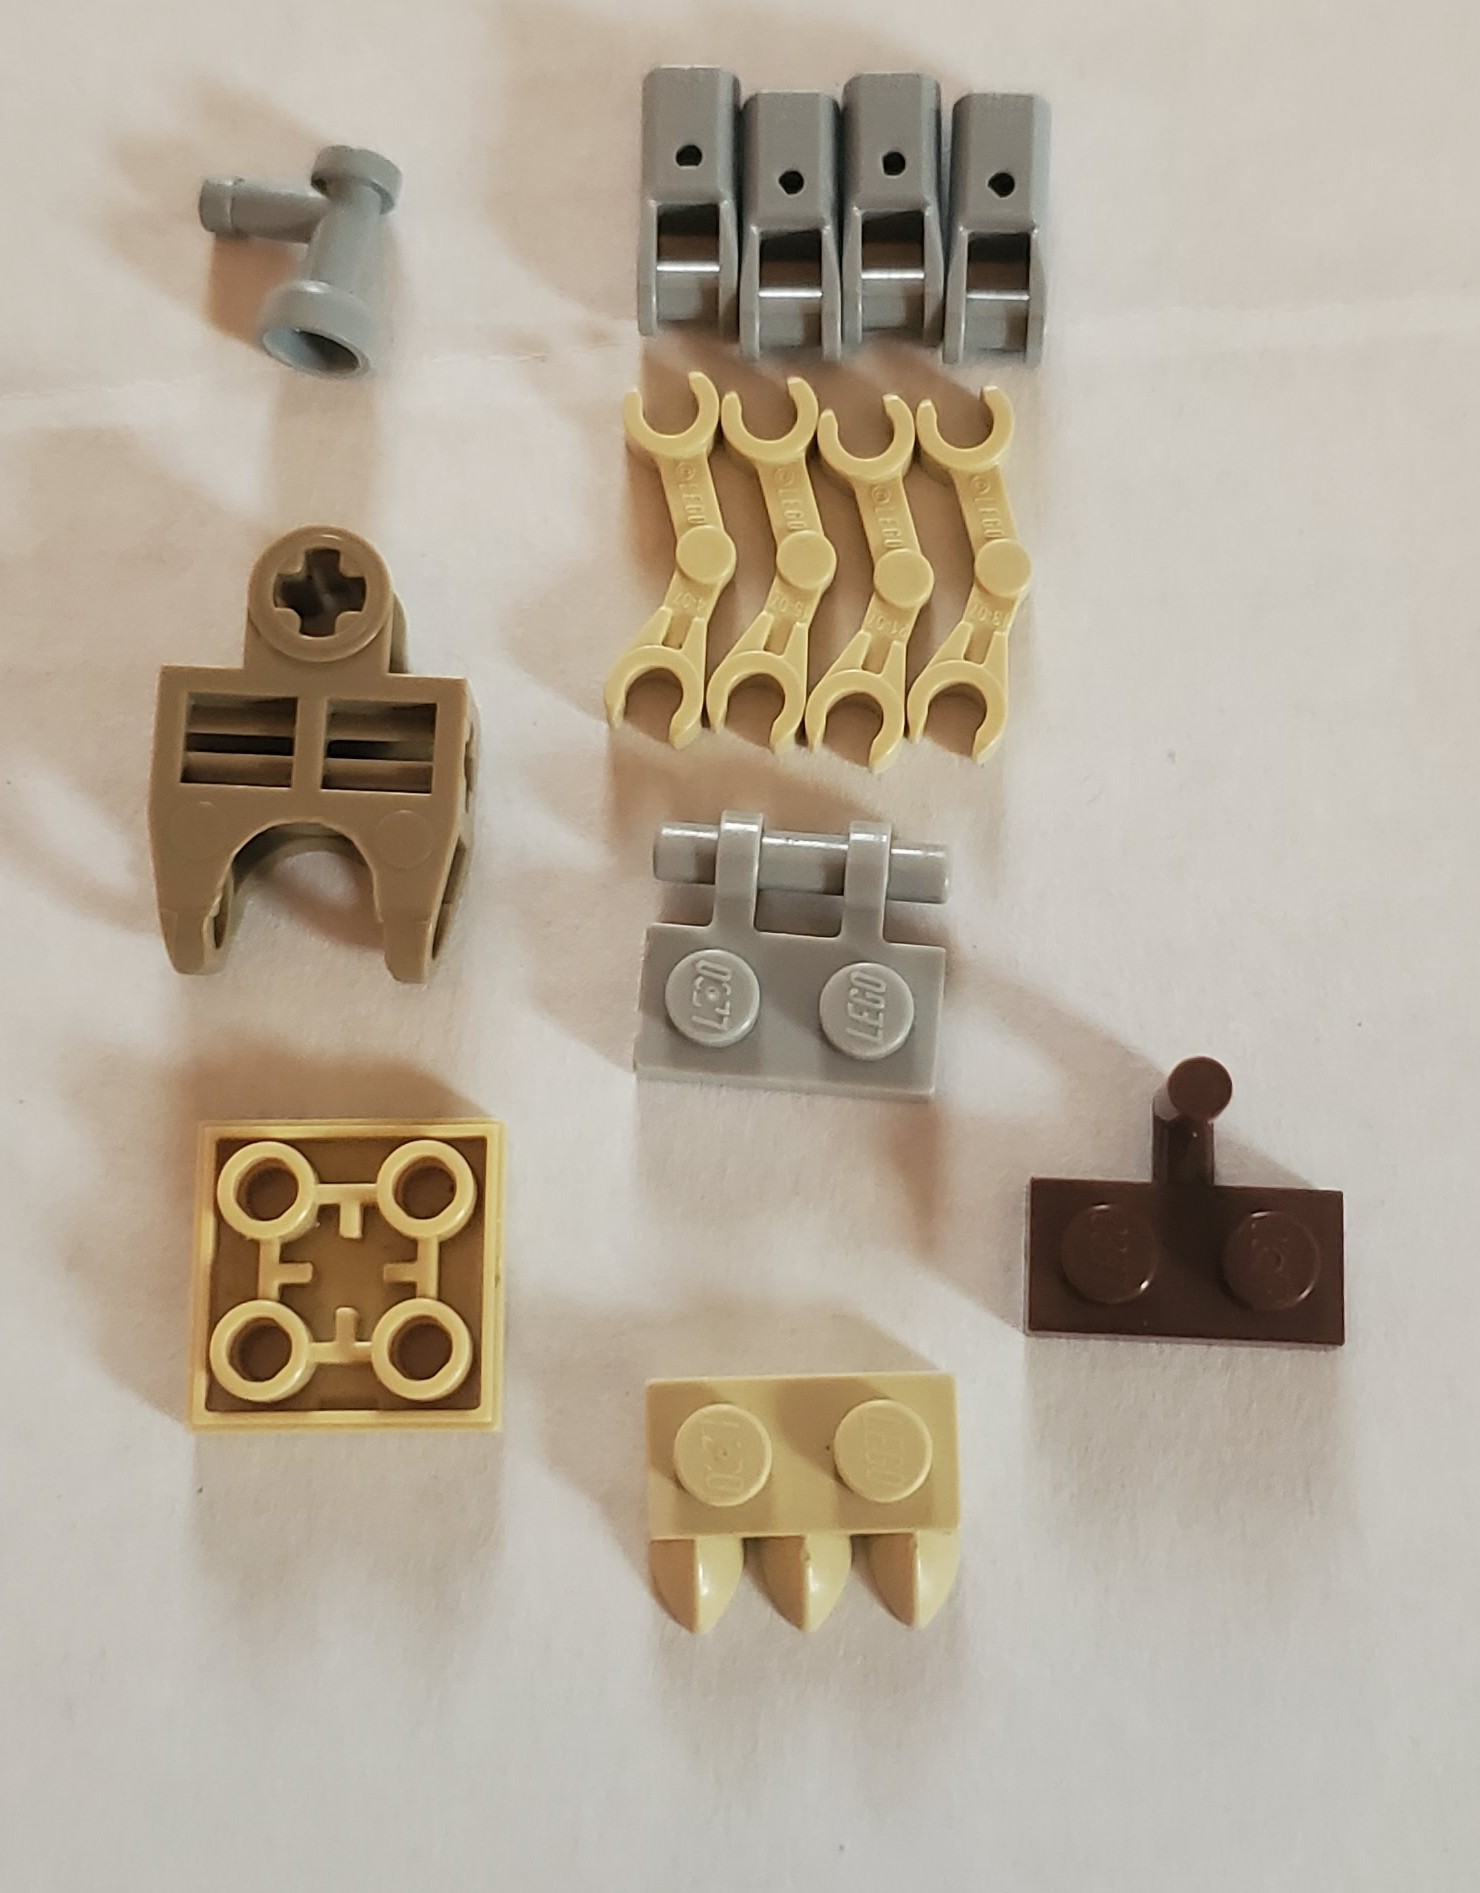


off of the hand topic. I need to upgrade my girlfriend’s self moc and the upper legs are what I’m having the most trouble with. Note: Her self moc is a Titan size MOC. I am taking suggestions.
5 Likes
Neat designs. I might make use of them. Thank you m8.
2 Likes
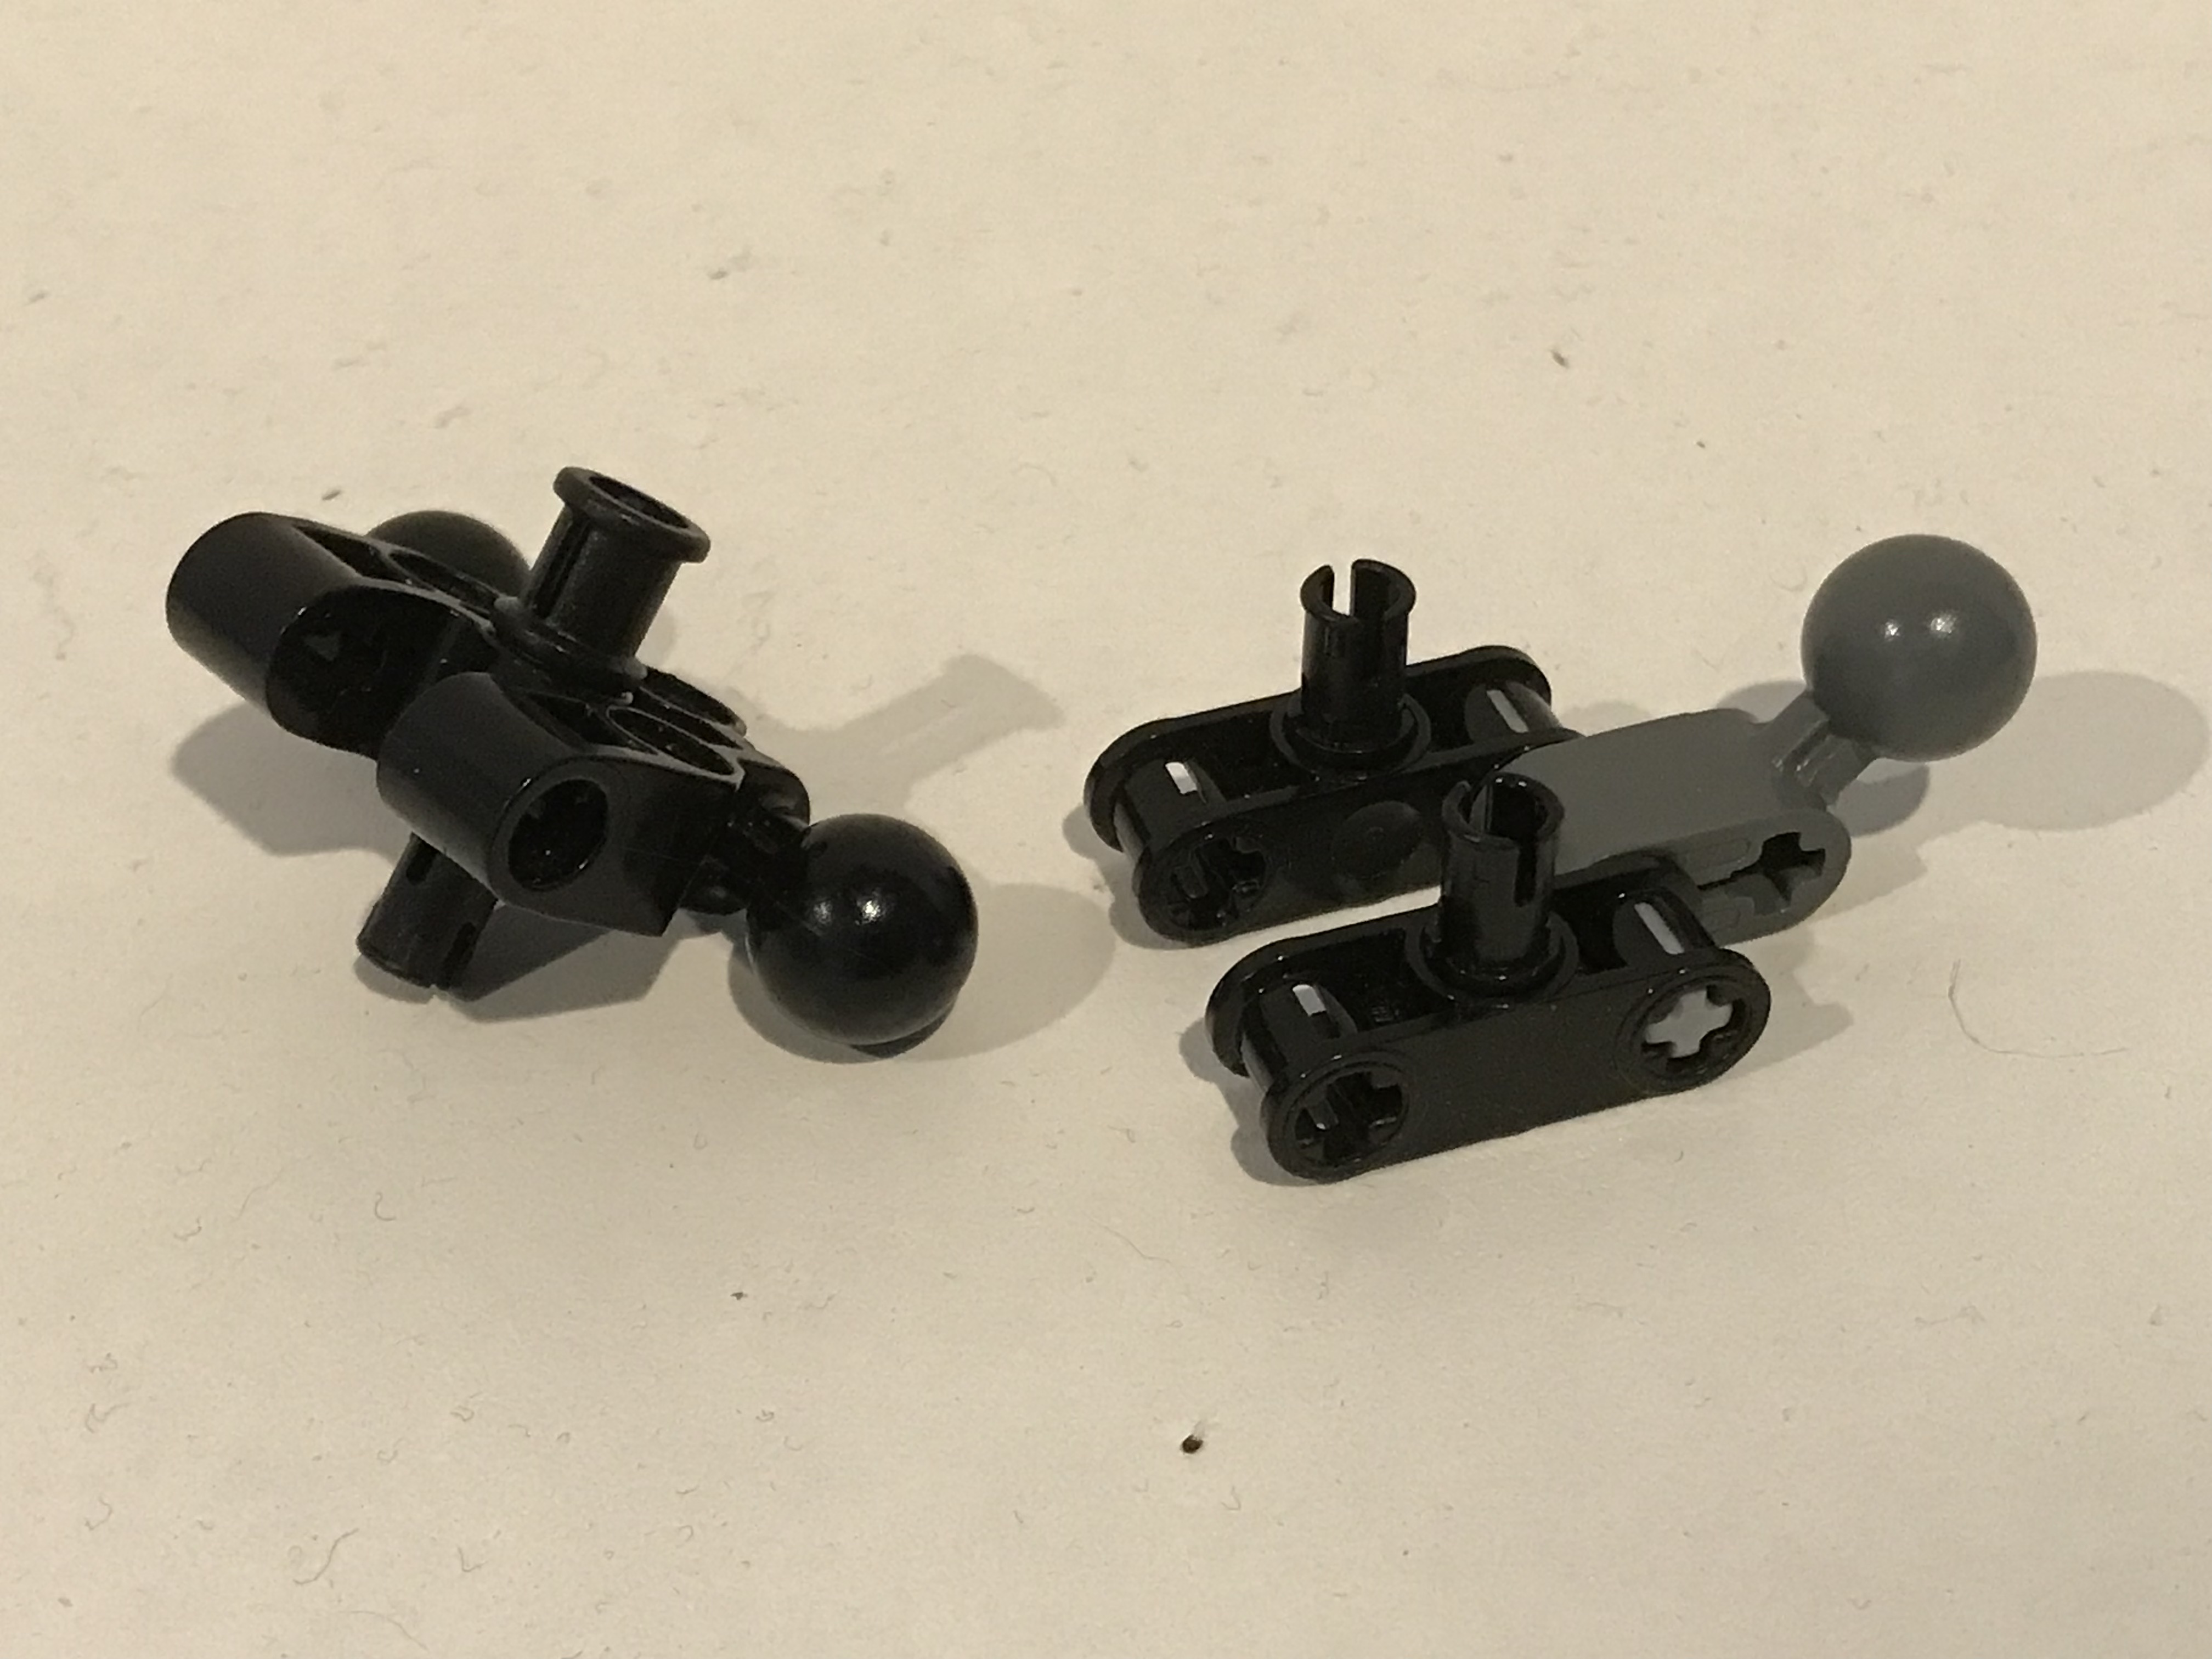
This is a custom torso design I made myself. It uses some pretty common parts, and the RoboRiders head on the back can be exchanged for pretty much anything you want if you don’t have it. This torso is also a bit more feminine than most, but it can be modified to be more “gender neutral” if you want. Also, some subassemblies have been left together to have fewer images.
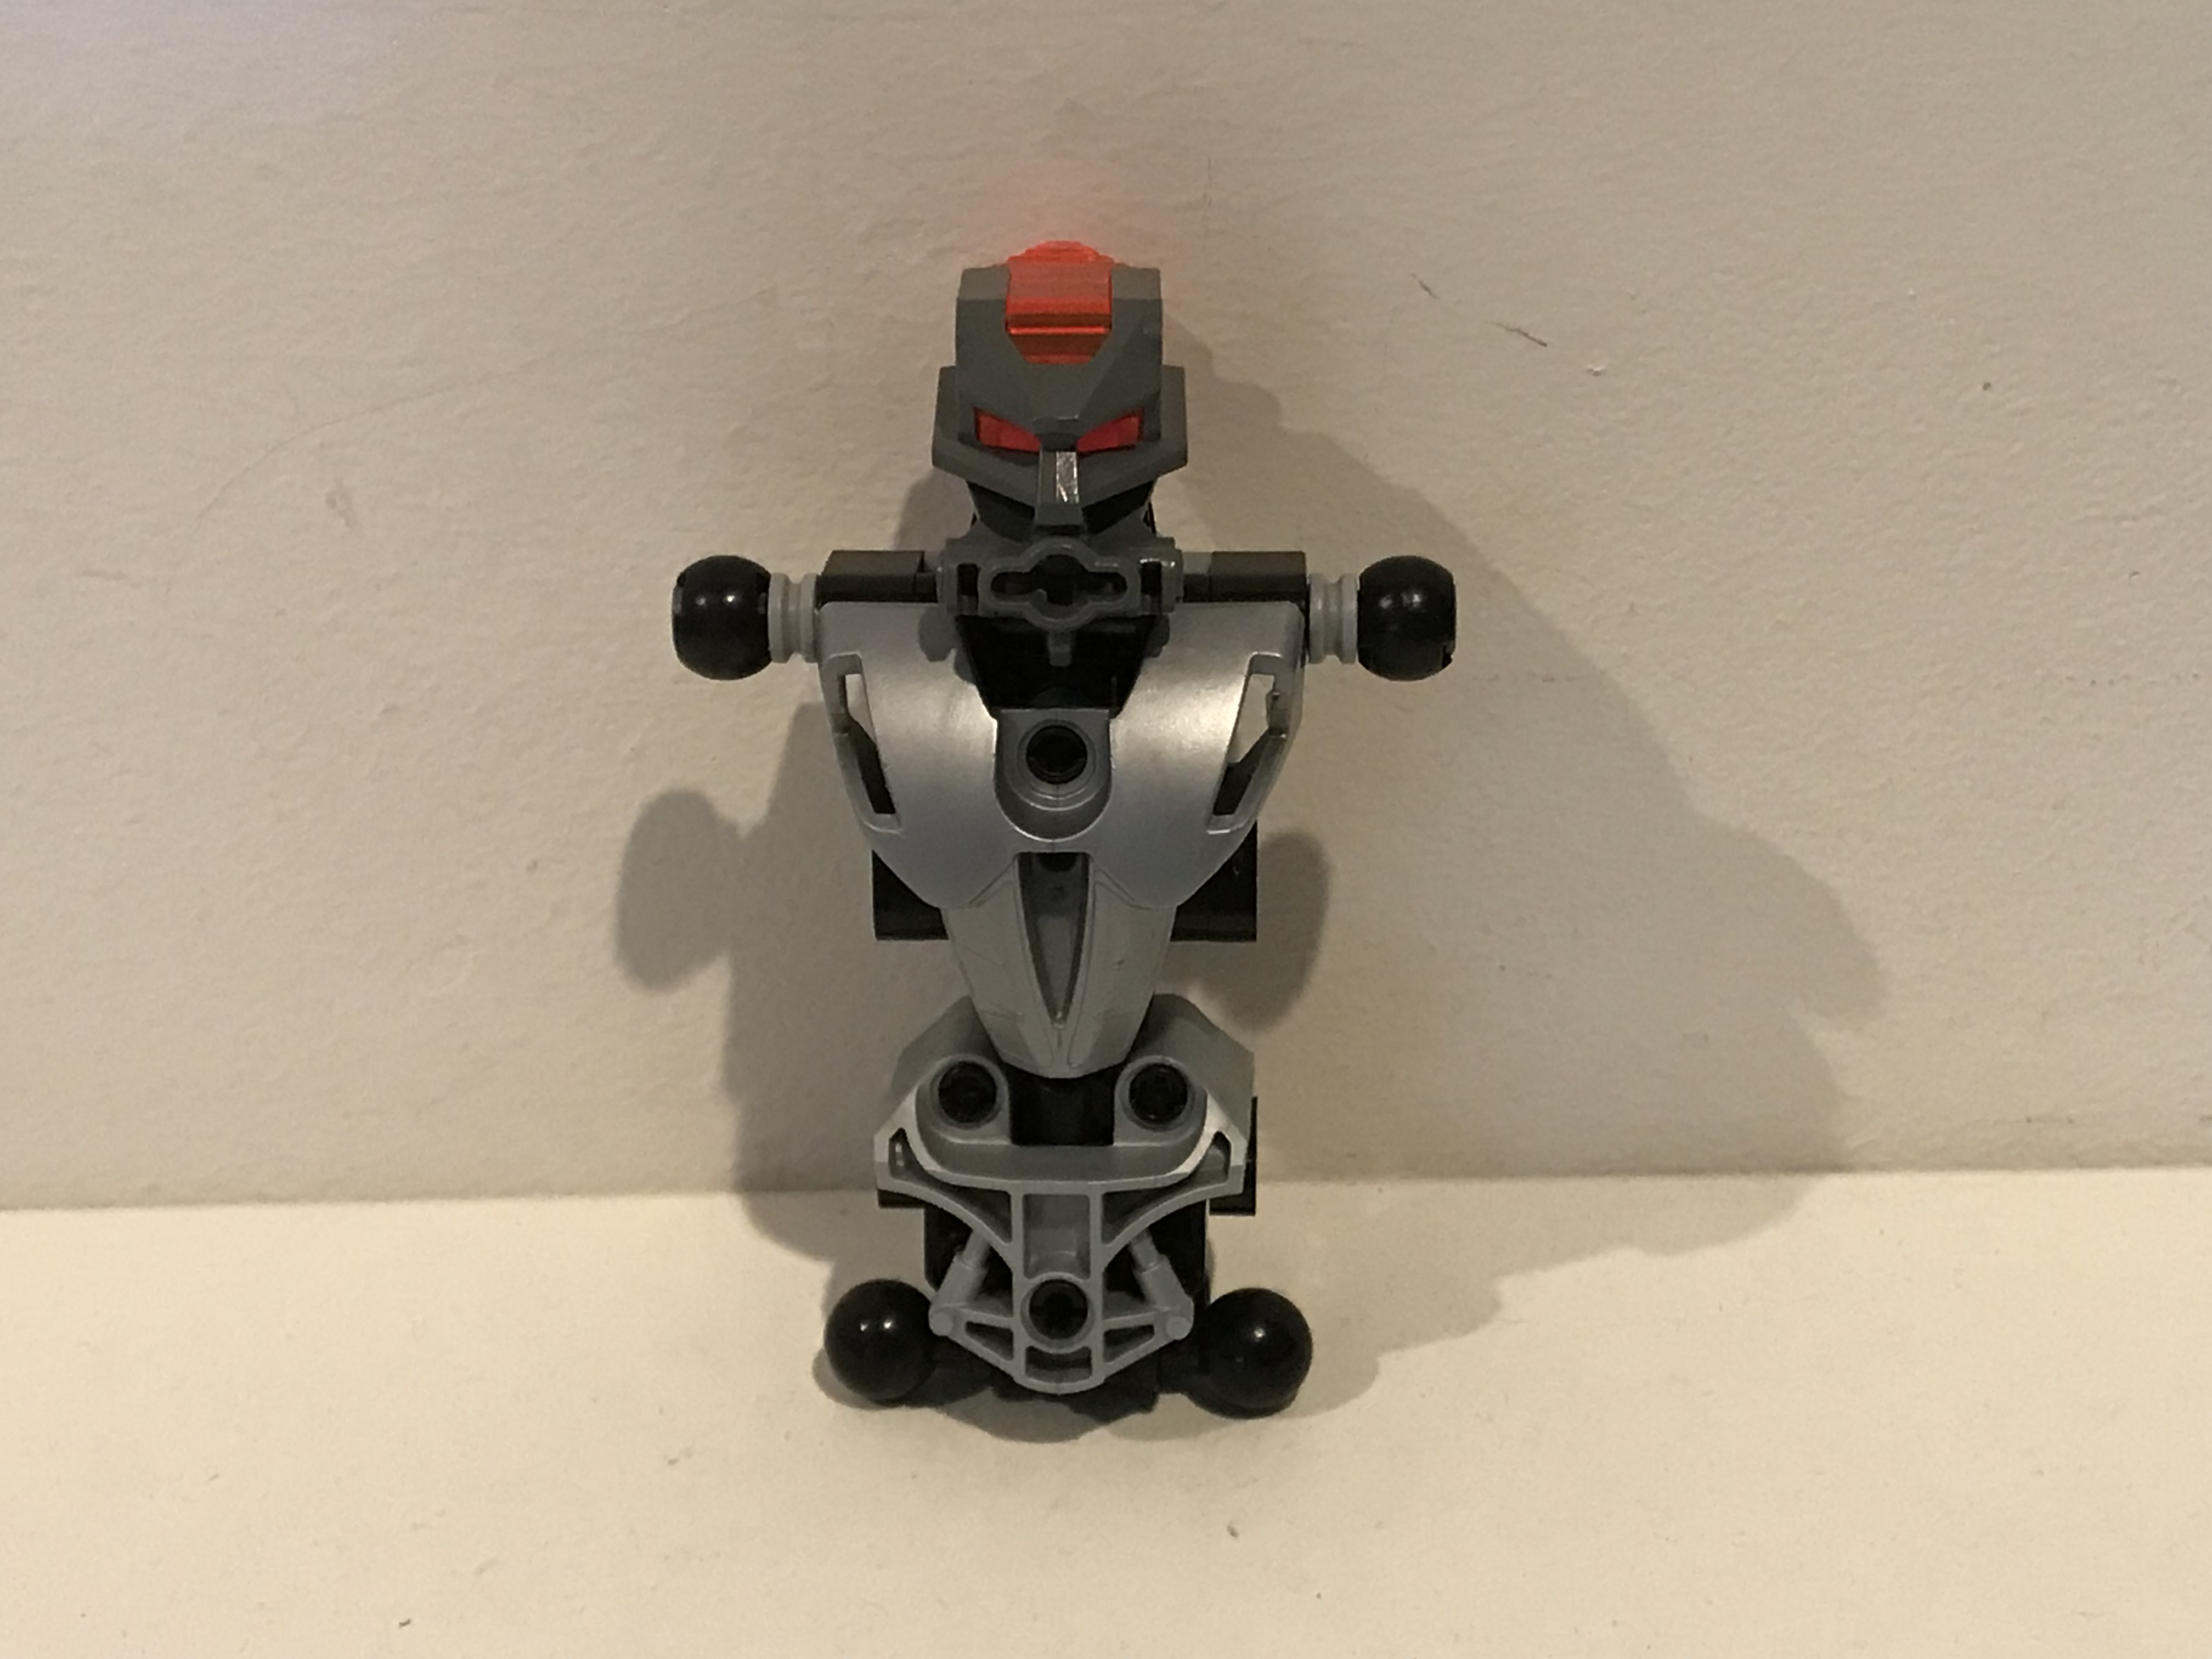
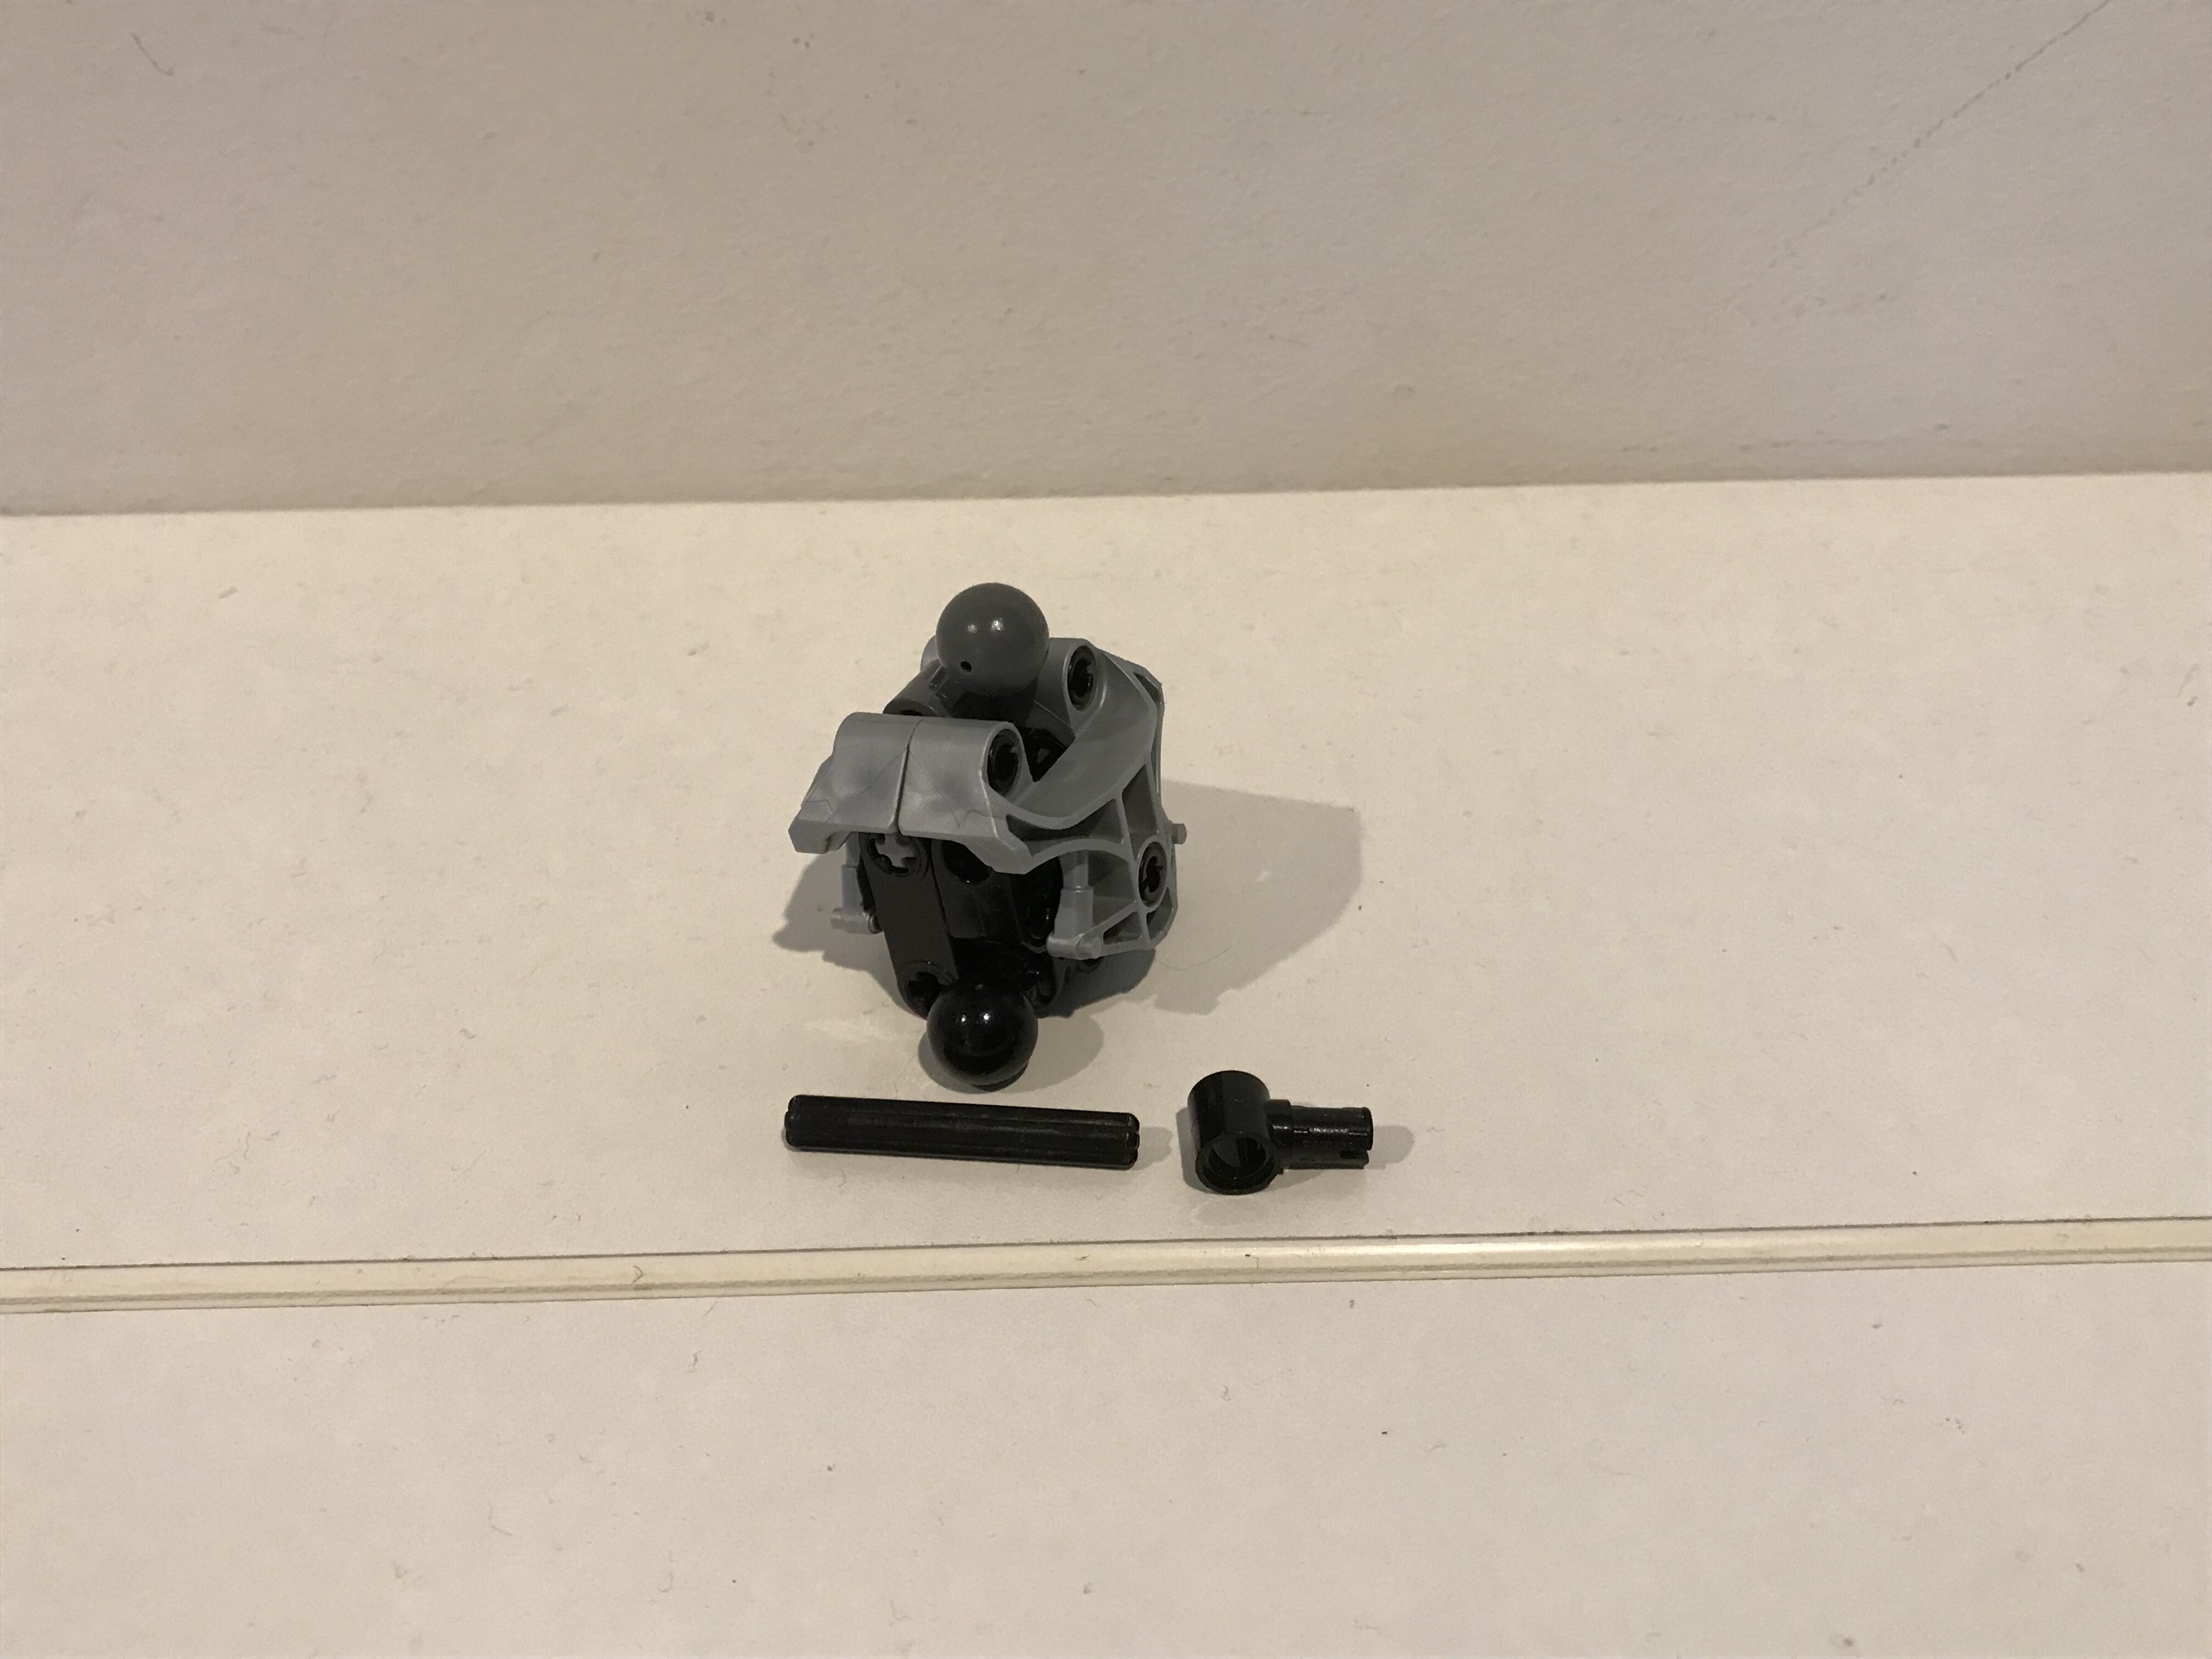
This isn’t necessary, but it cuts down on the dark grey you can see from the front.


(flag’s there for support)

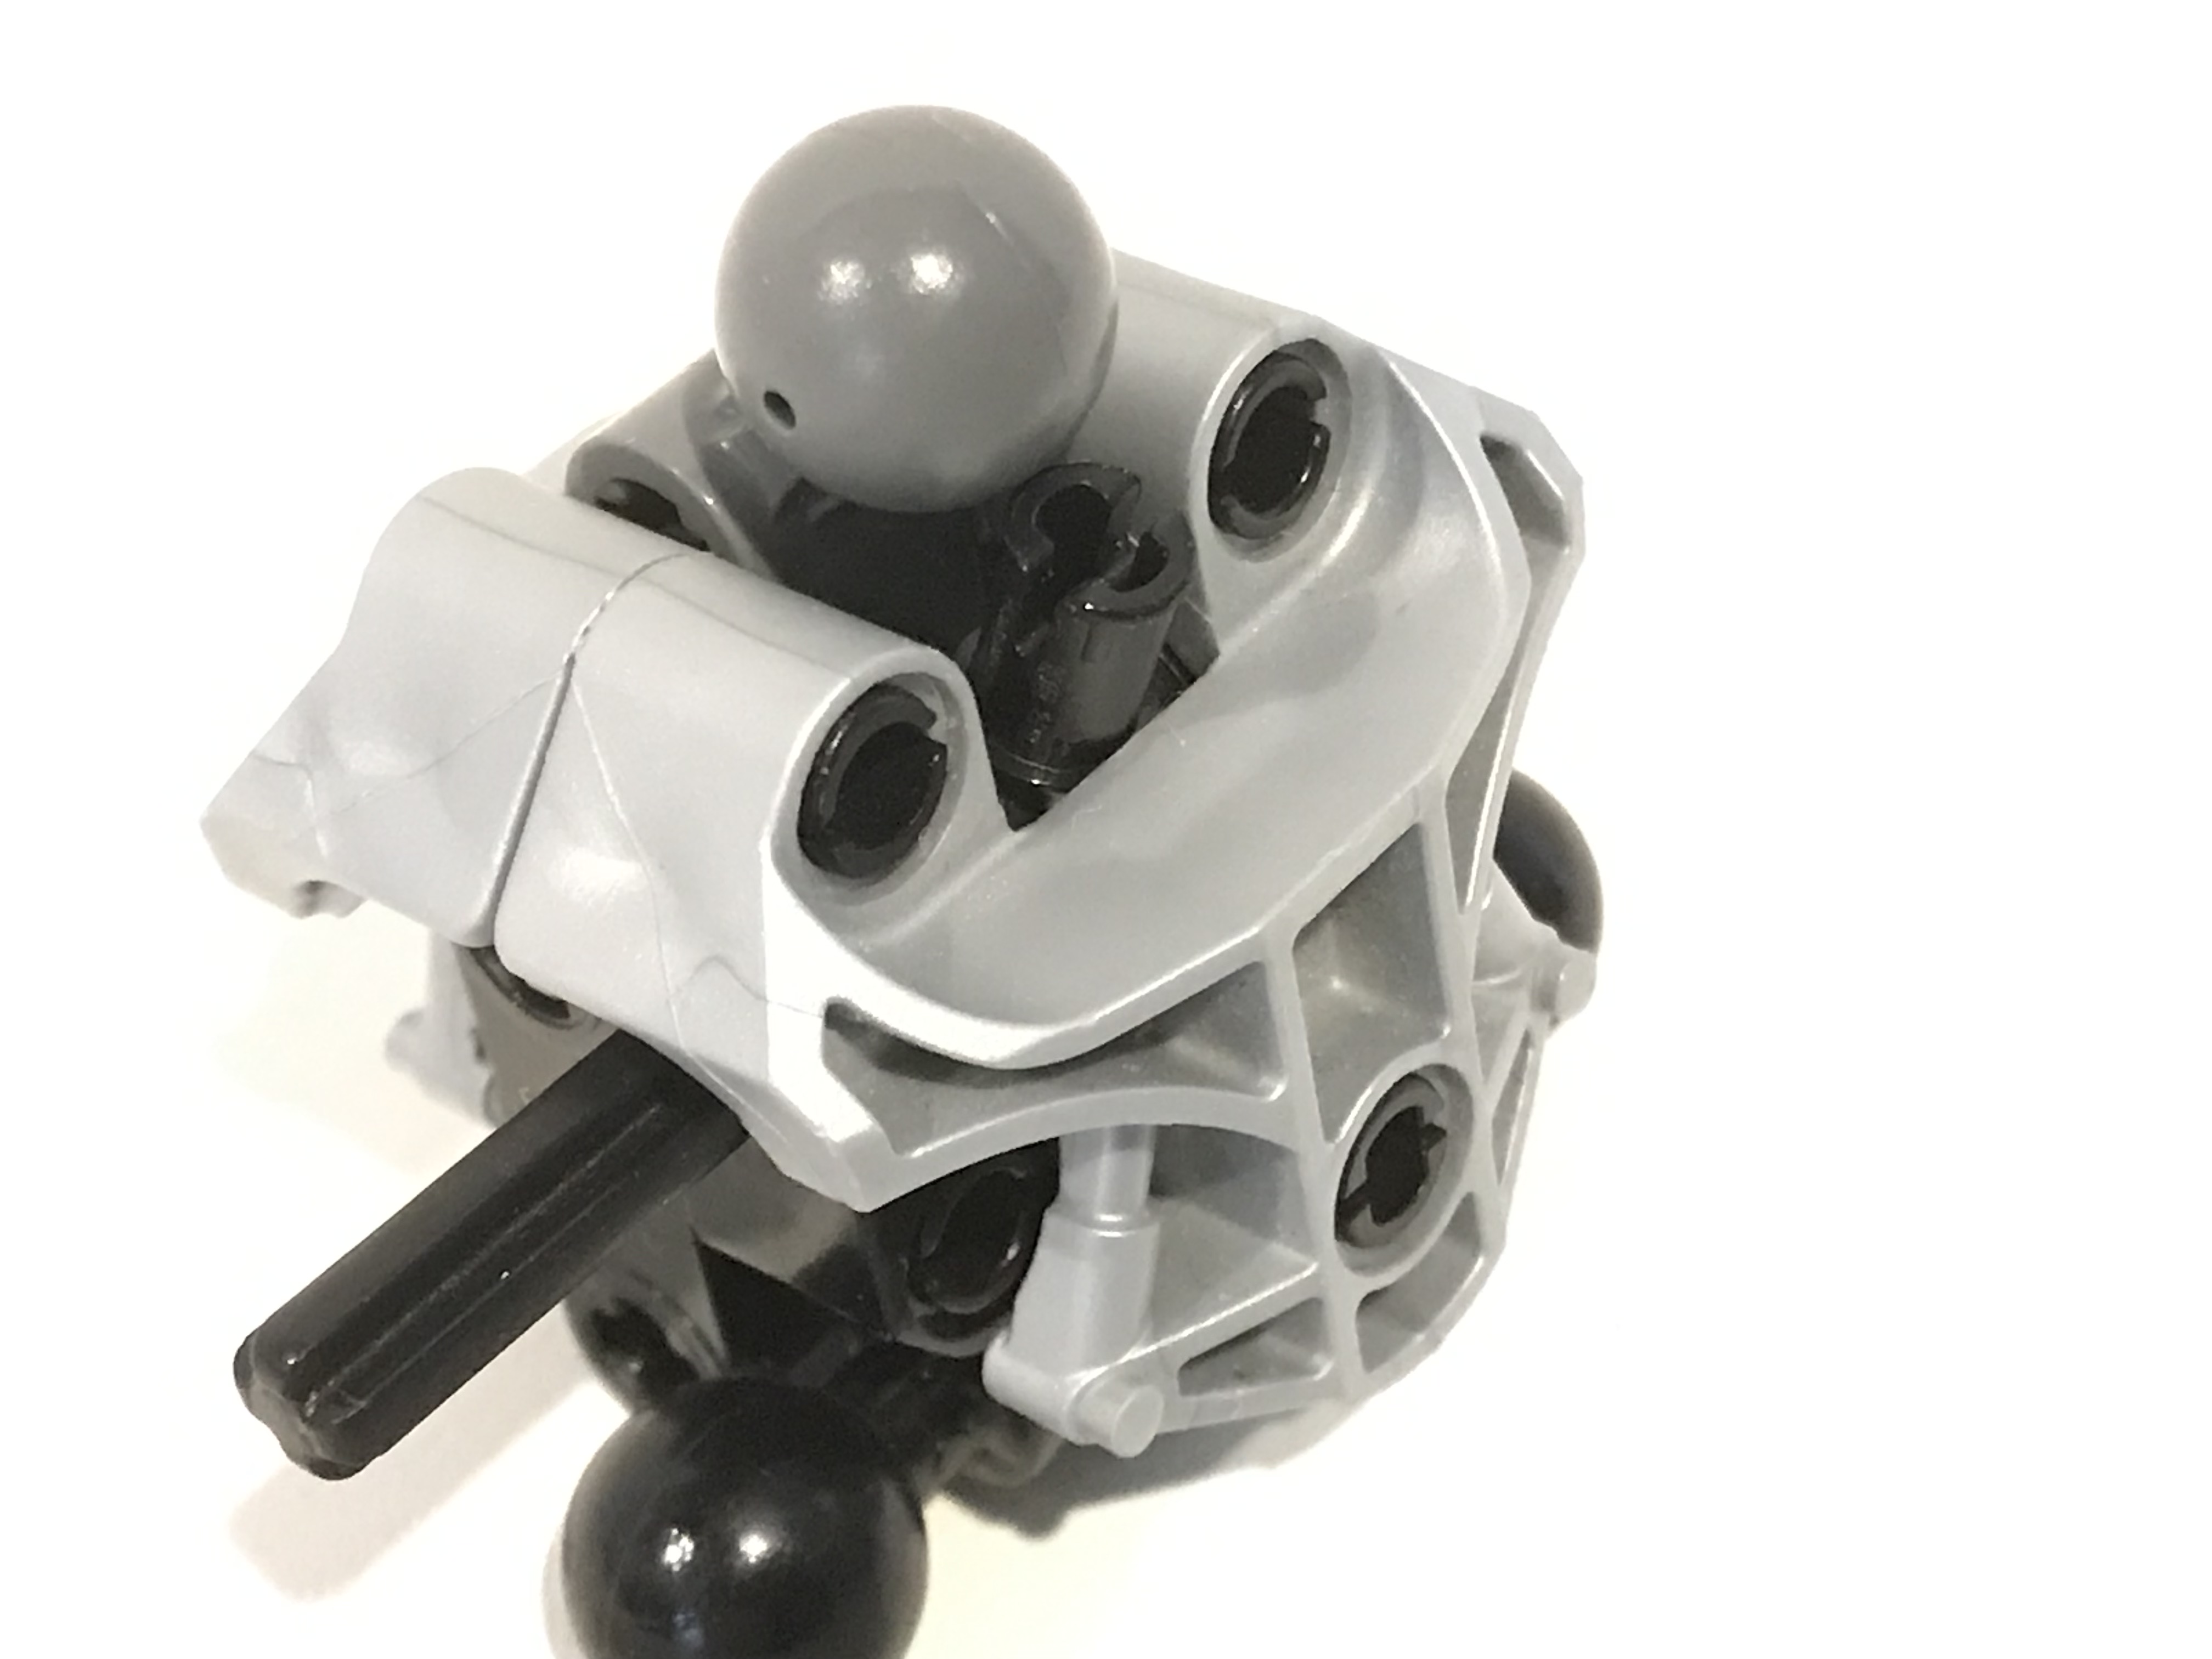
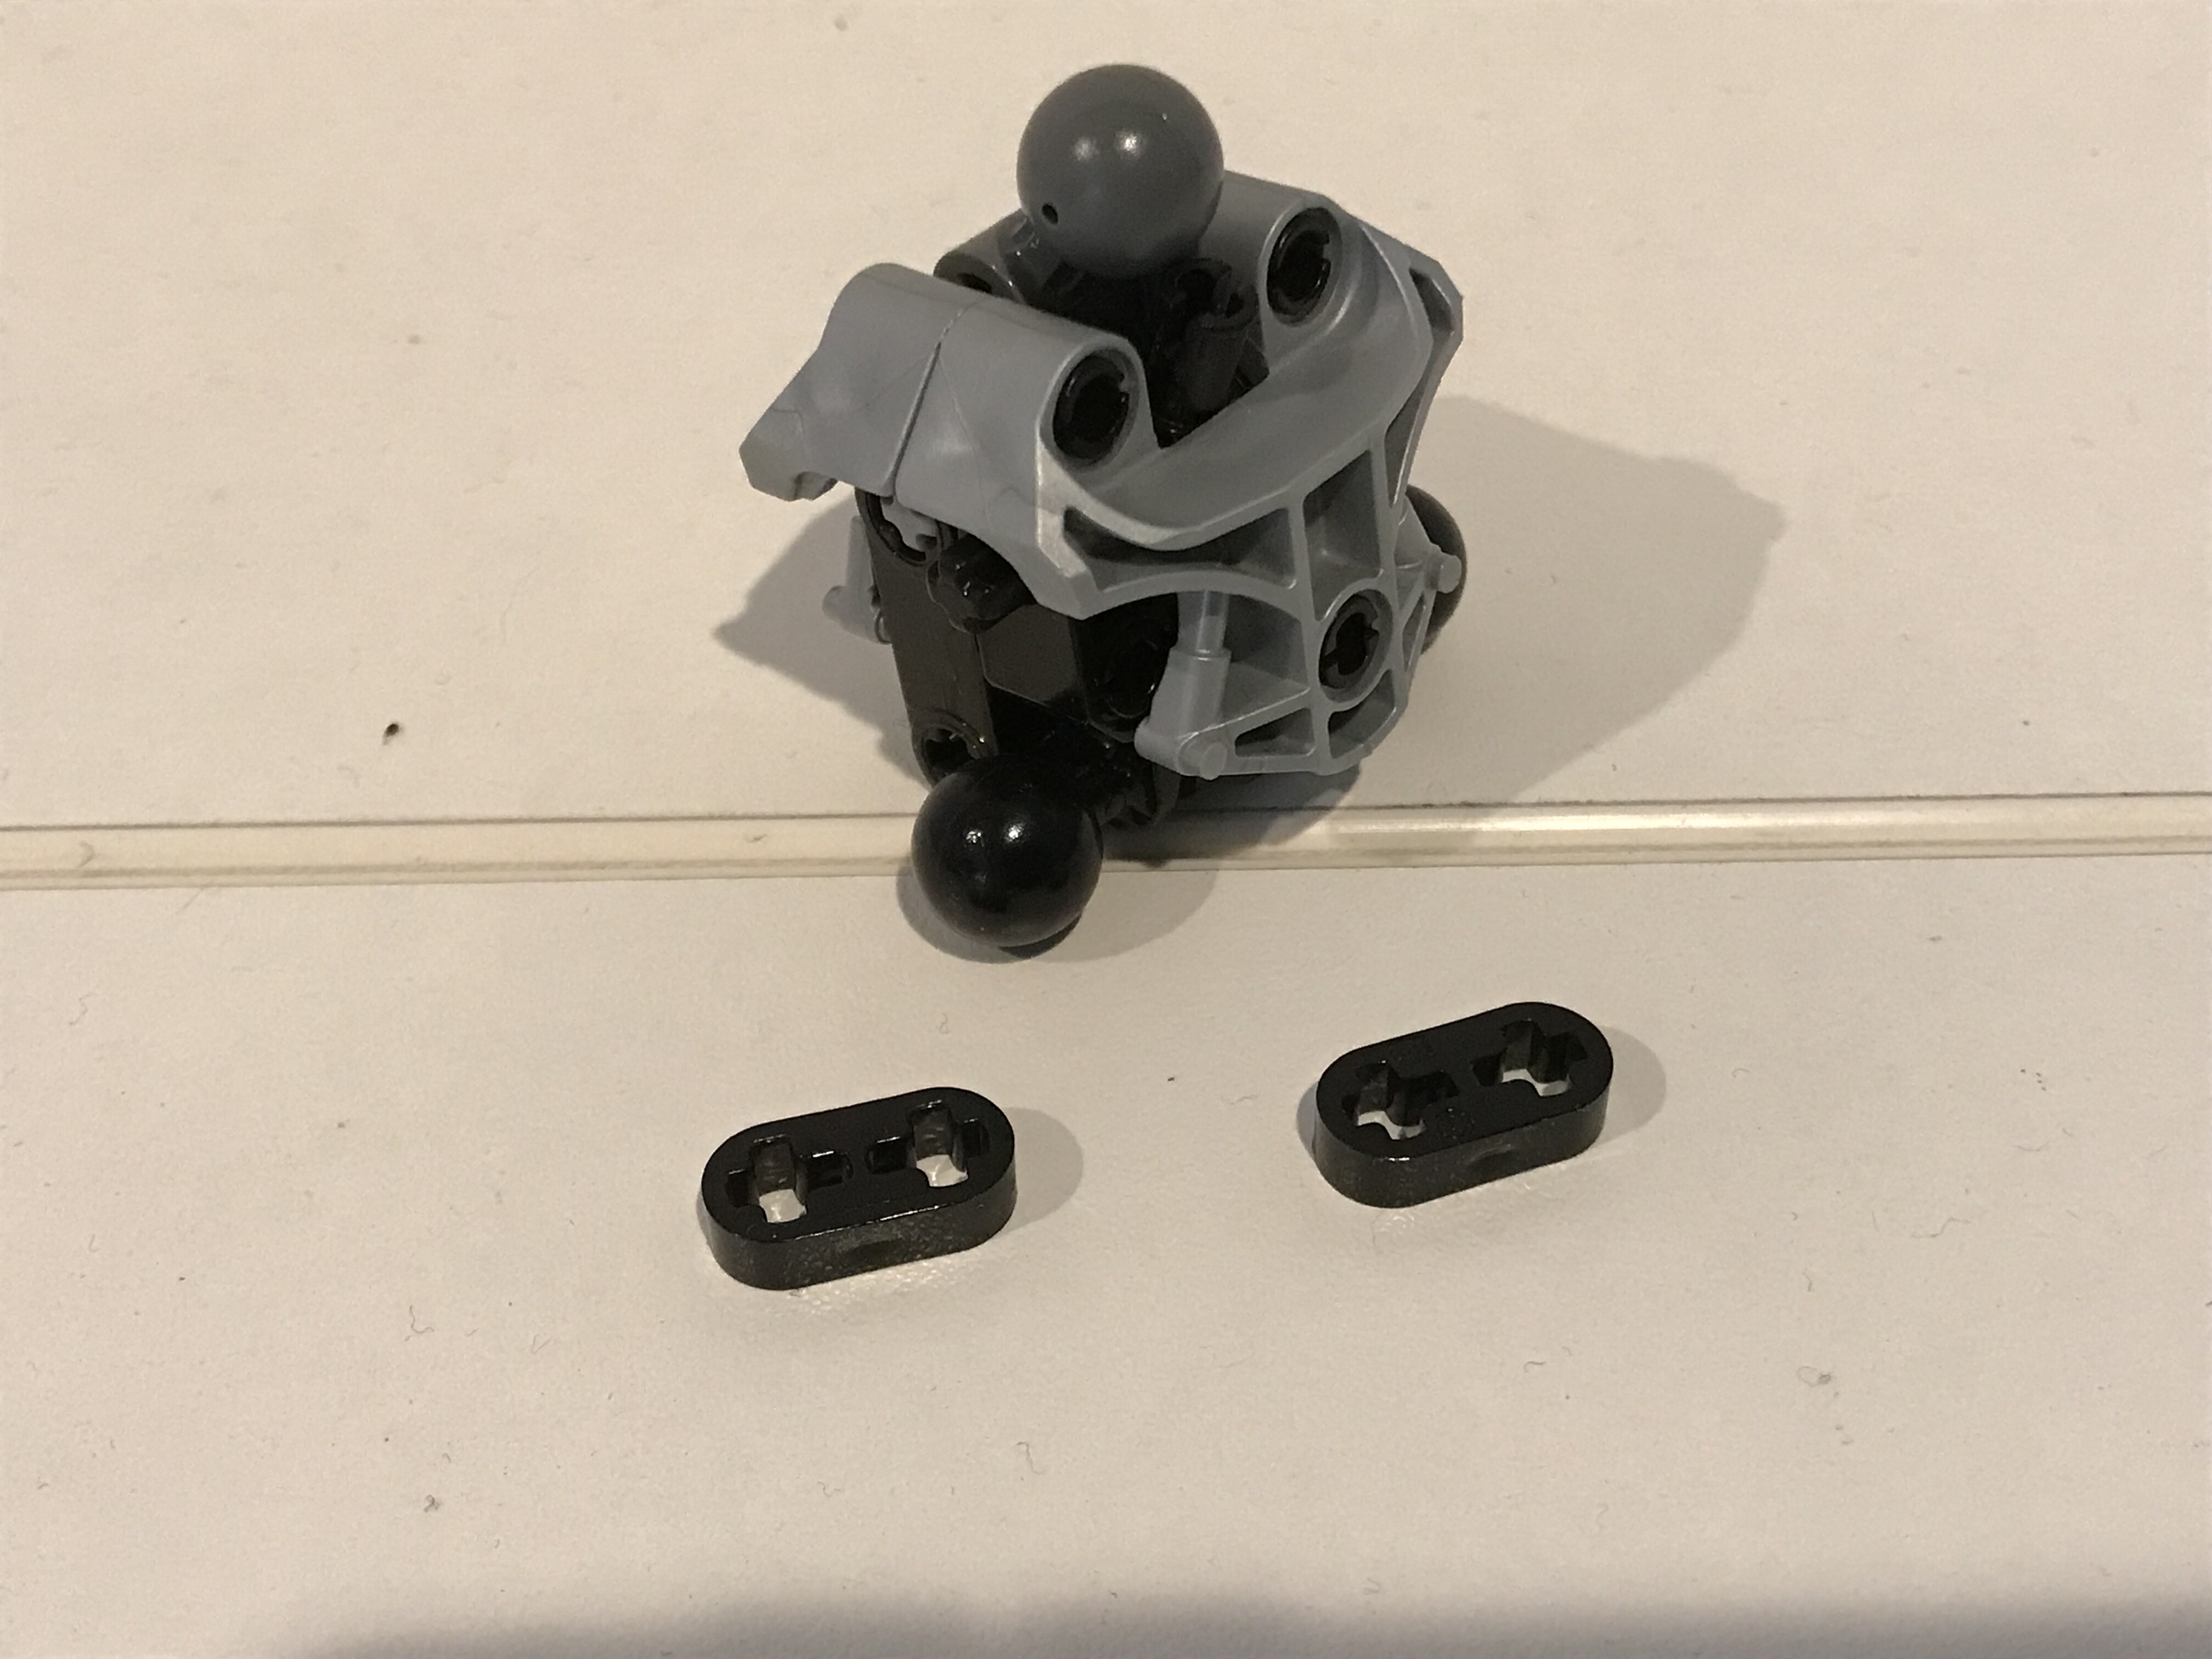
Cross block will sit on the axle that pokes through the upper socket joint, and the RoboRider head will slide on top of the cross block.

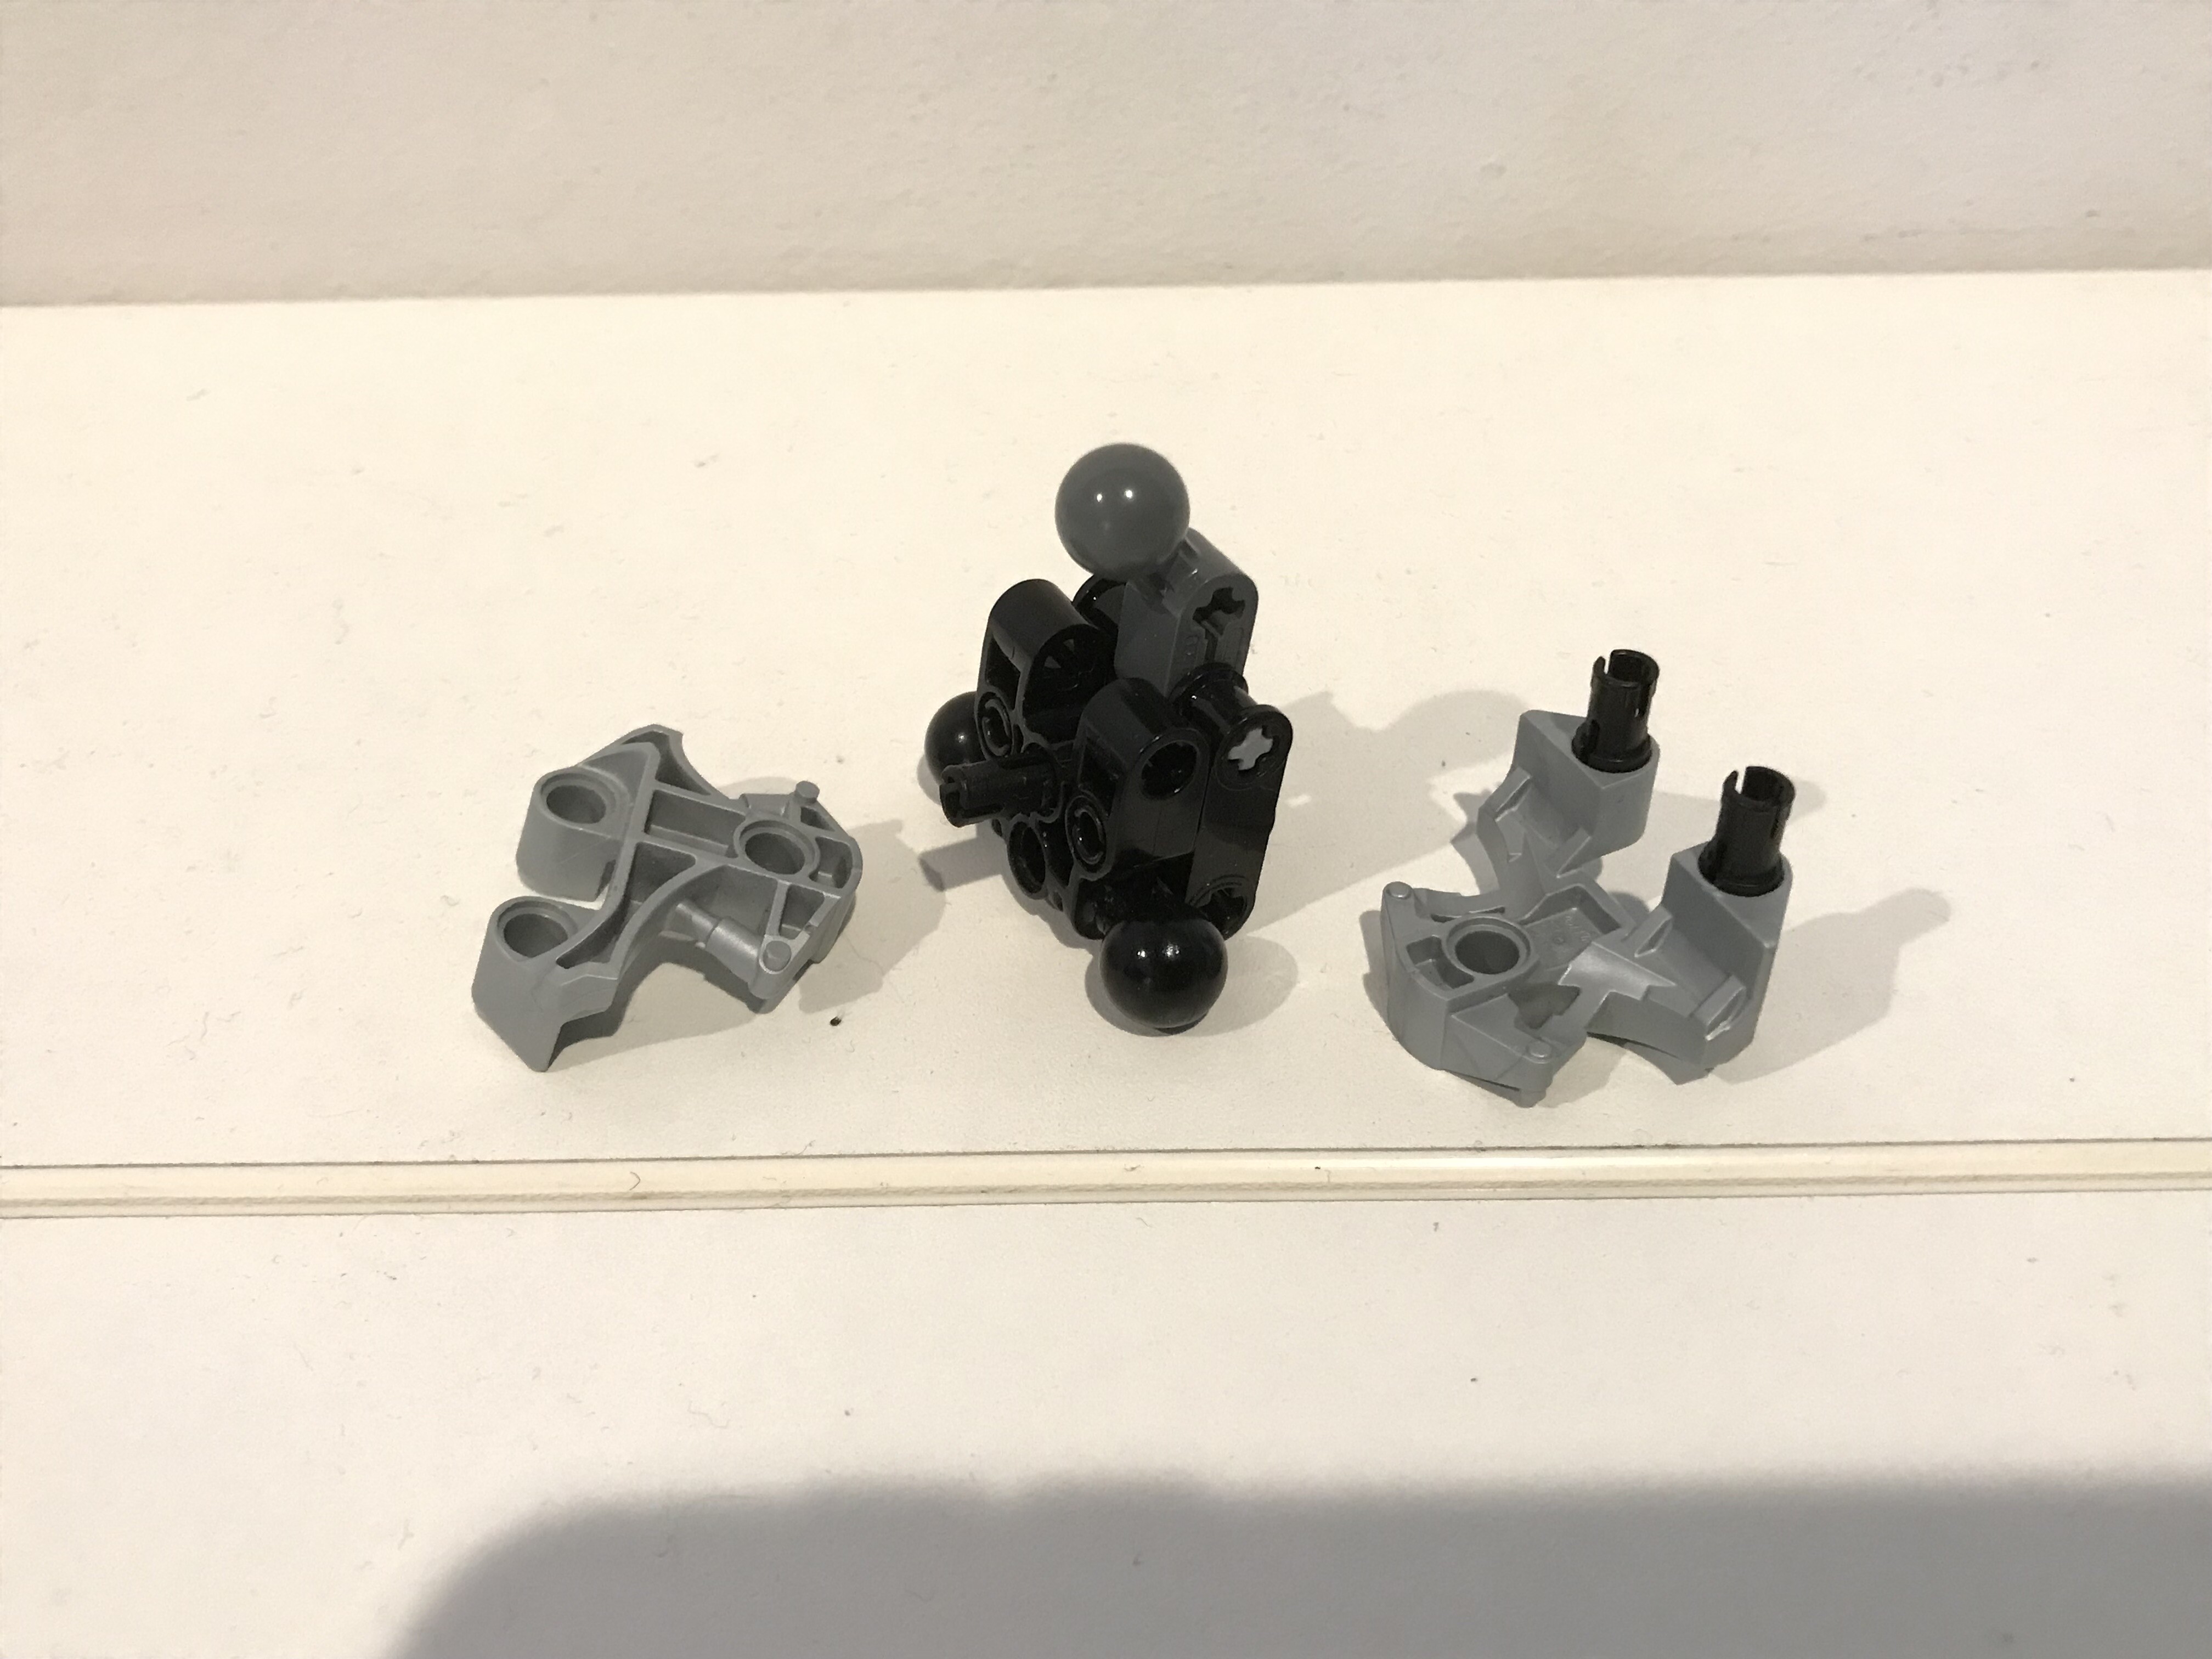
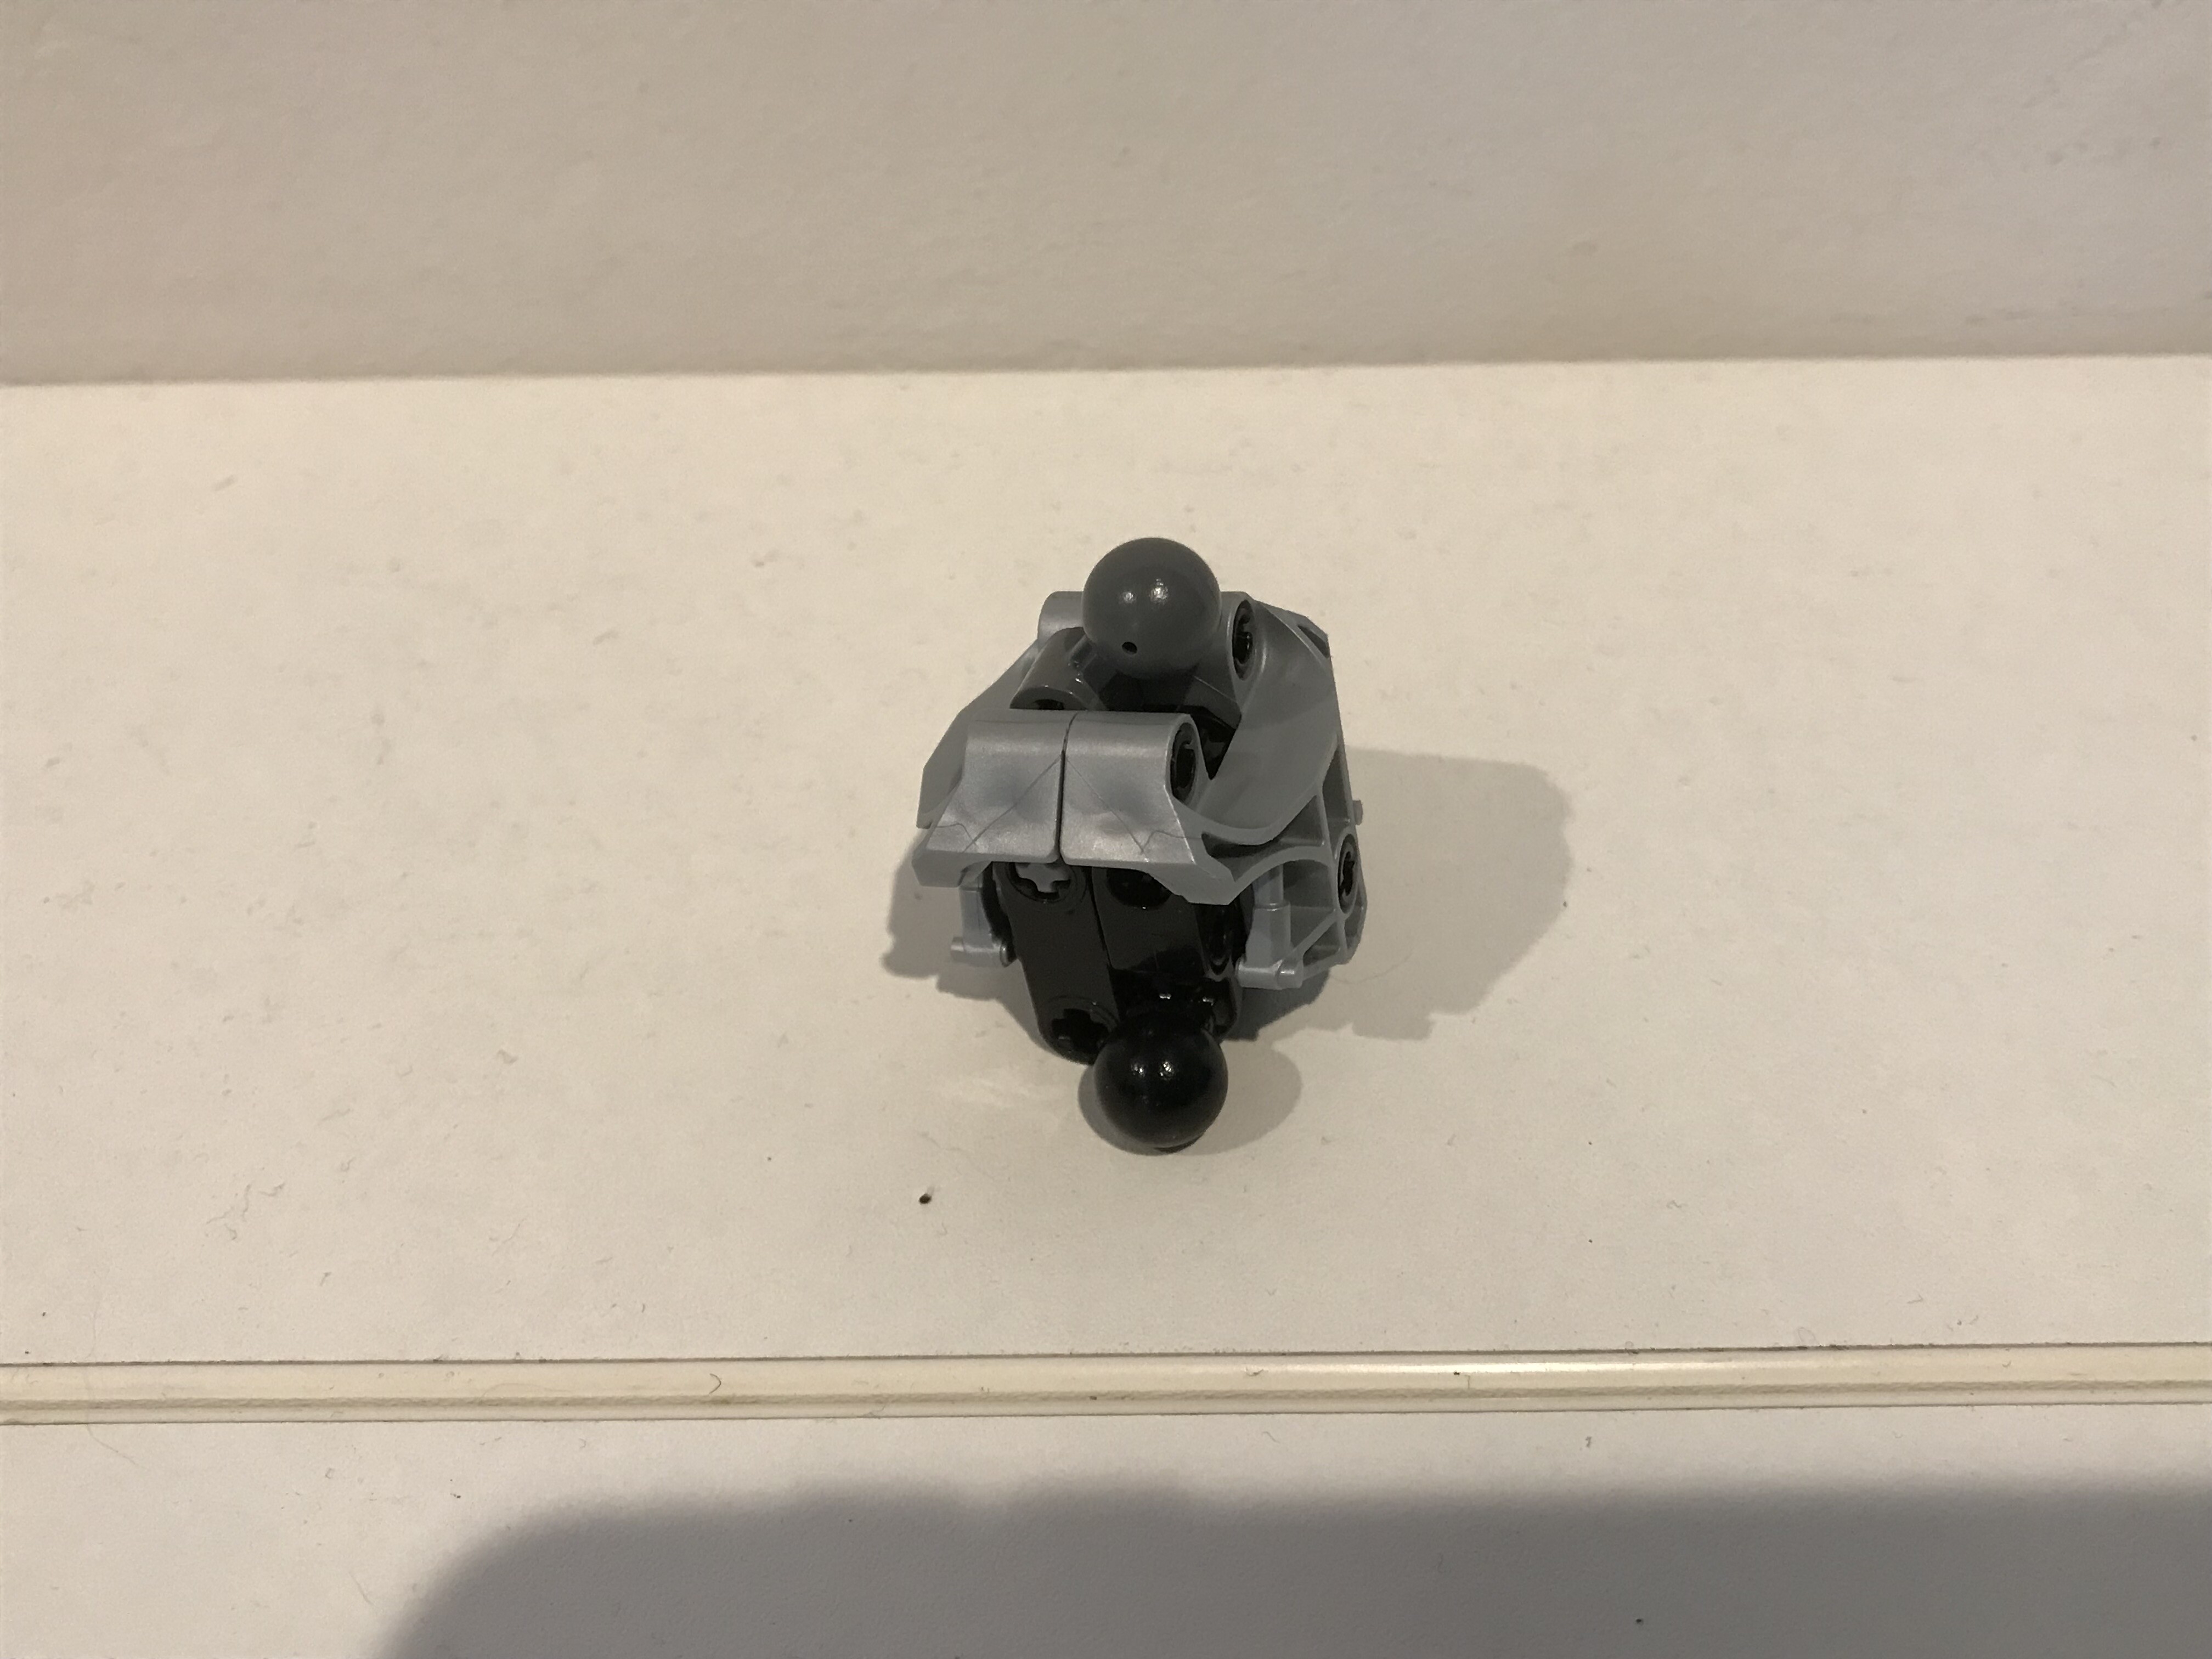
This is the correct way to orient the hips.
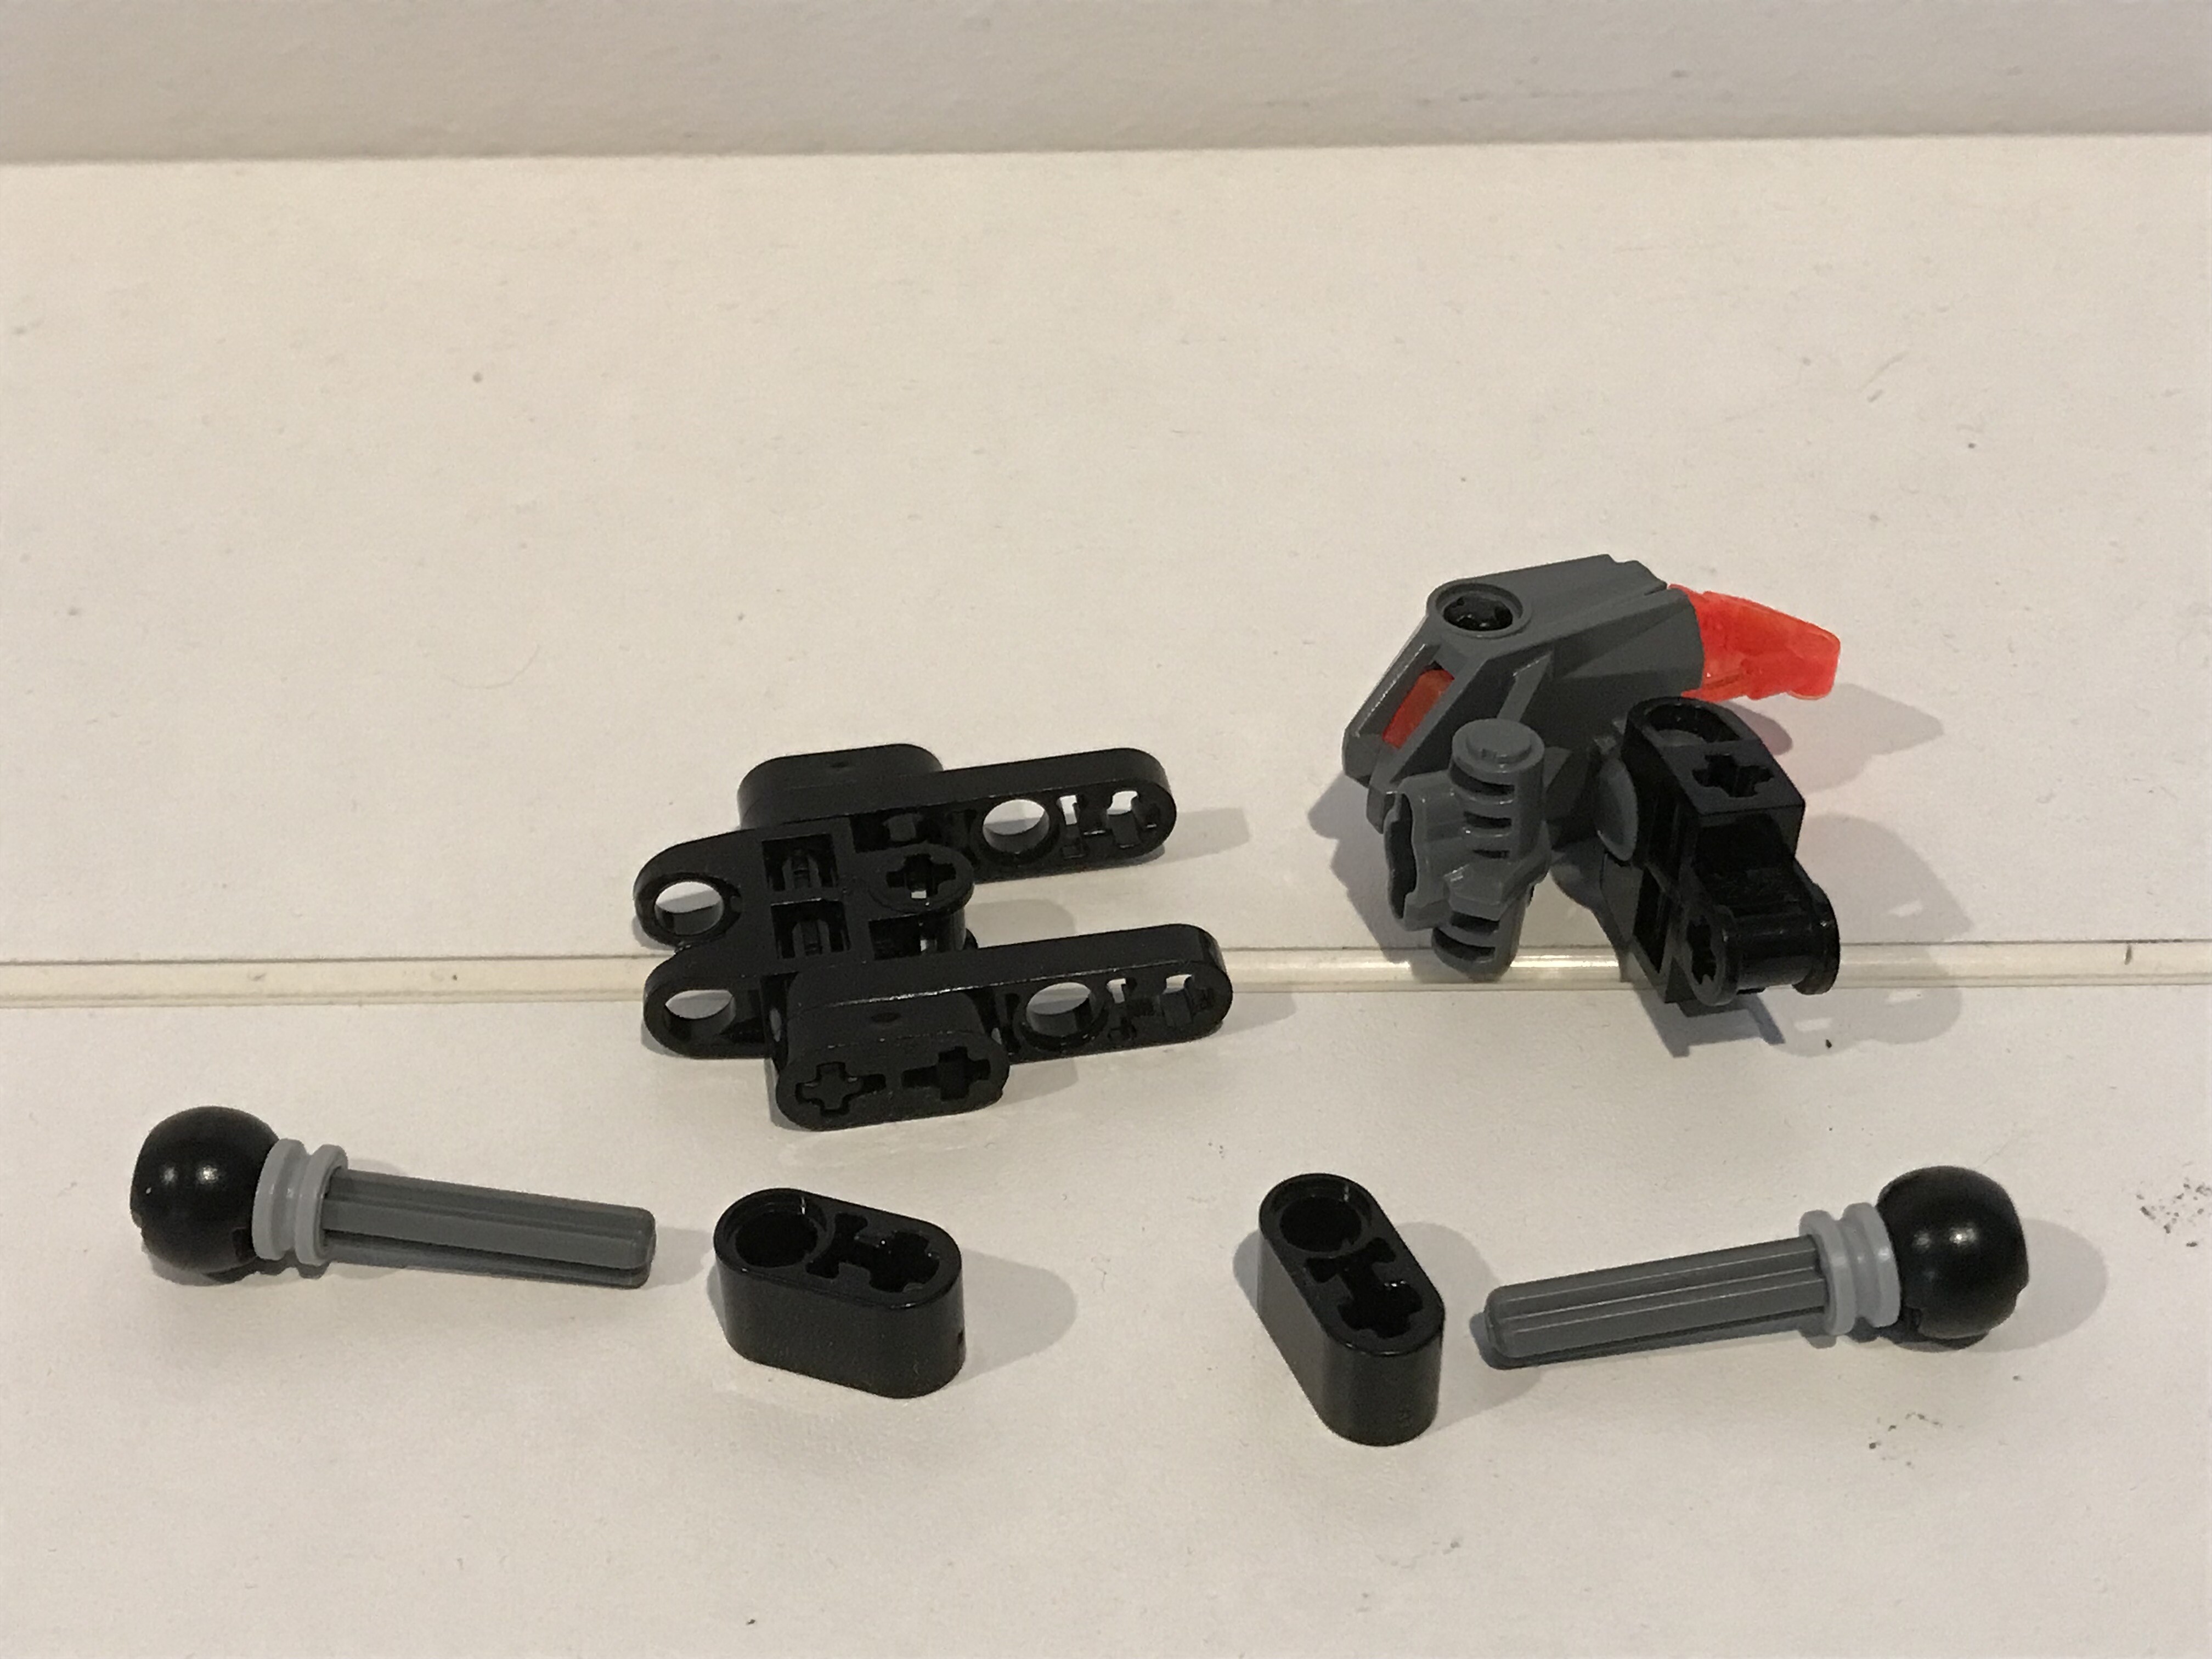
If you have any questions about it, I can answer them. If you end up using this torso on your MOCs, it would be great if you could give me credit, but you don’t really have to because it is kind of a simple design.
(And sorry if something’s wrong, this is my first post with images)
@The_Eagle_Kid the body instead of the top), whereas removing the dark red furry looking pieces from the shoulders and changing the head would make it look more robotic or more like a Toa. I do think this thing has a lot of potential, though, so don’t scrap it!
EDITED FOR YEAR LONG DOUBLE POST - Spiderus Prime
20 Likes
Not bad at all. There are some clever uses that you put into this that makes it different.
4 Likes
I already saw it on Metru or Vortixx builds
1 Like
I have found that the cape from the 75111 Darth Vader Buildable Figure fits perfectly onto the back of Umarak’s Hunter Mask, and a 2015 Toa Eyepiece.
I used this in one of my recent Mocs to create a hood and I wanted to share this discovery with you guys.  See photos below for details:
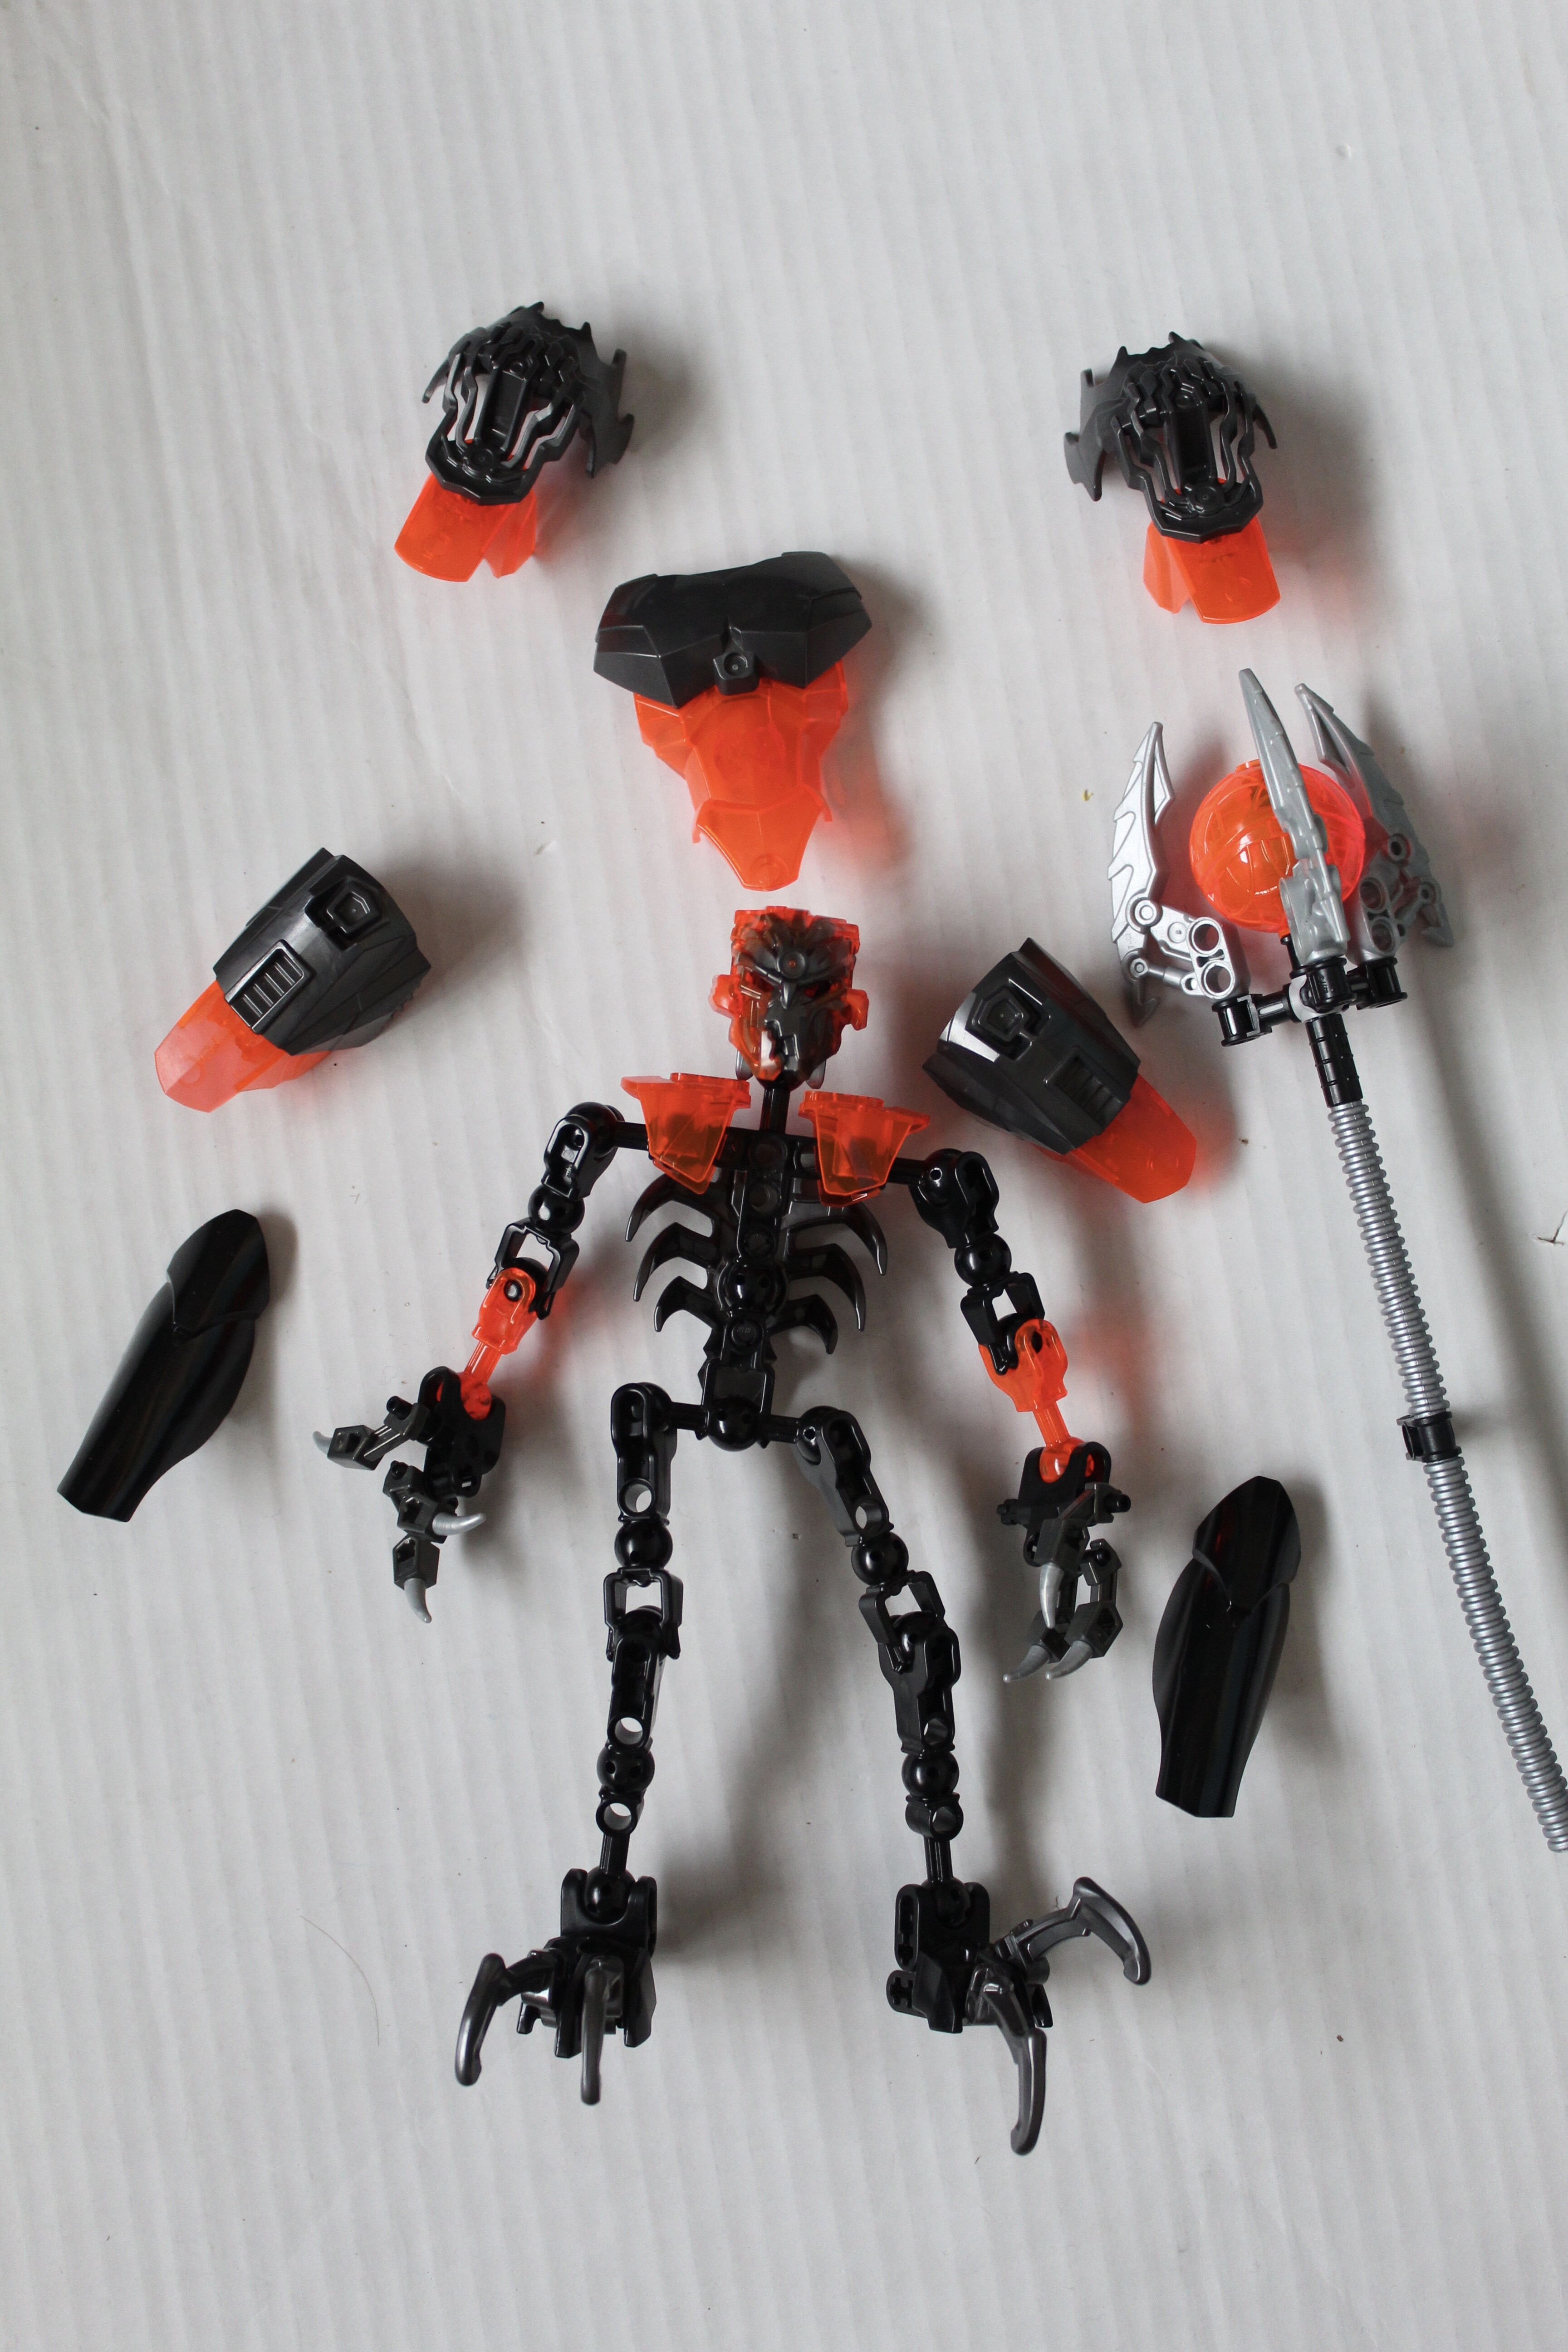
You start with the basic frame and you put two of the smallest hero factory armor on the shoulders. (this is very important for later)
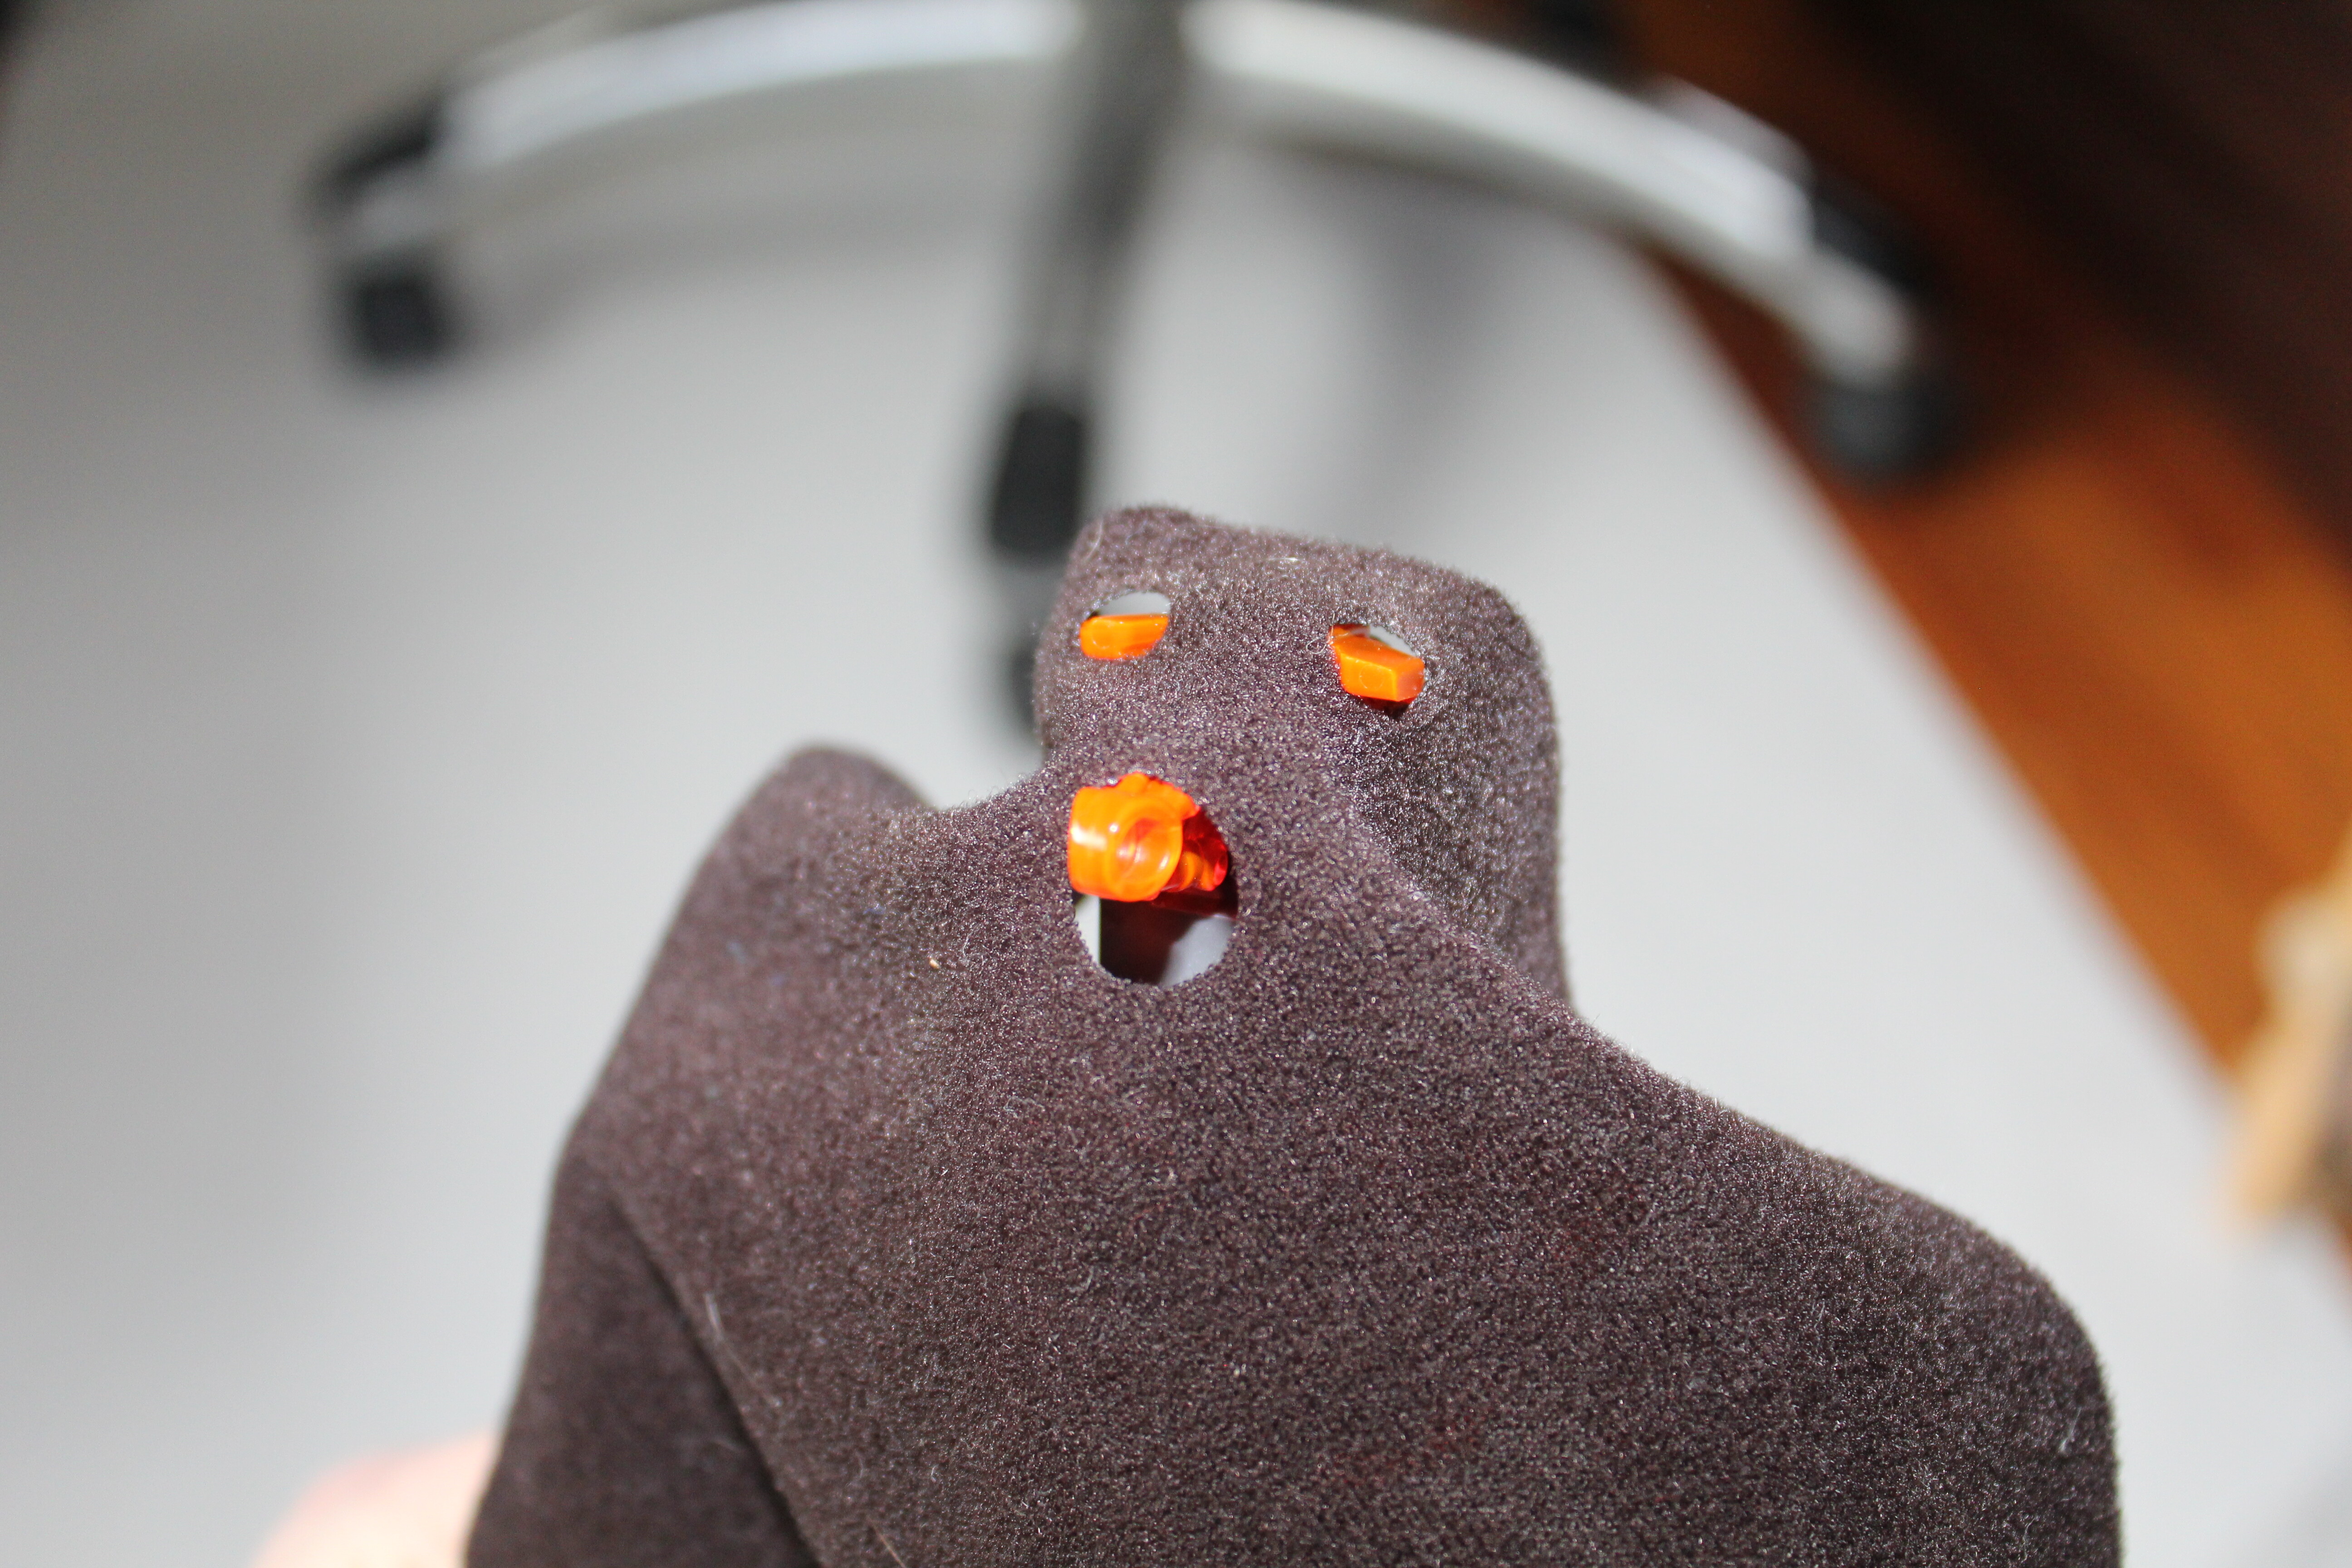
Next you situate the cape so that the two top holes are seated on Umarak’s mask, and the eyepiece is placed through the large hole at the bottom.
Next, fold the cape over the figure while keeping the back of the cape secure against the head and mask.
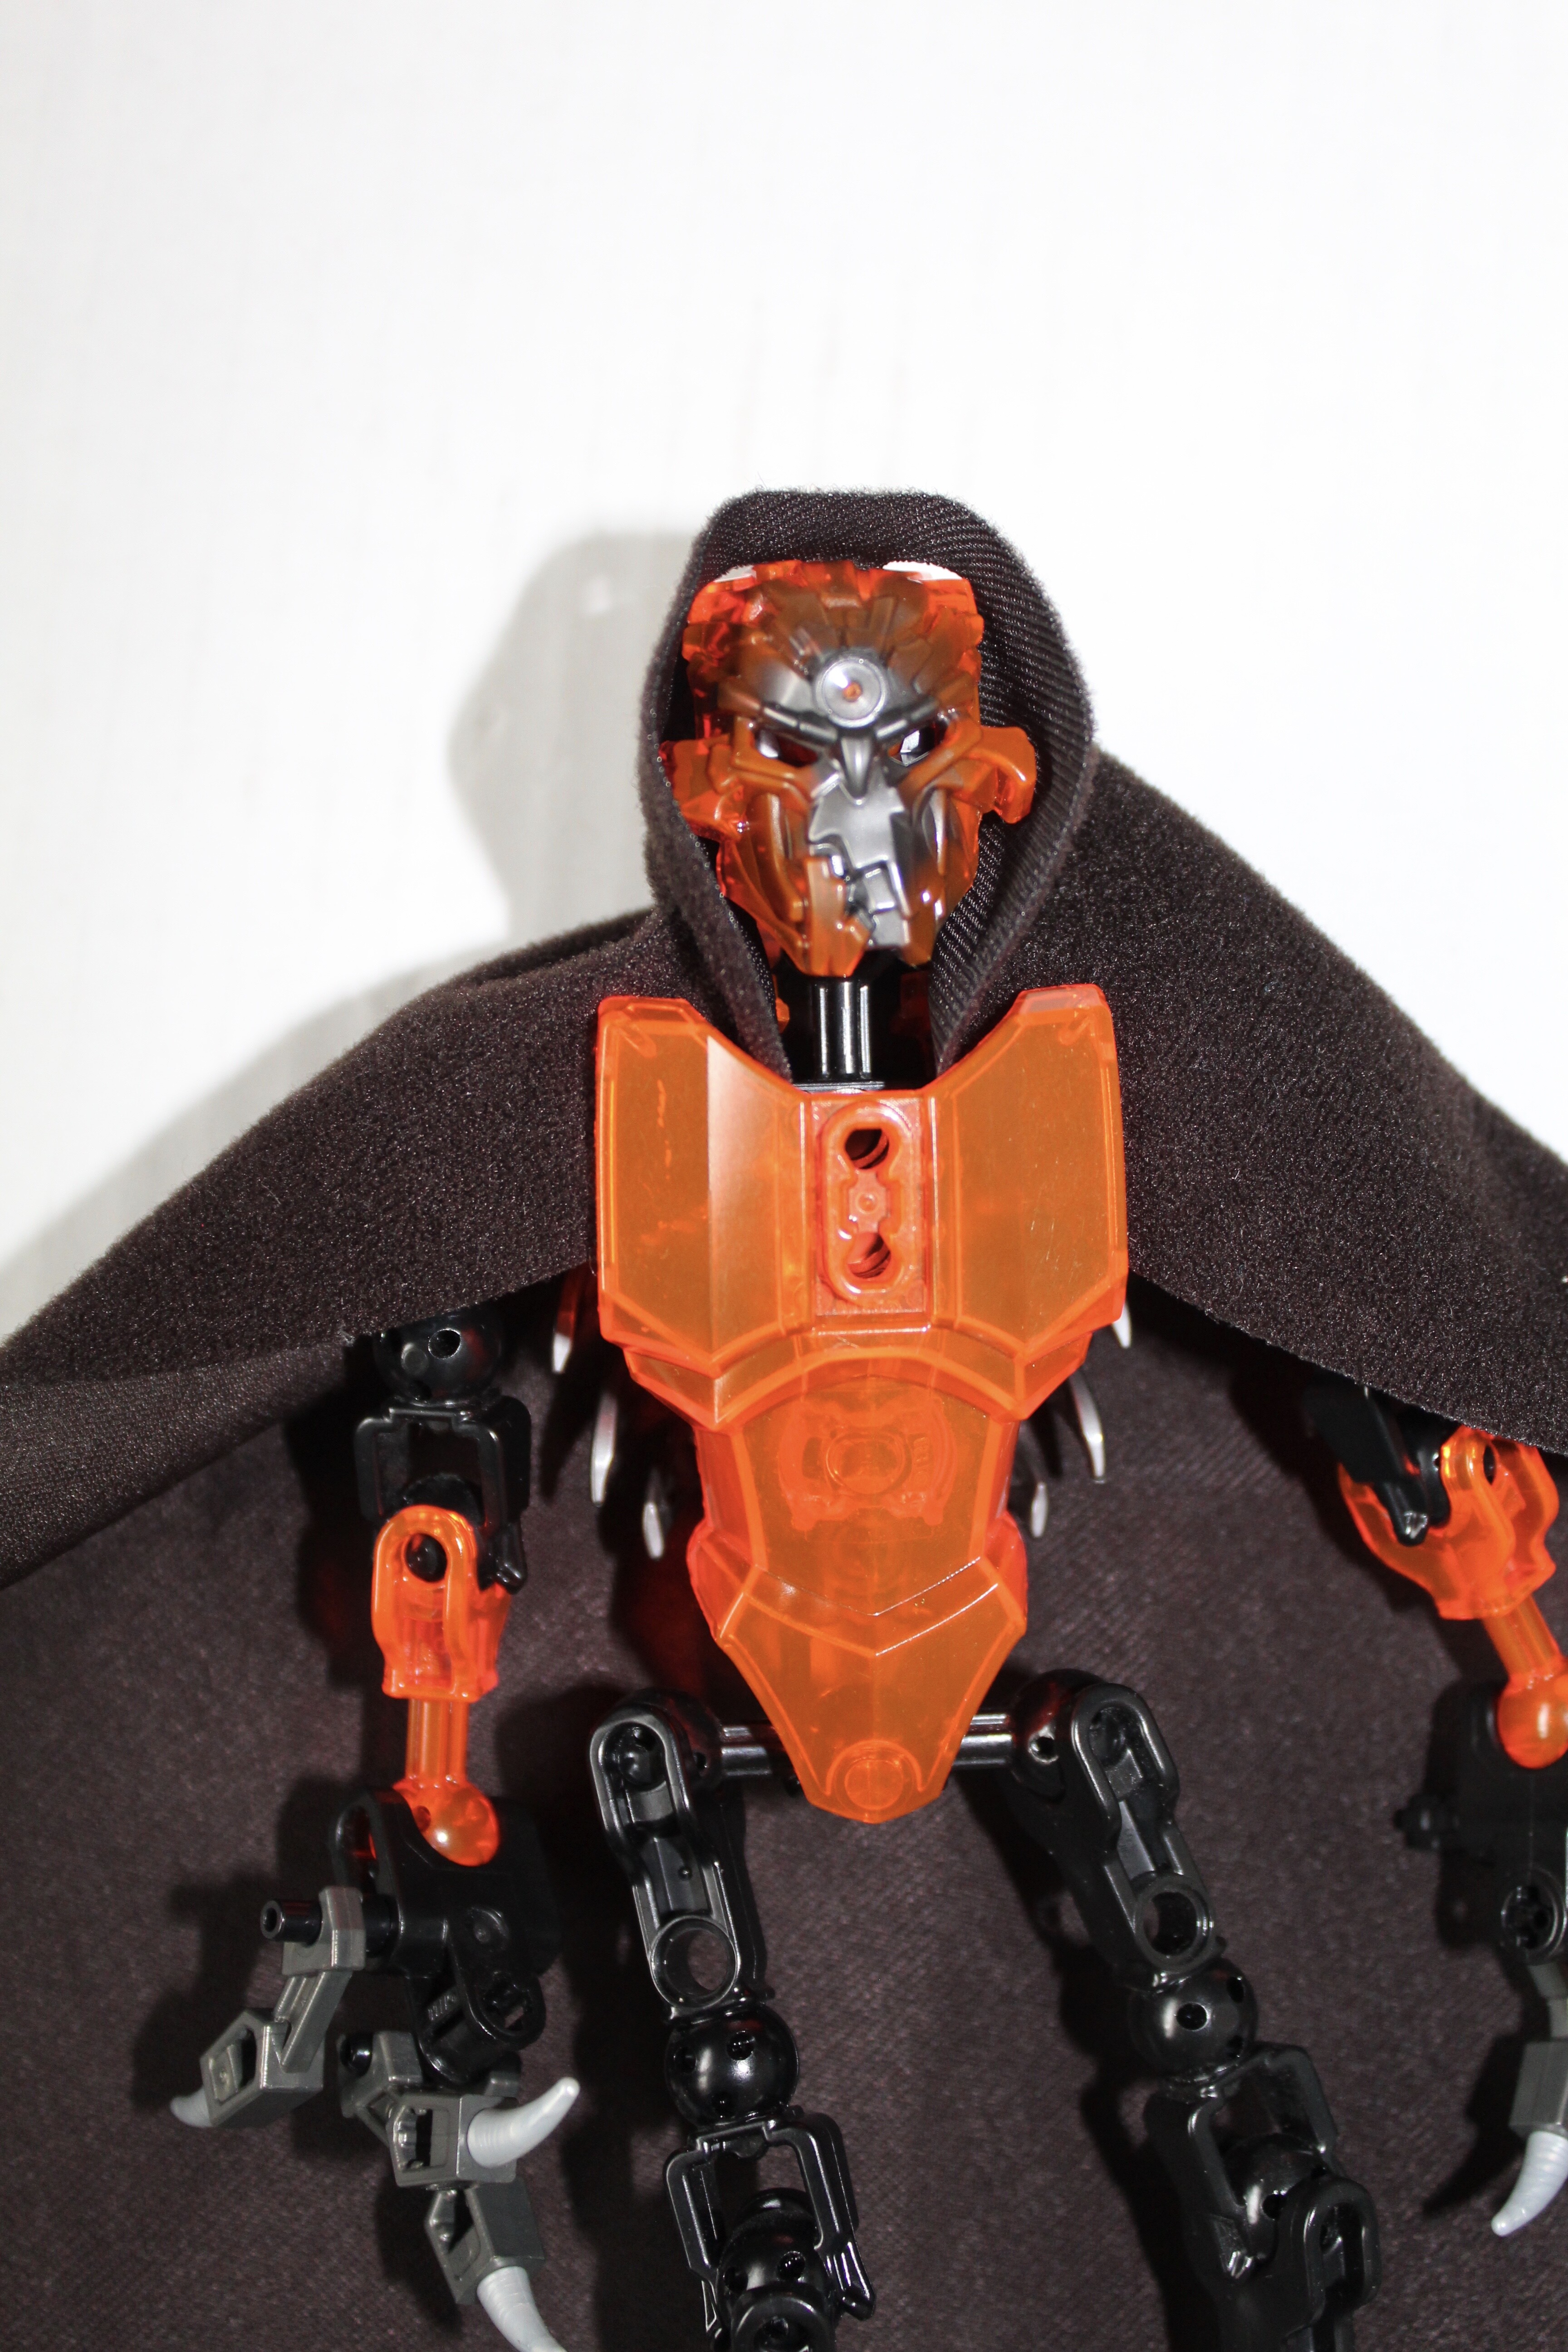
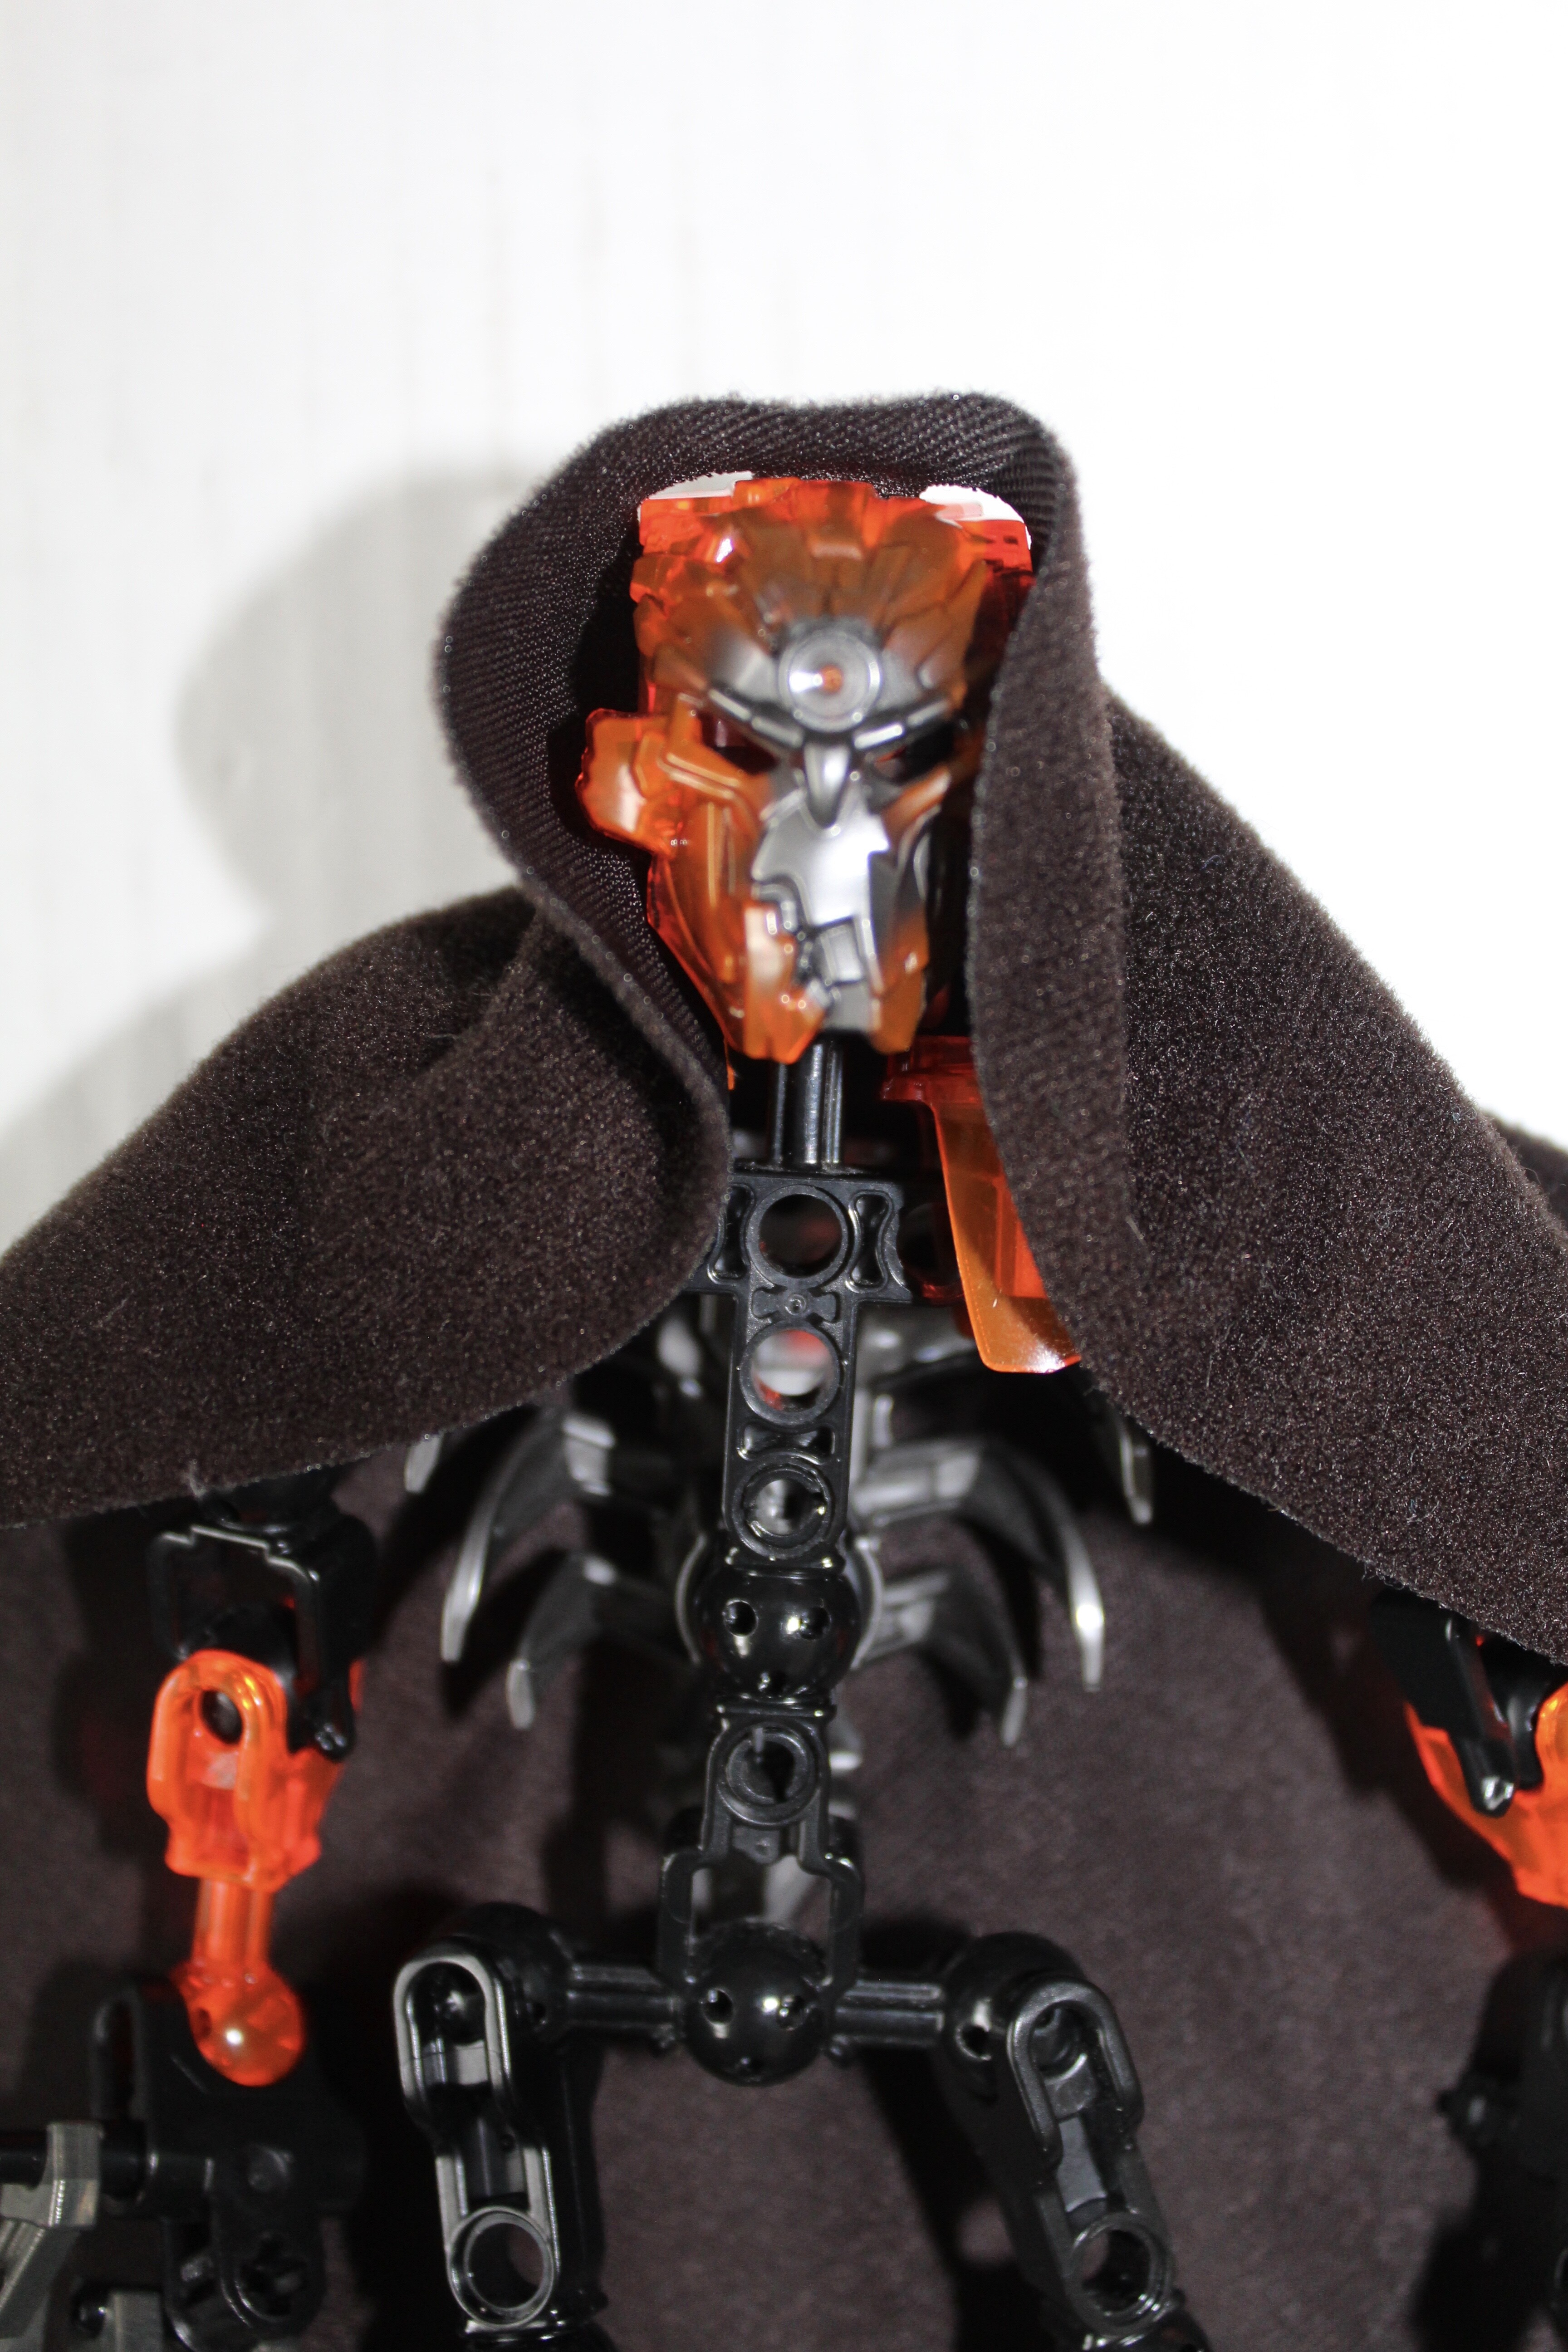
You then place a hero factory torso armor on top of the figure, making sure that the cape is pinched between the torso armor and the small armor pieces you put onto the shoulders.
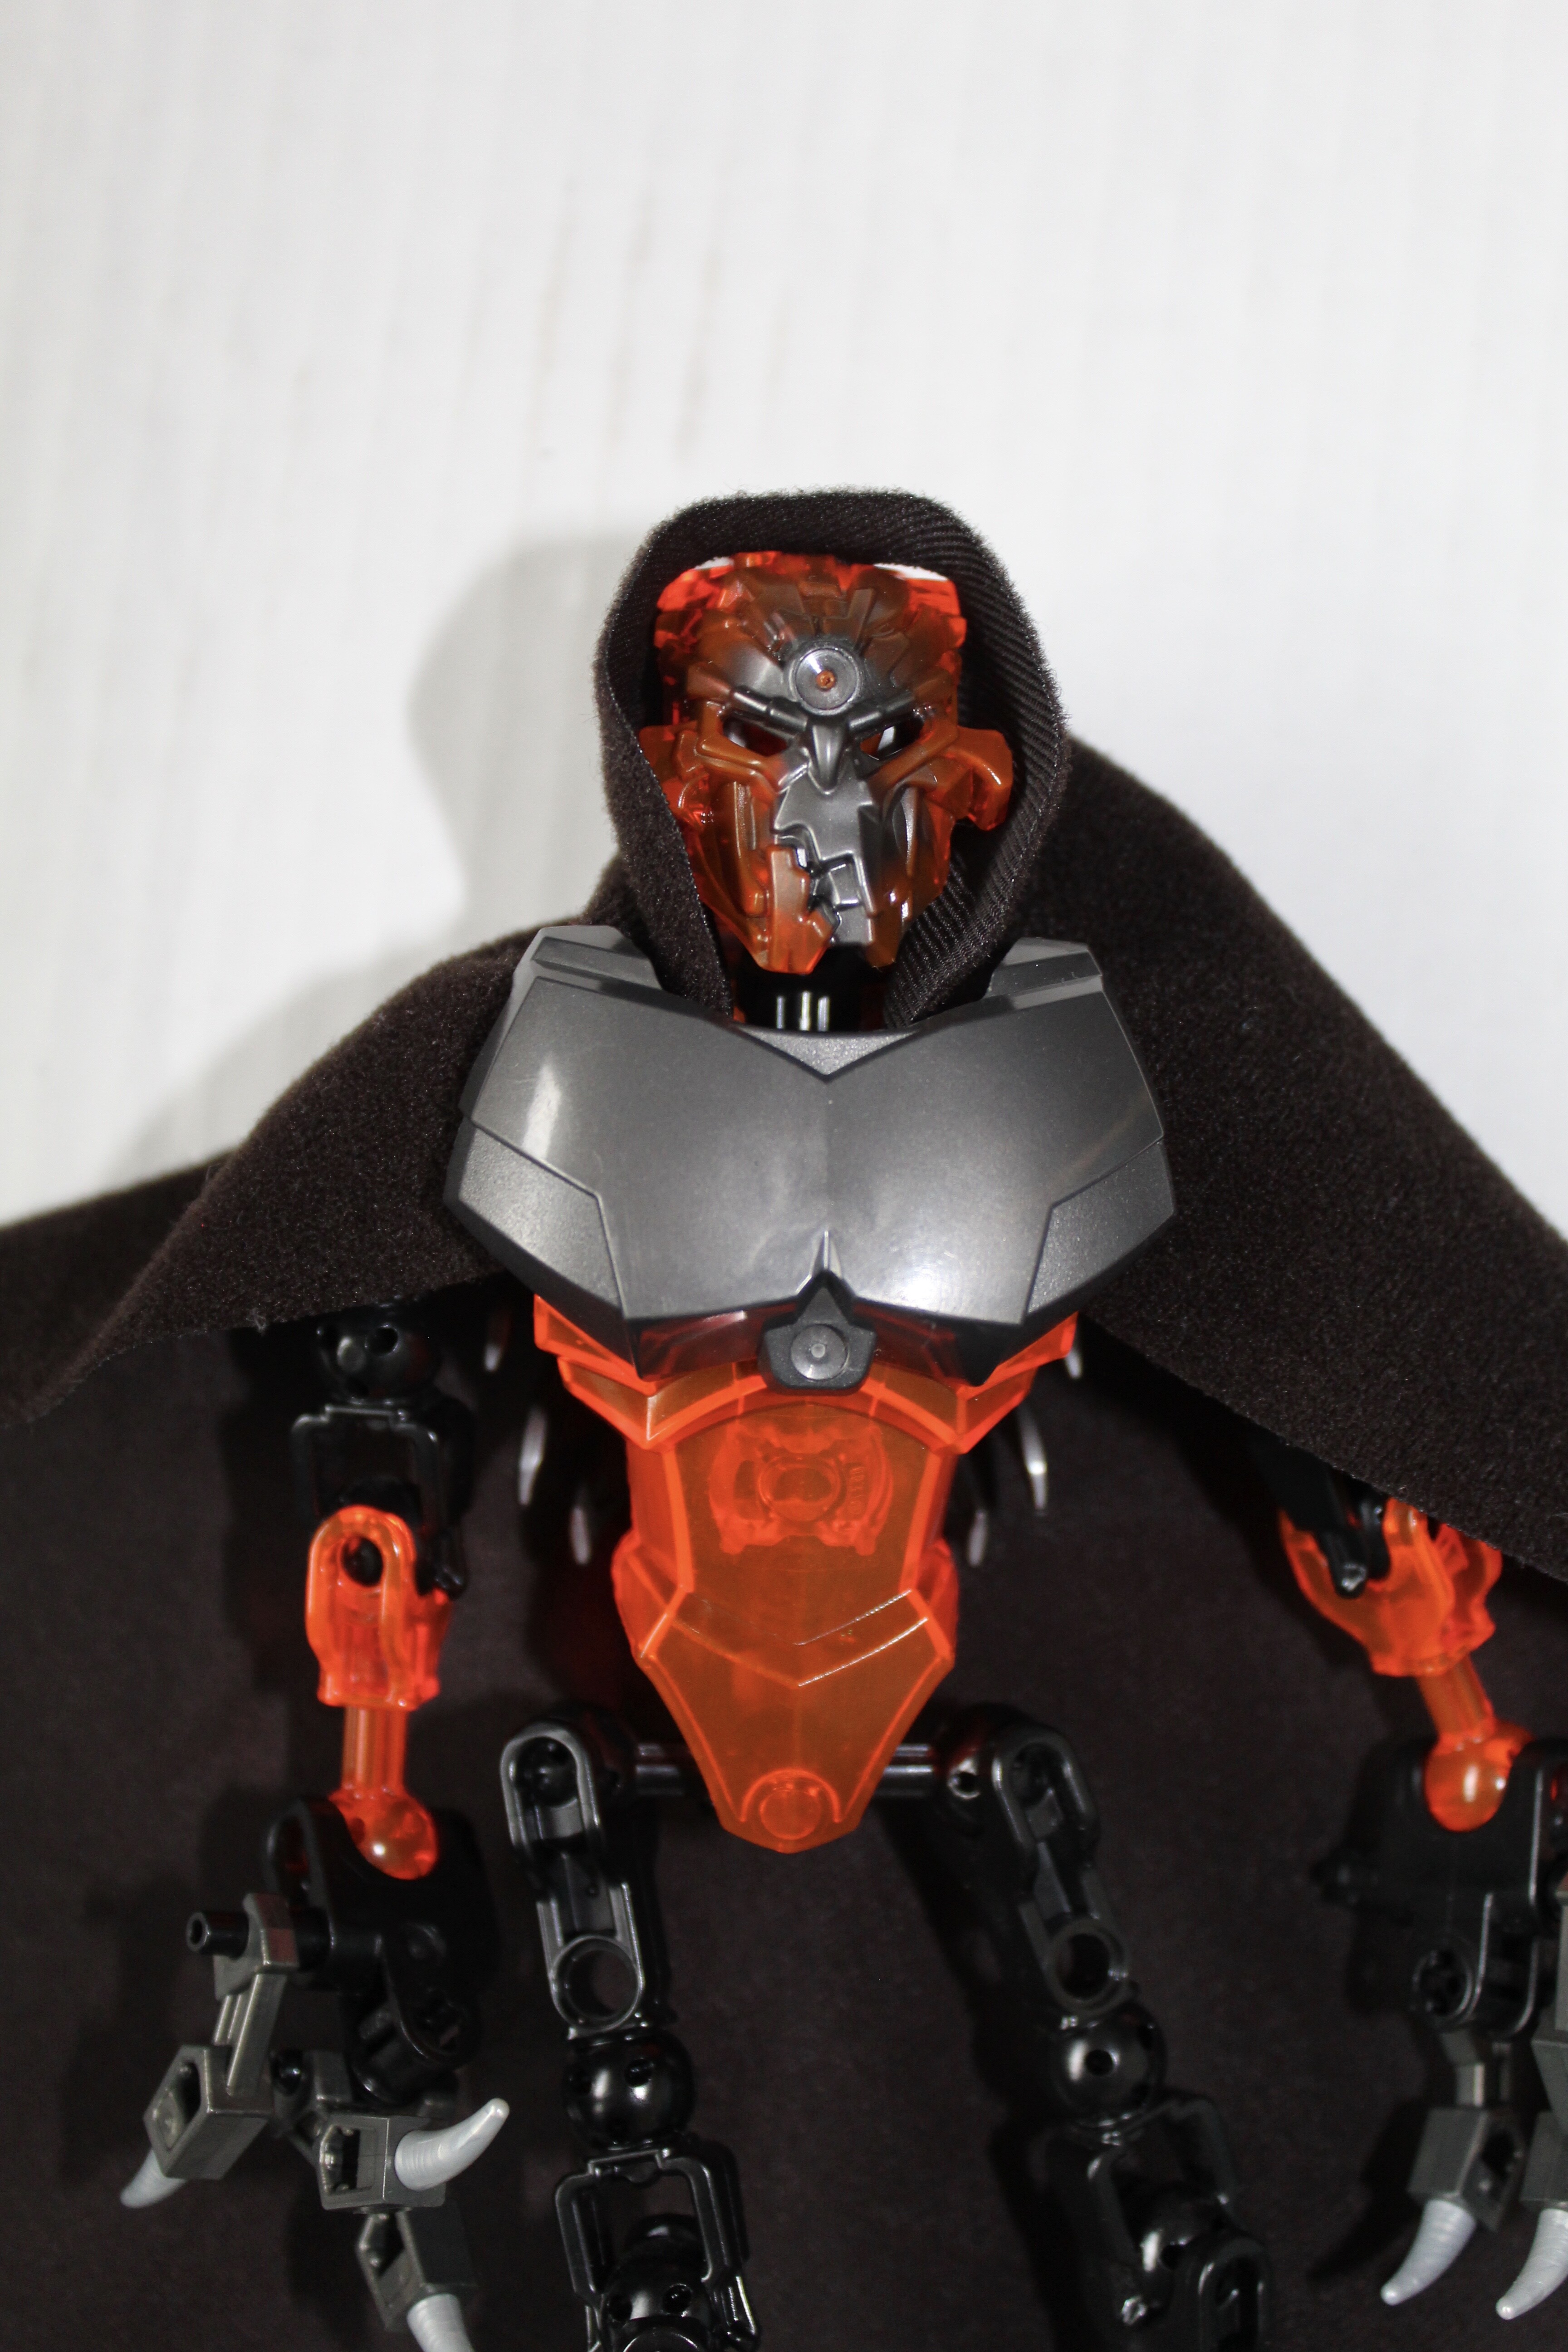
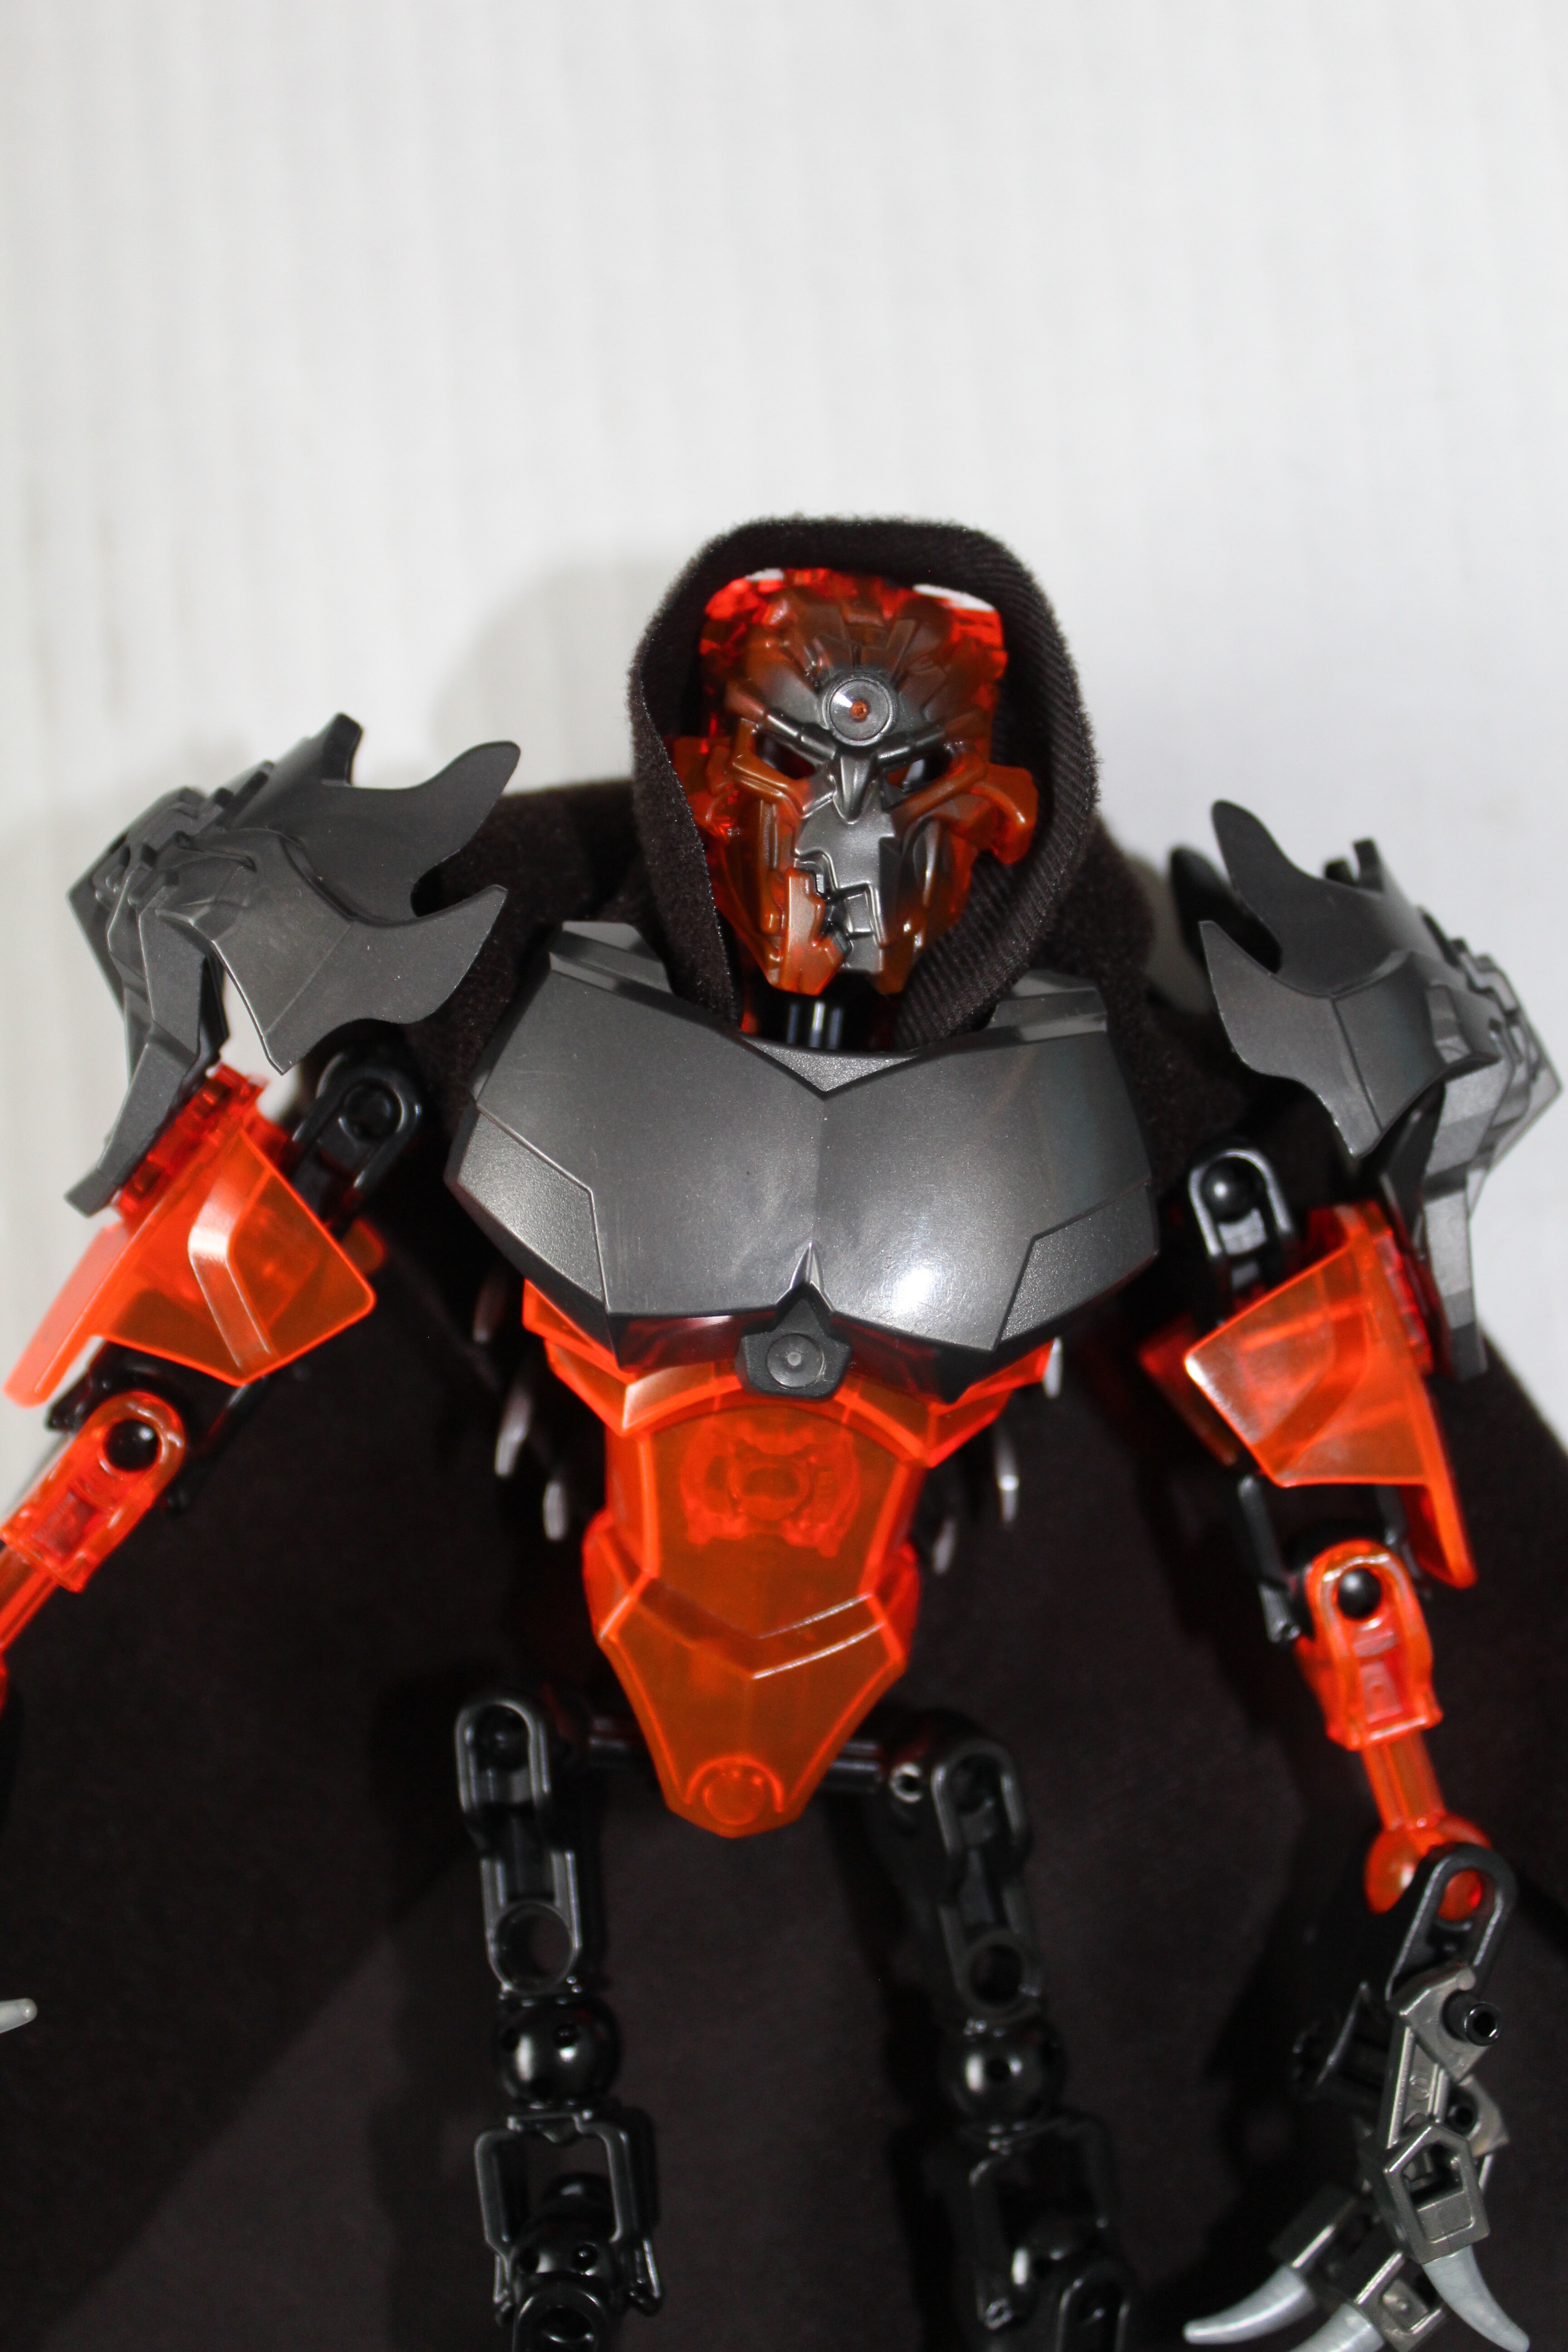
Last but not least, you decorate your moc further, with extra armor and accessories.
Hope some of you found this useful, I was very pleasantly surprised when I realized this was possible. I always like hood accessories.
I’ll probably post the final Moc in it’s own topic later on.
12 Likes
Does anyone have a design for a metru-scale waist swivel function?
6 Likes
Metru scale makes me nervous. Do you mean Metru scale in height, or does that also include piece type?
3 Likes
The G2 waist action feature torso would Probably work.
4 Likes
A smaller technic based assembly would be more ideal for my purposes
6 Likes
Really depends on what you need for the rest of the torso, but this design is pretty customizable
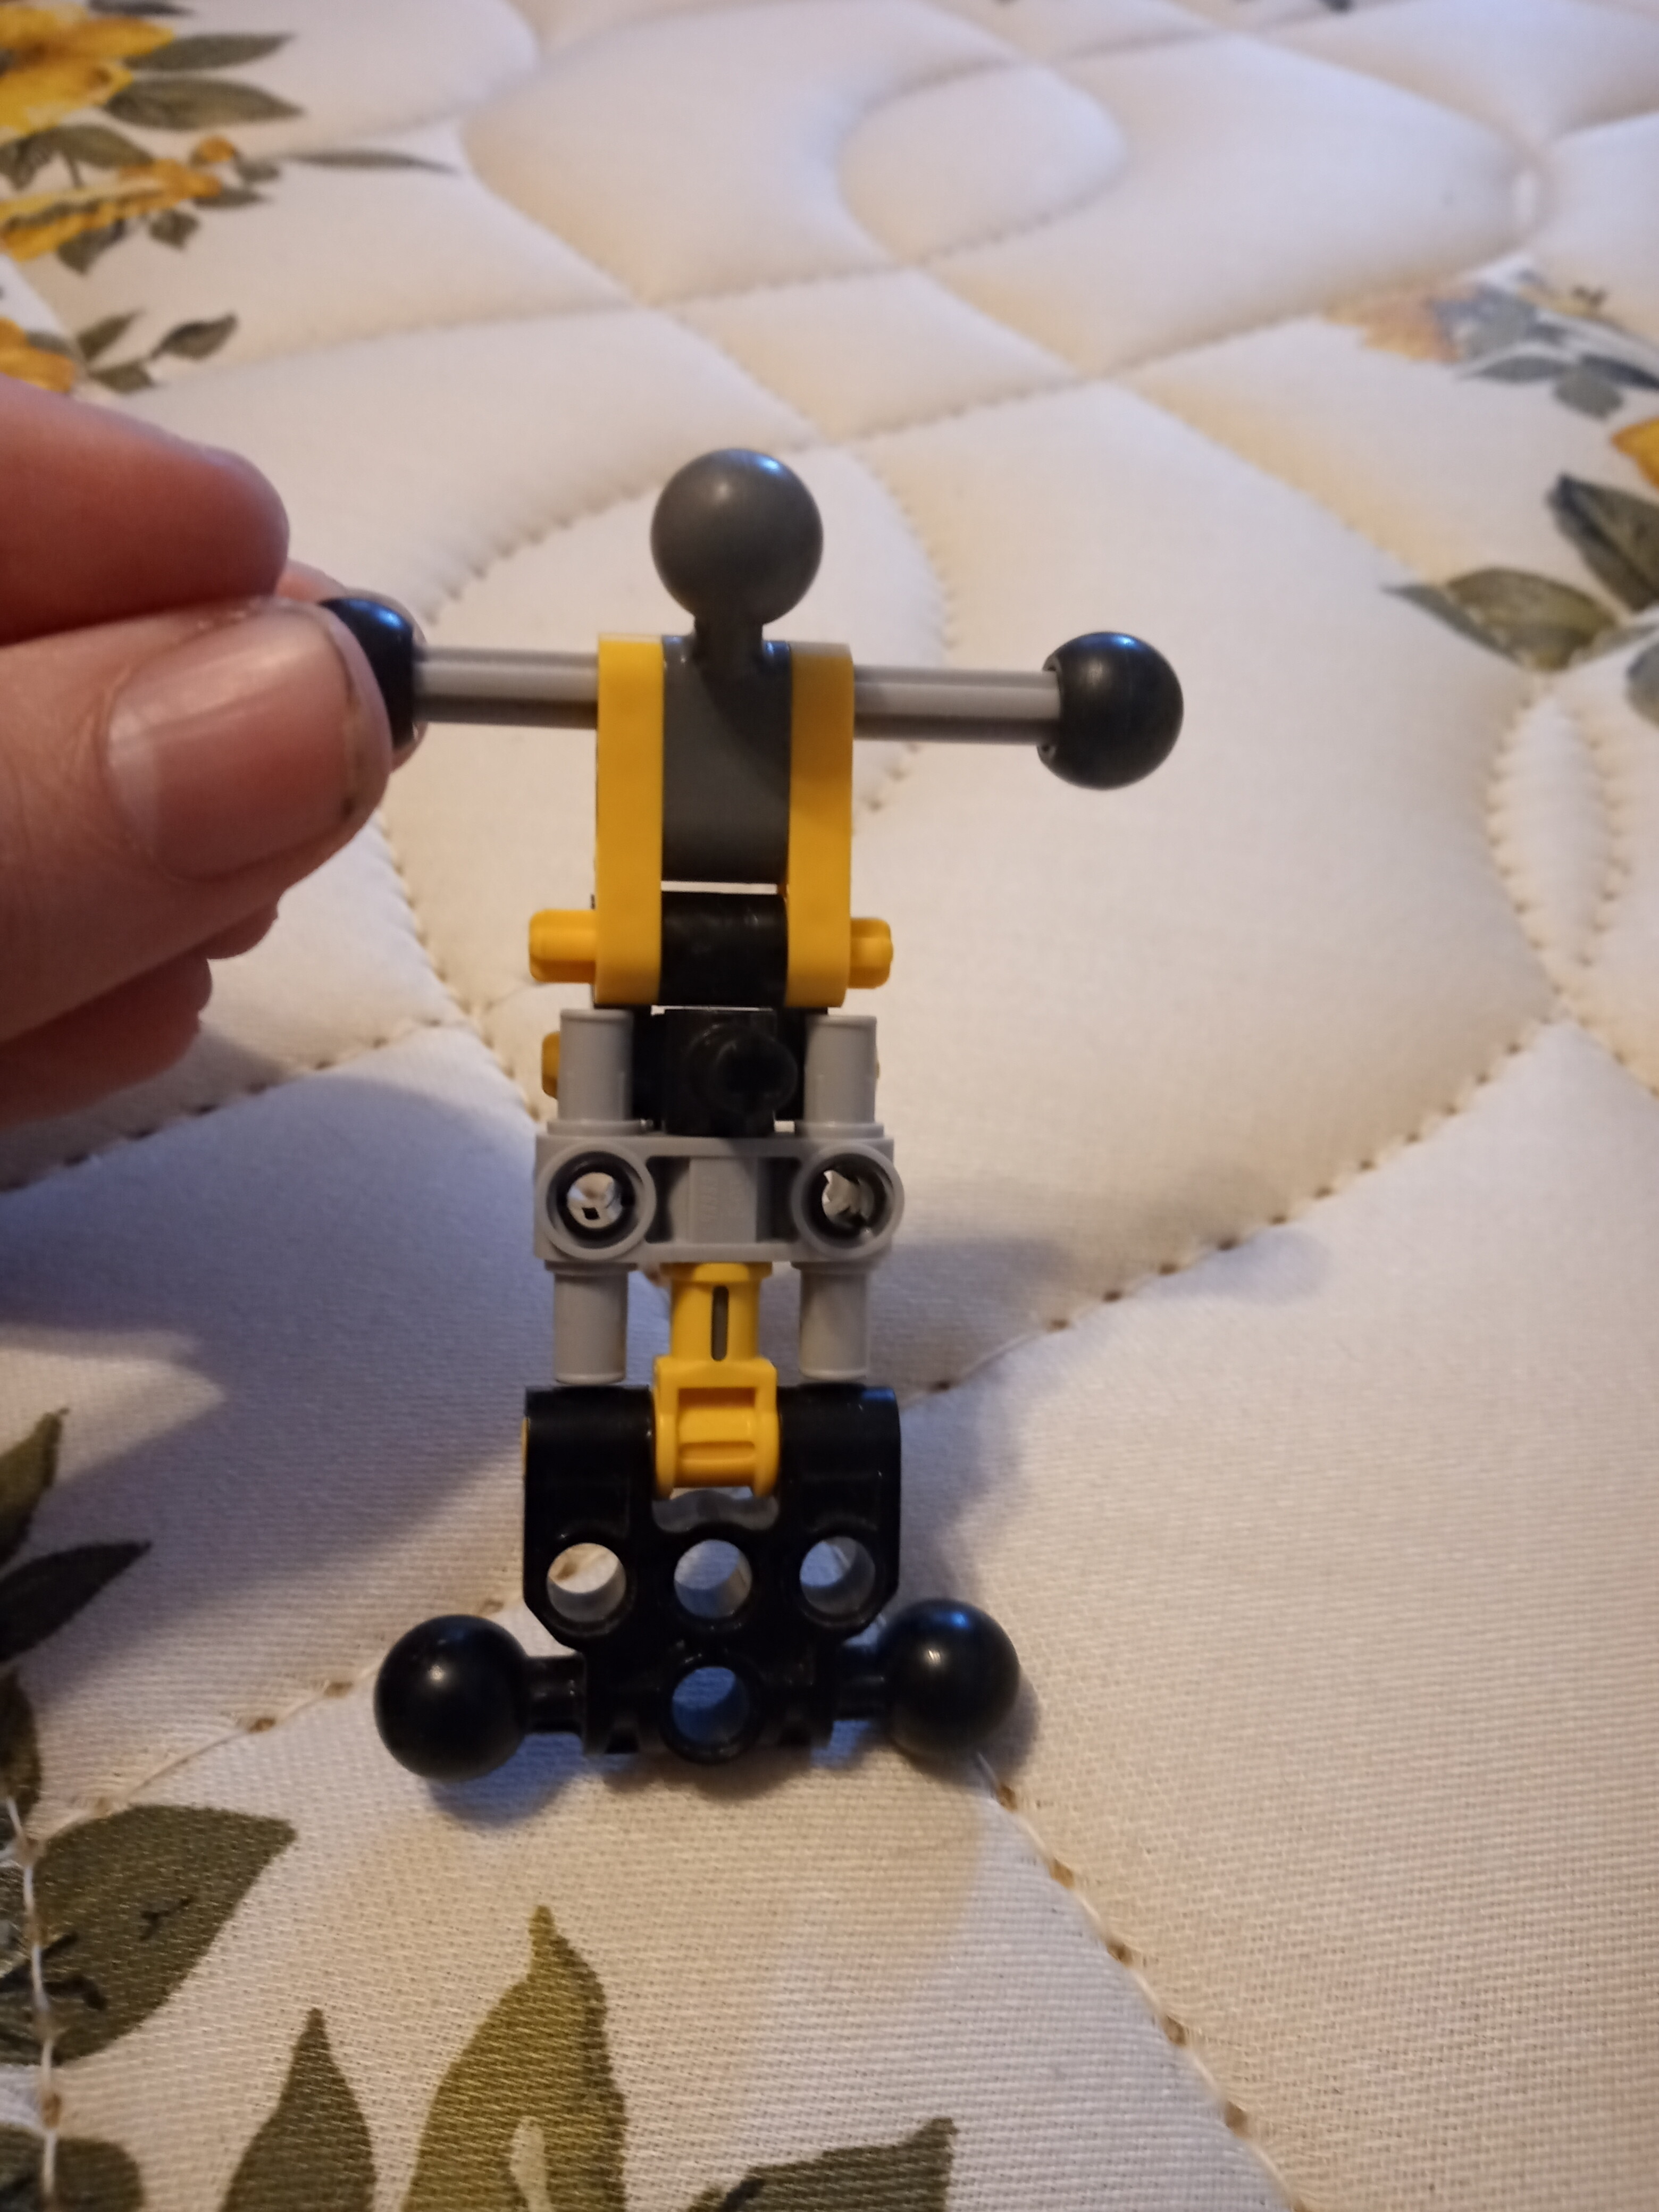
Breakfast – I mean breakdown.
Optional hip coverage
7 Likes
mattress reveal
honestly that frame is pretty good, and it has waist articulation to boot
7 Likes
ey I need help finding a good dragon GWP head design that works well been trying to make Kobold themed Hero and I can’t think of anything

the body I’m working with btw
4 Likes
A kobold hero? Nice! Love those D&D characters.
2 Likes
I need help with a moc I’m working on. All I need help with is the feet. What I’m hoping to make for the feet are wheels like Nezha. Can someone help me with that?
3 Likes