The "Let's build JtO Makuta" topic

Thanks I will try and get it finished today.

I have a digital calliper. I should be able to get it exact.

I have an FDM printer but it it acting a bit funny at the moment. When finished I will purchase one from shapeways to see how well it does. But as I live in Australia the shipping will double the cost and take longer to get here.

I will upload the model to shapeways for everyone to purchase. Depending on the material you want it could cost as little as $12.

1 Like

Where did these come from?

Great not one of them is the actual Makuta we’re trying to build.

Fantastic.

/s

3 Likes

Yeah… I see the /s but I don’t know if there’s something I don’t know…

Brickset, reposted via 4chan and then posted here

Yeah, was pretty annoyed by that also… :confused:

3 Likes

How’d you do the shoulders?
Could we have more in depth pics?
@Scarilian where’d you get those pictures?

I answered right above your post :L

There are images further up for how I’ve done it, unsure how Altair did it

Oh sorry :sweat_smile: , I didn’t see them

I saw the ones you’d done but @Altair’s looked a little different

You can’t rush perfection, so just take your time man. What else do you plan to add/improve? (and will the eye sockets actually be in the same place as the eyes on a g2 head?)

1 Like

That is the hard part. I am going off what the Masks in the JTO and the ones in the contest video. So they might not line up properly.

I know thw pain

1 Like

Where do you contact them?

Why would lego not release any more pics of the “canon” makuta? It’s weird

2 Likes

@Umarak I contacted Lego with the customer service, but I’ll try to ask them on the Bionicle Facebook page too.

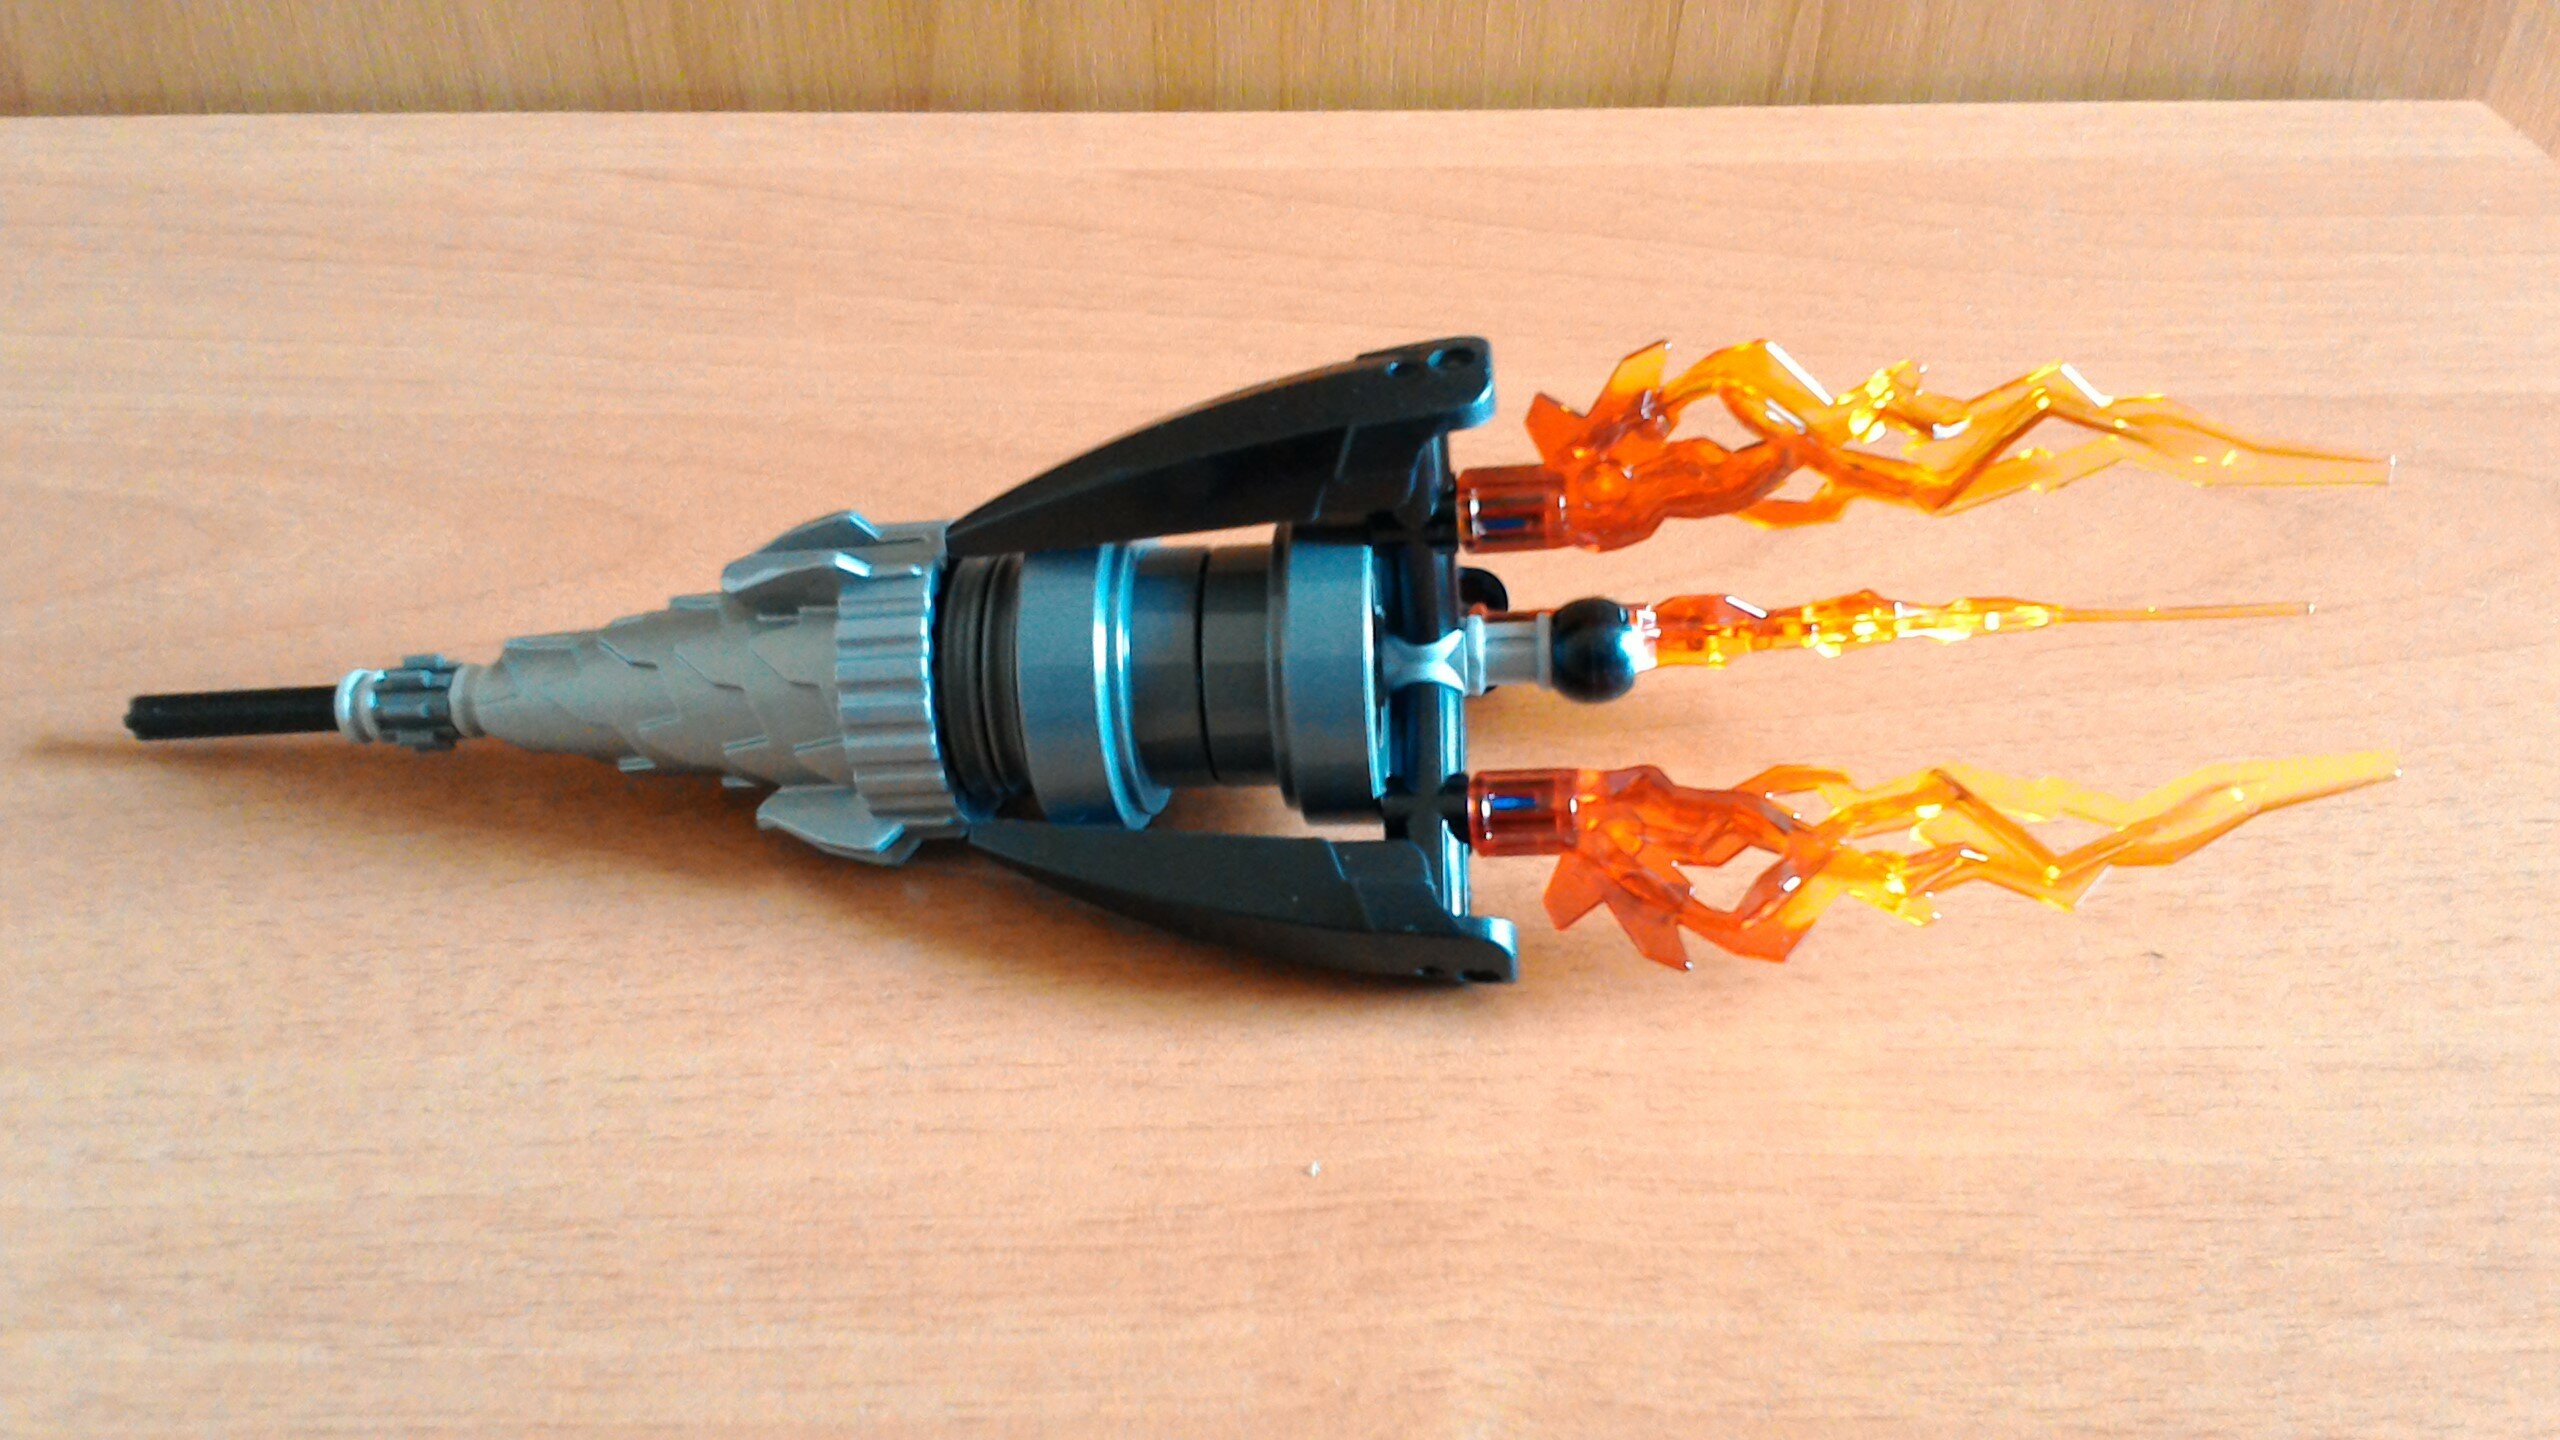
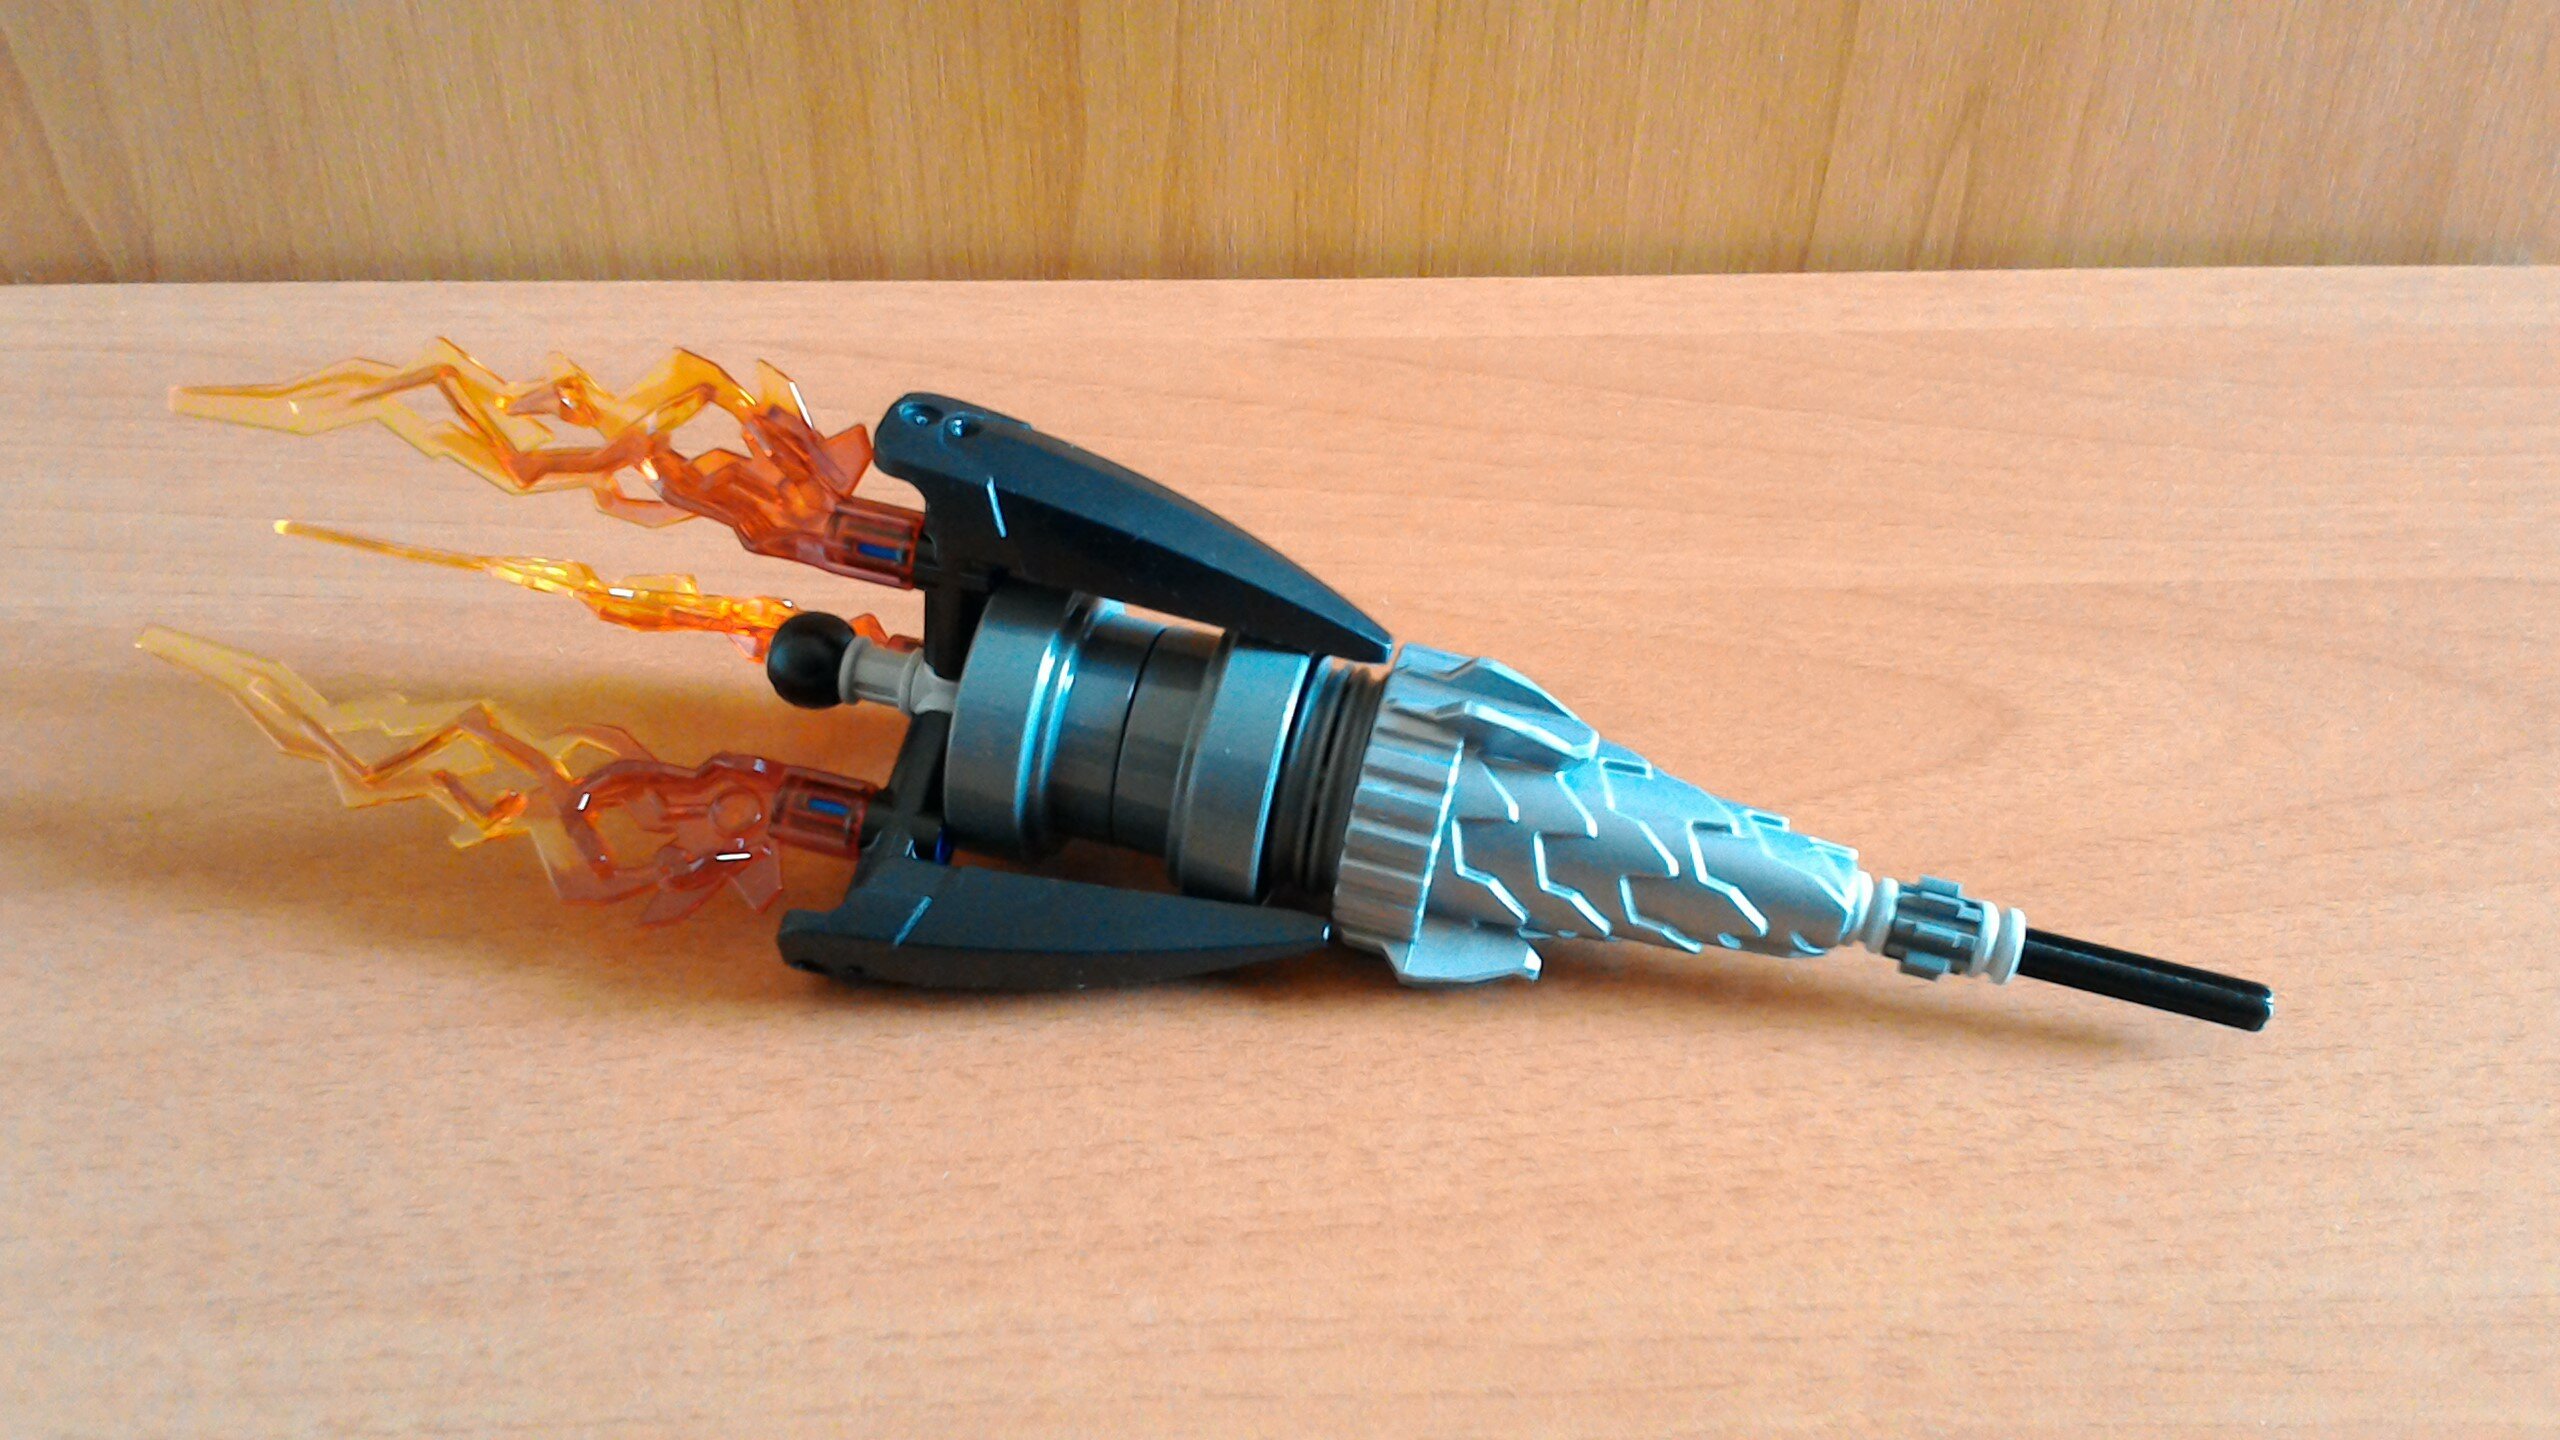
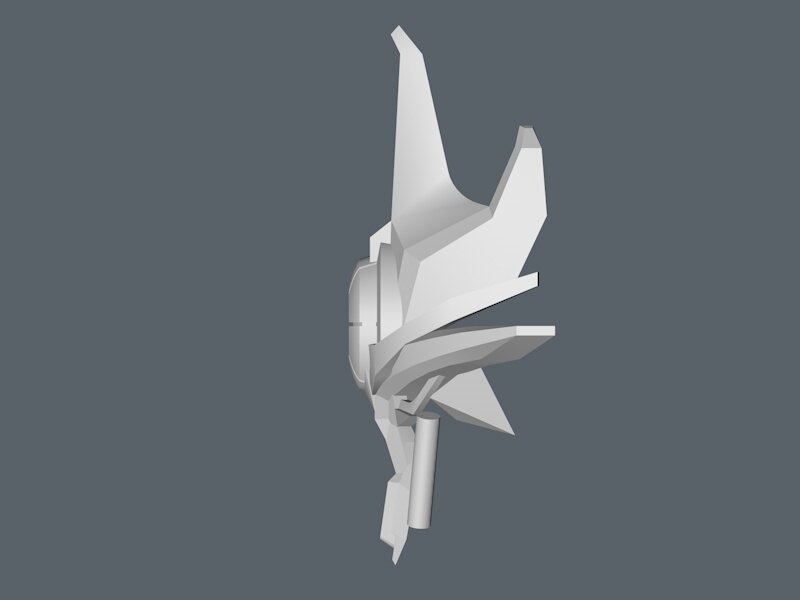
Ok so here’s how to make the staff!

I’m just going to leave the lower part off since it’s not important for now.

And here’s how it’s done.

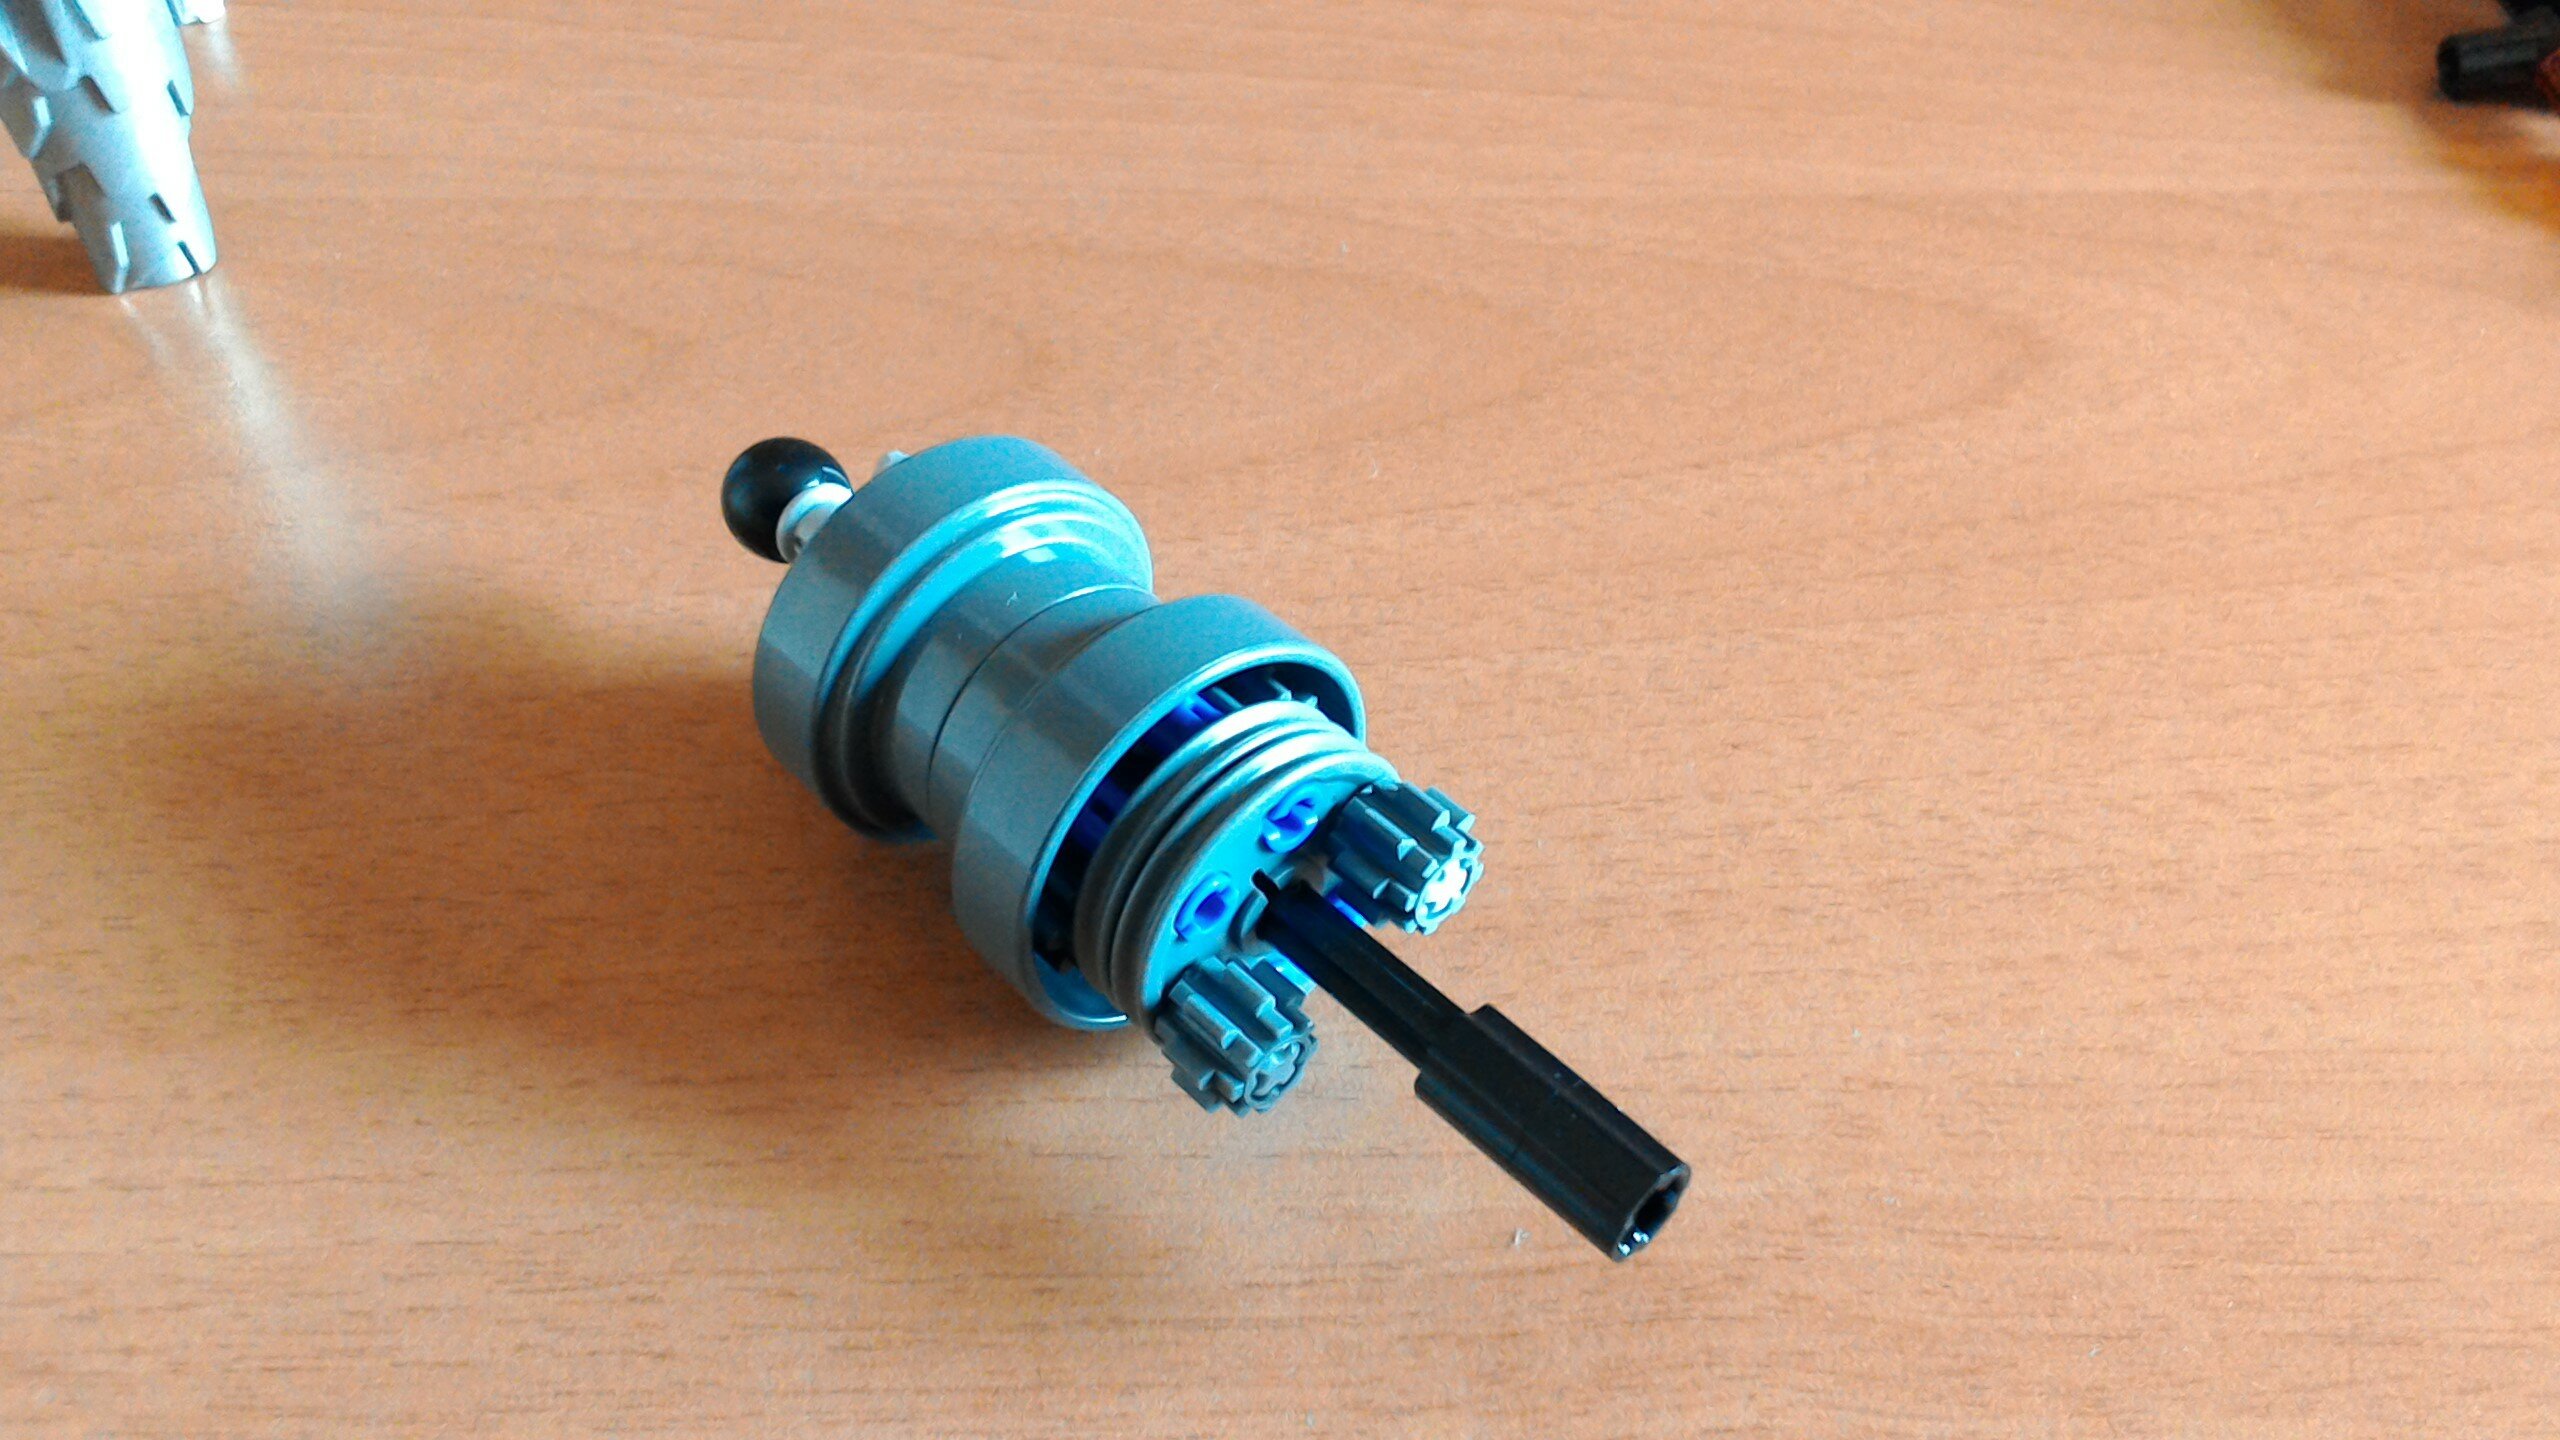
I’m not going to explain the function in great detail, because it’s pretty simple to understand, but the most important thing is that the drill piece has gear teeth inside, and that’s what will activate the gimmick.

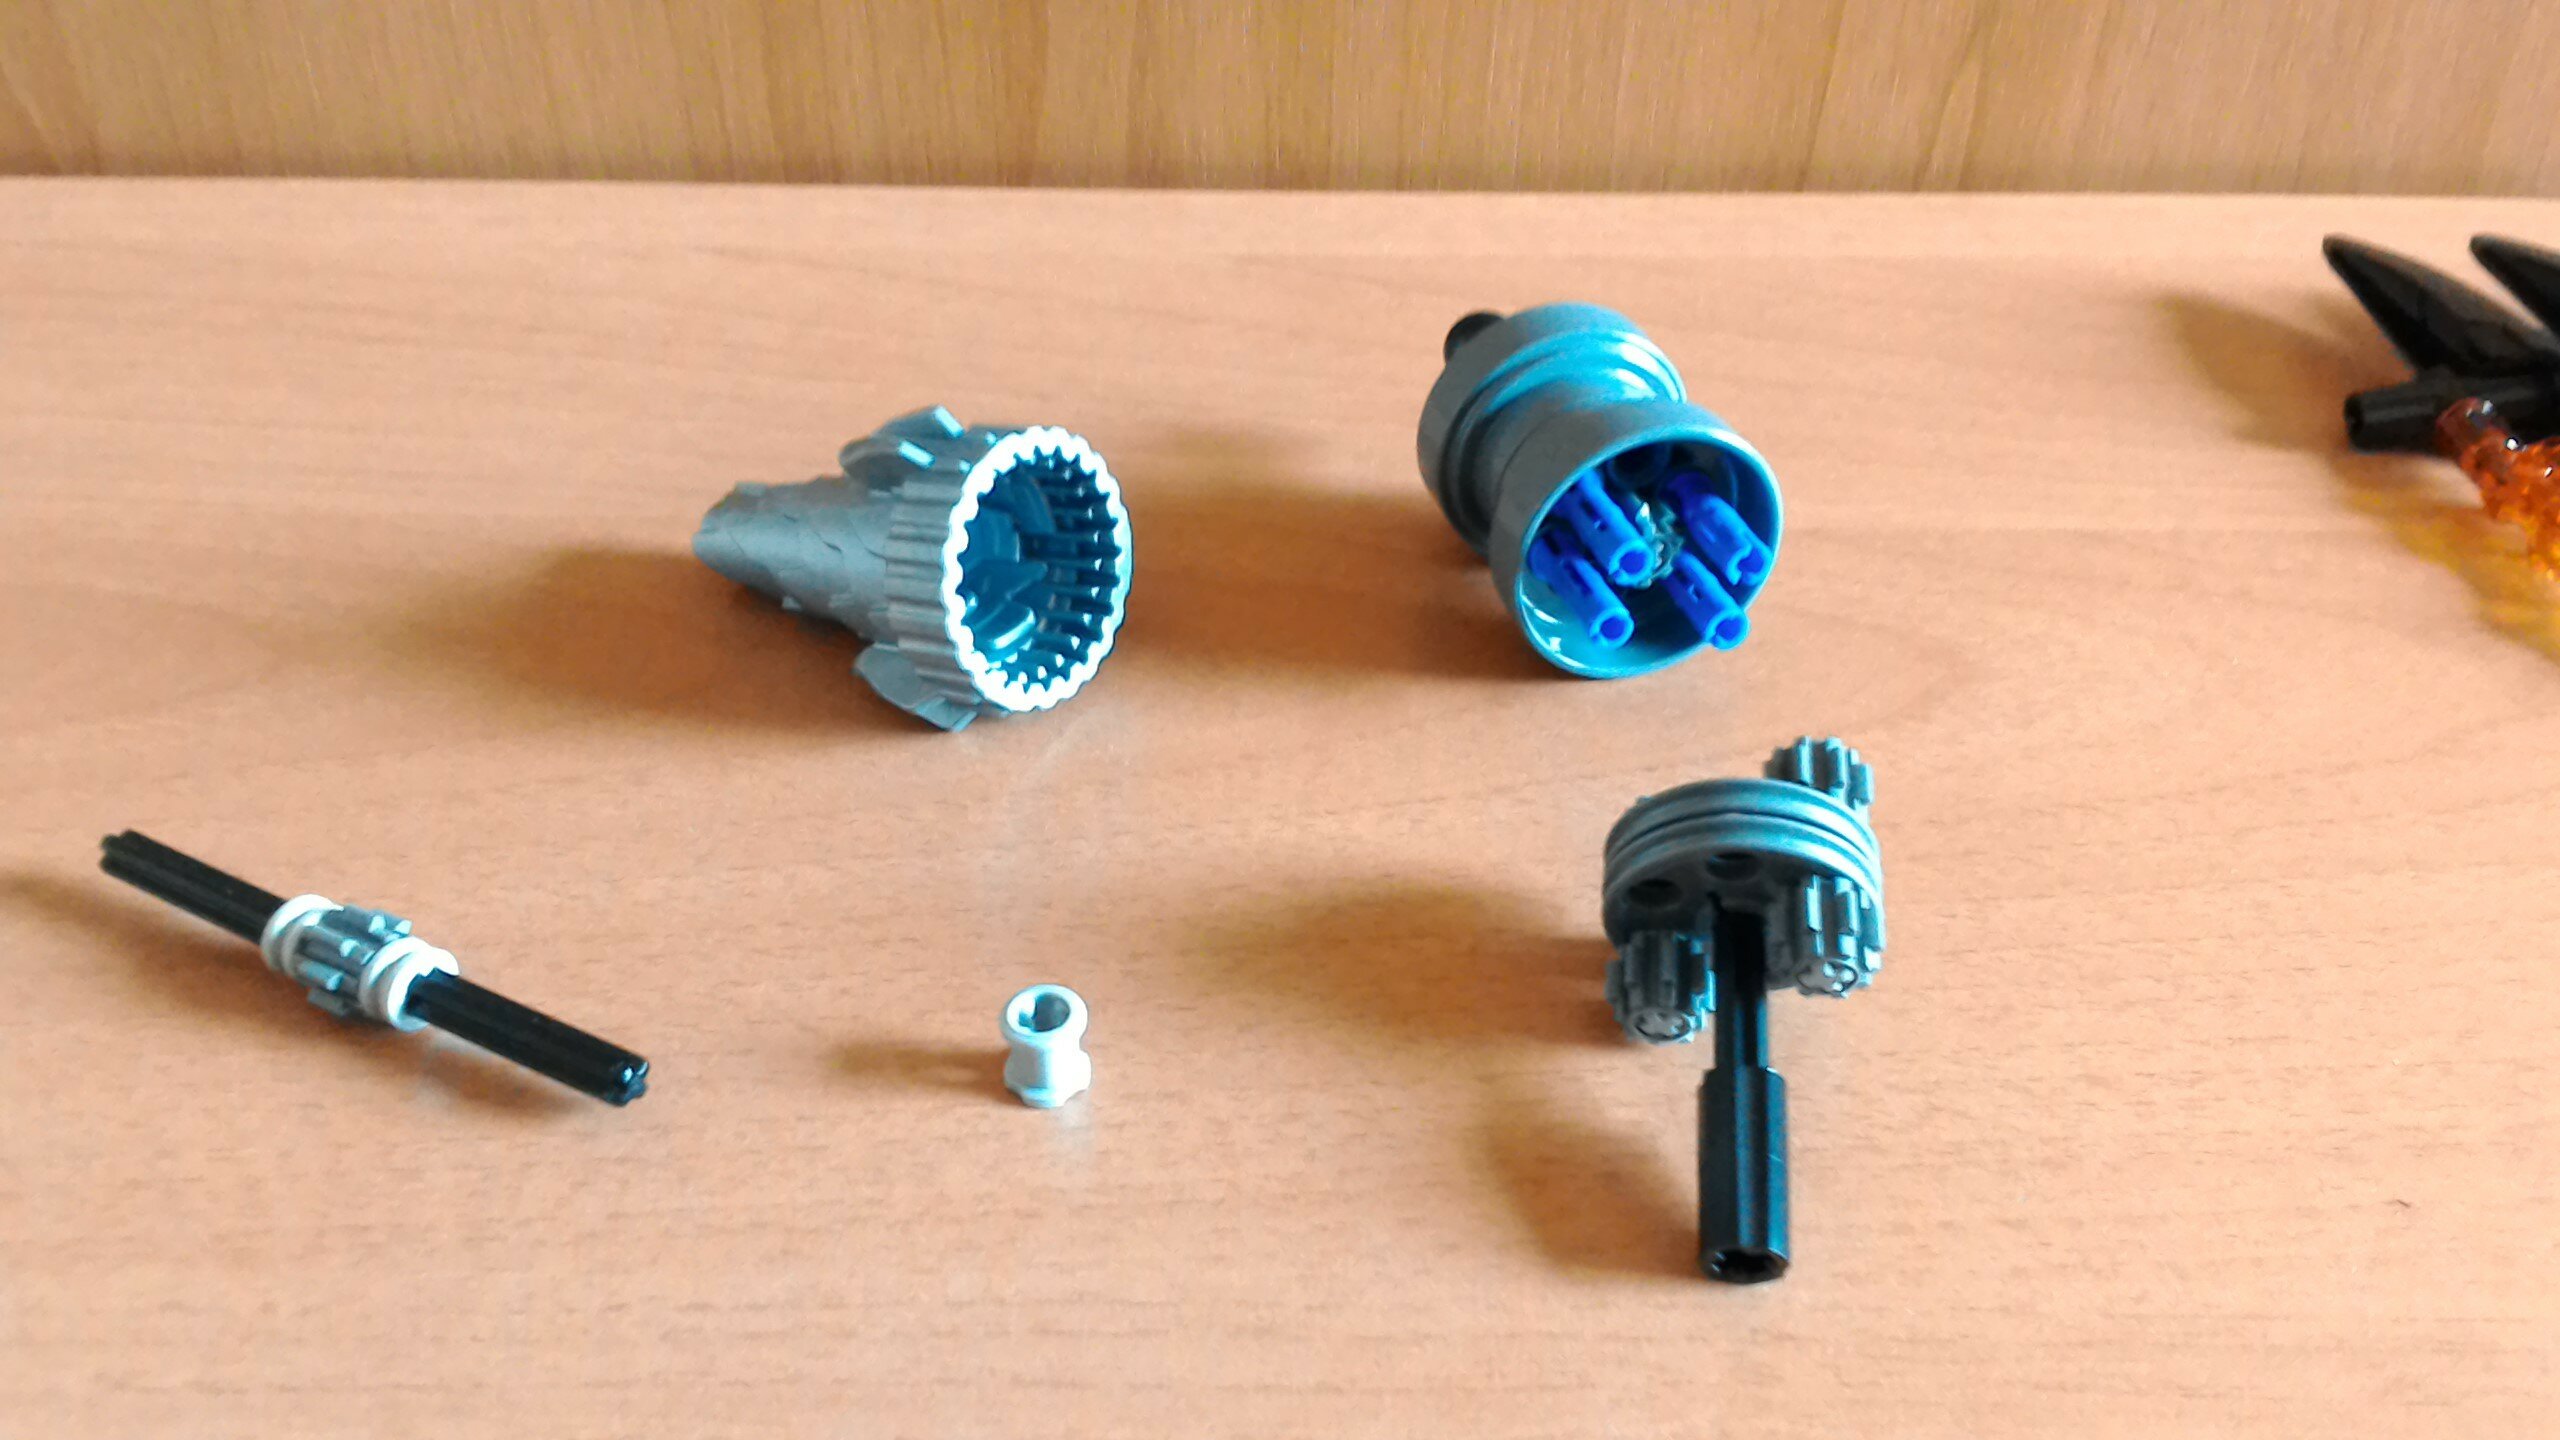
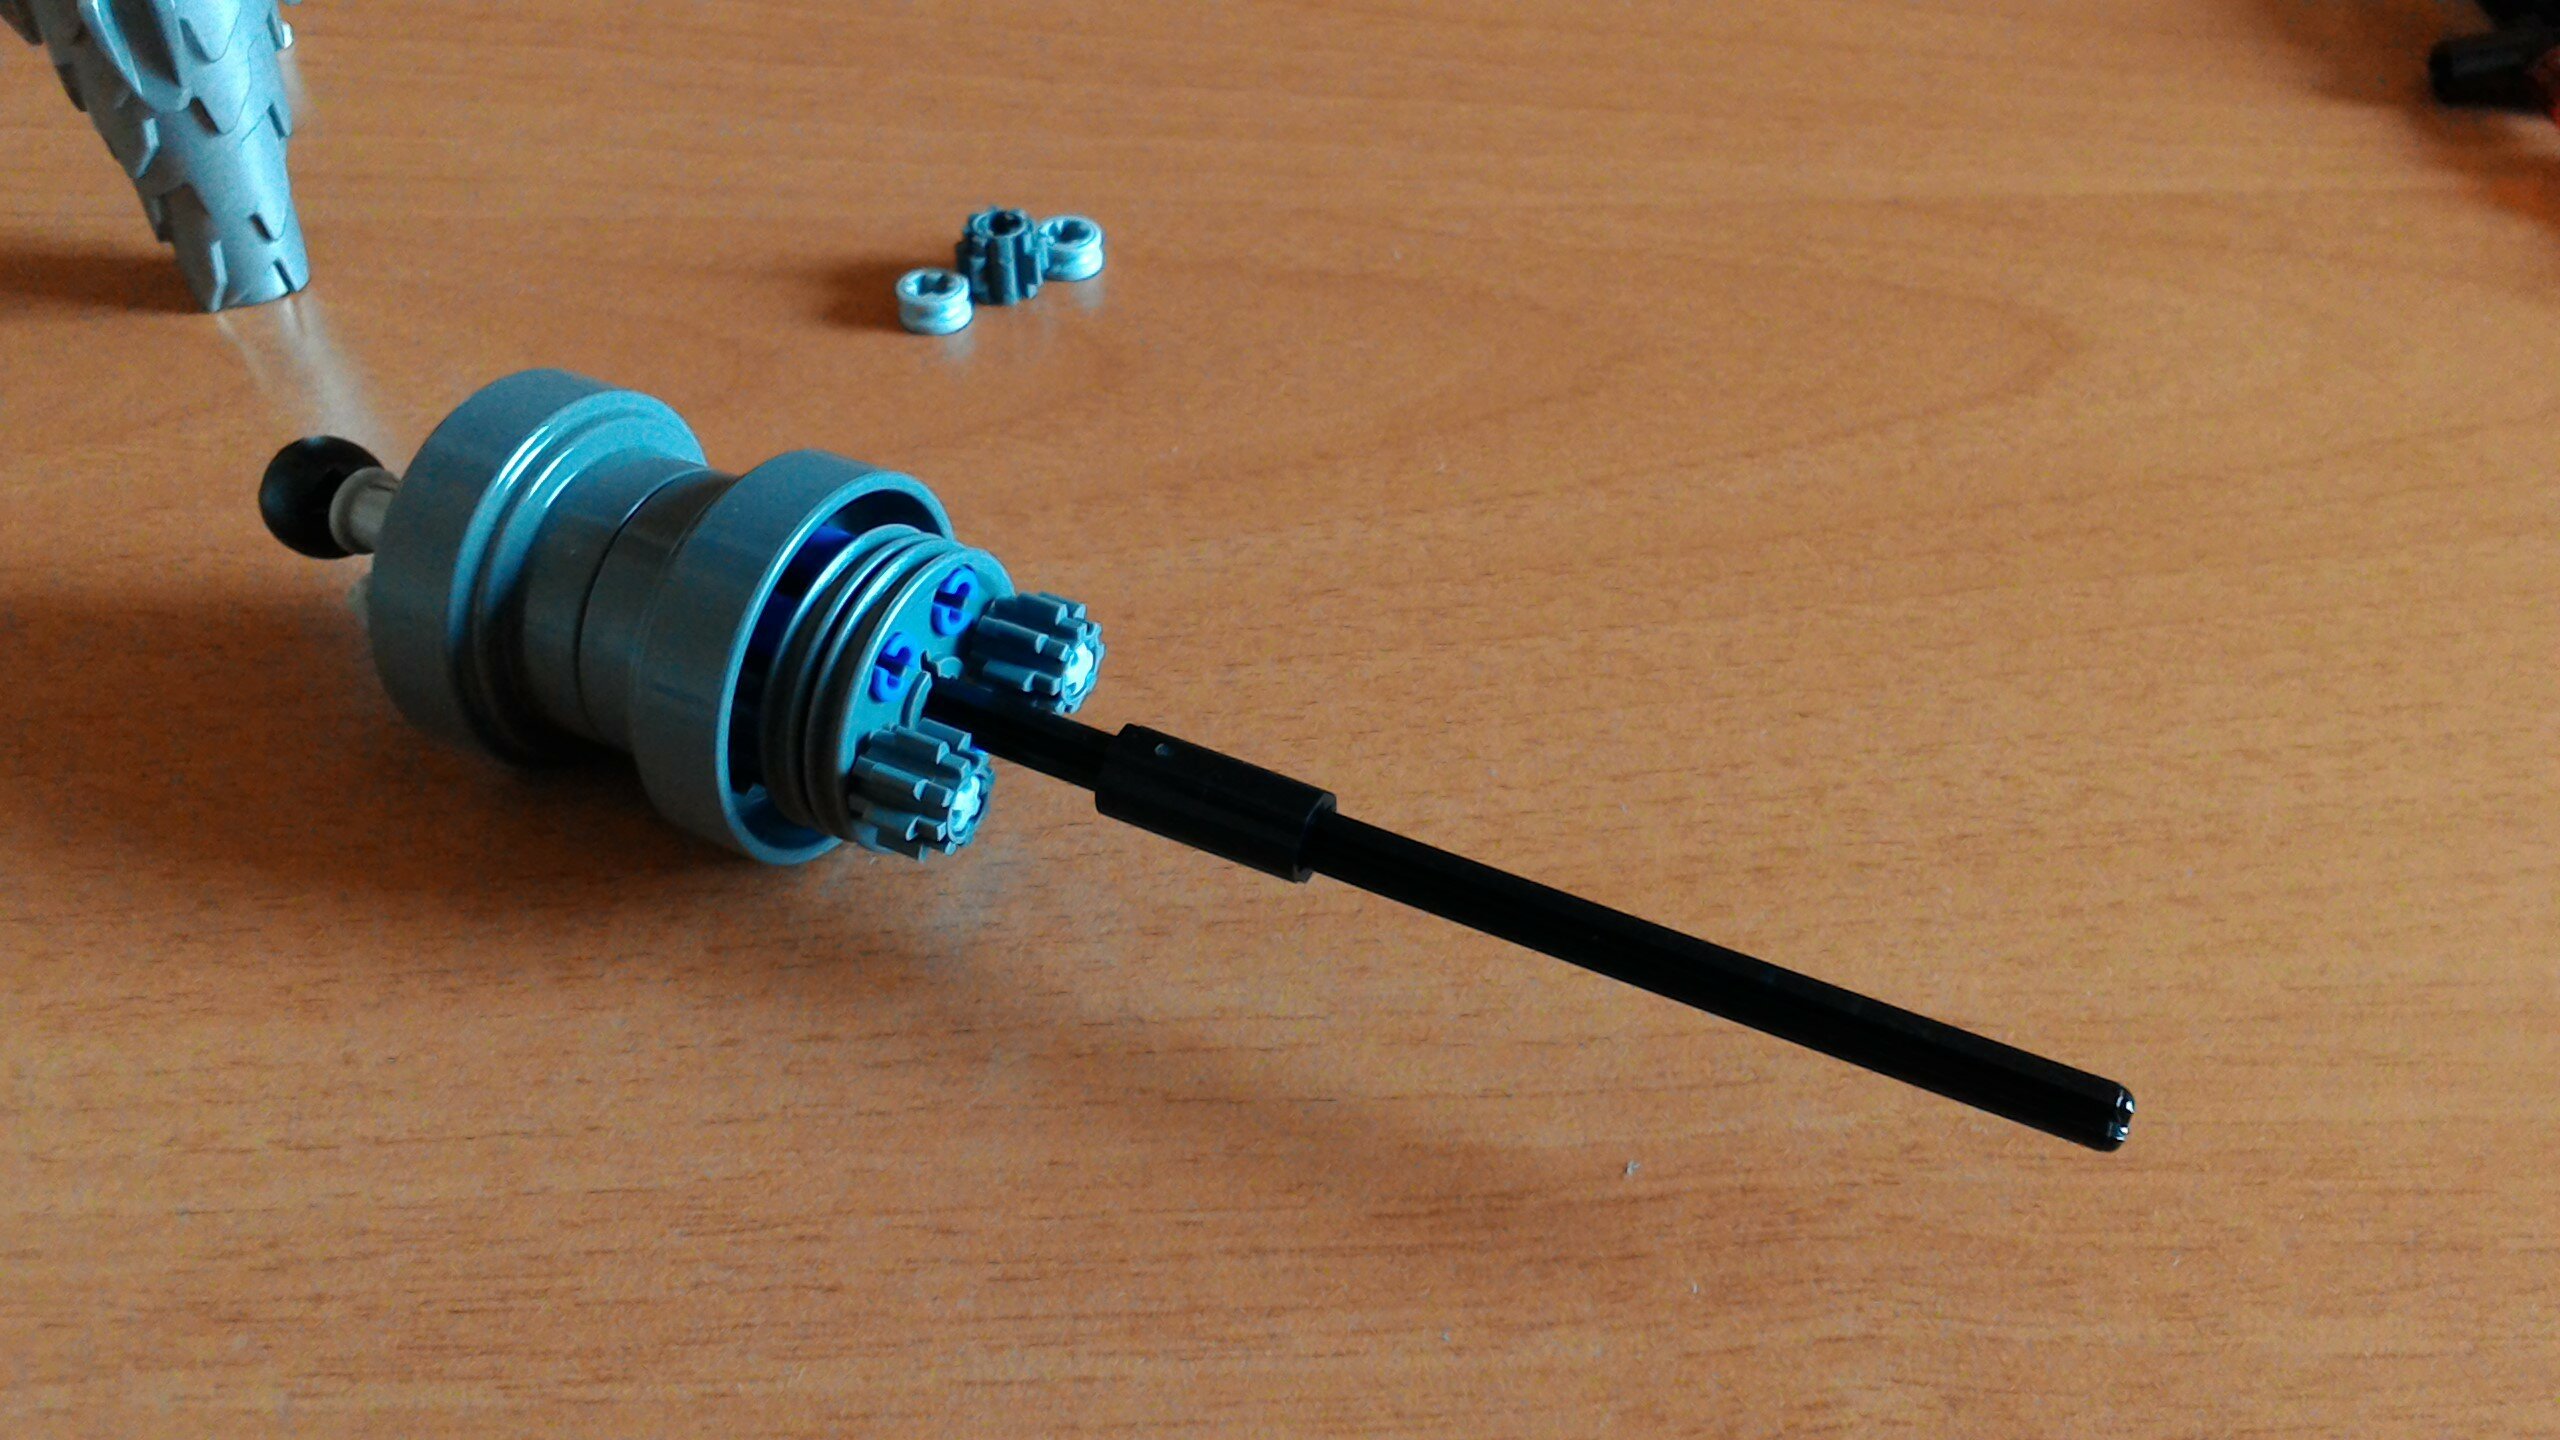
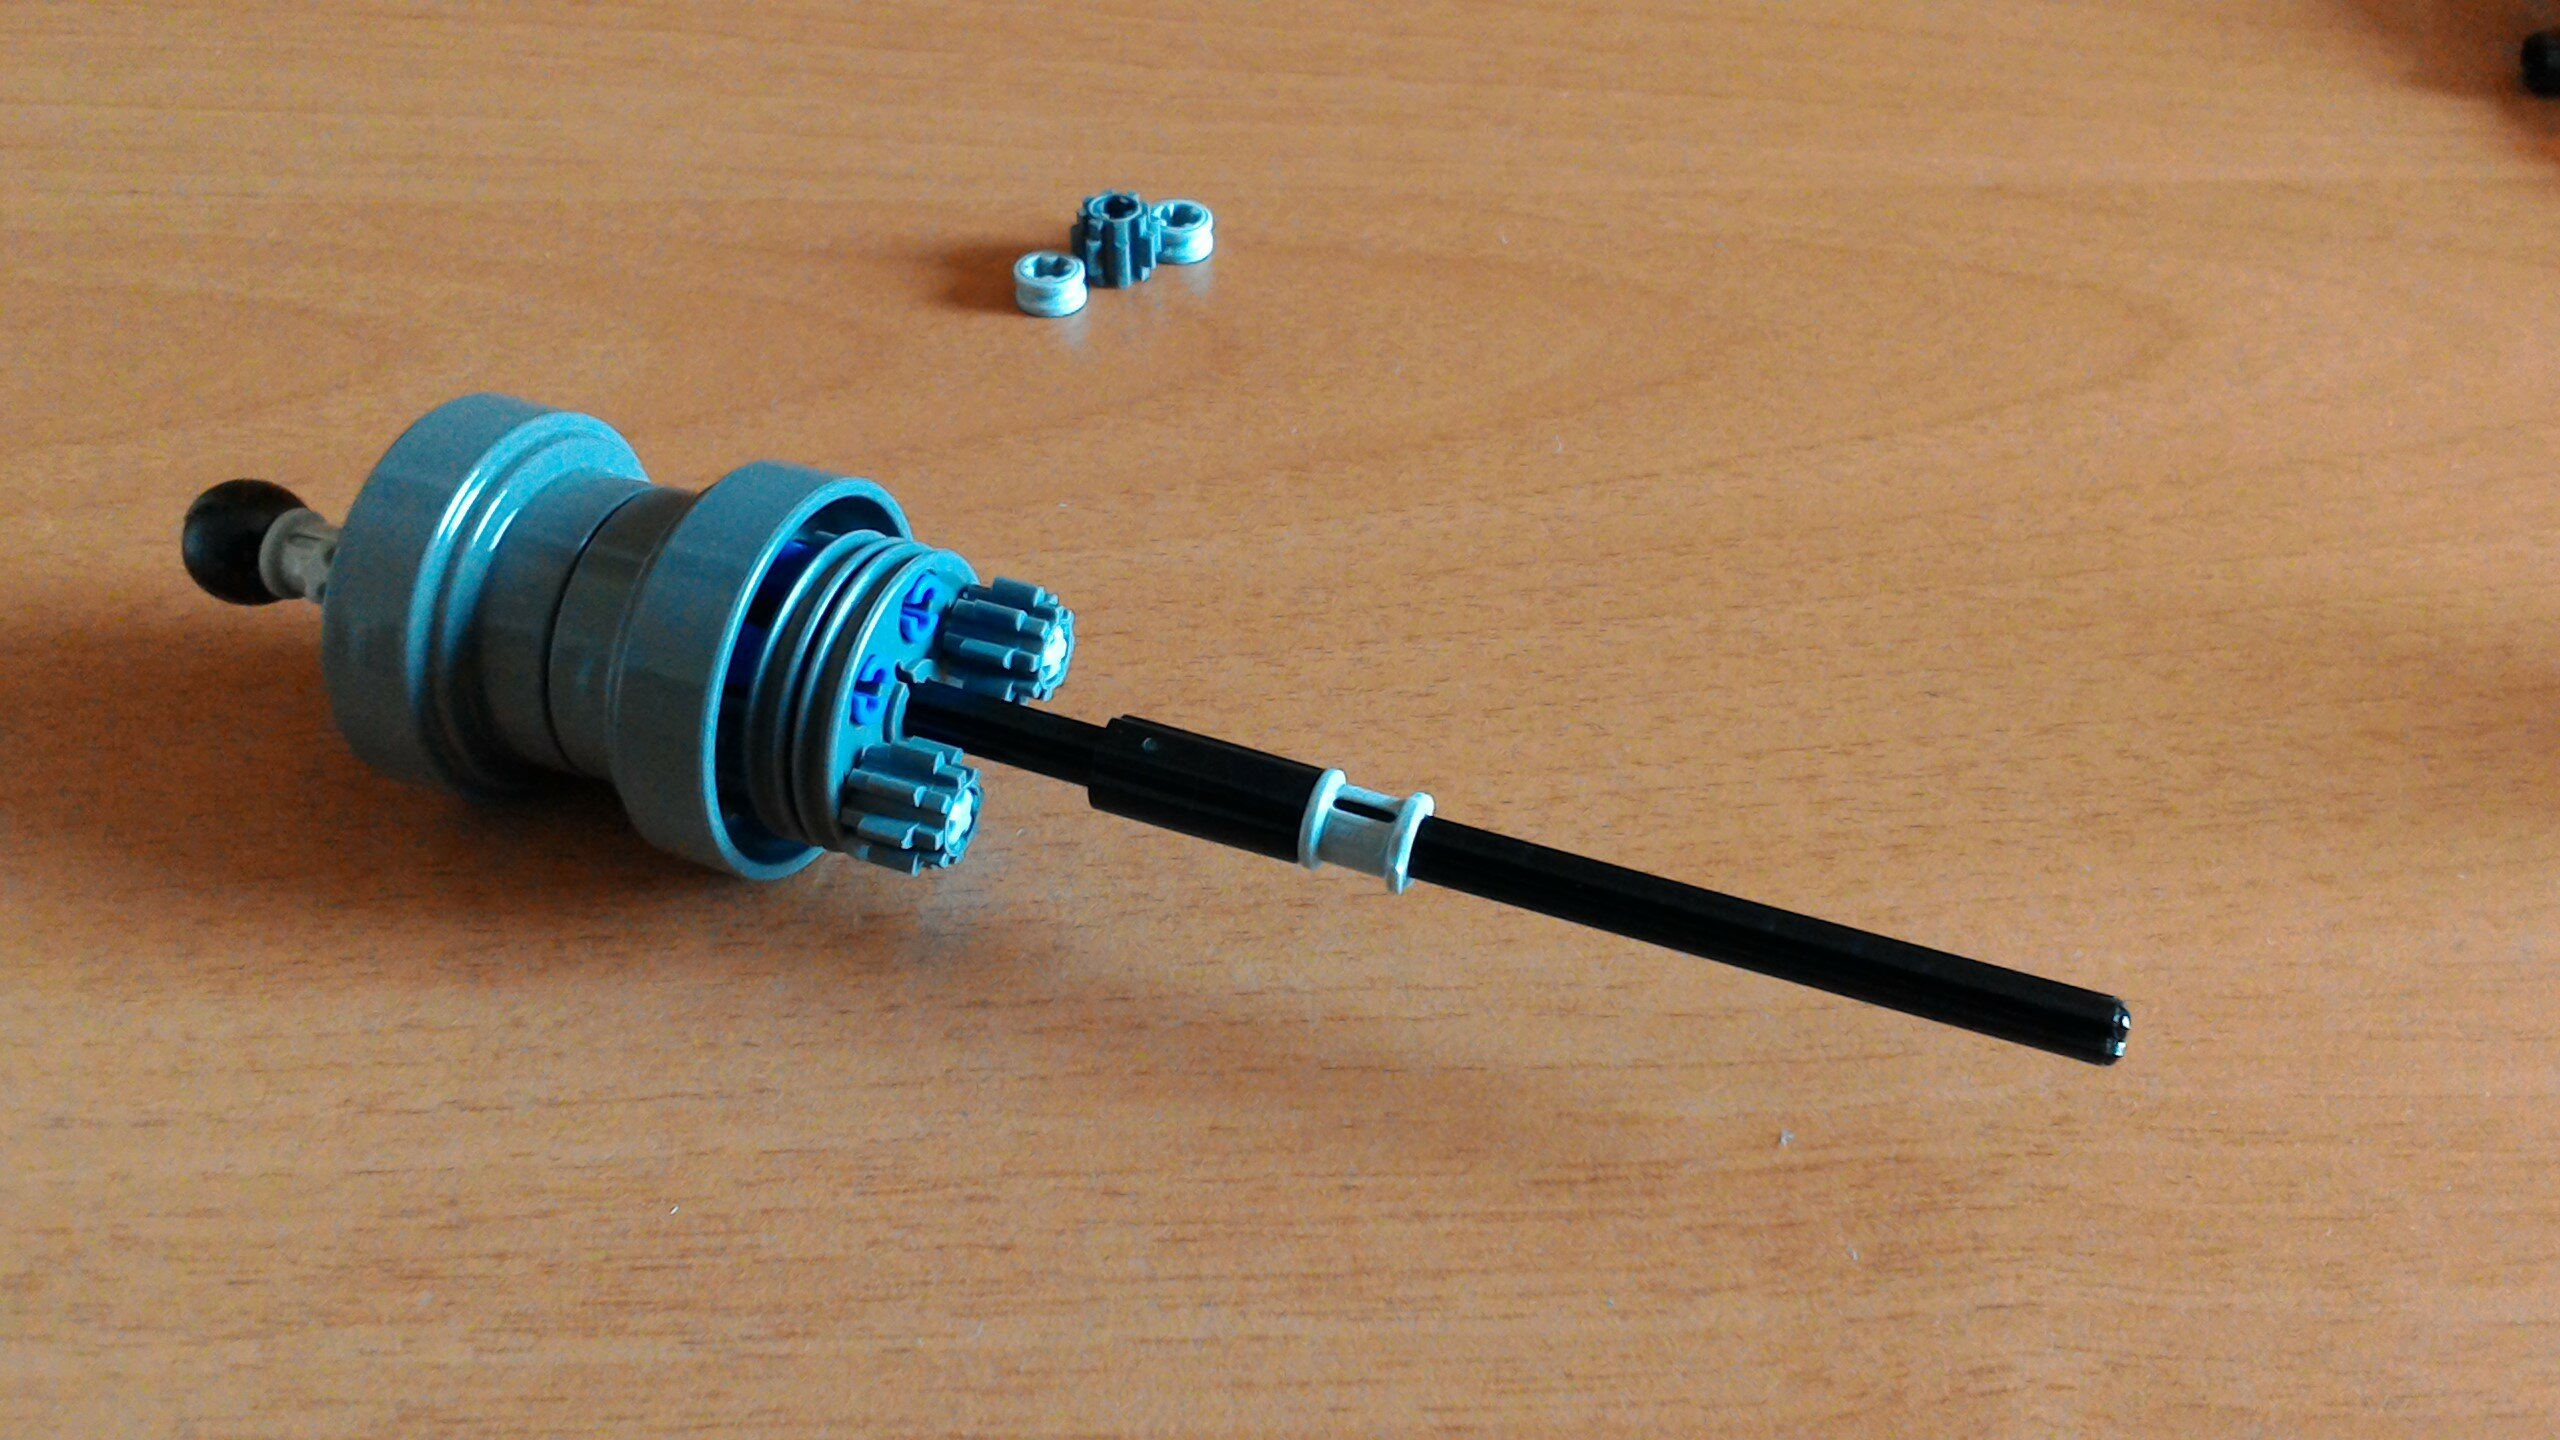
And this is the assembly that inverts the rotation. You can use 4 long axles too, it makes the mechanism more secure.

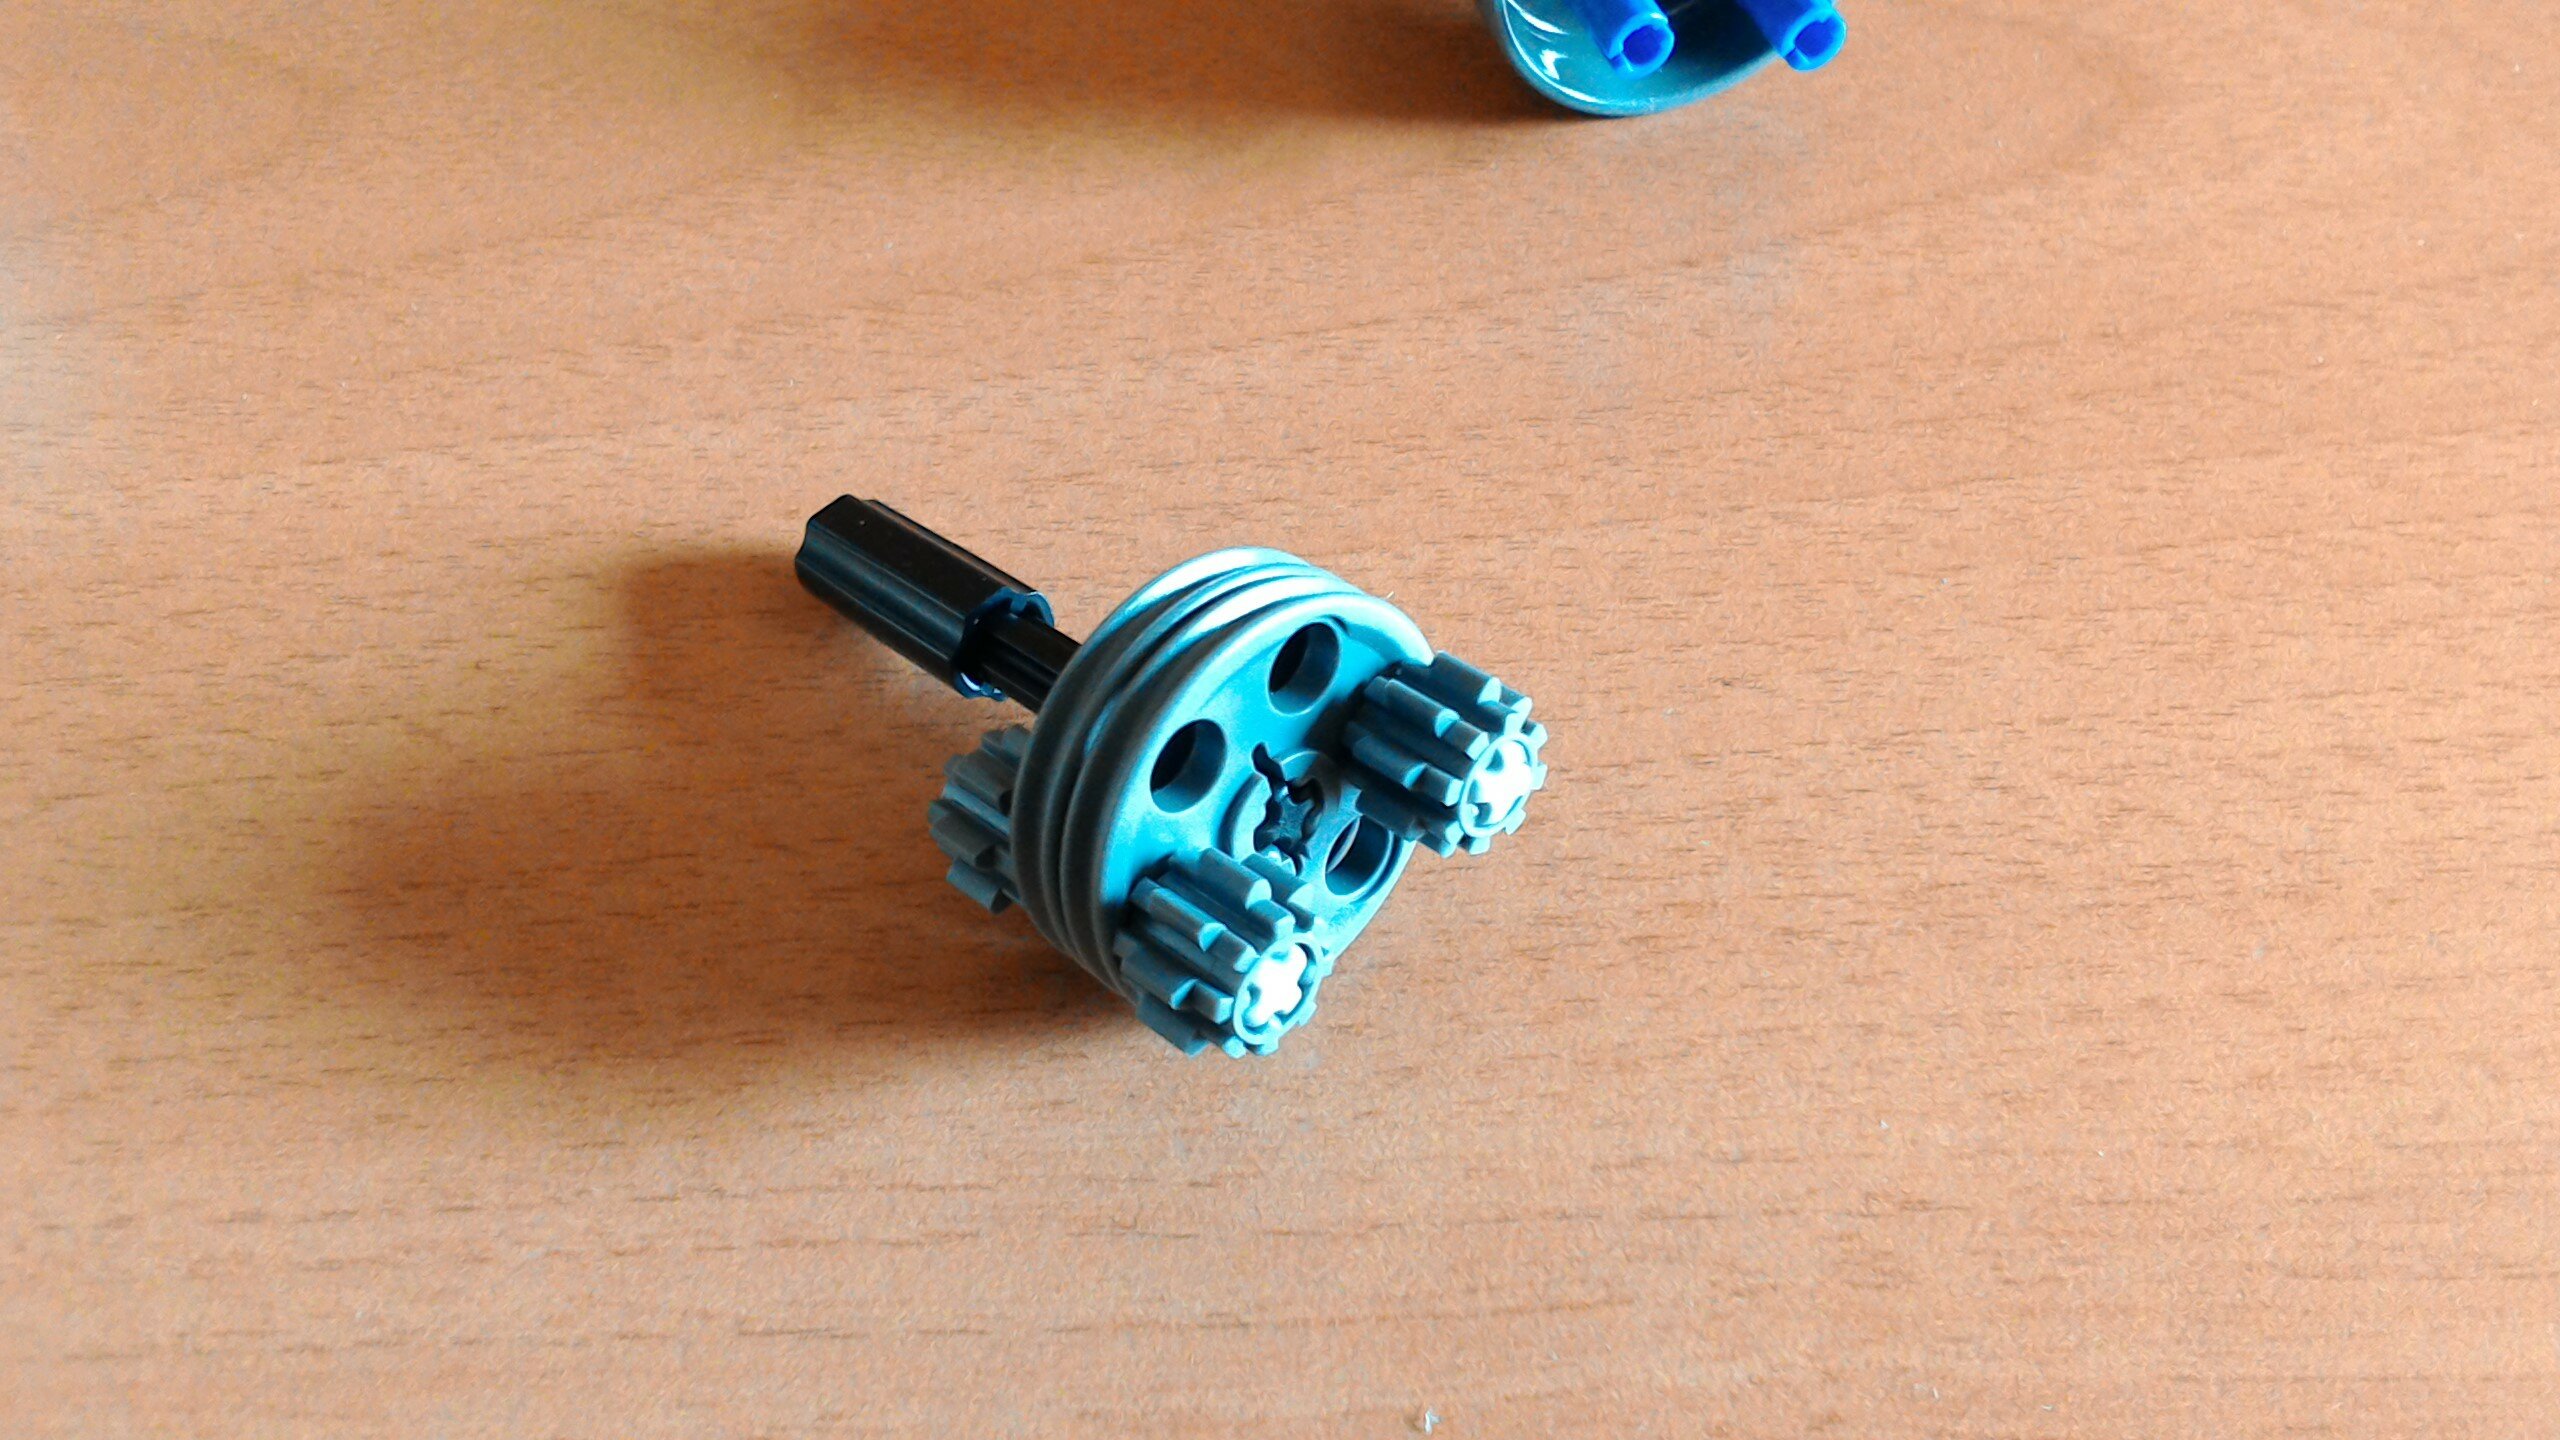
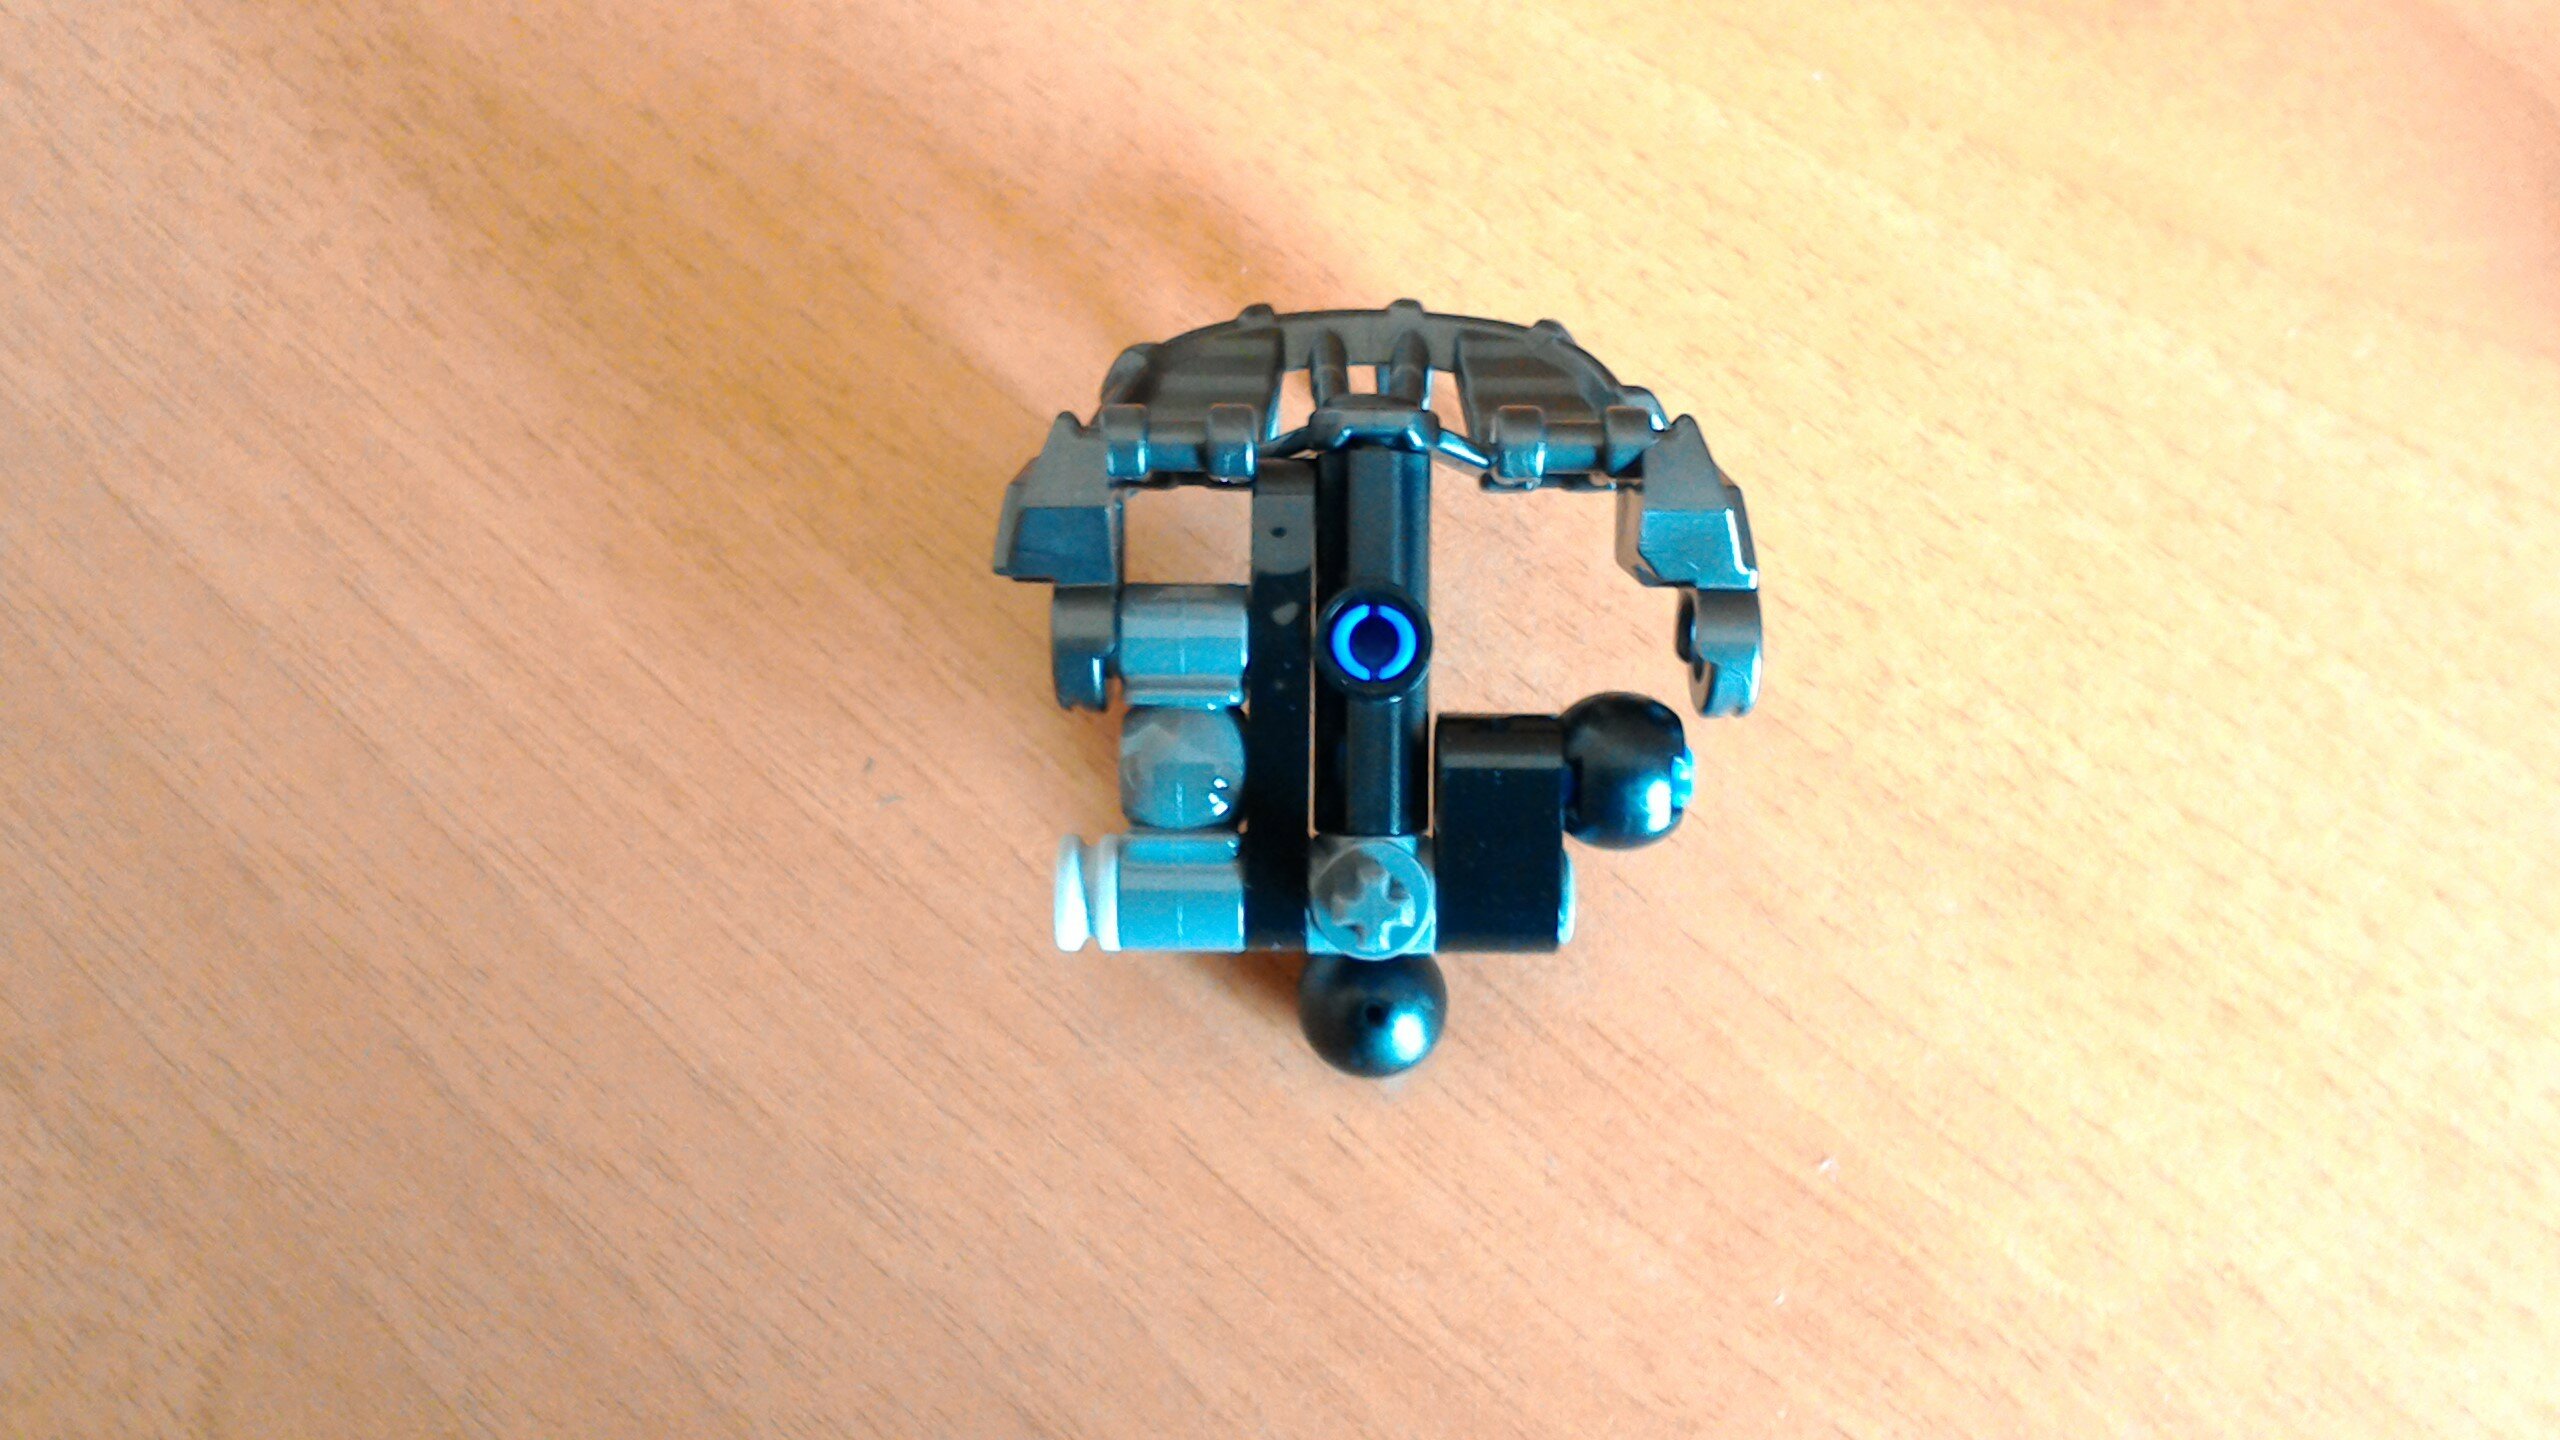
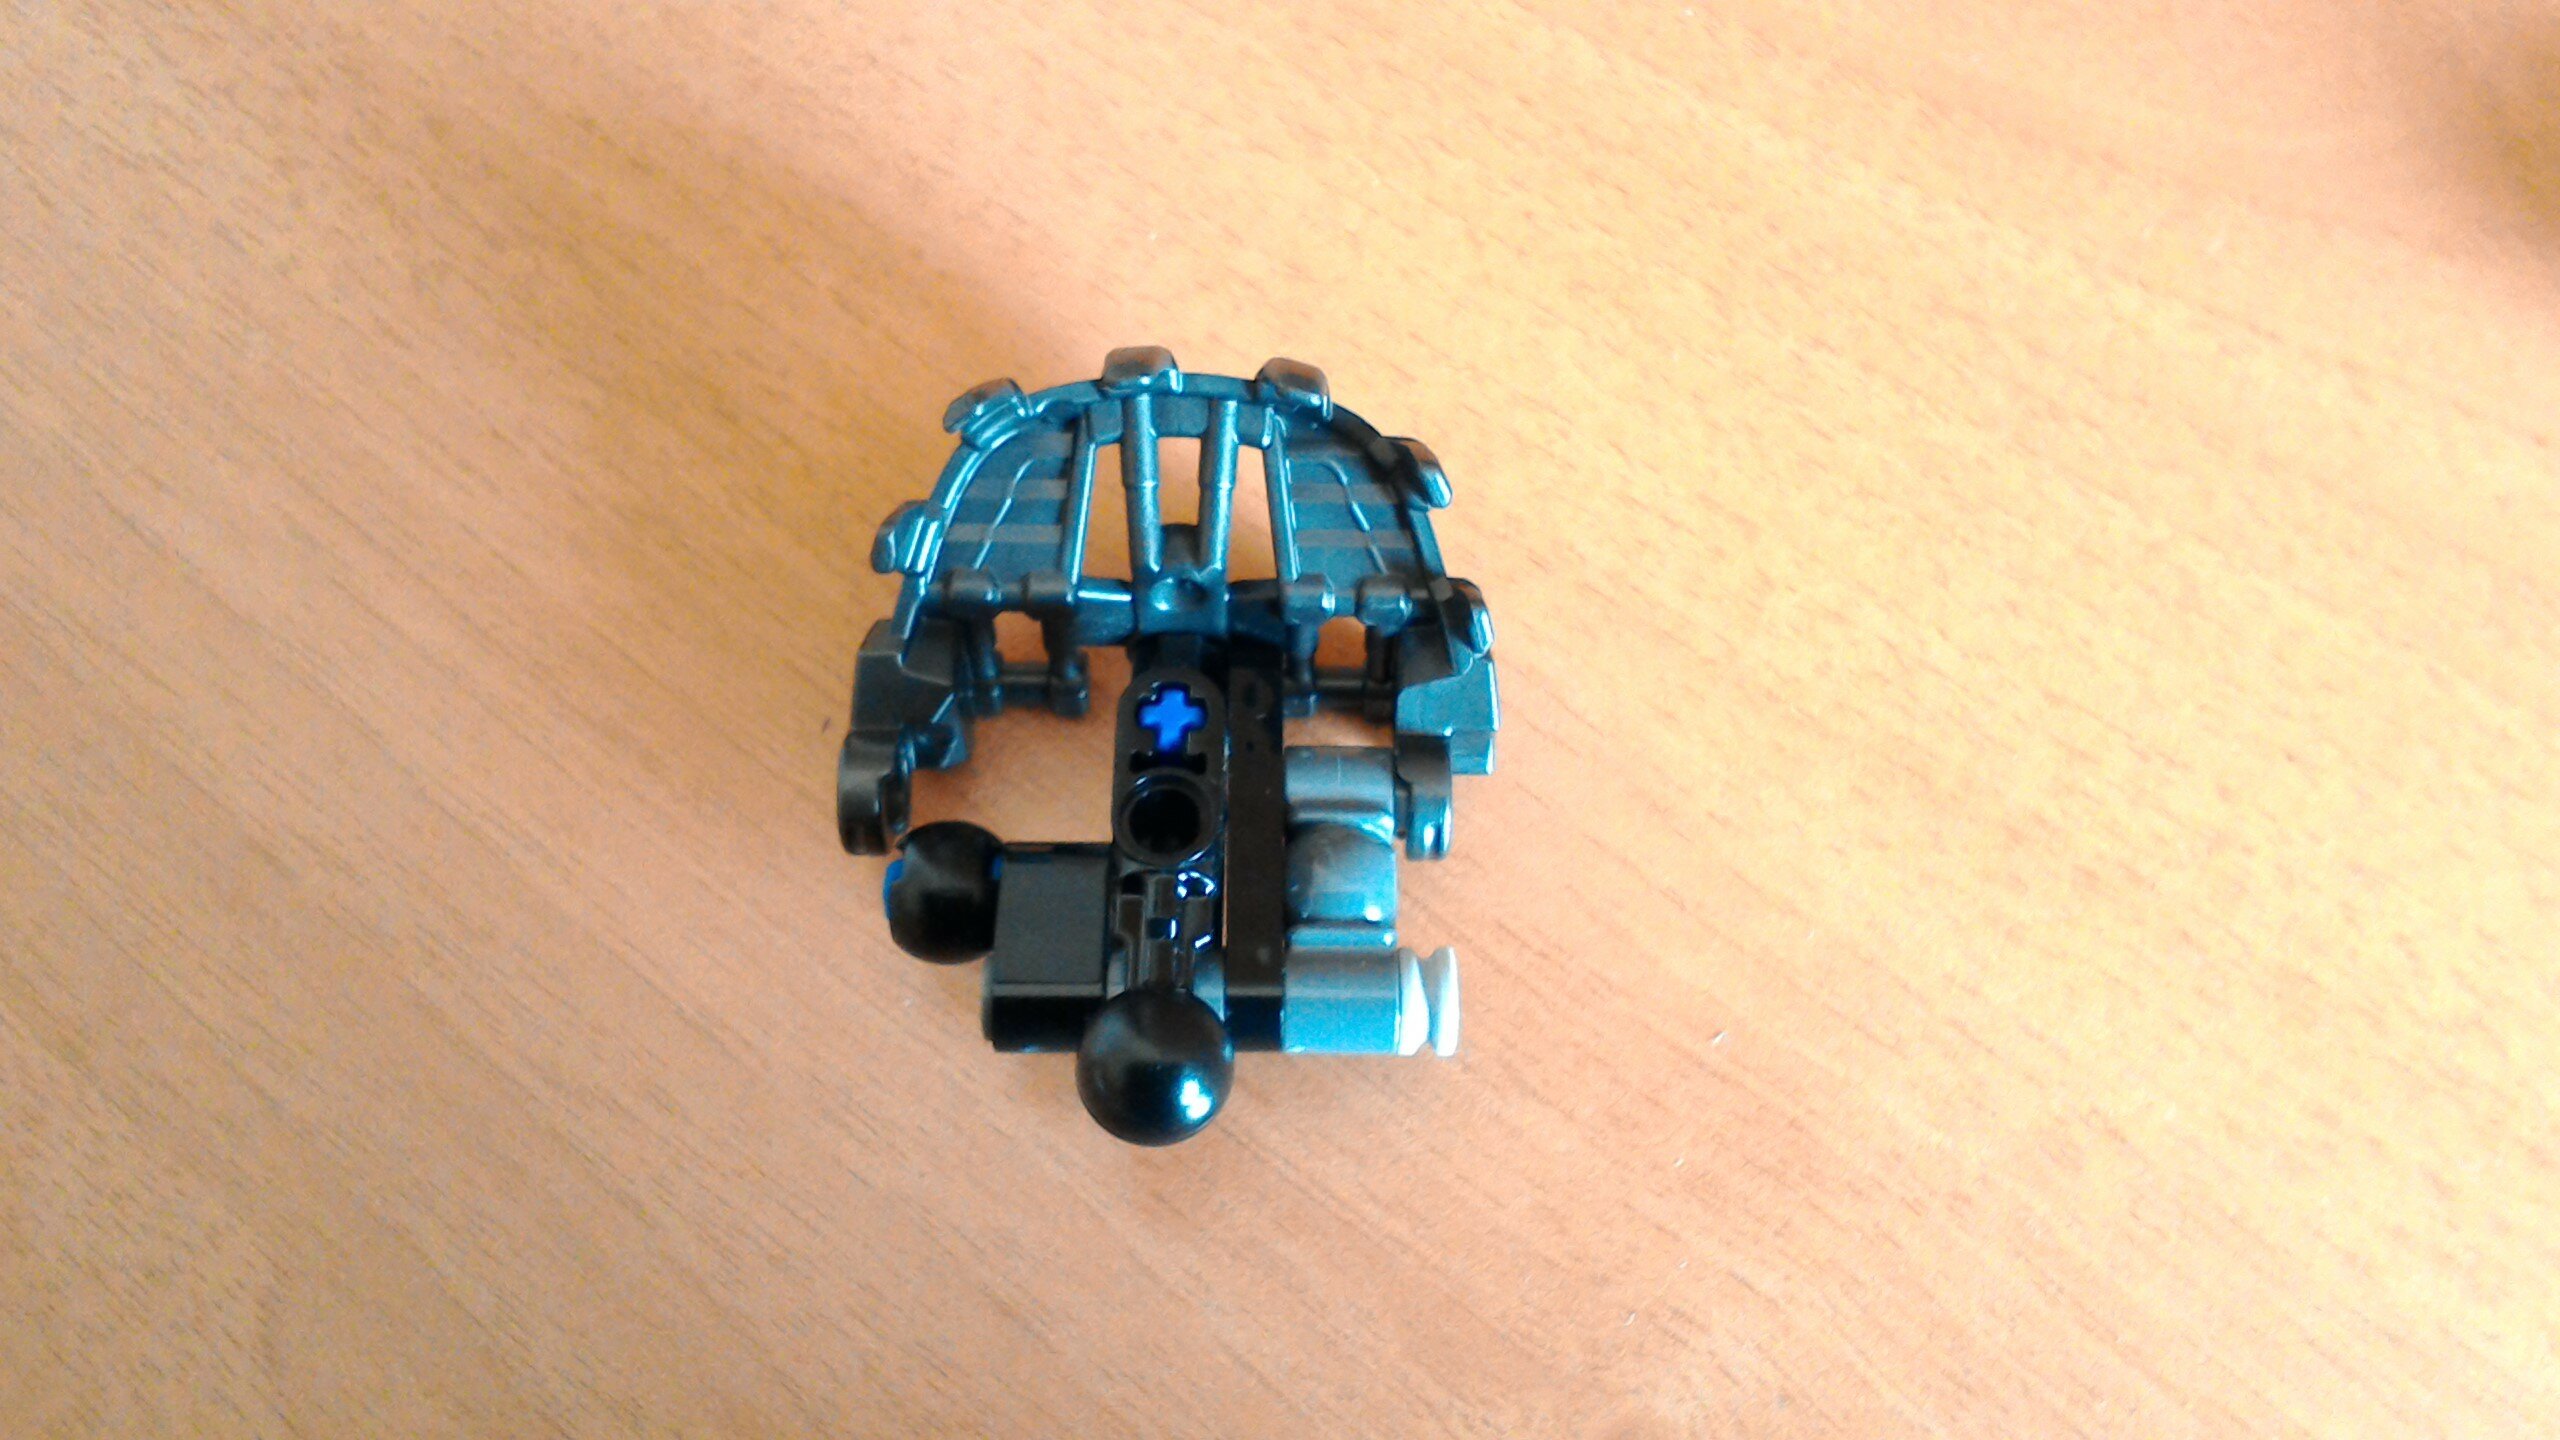
Finally, the top part has a small gear inside that will go between the two gears of the invertor (if this word exists), this will make the top psrt spin in the opposite direction.

This (^^^^) is the gear I’m talking about. The blue pins will connect the top part to the “invertor”.

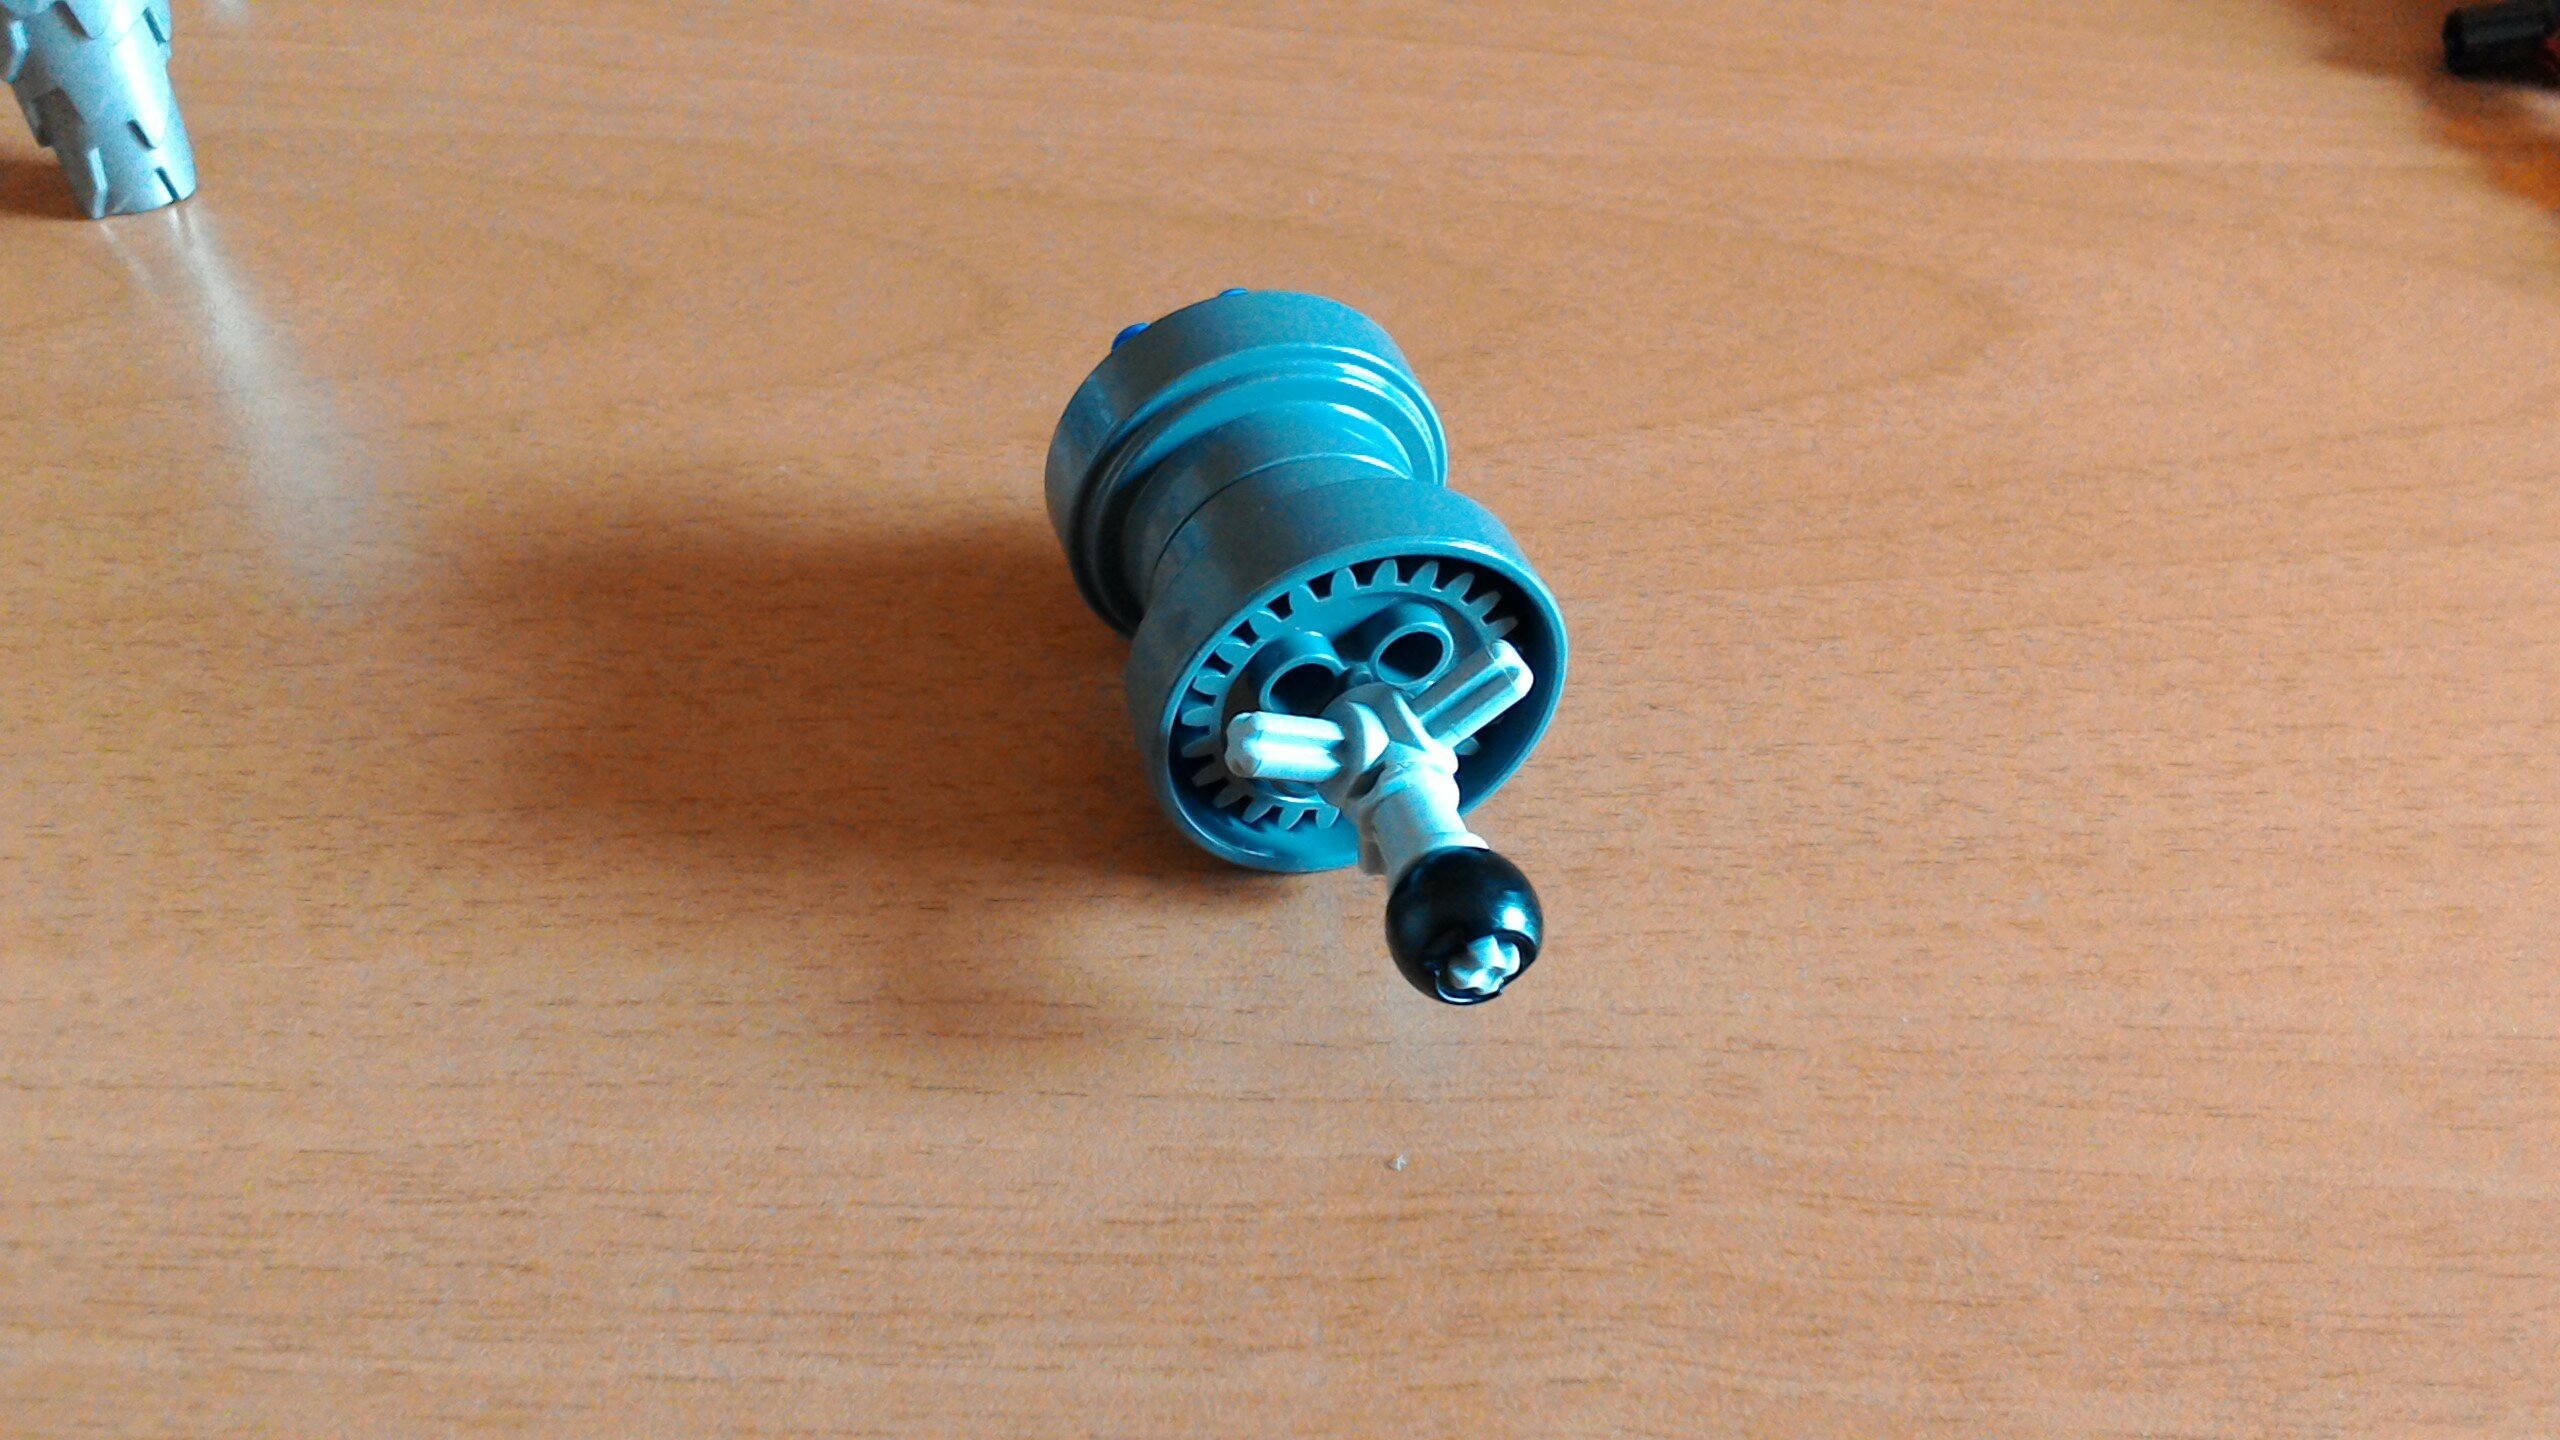
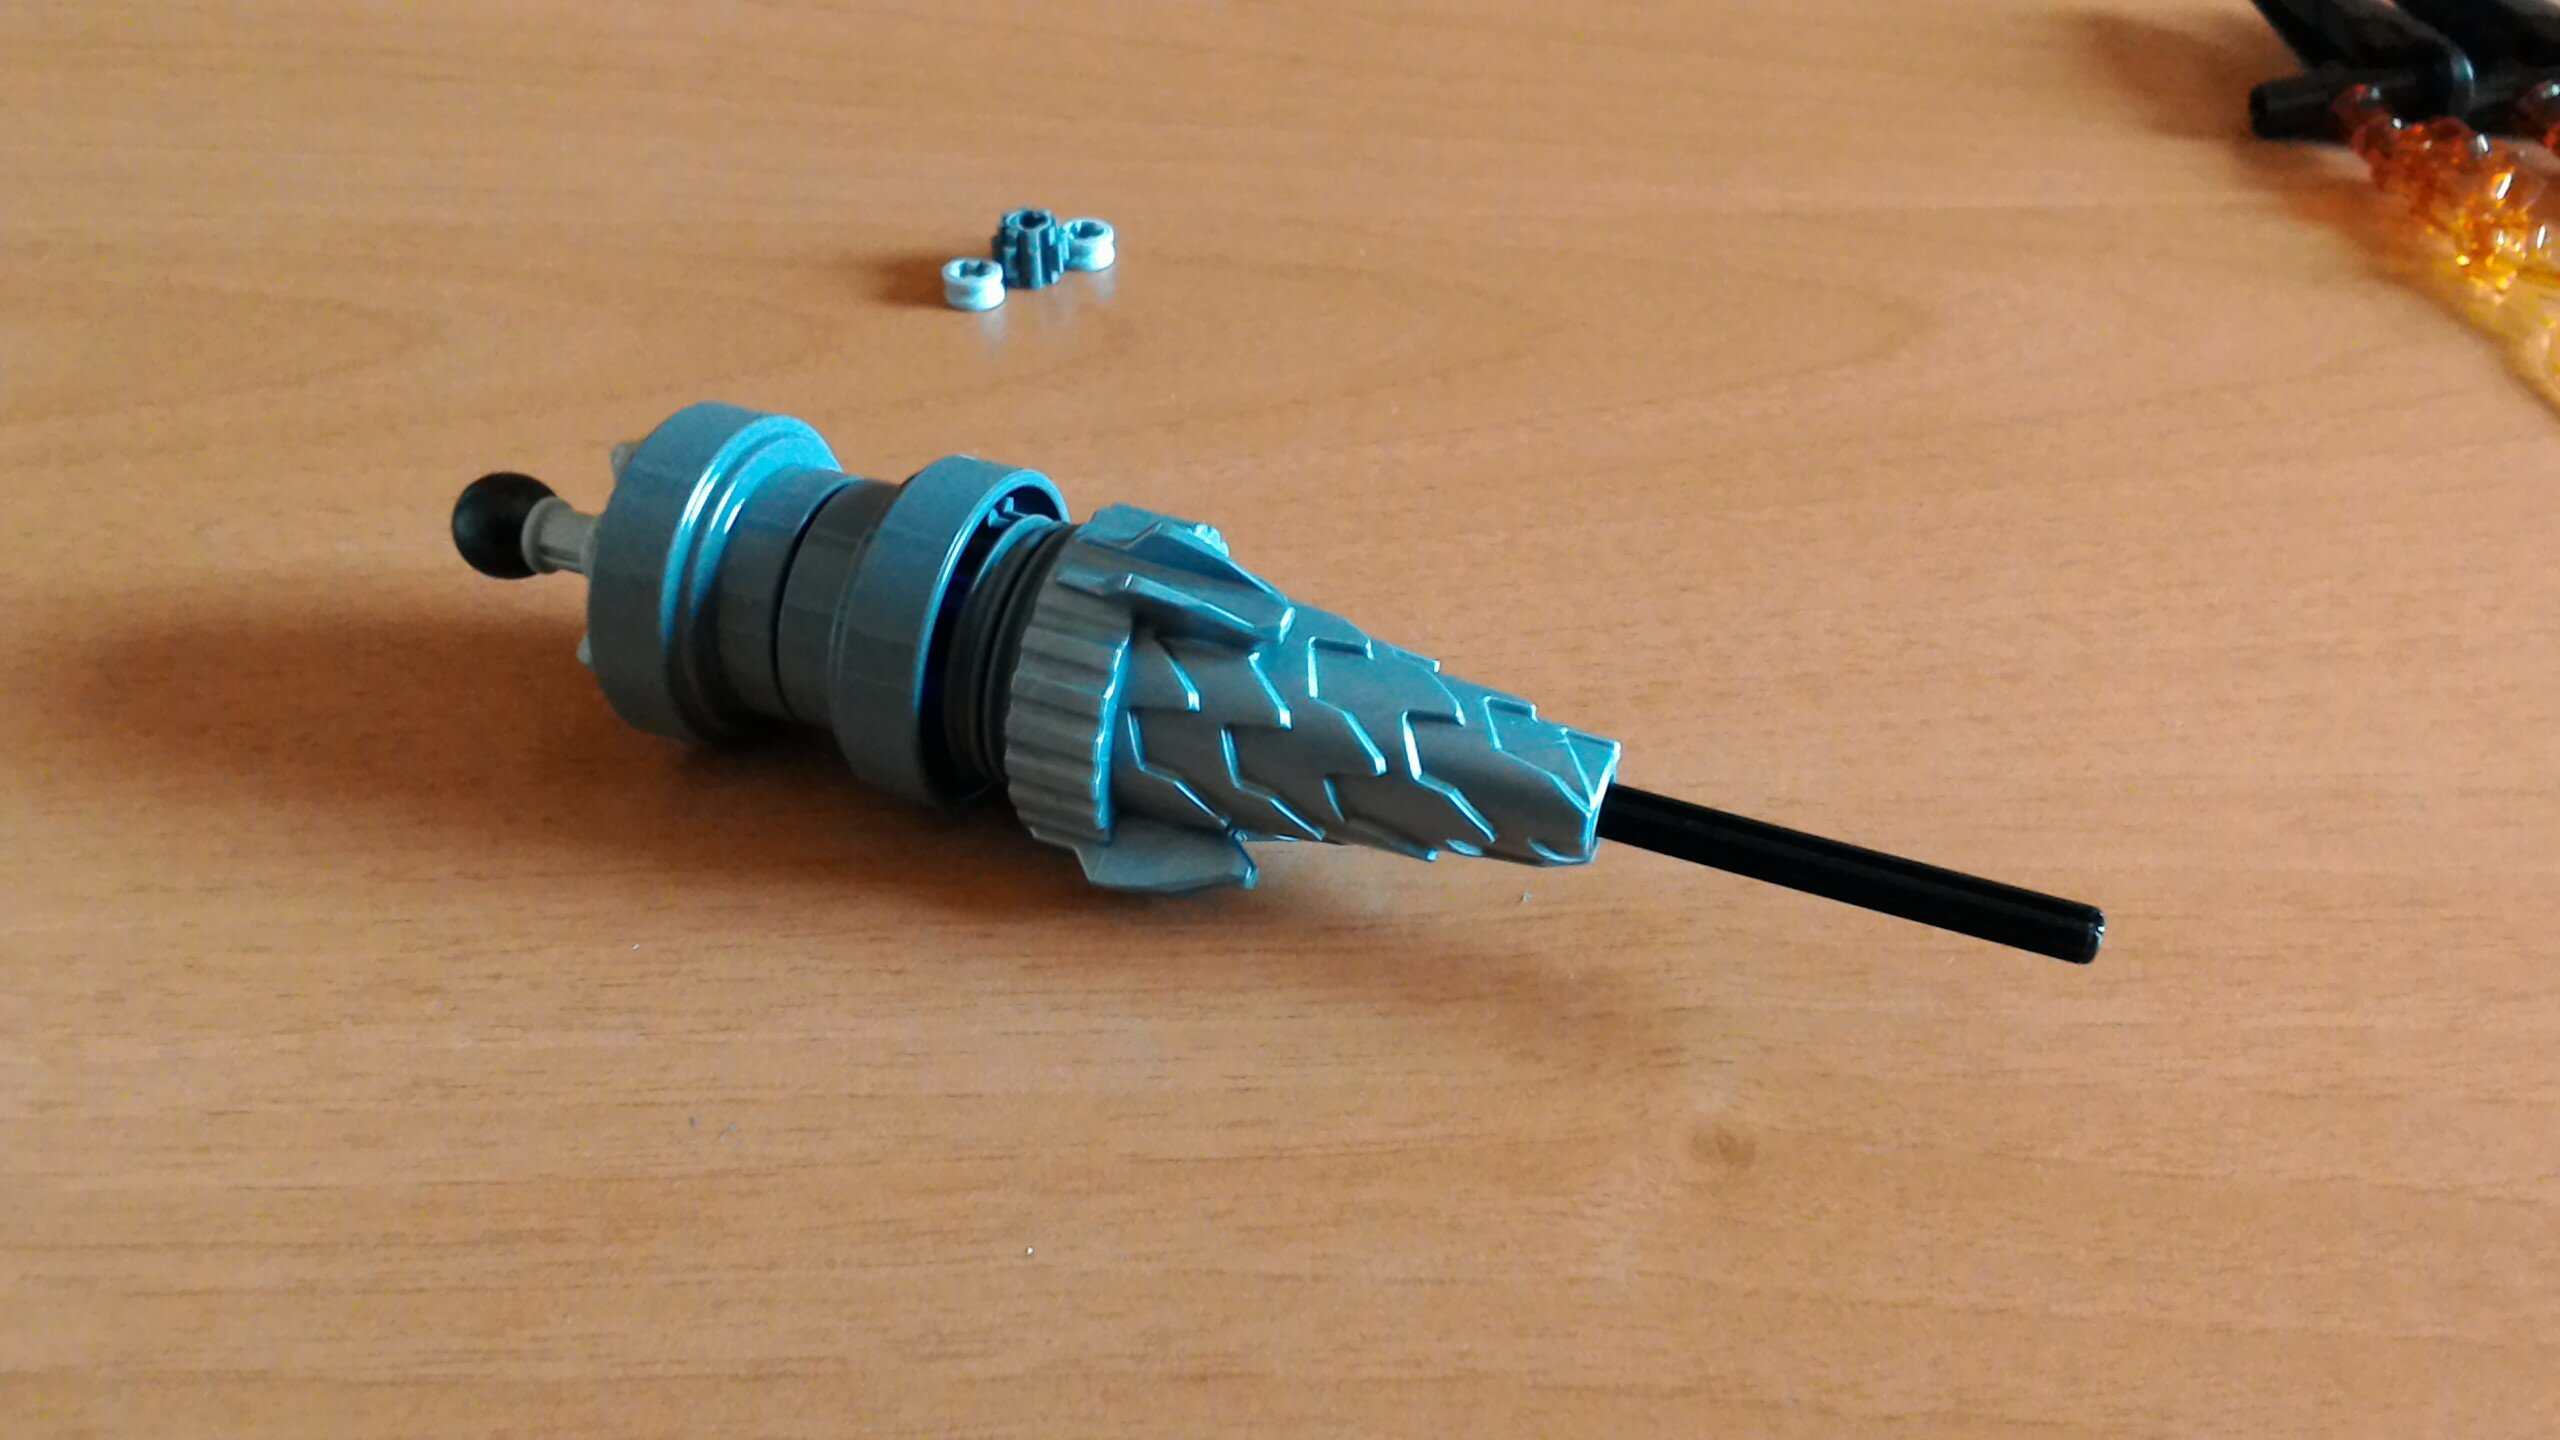
Ok, now let’s put it together. If at first your mechanism doesn’t work properly or is too stiff, you should take it apart snd try again, you probably didn’t align the gears properly.

As I said before, if at first the function doesn’t work or is too stiff, take it apart and reassemble the staff, you probably didn’t align the gears properly.

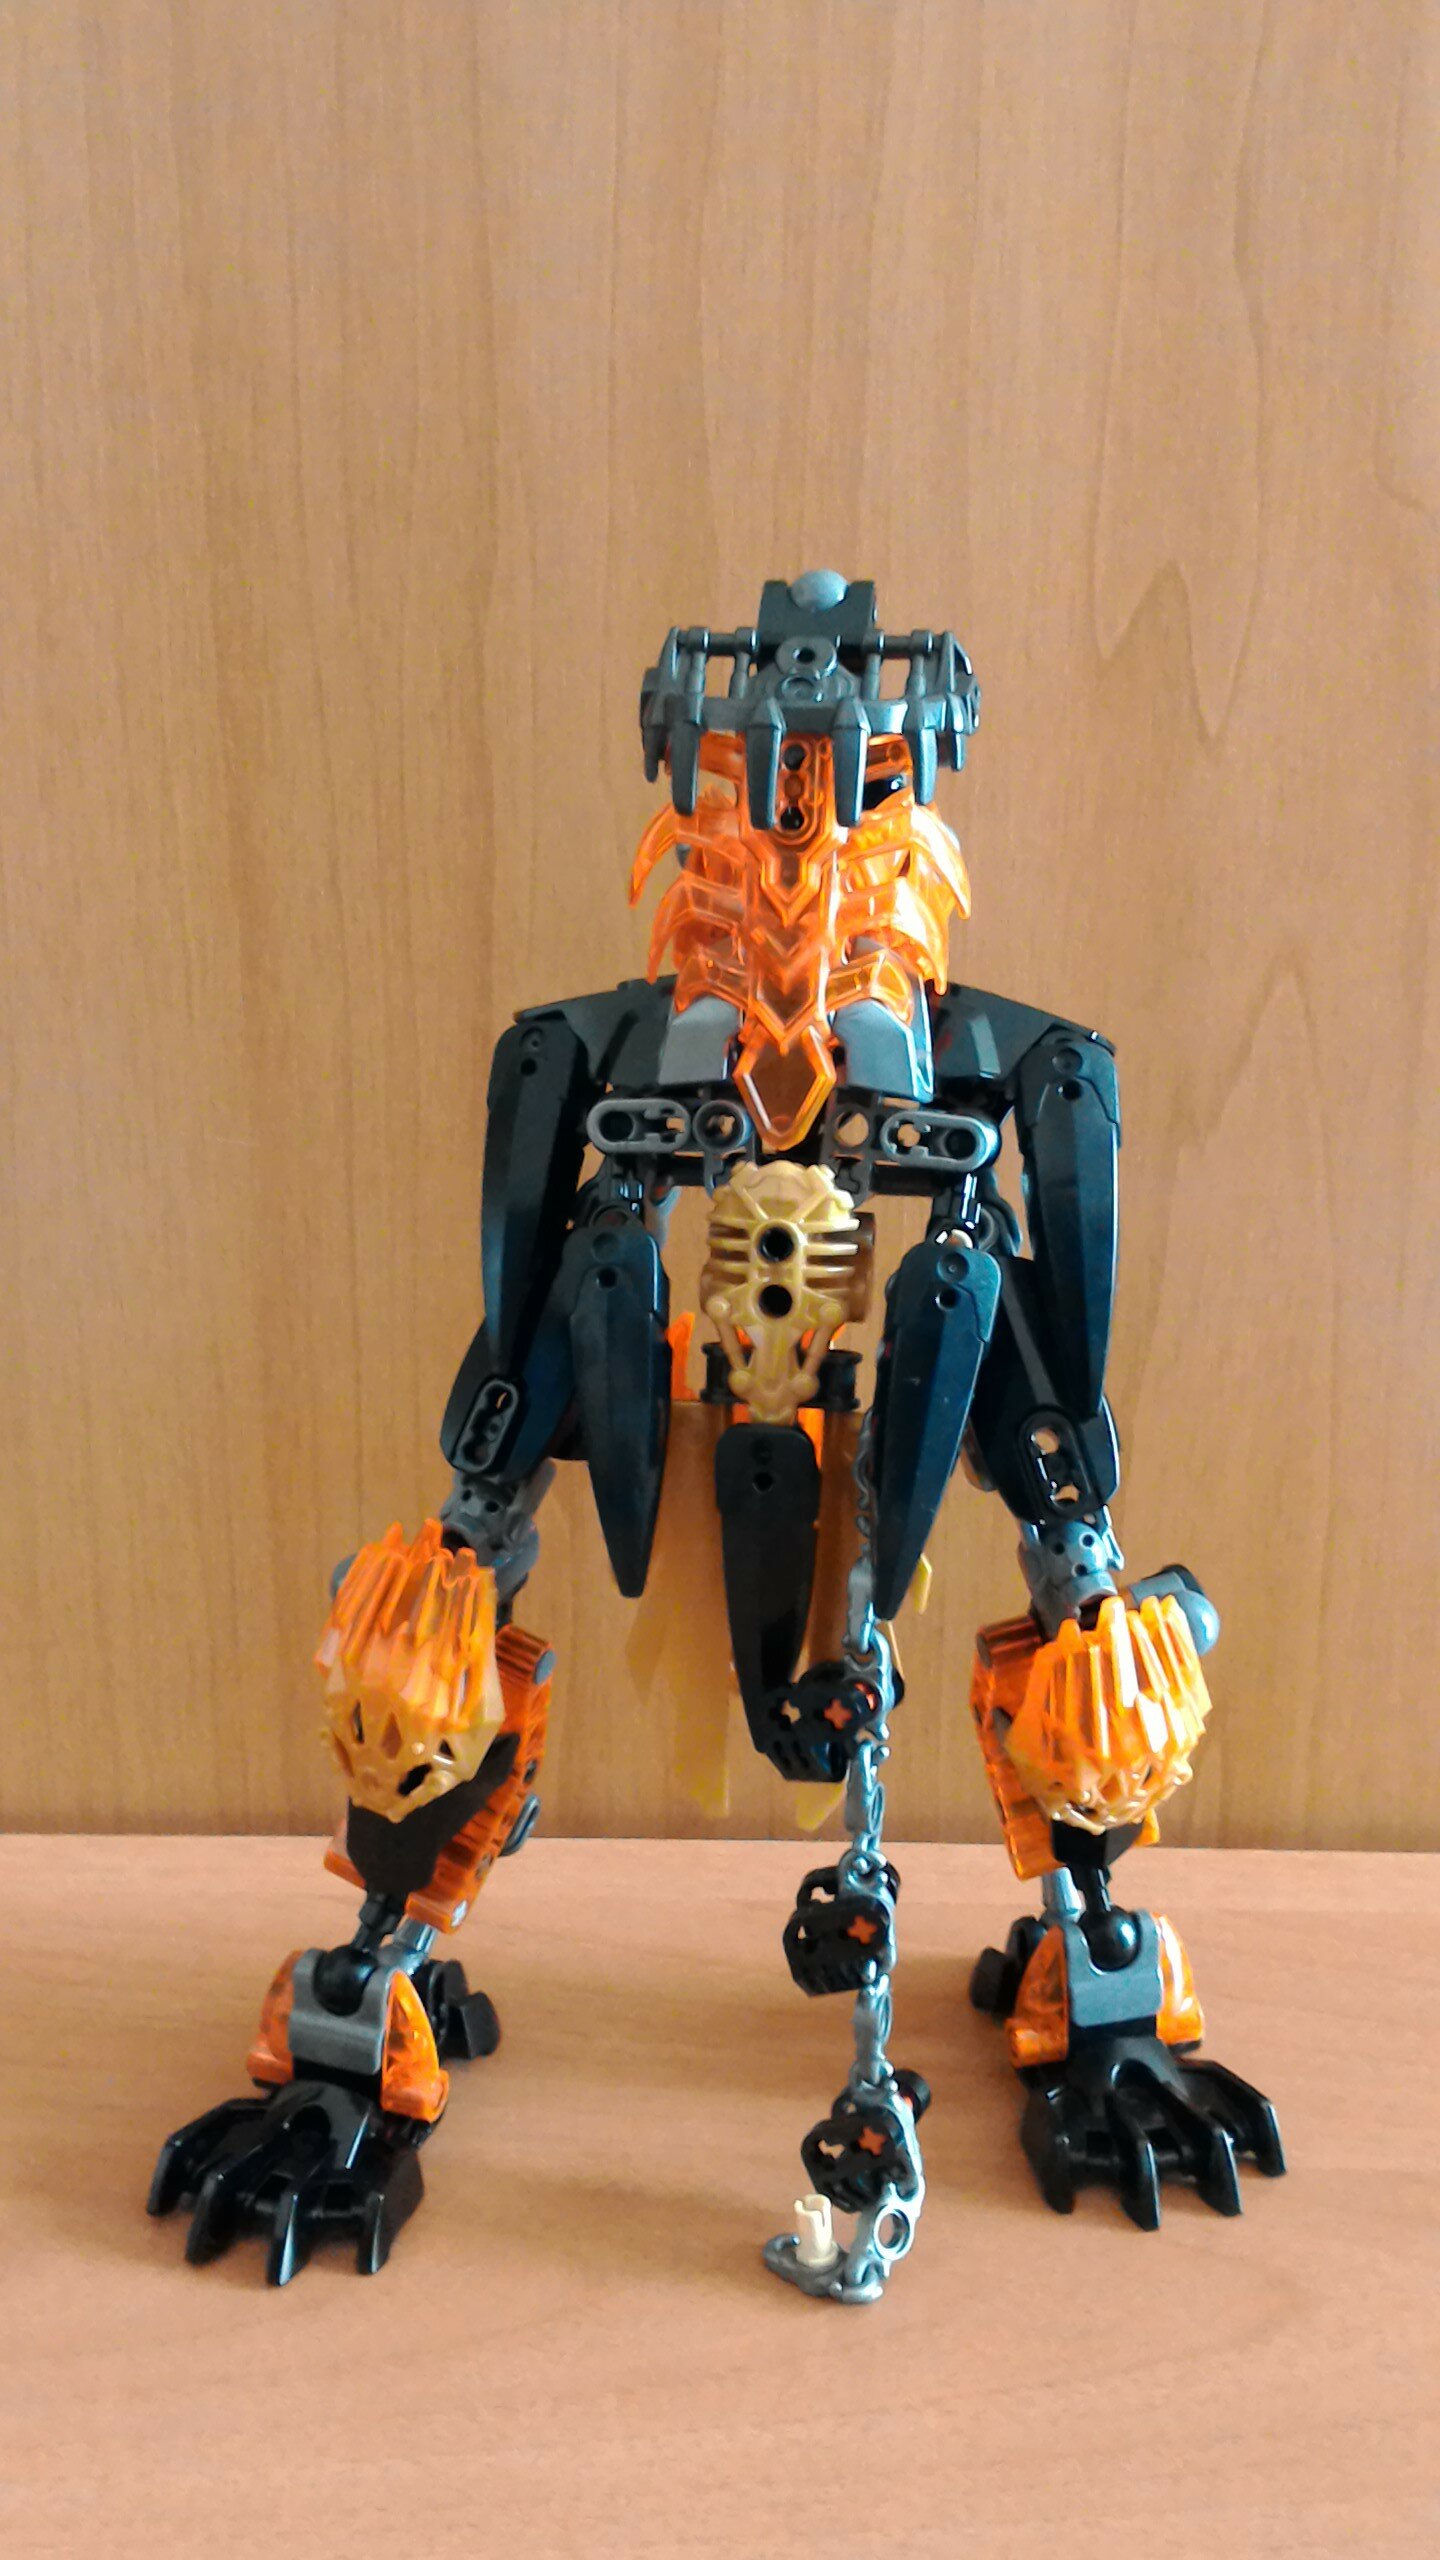
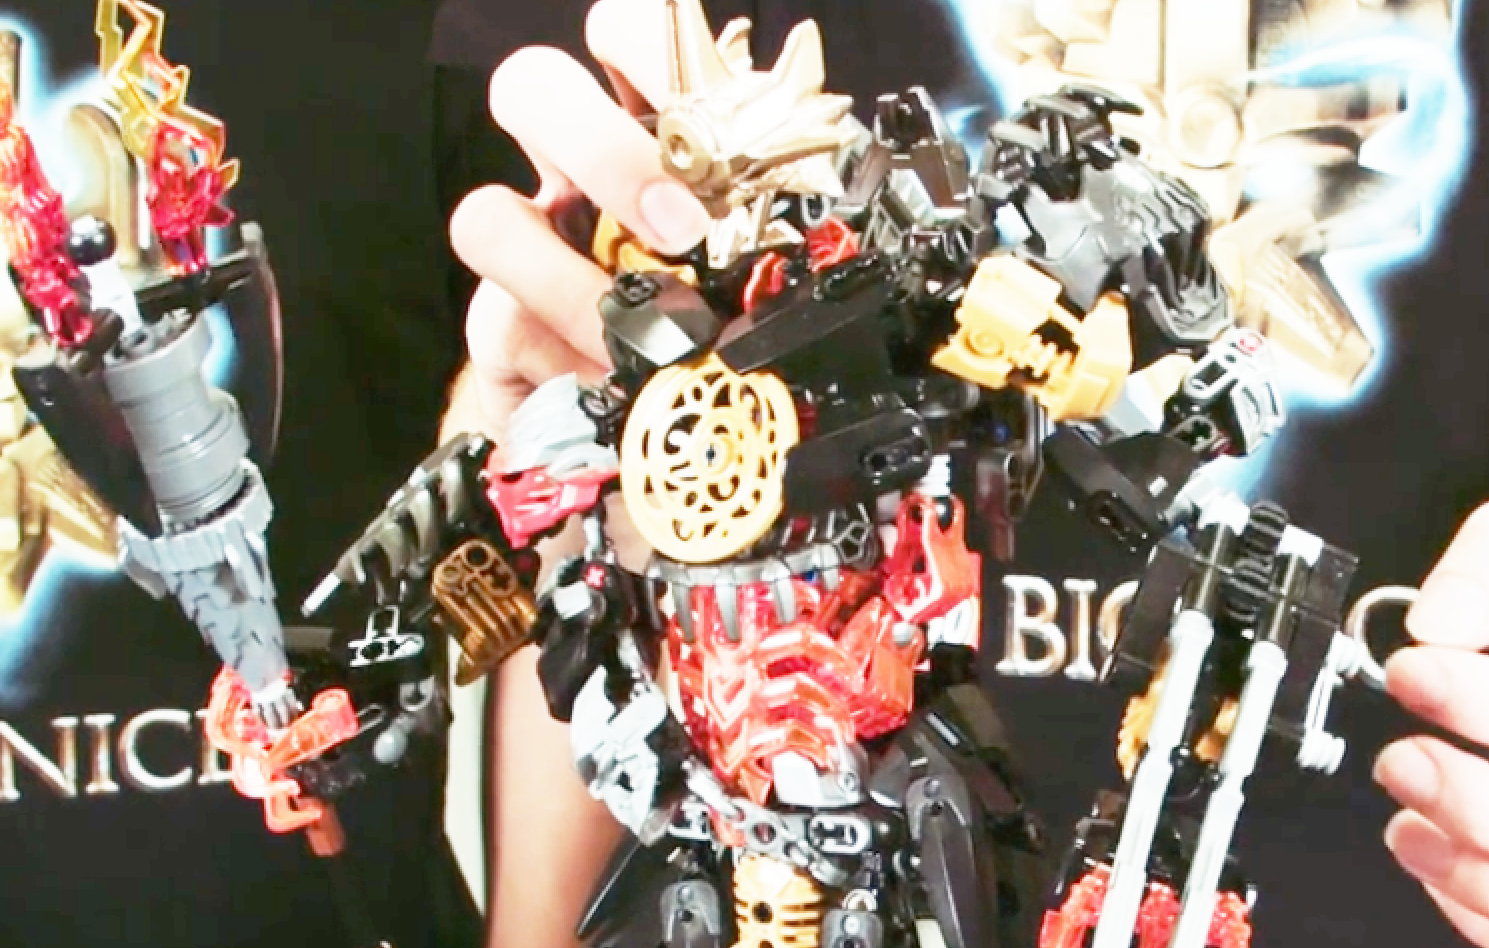
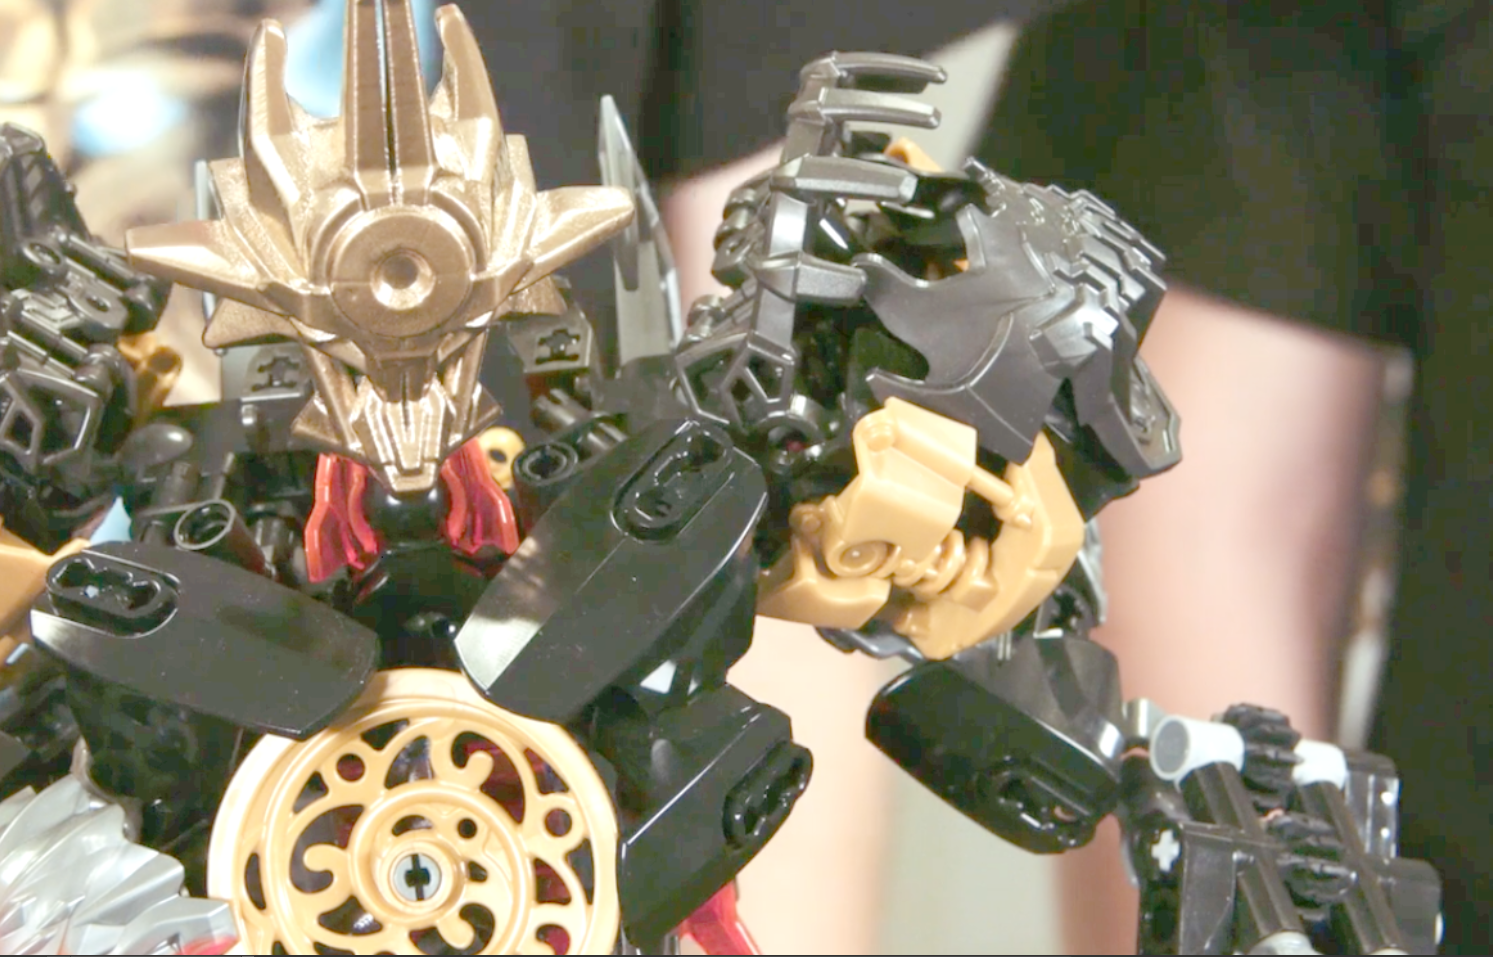
Ok, and here’s how I made the shoulder pads. One thing I noticed about @Scarilian 's design that I don’t think is correct is the fact that the pin holes of the Shadow Trap pieces don’t go into the shoulder (in fact in the video they’re not present). I also noticed that the shoulders are asymmetrical, because the armor add-on on the left (our right) is angled outwards, and the one on the right (our left) is straight (I hope it makes sense, feel free to ask for clarifications).

Anyway, here’s my design.

The design is exactly the same on both shoulders, it’s not mirrored.
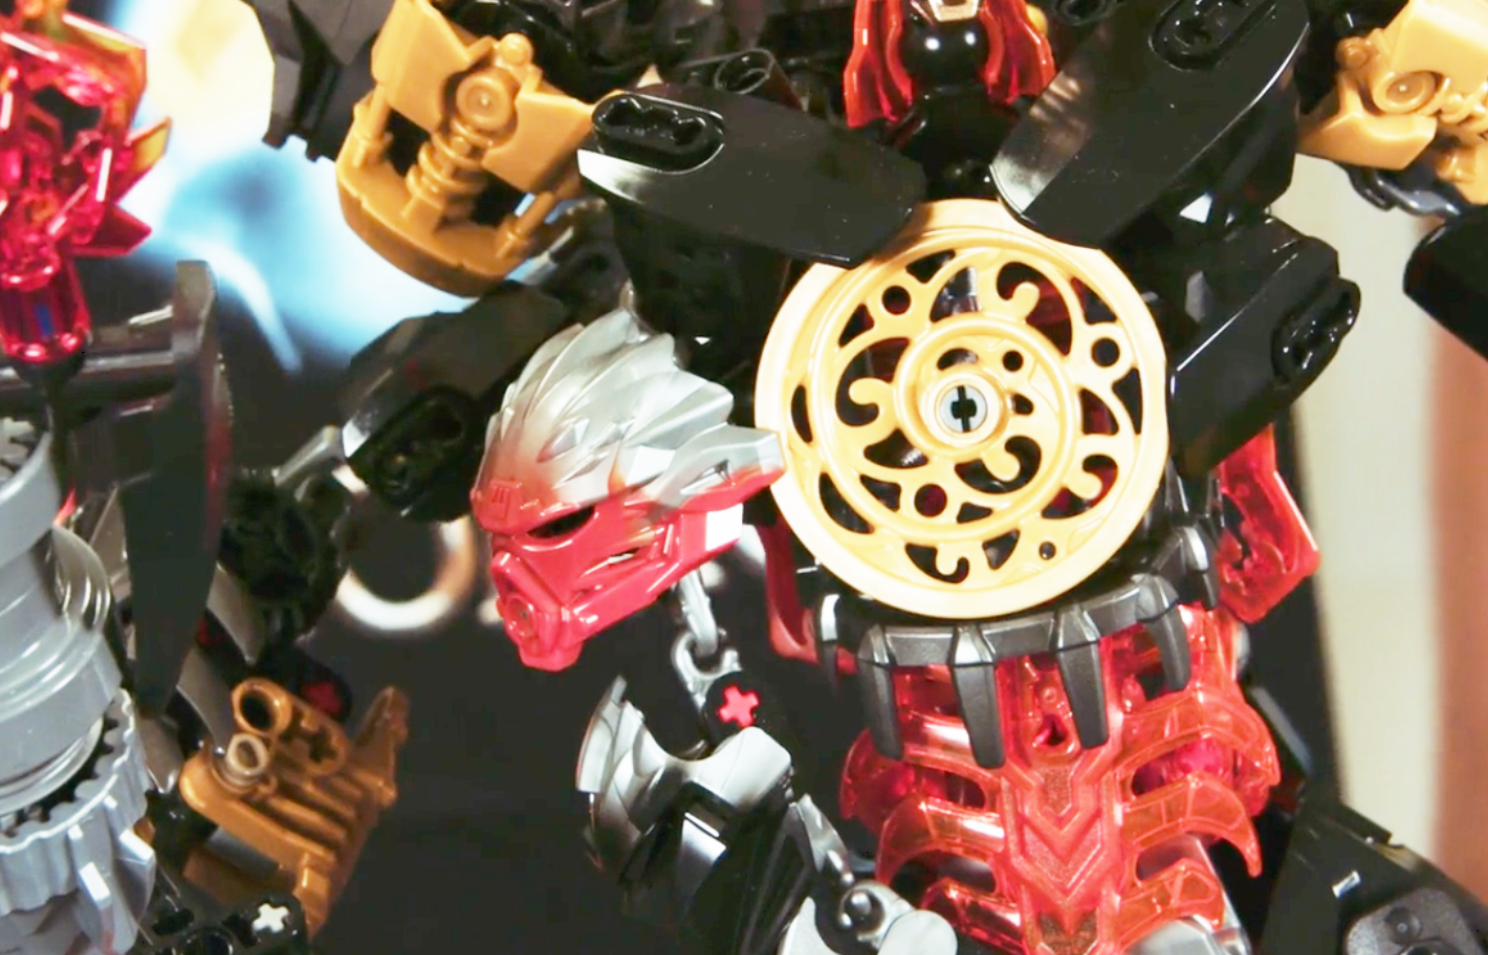
On a side note…

17 Likes

I thought I would share an update on how the MoUP is going.


Can anyone see any problems with what is currently there? I might have missed something as looking at models like this for hours on end can cause me to miss things.

16 Likes

Oh my gosh, it’s amazing!!!

The only things you missed I can think of are the little prongs on the side of the chin, you can see them clearly in this picture:

They’re right next to the little side cylinders.

3 Likes

I know the ones. They are a part I haven’t put in yet. When I said things I might have missed I meant any parts that intersect where they shouldn’t or a detail in the wrong place. I have yet to do the cheeks and the chin spikes.

2 Likes

Oh, ok. I can’t really see any problems with the current model.

Keep up the good work!

Just found this topic and while I cannot provide much worthwhile, I commend you all for getting as far as you have with the build! (I’ve got the necessary sets coming to me next week. So excited!) Please keep on building and I hope that either we finish or LEGO gives us instructions!

Also, Cyber-Hand, you’ll be including the mask connection, right? Thank you for the CG model! (PS - how do I make the mask a real thing? I’ve never done this before)

1 Like

That looks amazing! A few things could use changing, especially in the chin, but it’s great work so far. And you can see the mask a bit better in these pics. While I can’t really devote myself to breaking down Makuta myself since I used most of the parts I would need in my Contest entry, I did brighten and enlarge the highest quality images we have with photoshop.


You can make out a little more of what’s going on now, especially in the chest where I know a lot of you were having the most trouble. I’m seeing a wonderful job from all of you so far, so hope these help!

7 Likes