Hi again, these are the most updated and accurate instructions for the Kanohi Dragon that I made so far, in collab with Matt-LinaNui and Surel-nuva who are building it irl. If you want to keep up with our progress be sure to follow this topic where we regularly publish new updates.
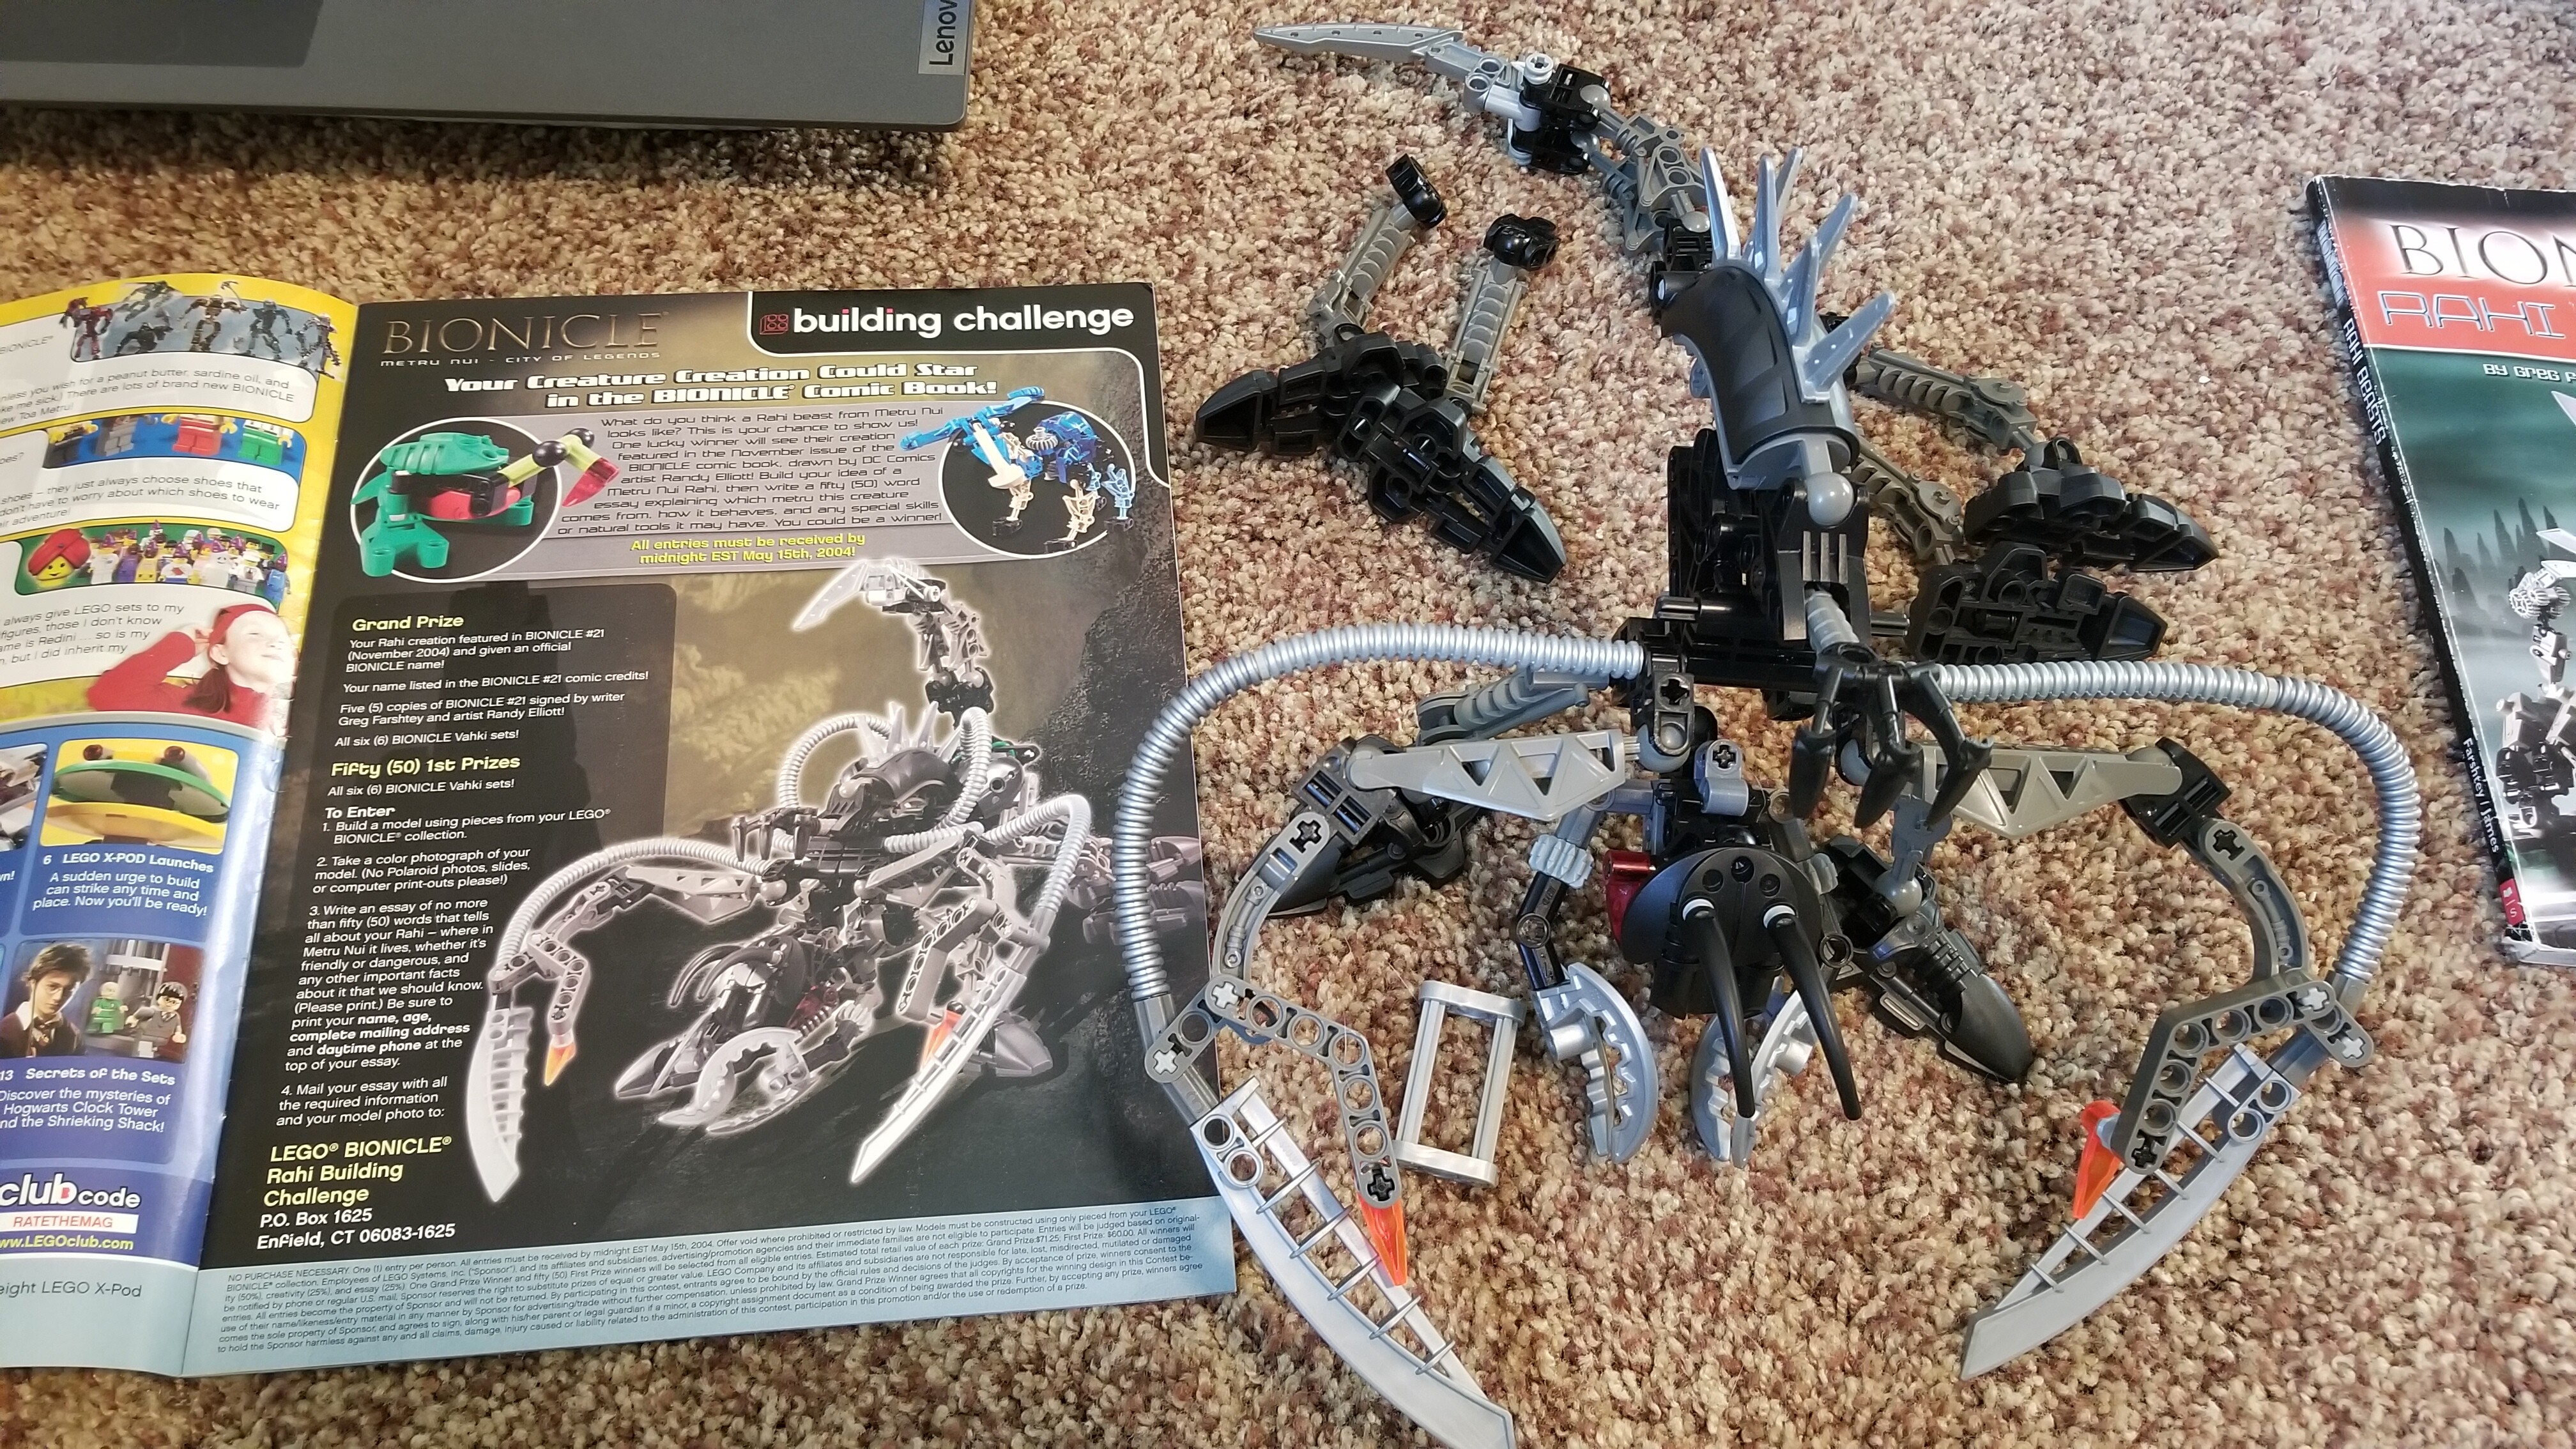
Has anyone tried to build the rahi on the contest announcement in the lego magazine? The picture online is not really good quality so I bought the magazine and its helped see more stuff. Progress is slow, but I’ll keep going.
Oh, I’ve been using those for ages, I just totally forget to mention them.
Although, alternatively, there are instructions for them here too, but these may not be 100% correct, like the smaller fish. These were never updated after the renders and the alpha/beta of The Legends of Mata Nui were recovered, but still features the coastal crab (back then: Ussal variant, because everybody used to think they are ussals) build without cutting pieces.
I’m a bit late to this, but it looks like the bit the hoses above the arms attach to uses a pair of light grey axle pins (like the claws), rather than a single 6L axle.
I could be wrong, but that’s what it looks like to me.
It also looks like the horns are attached by dark grey 3/4 pins instead of light grey 1/2 pins.
I dedicated a topic for the video game/other media rahi. For now, it contains “Quest for the Toa”, “Legend of Mata Nui”, and MNOG rahis. Maze of shadow and Bionicle Heroes will probably complete this list sooner or later.
Because this instructions on Brickshelf is outdated, and was already just a recreation of the image from the Rahi Beasts book and the promo image from the BrickMaster Magazine. It was never official, neither from the source. The newer recreation are more faithful to the models shown here and here.
I recently restarted my work on replicating the Fader Bull, and I notice that the breakdown photos currently linked here are very wrong. Obviously there’s always going to be a bit of uncertainty in replicating these old models, but this version has completely replaced some build techniques that are clearly visible in the single photo we have of the official model.
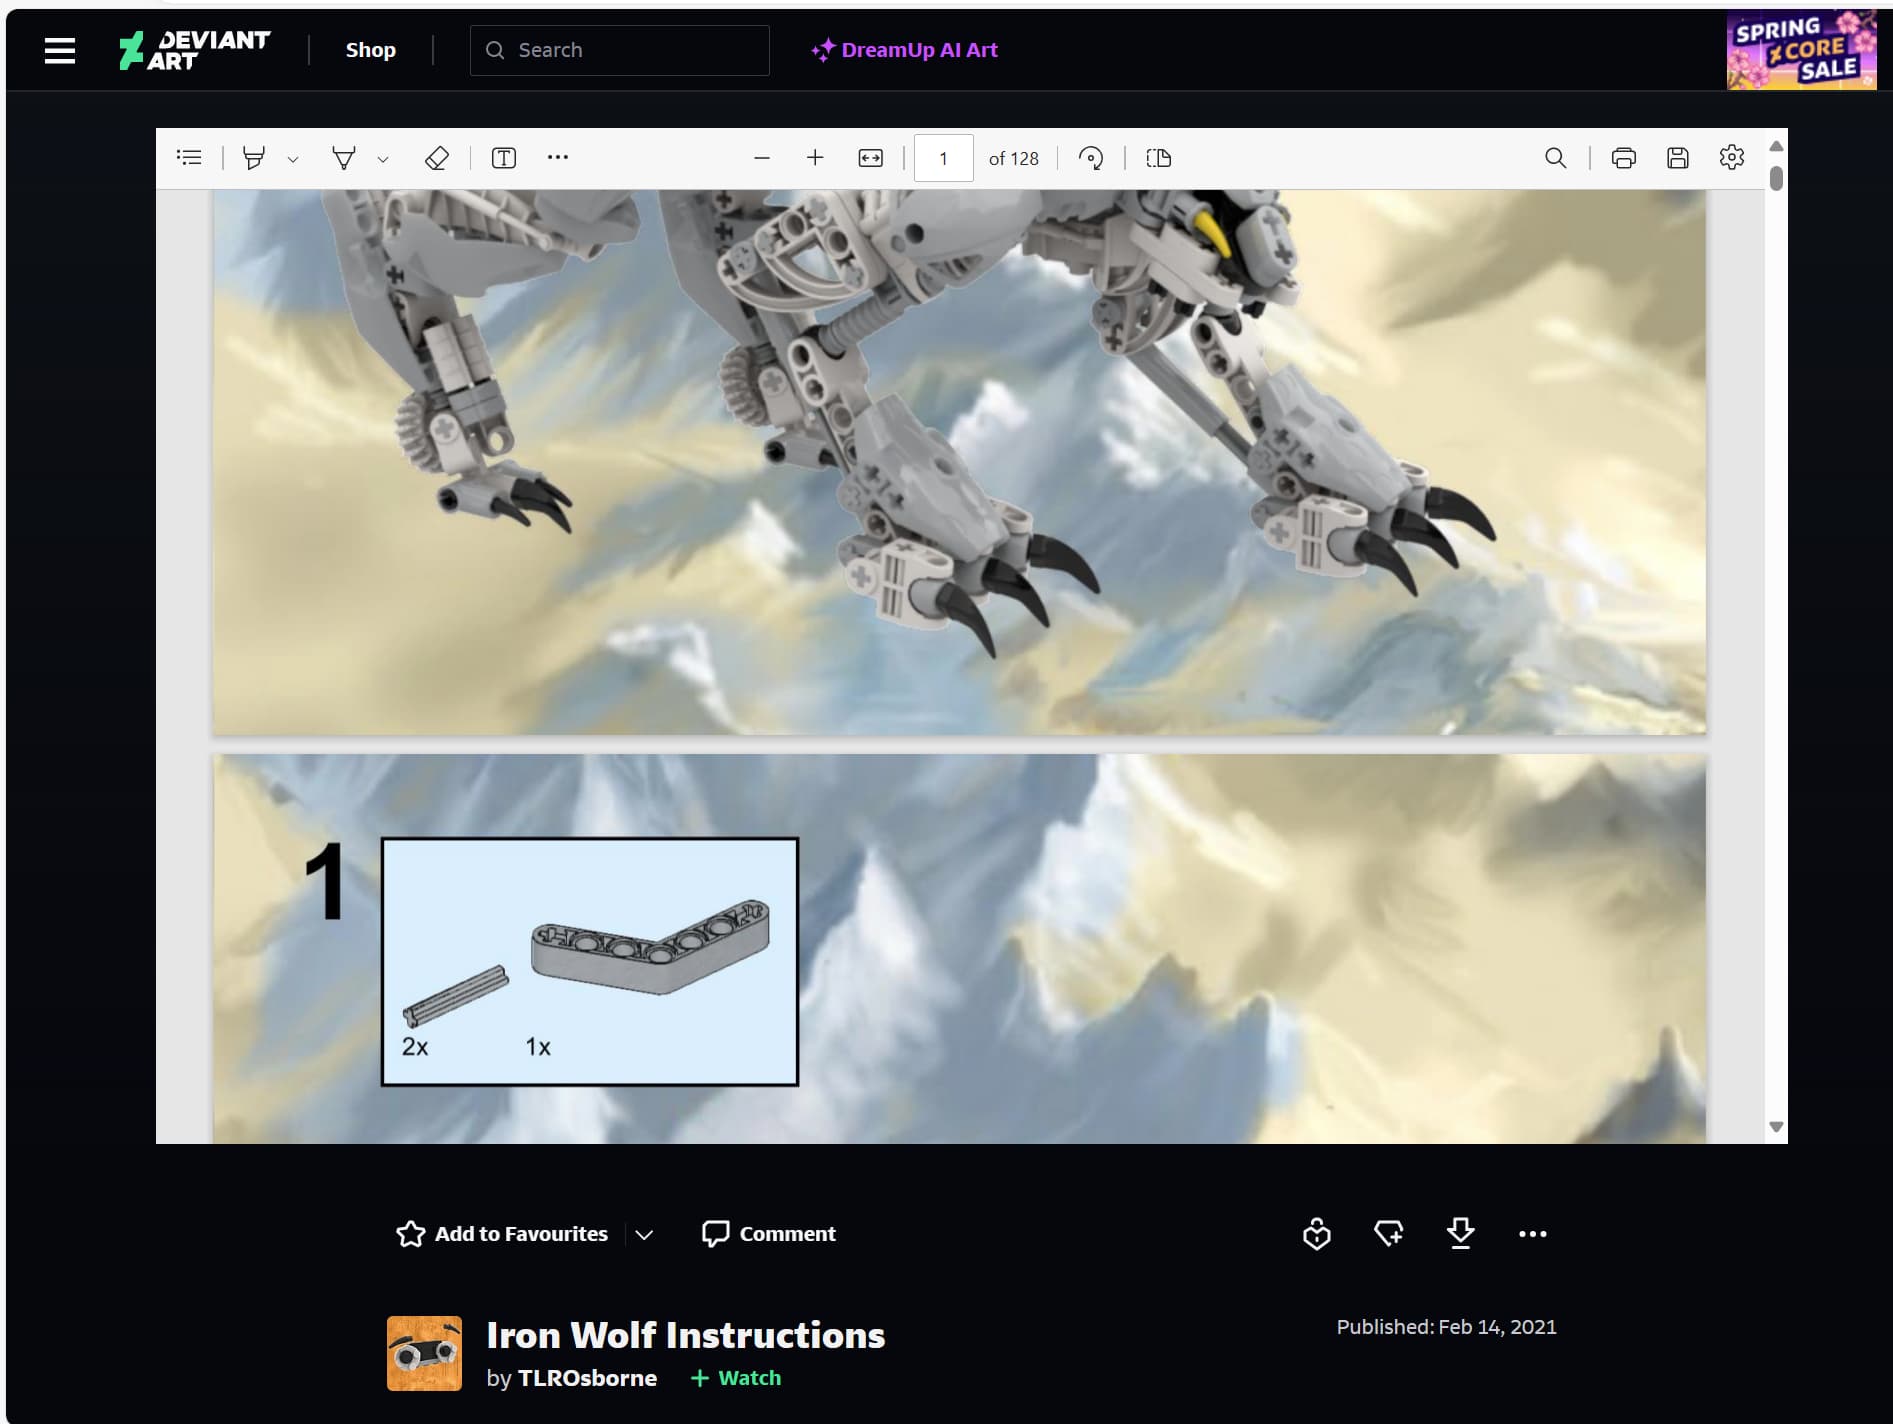
Hey. Sorry if this is a really dumb question, but how do I actually open the instructions on Deviantart? I’ve clicked and checked everything on the page, but I can only view the header image. Clicking the left/right arrows on said image leads to the next entries in the album. Where do I click to open the instructions, or do I need an account to view them?
Again, sorry for this stupid question but I’ve never used that website before and spent way too long now trying to find the instructions…
Hey there! I’m the one who tried to replicate the fader bull around 4 years ago… It’s been a while since I’ve gotten back to updating my personal rahi collection but I’m just about to get back to it again and have been looking for instructions n stuff.
Kinda interested to know which stuff you think I completely botched with this guy? I do admit that there are a bit of creative liberties on some parts since there’s literally only one pic (from the book) but am genuinely confused as to which clear parts I missed?
I’d like to know too, since it looks pretty much identical to the one image, at least to me. I can’t see any area that’s obviously incorrectly constructed.
Same, I can’t pinpoint the problem clearly, but in all honesty, I really wanna be proven wrong cause that just means more accurate instructions for the rest of us
I’ll admit that “clearly” may have been a bit of an overstatement, but this area of the build is what I was referring to:
It’s admittedly difficult to see and it took me a long time to figure out what I was looking at to, but there’s a Rahkshi thigh piece visible in the back of the torso that isn’t in the existing instructions. Including this piece would presumably have significant effects on the rest of the torso build.
The other difference I noticed is what seems to be a white Technic piece with a tan axle connected to it that plugs into the crotch of the black Mata torso:
This has been replaced with a different Technic piece in a dark gray in the existing instructions.
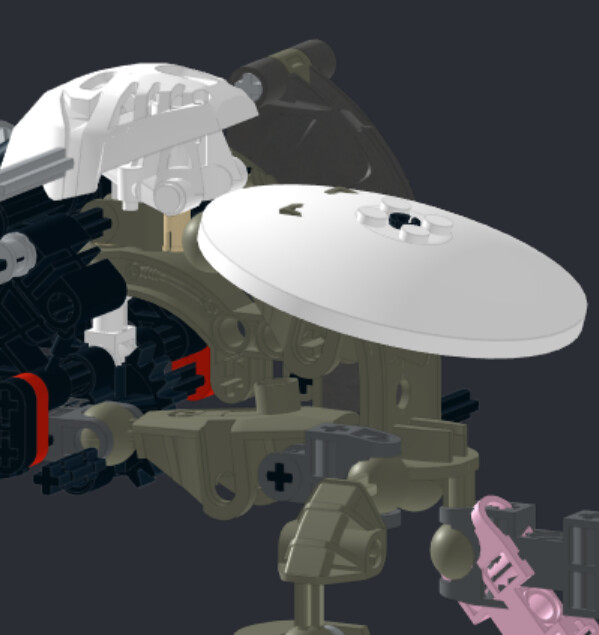
Here’s a screenshot of my own current attempt to replicate the model, showing the Rahkshi thigh and white Technic part:
Obviously this is very incomplete, with a bunch of collisions and floating part that I’m guessing at the location of, but it should give an idea of where this Rahkshi thigh should go.
Also, take note of the pink socket piece; that part was positioned by aligning my model with the image angle as best I could, and then manually adjusting the pink part’s angle and location until it matched the image. The resulting position puts the socket almost exactly in-system with the rest of the build, so I’m somewhat confident that there should be a rigidly-fixed ball joint in that location for the tail.
Ooh, nice catch on that white axle connector! Yeah that does change a lot of things… Although I’m still confused as to how that part on the back is the rahkshi thigh piece. Could you perhaps draw an outline?
Also I do have the boi still fully assembled in storage so if you want me to test your corrections IRL, lmk!
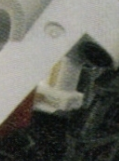
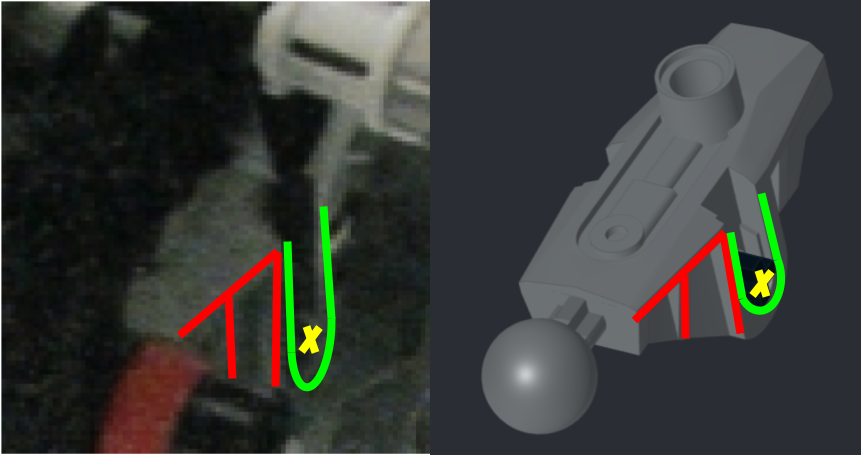
The original image is pretty low quality, but the key things I noticed are the “vents” (red) and the “groove” (green) with an axle sticking out of it (yellow).
(It honestly took me a while to see it as well; it was actually the first piece I thought of when I looked closer at the official image, but I dismissed it originally because, even though I was looking for it specifically, I still couldn’t make it out. When I made out the “vents”, I thought it was a Mata foot until I saw the “groove” and axle, and figured out that my first guess had been right.)
That would be awesome, but I don’t really have anything to test; I’ve figured out basically nothing about the back half except that the Rahkshi thigh goes there *somehow*.
