I think it’s because the arm is flexible. It’s made of a slightly different material than the rest of the pieces.
2 Likes
No, the flexible arm is black, not purple. The other arm (which is made out of the same material as the rest of the parts) is the one which the different shade of purple.
1 Like
I don’t know then. Kinda weird. It’s definitely something with that piece though, as I just looked at judge and his legs are a different yellow from his arms and torso.
3 Likes
I think it is because one of the parts is the rubber colour version
Interesting technique.
1 Like
This has been wrapping around my mind for a while now. I would like to know, how in Mata Nui can I build those heads that Eero makes!
I have the tan pieces and mini figure hand pieces. I just need to know how.
5 Likes

Great Scott you’ve figured it out!
3 Likes
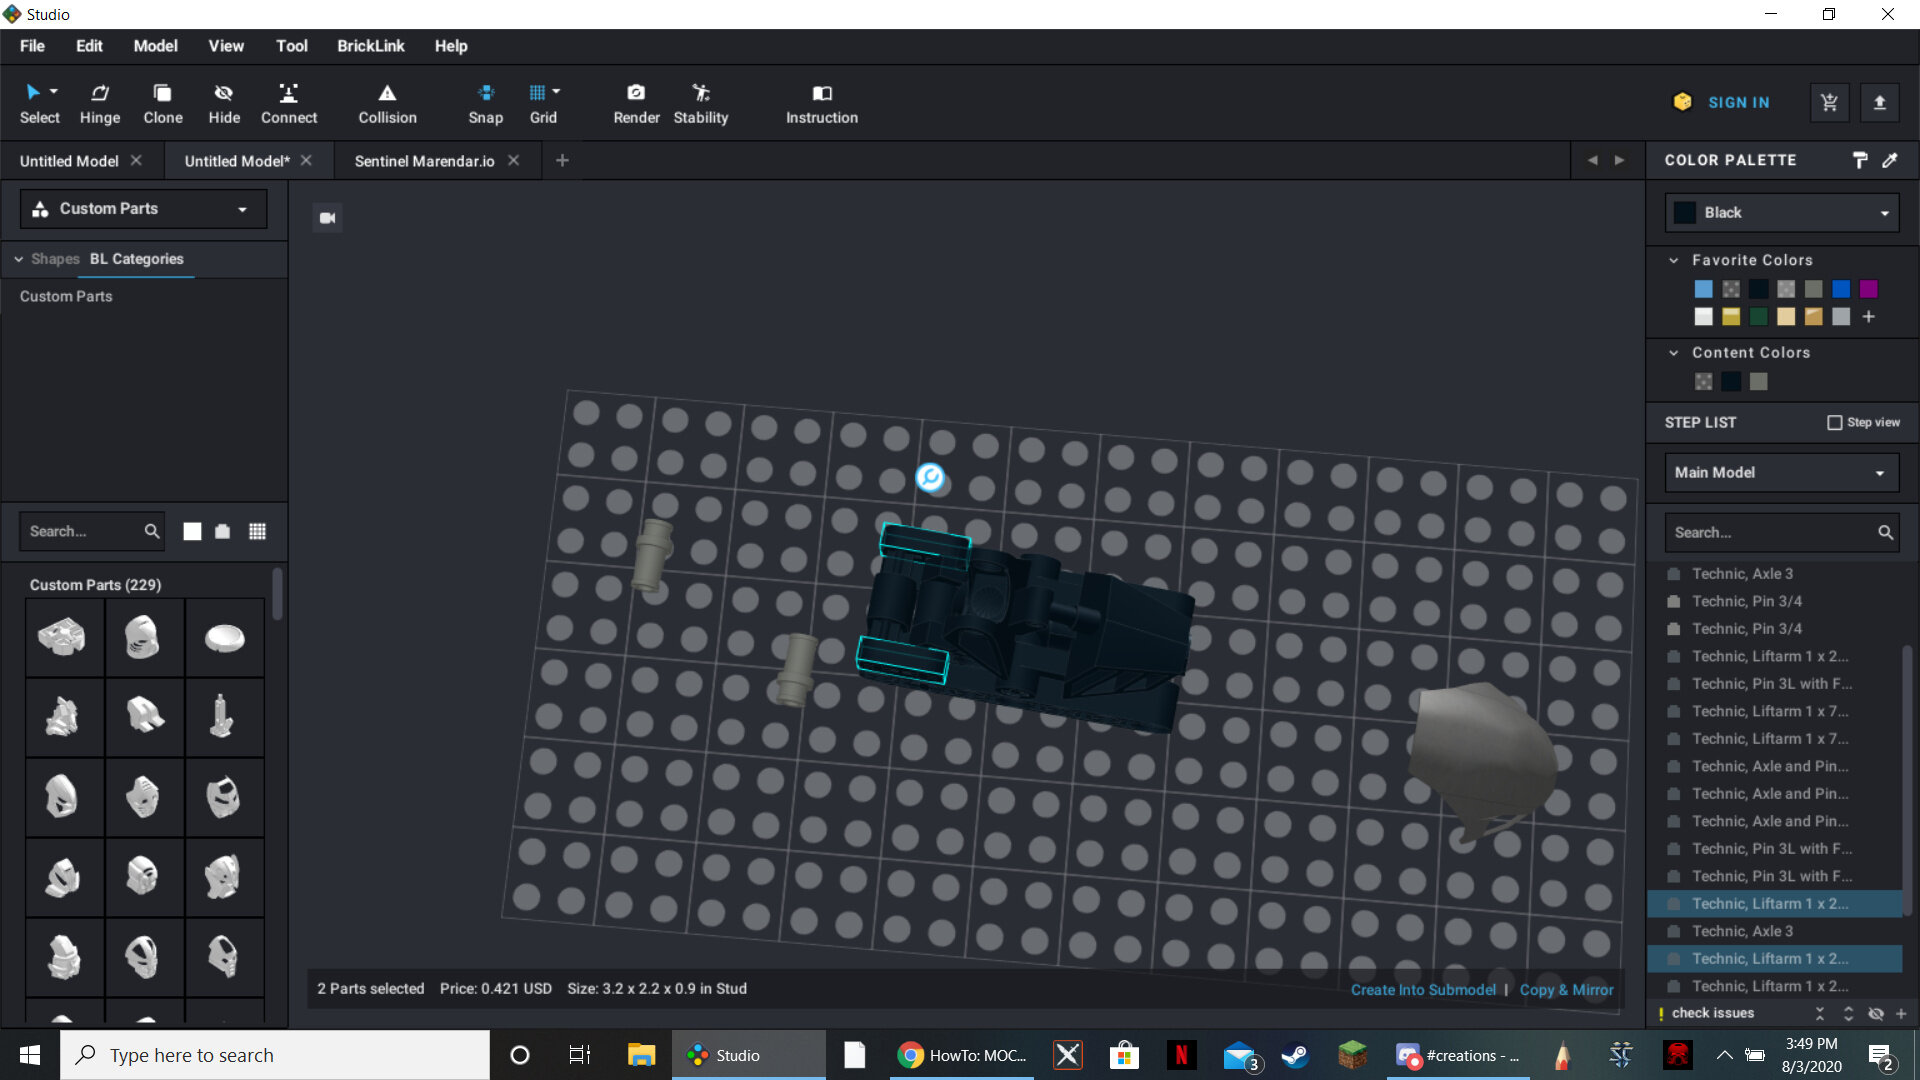
they are under Technic, Liftarm
Alright, I was planning to do this for a while so here you go - I originally used this custom head design for my entry for the Helryx MOC canon contest. Since that is over now, by posting this buidling tutorial here I’m officially allowing free use of this design in all other canon contests as well as modifications of this design - as long as I’m given credit. (And apart from the contests it’s free to use anyway, if you want to.)

This design is entirely buildable with Lego parts in their original colours and as far as I’m aware also doesn’t stress parts.
This head design should already be recreatable from the breakdown pictures which I provided in my Helryx topic. To make it easier, however, here are some additional pictures (made with LDD since that’s faster):
Parts list:
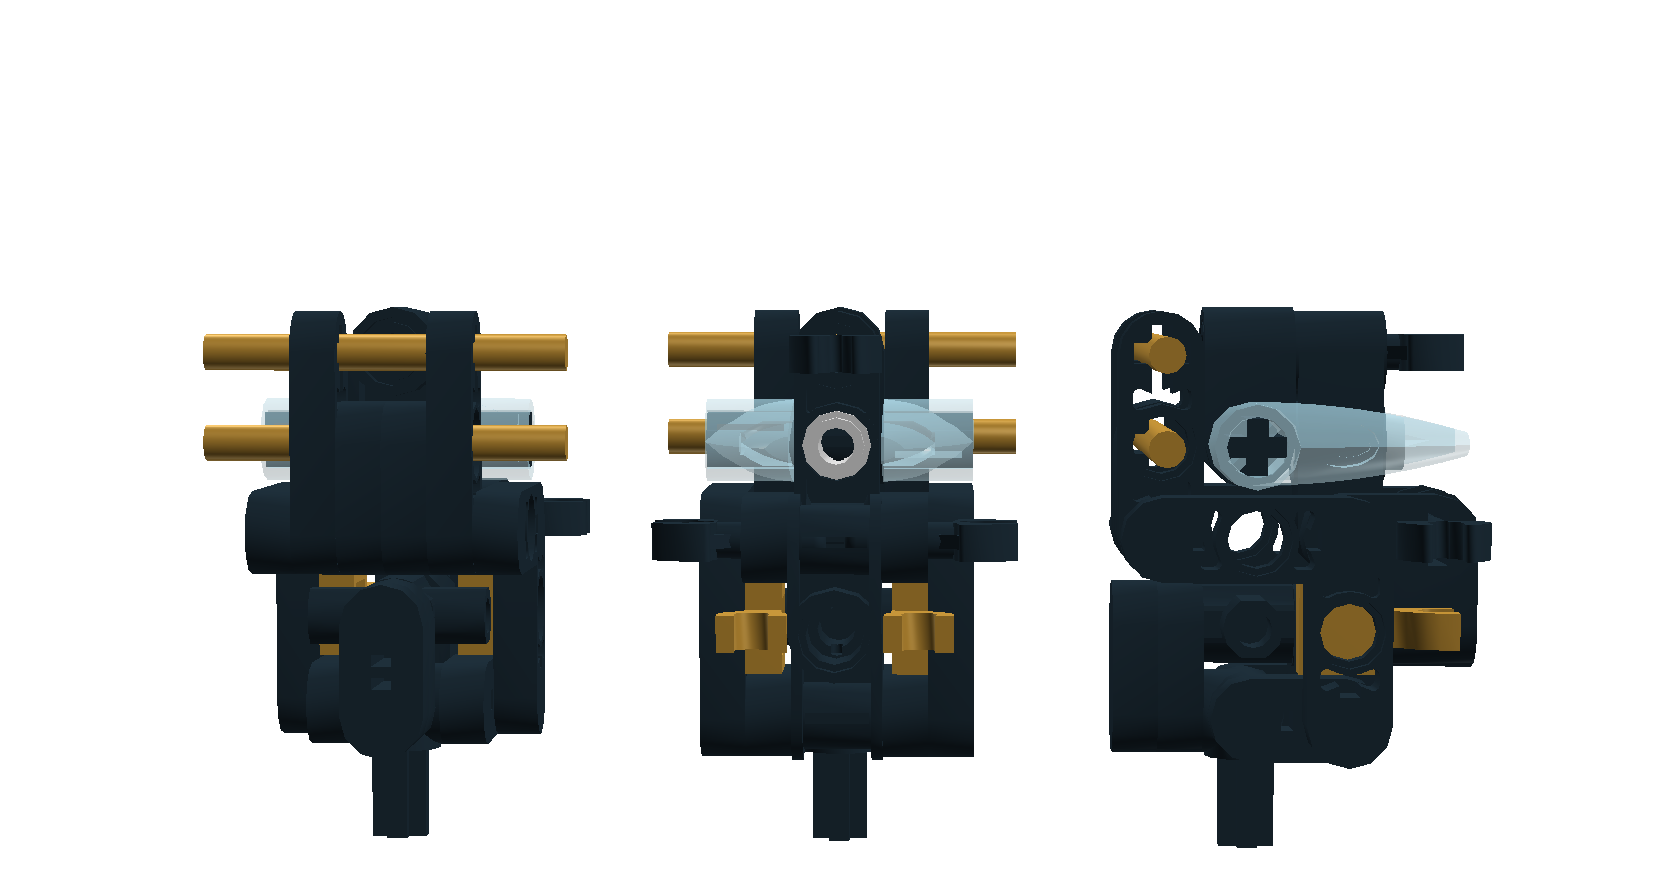
Core build:
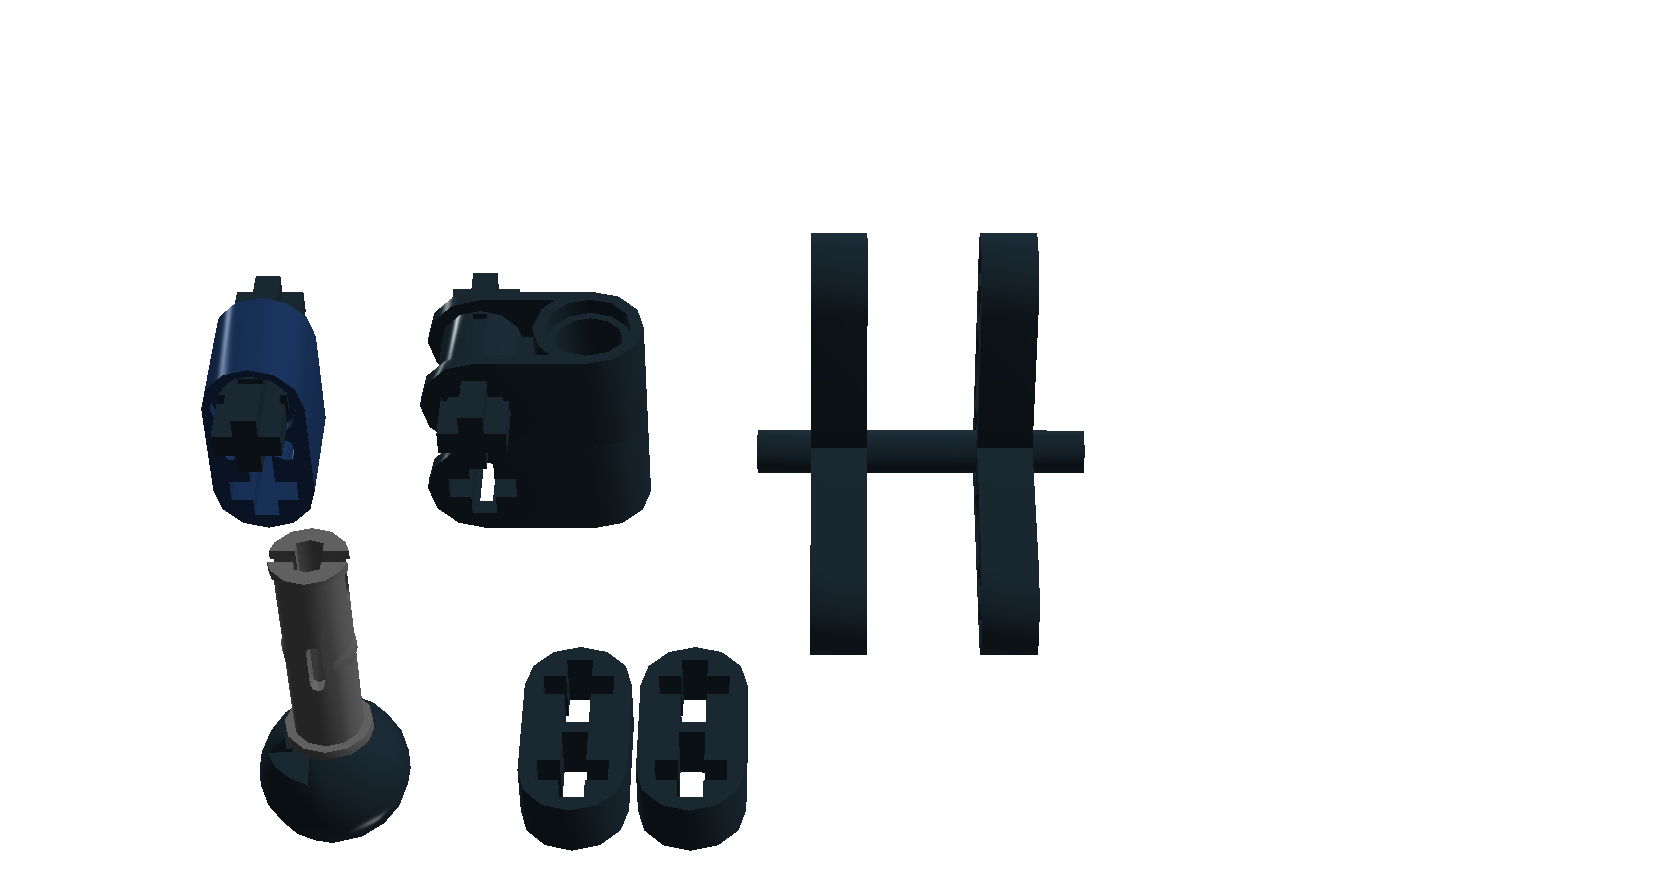
(I know the thick blue liftarm isn’t actually attached here - but I felt that including it in the next step instead would have made it harder to get a good picture)
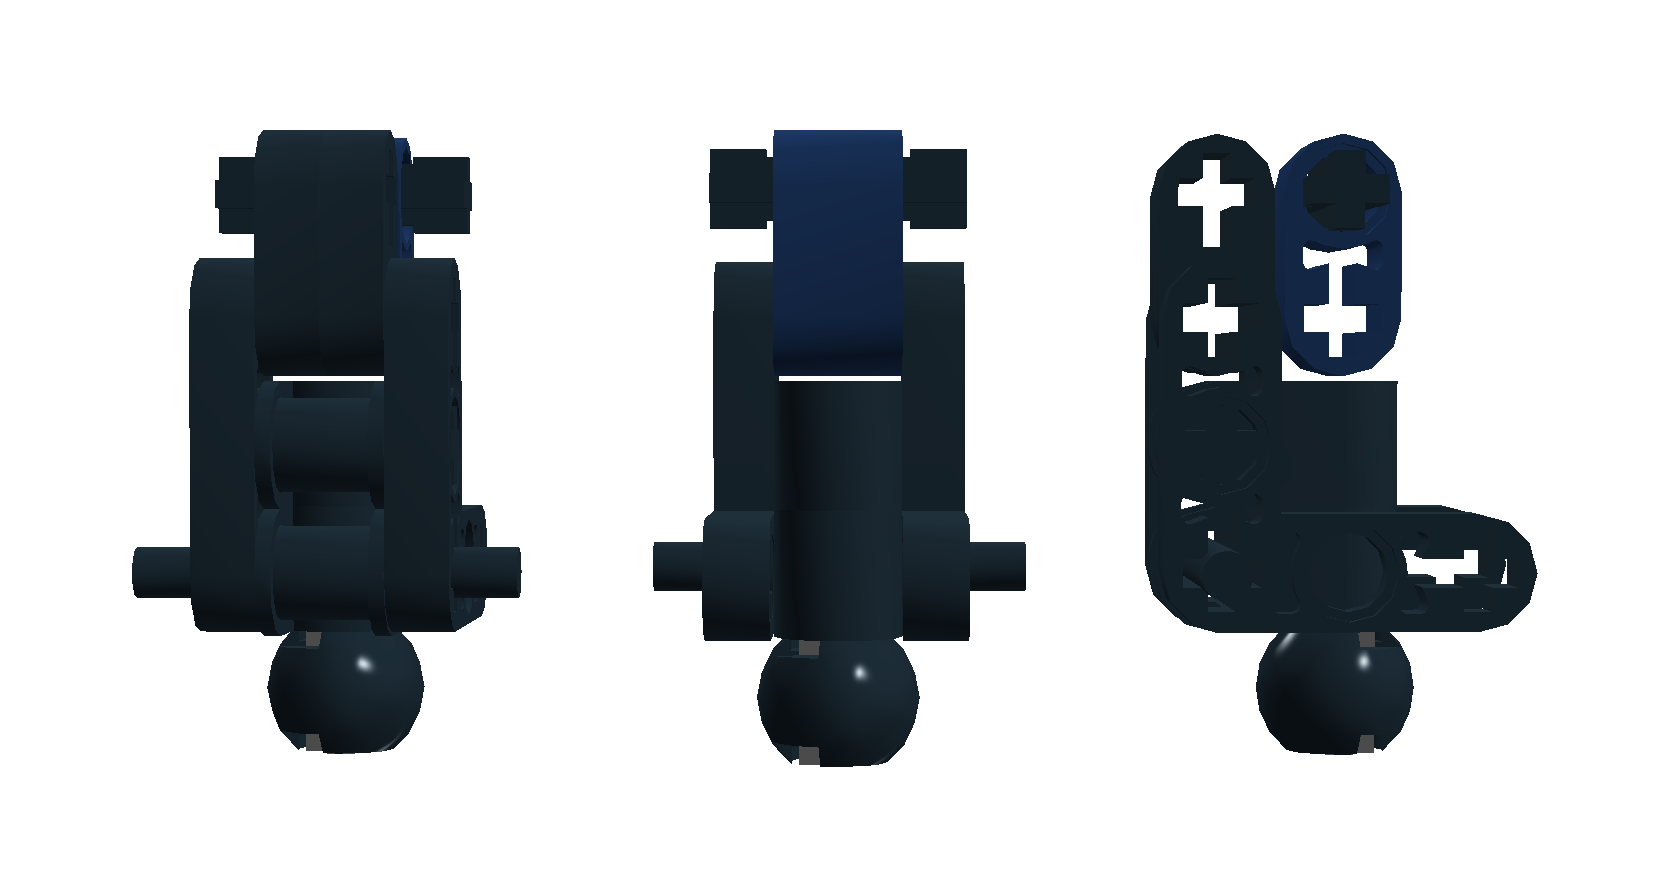
First Layer:
Attach to core build to get this:
Addons:

Angles might have to be adjusted here and there.
When finished should look like this (sides are symmetrical):


Hope you enjoy!
28 Likes
Amazing, I had always loved your custom heads
2 Likes
Here is a little foot design I like to use


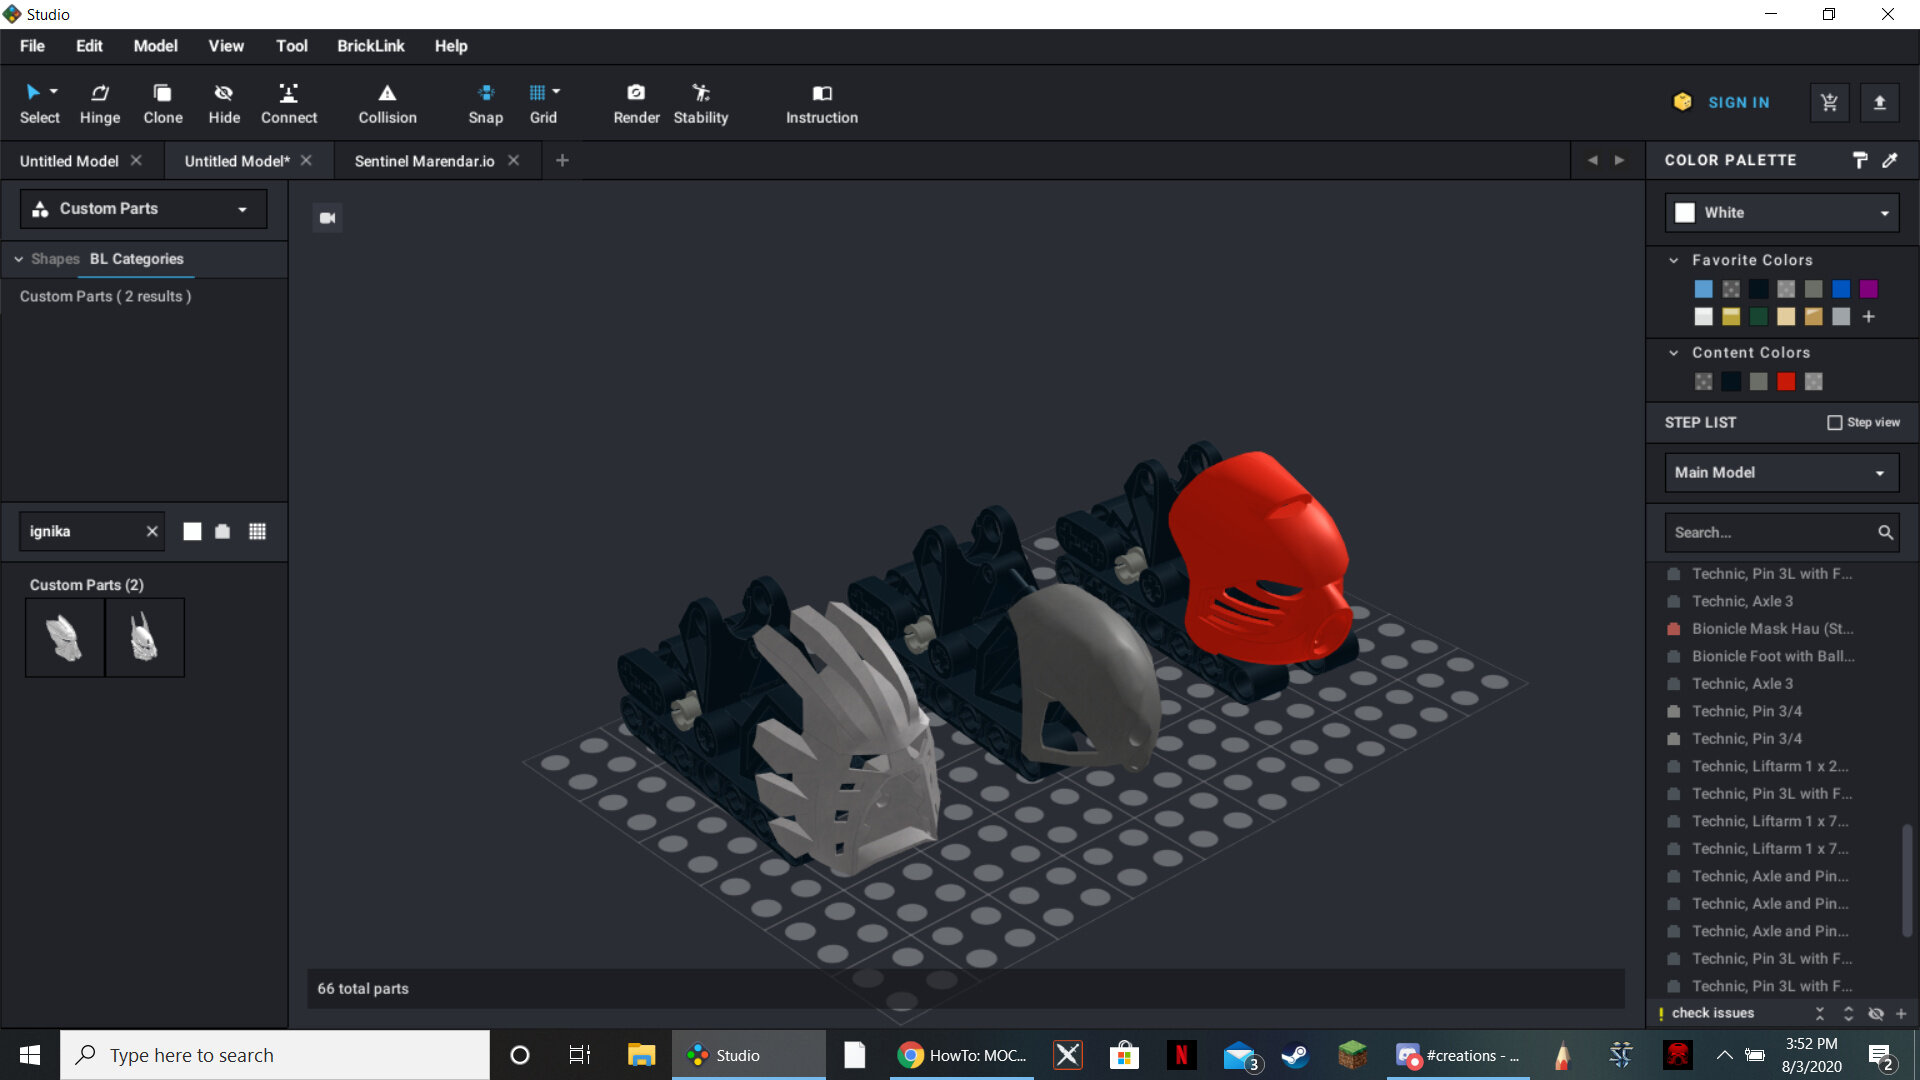
you can also swap out the shoulder piece with the avohkii or stars hau.
3 Likes
Ah ok. Did not know that. I thought the one that came with Takanuva used the stud connector?
1 Like
Can I please get some tips for the Artakha MOC I’m working on?
I go into specifics on this topic here:
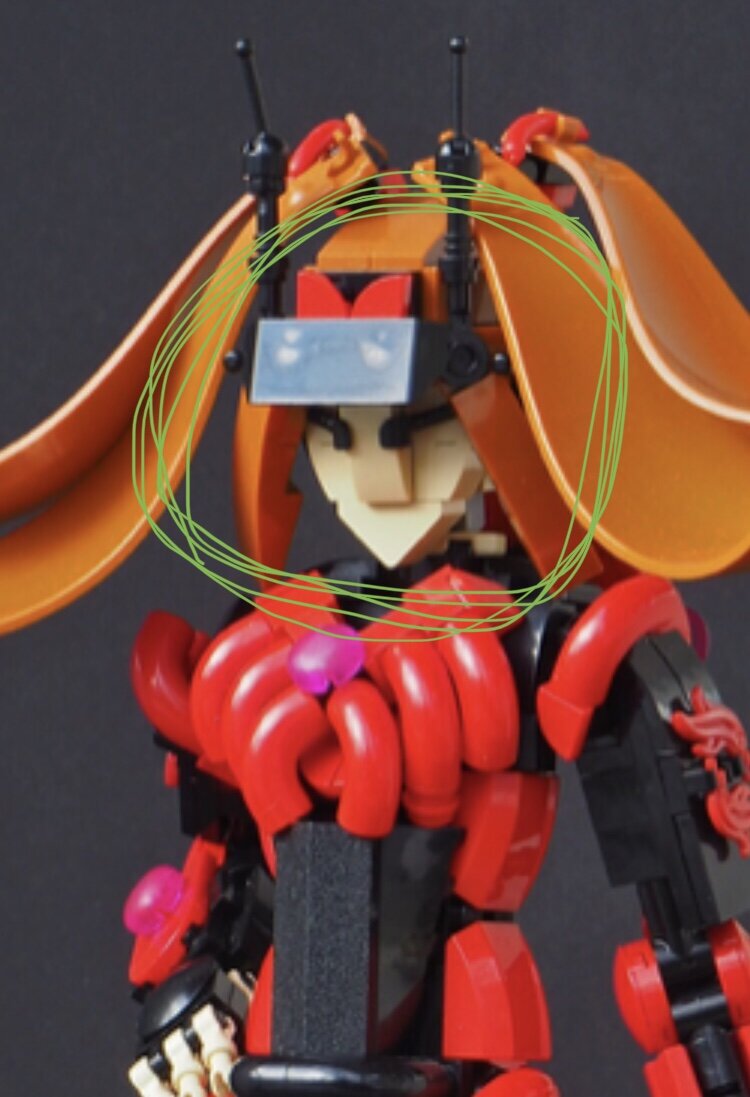
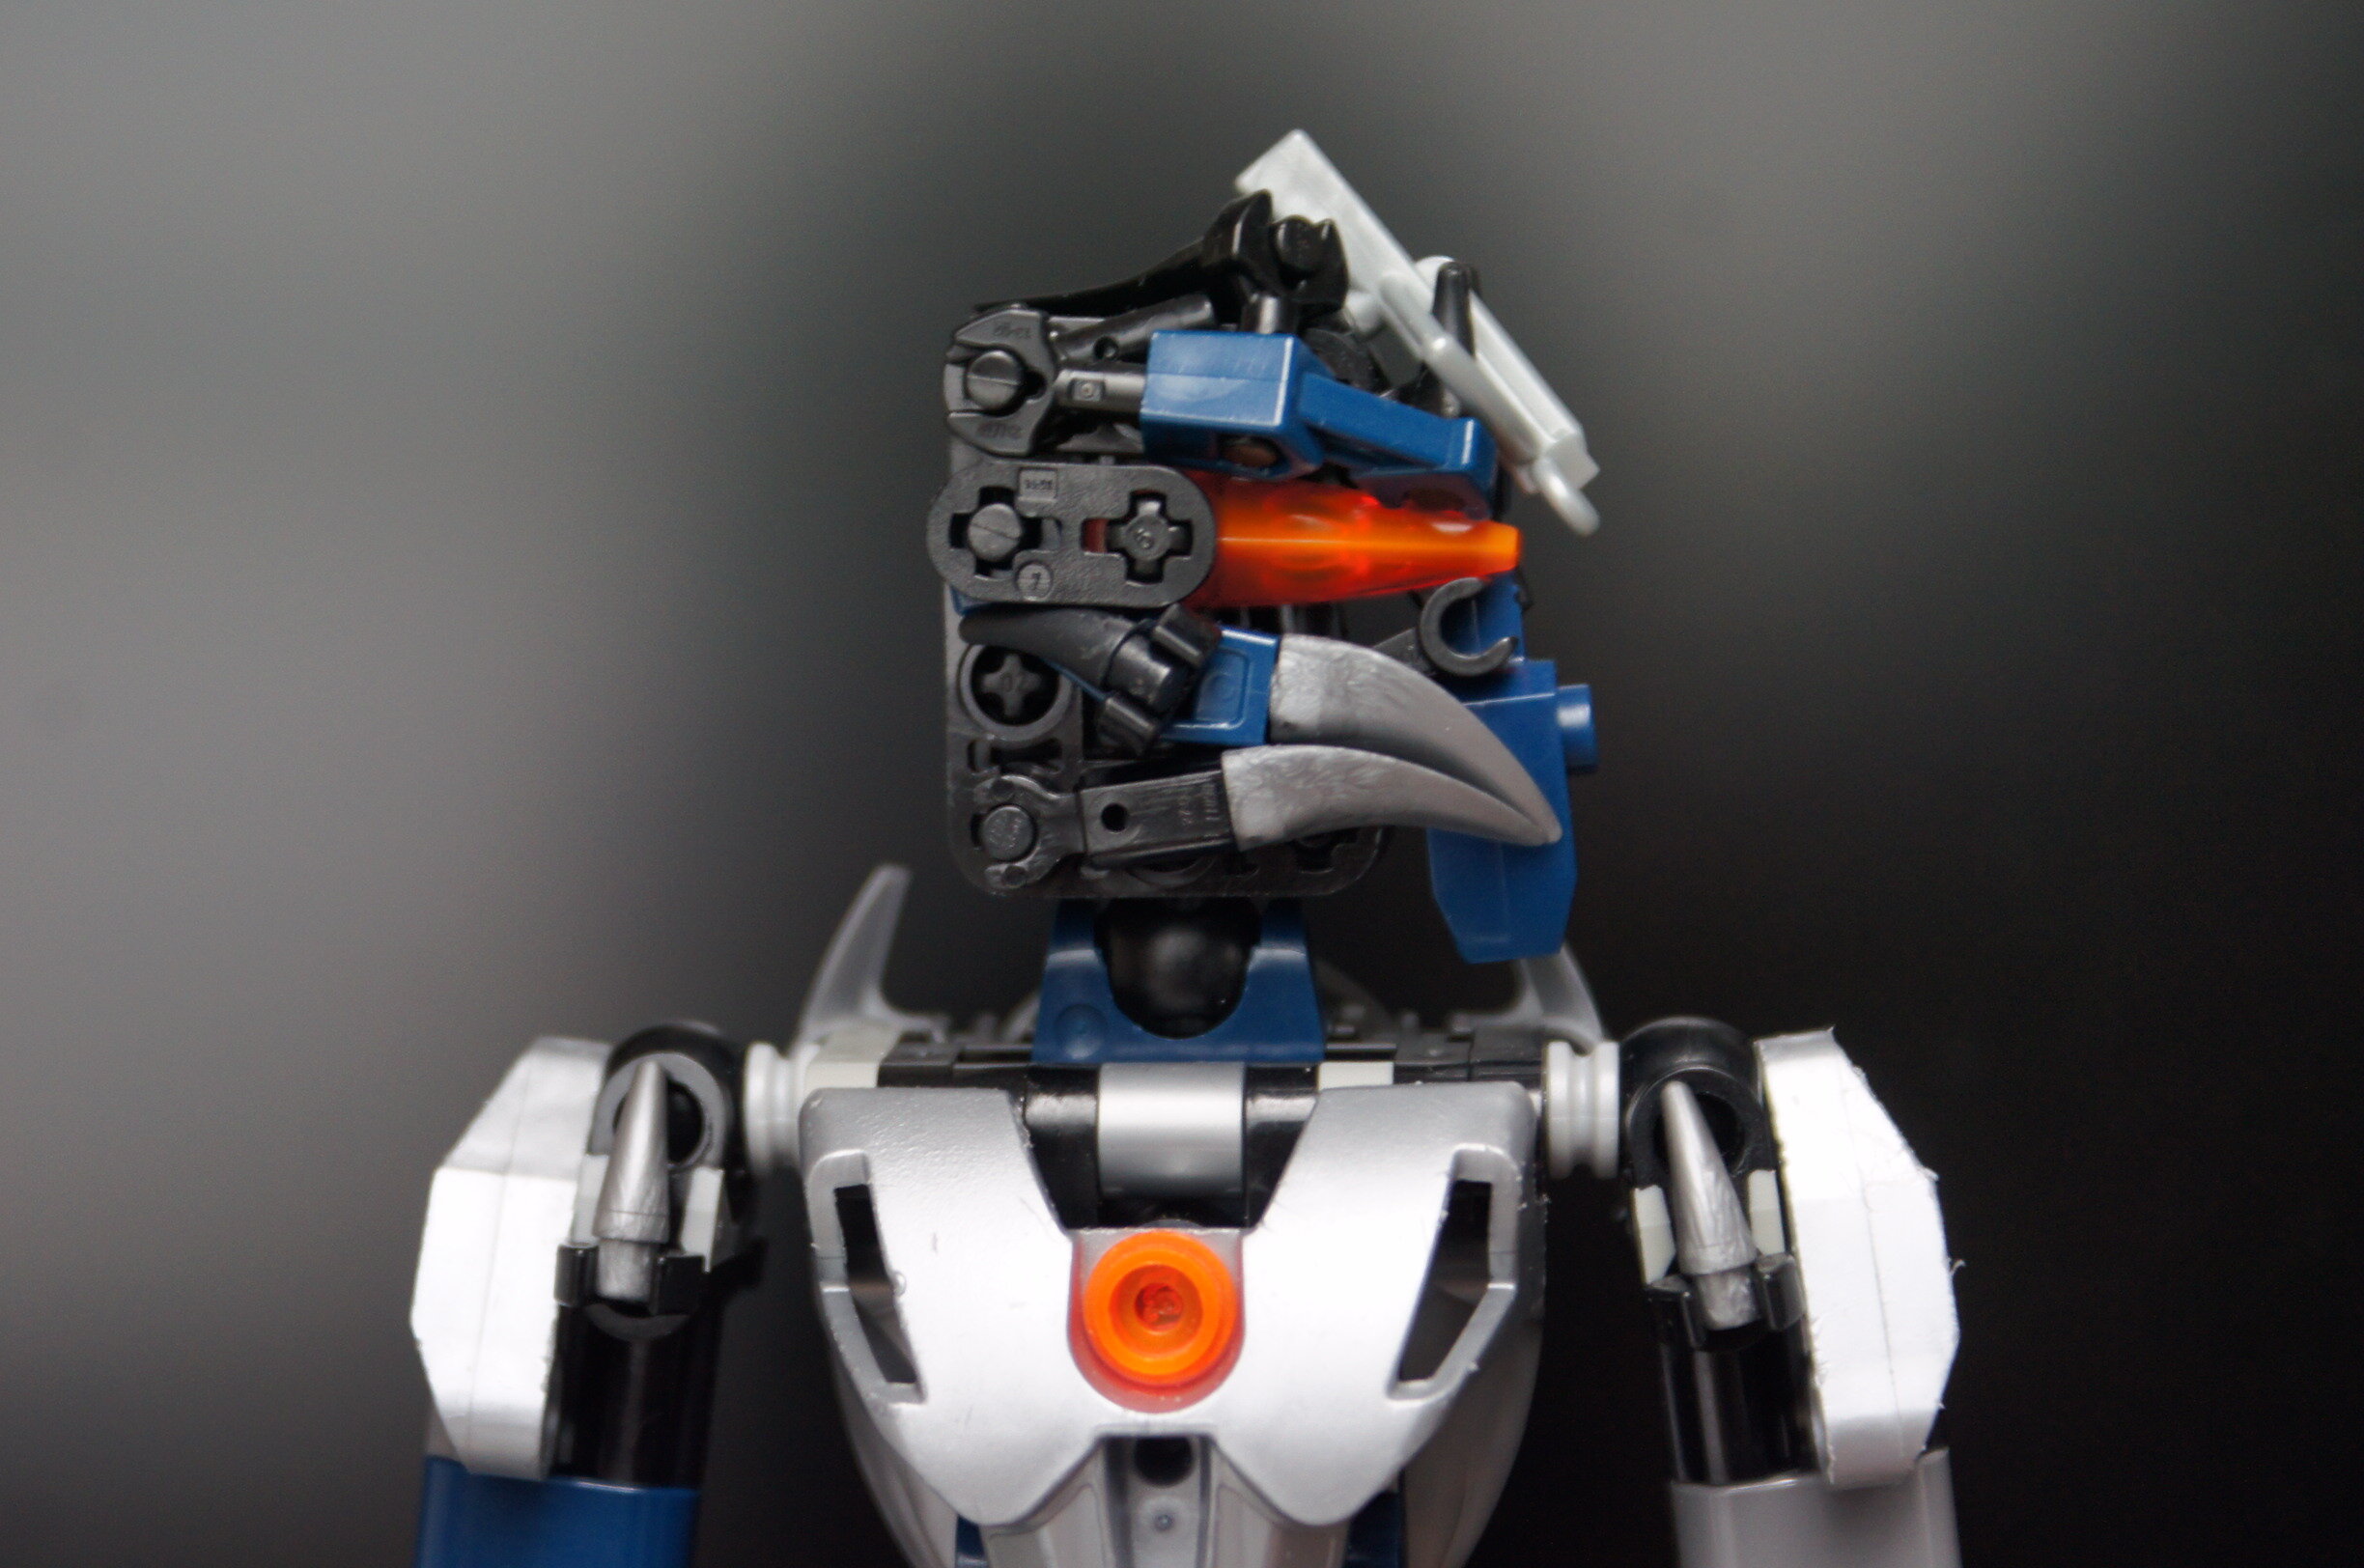
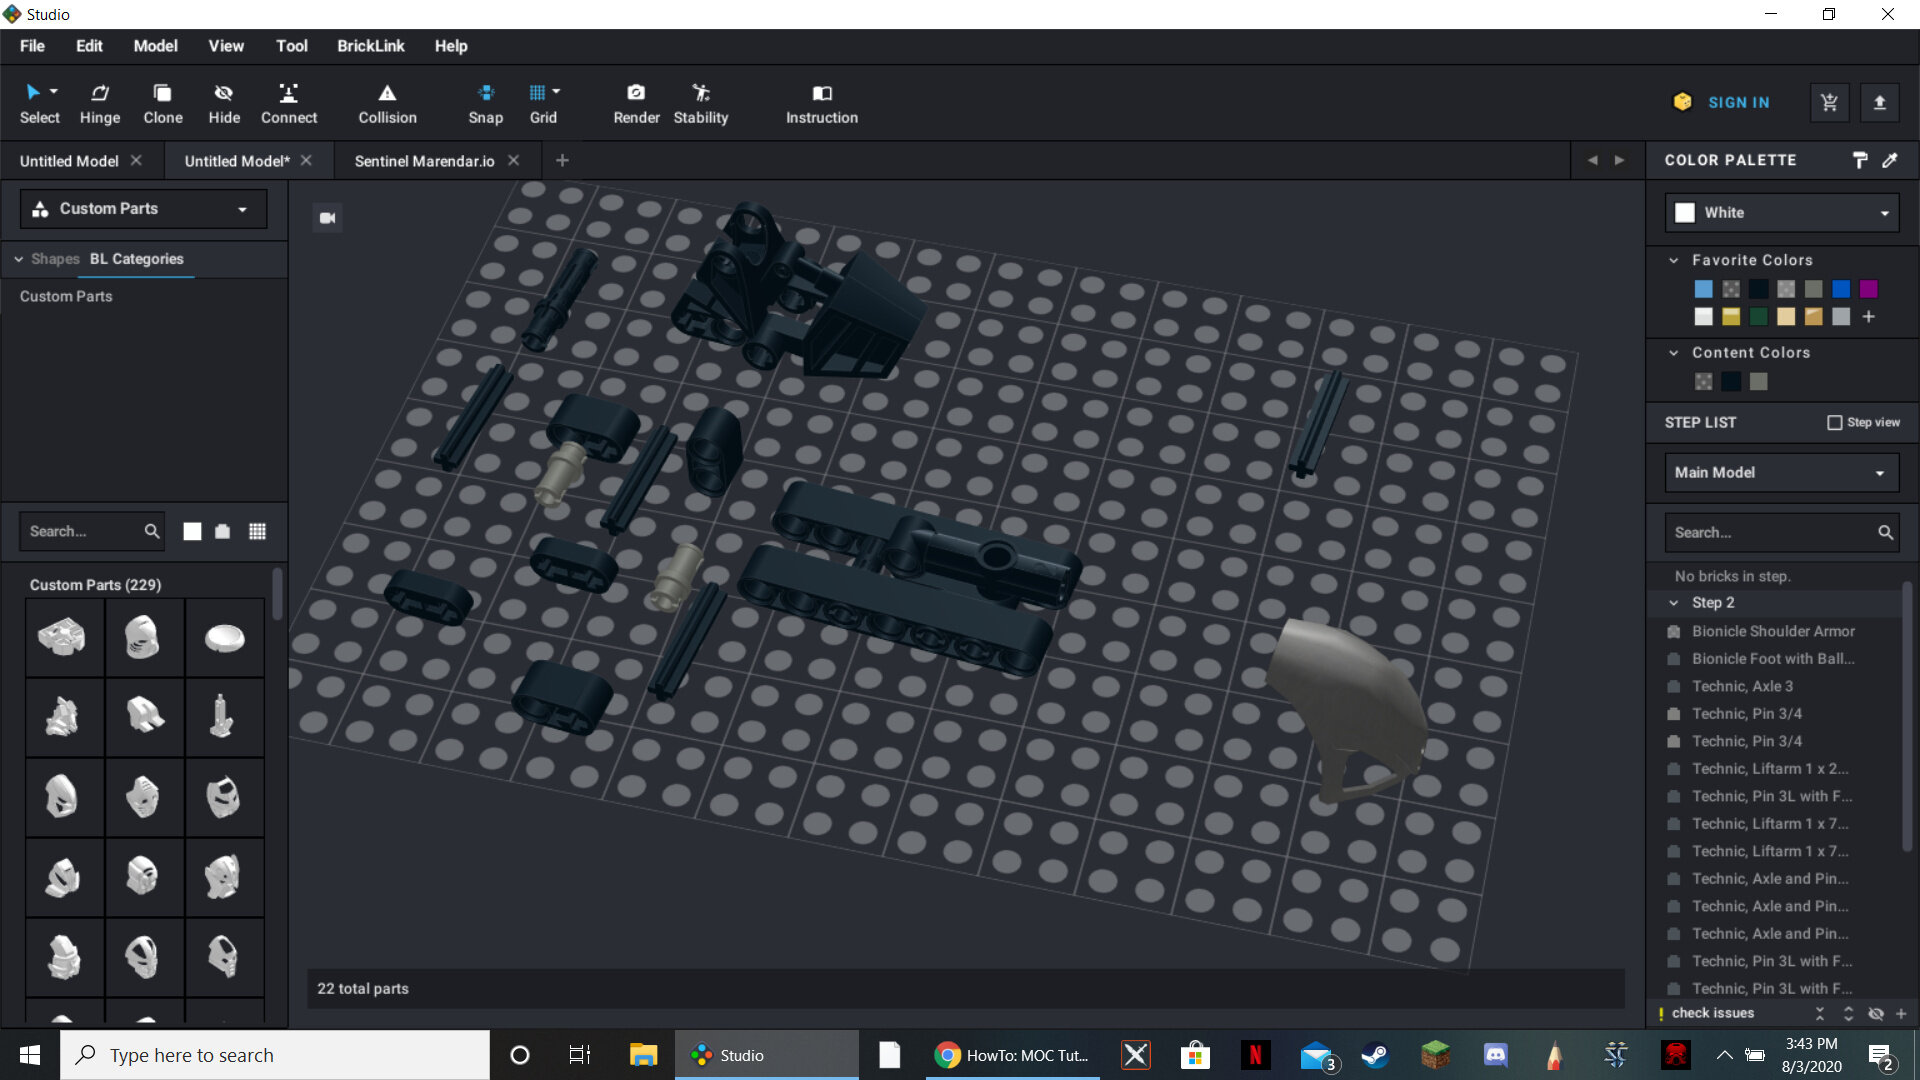
Alright, as promised, the tutorial for the head I used for my Artakha:

Since I’d like to keep it short here - check out my Artakha’s topic for different angles, which might be important to get the outer assembly right.
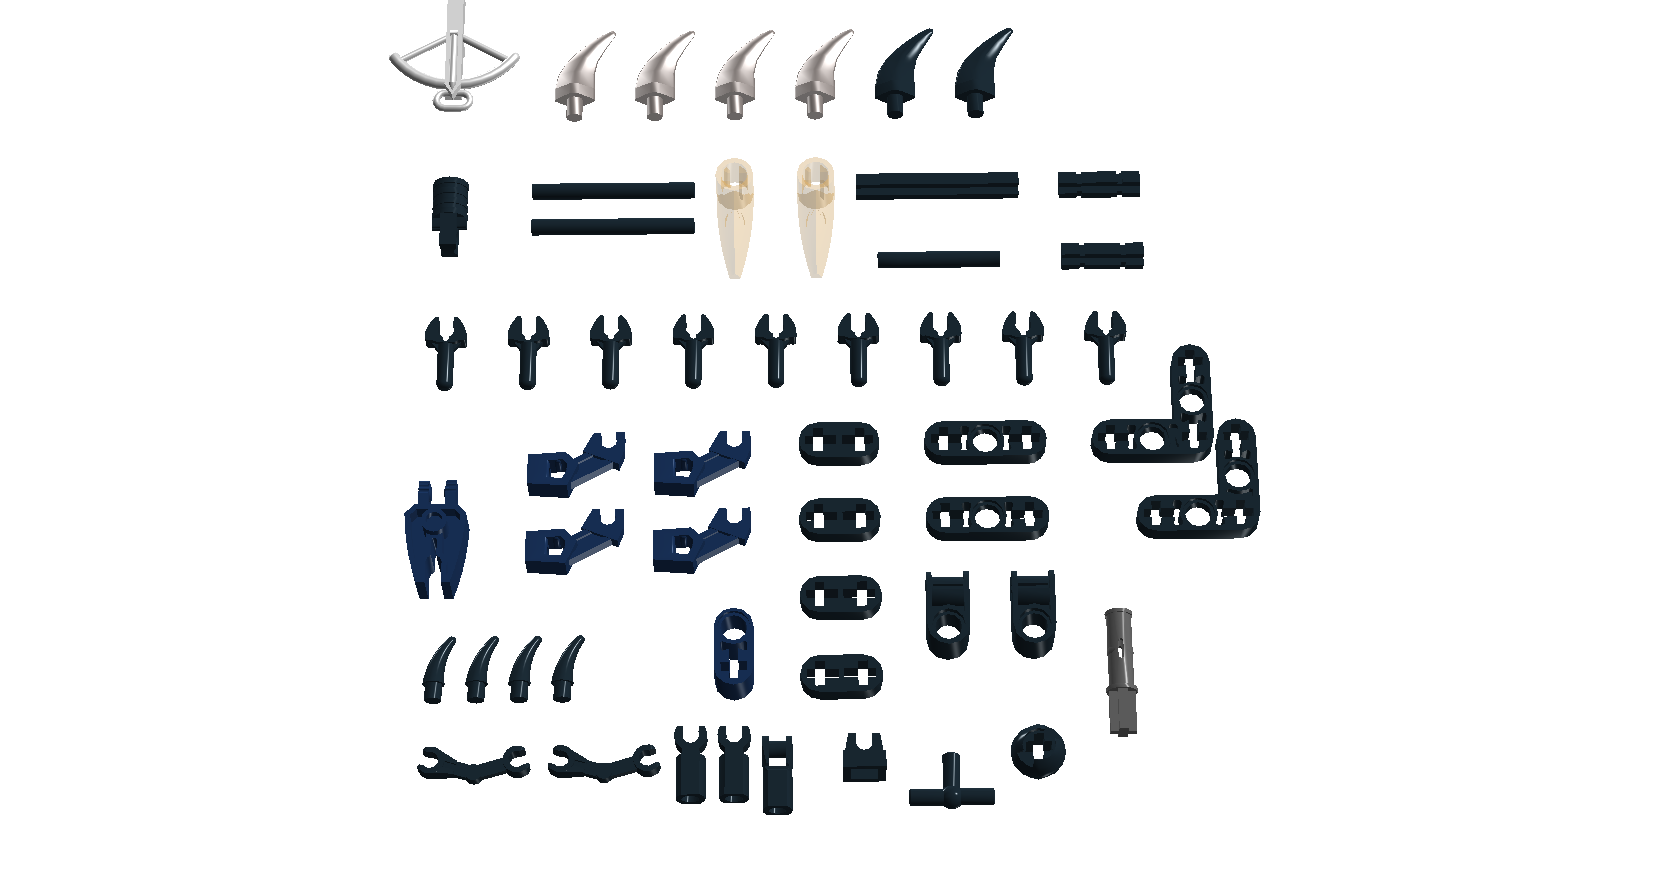
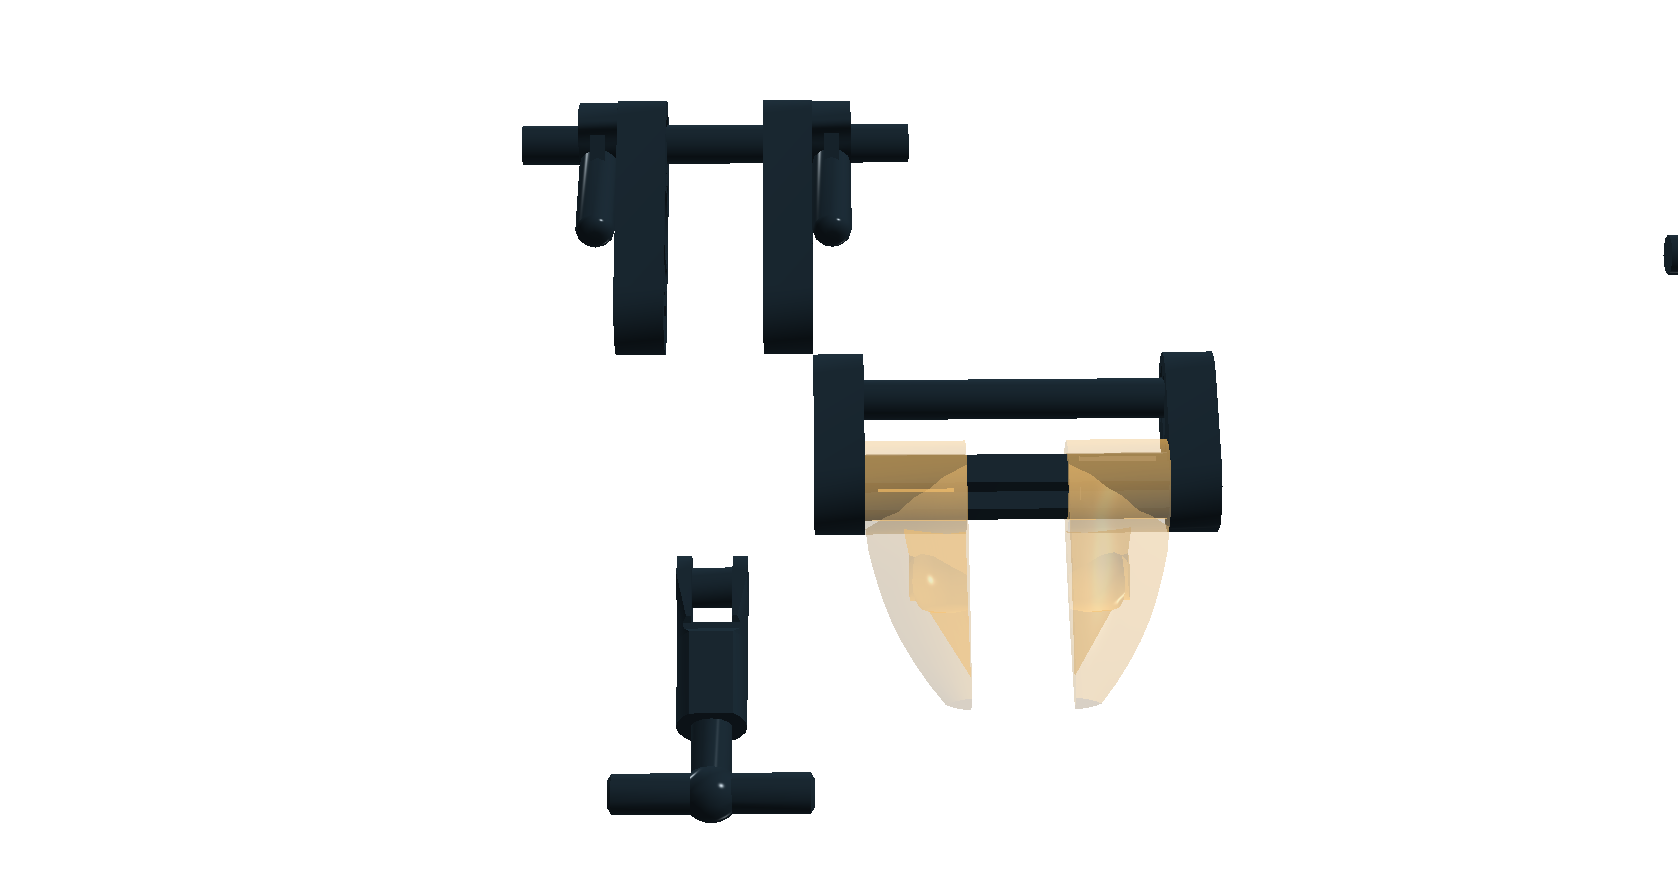
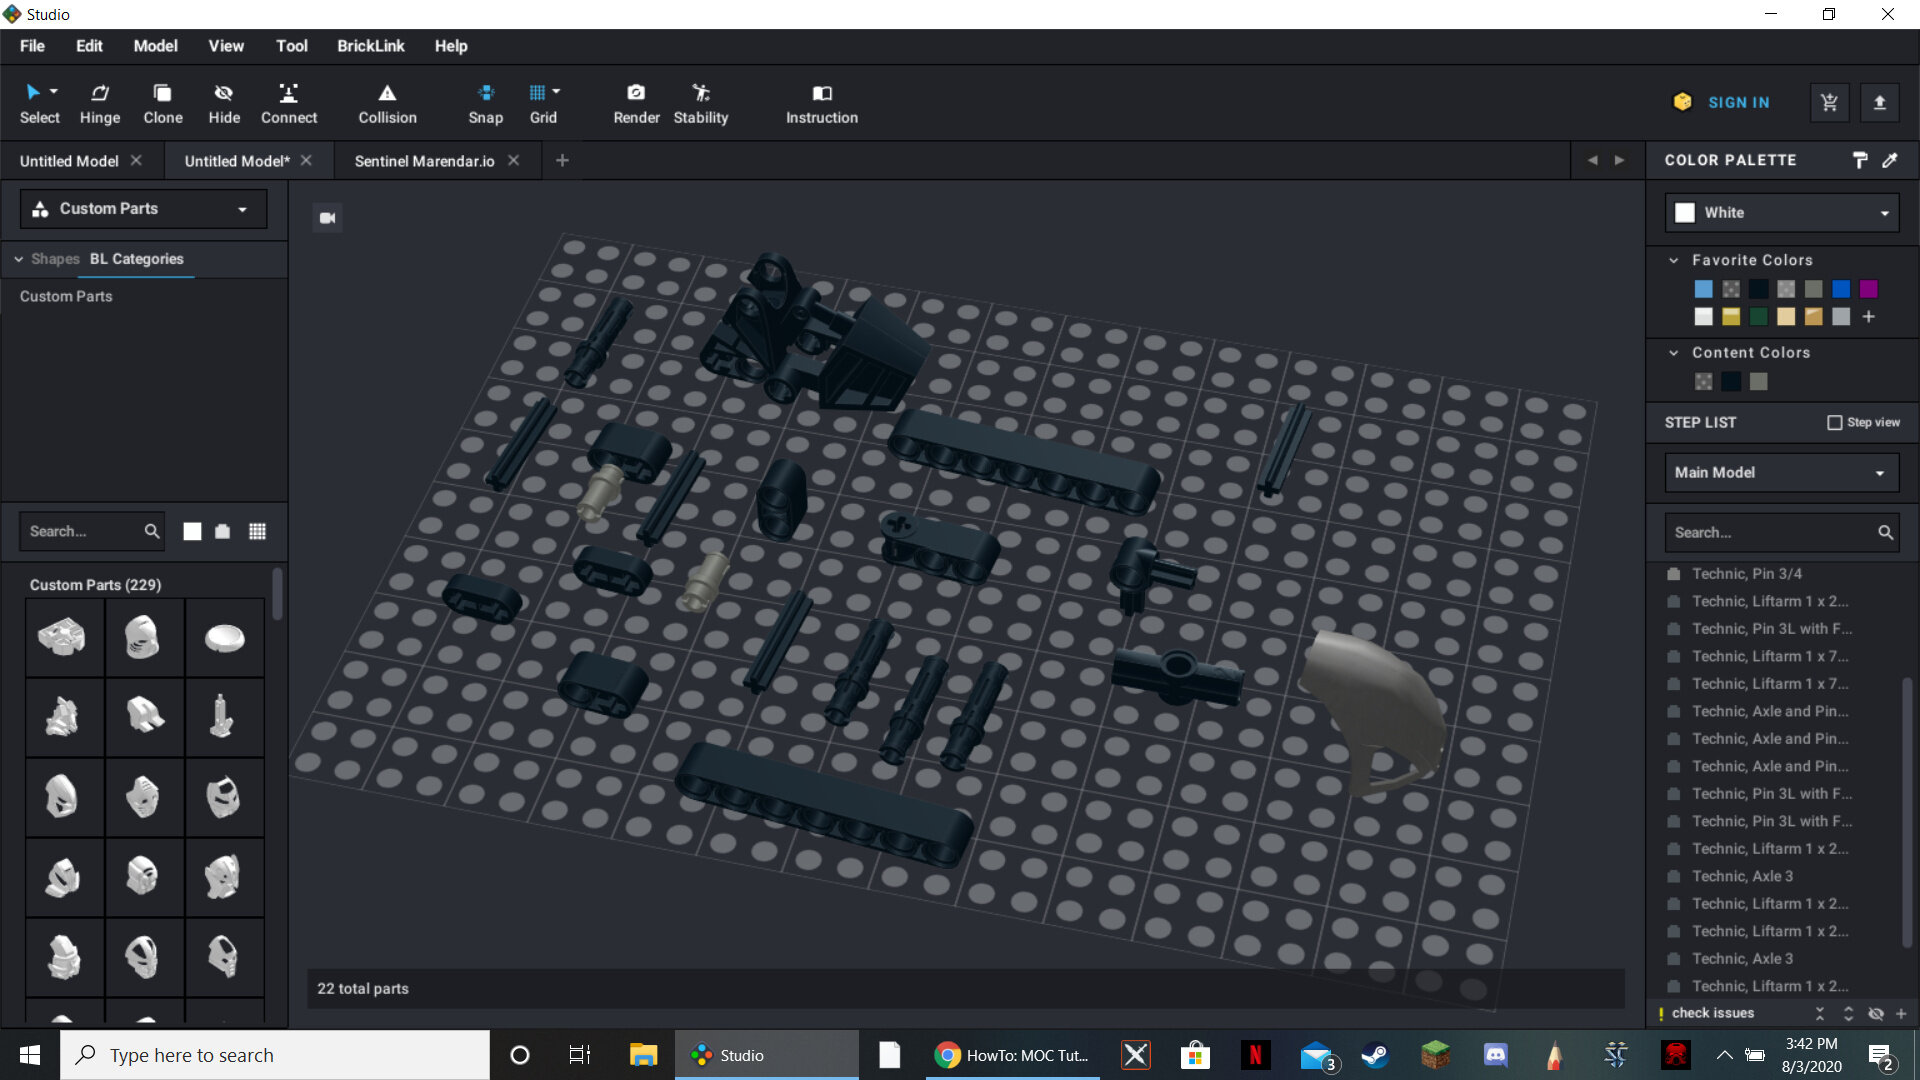
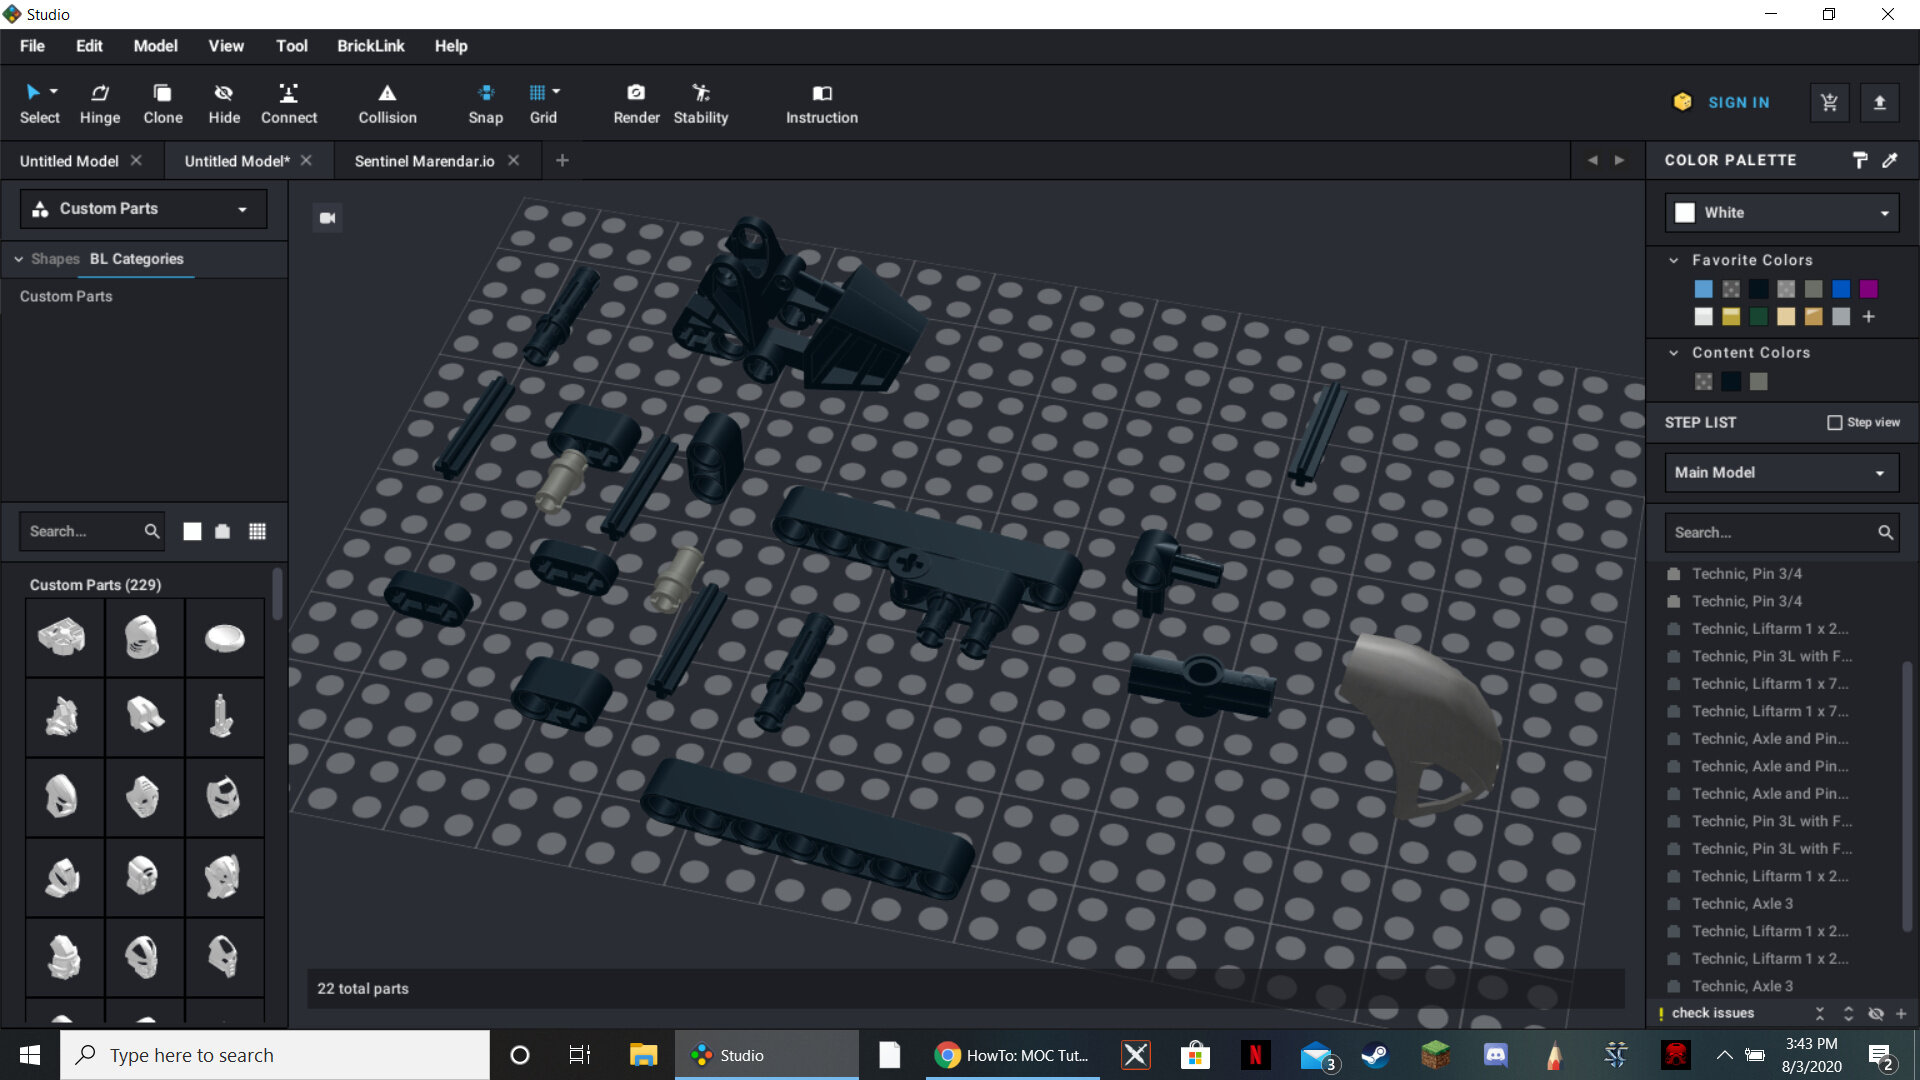
Parts list:
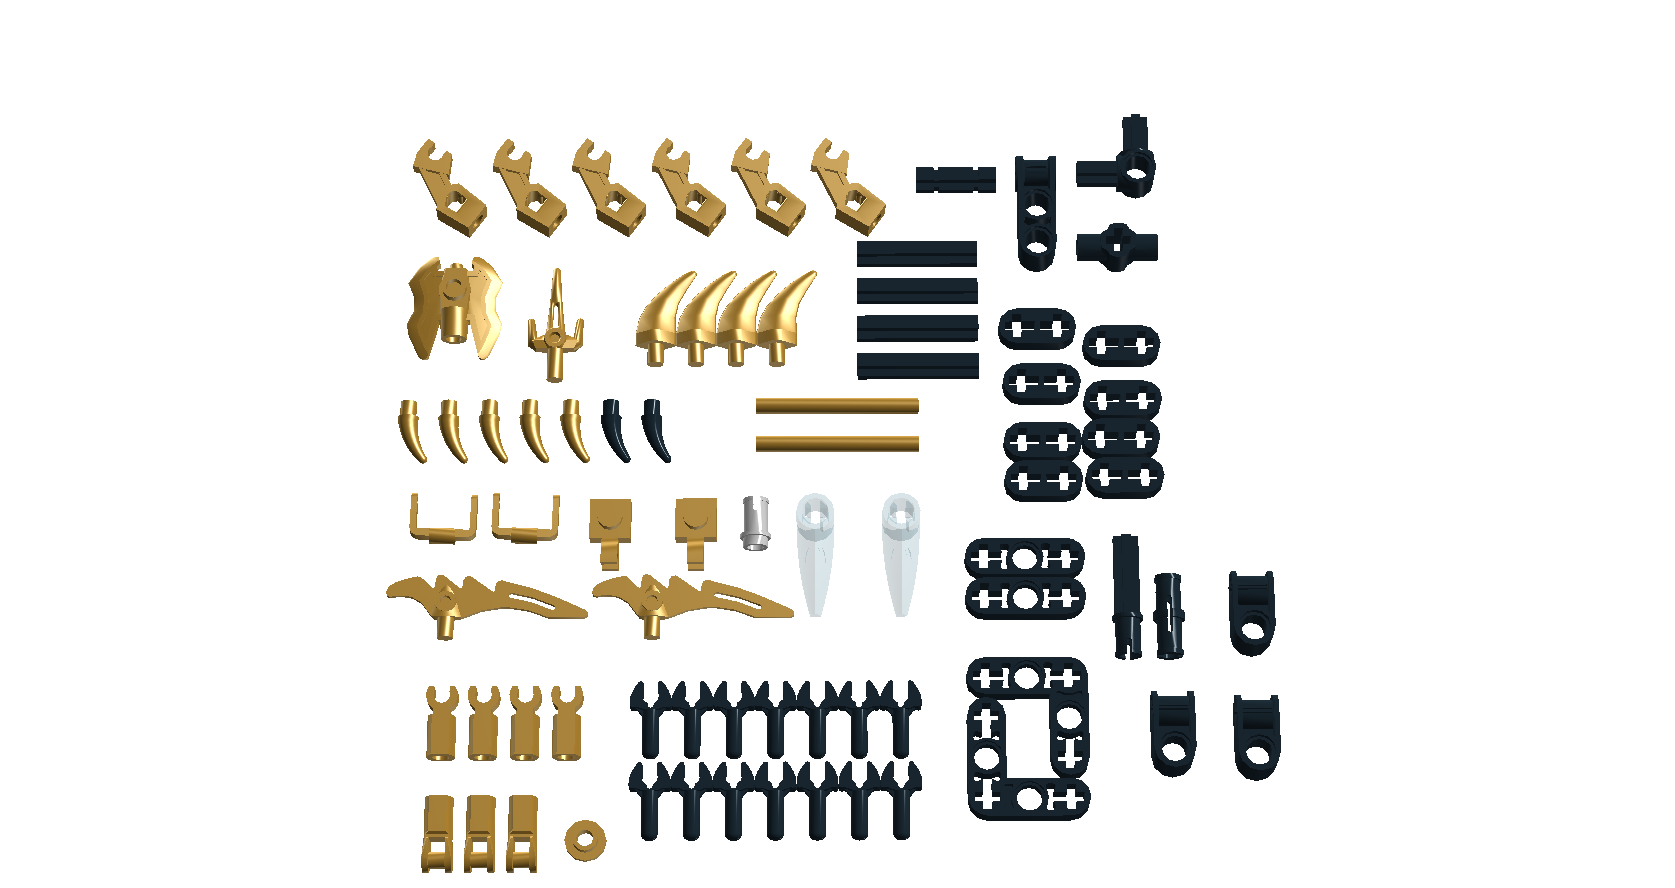
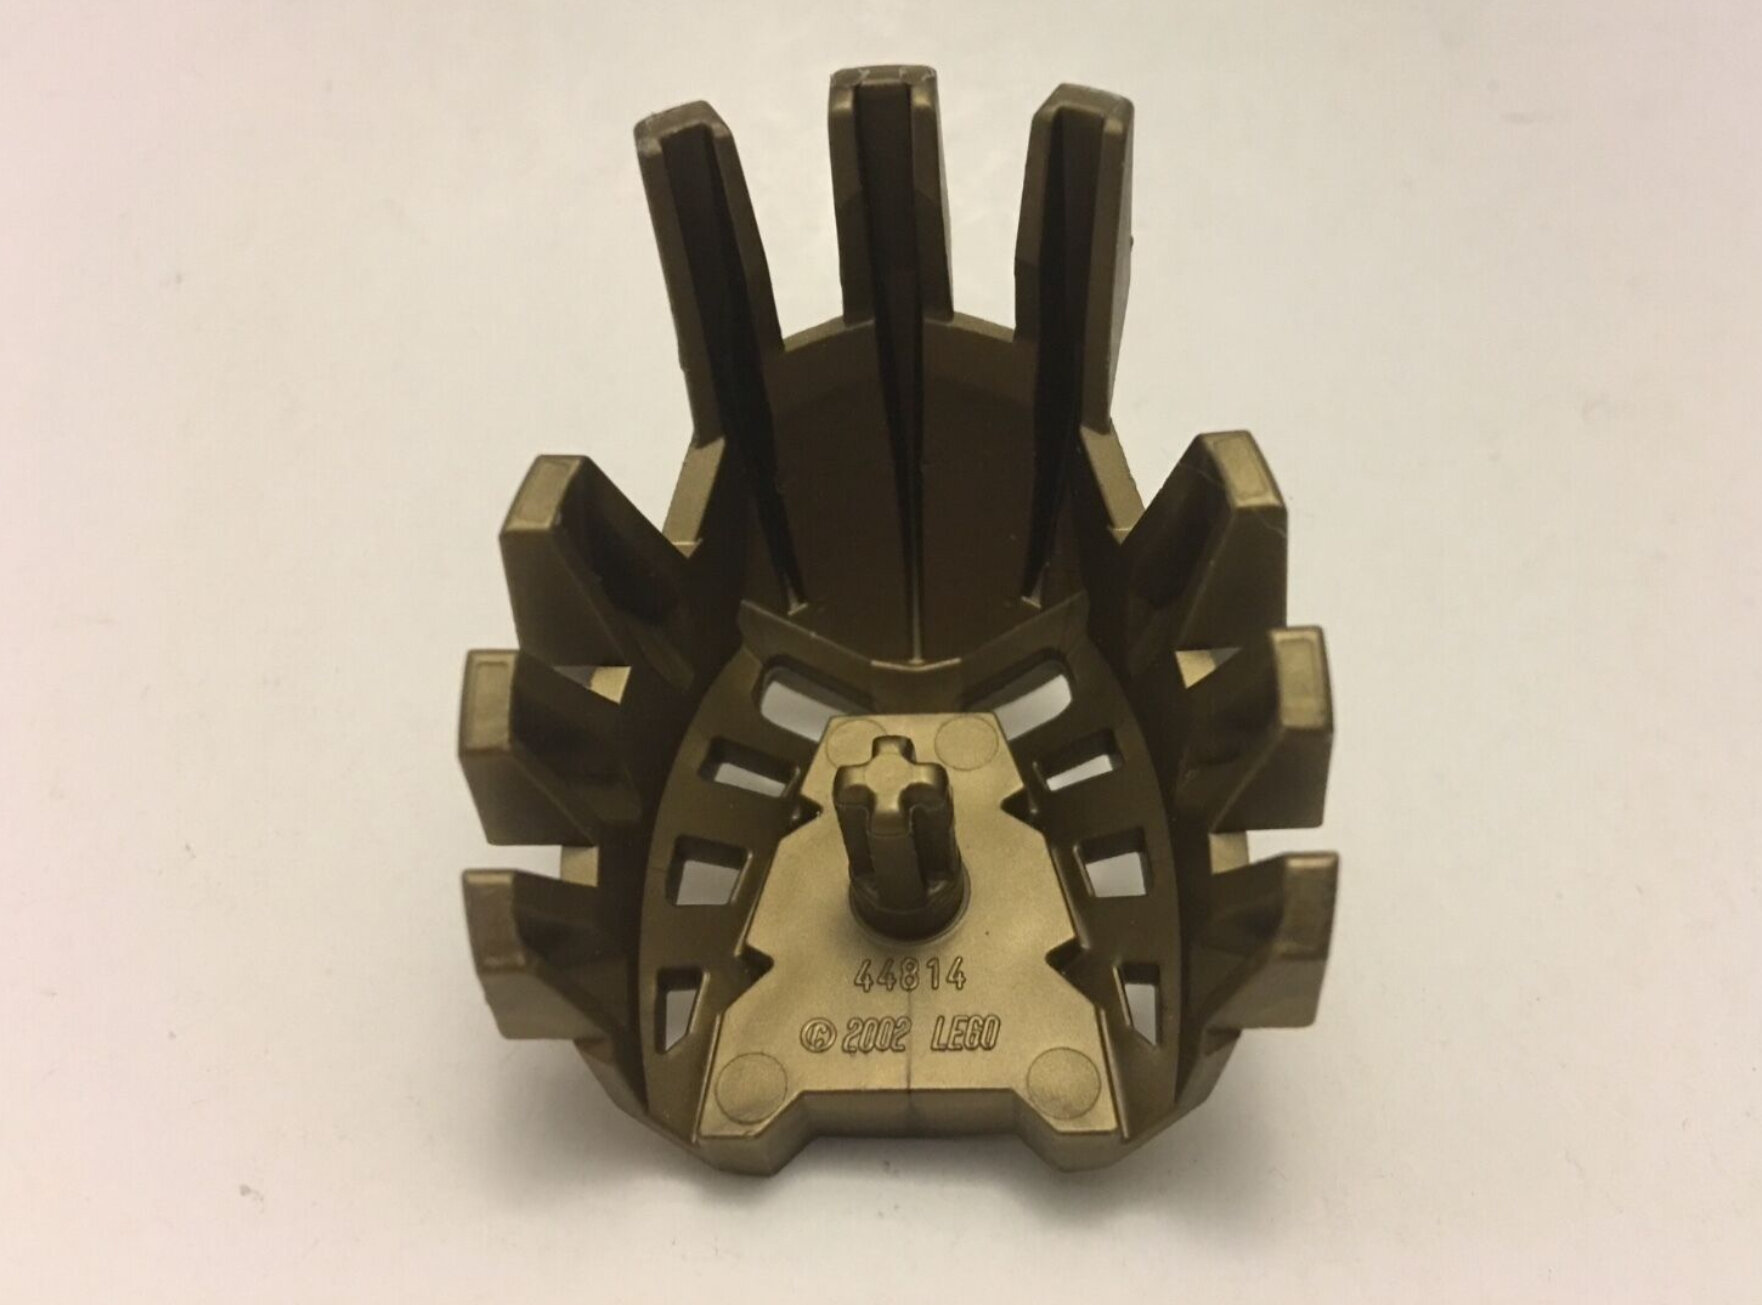
Plus you also need two of those scythe pieces from Ninjago in gold (couldn’t find them in LDD)
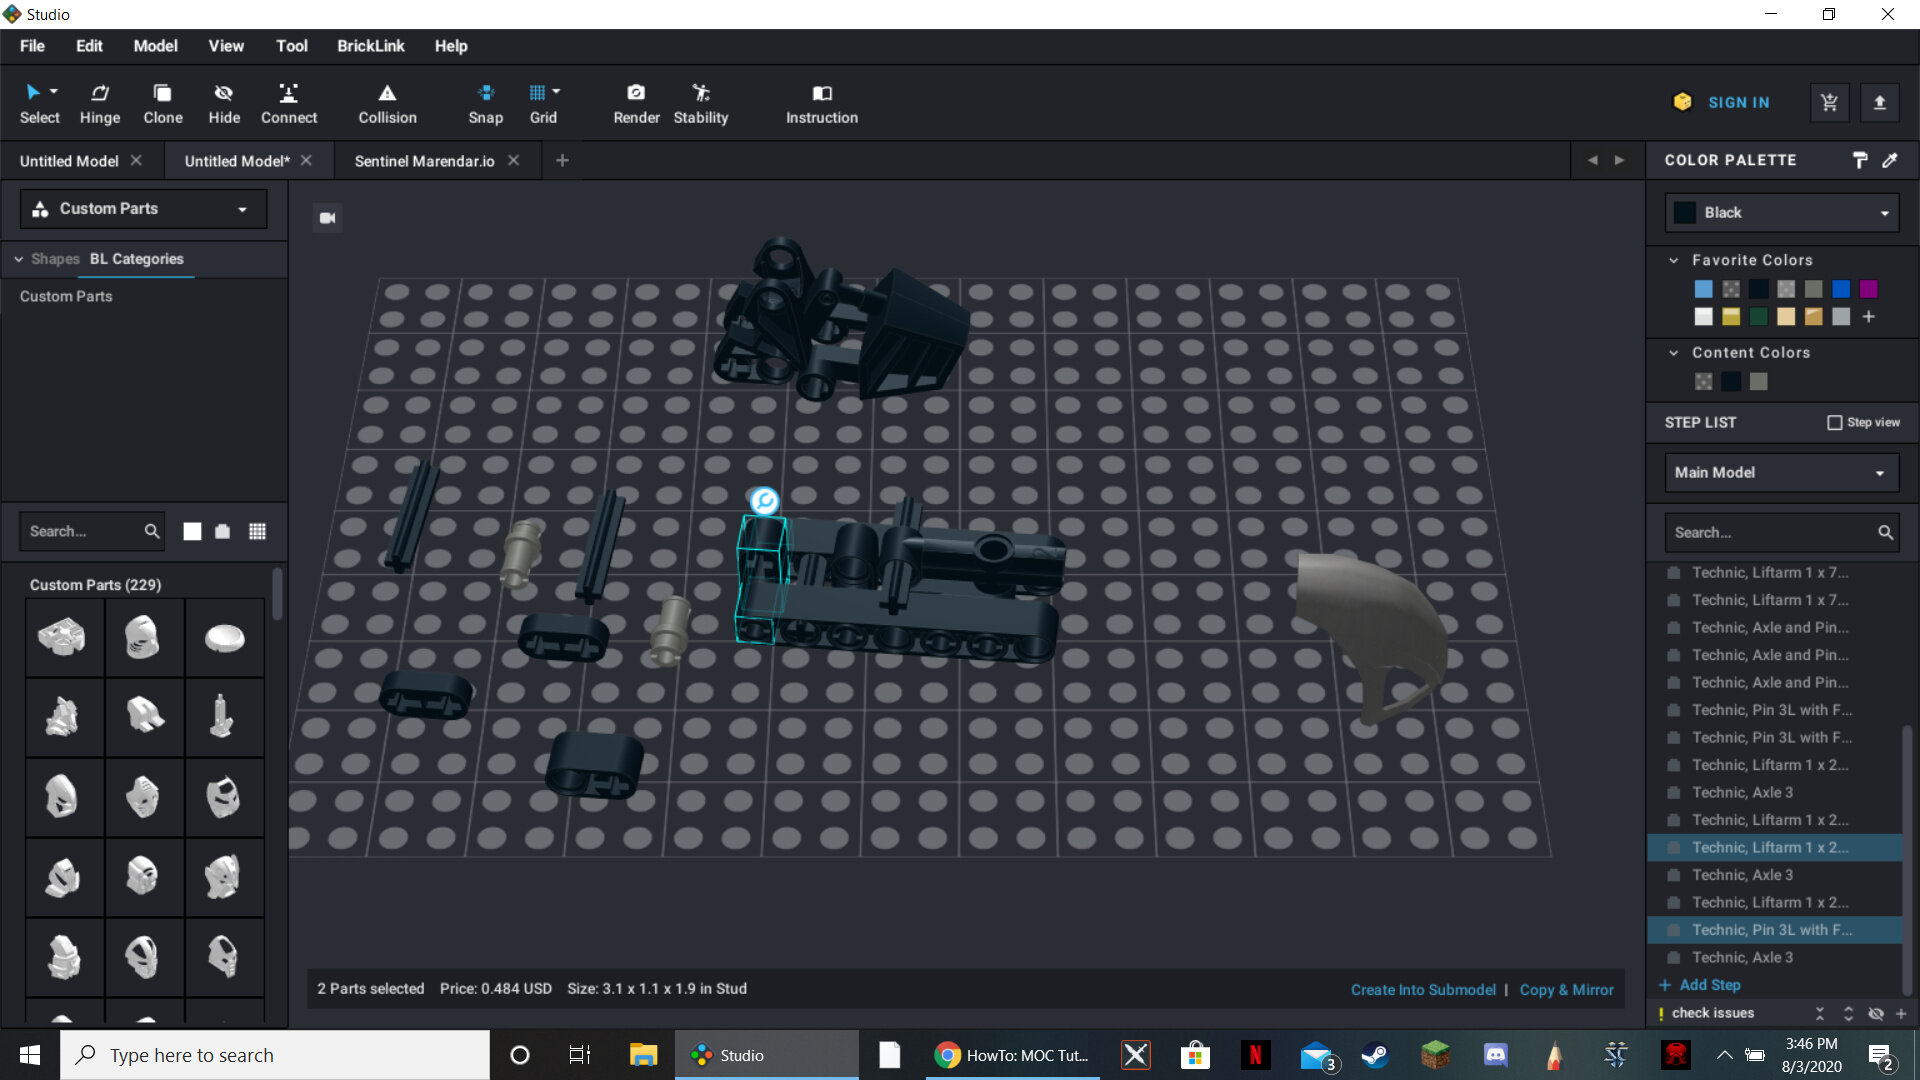
Let’s start with the core head construction (the red bars are there to tell the different views apart):
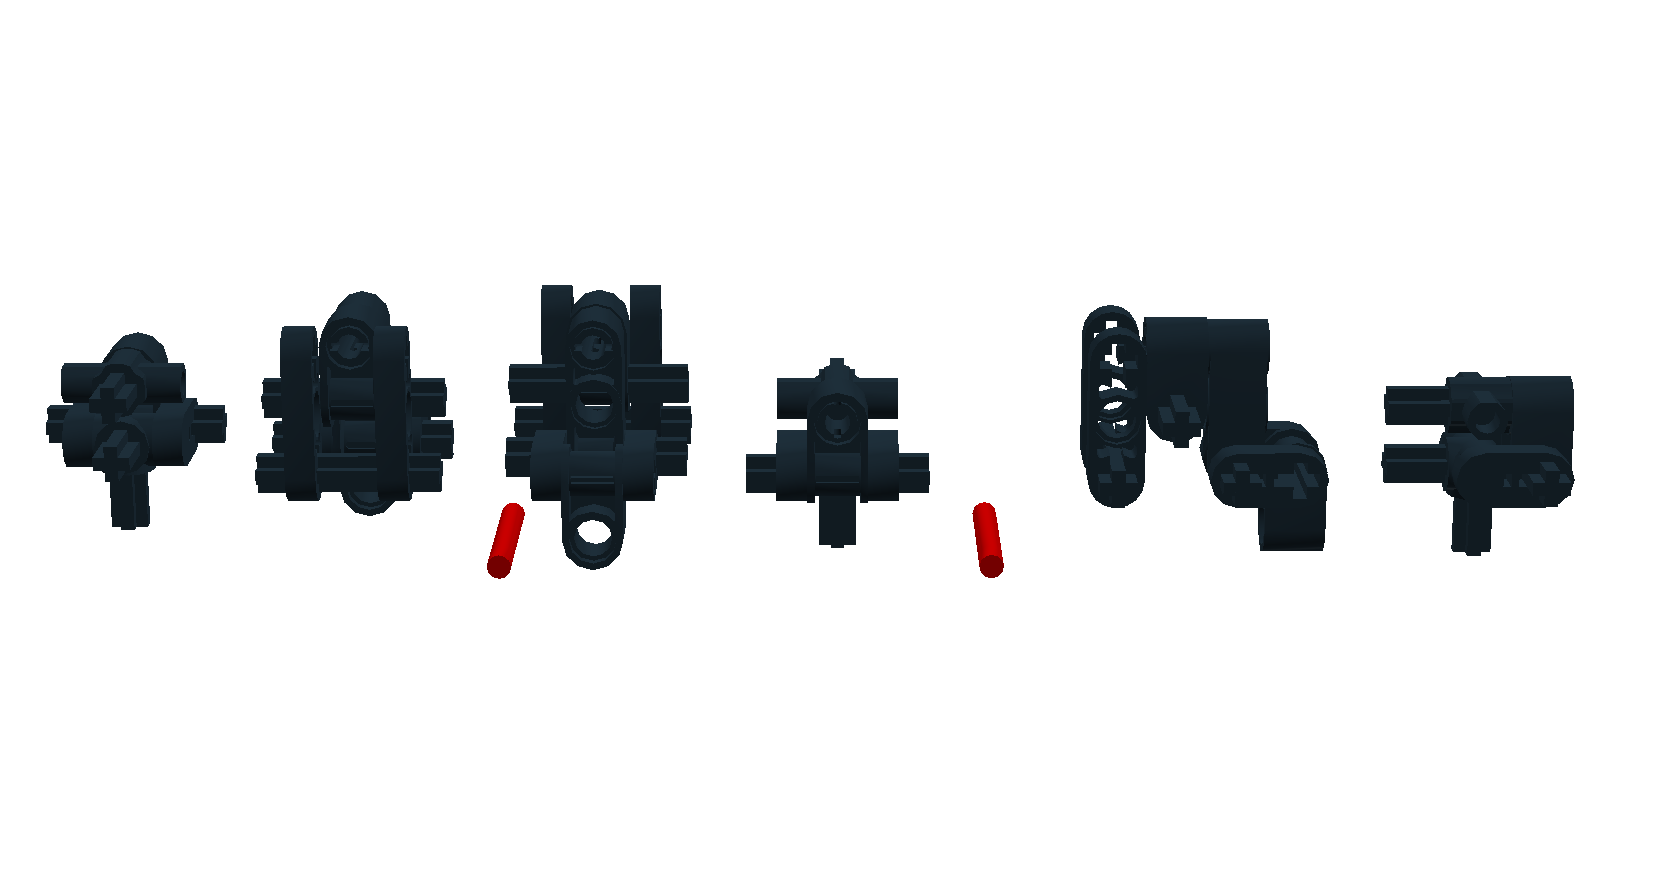
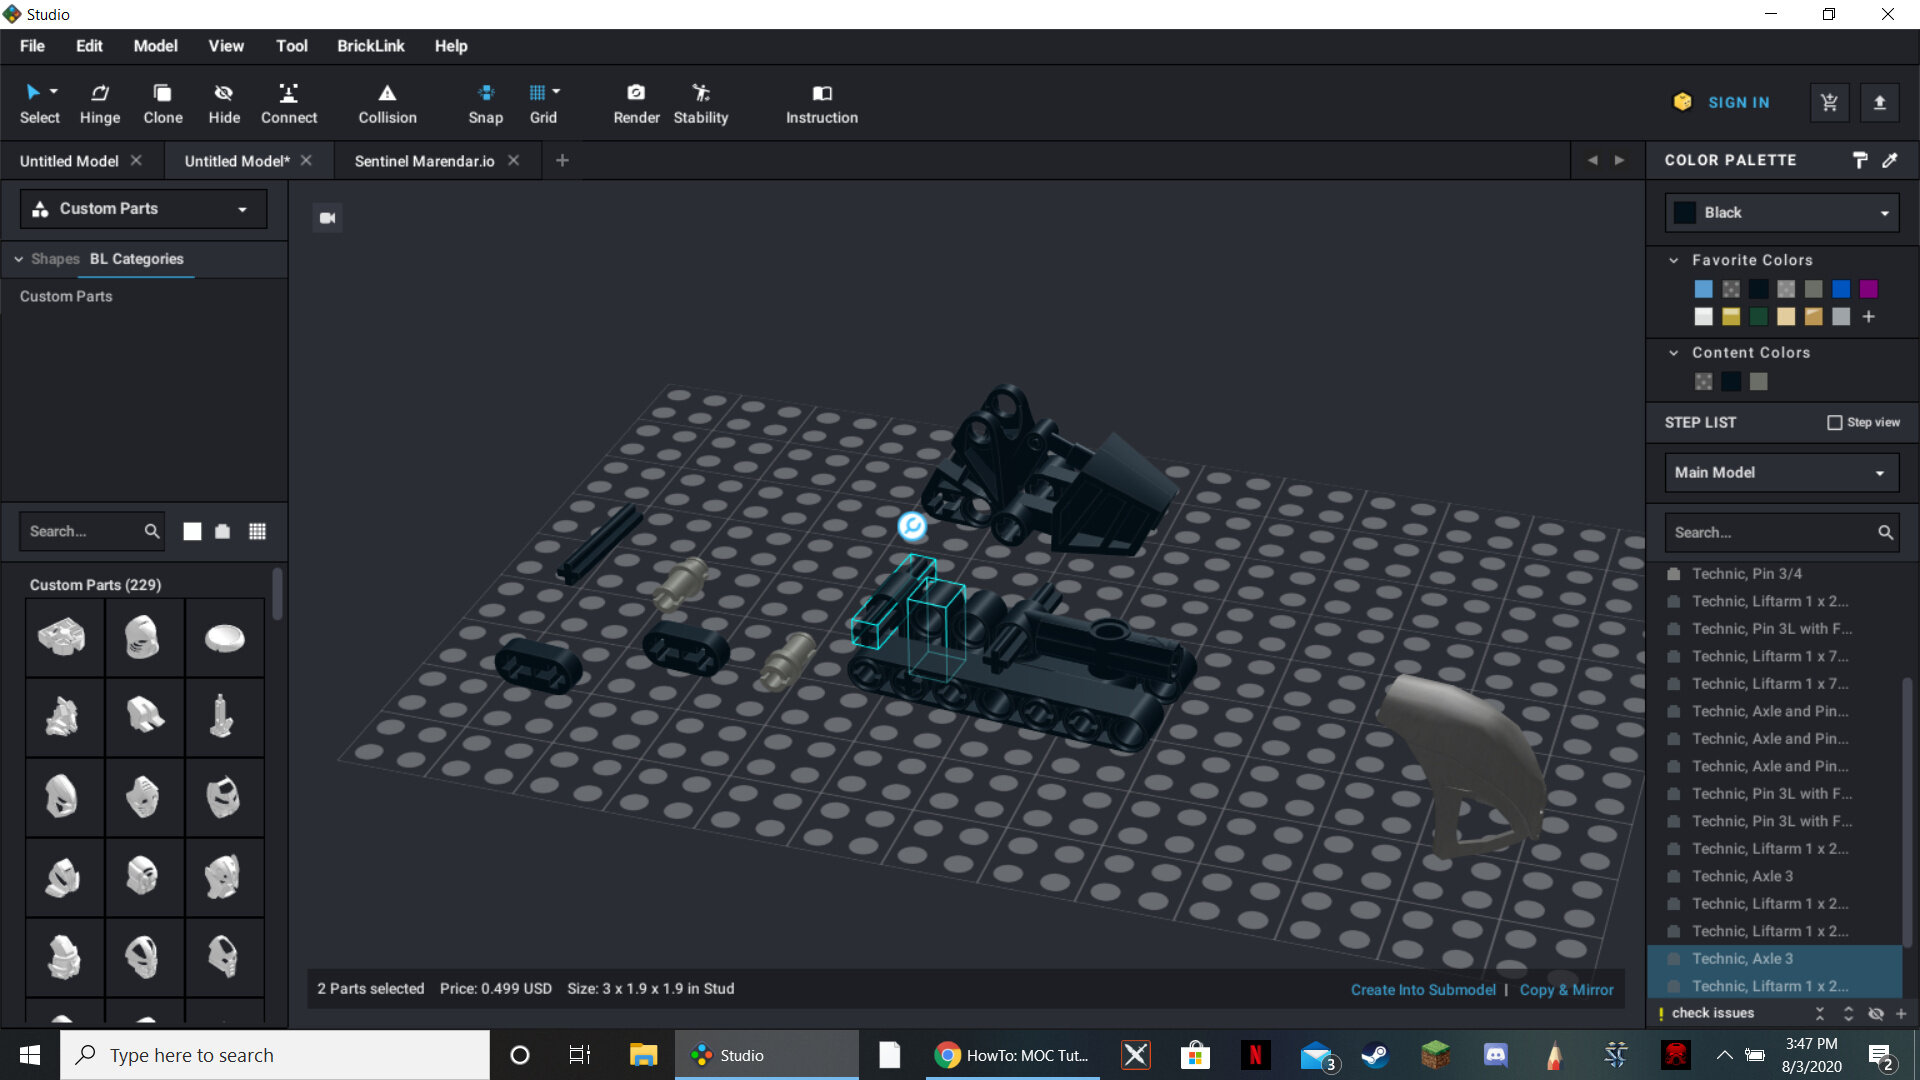
Next comes the core head block construction:
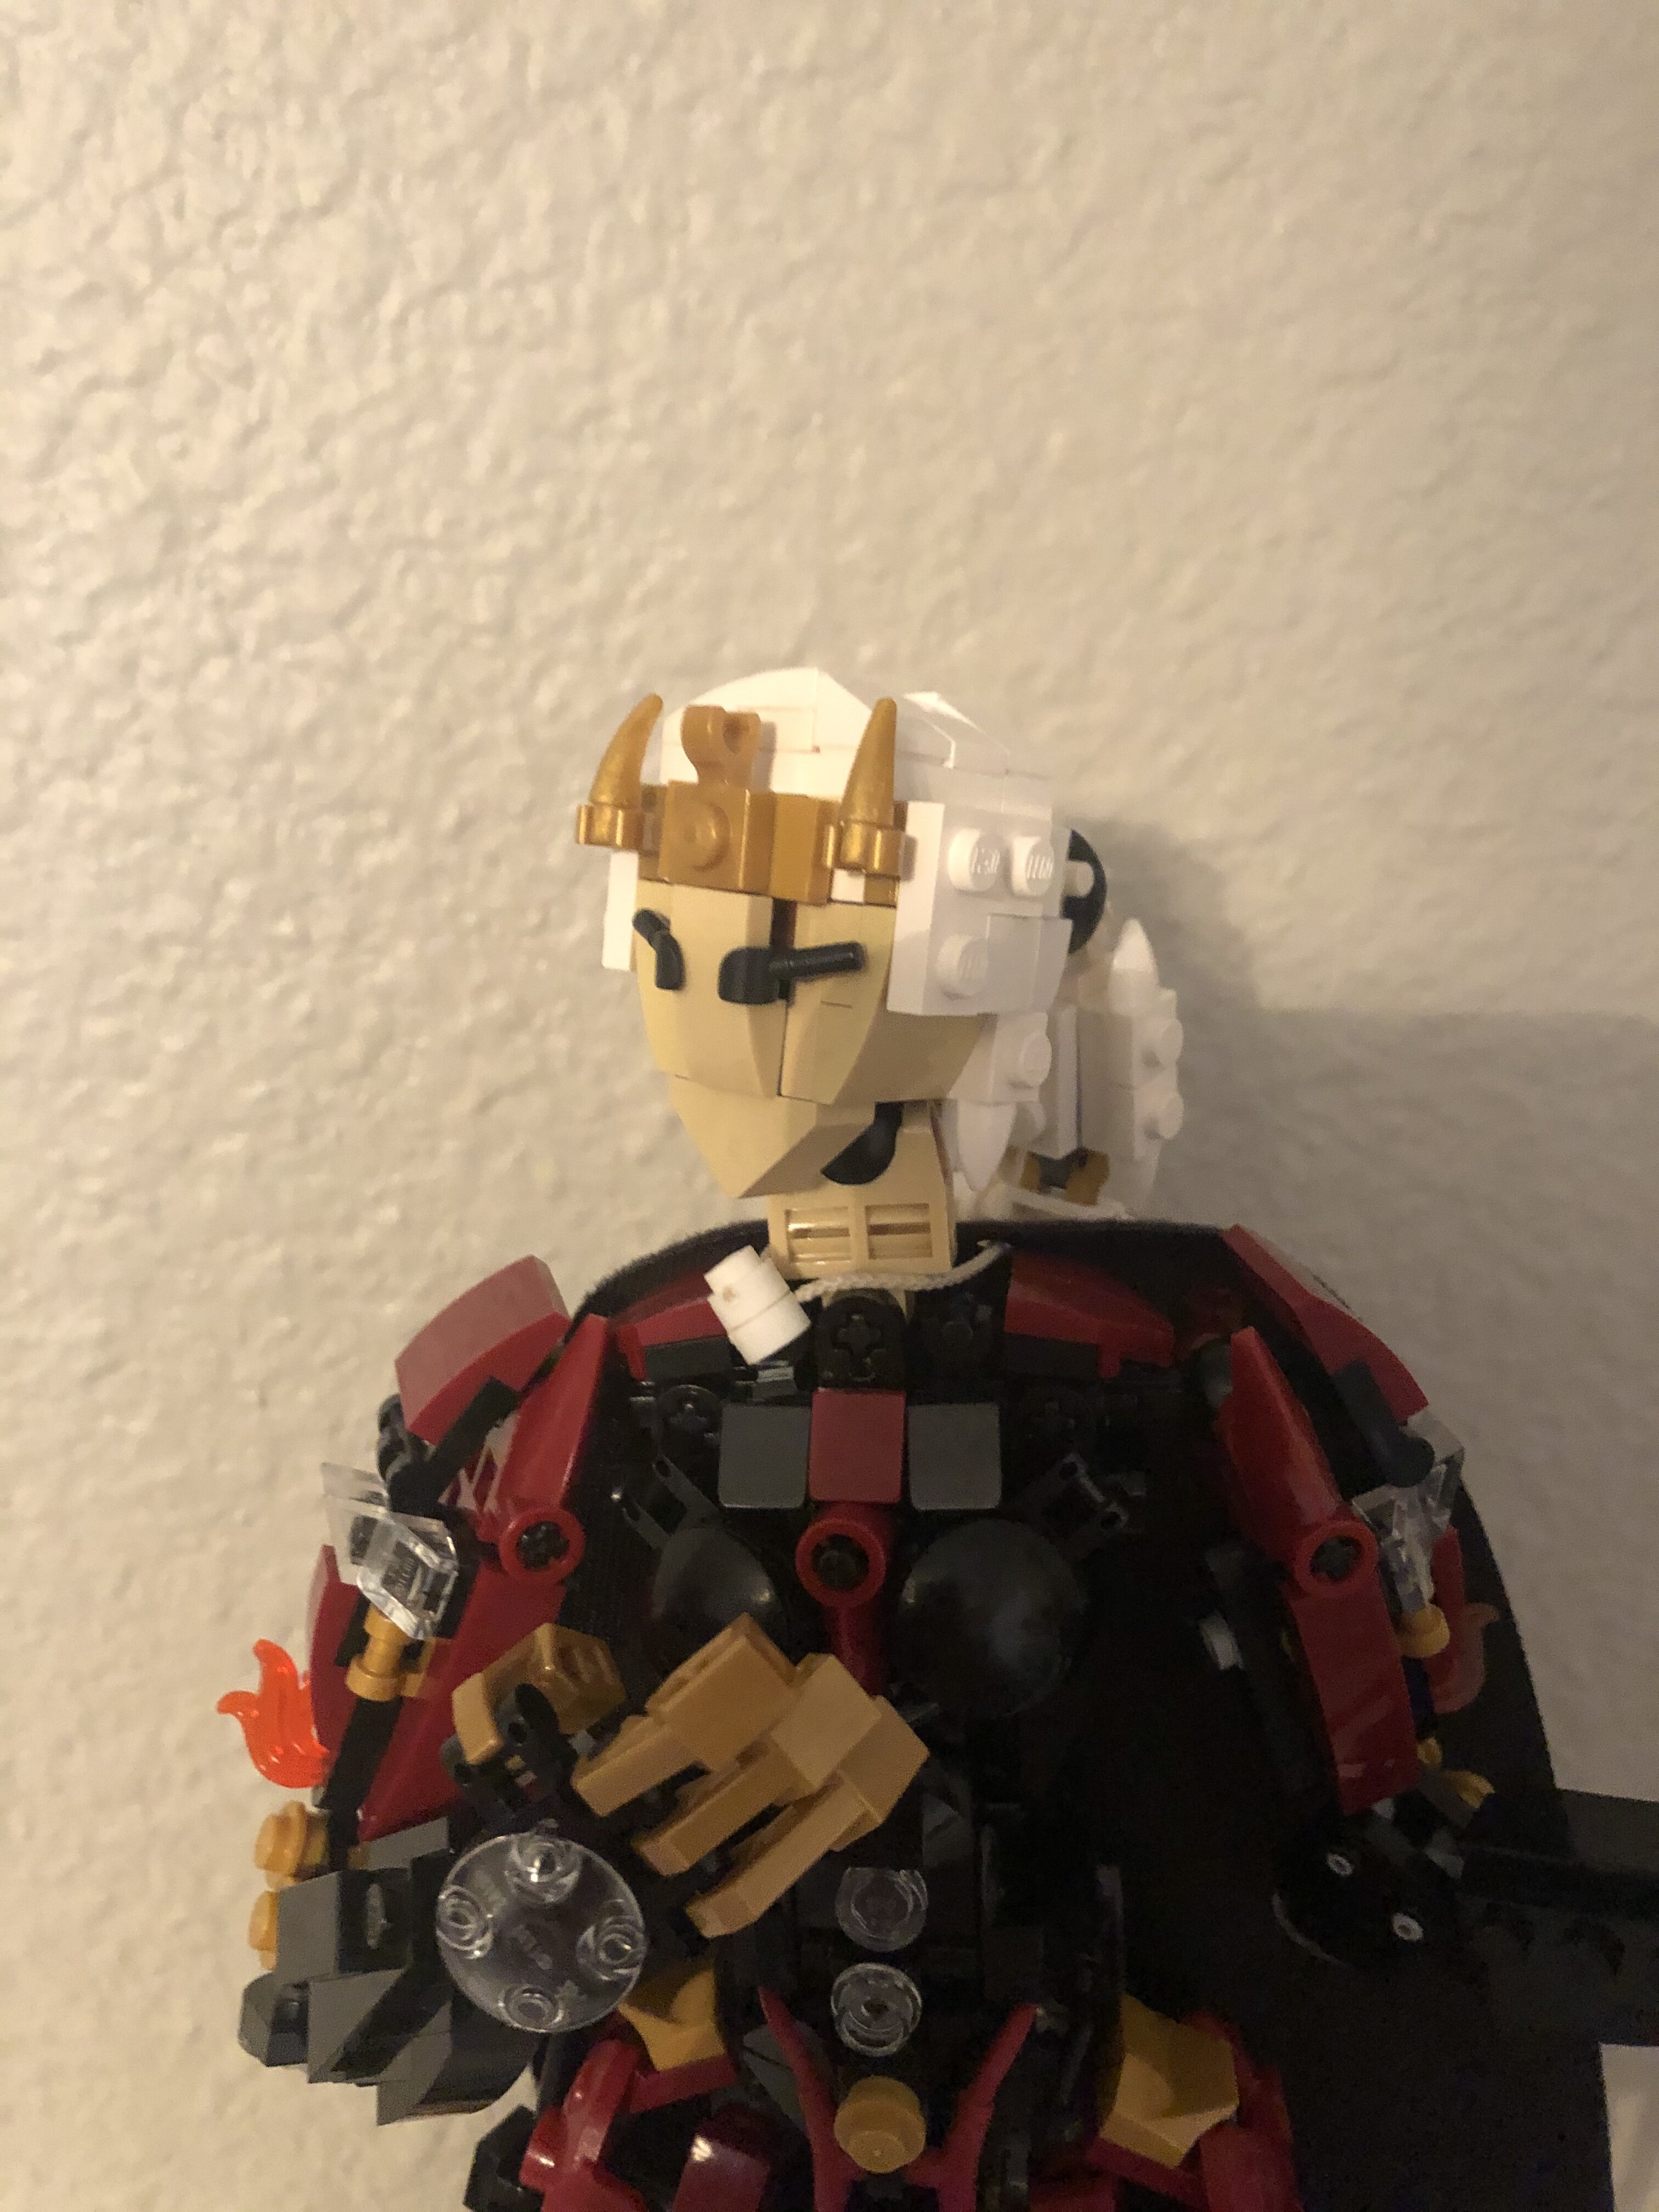
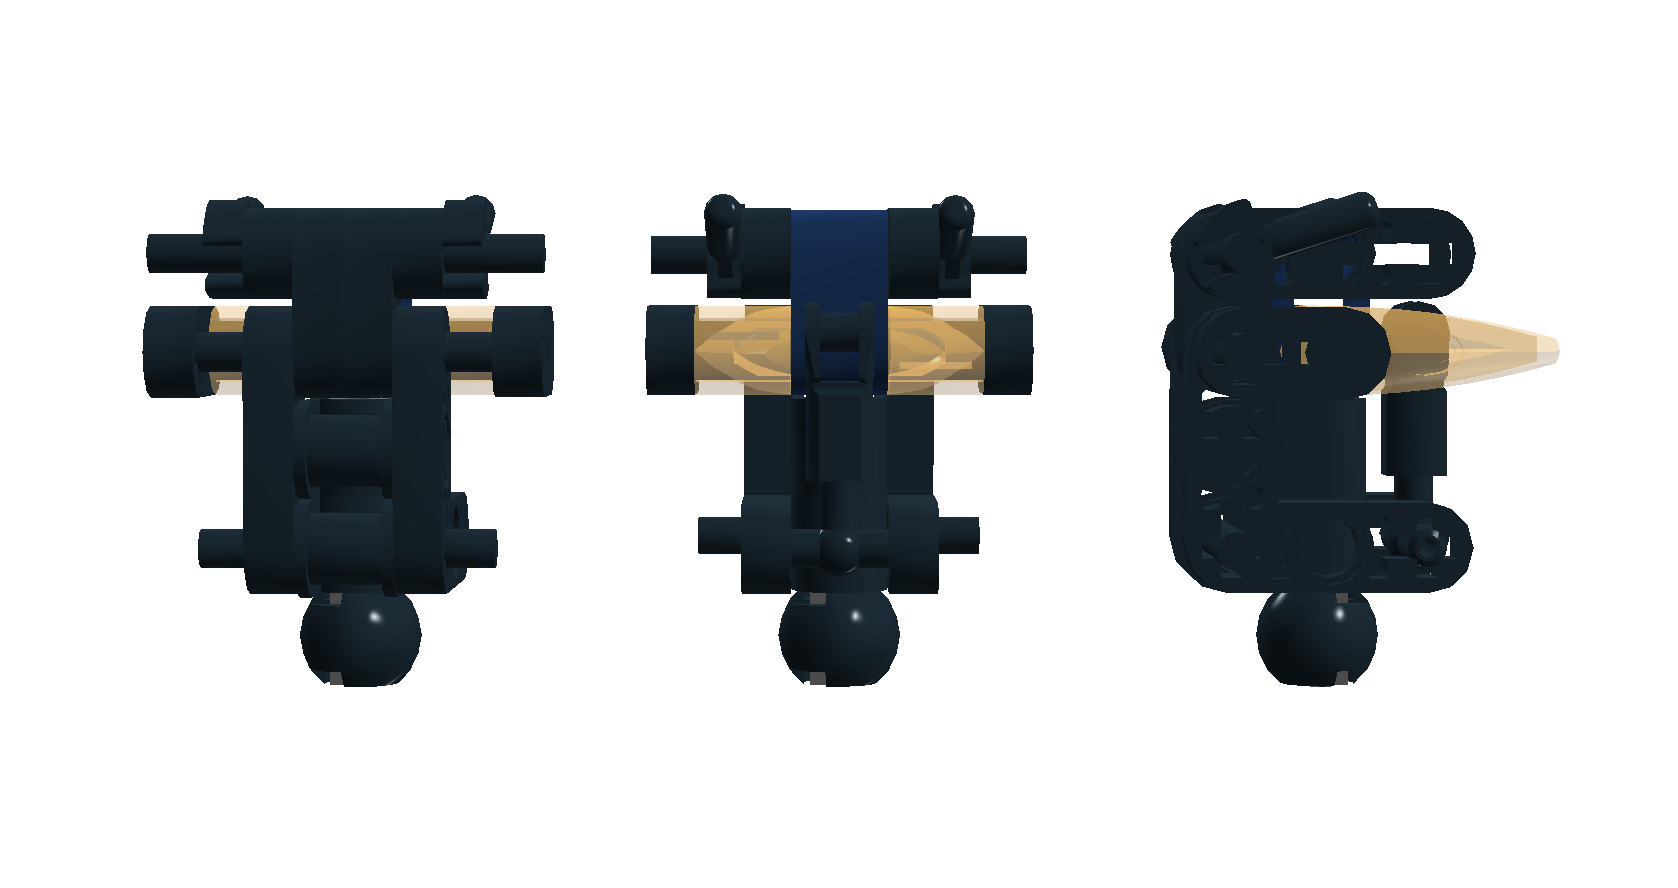
Finished head block (note that the angles of those large barbs are not perfect, since it should get the point across, I don’t feel like fiddling endlessly with LDD):

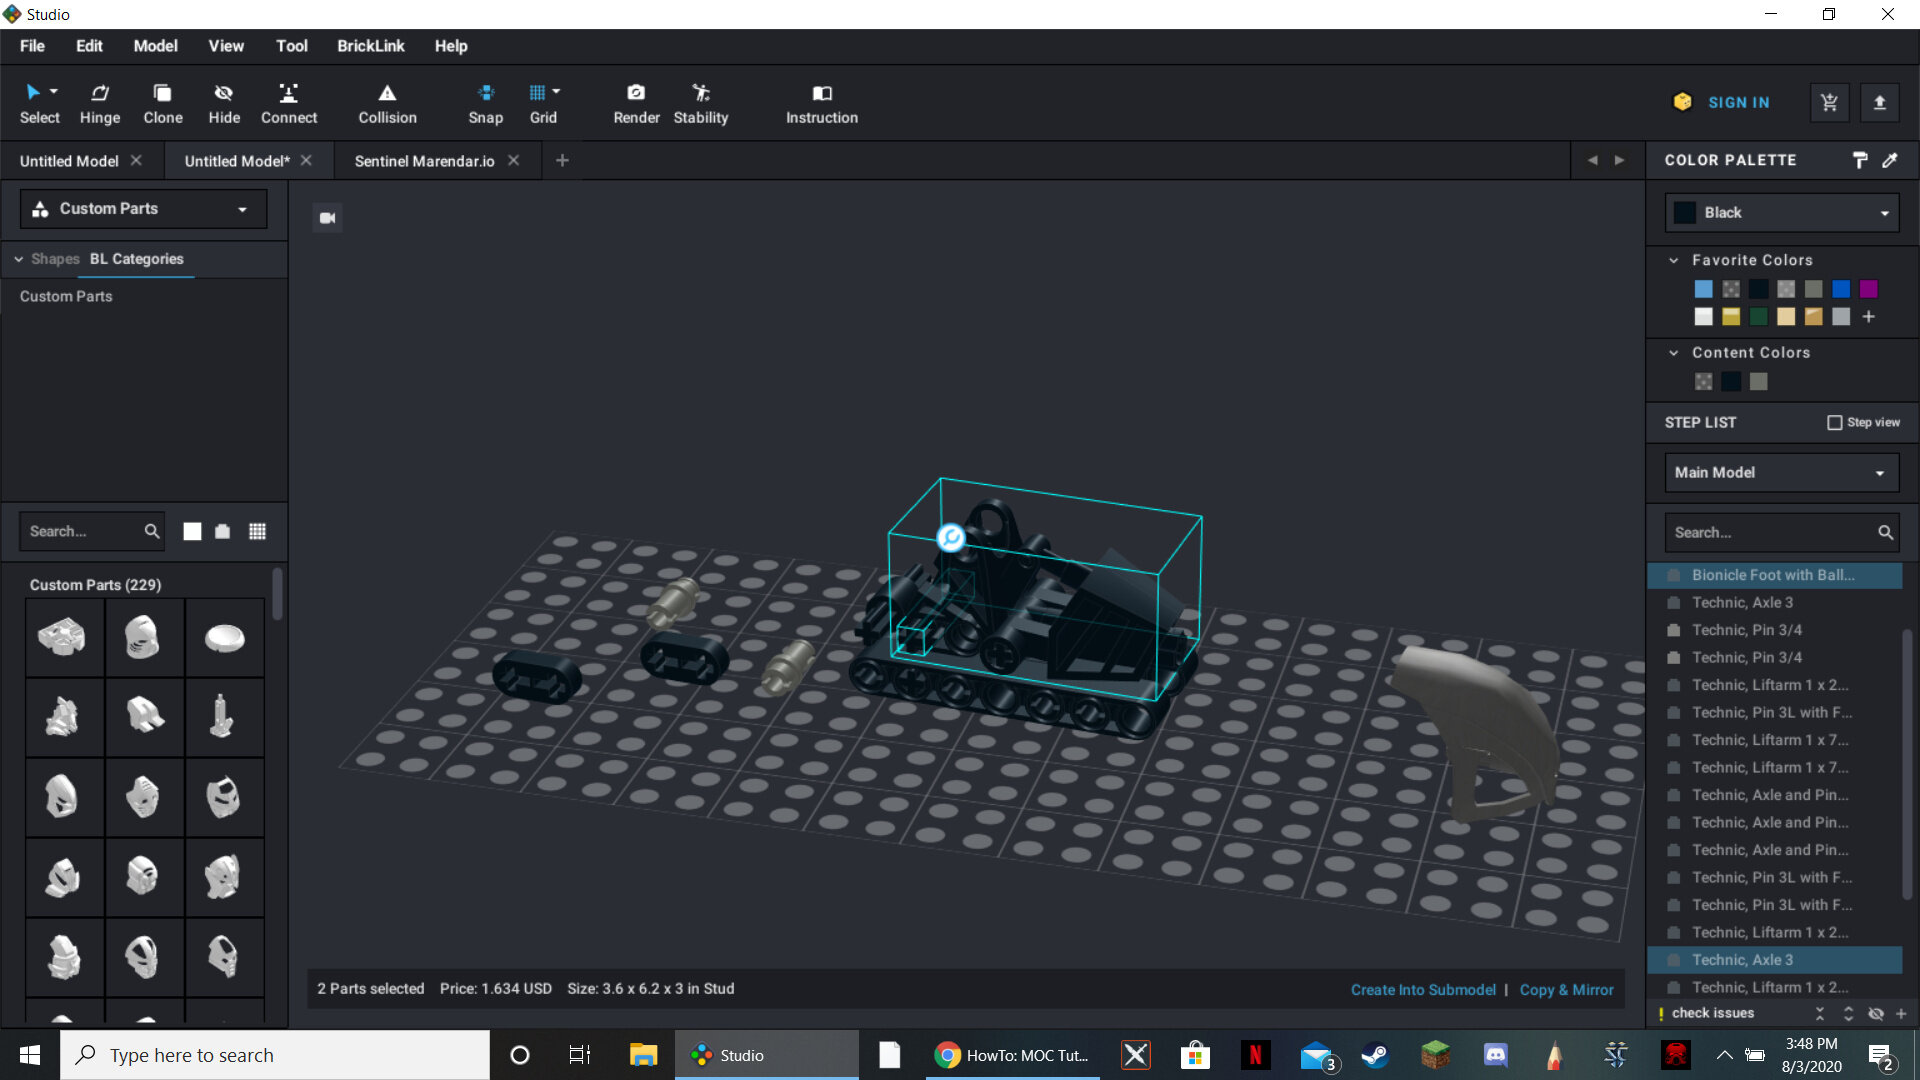
Now only the addons are missing:

It should be fairly straightforward how to attach them - refer to the very first picture or my Artakha topic. Note that it might be a little finicky to get the angles and stuff just right so that no parts are under stress. For example the bars are not always pushed all the way into whatever holds them. Also, as said, the Ninjago scythes are missing here.
(I would like to note here, too, though, that the top construction stays in place no problem, but is not as stable as my usual custom heads. If for example the MOC falls over, the top parts will likely fall off/be bent out of shape.)
Otherwise, feel free to use!
11 Likes
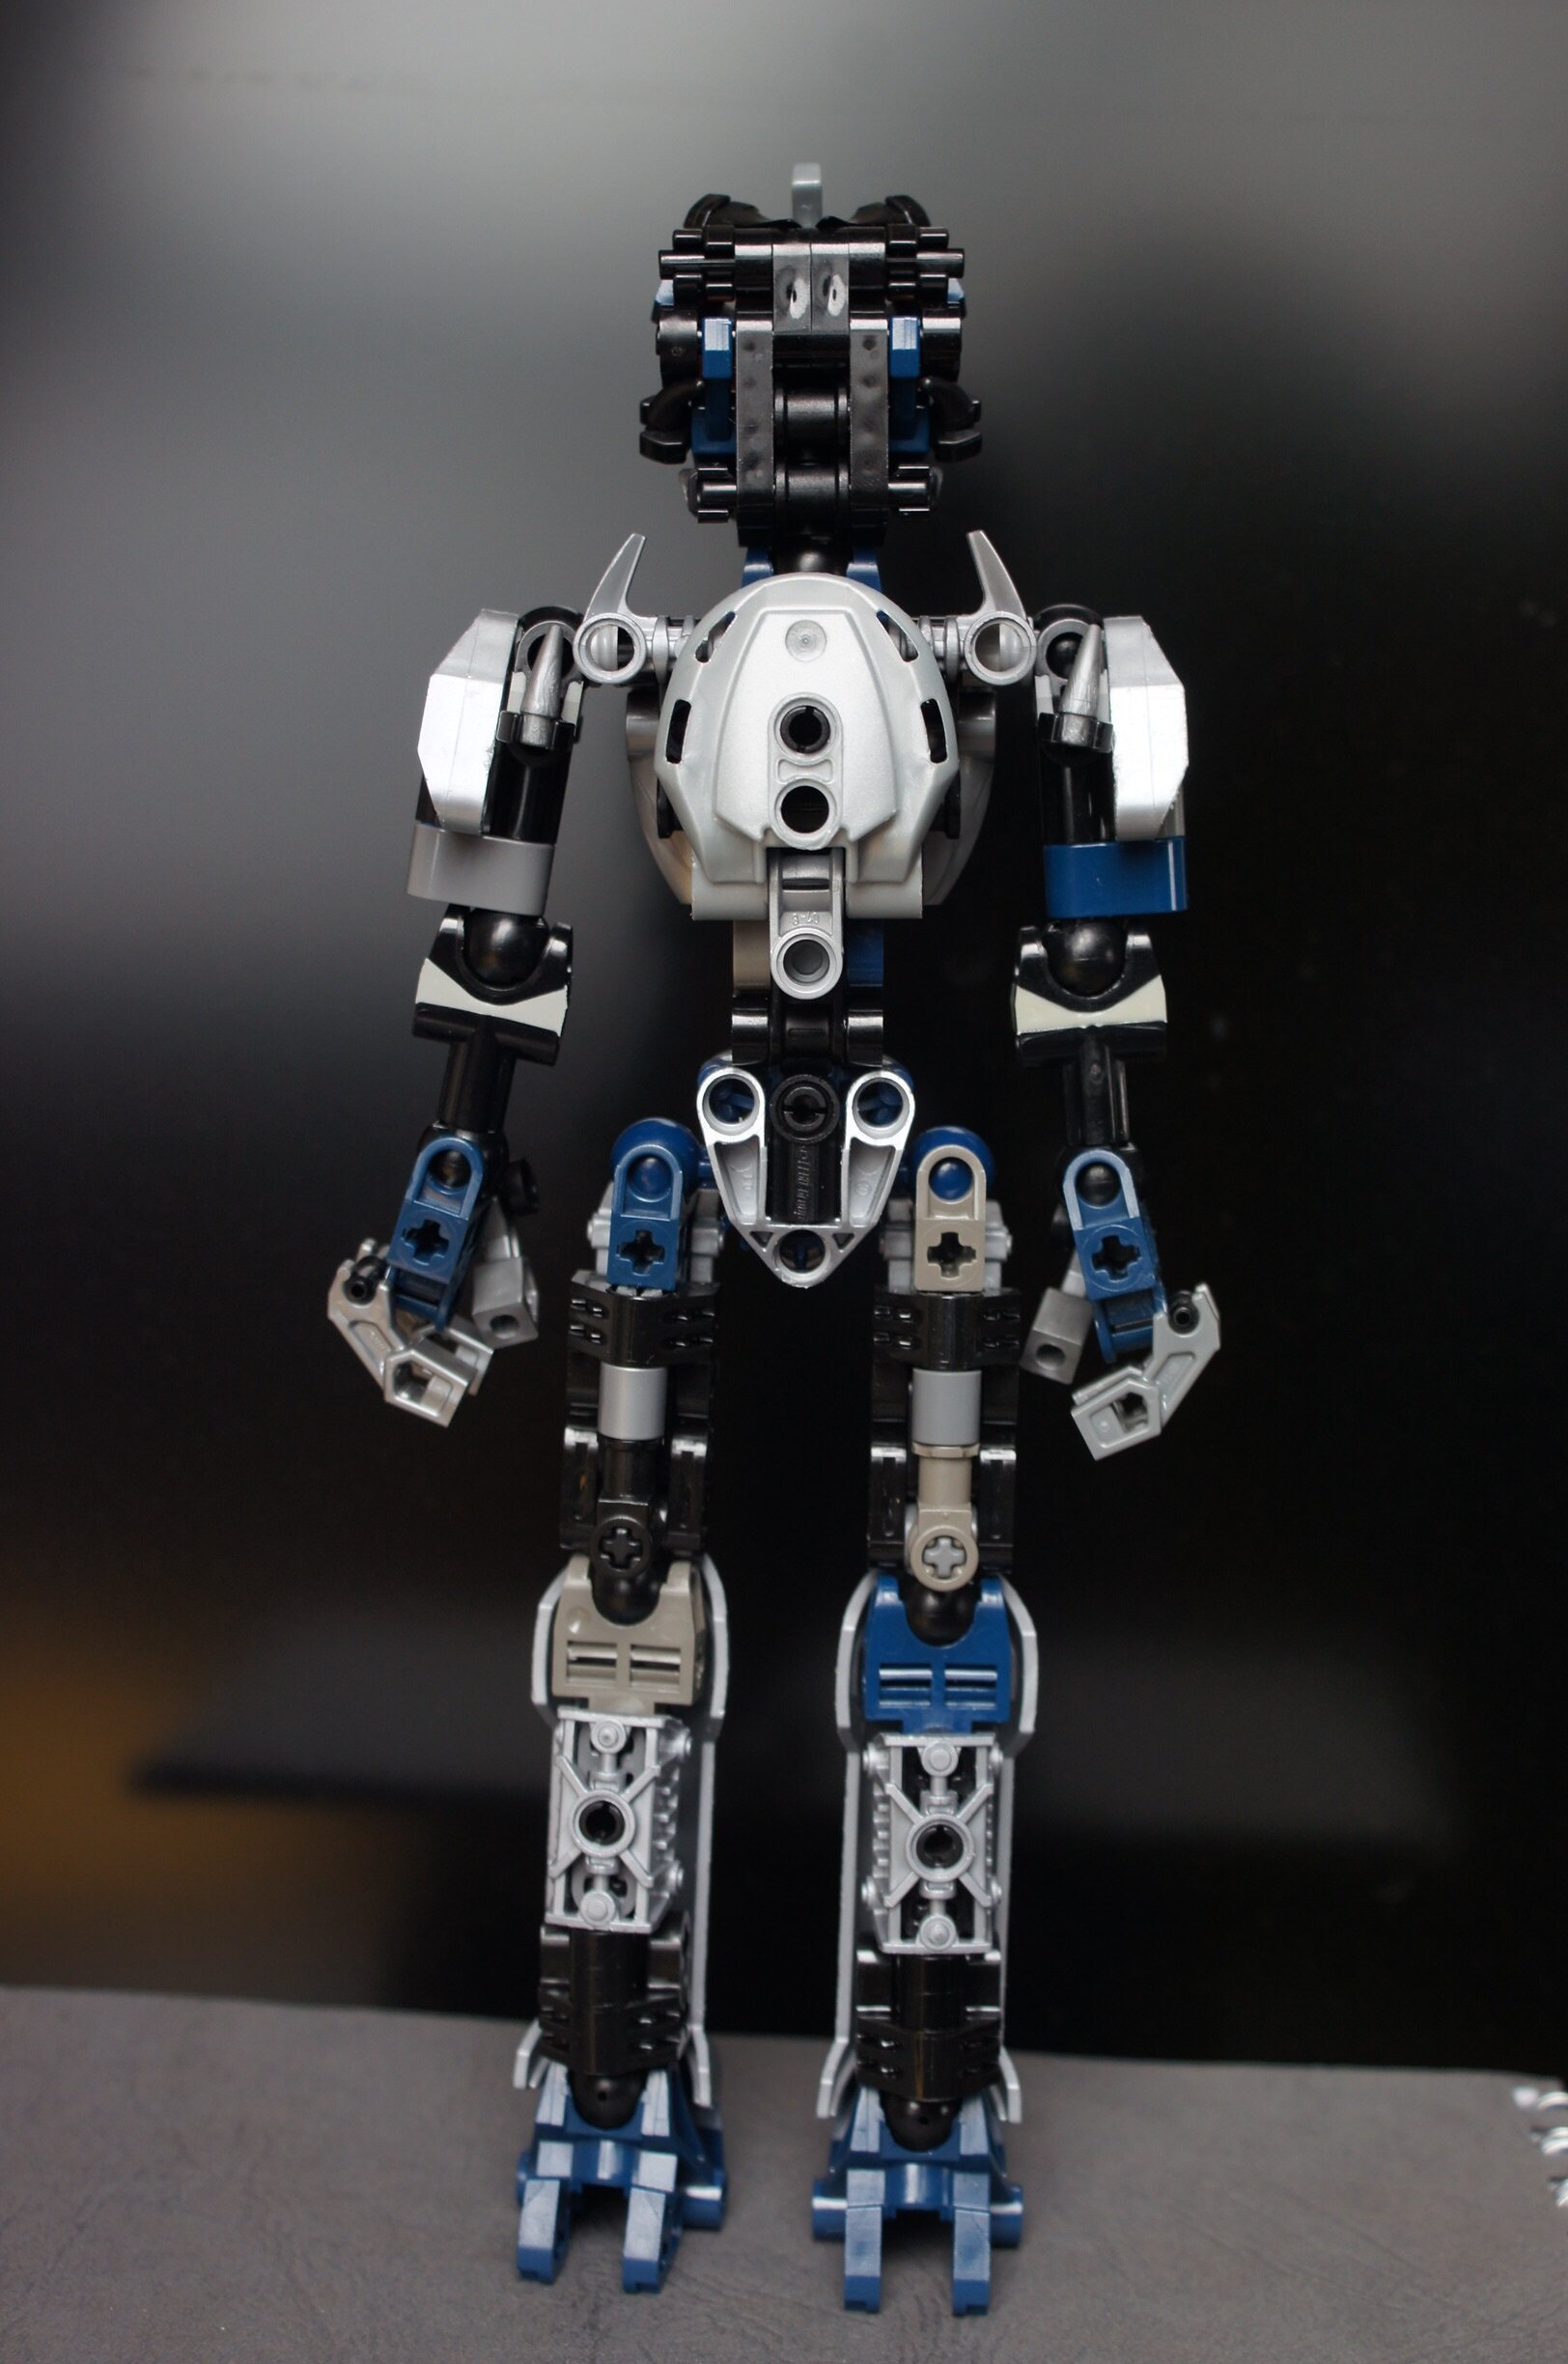
Can I please get some tips on how to build some front torso armor for this guy with two adjacent lightsaber blade-sized holes in the pectoral area to fit a Breakout edition Hero Core on?

Here’s the Stud.io file:
Hero Factory Hero 1.io - Google Drive
1 Like